
Entryway Bench Upcycle: Matte Black and Geometric Tile Inlay
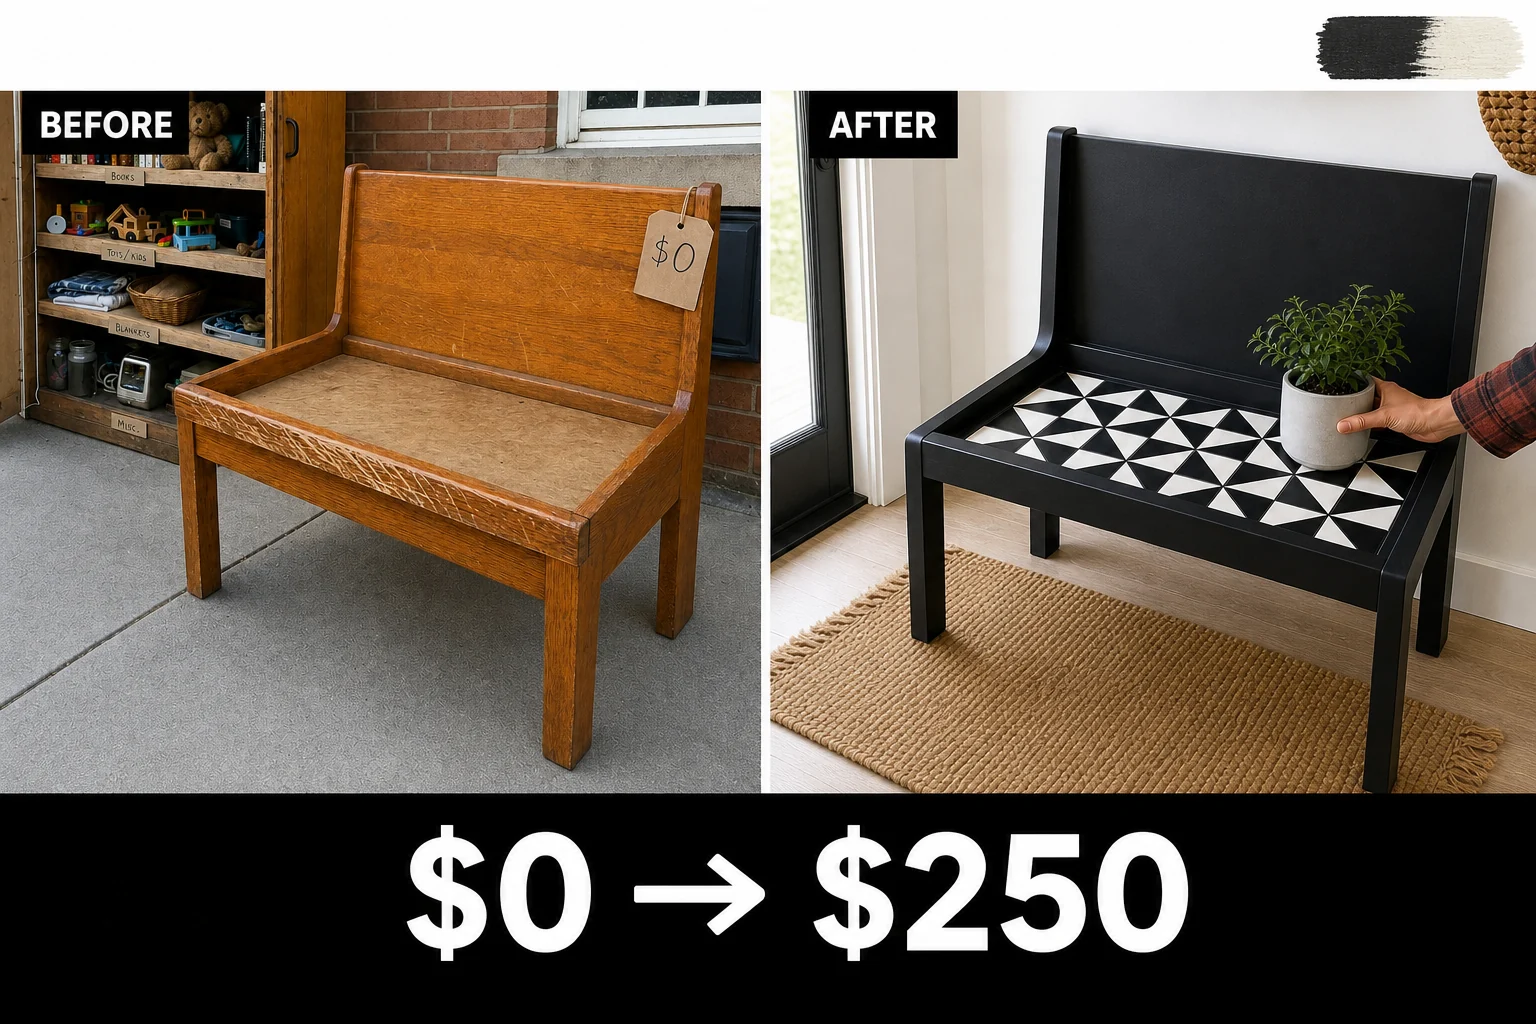
I spotted this scratched 90s oak bench abandoned at a neighborhood swap shelf. Replacing its missing cushion with a geometric tile inlay and matte black paint transformed it into a striking, high-contrast entryway piece.
Evaluating the Swap Shelf Find
This solid 1990s oak bench had great bones but suffered from a missing seat cushion, leaving a raw plywood recess completely exposed. The front wooden edge featured deep gouges from years of heavy use, and the glossy, yellowed orange-oak varnish severely dated the rectangular silhouette and square legs.
Materials checklist
While the heavy scratches required thorough sanding and an opaque finish, the missing cushion presented a unique opportunity. The empty plywood pan provided a perfect three-quarter-inch deep recess, ideal for a custom ceramic tile inlay to replace the old fabric seat.
Step 1: Inspect the Seat Pan
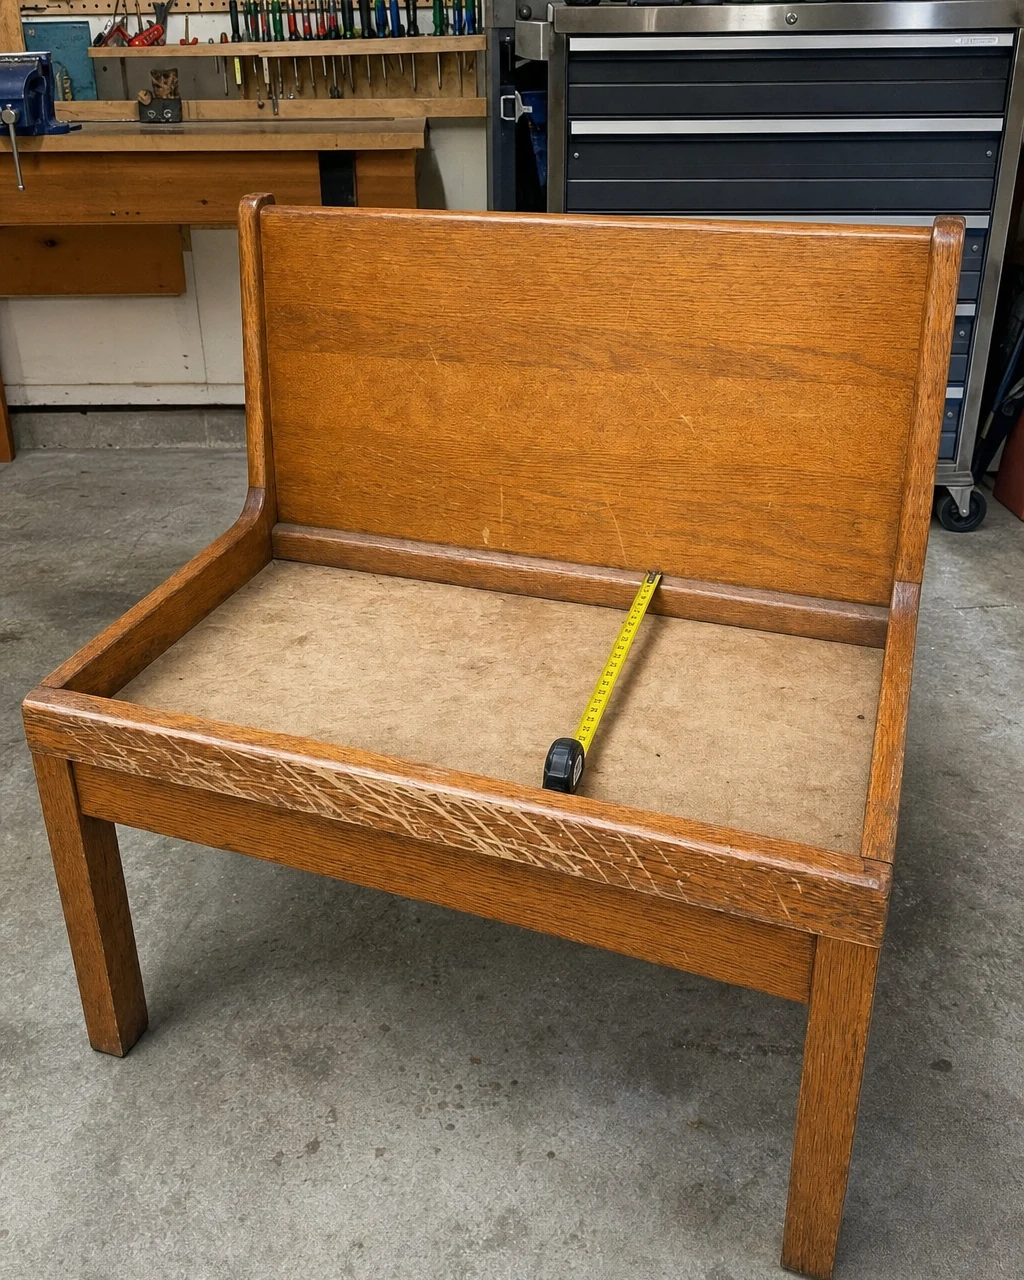
Evaluate the bench in the workshop, carefully checking the depth of the raw plywood seat pan with a tape measure. The solid oak backrest and square legs are structurally sound, but you must verify that the recess can properly accommodate the combined thickness of the ceramic tile and adhesive. Ensure the bench is stable before leaning heavily on the raw plywood pan.
| Item | Cost |
|---|---|
| Purchase Price | $0 |
| Matte Black Enamel Paint | $18 |
| Geometric Ceramic Tiles | $45 |
| Premixed Tile Adhesive | $15 |
| Charcoal Sanded Grout | $12 |
| Sandpaper Assortment | $8 |
| Total Investment | $98 |
| Estimated Resale Value | $250 |
| Value Gain | $152 |
Step 2: Smooth the Deep Scratches
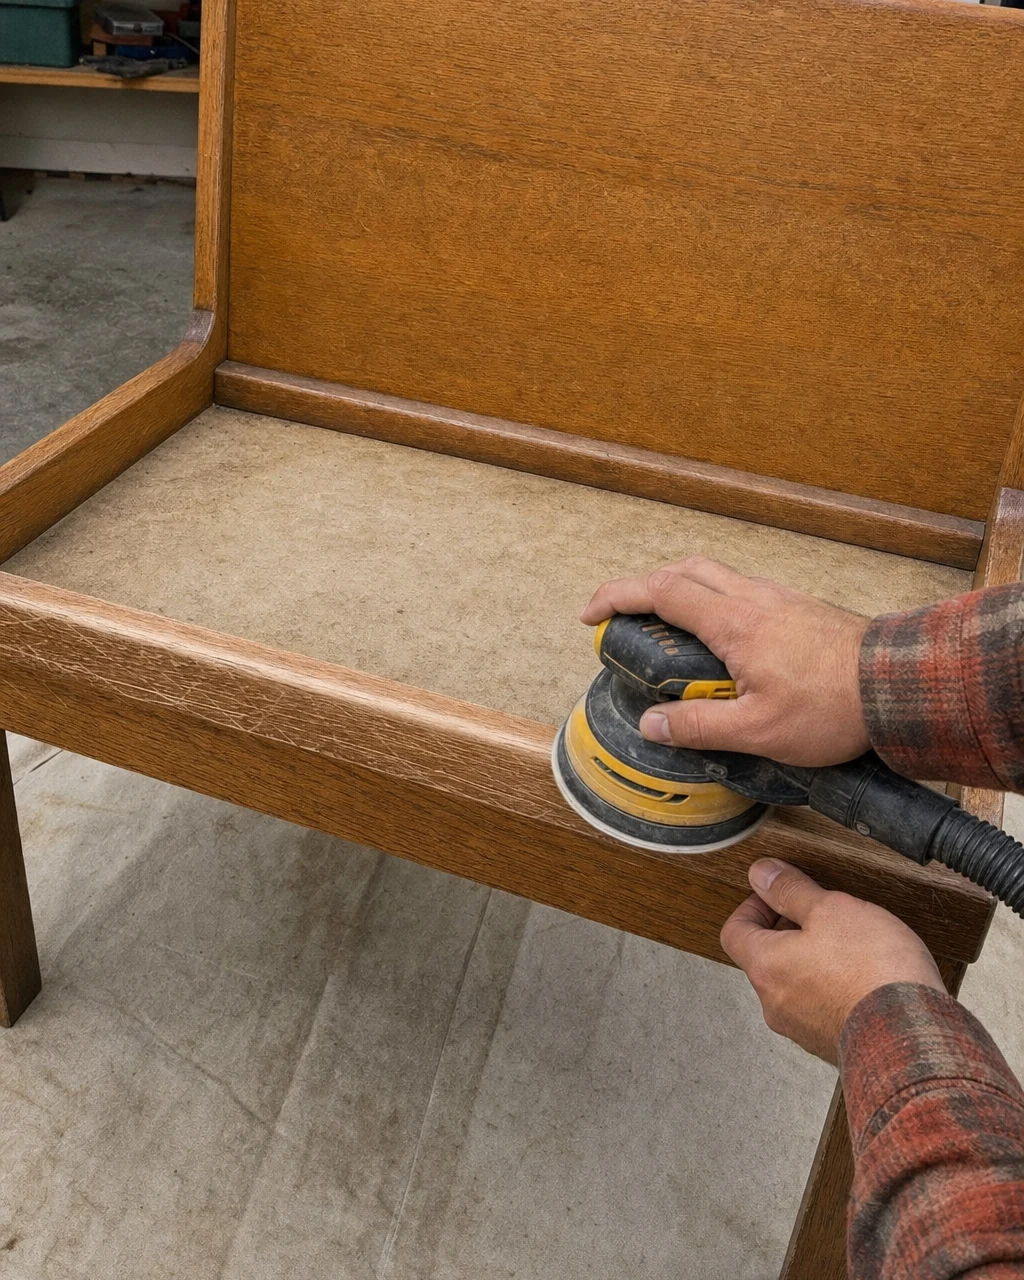
Sand the entire oak frame, legs, and solid backrest with 120-grit paper using a random orbital sander. This crucial step smooths out the deep gouges along the front edge and removes the glossy clear coat to prepare the surface for paint. Always wear a dust mask and use a shop vacuum to manage the fine varnish dust.
Taking the time to properly degloss the yellowed orange-oak varnish ensures the new finish will adhere securely. A thorough sanding phase prevents those heavy surface scratches from telegraphing through your final coats of paint, resulting in a much cleaner and more professional final appearance.
Step 3: Paint for High Contrast
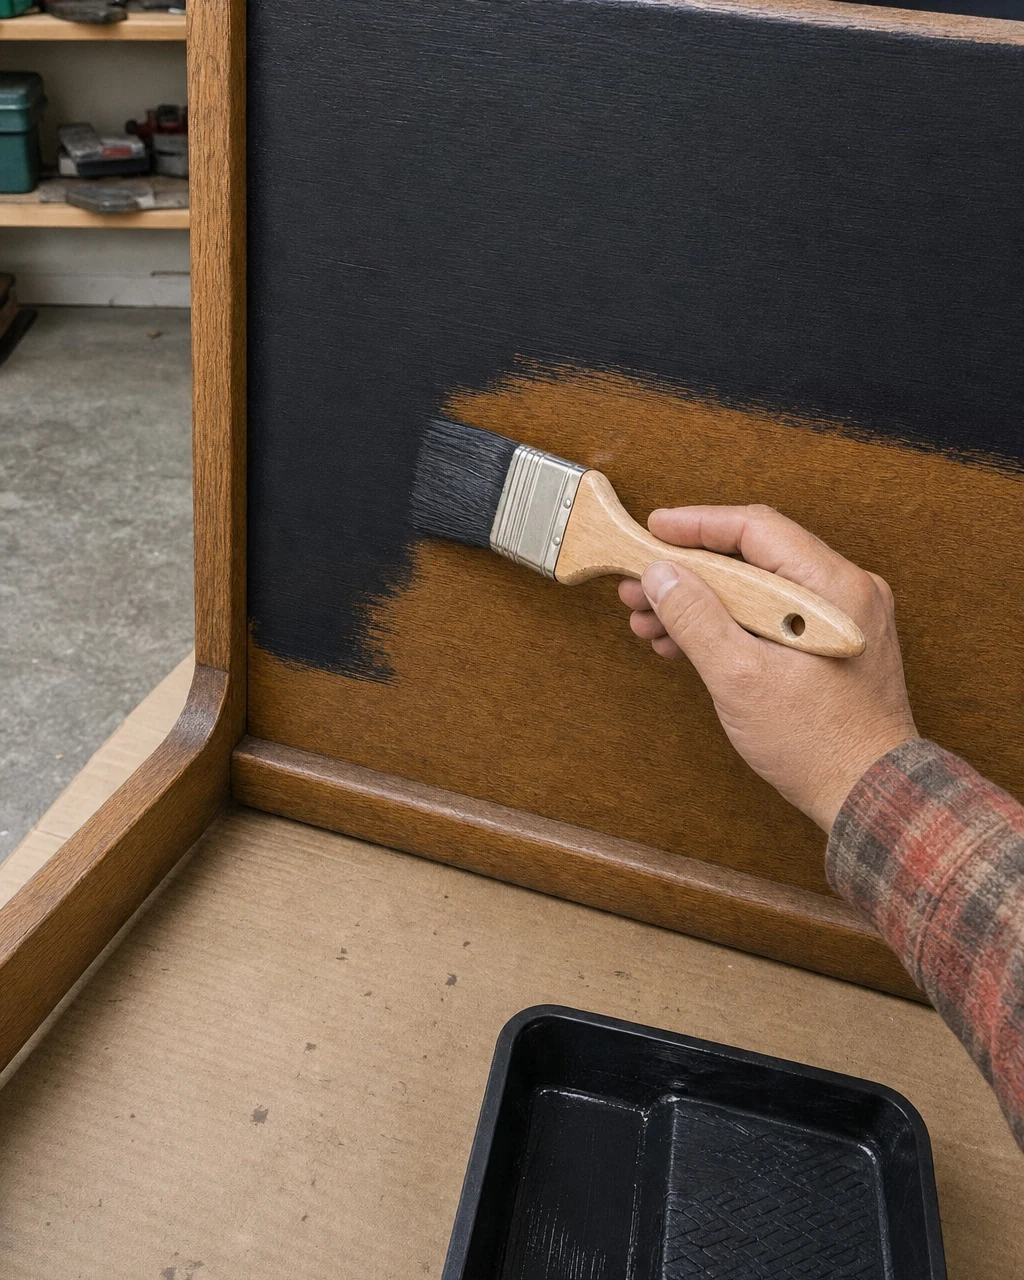
Brush two coats of matte black enamel paint onto the backrest, legs, and outer frame using a synthetic paintbrush. Matte black enamel paint provides a much harder shell than standard wall latex. Allow two hours of drying time between coats, then let the sleek, uniform finish cure overnight. Work in a well-ventilated area and protect the floor with a drop cloth.
Step 4: Lay the Geometric Tile
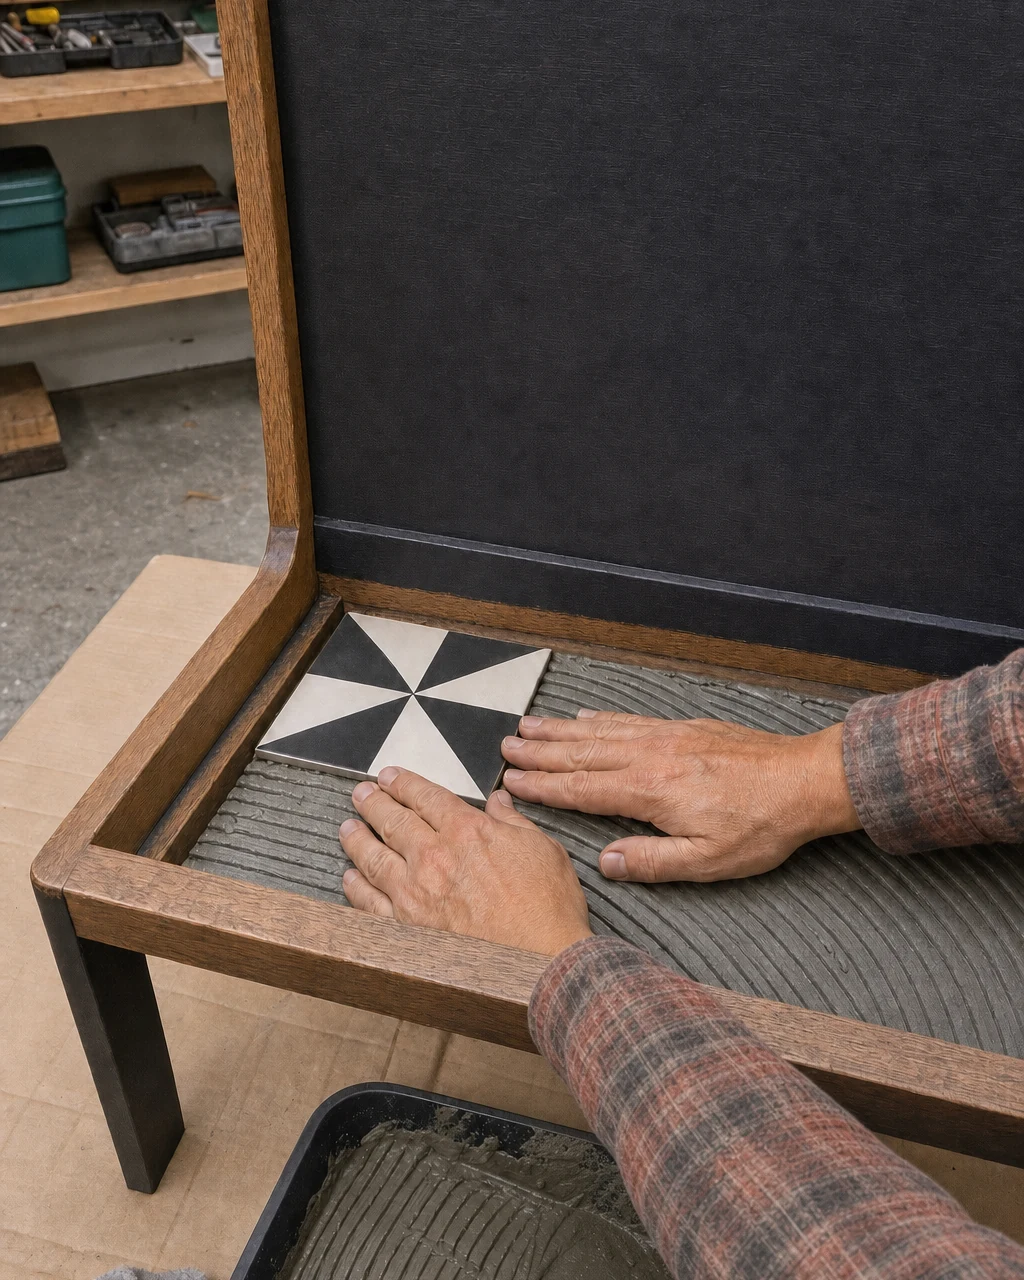
Trowel premixed adhesive into the plywood recess using a notched trowel, creating even ridges across the bottom. Press the black-and-white geometric ceramic tiles firmly into place, utilizing tile spacers to leave consistent gaps for the grout, and allow 24 hours for the moisture to evaporate and set.
- Wear disposable gloves to keep the sticky premixed tile adhesive off your skin during application.
- Press each tile firmly into the ridges to ensure it sits perfectly flush within the recessed plywood pan.
- Remove any excess adhesive that squeezes up between the tiles before it hardens.
Step 5: Grout the Tile Joints
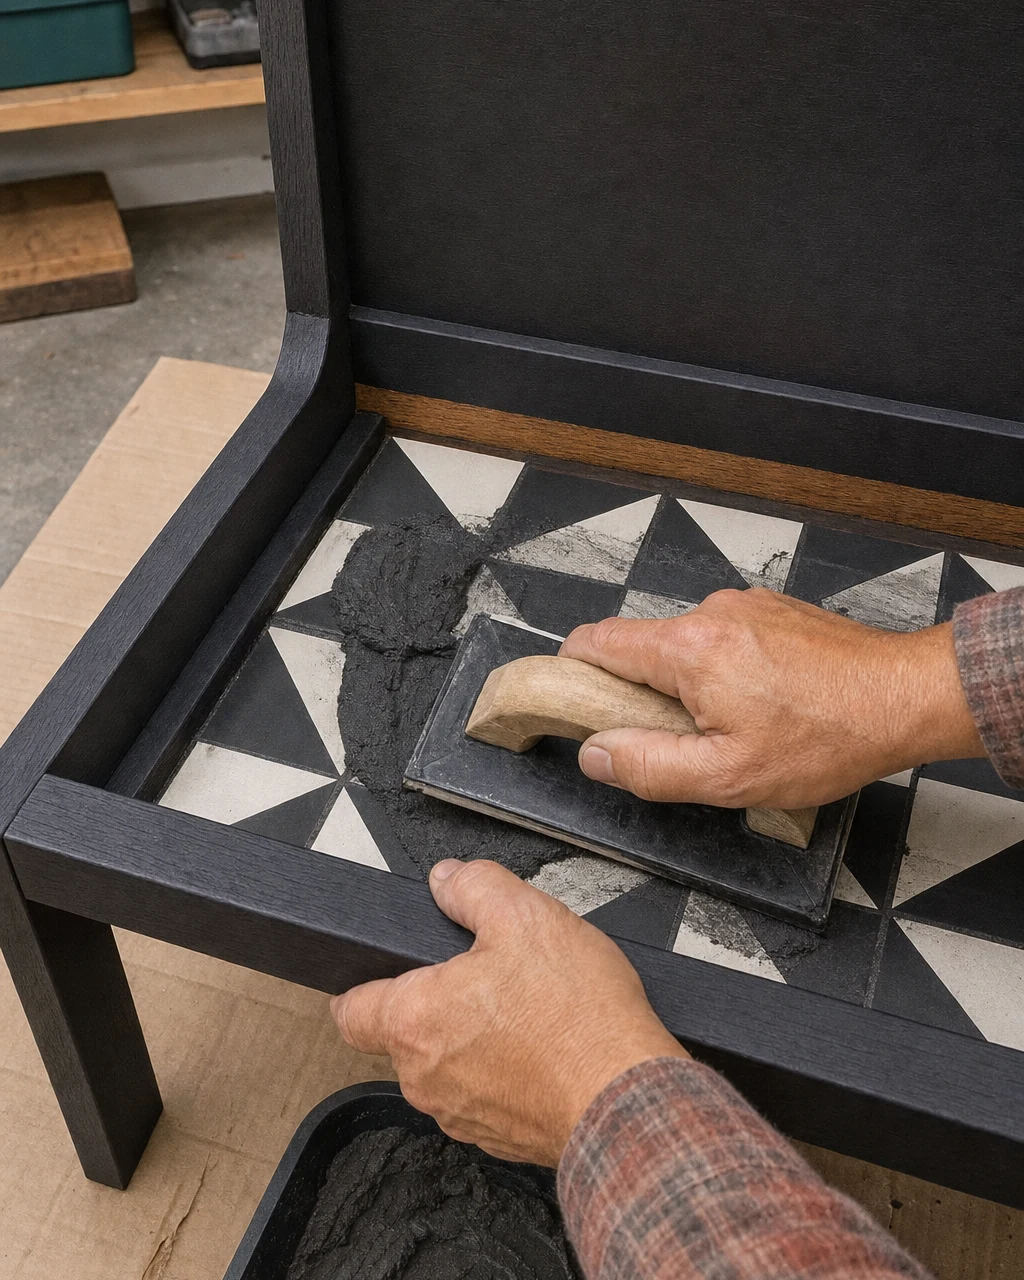
Force charcoal sanded grout into the tile joints using a rubber grout float. Selecting a dark charcoal color helps disguise everyday dirt from shoes and bags. Scrape away the excess from the tile faces and wait 20 minutes for a messy grout haze to form on the surface. Wear gloves to protect hands from the abrasive sanded grout.
Step 6: Wipe Away the Haze
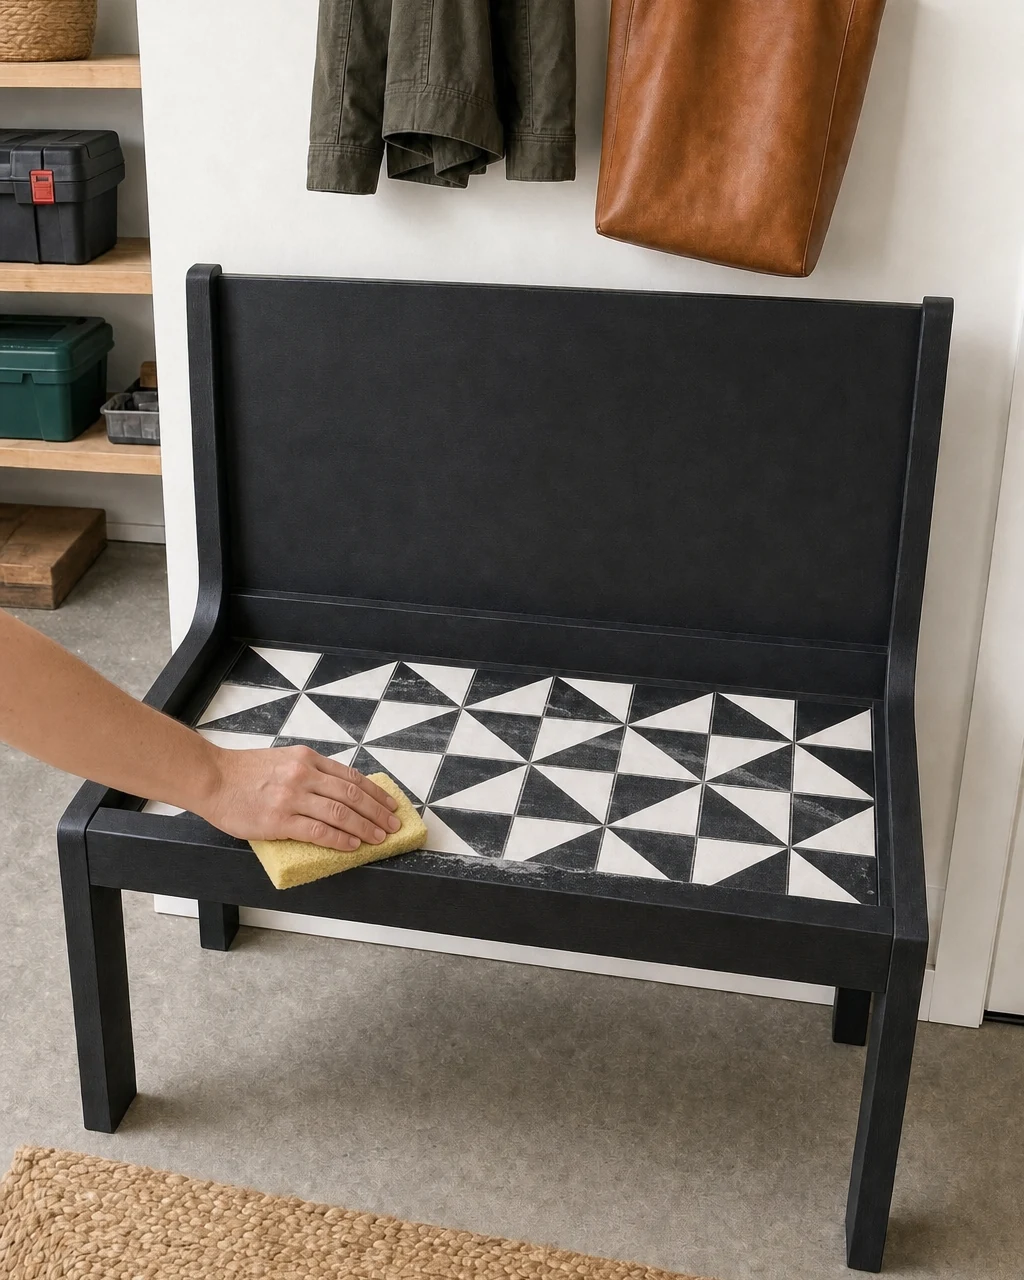
Wipe the tiled seat with a damp grout sponge to remove the final haze. This satisfying step reveals the crisp black-and-white geometric pattern and completes the pristine bench with its sleek matte black frame. Always wring the sponge out thoroughly to avoid soaking the fresh grout lines and weakening the joints.
Taking your time during this cleanup phase ensures the graphic black-and-white patterned tile seat contrasts beautifully with the dark grout. Once the tiles are completely clean and free of any lingering residue, allow the entire seat surface to cure fully before moving the heavy piece.
Step 7: Style Your New Drop Zone
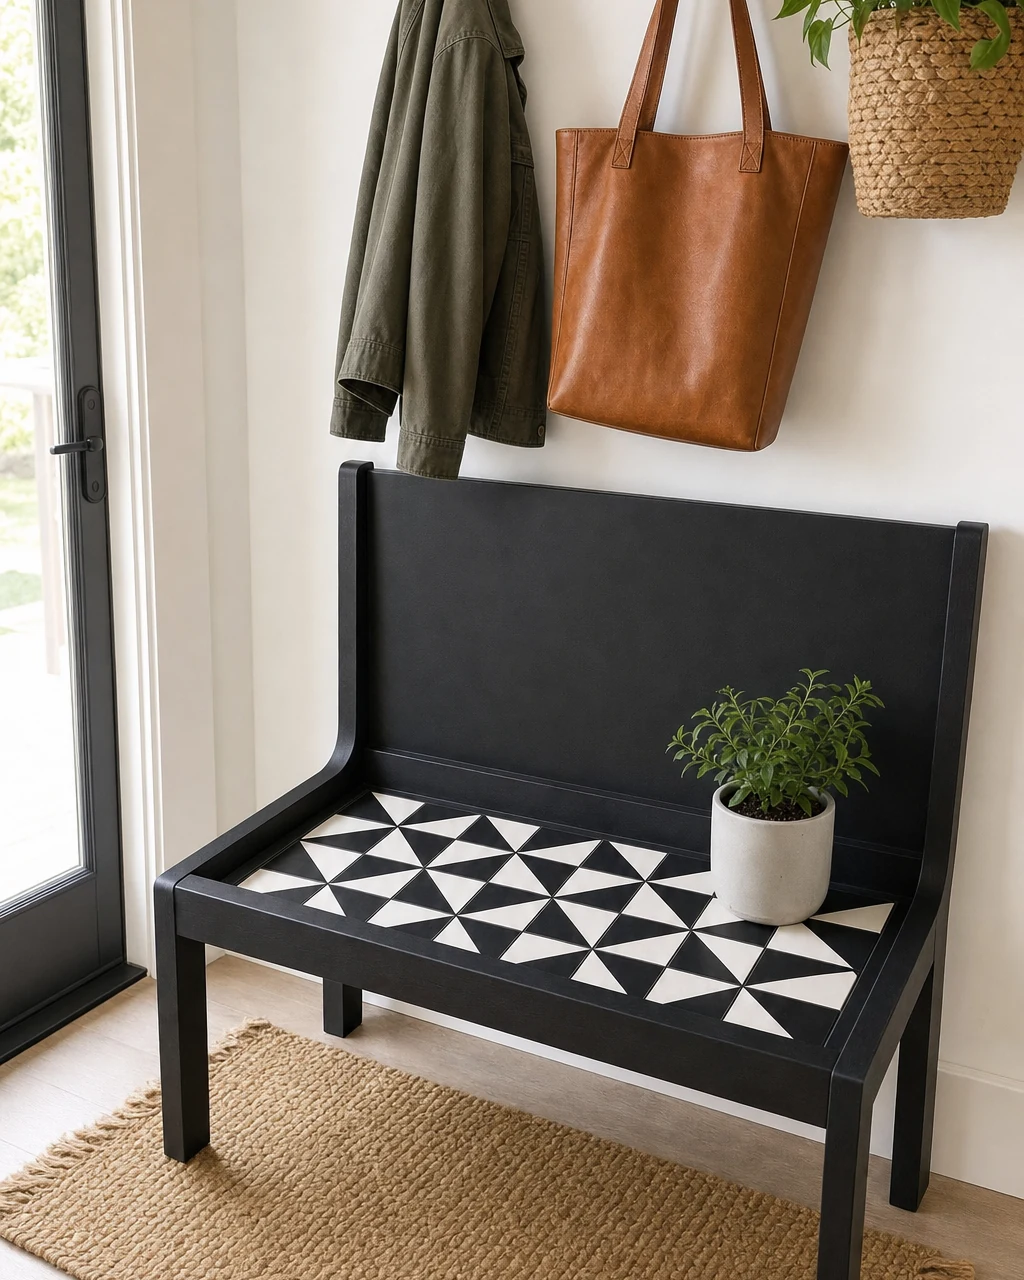
Move the fully cured bench into a bright entryway. Style it with a potted plant and a throw pillow to highlight its new waterproof seat, creating a highly functional and modern drop zone for daily use. Always lift the heavy tiled bench with a partner to avoid back strain during transport.
Assessing the Upcycled Bench Value
The durable, water-resistant tile surface and striking geometric design elevate this from a basic wooden bench to a custom, high-end entryway accent piece. By replacing the missing cushion with a permanent, easy-to-clean inlay, this functional upgrade justifies an estimated resale value of $250 on the local market.