
Wooden Toolbox Transformation: A Matte Blue Milk Paint Makeover
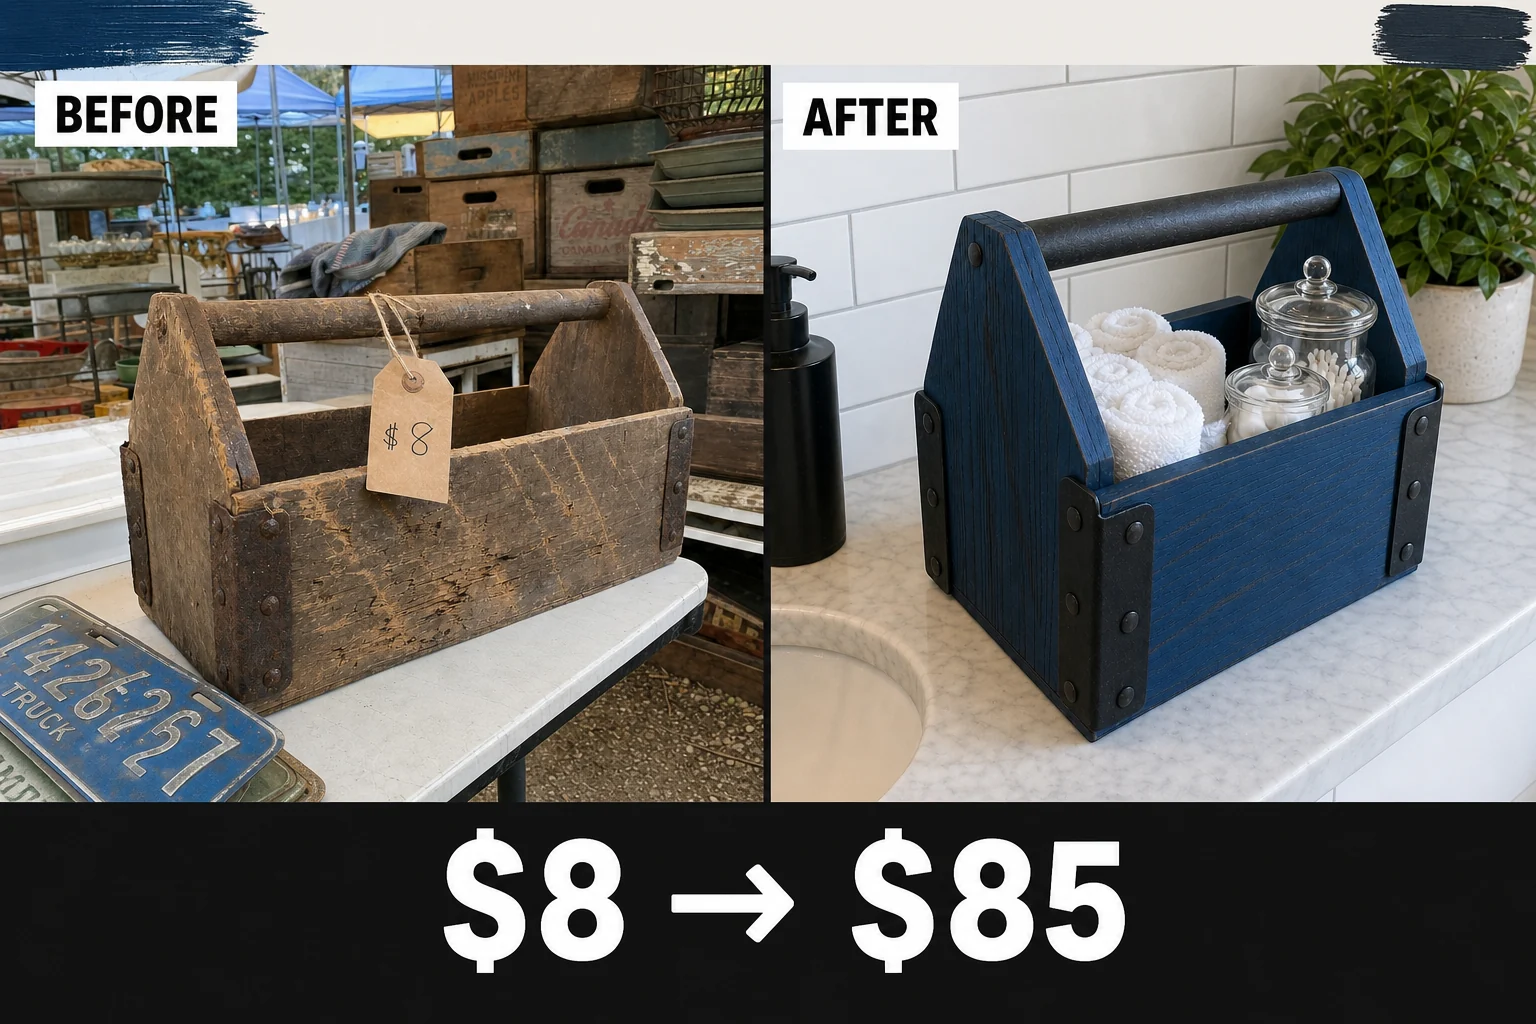
Spotted at a flea market holding loose hardware, this rugged cedar caddy needed immediate attention. We transformed the splintered piece into a tactile vintage storage tote using matte blue milk paint and dark wax.
Pre-Project Condition Audit
Sitting on a wobbly folding table beneath a flapping canvas canopy, this late-1950s carpenter’s tool caddy was holding a vendor’s loose hardware. The rough-sawn cedar boards and heavy iron corner brackets showed incredible character, but the piece required serious restoration before indoor use.
- Embedded grime: Dark, compacted dirt filled the deep gouges on the side panels, which would prevent any paint or finish from adhering properly to the raw wood.
- Splintered handle: Frayed, sharp wood fibers along the fixed cylindrical center grip made the caddy completely unsafe to carry bare-handed.
- Active rust: Orange flaking oxidation coated the iron corner brackets, threatening to transfer permanent rust stains to hands and household surfaces.
Project Costs and Valuation
Authentic midcentury carpenter caddies are highly sought after for farmhouse decor. The durable milk paint finish and neutralized hardware elevate this from a dirty garage find to a premium boutique home accessory. Note that the estimated resale value provided below is strictly an editorial estimate rather than a completed sale.
| Item | Cost |
|---|---|
| Flea Market Purchase | $8 |
| Nylon Brush | $4 |
| Sanding Sponge | $3 |
| Rust Converter | $8 |
| Milk Paint Powder | $14 |
| Dark Antiquing Wax | $12 |
| Cotton Rags | $5 |
| Materials Total | $46 |
| Total Investment | $54 |
| Estimated Resale Value | $85 |
| Value Gain | $31 |
Required Project Supplies
Gather these essential items before starting the restoration process to ensure a smooth workflow from cleaning to the final wax application. Having the right abrasive tools and authentic finishes on hand makes transforming the rough-sawn cedar much easier.
Materials checklist
Step 1: Brush Out Debris
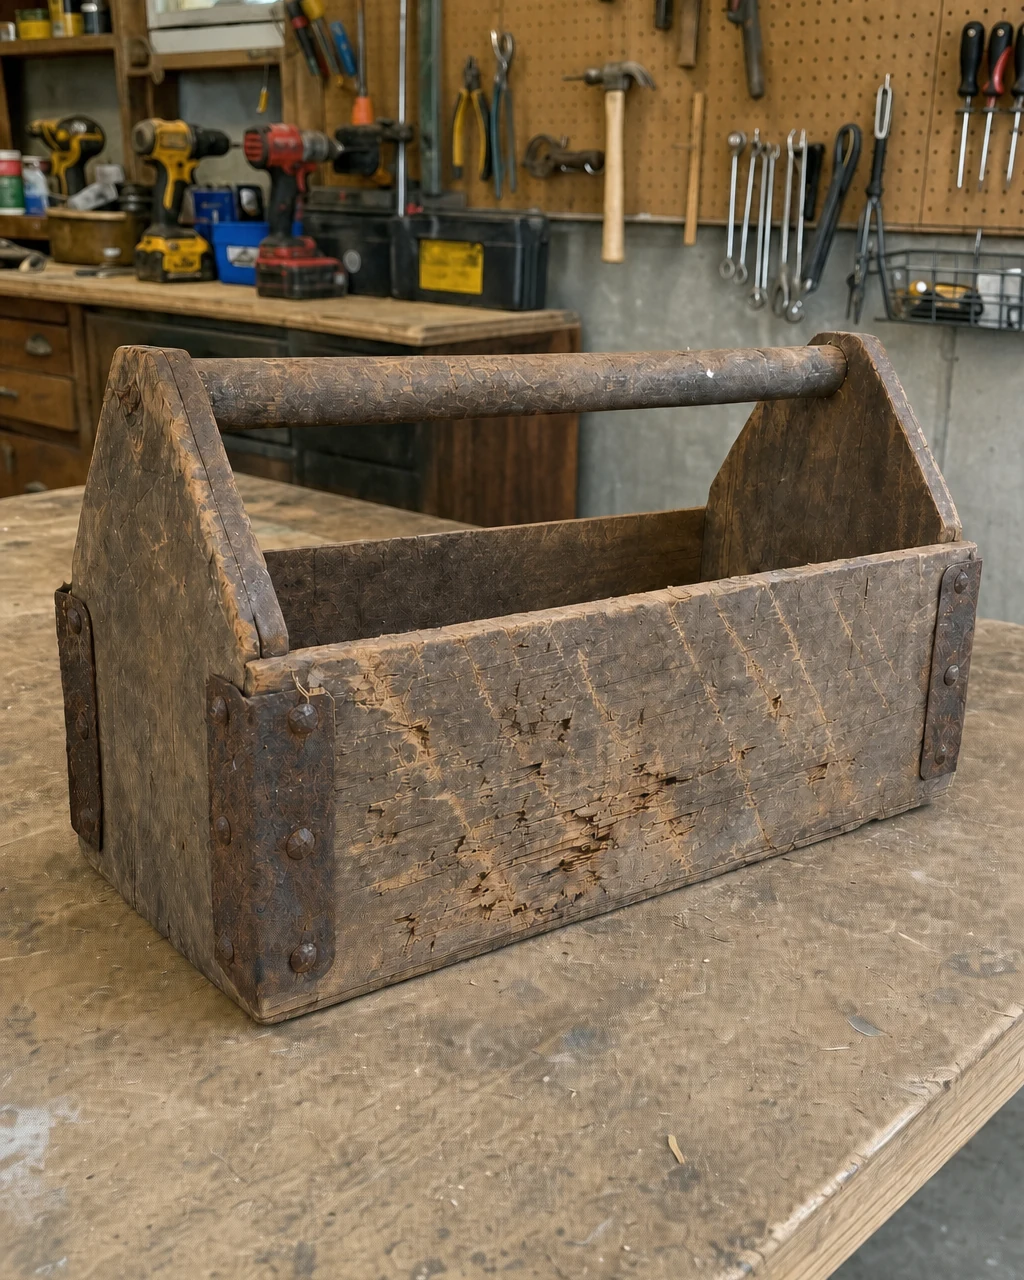
The caddy was covered in loose dust with compacted dirt trapped inside the deep gouges. Scrub the raw wood vigorously with a dry nylon brush to dislodge dirt from the rough-sawn texture. Dry brushing removes debris without driving moisture into the raw wood. Always wear a dust mask to avoid inhaling dried dirt and potential mold spores.
Step 2: Smooth the Grip
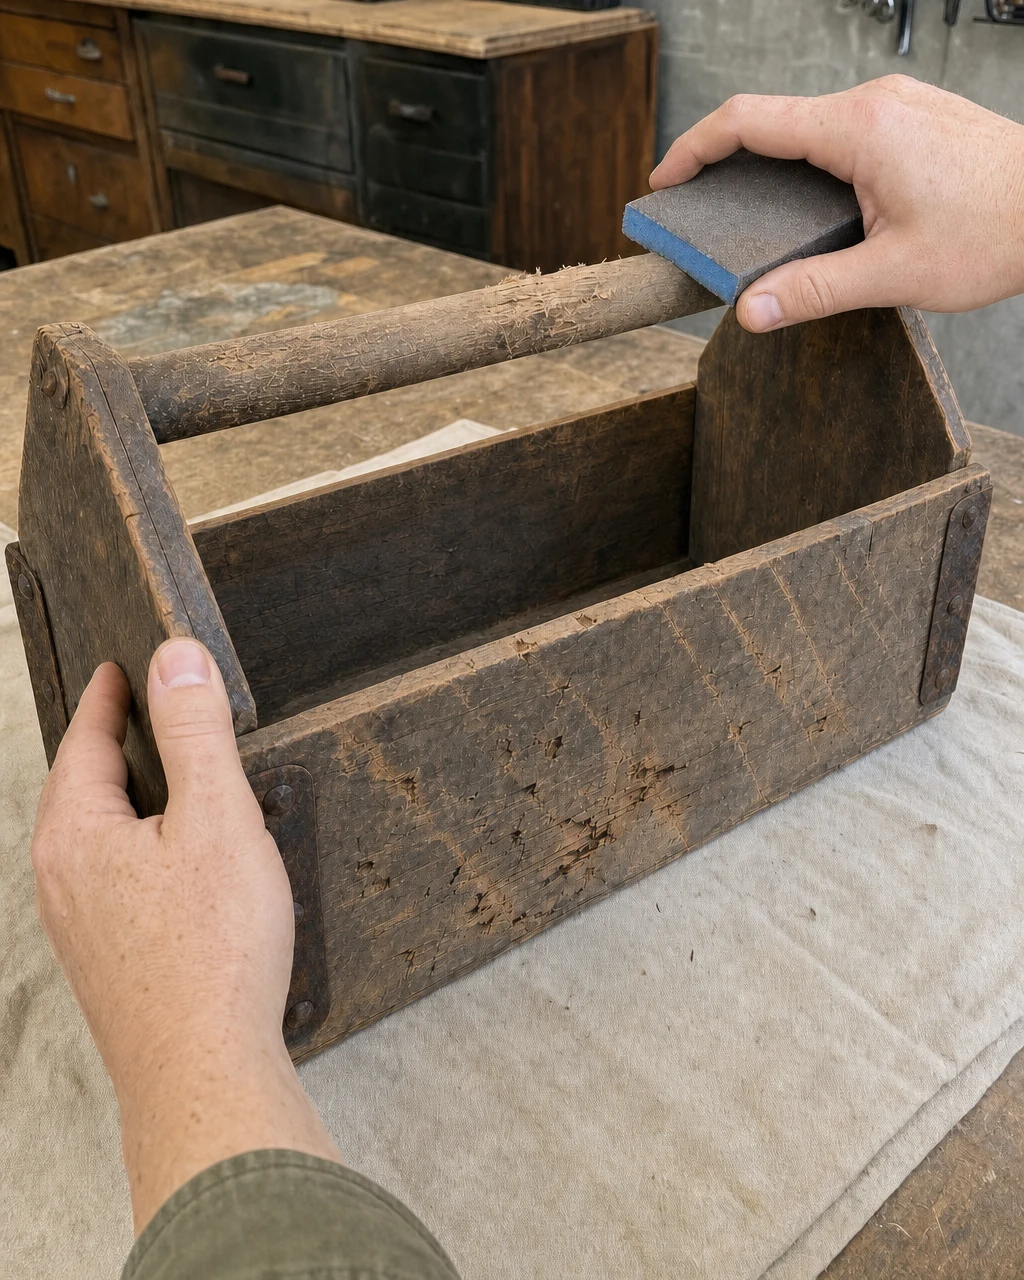
The center handle was dangerously splintered with frayed wood fibers. Sand the cylindrical handle using a medium-grit sponge until all sharp edges and splinters are completely removed. Foam sponges conform easily to the curved wooden grip, ensuring the center handle becomes smooth to the touch. Wear work gloves to protect hands from heavy splinters while sanding.
Step 3: Neutralize the Rust
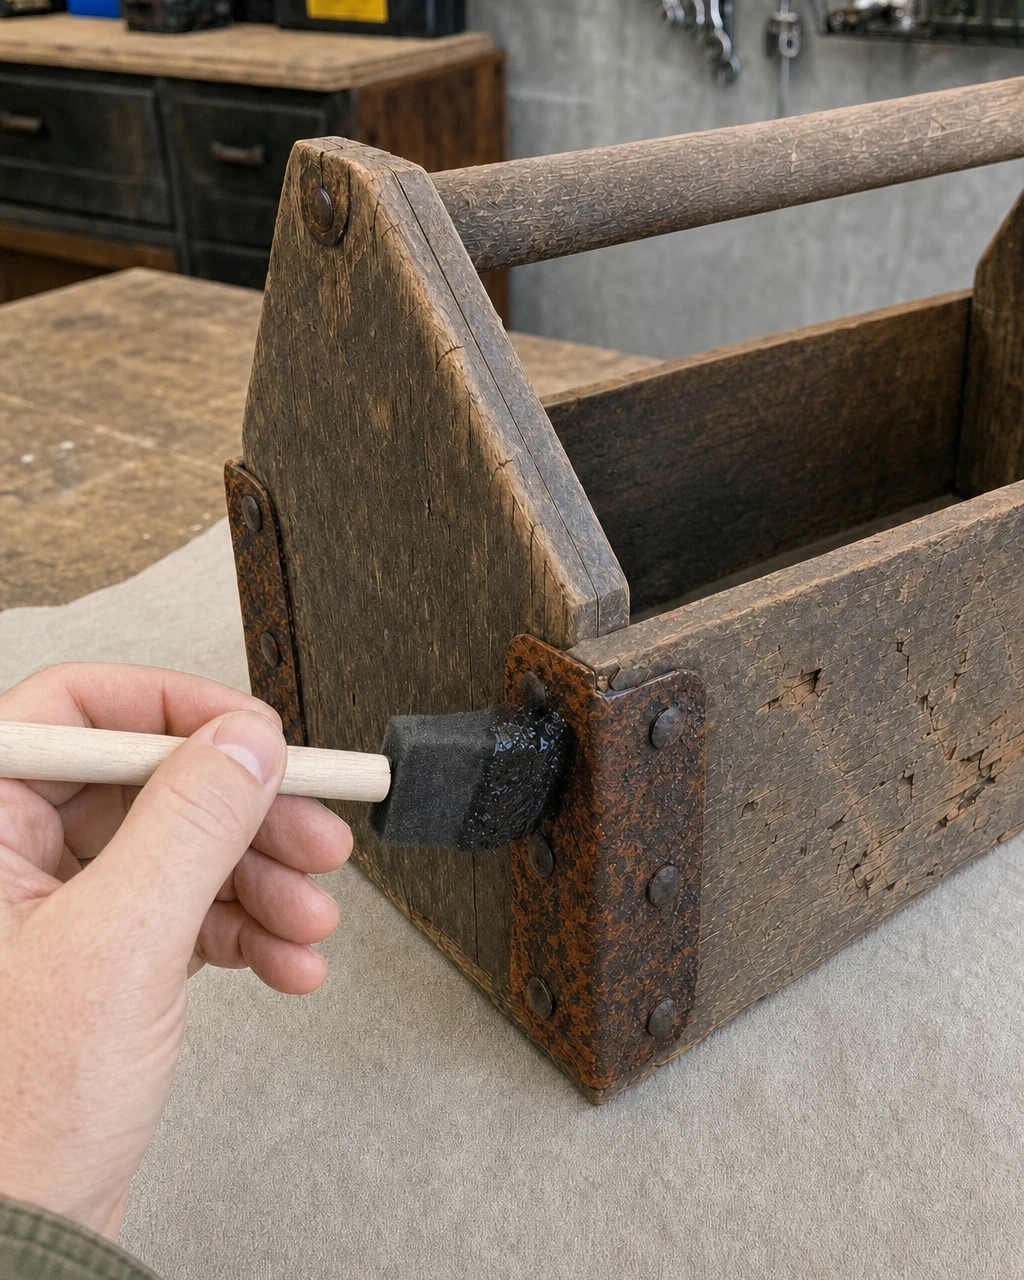
The iron corner brackets were coated in flaking orange rust. Brush liquid rust converter directly onto the iron brackets using a small foam brush to chemically transform the active oxidation. These chemical converters turn active oxidation into a stable, blackened surface. Allow two hours for the treatment to cure into a hard crust. Apply in a well-ventilated area and wear nitrile gloves.
Step 4: Apply Milk Paint
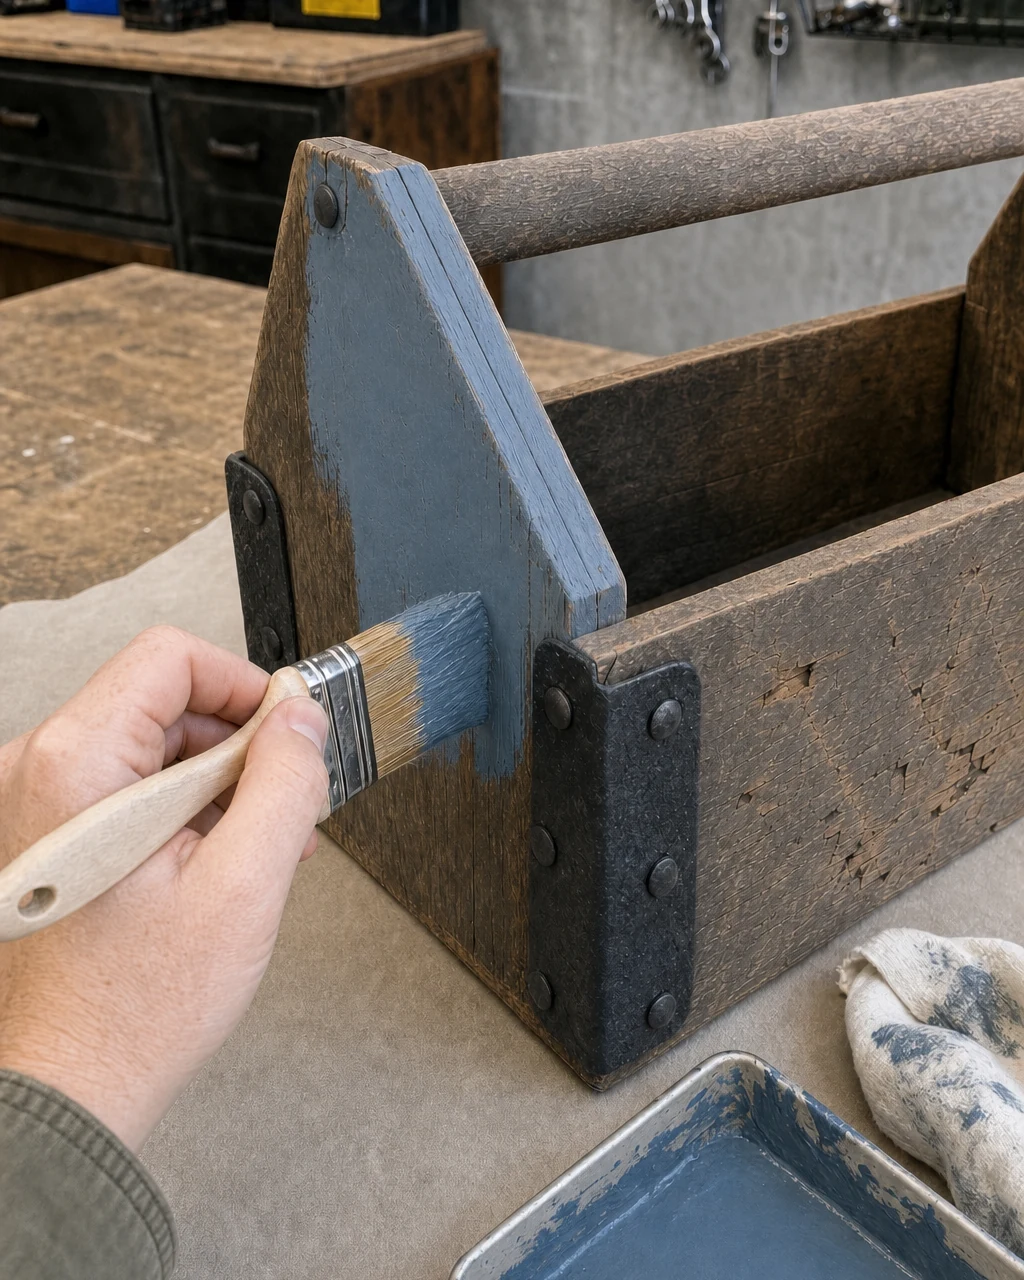
Once the wood is clean and the hardware is neutralized, the piece is ready for color. Mix the milk paint powder with water and brush a generous coat over the cedar. Porous cedar absorbs the water-based mixture for incredible adhesion. Let the caddy dry for one hour to reveal a flat, chalky blue color. Protect the workbench with a drop cloth to catch drips.
Step 5: Wax and Highlight
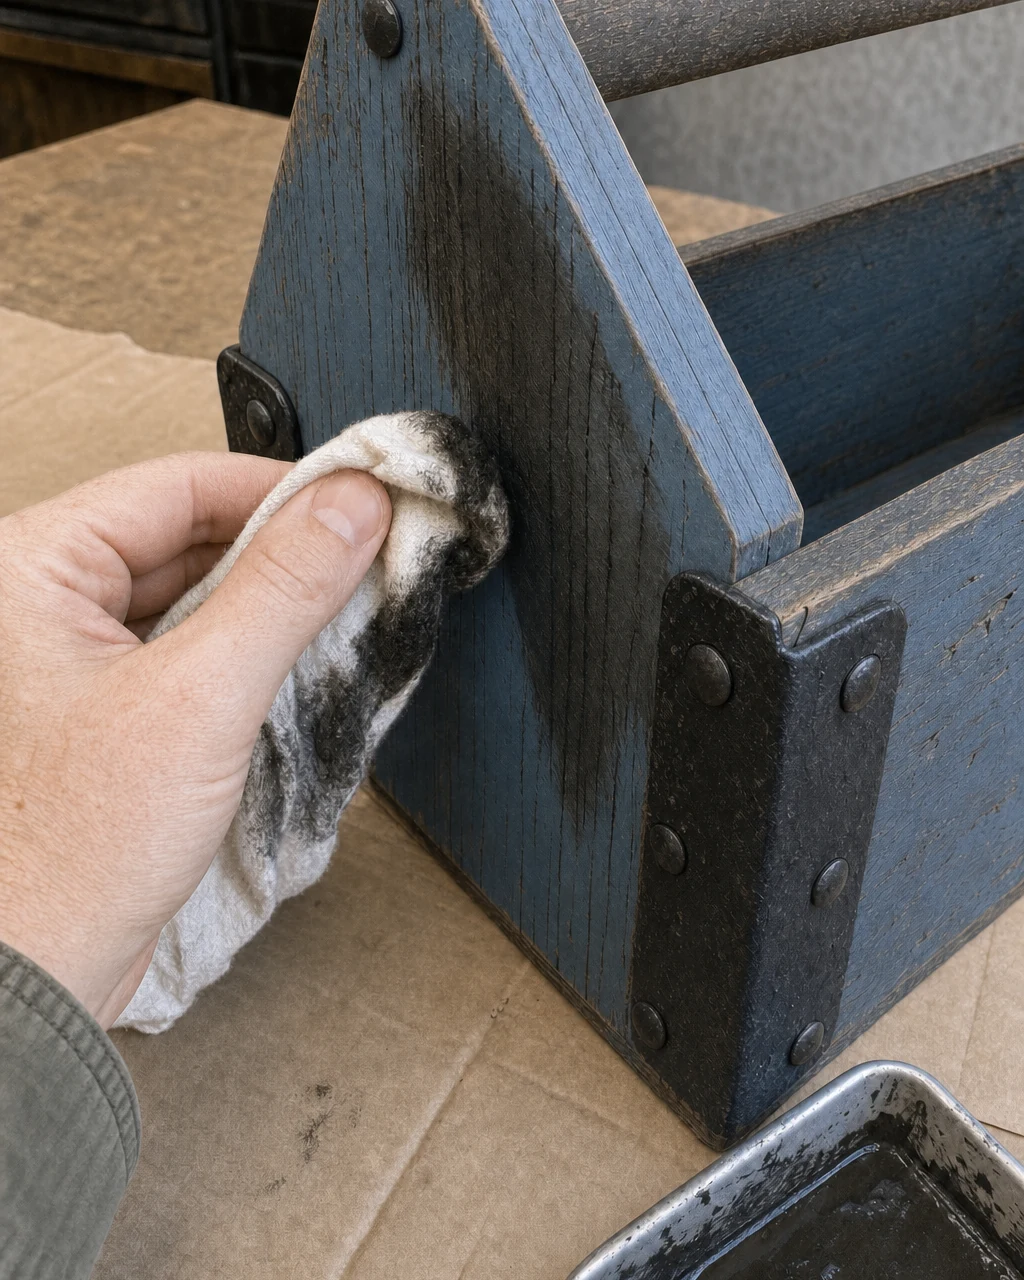
The dried milk paint is flat and unprotected. Rub dark antiquing wax over the painted wood using a lint-free cotton rag, pressing it heavily into the deep gouges. Pigmented wax settles into the gouges to emphasize natural texture and seal the porous paint. The blue paint will develop a subtle sheen. Dispose of wax-soaked rags properly by laying them flat to dry outdoors.
Step 6: Review the Finish
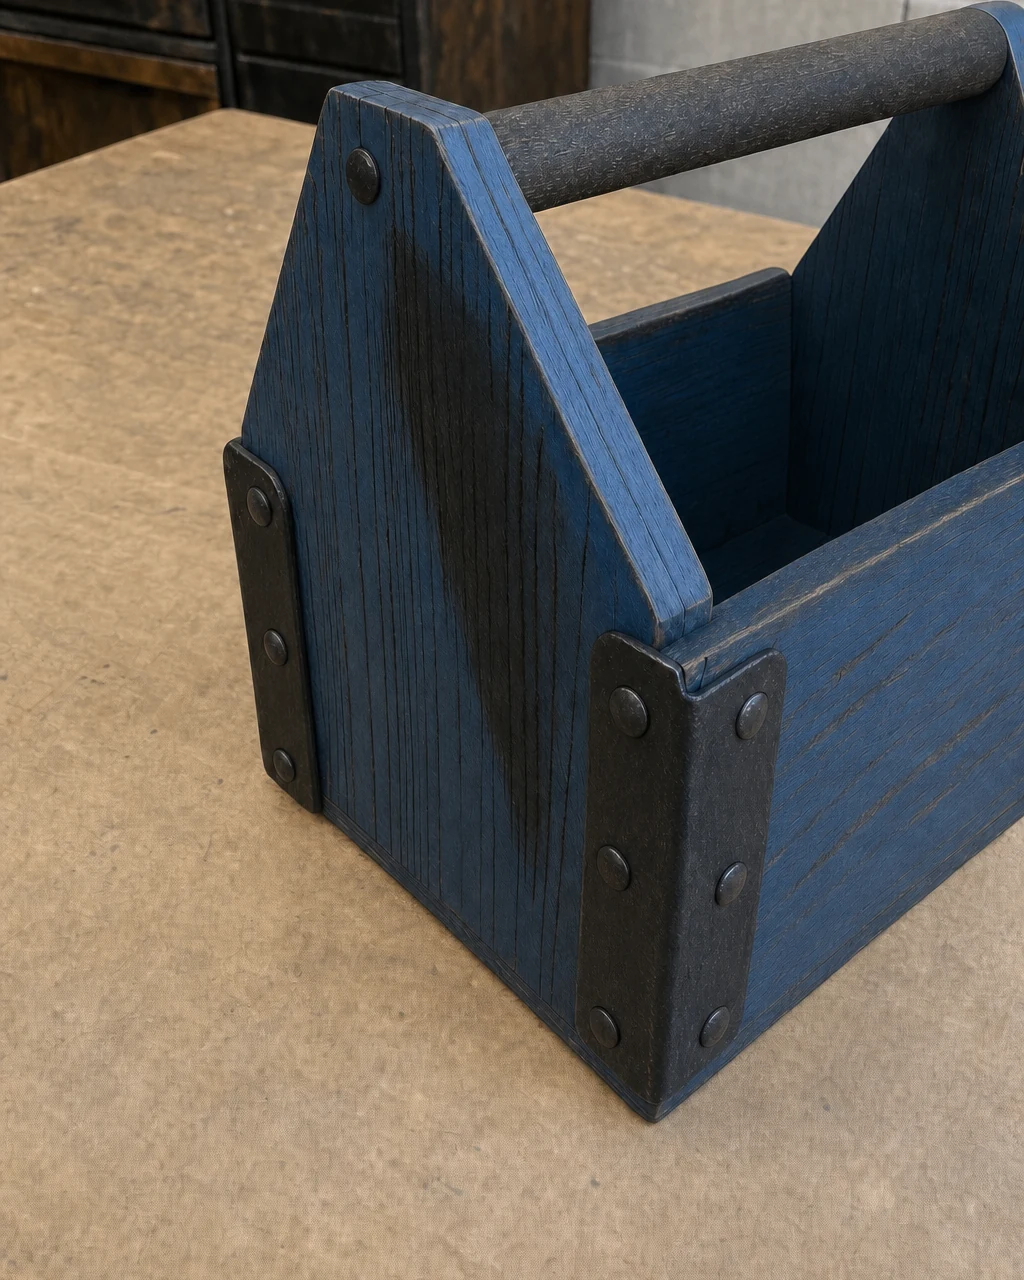
Inspect the finished caddy on the workbench to ensure the wax has hardened and the handle is perfectly smooth for daily carrying. The matte finish feels authentic to the midcentury origins, resulting in a vibrant blue rustic piece. Ensure the wax is fully cured before placing the item on finished indoor surfaces. Look for these final completion markers:
- The deep diagonal gouges are dramatically darkened by the wax, emphasizing the wood’s rugged history.
- The once-flaking iron corner brackets now feature a stable, blackened crust that will not transfer stains.
- The cylindrical center carrying handle is completely free of sharp fibers and safe for bare hands.
Step 7: Style for Storage
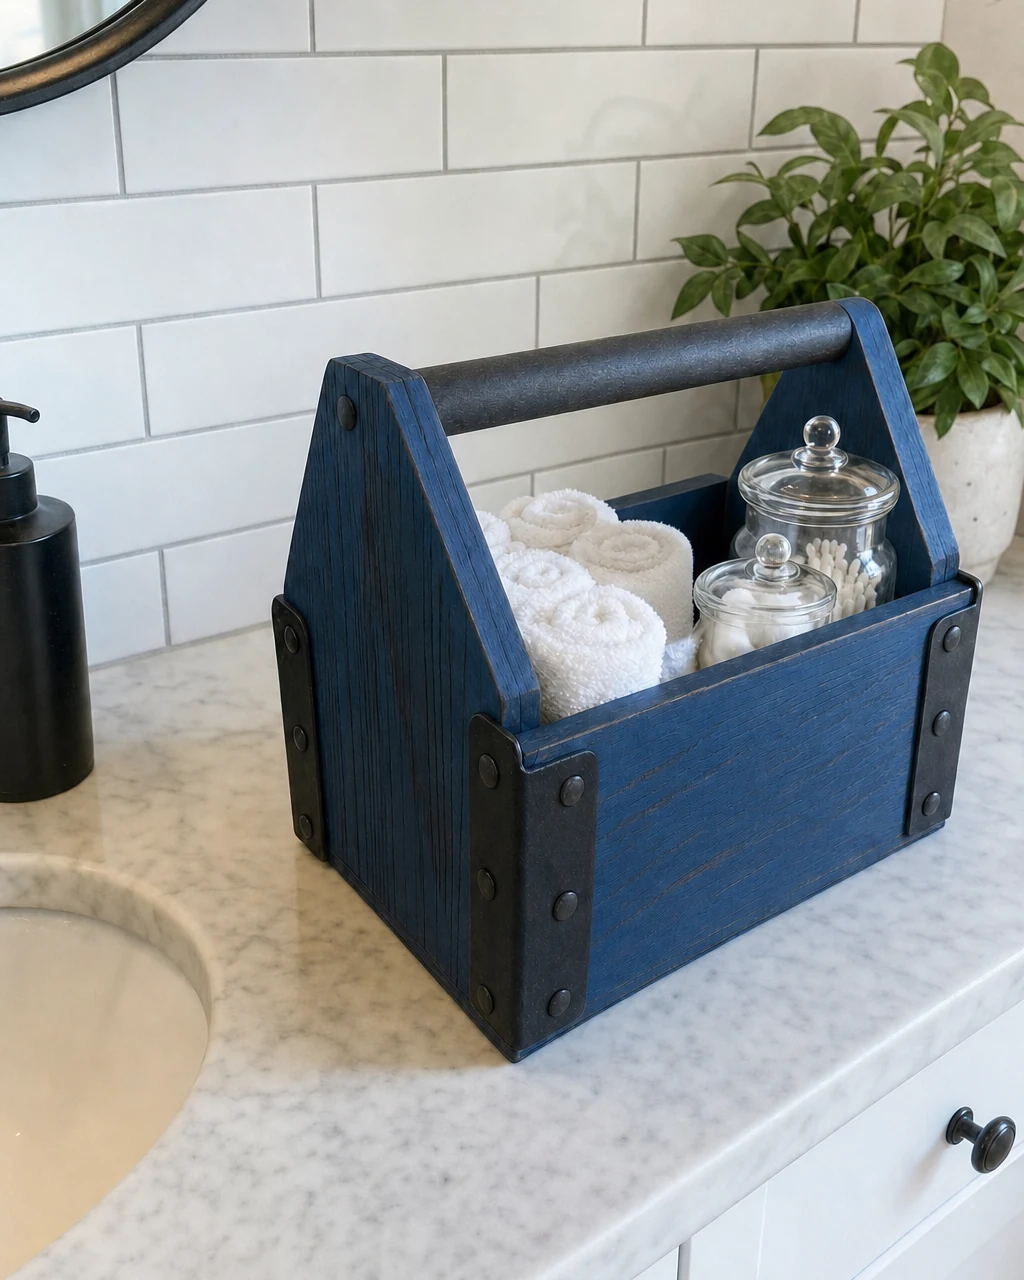
The finished caddy is ready to be moved inside the home. Place the caddy on a bathroom vanity to serve as a rustic, moisture-resistant organizer for daily toiletries. Open caddies provide accessible storage for rolled guest towels and glass apothecary jars, functioning beautifully as an indoor bathroom storage accessory. Keep heavy wooden objects pushed back from countertop edges.