
Folding Chair Transformation: Matte Black and Stenciled Canvas
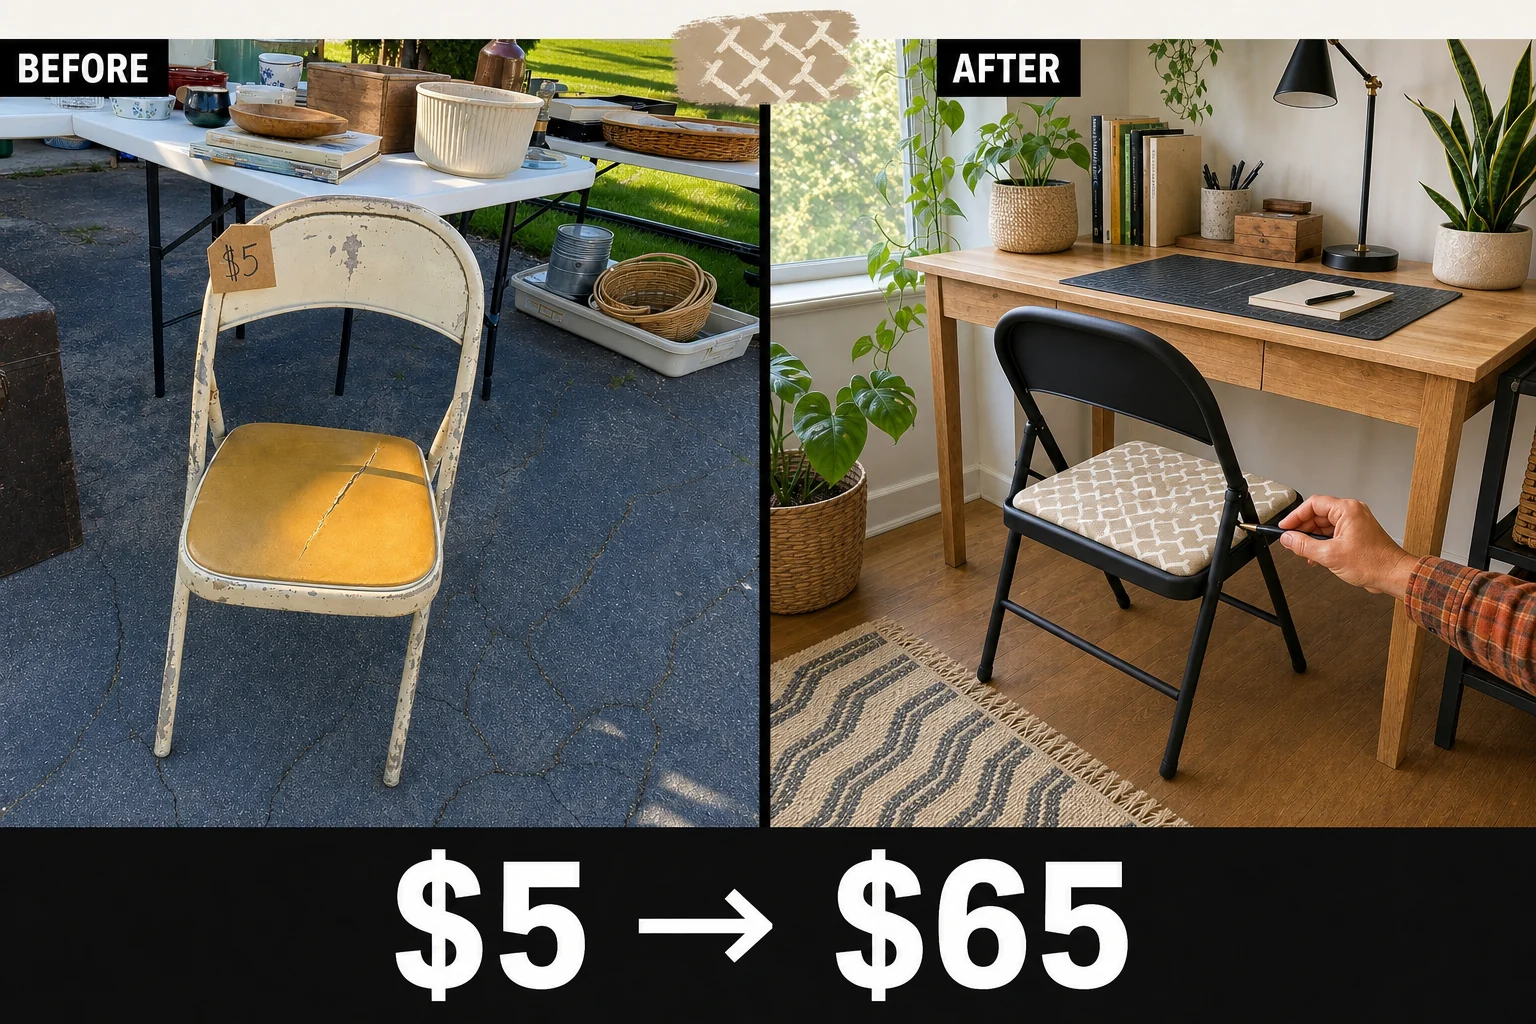
Spotted at a neighborhood garage sale, this 1980s folding chair had severe cosmetic wear but a perfectly functioning mechanism. We recovered the cracked vinyl and painted the frame for a sleek modern look.
Step 1: Assess the Garage Sale Find
This 1980s tubular steel folding chair was discovered leaning against a folding table at a casual residential driveway garage sale. While the classic A-frame folding structure and curved metal backrest remained structurally sound, the piece suffered from chipped ivory paint along the lower legs, leaving the bare steel vulnerable to surface rust.
Materials checklist
The square seat pad retained its original mustard-yellow vinyl upholstery, but a deep diagonal crack exposed the yellowed polyurethane foam beneath. This severe damage trapped dirt, pinched clothing, and made the chair completely uncomfortable to use, necessitating a full cosmetic overhaul to rescue the piece.
Step 2: Detach the Seat Pad
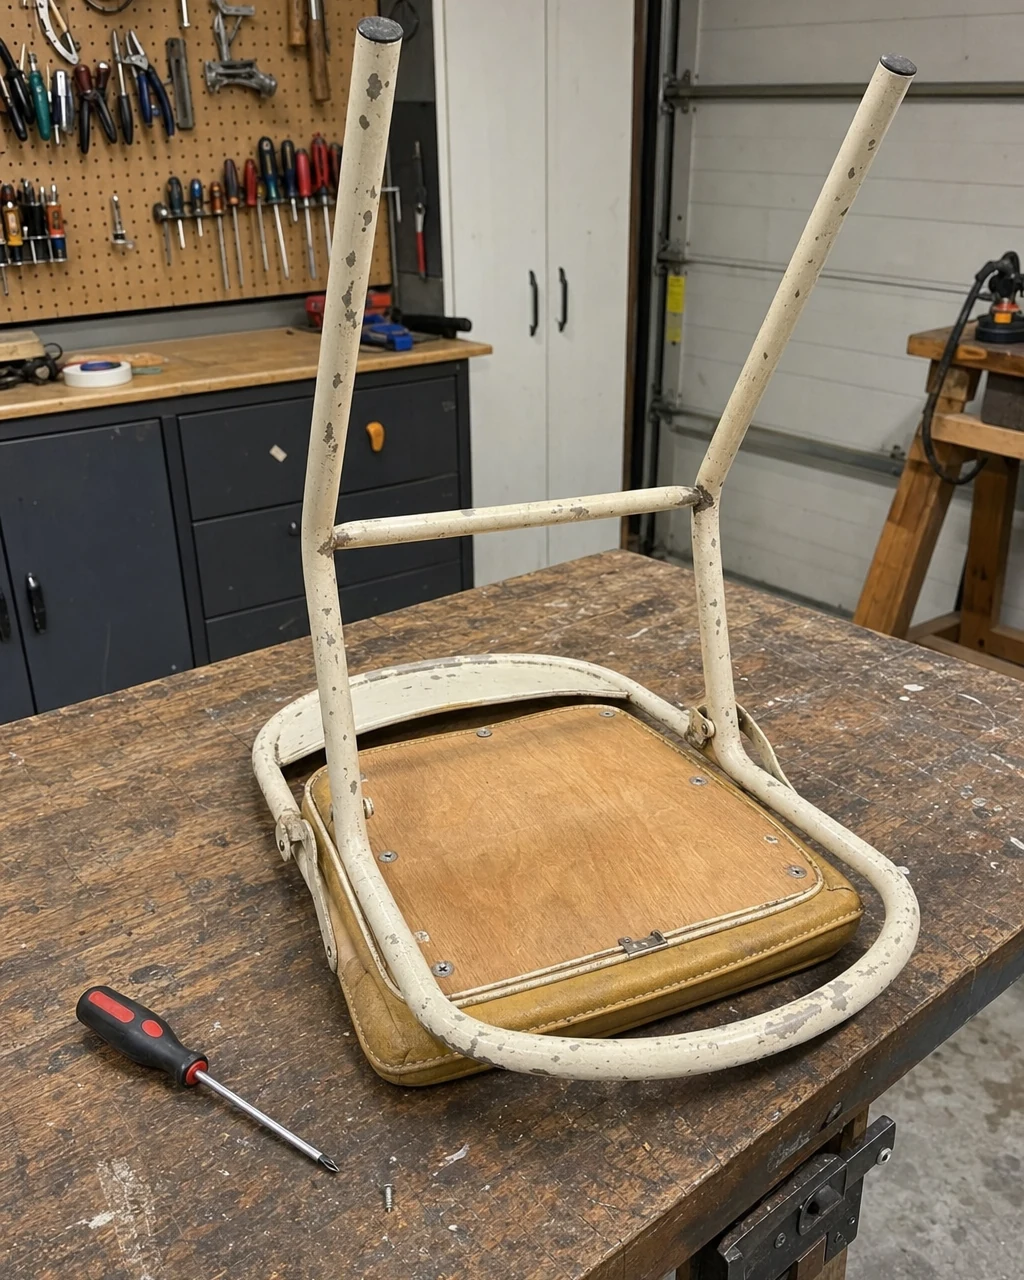
Begin by inverting the folding chair to access the screw mounts located on the wooden underside of the seat pan. Use a manual Phillips screwdriver to extract the four retaining screws, completely separating the damaged vinyl pad from the bare metal frame to prevent accidental overspray during the finishing process.
| Item | Cost |
|---|---|
| Purchase price | $5 |
| Upholstery fabric | $8 |
| Spray paint | $7 |
| Fabric paint | $5 |
| Craft stencil | $9 |
| Total investment | $34 |
| Estimated resale value | $65 |
| Value gain | $31 |
Always keep track of the original screws in a small container to ensure safe reassembly later. Retaining the factory hardware guarantees the seat will mount securely to the hollow tubular steel profile once the new matte black finish is fully cured.
Step 3: Sand the Metal Frame
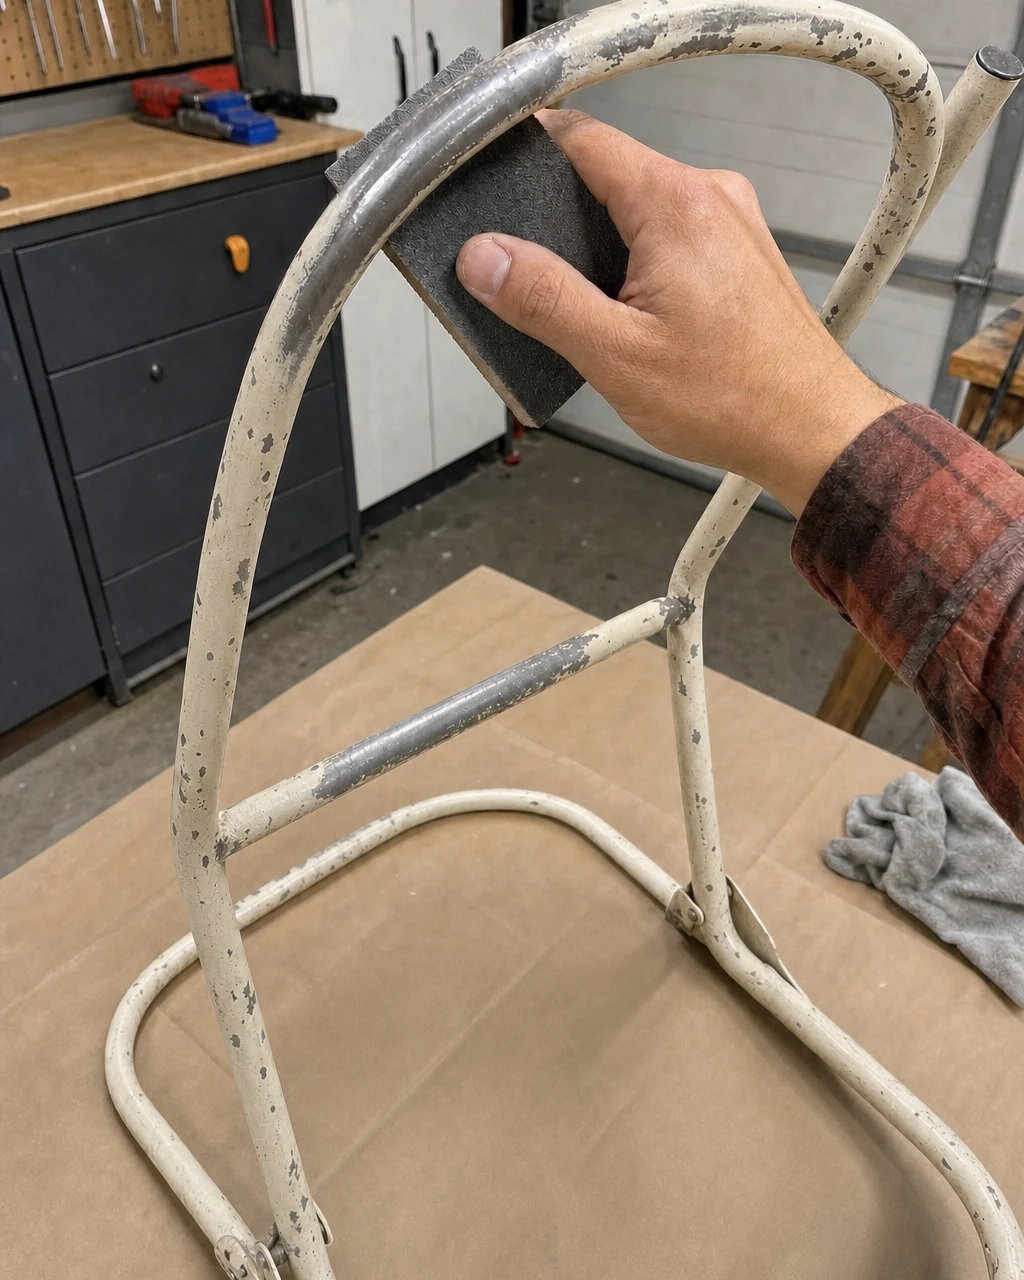
Scuff the entire tubular steel frame vigorously using a medium-grit sanding sponge. This essential preparation removes loose ivory paint flakes and creates a textured key, ensuring the new finish adheres properly to the curved metal backrest and hollow legs without peeling over time.
- Focus first on the flaking edges where bare metal is already exposed along the lower legs.
- Smooth out the harsh transitions between the remaining factory paint and the bare steel.
- Wipe the entire frame down with a damp cloth to remove all residual dust before painting.
Remember to wear a dust mask during this stage to avoid inhaling dried paint particles. Working in a well-ventilated space keeps the air clear while you prep the chipped metal frame, setting the foundation for a flawless, modern transformation.
Step 4: Spray Paint the Frame
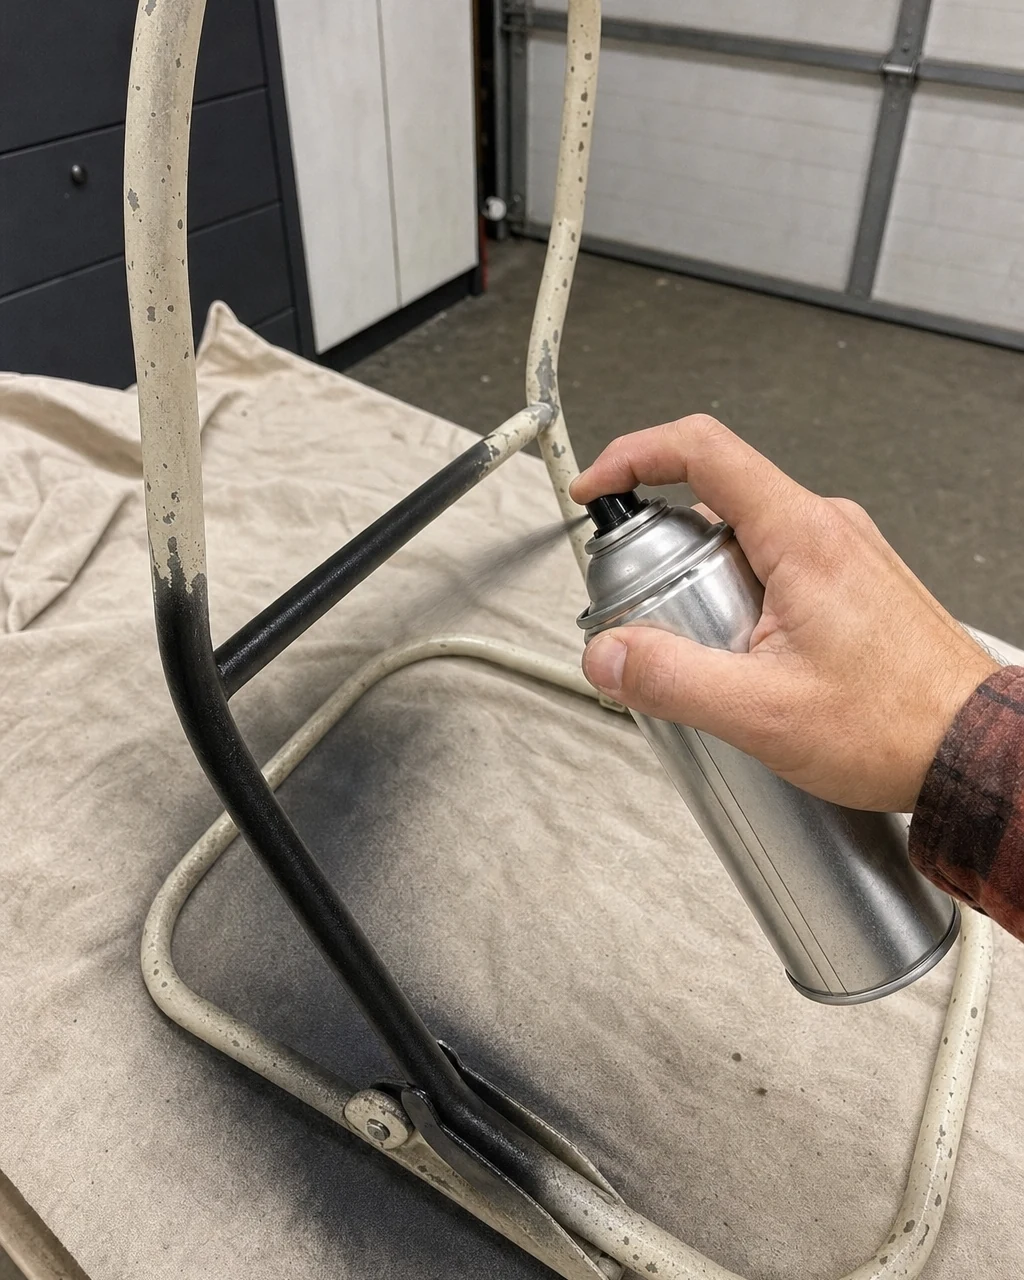
Wipe the sanded metal clean and place it securely on a canvas drop cloth. Apply two light, even coats of matte black spray paint to the steel tubing, allowing thirty minutes of drying time between each coat to build a smooth, opaque finish.
Work in a well-ventilated area or outdoors to safely disperse aerosol fumes. Choosing a matte black aerosol paint formulated specifically for metal surfaces guarantees a durable, sleek result that completely hides the former chipped ivory exterior and protects against future rust.
Step 5: Upholster the Seat
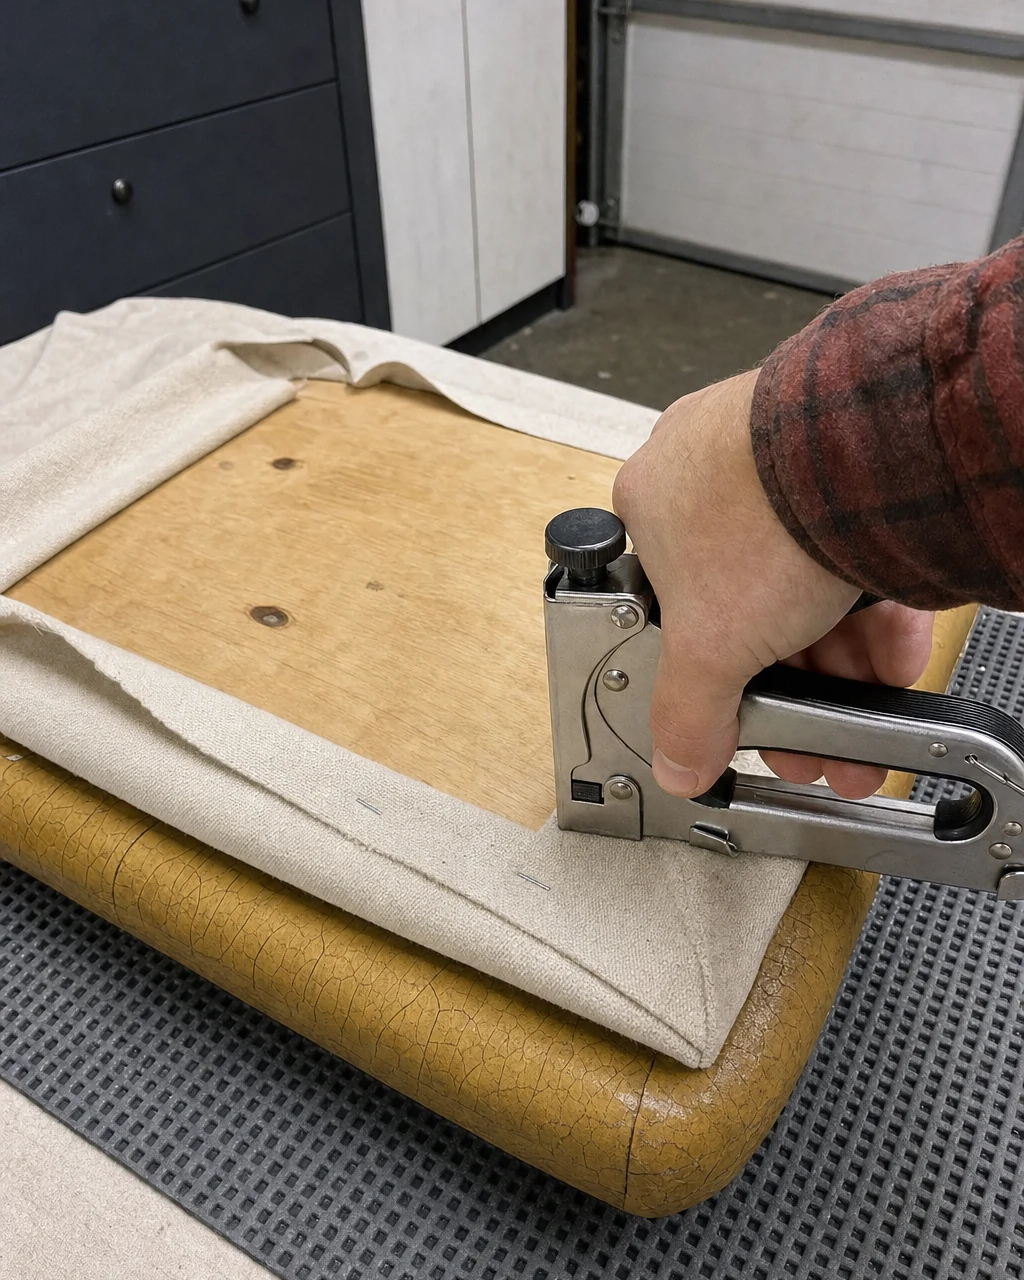
Stretch a square of heavy cotton canvas tightly over the existing cracked vinyl seat pad. Securing the raw fabric edges directly to the wooden backing using a heavy-duty staple gun provides a smooth, blank canvas for the upcoming geometric pattern. Trim any excess material with fabric scissors to prevent bulk.
Securing the Fabric
Keep your fingers clear of the staple gun discharge area when pulling the unbleached cotton taut. Leaving the original vinyl underneath acts as a waterproof moisture barrier, while the new heavy-weight fabric easily withstands stretching without tearing around the corners, ensuring a professional upholstery result.
Step 6: Stencil the Canvas
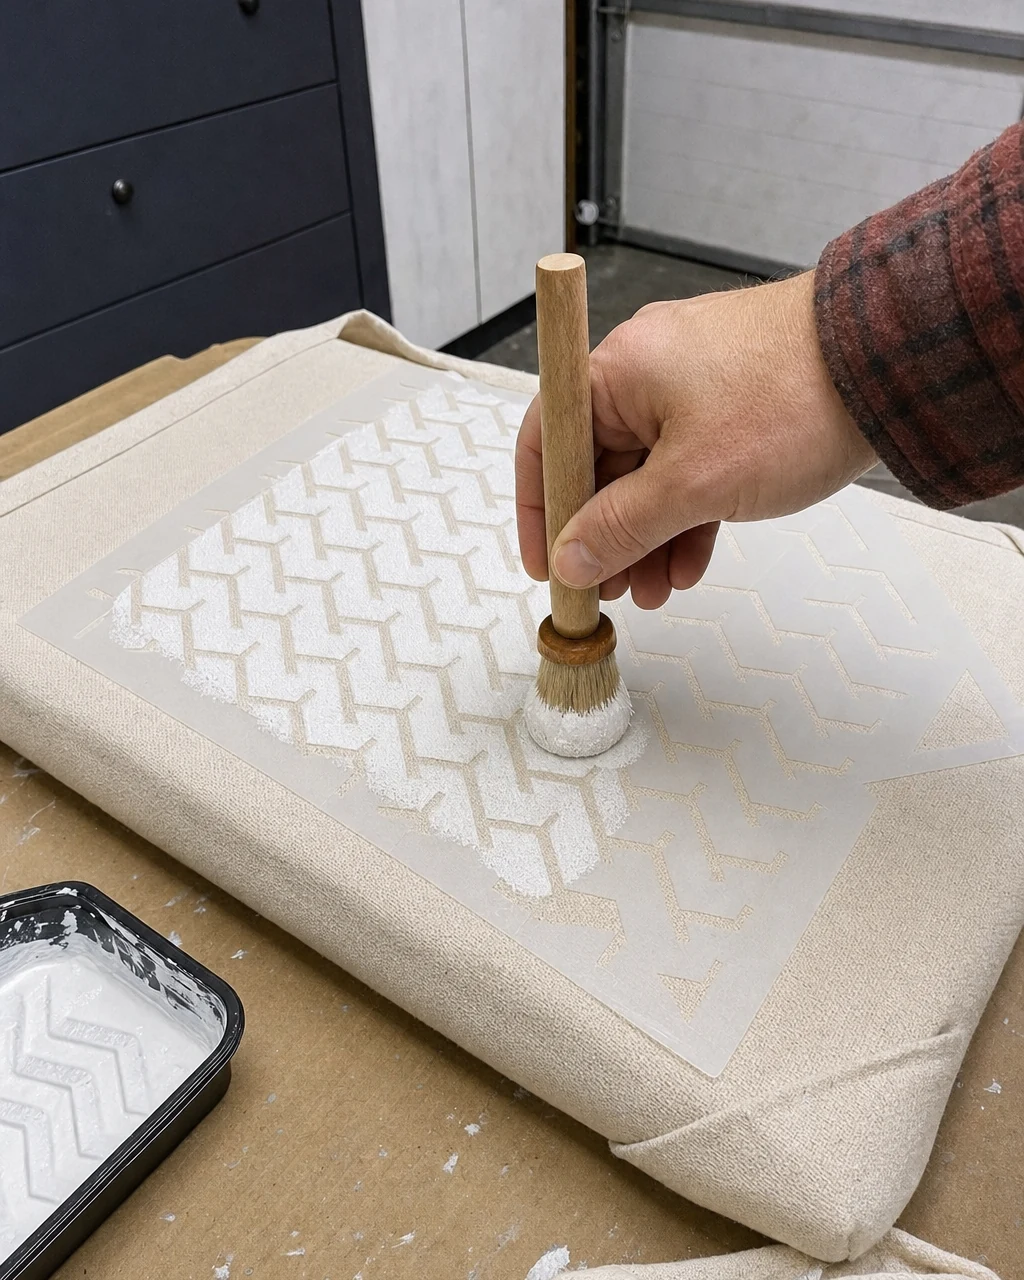
Tape a reusable plastic geometric stencil over the taut canvas seat. Dab an opaque white fabric paint through the cutouts using a dry stencil brush, then carefully remove the plastic and let the crisp bone-inlay design dry for two hours.
Ensure your work surface is protected from accidental paint transfer during this process. Selecting a fabric medium that cures softly without cracking ensures the high-contrast white geometric stencil remains comfortable and flexible under daily use, completely masking the old mustard-yellow vinyl.
Step 7: Reassemble and Style the Chair
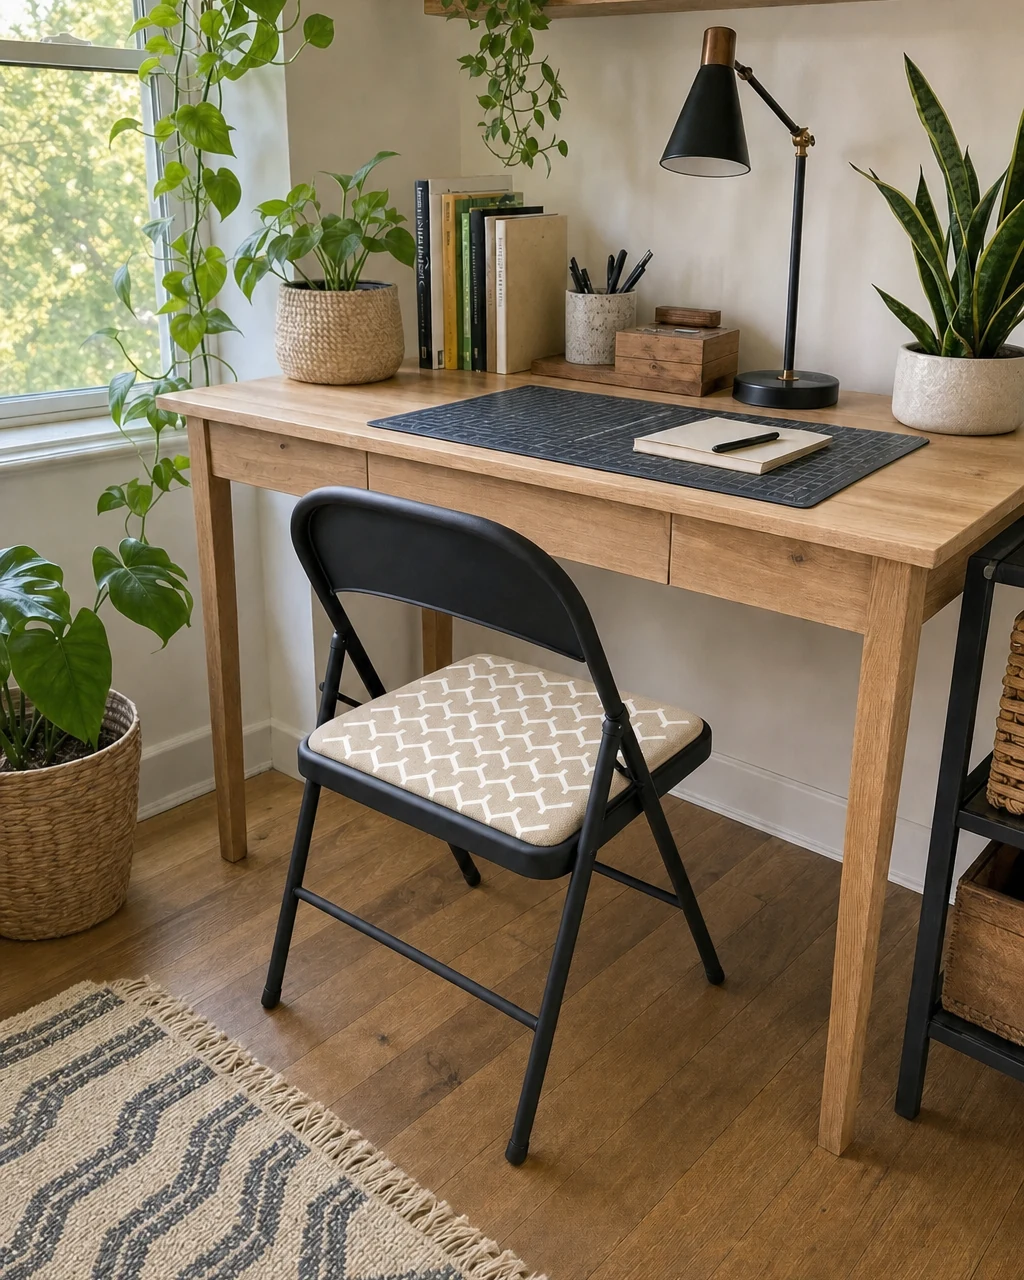
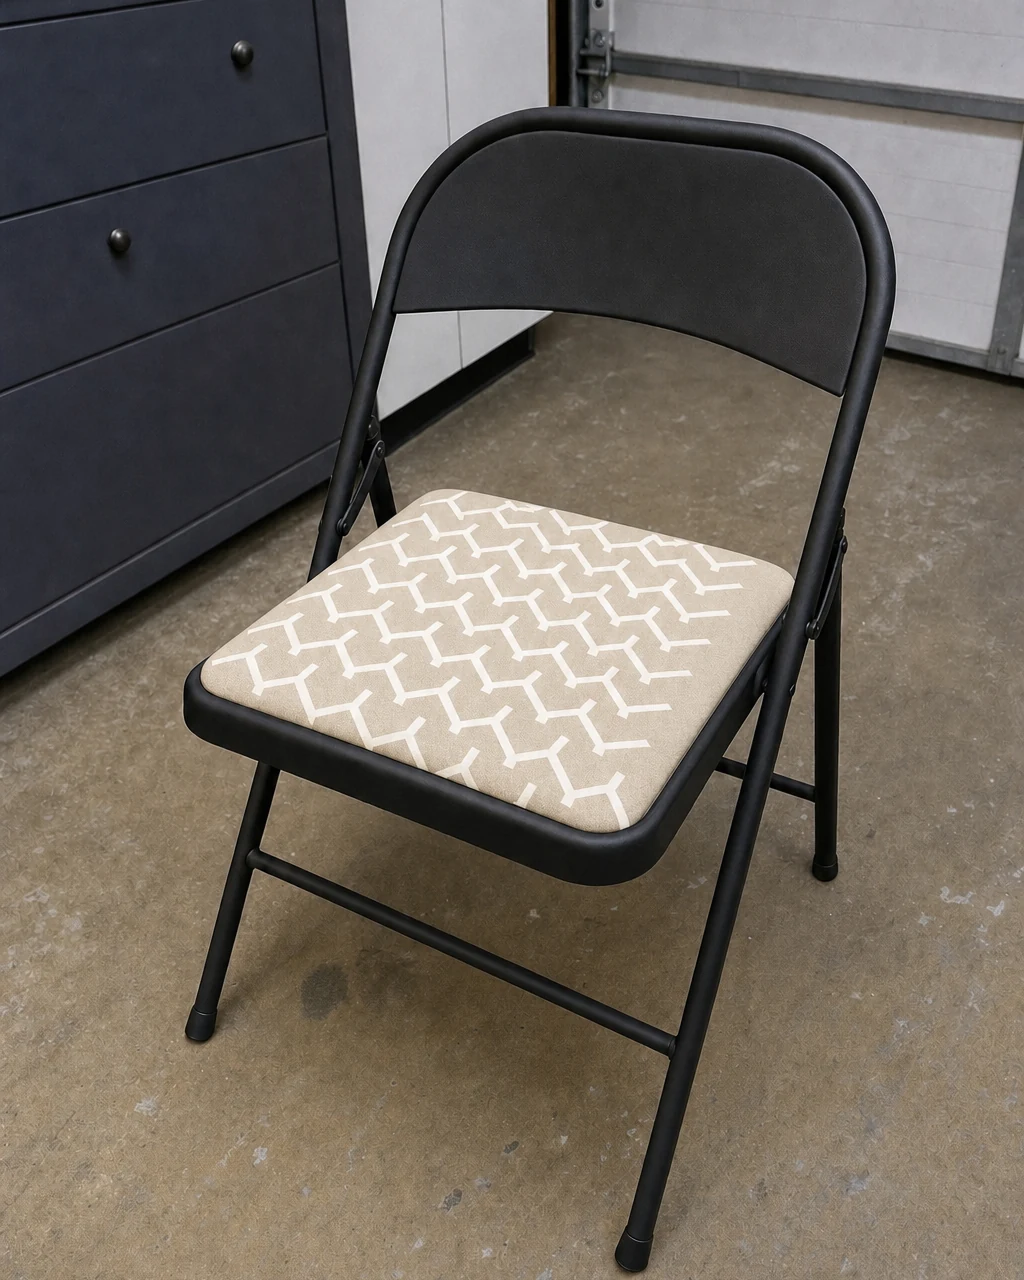
Align the newly stenciled seat pad with the mounting holes on the dry black metal frame. Secure the seat tightly using the original four screws extracted earlier, ensuring the pad does not shift under body weight. Move the completed folding chair into a bright home office environment, pairing it with a minimalist wooden desk.
Resale Value and Final Appraisal
A bold, graphic pattern and clean matte black frame elevate this from a discarded utility piece to a trendy accent chair. This modern aesthetic makes it highly suitable for a contemporary workspace, justifying the estimated resale value. Always ensure the folding mechanism is fully locked open before sitting to safely enjoy your newly transformed graphic accent piece.