
Oak Pedestal Table Makeover: A Matte Black and Gold Leaf Finish
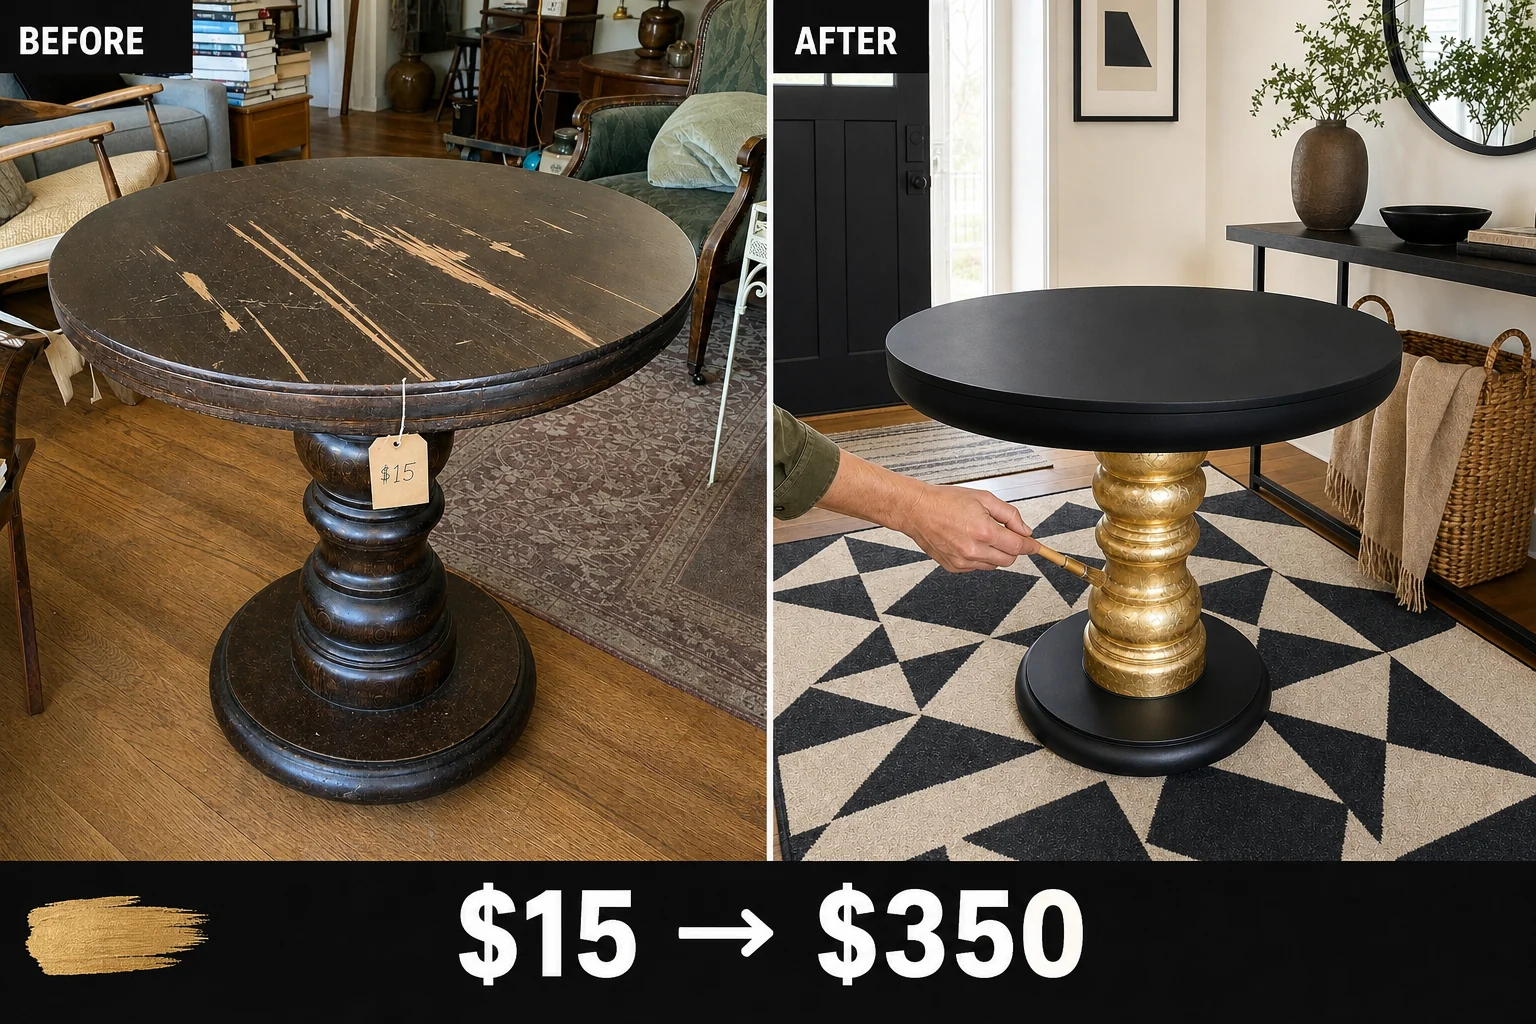
Tucked in a packed estate sale, this scratched 1960s oak pedestal table was buried under heavy books. This project transformed the dark brown relic into a striking statement piece with an ebonized matte black top and a brilliant gold leaf central column.
Assessing the Estate Sale Find
Finding this 1960s round oak pedestal table in a crowded living room at an estate sale revealed a piece with incredible presence but significant surface wear. The thirty-inch-tall silhouette featured a thirty-six-inch circular top over a single massive, heavily turned central column resting on a heavy circular base.
- Deep surface scratches marred the top, with jagged gouges cutting through the dark stain to expose the lighter oak veneer beneath. This distinctive damage made the entire surface look neglected and prevented a smooth painted finish.
- An outdated, muddy brown factory stain completely obscured the thick oak profile of the central column. This opaque finish made the vintage piece feel heavy and absorbed ambient light rather than reflecting it.
Project Costs and Estimated Resale Value
The combination of a heavy, solid oak vintage silhouette with a high-end gilded finish elevates this damaged thrift find to a boutique-style statement piece. While the total investment was only $71, the bold contrast of matte black and brilliant gold gives the table an estimated resale value of $350. This valuation relies on the dramatic transformation into a striking postmodern piece.
| Item | Cost |
|---|---|
| Purchase Price | $15 |
| Wood Filler | $6 |
| Matte Black Paint | $18 |
| Gold Leaf Kit | $22 |
| Clear Acrylic Sealer | $10 |
| Total Investment | $71 |
| Estimated Resale Value | $350 |
| Value Gain | $279 |
Materials checklist
Gather these specific supplies to properly execute the ebonized and gilded finish. The thick central oak column will be completely wrapped in composition gold leaf, requiring specialized sizing adhesive. Review the checklist below before starting the project.
Step 1: Assess the Surface Damage
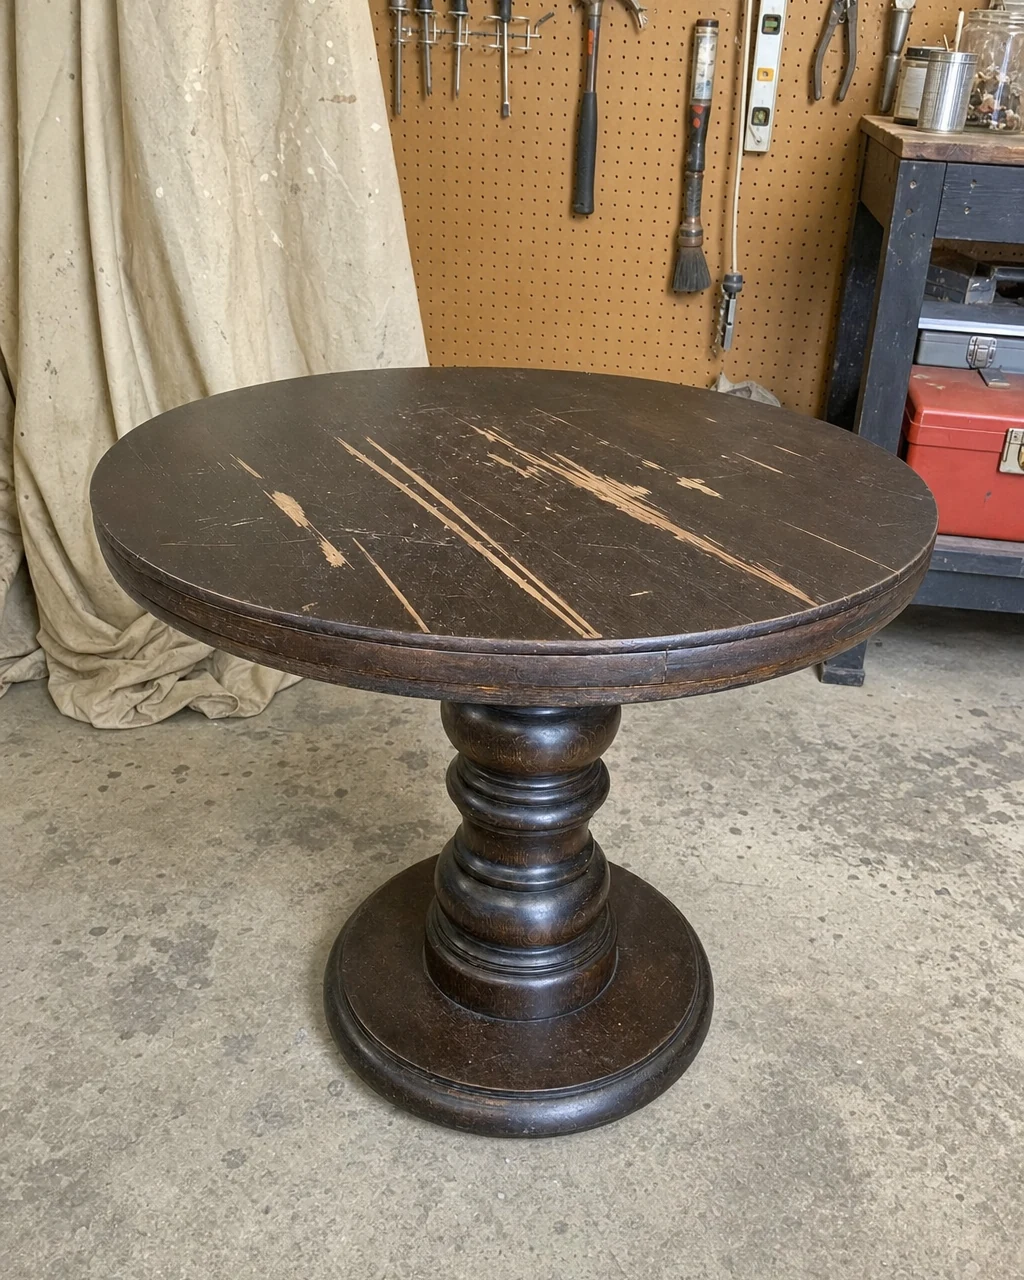
The table sits in the workshop exactly as found, covered in dust with highly visible scratches. Wipe down the entire table with a damp shop rag to remove estate-sale debris, revealing the full extent of the veneer damage. Evaluate the depth of the scratches to determine how much filler is required. Ensure the table is stable on the workbench before applying pressure.
Step 2: Repair the Veneer Scratches
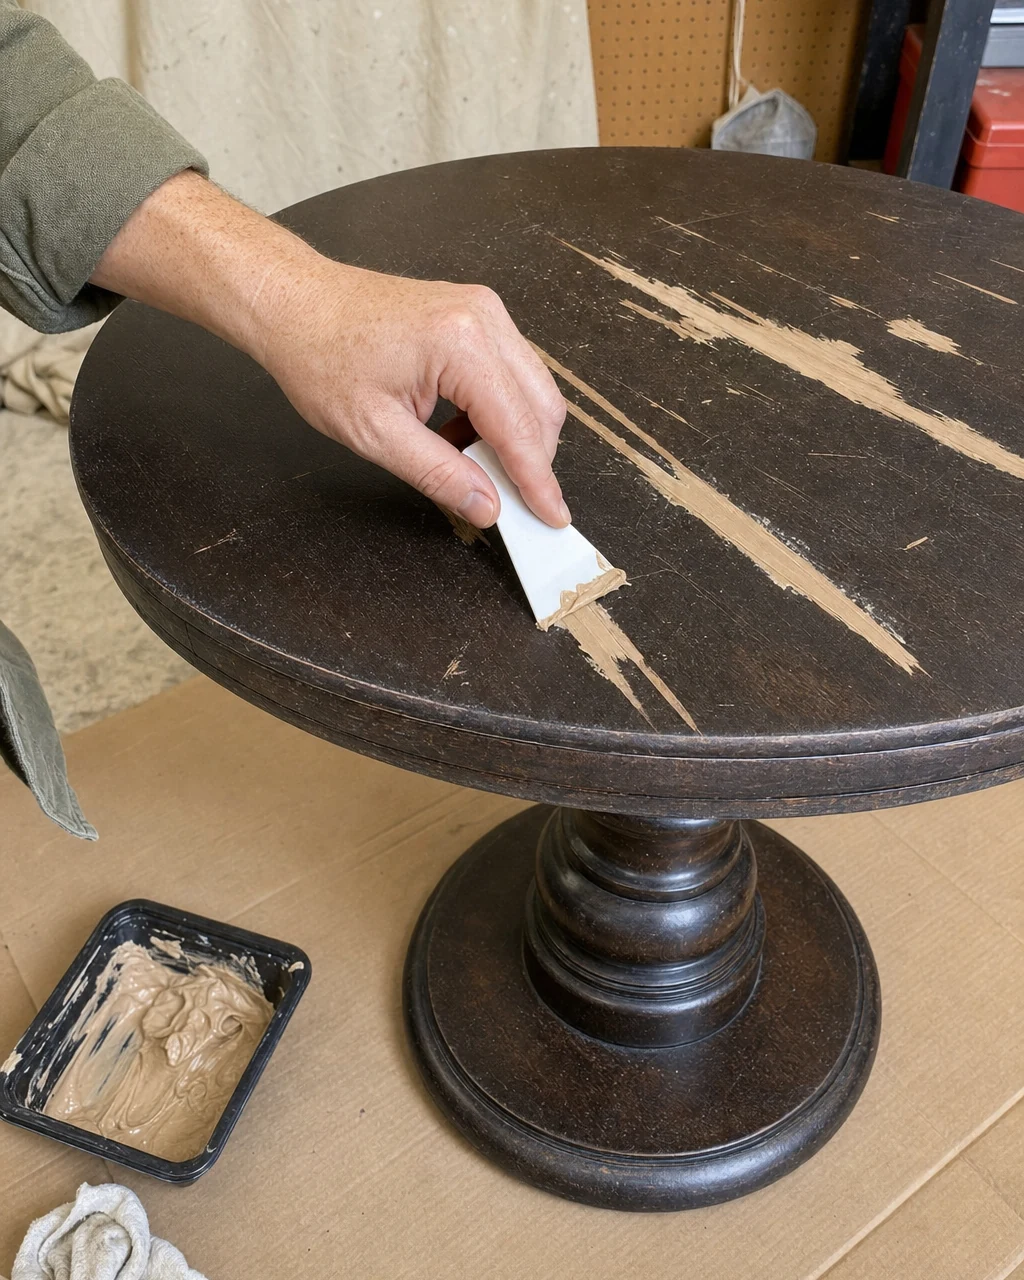
The tabletop is clean but marred by deep, jagged gouges cutting into the lighter oak veneer. Push wood filler into the deep scratches using a flexible plastic putty knife, scraping away excess so the light-colored putty sits flush with the dark veneer. Allow it to dry for two hours before smoothing it completely. Always wear a dust mask when sanding the dried wood filler.
Step 3: Apply the Matte Black Paint
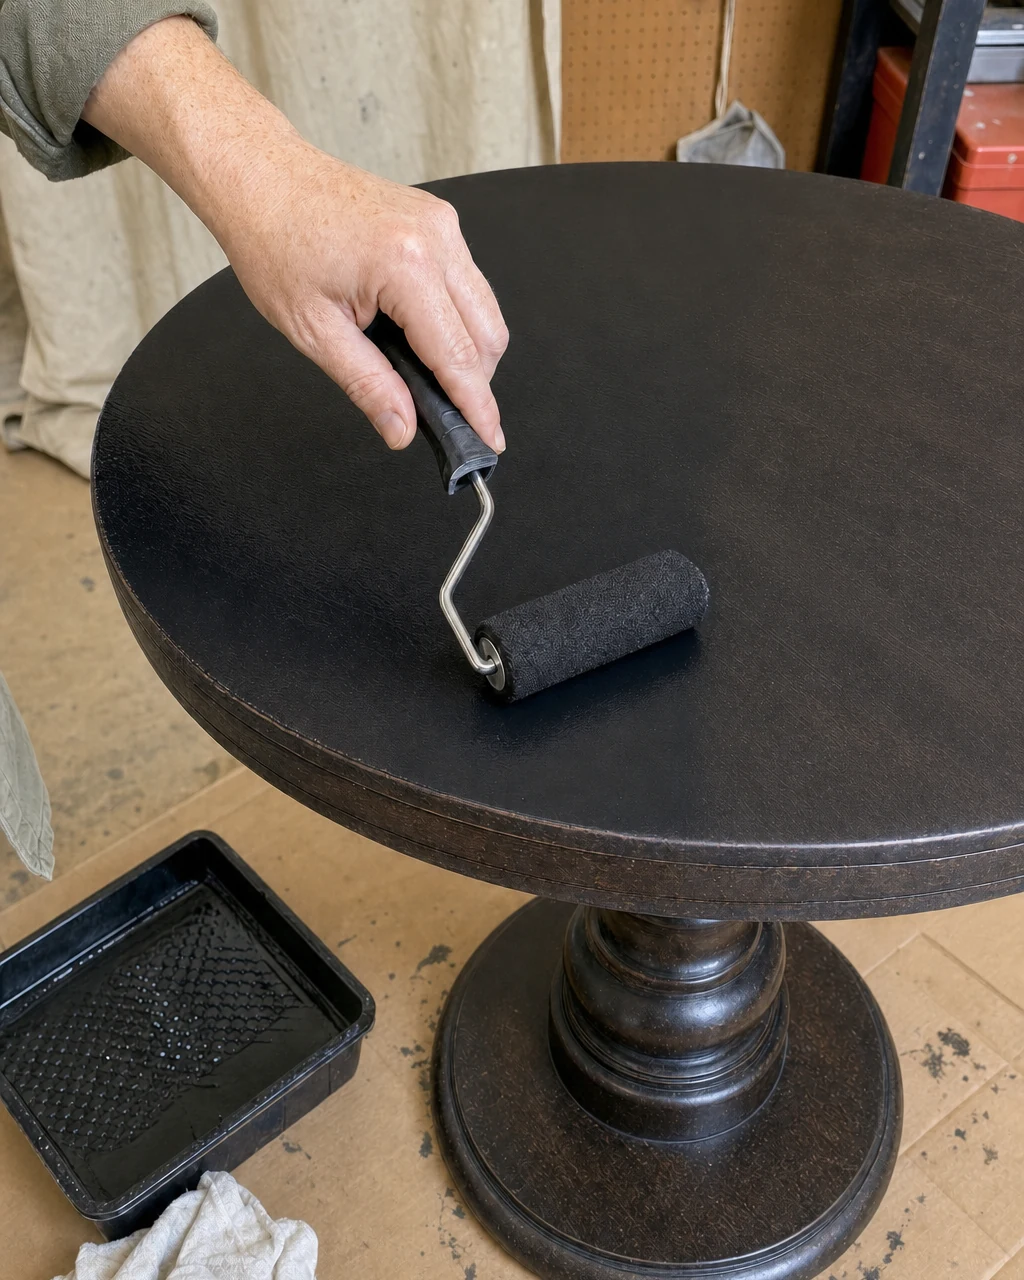
With the tabletop sanded smooth, pale filler patches remain visible against the dark factory stain. Pour flat black acrylic paint into a paint tray and apply two coats to the tabletop and base using a high-density foam roller. This completely hides the old veneer, creating a solid, opaque matte finish. Let the paint cure overnight, and always work in a well-ventilated area.
Step 4: Brush On the Gold Leaf Sizing
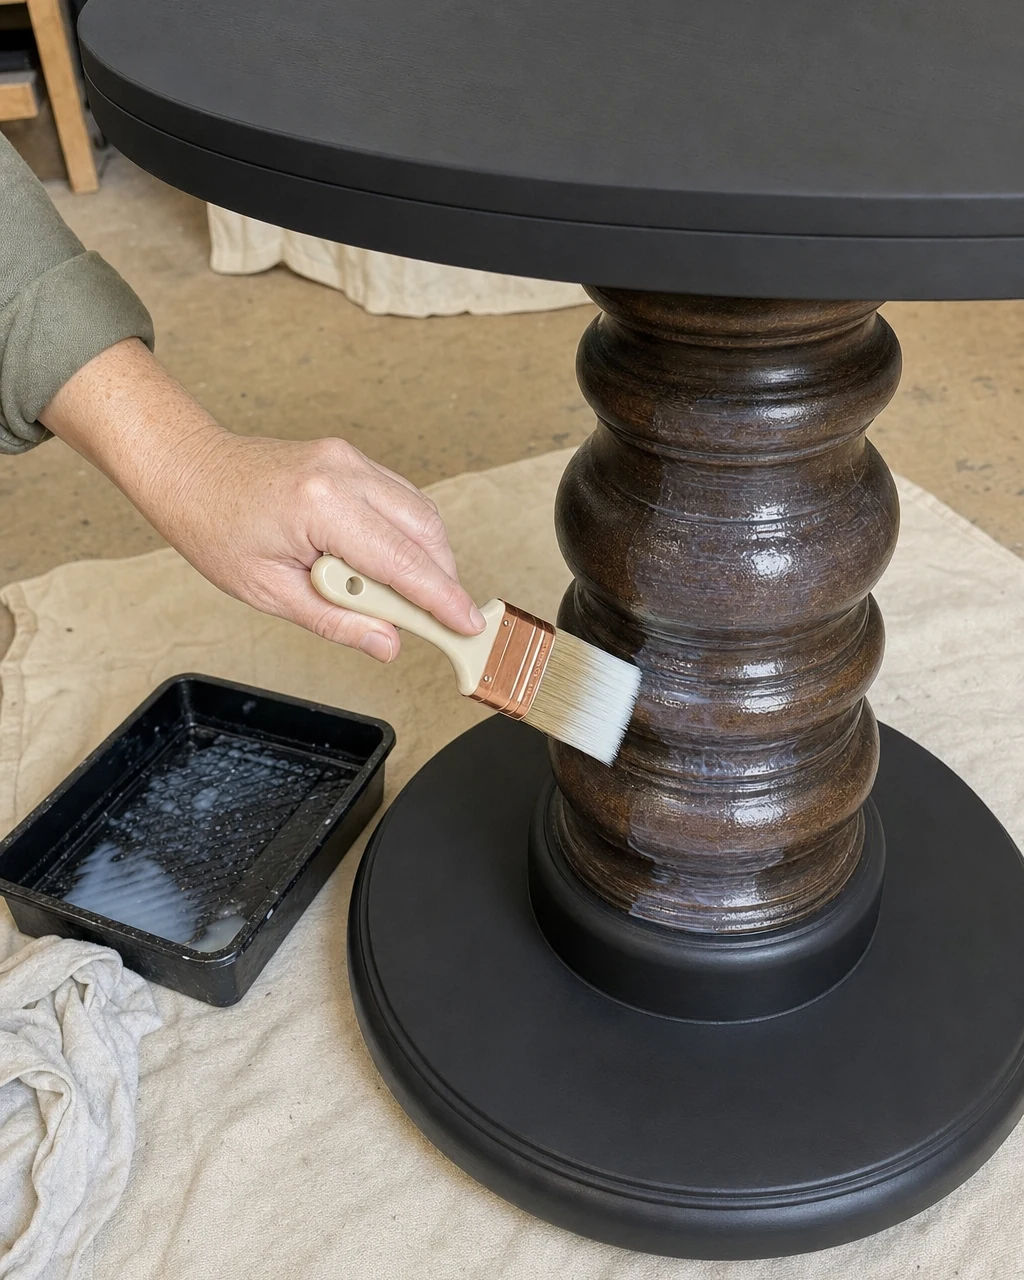
The top and base are now matte black, while the thick, heavily turned profile of the central column remains dark brown. Coat the thick central oak column with water-based gold leaf sizing using a soft synthetic brush. Place a drop cloth under the table to catch any dripping adhesive. Leave it for thirty minutes until the milky liquid turns clear and highly tacky.
Step 5: Apply the Gold Leaf Sheets
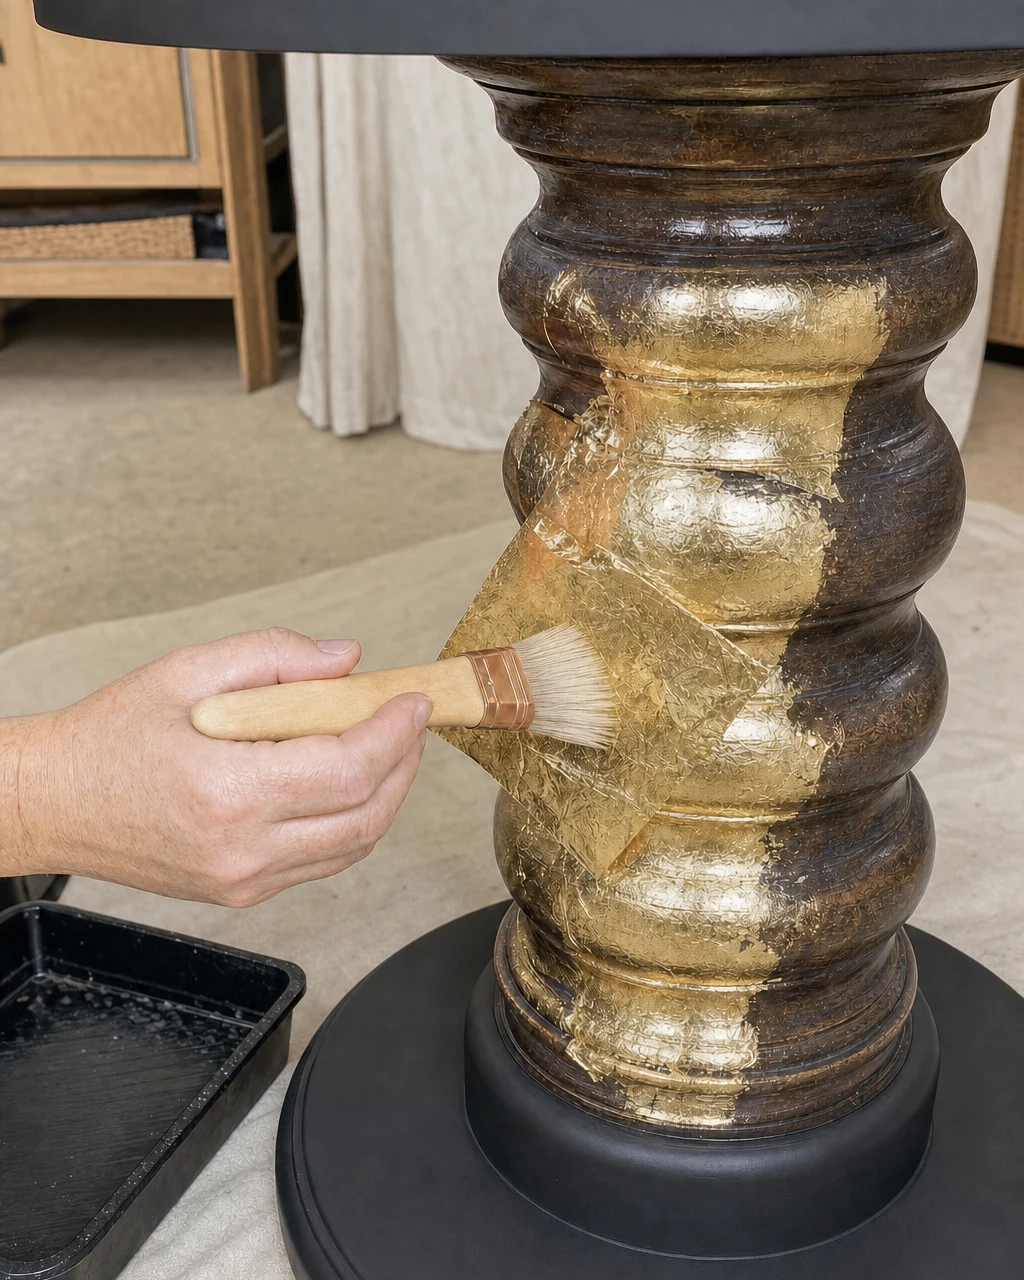
The central column is now coated in clear, highly tacky adhesive. Carefully lift sheets of composition gold leaf and press them onto the tacky column. Use a dry mop brush to smooth the sheets and brush away loose flakes, revealing a solid metallic surface. Turn off fans and close windows; the delicate gold leaf will blow away in the slightest breeze.
Step 6: Seal the Gold Leaf Finish
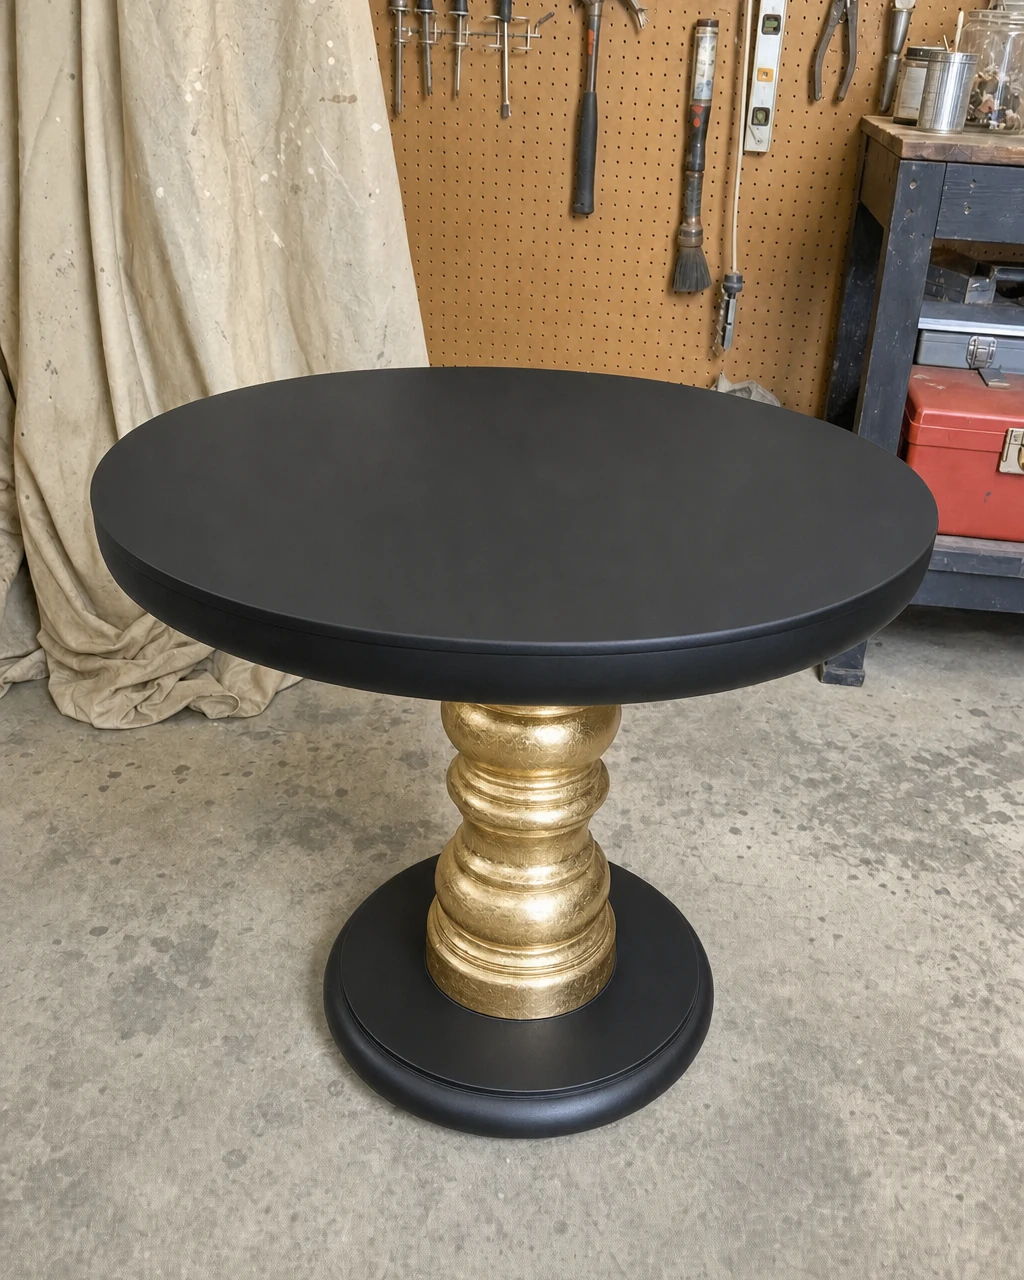
The table is fully assembled with a matte black top and a brilliant gold column. Protect the delicate metal from tarnishing by spraying a fine mist of clear acrylic sealer over the entire gilded column. Leave the finished table in the workshop to cure for twenty-four hours. Wear a respirator mask when applying aerosol sealers indoors to ensure proper safety.
Step 7: Style the Finished Table
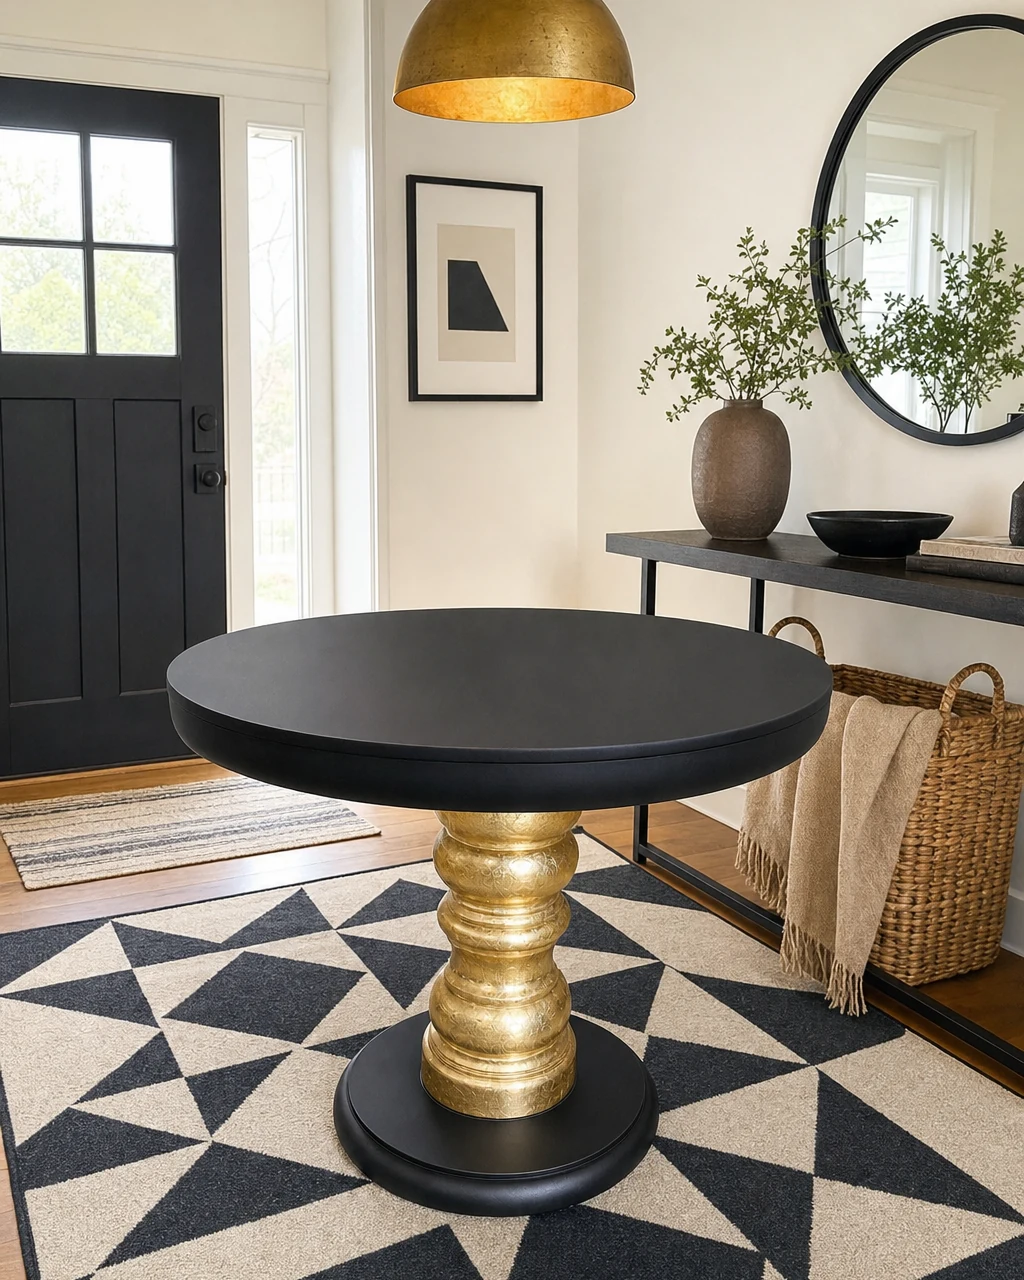
The table is fully cured, sealed, and ready for use. Move the finished piece into a bright entryway, positioning it on a black-and-white geometric rug beneath a warm brass pendant light. The bold metallic base reflects the room’s lighting, serving as a striking, high-contrast focal point. Always lift the heavy oak table from the base to prevent structural damage.