
Pine Headboard Upcycle: From 80s Orange to Modern Matte
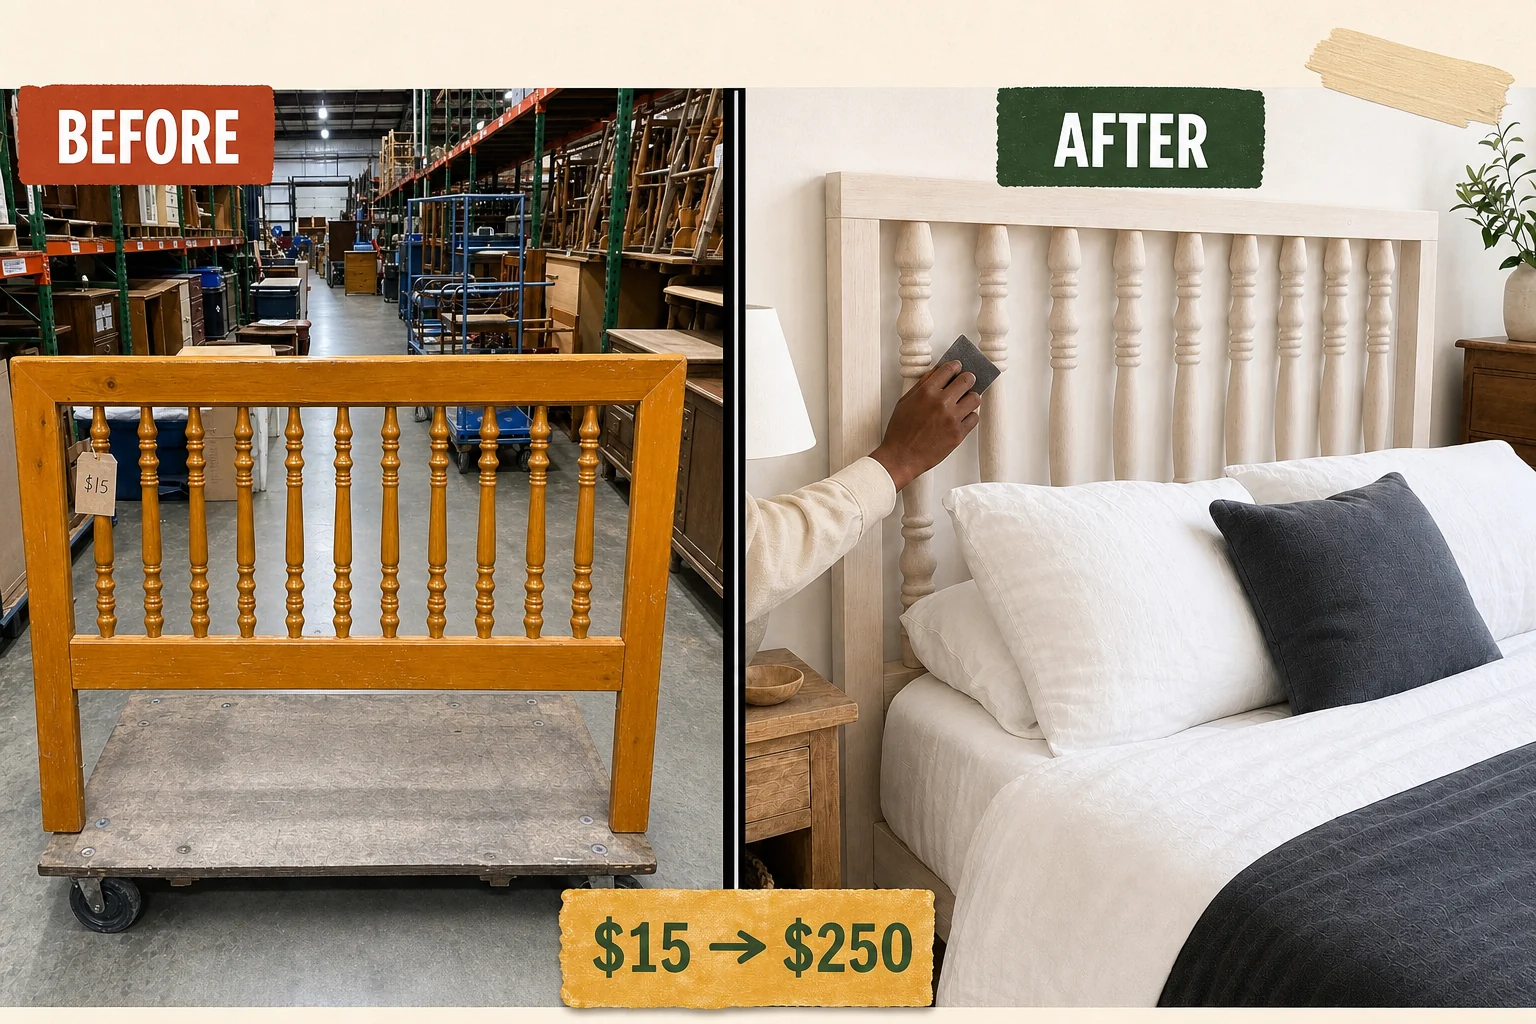
Found hidden on a rolling cart at a community reuse center, this solid pine headboard had great bones. We stripped away its glossy 1980s orange polyurethane to reveal raw wood, sealing it with white-tinted hardwax oil for a matte Japandi aesthetic.
Evaluating the 1980s Factory Finish
Before beginning this transformation, it is crucial to assess the original clear coat and surface damage. A shiny, orange-tinted 1980s country relic requires a specific approach to safely remove the thick factory finish without harming the classic turned spindles, mortise and tenon joinery, and straight, chunky rails beneath.
- First, a thick, glossy orange polyurethane film completely masks the natural wood grain, which prevents penetrating oil absorption and requires chemical intervention.
- Second, dark, sticky grime built up at the joints of the turned spindles necessitates heavy chemical stripping and scrubbing before any mechanical sanding can begin.
- Finally, shallow white scratch marks are visible in the clear coat along the top rail, requiring thorough surface leveling during the mechanical sanding phase to ensure a flawless final texture.
Project Valuation and Resale Potential
The dramatic transition from a dated, mass-produced 80s finish to a high-end, matte Japandi aesthetic significantly elevates the piece. This transformation aligns the headboard with current retail trends for pale, natural woods, easily justifying our estimated resale value of $250 for a previously ignored thrift store find.
| Item | Cost |
|---|---|
| 1980s solid pine headboard purchase | $15 |
| Citrus-based chemical stripper | $18 |
| Coarse abrasive pads | $5 |
| Mineral spirits | $10 |
| Sanding discs (120 and 180 grit) | $8 |
| White-tinted hardwax oil | $25 |
| Cotton shop rags | $4 |
| Total Investment | $85 |
| Estimated Resale Value | $250 |
| Value Gain | $165 |
Step 1: Assess the Polyurethane
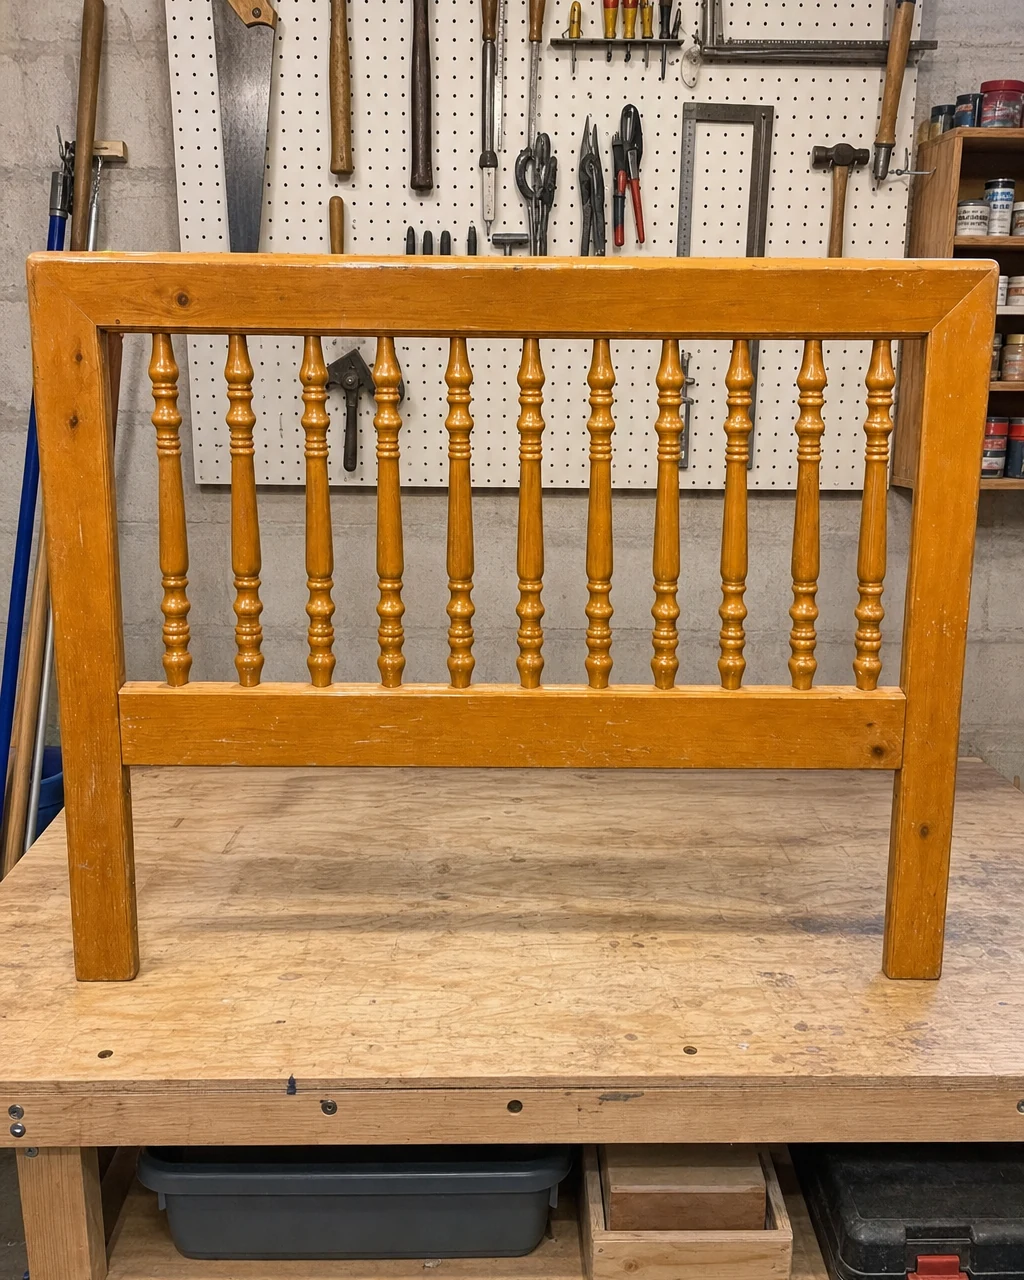
With the full headboard resting on a protected workbench, inspect the factory clear coat thickness and the depth of surface scuffs under a bright work light. This evaluation determines the exact stripping approach needed to safely remove the glossy orange finish without damaging the pine. Always ensure the workbench is covered with a heavy-duty drop cloth before beginning any chemical work.
Step 2: Apply Chemical Stripper
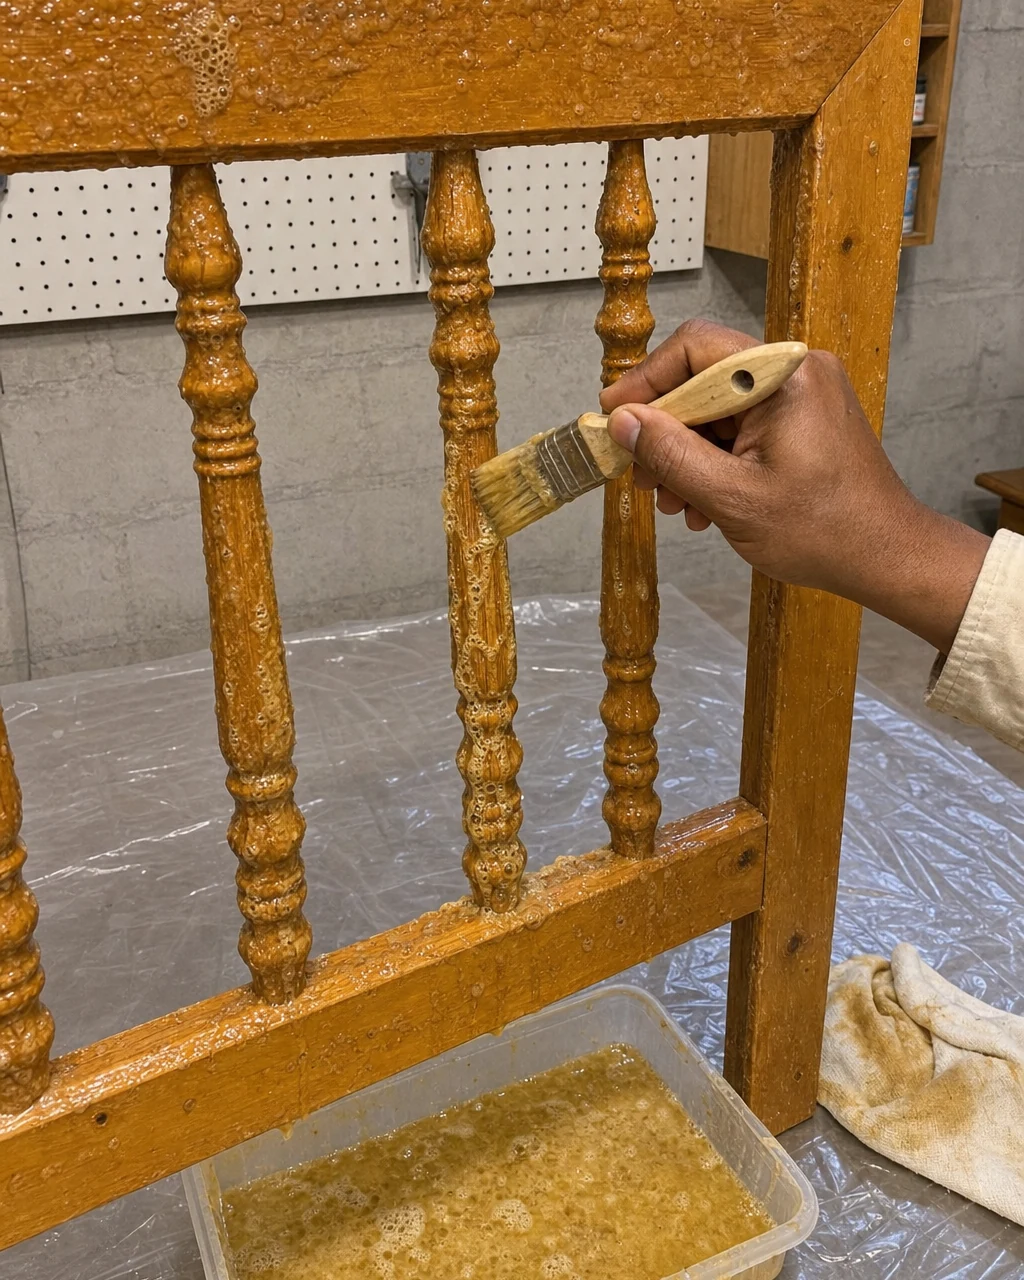
Brush a thick, even layer of citrus-based stripper over the turned spindles and rails using a standard chip brush. Allow the chemical to sit undisturbed for 30 minutes to effectively break down the stubborn polyurethane, watching as the orange finish visibly bubbles and lifts. Wear chemical-resistant gloves and ensure the workspace is adequately ventilated for safety.
Step 3: Scrub the Spindles
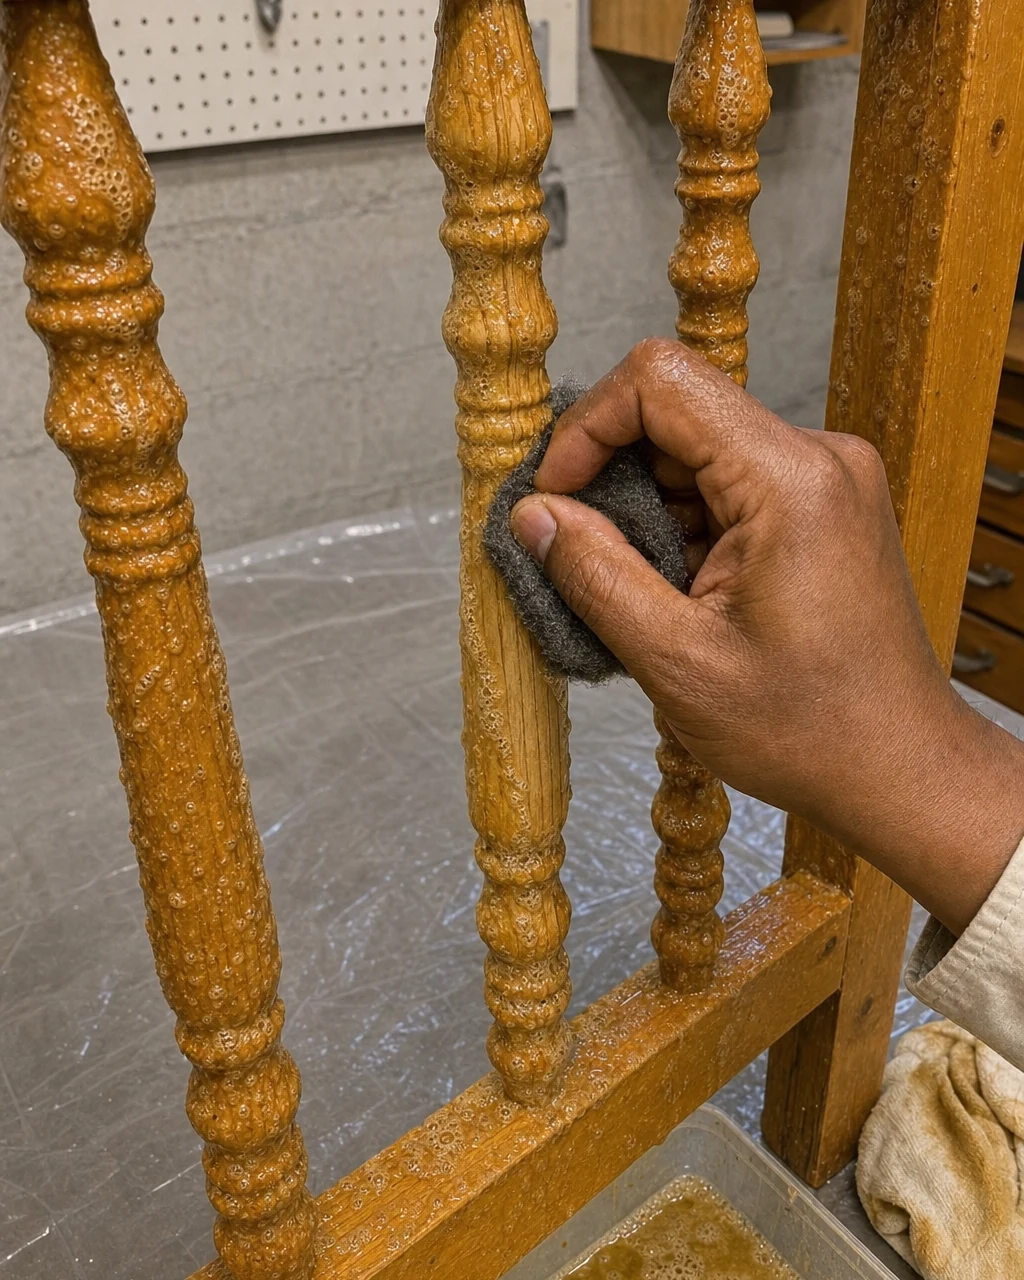
Use coarse abrasive pads soaked in mineral spirits to scrub the dissolved finish out of the intricate turned details. Wipe away the resulting sludge with a scraper tool to reveal the damp, raw pine underneath, completely stripped of the glossy orange film. Always dispose of stripper-soaked pads in a metal container with a lid.
Materials checklist
Step 4: Sand the Flat Rails
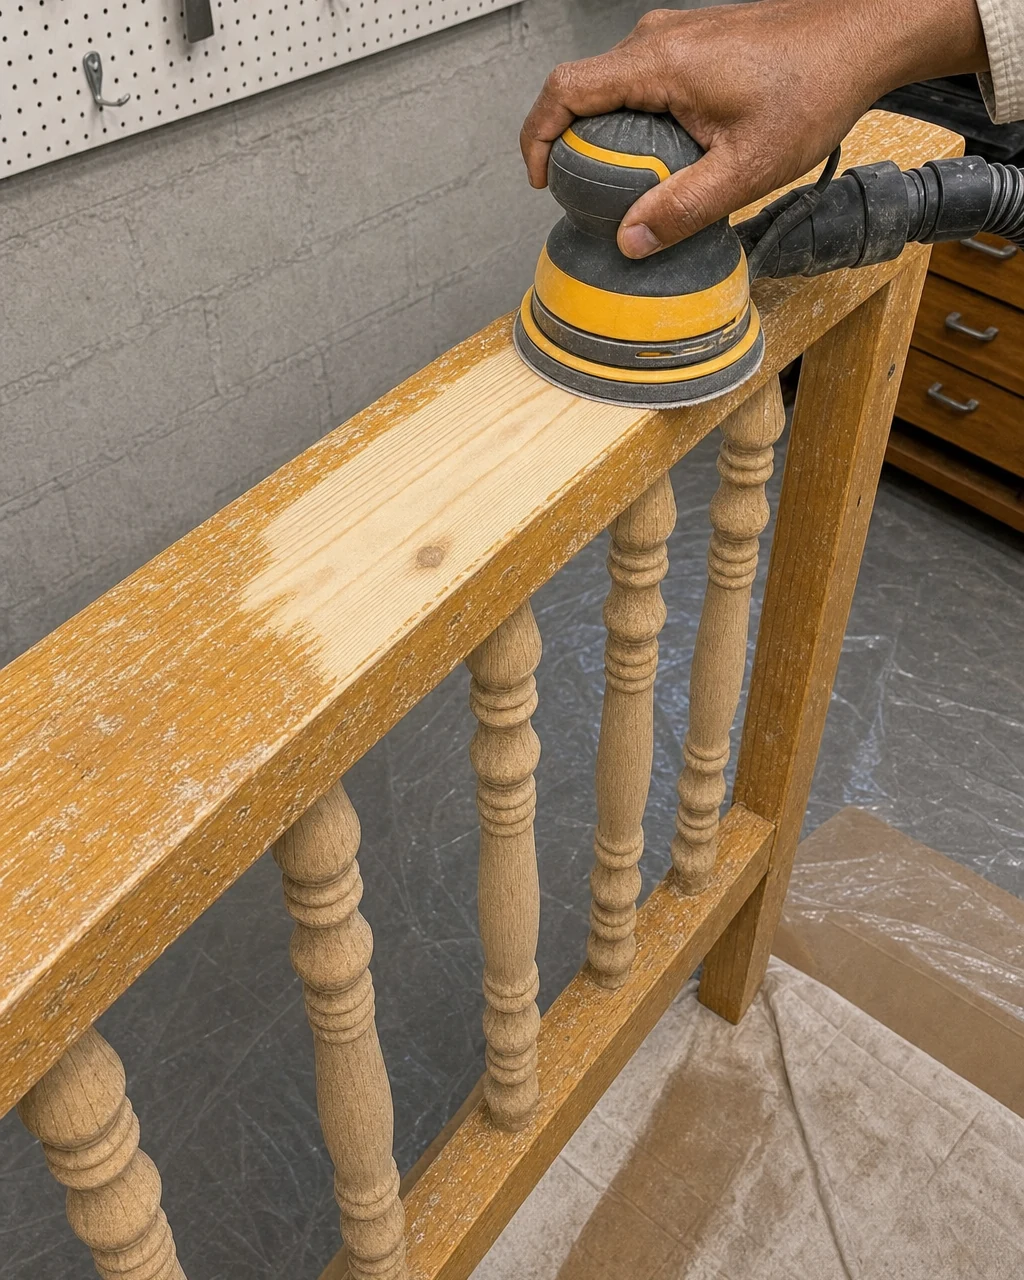
The intricate spindles are stripped, but the flat rails still hold stubborn patches of finish. Sand the wide top and bottom rails with a random orbital sander using 120-grit discs to remove the remaining clear coat. Follow up with 180-grit discs to smooth the wood. Wear a N95 dust mask and use active vacuum extraction while sanding.
Step 5: Buff the Hardwax Oil
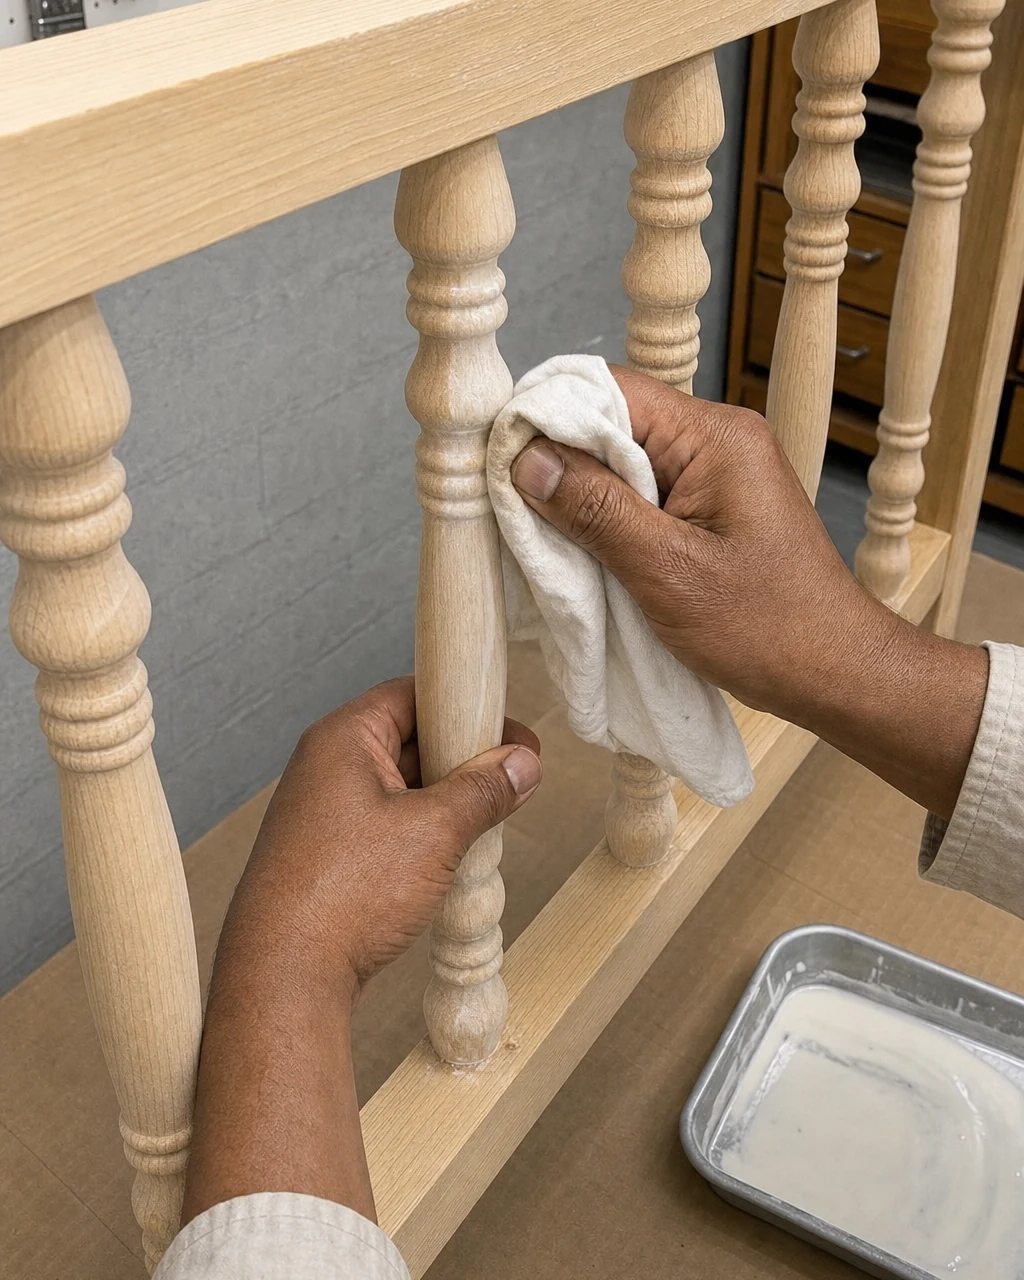
With the headboard completely bare, sanded smooth, and free of dust, apply a white-tinted hardwax oil to the wood using a cleaning sponge or sanding block. Rub the oil deeply into the grain with cotton rags to protect the pine while neutralizing any remaining yellow tones. Lay oil-soaked rags flat outside to dry completely before disposal to prevent spontaneous combustion.
Step 6: Cure the Oil Finish
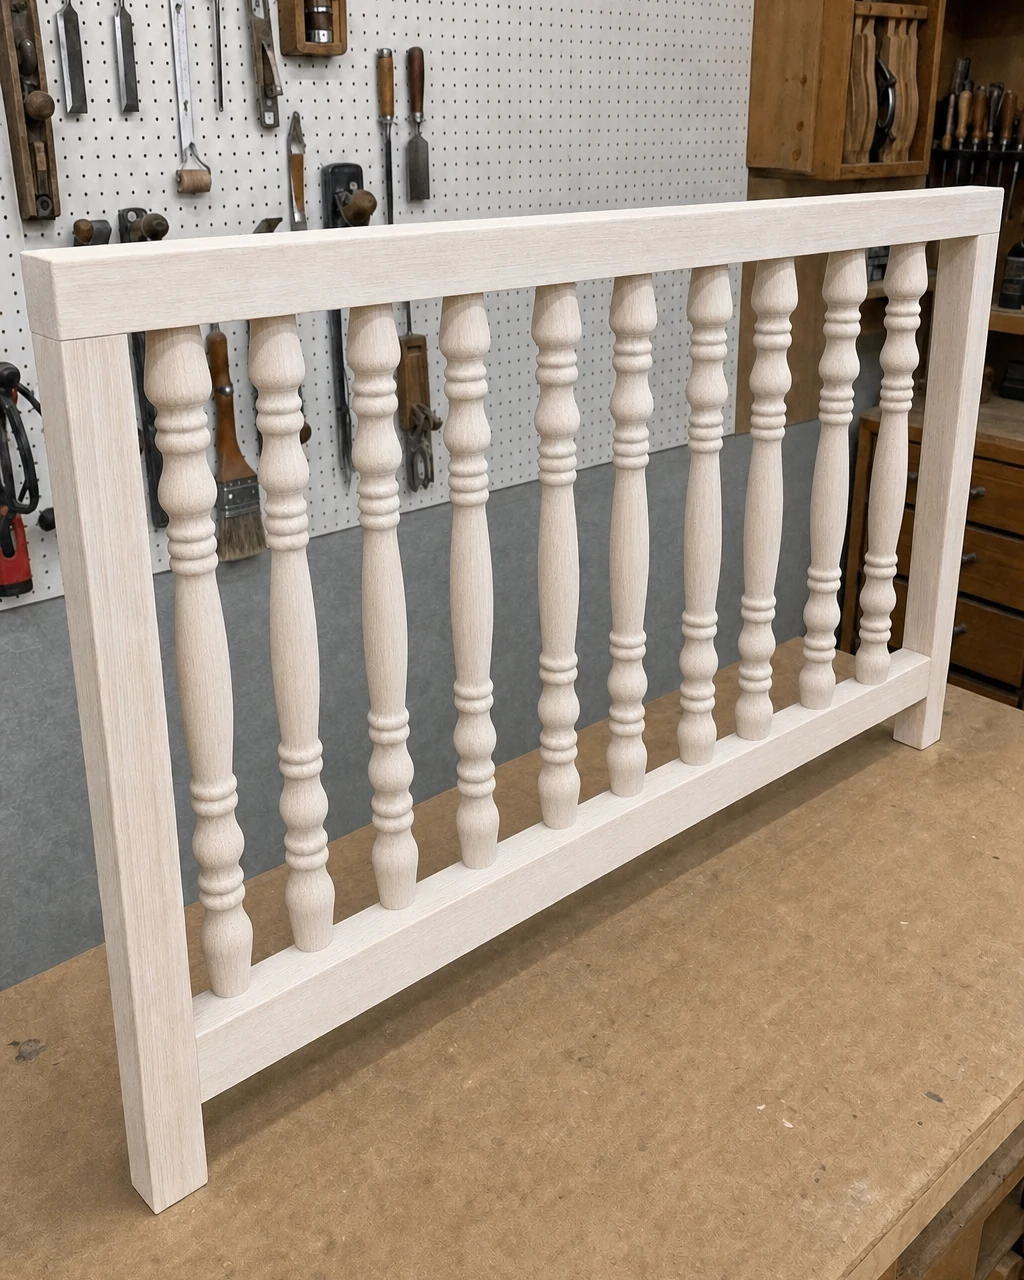
Allow the headboard to stand undisturbed in a climate-controlled workshop for a full 24 hours. This resting period ensures the wet hardwax oil can properly bond with the wood fibers and harden into a durable, beautifully pale pine surface ready for use. Keep the area completely free of airborne dust while the finish cures to maintain that flawless matte texture.
Step 7: Style the Modern Bed
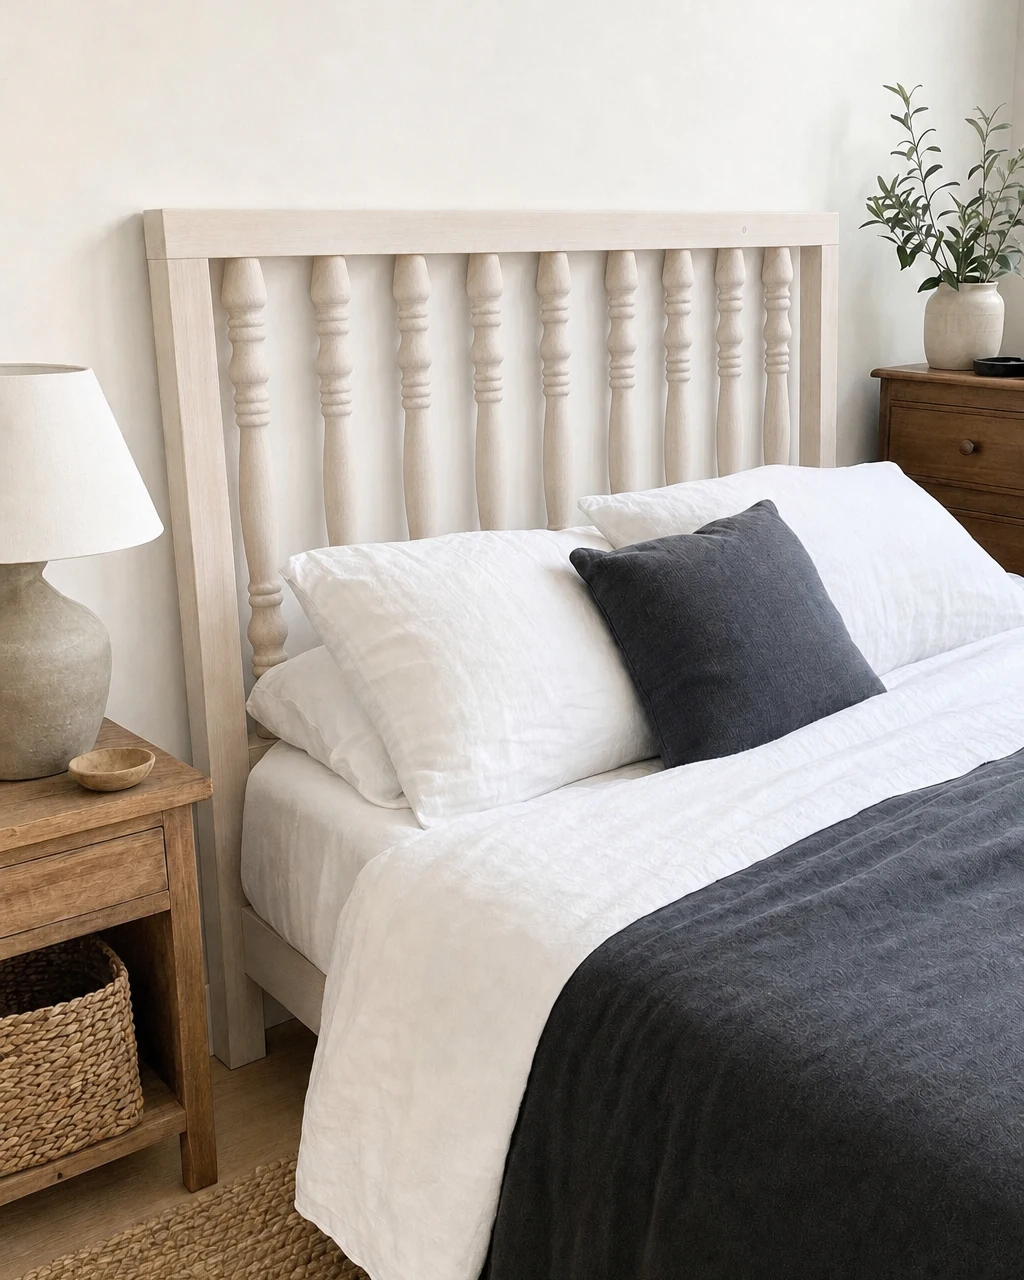
Attach the fully cured headboard to a standard metal bed frame using a wrench to secure the hardware. Dress the bed with textured, neutral linens to complement the matte wood and complete the Scandinavian-inspired aesthetic, transforming the piece into a modern bedroom focal point. Ensure the bolts connecting the headboard to the frame are fully tightened for stability.