
Wooden Toolbox DIY Makeover with a Zen Leather Handle
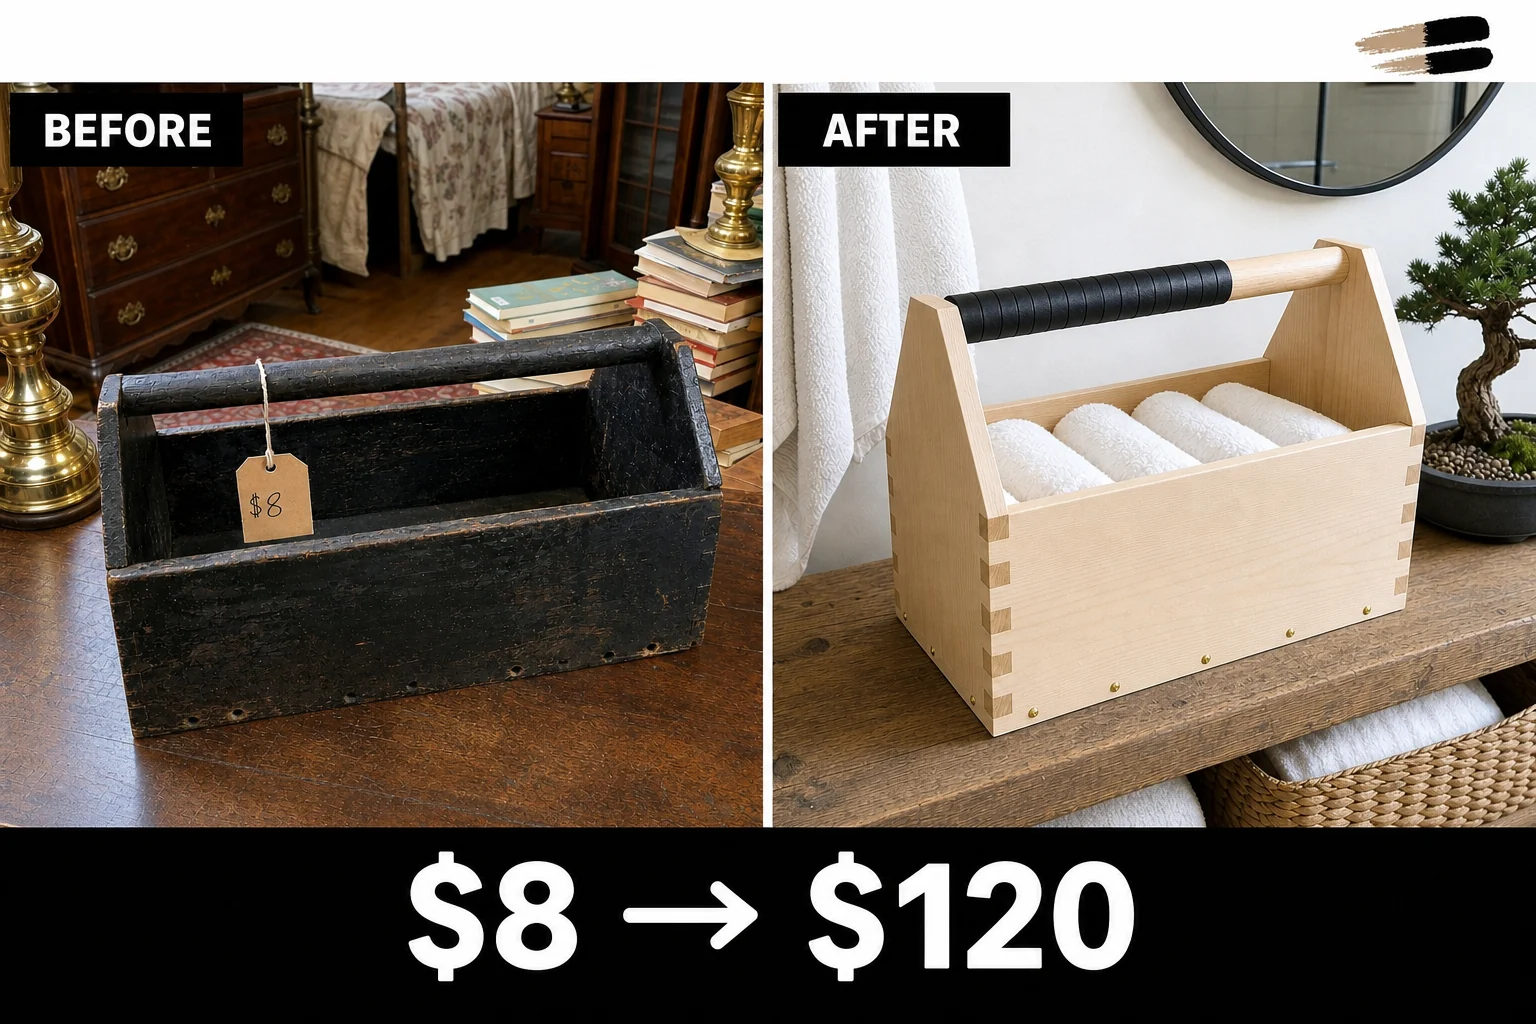
Tucked under a desk at an estate sale, this 1940s pine toolbox was hidden beneath thick black grease. Stripping the industrial grime revealed pale raw wood, setting the stage for a minimalist transformation featuring brass hardware and a zen leather handle wrap.
Evaluating the Estate Sale Find
Tucked under a heavy oak desk at a crowded estate sale, this 1940s pine toolbox was nearly invisible among the scattered tools. Thick layers of sticky black industrial grease completely obscured the natural wood grain, leaving it looking like a ruined garage castoff. The heavy grime made the piece far too dirty for any indoor use.
- Heavy industrial grease buildup coated the fixed round center handle, interior, and high angled end panels, completely hiding the pale pine and making it sticky to the touch.
- Empty countersunk holes along the lower edges revealed a detached drop-in bottom board, meaning the carrier could not safely hold weight without the base falling out.
Beyond the grime, the carrier suffered from structural neglect that required immediate attention before any cosmetic work could begin. Fortunately, the prominent box joints at the four corners remained entirely intact, providing a solid, unyielding foundation for the upcoming restoration work.
Step 1: Inspect the Damage
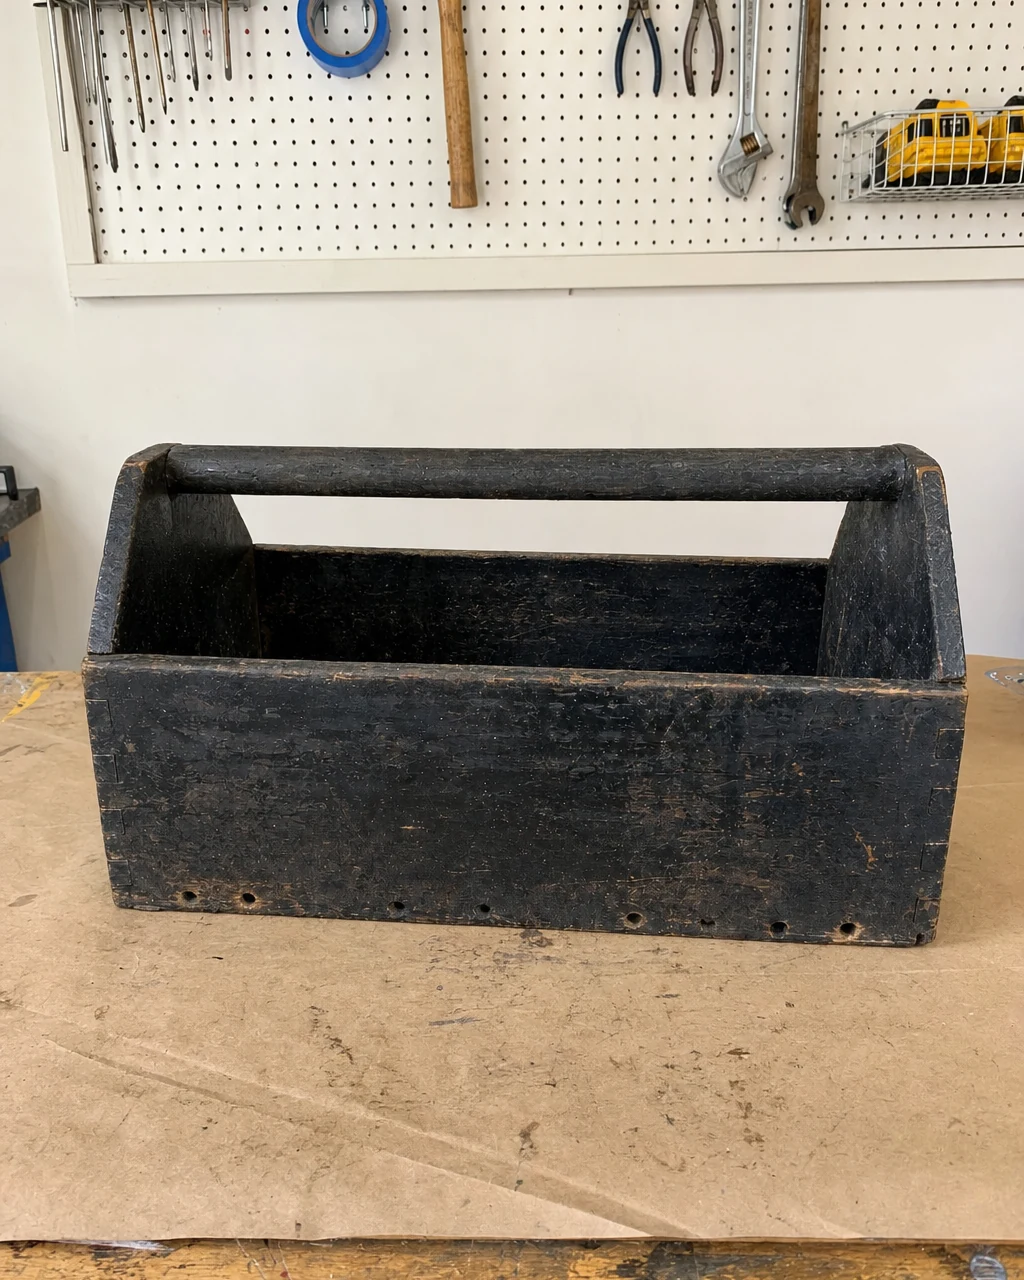
Place the toolbox on a protected, heavy paper-covered workbench to thoroughly evaluate the extent of the grease buildup across the side panels. Use a bright work light to locate all the missing fastener holes along the base before beginning the heavy cleaning phase. Ensure the workspace is well-lit to spot hidden nails or sharp edges under the thick grime.
Materials checklist
Step 2: Melt Away Decades of Grime
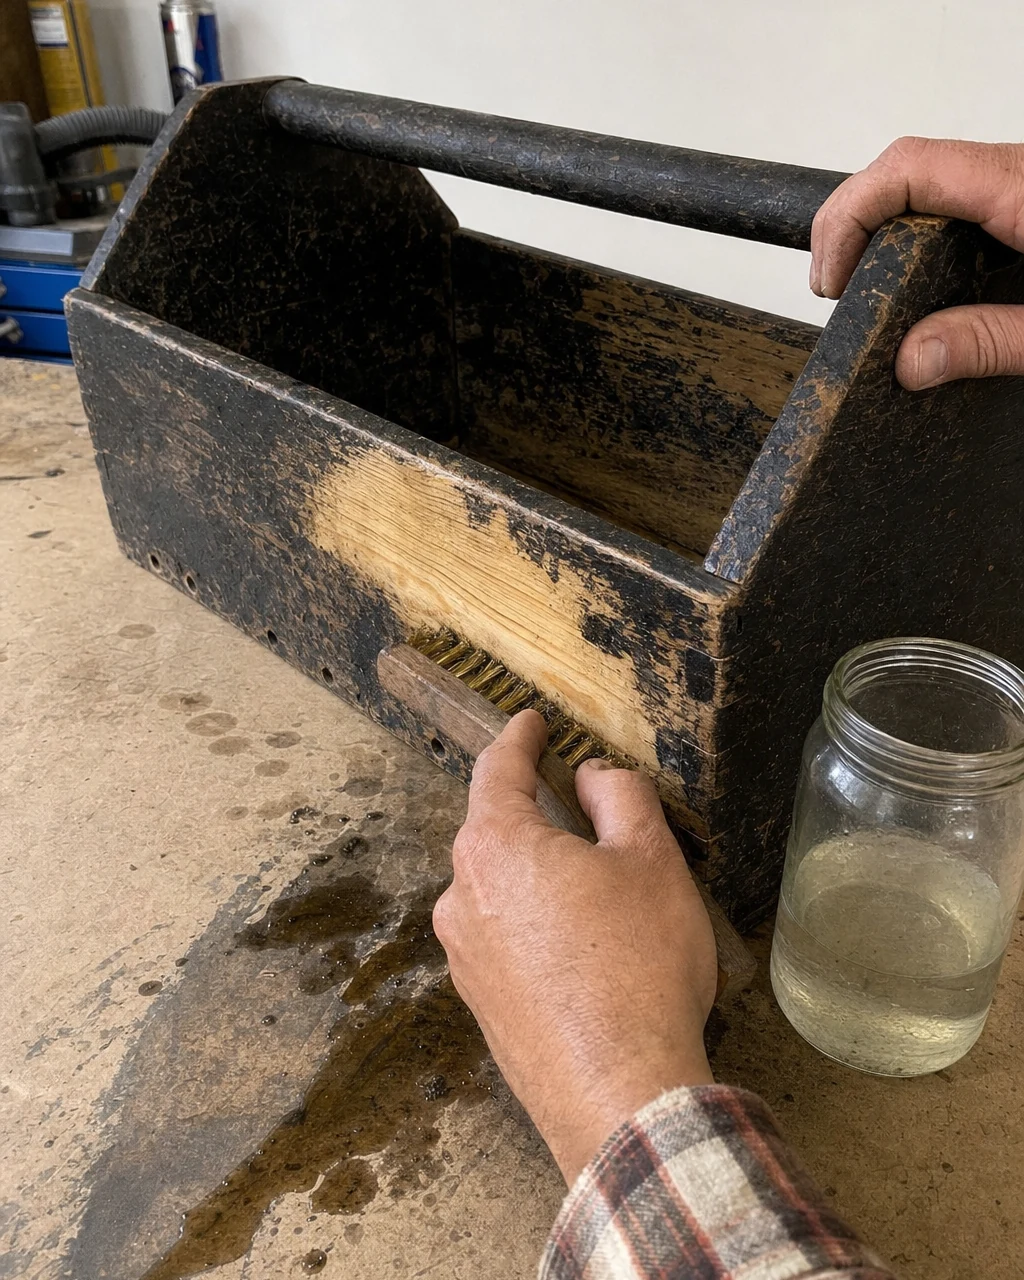
Scrub the entire toolbox with mineral spirits and a brass wire brush to effectively break down the thick industrial oil and grease. Wipe away the dissolved sludge with clean shop rags until the pale, raw pine grain is fully exposed on the side panels. Always wear nitrile gloves and a respirator, and work in a highly ventilated area when using mineral spirits.
Step 3: Fix the Structural Base
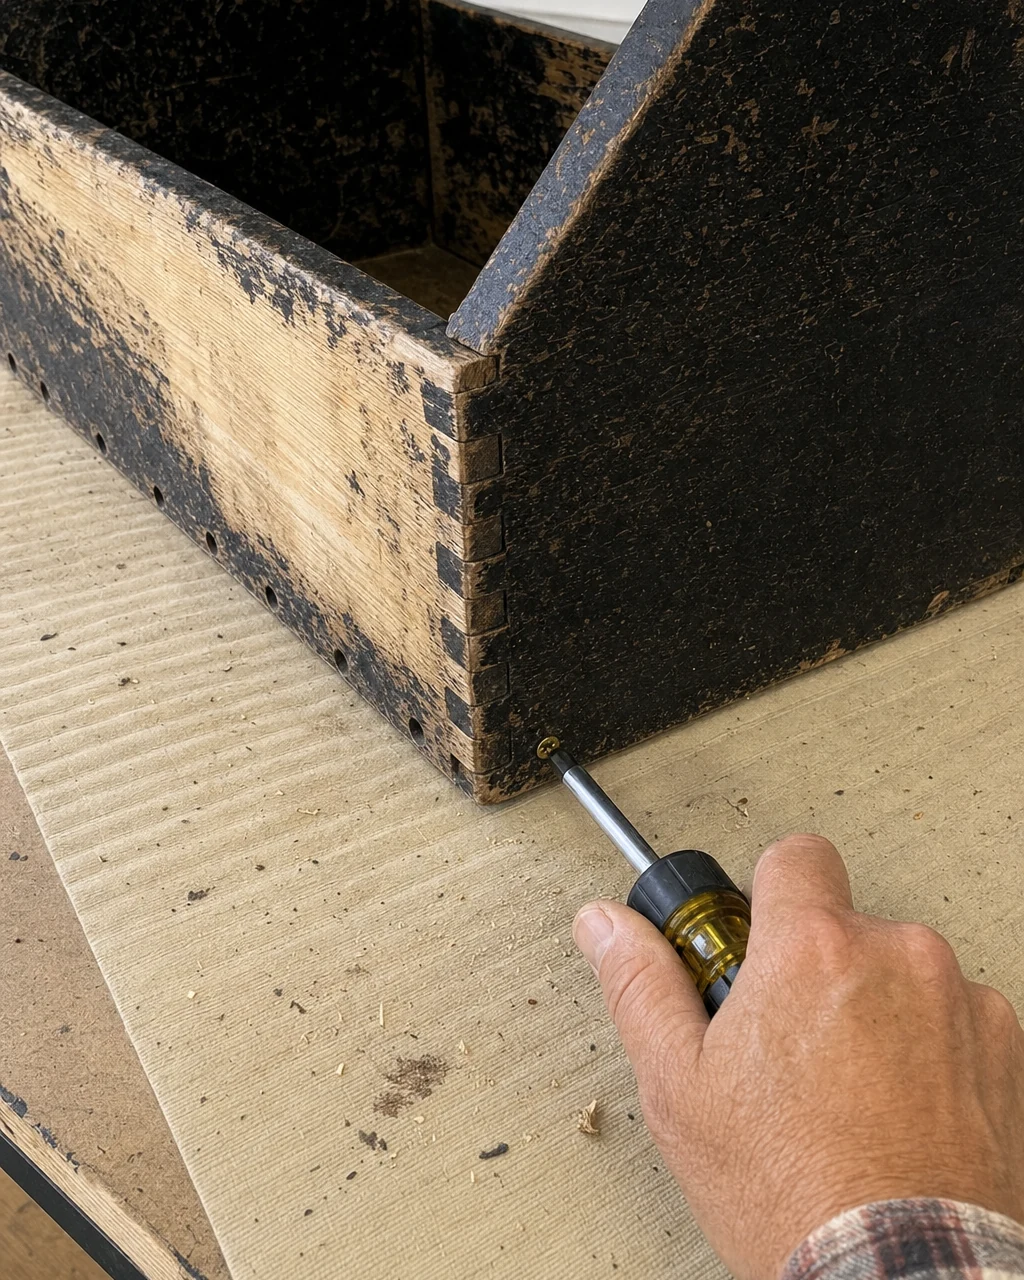
Align the loose bottom board with the lower edges of the clean, dry pine frame. Drive new solid brass wood screws into the original countersunk holes using a manual screwdriver to lock the base firmly in place. Drive these fasteners entirely by hand to avoid splitting the old, dry pine during the repair.
| Item | Cost |
|---|---|
| Purchase price | $8 |
| Mineral spirits | $8 |
| Brass screws | $4 |
| Paste wax | $12 |
| Leather lacing | $10 |
| Materials total | $34 |
| Total investment | $42 |
| Estimated resale value | $120 |
| Value gain | $78 |
Step 4: Seal for a Matte Finish
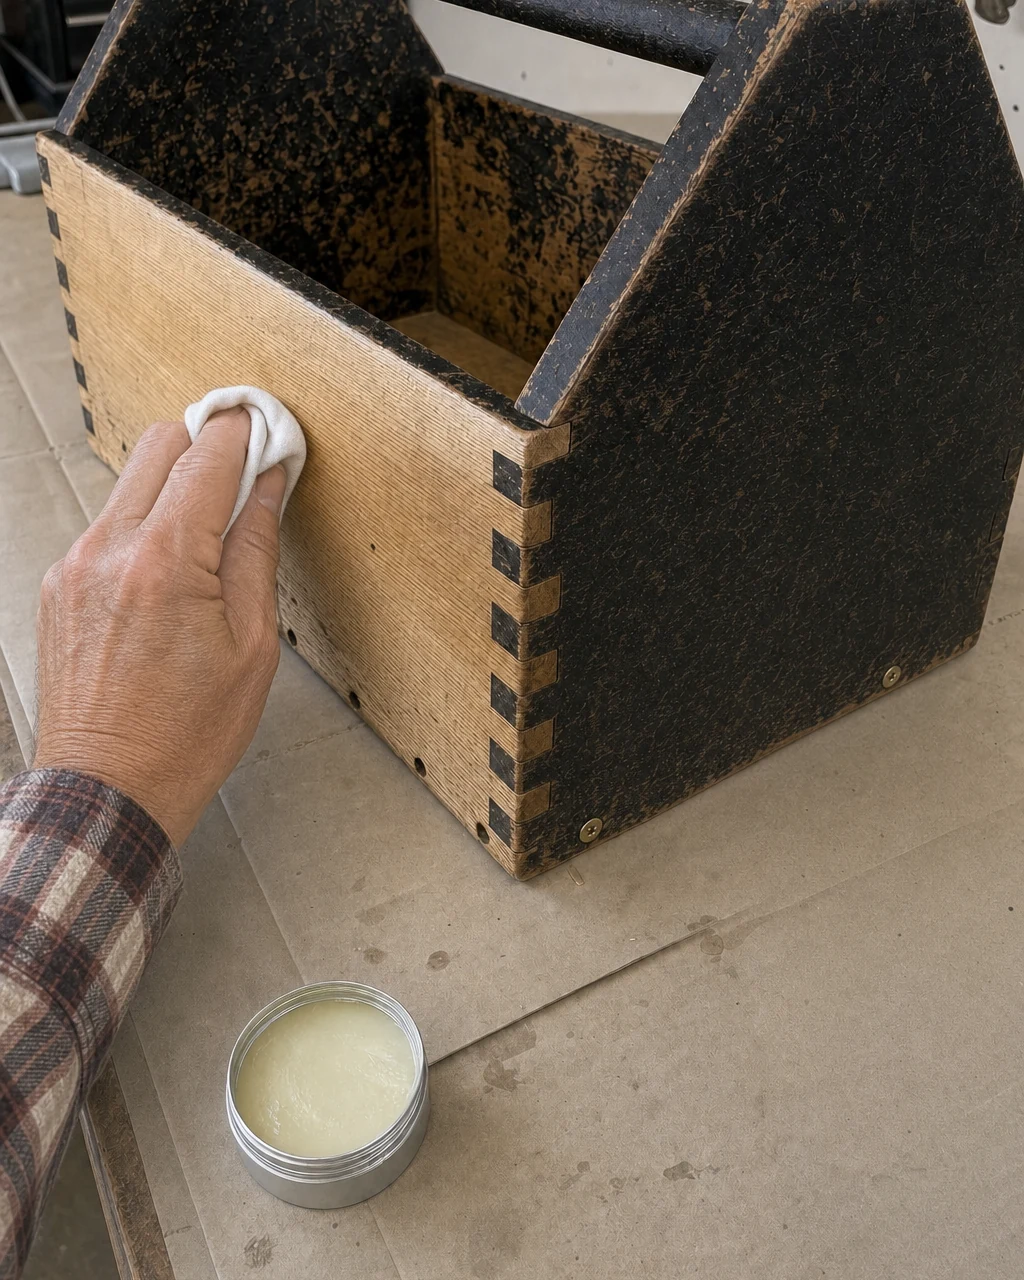
Rub clear paste wax into the structurally sound, raw pine surfaces using a lint-free cotton cloth. Allow the protective wax to haze over for 15 minutes, then buff it out to achieve a soft, rich matte sheen that highlights the grain. Always dispose of wax-soaked rags properly in a sealed metal container to prevent spontaneous combustion in the workshop.
Step 5: Add a Zen Leather Detail
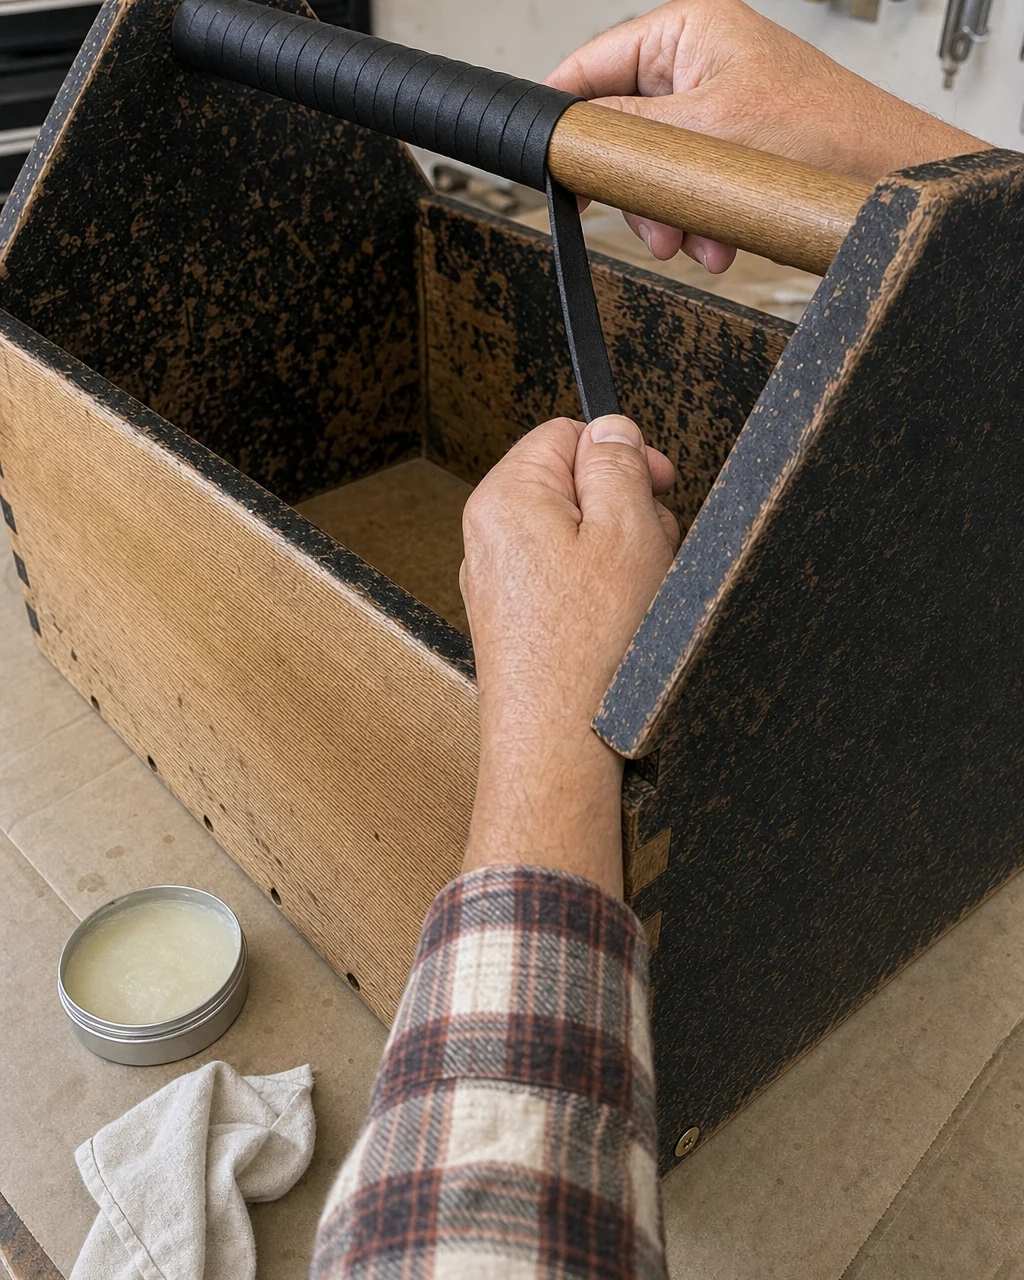
Tie flat black leather lacing tightly around one end of the fixed center wooden handle. Wrap the cordage continuously to the other end, using scissors to trim the excess, creating a high-contrast, tactile grip against the pale wood. Keep consistent tension on the leather to prevent the wrap from slipping during daily use.
Step 6: See the Workshop Reveal
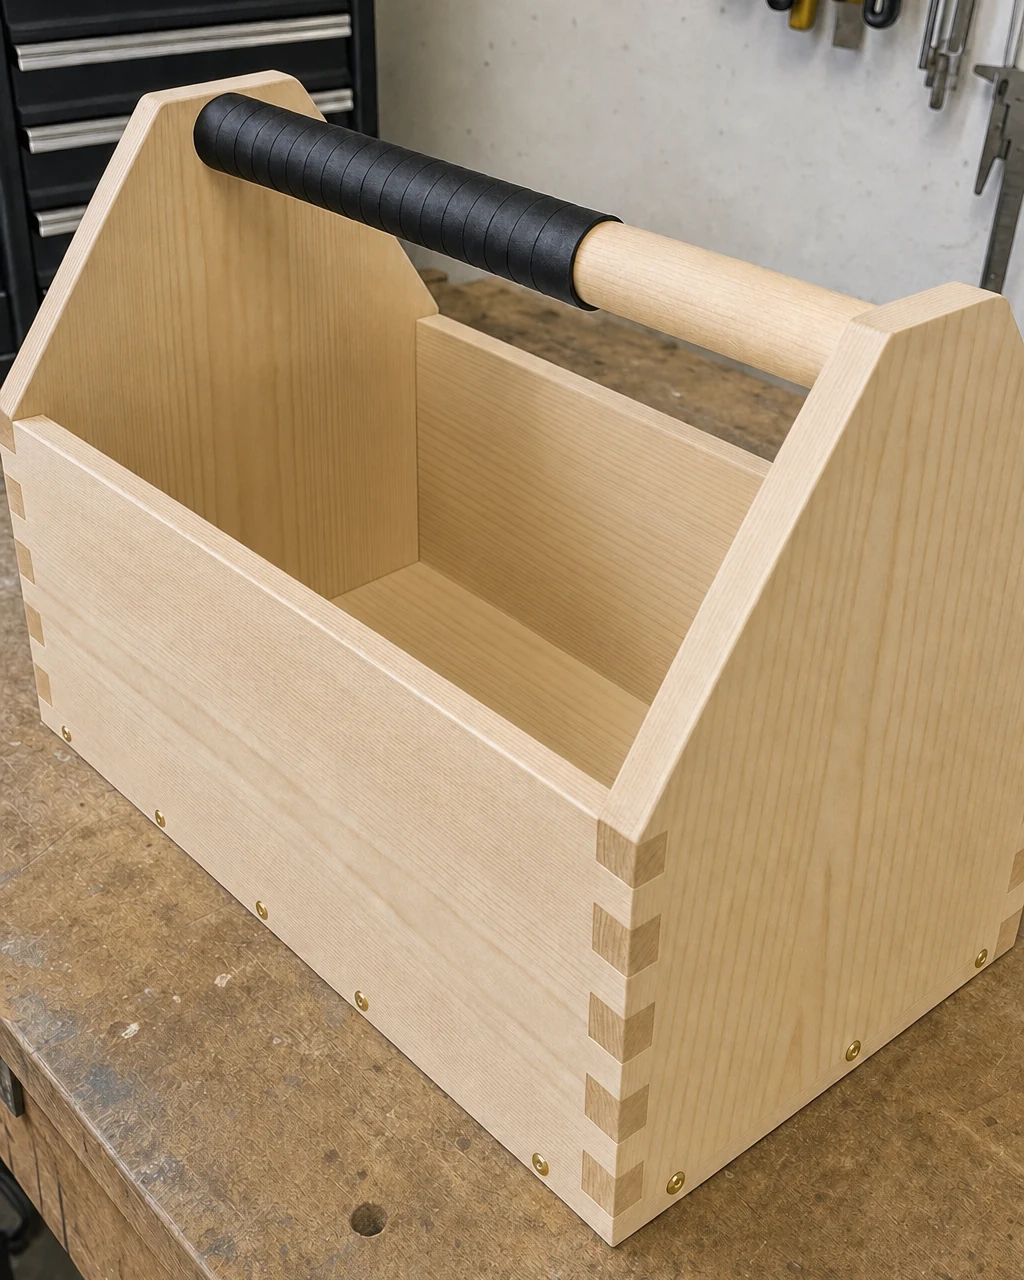
Clear away the screwdriver, cleaning sponge, and rags to present the fully restored toolbox on the cleared heavy paper-covered workbench. Check that the brass-secured base is completely solid and the waxed finish is even across the pale wood. Ensure all solvent fumes have completely dissipated before moving the finished piece indoors.
Step 7: Style It in Your Home
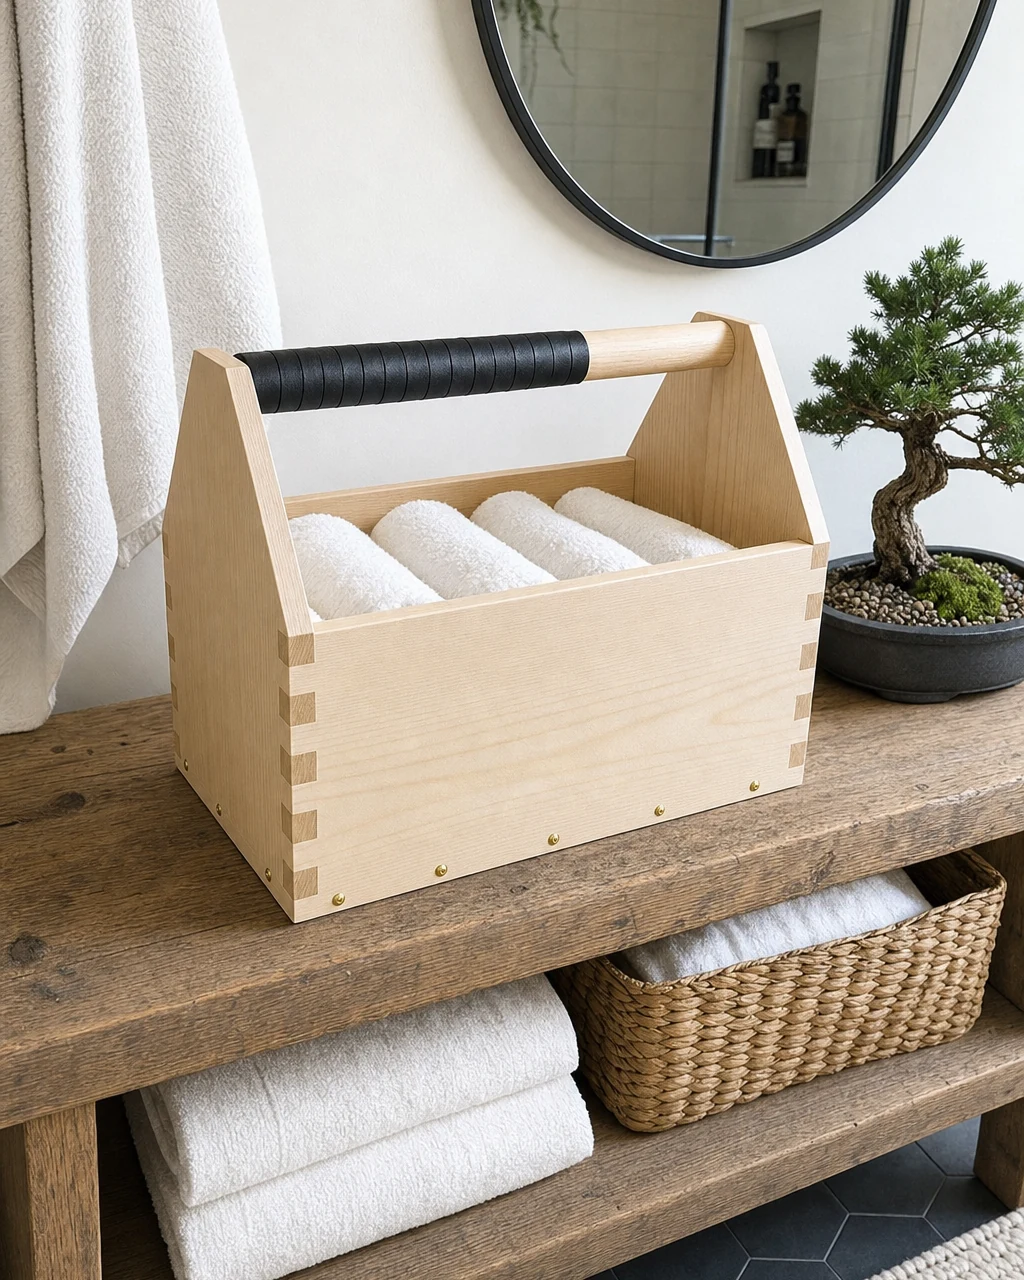
Move the finished toolbox into a calm, minimalist bathroom setting. Use its sturdy compartments to hold rolled white cotton towels and daily toiletries on a low wooden console table. Keep the newly waxed wood away from direct standing water to preserve the smooth, natural finish over time as a stylish home organizer.
Valuation and Resale Potential
The transition from a dirty, sticky garage castoff to a clean, wabi-sabi inspired home accessory dramatically increases its appeal. Boutique home goods buyers specifically value the striking visual contrast between the pale matte wood and the tightly wrapped black leather handle on this unique piece.
- The initial investment remains low, focusing strictly on basic solvents, solid brass hardware, and simple flat leather cordage for the handle wrap.
- This aesthetic shift supports an estimated resale value of $120, proving that thoughtful restoration elevates simple industrial pieces into highly desirable decor.