
Kids Picnic Table Before and After with a Custom Mosaic Top
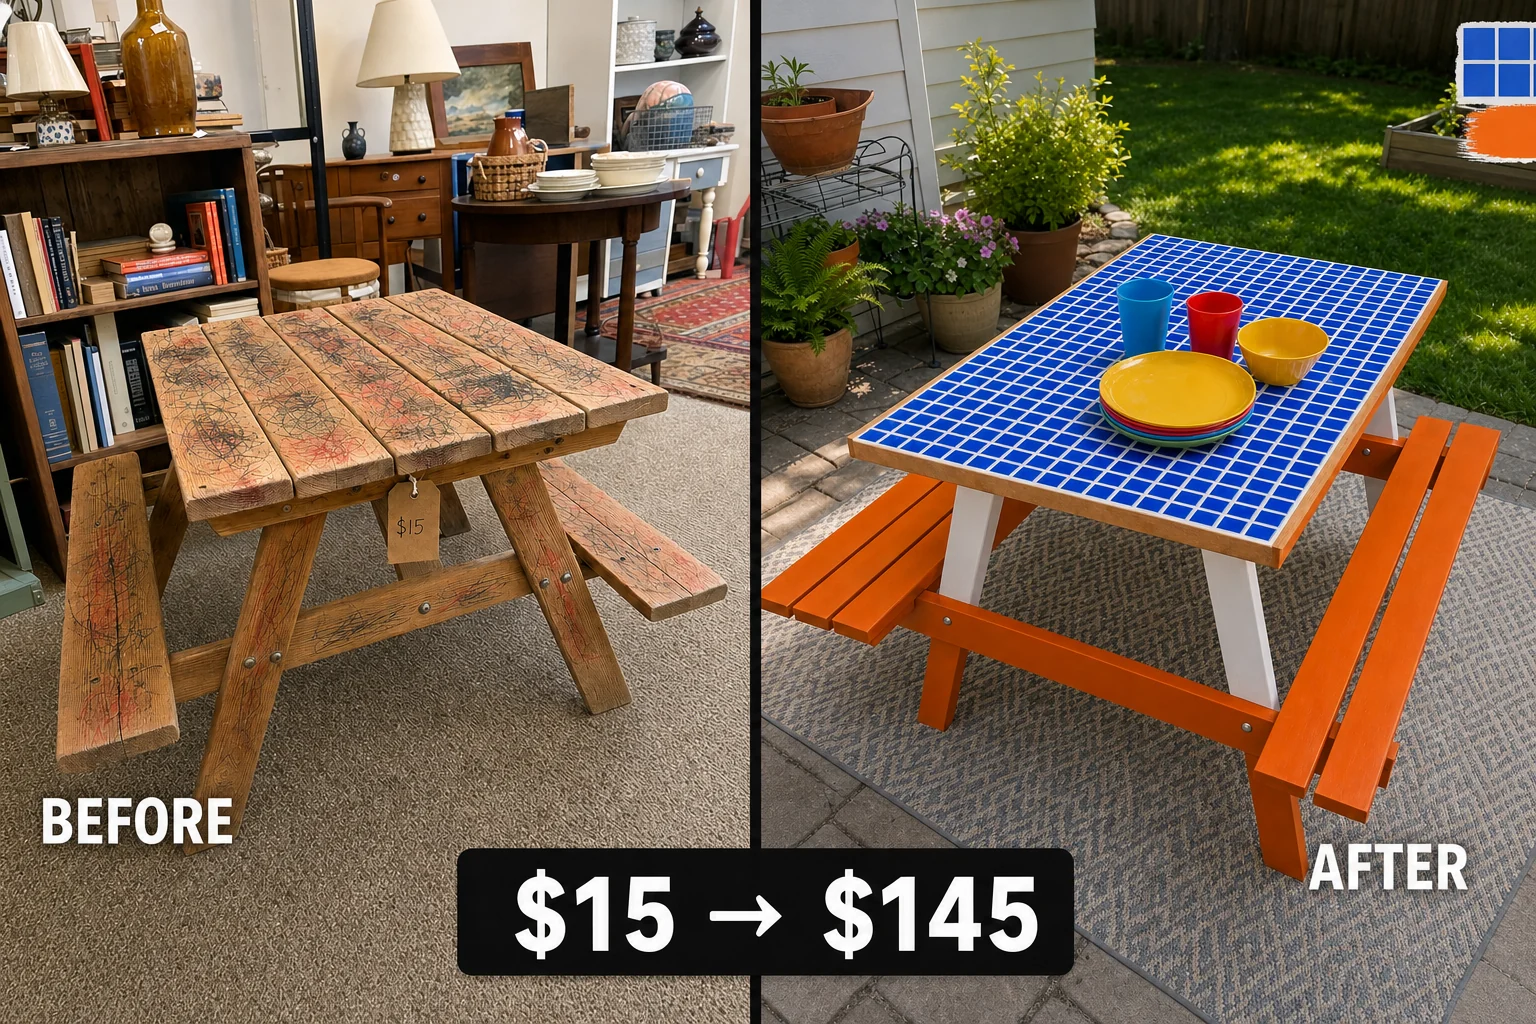
Tucked in a crowded estate sale, this solid cedar kids’ table was heavily stained with permanent marker. We transformed it by adding a durable, weather-resistant ceramic mosaic top and painting the base a vibrant tangerine.
Assessing the Cedar Table’s Condition
Finding this classic A-frame profile tucked in the corner of an occupied-looking estate-sale room presented an interesting challenge. The raw cedar wood and galvanized steel bolts formed a solid foundation, but the piece was marked down significantly due to heavy cosmetic surface damage across the slatted rectangular top.
- Visible gaps between the seat planks and the A-frame supports created an unstable and unsafe seating surface for children.
- Deeply penetrated black and red permanent marker scribbles across the porous cedar top could not be sanded out without thinning the wood.
Planning the Transformation
Because the deeply penetrated ink required an opaque surface treatment, we planned a complete mosaic makeover. Covering the heavy permanent marker stains with a durable, weather-resistant ceramic mosaic top provides a fresh surface, while painting the base a vibrant contrasting color modernizes the classic silhouette.
Step 1: Secure Loose Benches
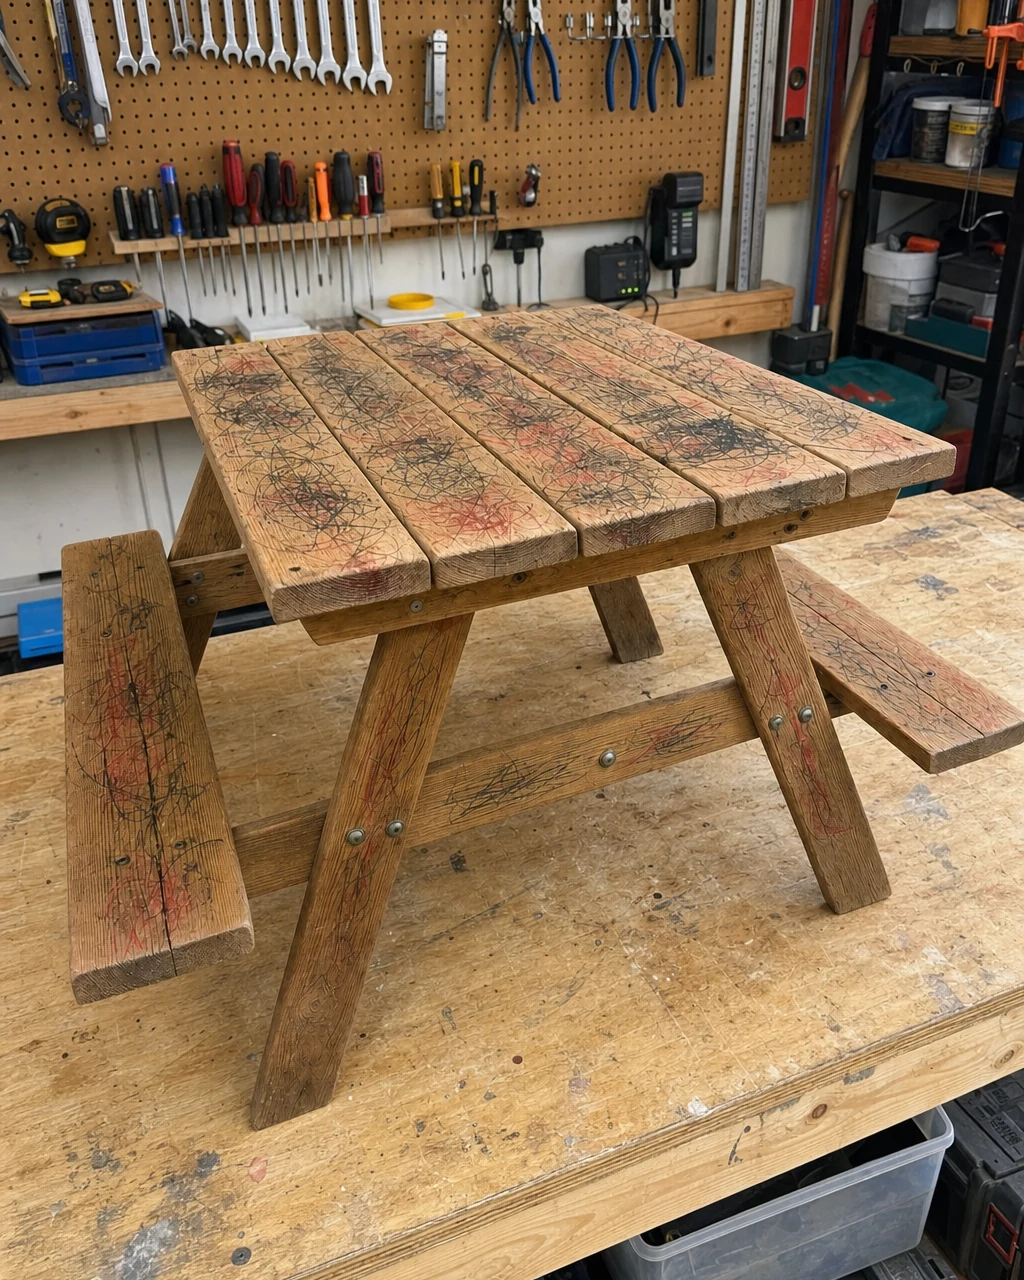
The table rests on the workbench with wobbly bench planks, requiring immediate structural attention. Drive new exterior wood screws through the loose cedar slats directly into the A-frame supports using a power drill. Wear safety glasses when drilling to protect against wood splinters.
| Item | Cost |
|---|---|
| Purchase Price | $15 |
| Exterior Screws | $5 |
| Exterior Primer | $14 |
| Exterior Paint | $18 |
| Mosaic Tiles | $35 |
| Tile Adhesive | $12 |
| Sanded Grout | $10 |
| Total Investment | $109 |
| Estimated Resale Value | $145 |
| Value Gain | $36 |
Stabilizing the Frame
Tightening the original hardware and securing the bench planks ensures the table sits flush and rigid against the wooden frame. Fixing the wobbly seats first is crucial, as a rigid base prevents the new tile surface from cracking under movement when children sit down.
Step 2: Prime the Base
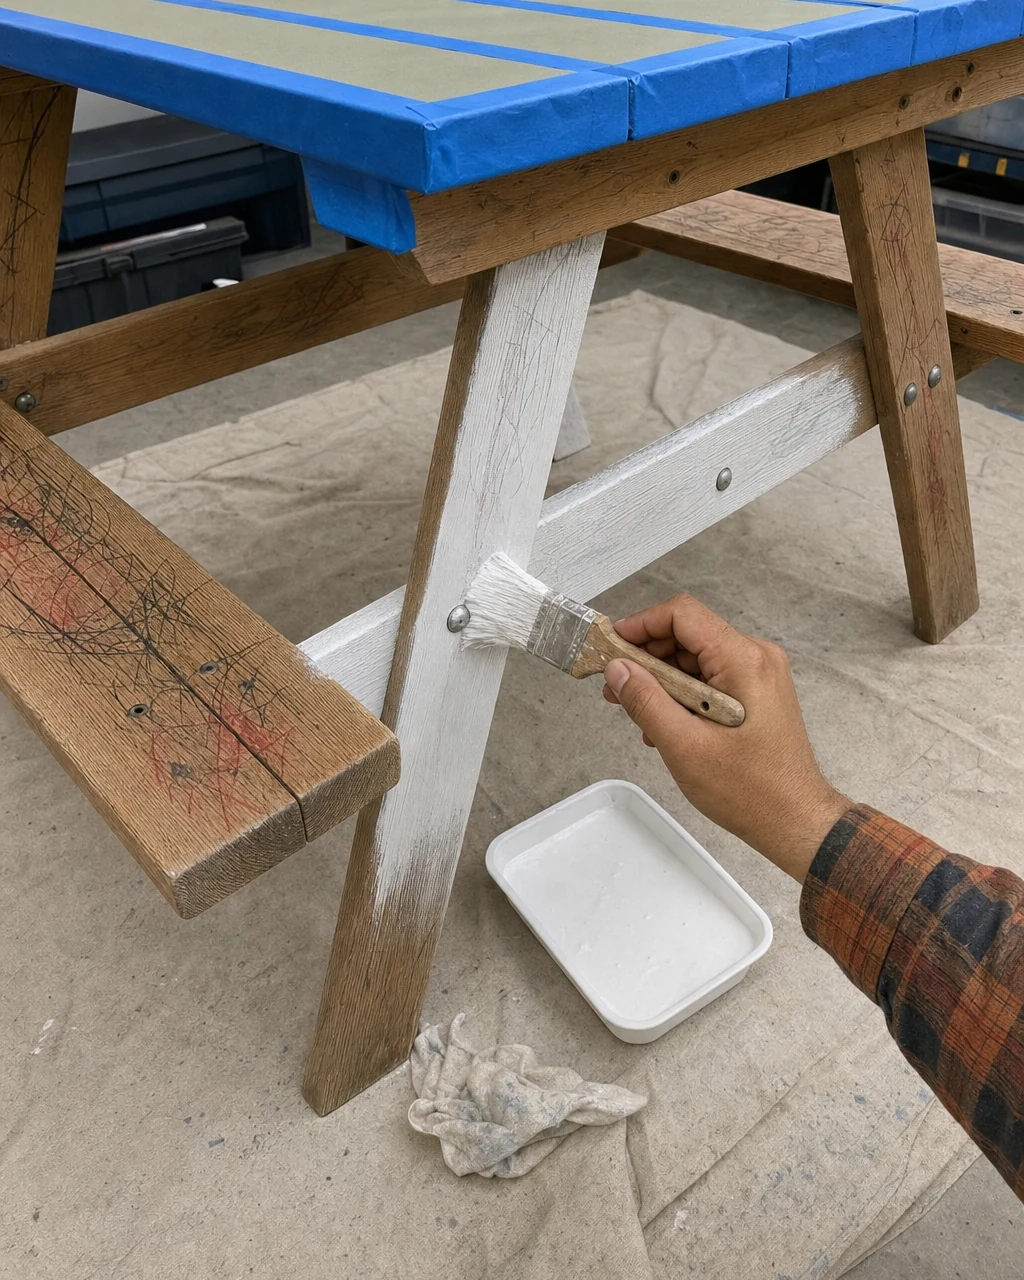
Once the benches are structurally secure and the tabletop is masked off, apply a thick coat of stain-blocking exterior primer to the A-frame and benches. Use a paintbrush over a canvas drop cloth, and work in a well-ventilated area when applying solvent-based primers.
Blocking the Marker Stains
This initial coat prepares the raw cedar for paint and blocks old marker ink from bleeding through the final finish. Allow the primer to dry for two hours until the lower half of the table is coated in a solid, opaque white layer.
Step 3: Paint the Frame
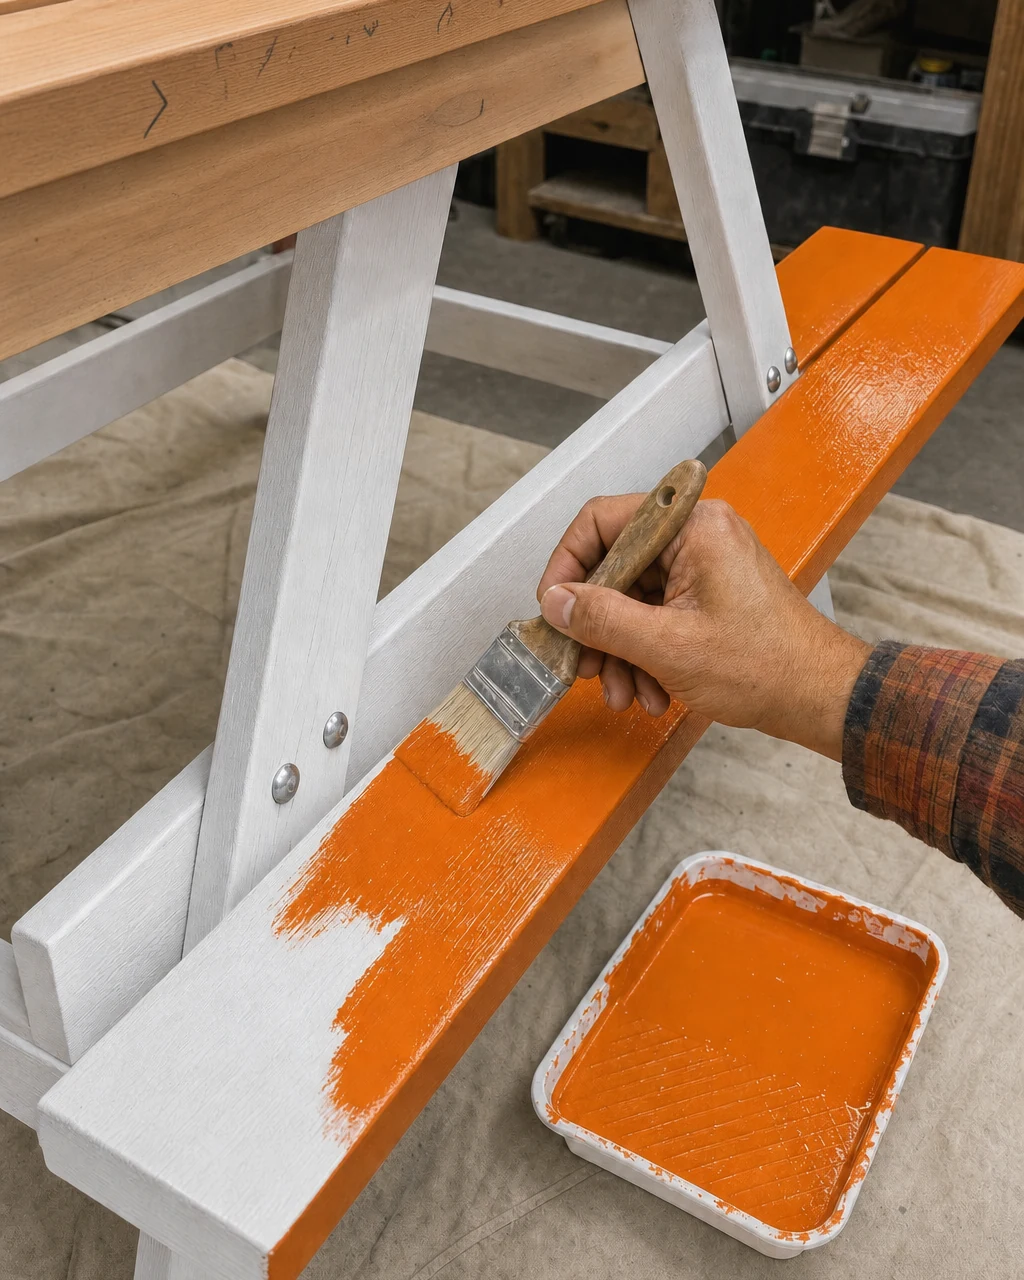
When the primer is completely dry to the touch, paint the primed frame and benches with two coats of bright tangerine exterior paint. Keep the work area clear of dust while the exterior paint cures, allowing two hours of dry time between coats.
Materials checklist
Achieving a Glossy Finish
Brushing bright tangerine paint onto the primed cedar bench seat creates a solid, glossy finish. This vibrant exterior color withstands heavy outdoor wear and frequent washing, ensuring the base remains as durable as the upgraded tabletop.
Step 4: Set Mosaic Tiles
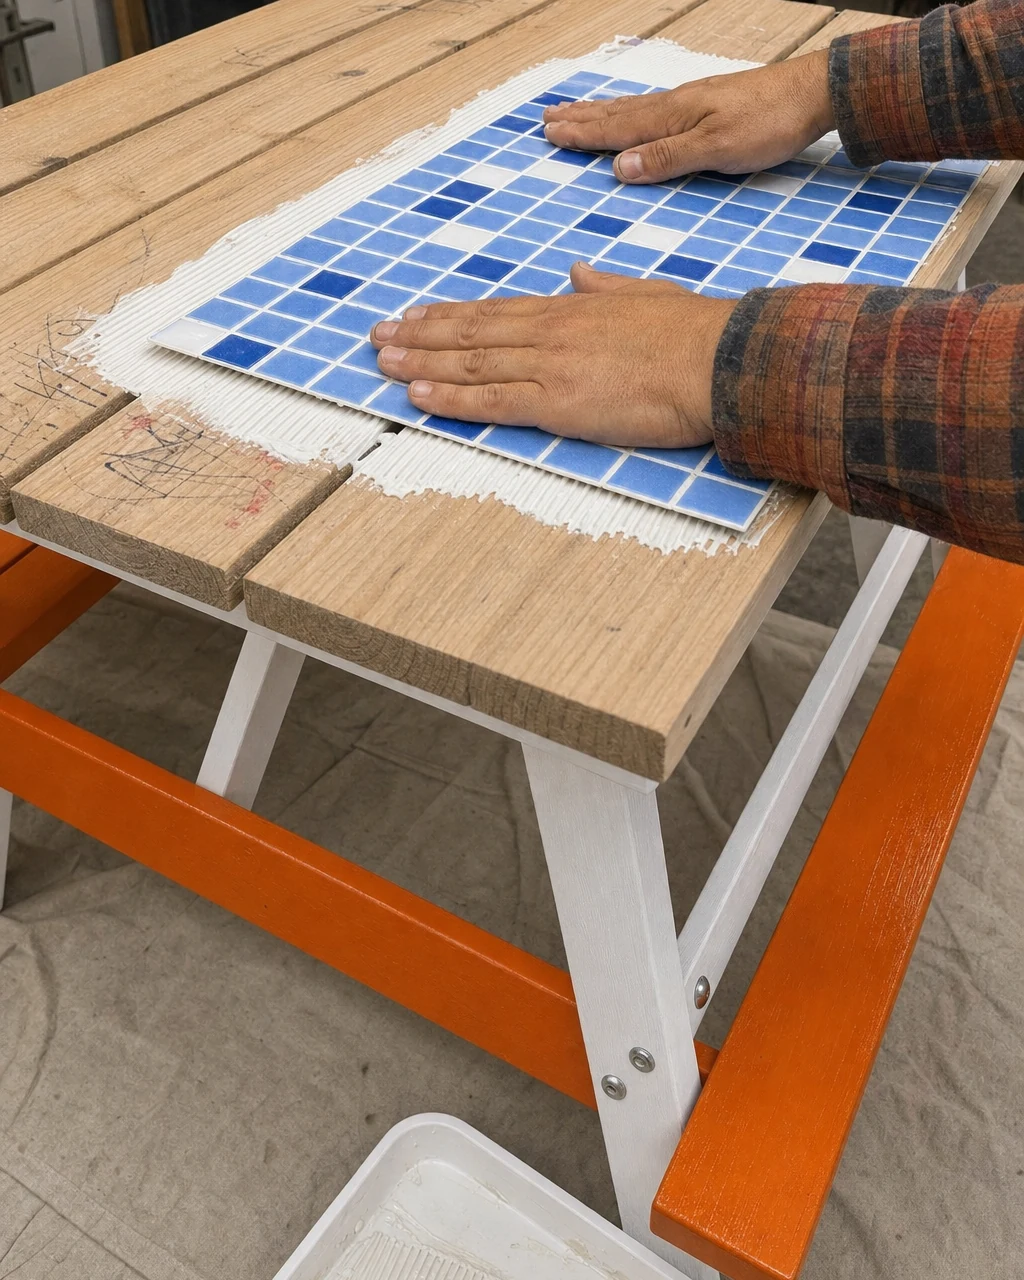
With the paint dry and the tabletop exposed as bare cedar with marker stains, trowel exterior tile adhesive over the surface using a notched trowel. Wear disposable gloves to keep adhesive off your skin while working with the sticky bonding agent.
Placing the Ceramic Sheets
Press square sheets of blue and white ceramic mosaic tiles firmly into the wet adhesive, covering the entire flat surface evenly. Let the adhesive cure for 24 hours until the tabletop is fully covered in un-grouted mosaic tiles. This ceramic tile provides a waterproof, indestructible surface for messy crafts.
Step 5: Apply Exterior Grout
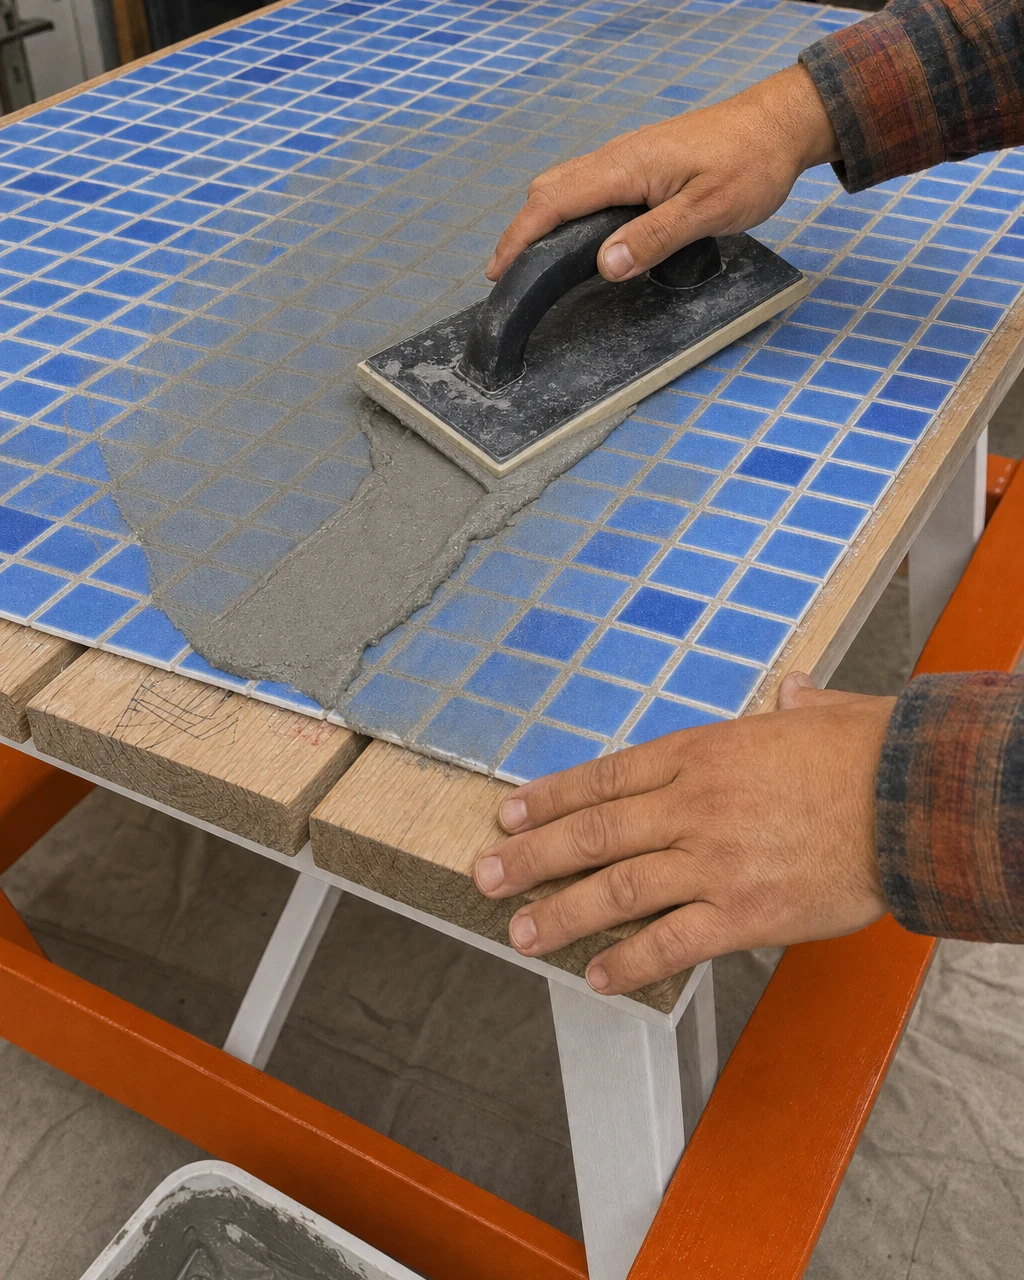
Once the tile adhesive is fully cured and the tiles are firmly set, force sanded exterior grout into the tile joints. Sweep a rubber float loaded with grey grout diagonally across the mosaic tiles. Wear a dust mask when mixing dry sanded grout.
Filling the Tile Joints
After forcing the material into the gaps, wipe away the excess wet grey grout with a damp sponge. Locking tiles with grout is essential, and sanded grout specifically resists shrinking and cracking in changing outdoor temperatures.
Step 6: Buff the Haze
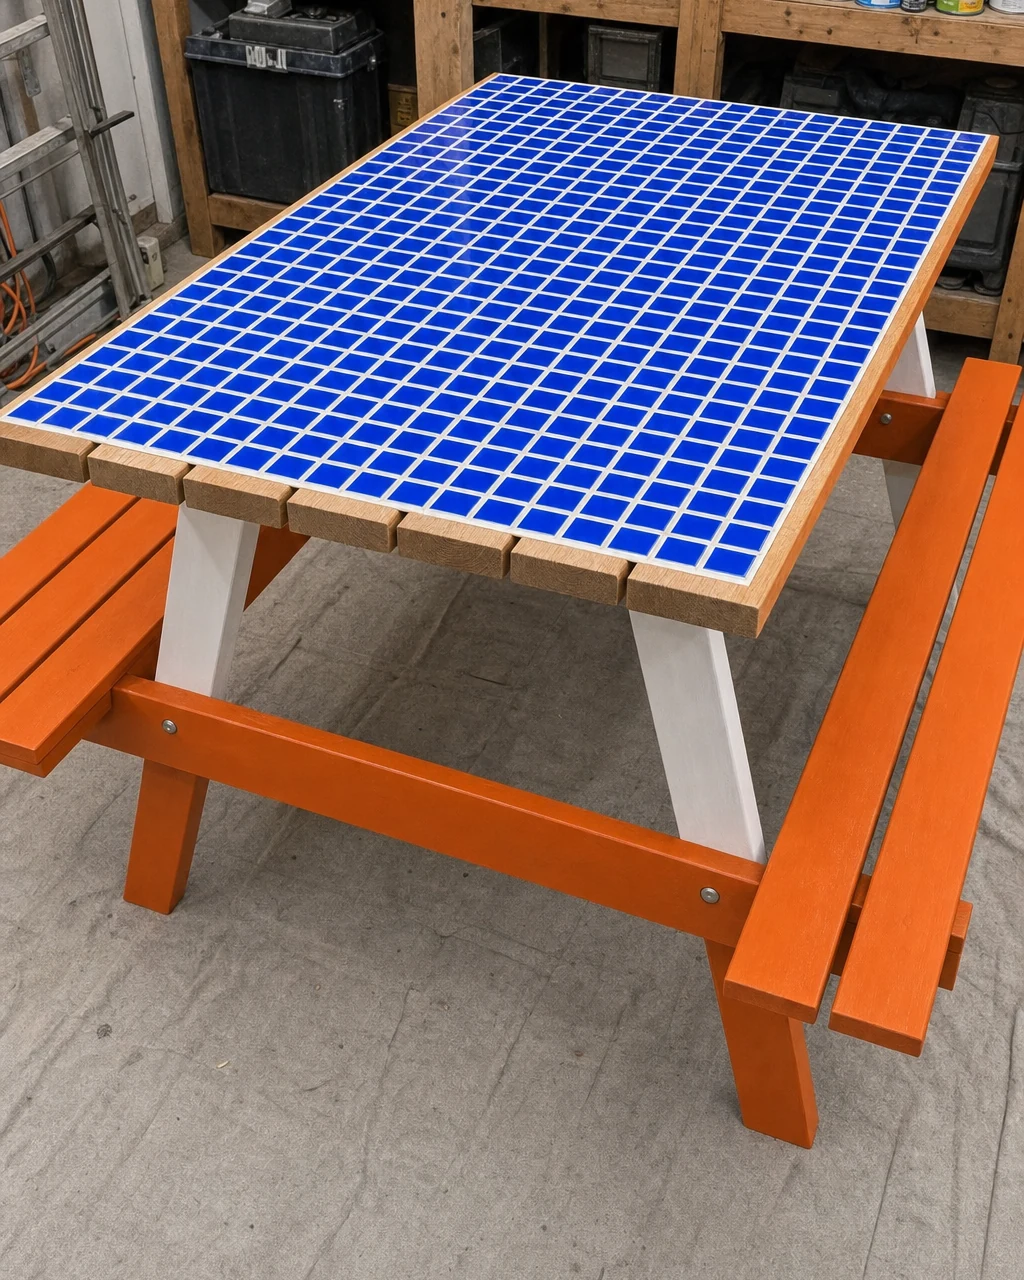
Once the grout has set into a hazy film across the tiles, buff the dried grout haze off the tiles with a dry microfiber cloth. Ensure the grout is completely dry before buffing to avoid pulling it from the joints.
Revealing the Custom Surface
Polishing the mosaic tabletop removes the residue and reveals the finished, shiny ceramic surface. The table now stands finished on the workbench with gleaming tiles, showcasing the signature blue and white geometric pattern that completely hides the original damage.
Step 7: Style for Play
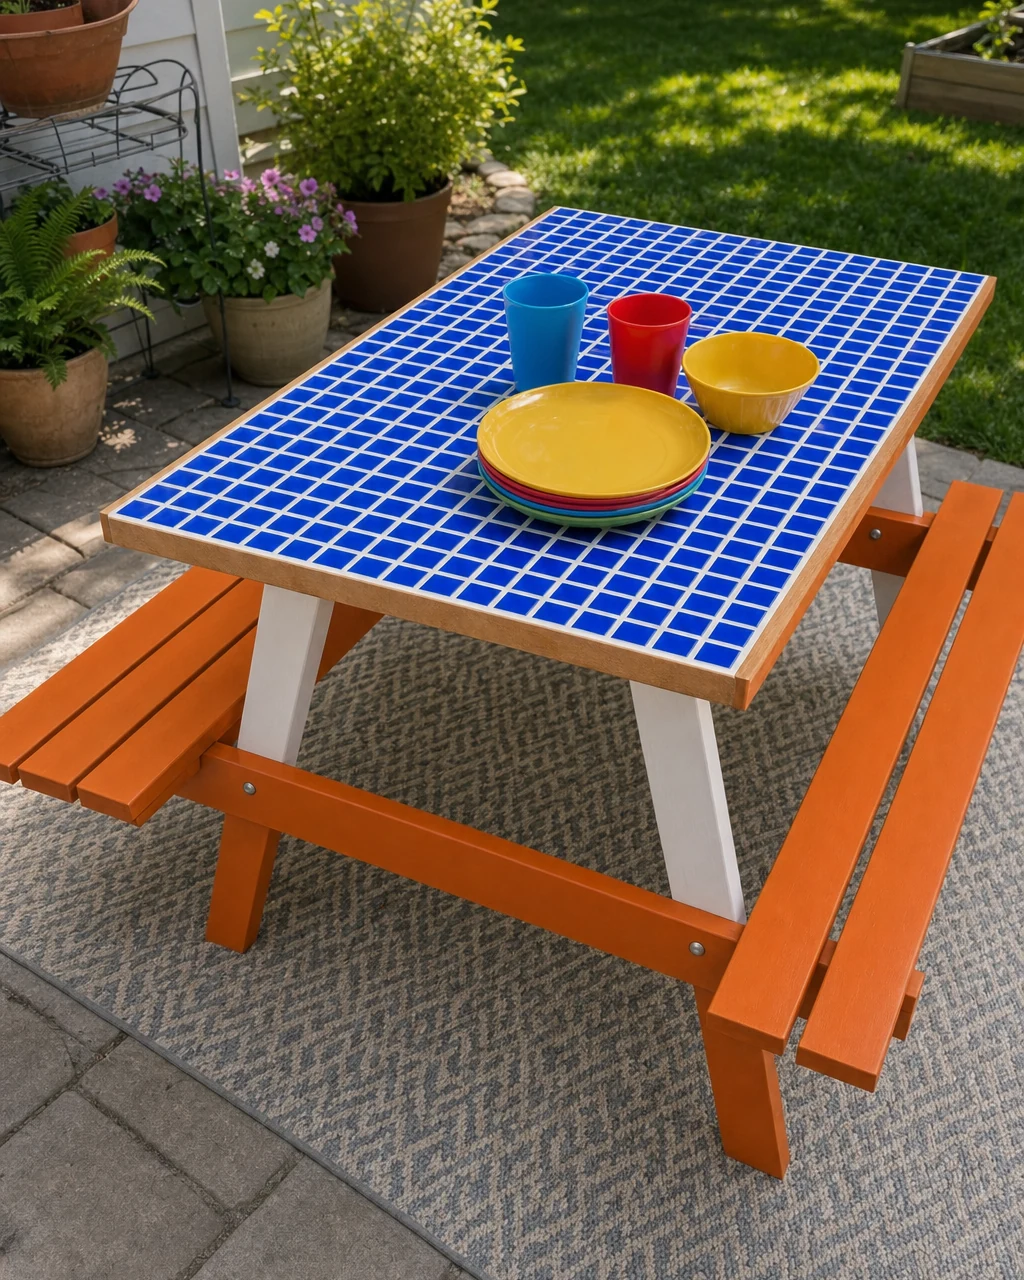
Move the finished, fully cured table to a sunny backyard patio. Lift the heavy tiled table with a partner to avoid back strain. Set the gleaming geometric tabletop with unbreakable kids’ plates and cups, ready for a messy outdoor lunch or craft session.
Valuation and Resale Potential
Adding a durable, weather-resistant mosaic top and vibrant exterior paint elevates this from a stained cast-off to a custom piece of premium children’s patio furniture. This custom treatment commands premium prices, turning a $15 find into a sturdy piece with an estimated resale value of $145.