
Wooden Bowl Transformation with a Cerused Limewash Finish
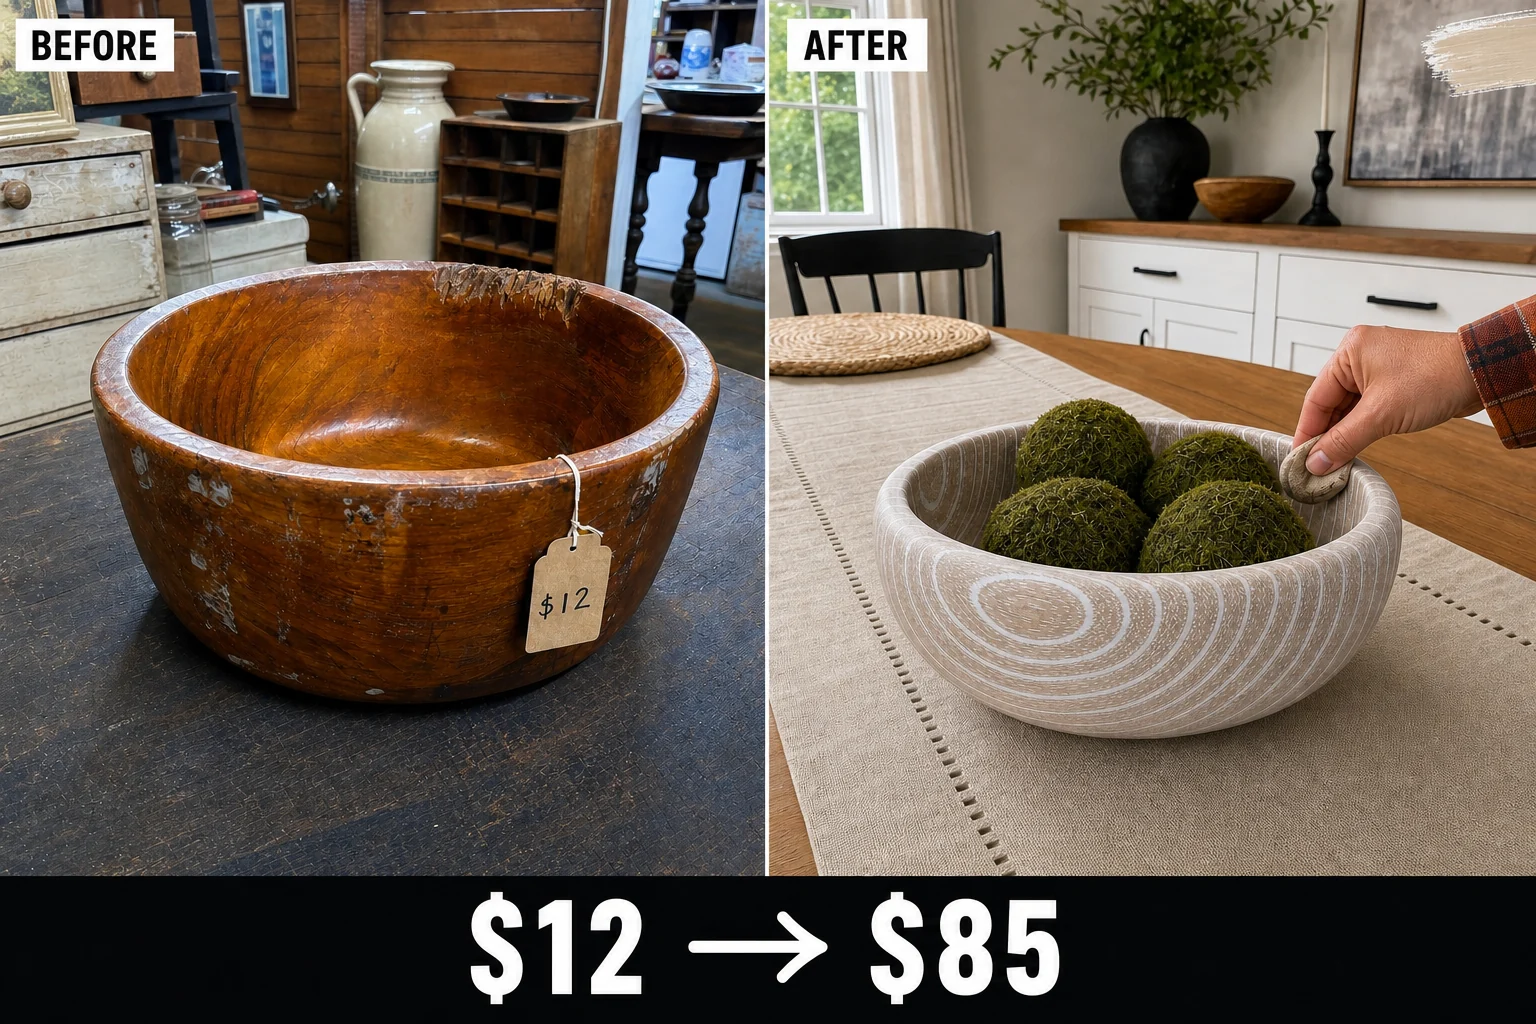
Tucked behind tarnished plates at an antique market, this faded monkey pod bowl had incredible hidden grain. We stripped the glossy 1970s varnish and applied a traditional liming wax to create a striking, high-contrast cerused centerpiece.
Evaluating the Vintage Wooden Bowl
Finding this heavy circular vessel in a cluttered indoor antique-market booth revealed a piece with deep, sweeping natural grain patterns. A plain tied price tag marked it as an affordable project, but the solid wood block required significant restoration before any decorative wax finishes could be applied to the surface.
- Degraded factory finish: Sun-faded patches and sticky residue on the outer curve prevent new treatments from penetrating the wood.
- Damaged upper edge: Rough, splintered sections along the top rim disrupt the silhouette and make the bowl unsafe to handle.
- Filled wood grain: The deep natural pores are clogged with decades-old glossy varnish, hiding the natural texture.
Understanding the Original Construction
Measuring 12 inches in diameter and 5 inches deep with 1-inch thick walls, this deep, heavy circular vessel was turned from a single solid piece of monkey pod wood. The immutable features include the sweeping natural grain patterns inherent to the solid wood block, which provide the perfect foundation for a striking cerused finish.
Step 1: Clean the Surface
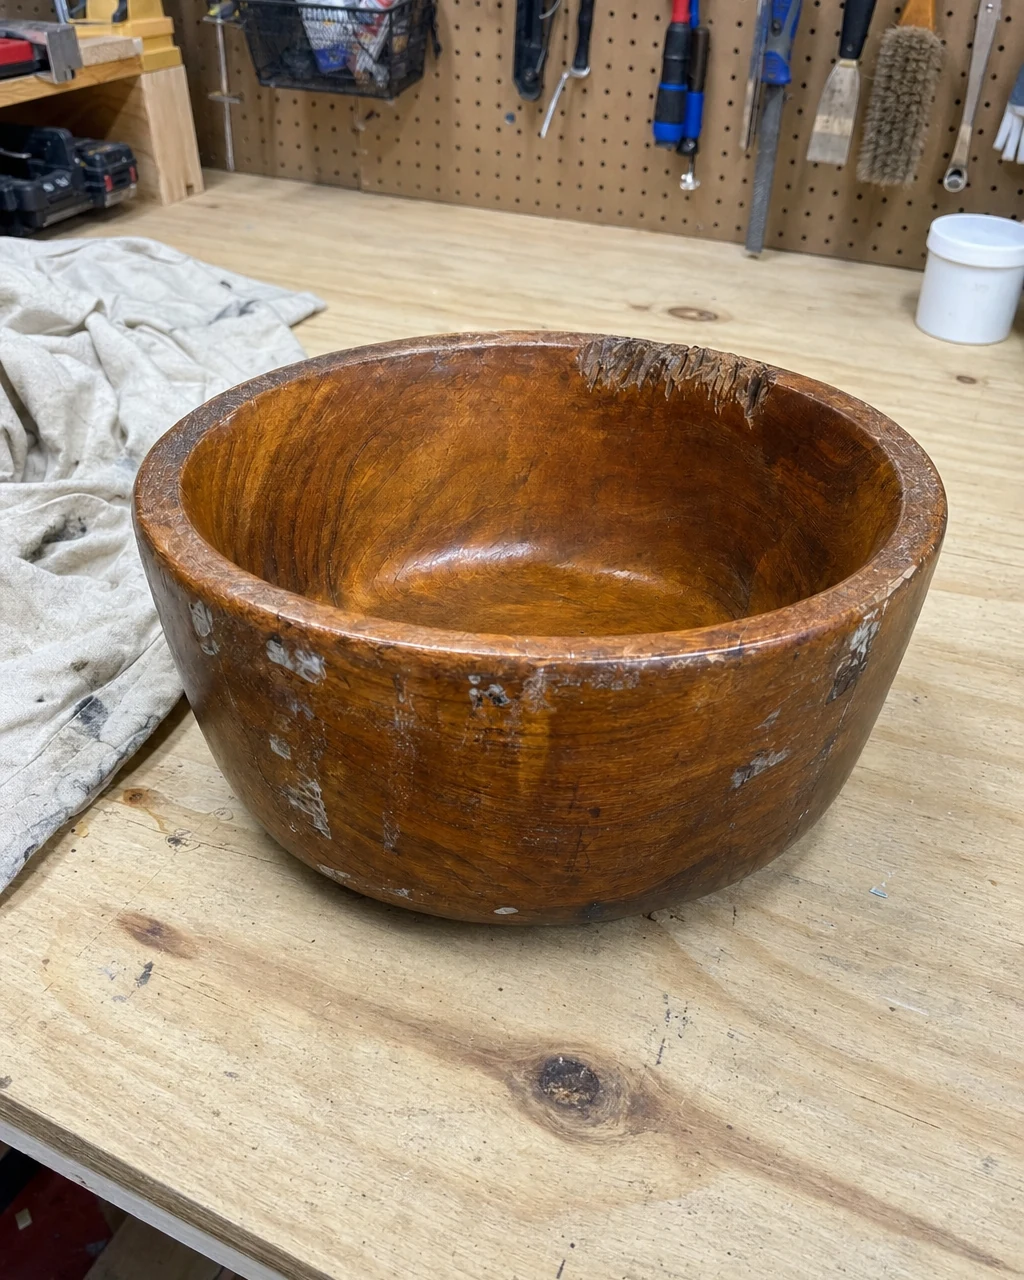
Inspect the heavy wooden bowl resting on your protected workbench for deep cracks before scrubbing the entire exterior with a TSP substitute. Removing decades of surface grease and sticky buildup ensures the sandpaper will not become clogged during the stripping phase. Wear nitrile gloves when handling heavy degreasers to protect your skin.
| Item | Cost |
|---|---|
| Purchase Price | $12 |
| TSP Substitute | $8 |
| Sanding Sponges | $6 |
| Liming Wax | $15 |
| Cotton Rags | $5 |
| Total Investment | $46 |
| Estimated Resale Value | $85 |
| Value Gain | $39 |
Preparing for Sanding
Wiping the faded exterior with a damp rag soaked in the degreaser yields a clean, duller surface free of sticky buildup. This essential surface cleaning prevents old oils from gumming up your abrasives, saving time and money when you move on to smoothing the damaged upper edge and stripping the old amber varnish.
Step 2: Sand the Rim
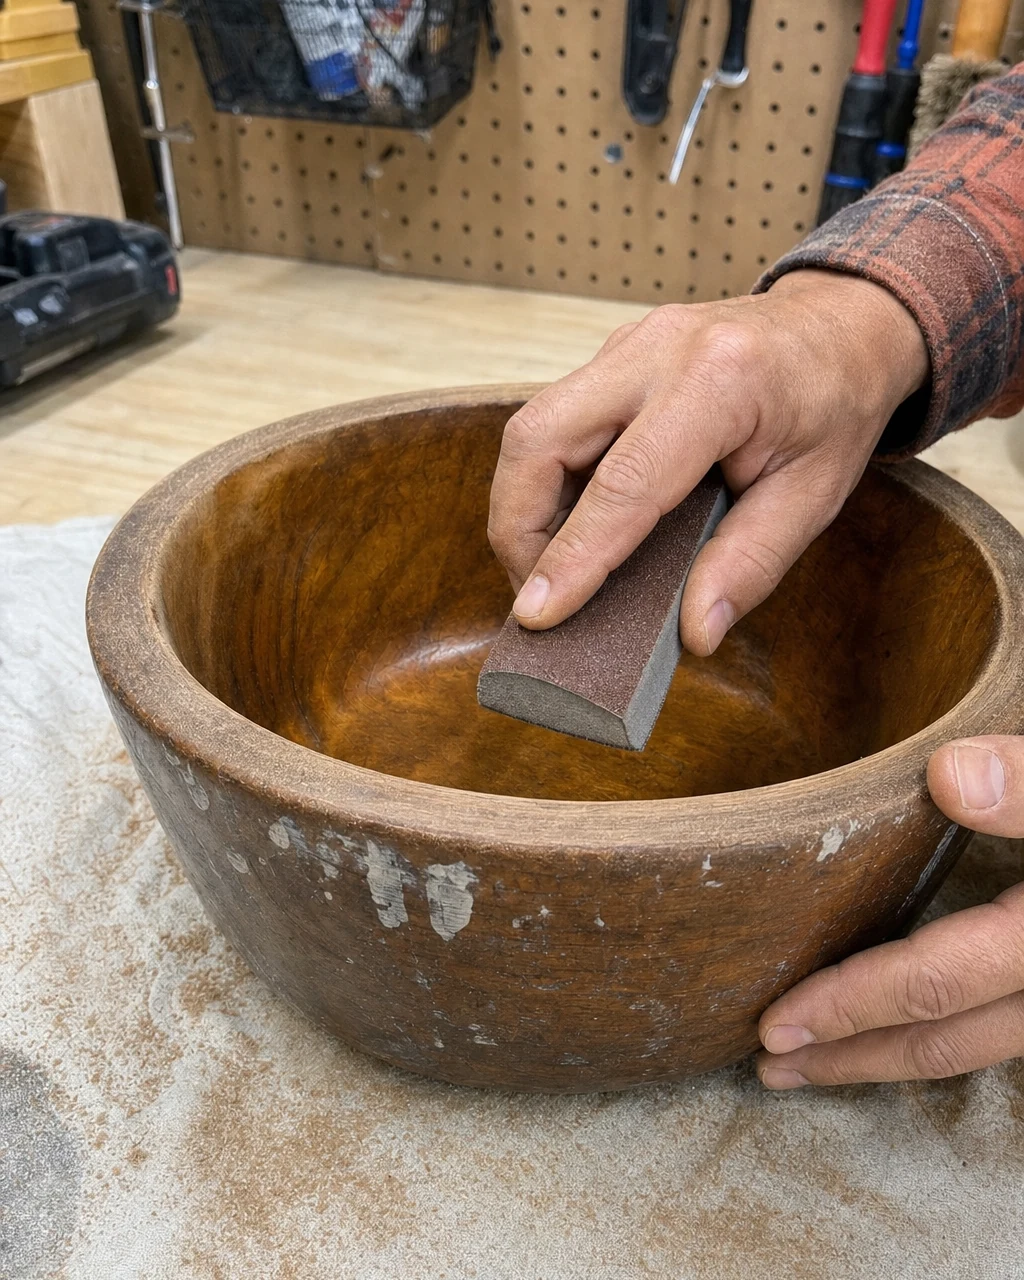
Use a flexible 120-grit sanding sponge to carefully round over the splintered sections of the top edge. Blend the damaged areas into the original curve until the rim is completely smooth to the touch, exposing raw wood where the splinters were. Always wear a dust mask to avoid inhaling fine wood particles.
Materials checklist
Step 3: Strip the Varnish
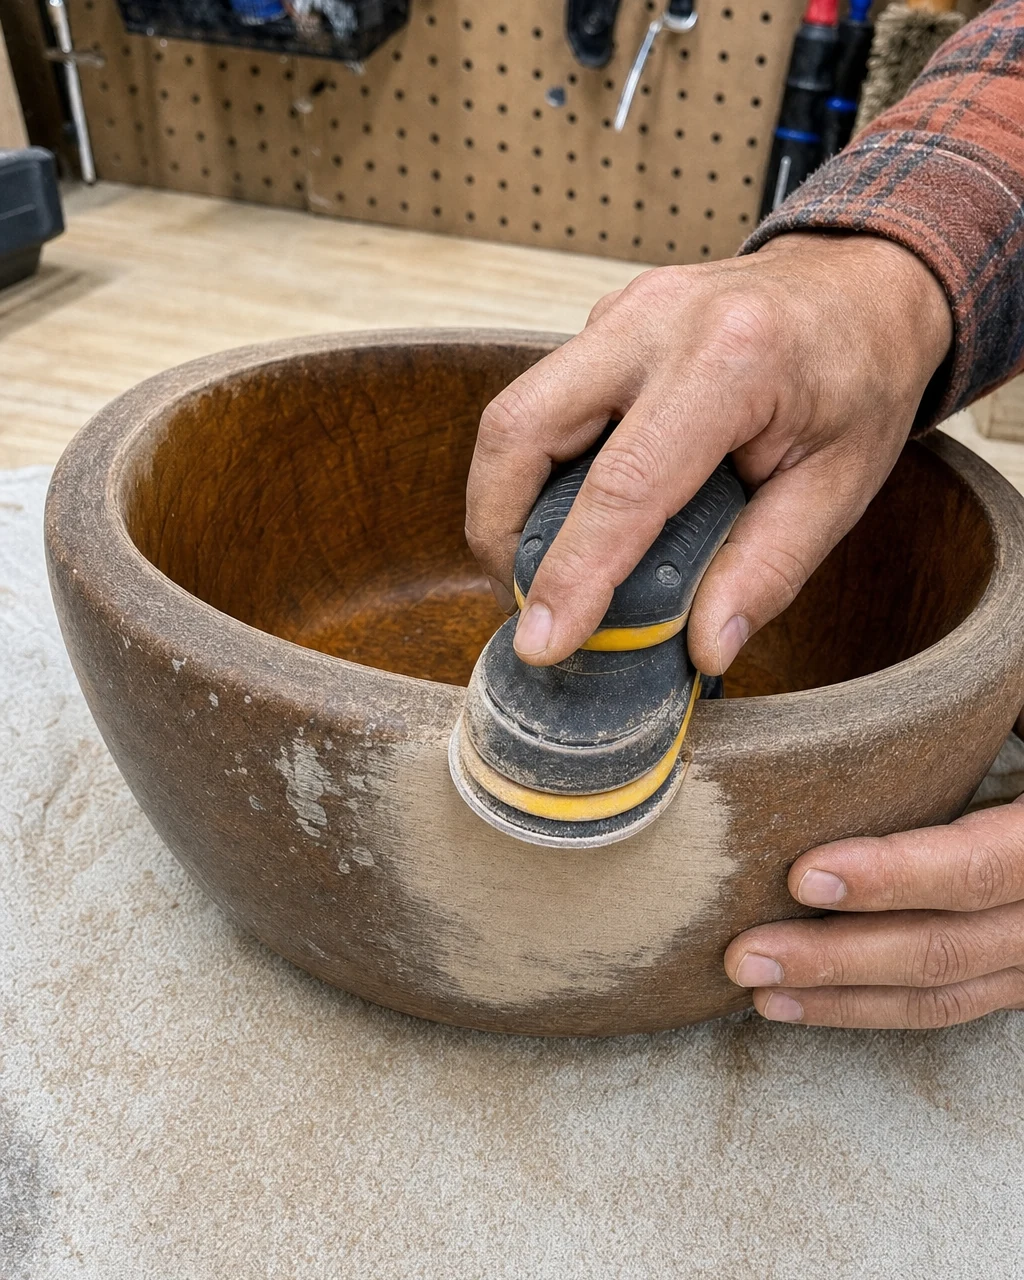
Sand the entire exterior and interior with a random orbital sander using 80-grit, then 120-grit paper. This completely removes the glossy amber finish to reveal the pale, raw wood beneath. Always connect the sander to a vacuum or wear an N95 mask, as 1970s finishes can produce harmful dust.
Revealing the Raw Wood
Once the thick factory finish is completely stripped away, the bowl transforms into a completely matte, pale raw wood vessel with no remaining glossy patches. This smooth, bare surface is now fully prepped and ready to be textured, allowing the upcoming traditional wax treatments to penetrate deeply into the exposed monkey pod grain.
Step 4: Wire-Brush the Grain
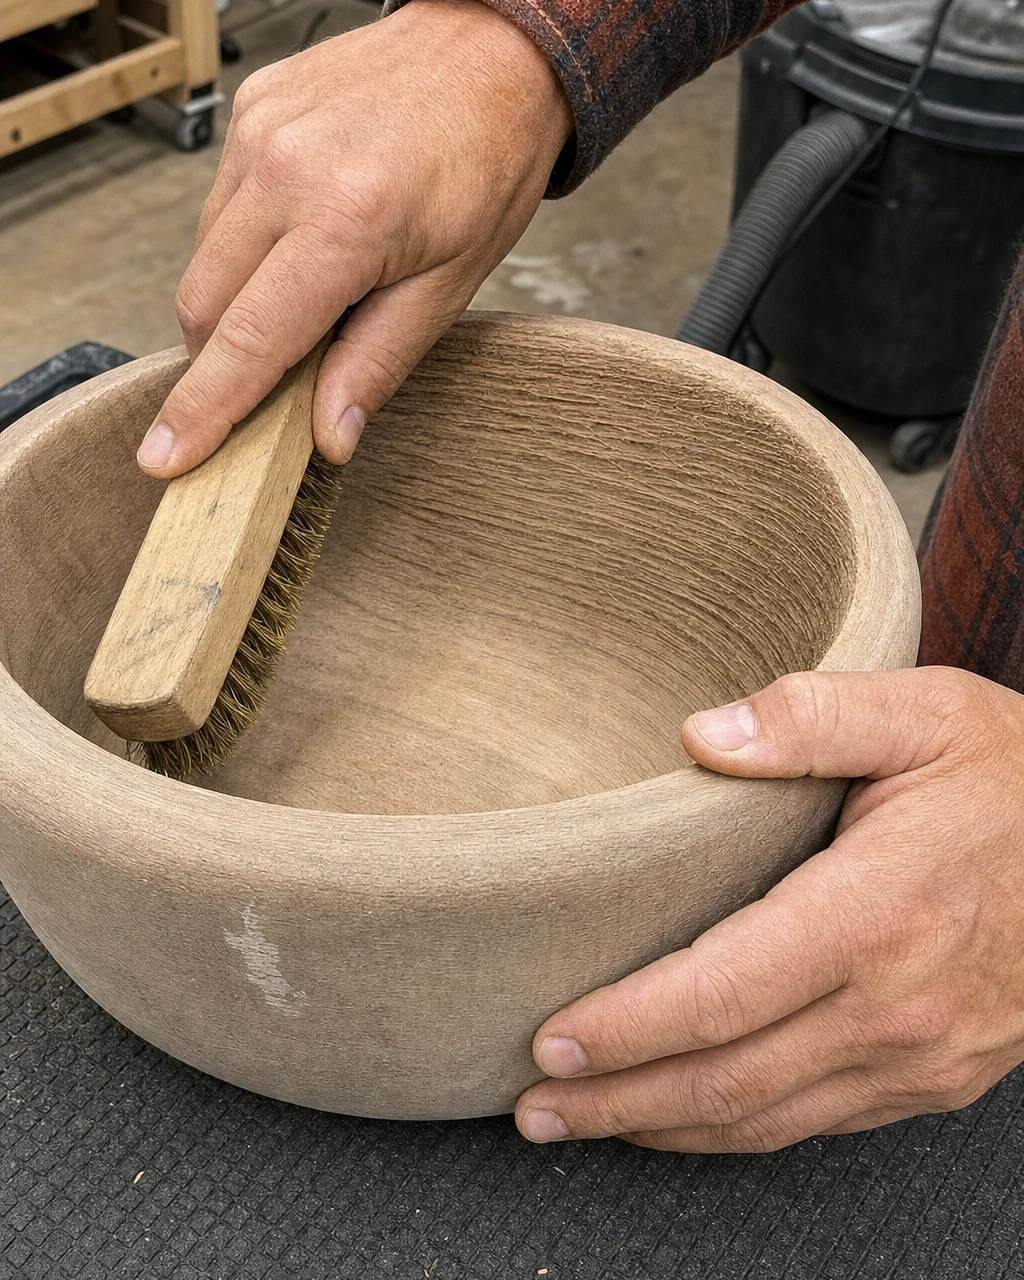
Scrub the bare wood firmly following the direction of the grain with a stiff brass wire brush. This digs out the softer wood fibers, opening up deep channels for the wax to sit in and creating a highly textured surface. Wear safety glasses to protect your eyes from flying wood dust and loose brass bristles.
Preparing for the Wax Application
Thoroughly wiping down the newly textured surface with a dry shop rag removes any lingering brass bristles or loosened wood fibers. This critical preparation step guarantees that the upcoming white pigment will settle smoothly into the deep natural monkey pod grain patterns without any gritty contamination disrupting the final high-contrast artisan finish.
Step 5: Apply Liming Wax
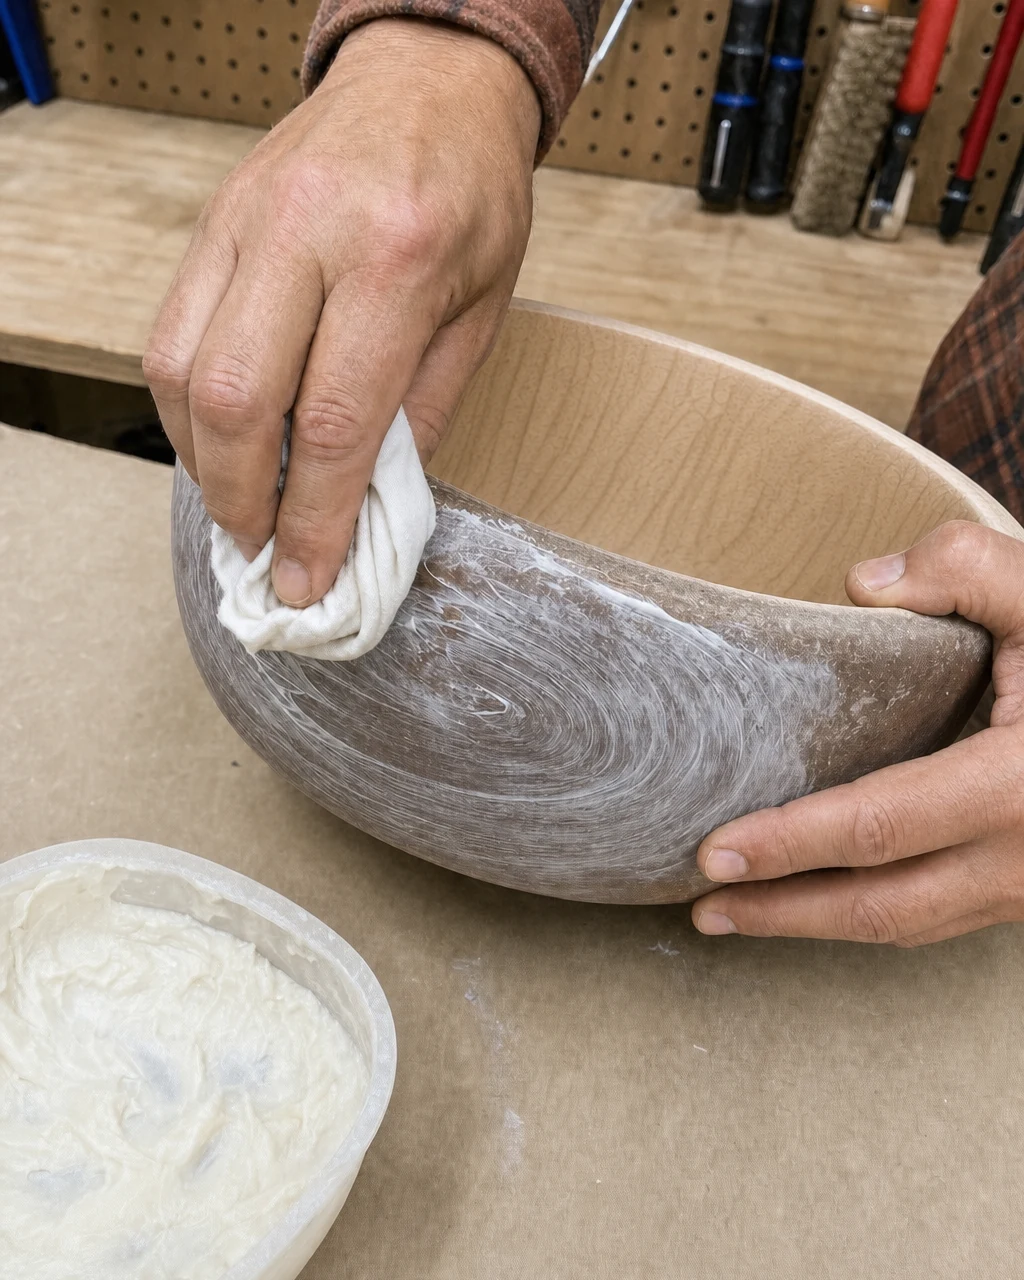
Rub a generous amount of white liming wax into the wood using a circular motion with a cotton cloth. Ensure the pigment is pushed deep into the newly opened pores, covering the bowl in a cloudy, opaque layer. Work in a well-ventilated area, as finishing waxes contain mineral spirits.
Allowing the Finish to Cure
Let the heavy wax application sit undisturbed on the raw wood for at least 30 minutes to haze over completely. Allowing the mineral spirits to evaporate hardens the white pigment inside the grain channels, ensuring it will not pull out during the final buffing process and maximizing the striking cerused effect.
Step 6: Buff to Reveal
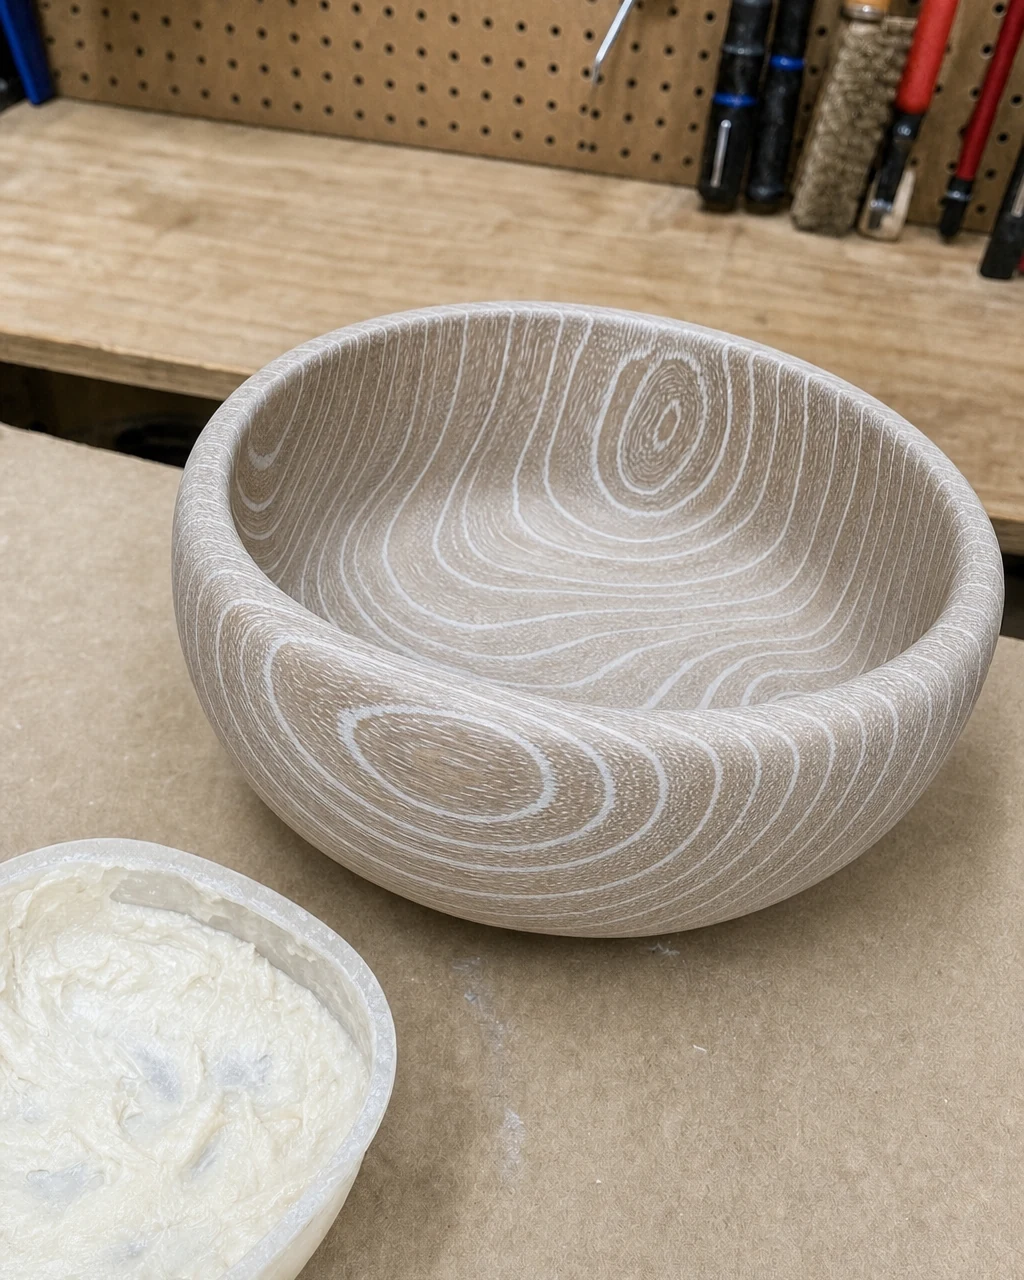
Vigorously buff the entire bowl with a clean cotton rag to remove the wax from the high spots. This leaves the bright white pigment trapped exclusively in the deep grain lines for a high-contrast look. Dispose of wax-soaked rags properly by laying them flat to dry outside to prevent spontaneous combustion.
Step 7: Style as a Centerpiece
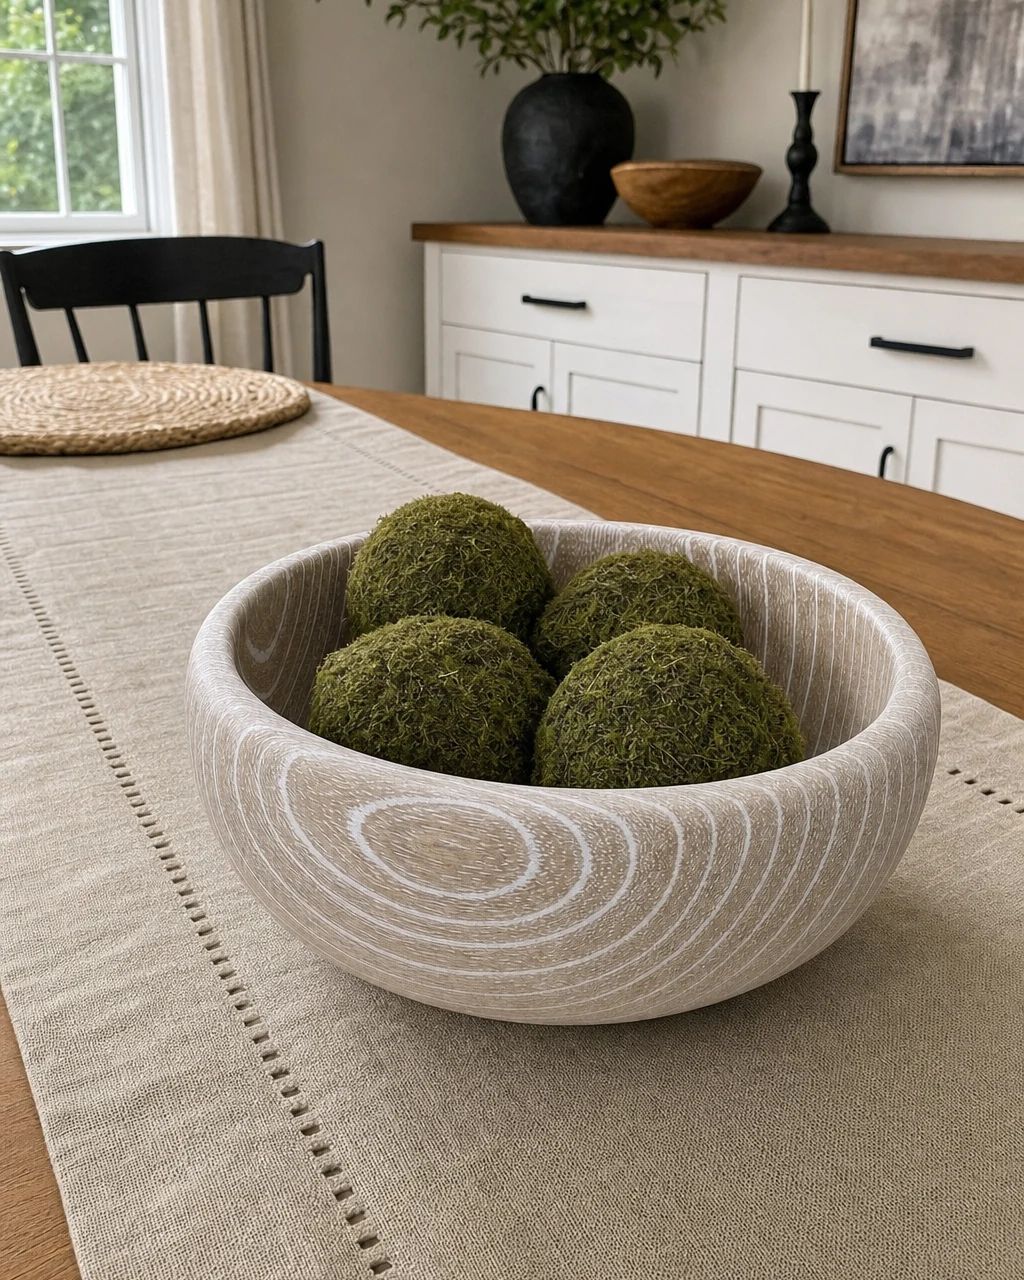
Place the finished cerused bowl on a dining table as a highly textural decorative vessel. Fill the heavy circular silhouette with moss spheres or wooden beads to highlight its artisan-style transformation. Do not use liming wax on items intended for direct food contact.
Decorative Valuation and Resale Potential
This piece transitions from a dated, damaged thrift store staple to a high-end, artisan-style decorative vessel. The cerused finish mimics expensive designer wooden decor, significantly raising its decorative value. The estimated resale value is an editorial estimate reflecting this dramatic visual upgrade, not a completed sale.
- The striking white cerused grain lines contrast sharply against the raw, matte ash-toned wood.
- The deep, natural monkey pod grain patterns are highlighted entirely in bright white wax.
- The piece shifts from a glossy, scratched utility bowl to a matte, highly textural decorative vessel.