
Vintage Suitcase Transformation with Neon Cyberpunk Panels
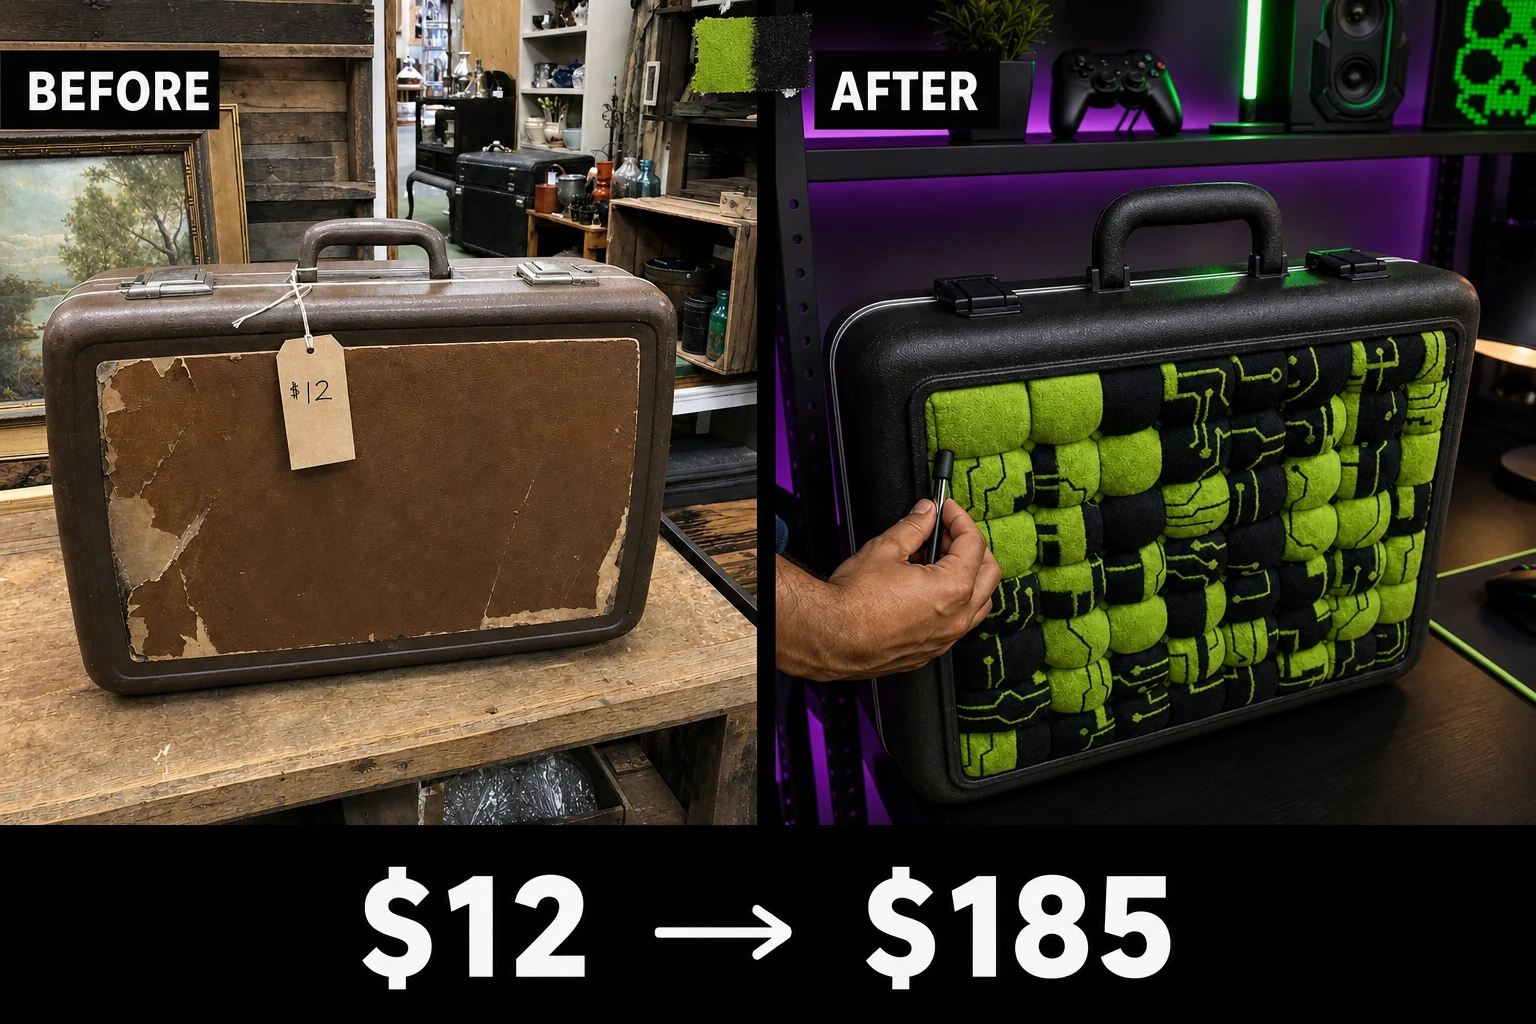
Buried in an antique booth, this 1970s hard-shell suitcase featured intact plastic but severely flaking vinyl. Replacing that cracked exterior with custom neon tufted panels completely reinvents the vintage piece.
Evaluating the Vintage Suitcase Damage
Buried under a stack of old briefcases in a partitioned antique market booth, this 1970s hard-shell suitcase had seen better days. The flat faces suffered from brittle, flaking brown vinyl that peeled away from the shell. This damage sheds debris and prevents a clean, stable surface for customization. Furthermore, the original locking mechanism featured snapped metal clasps that no longer caught the upper hooks.
Valuation and Resale Potential
The combination of functional hard-shell luggage and custom handmade tufted textile art elevates this from a broken thrift find to a bespoke statement piece. This striking transformation supports an estimated resale value of $185. The vibrant neon green and black glitch-art textiles replace the cracked brown vinyl, delivering a massive visual upgrade while maintaining the original molded rounded corners and metal hinge strip.
| Item | Cost |
|---|---|
| Purchase price | $12 |
| Neon acrylic yarn | $14 |
| Monks cloth | $10 |
| Carpet latex adhesive | $18 |
| Construction adhesive | $8 |
| Matte black toggle latches | $12 |
| Total investment | $74 |
| Estimated resale value | $185 |
| Value gain | $111 |
Step 1: Inspect the Vintage Damage
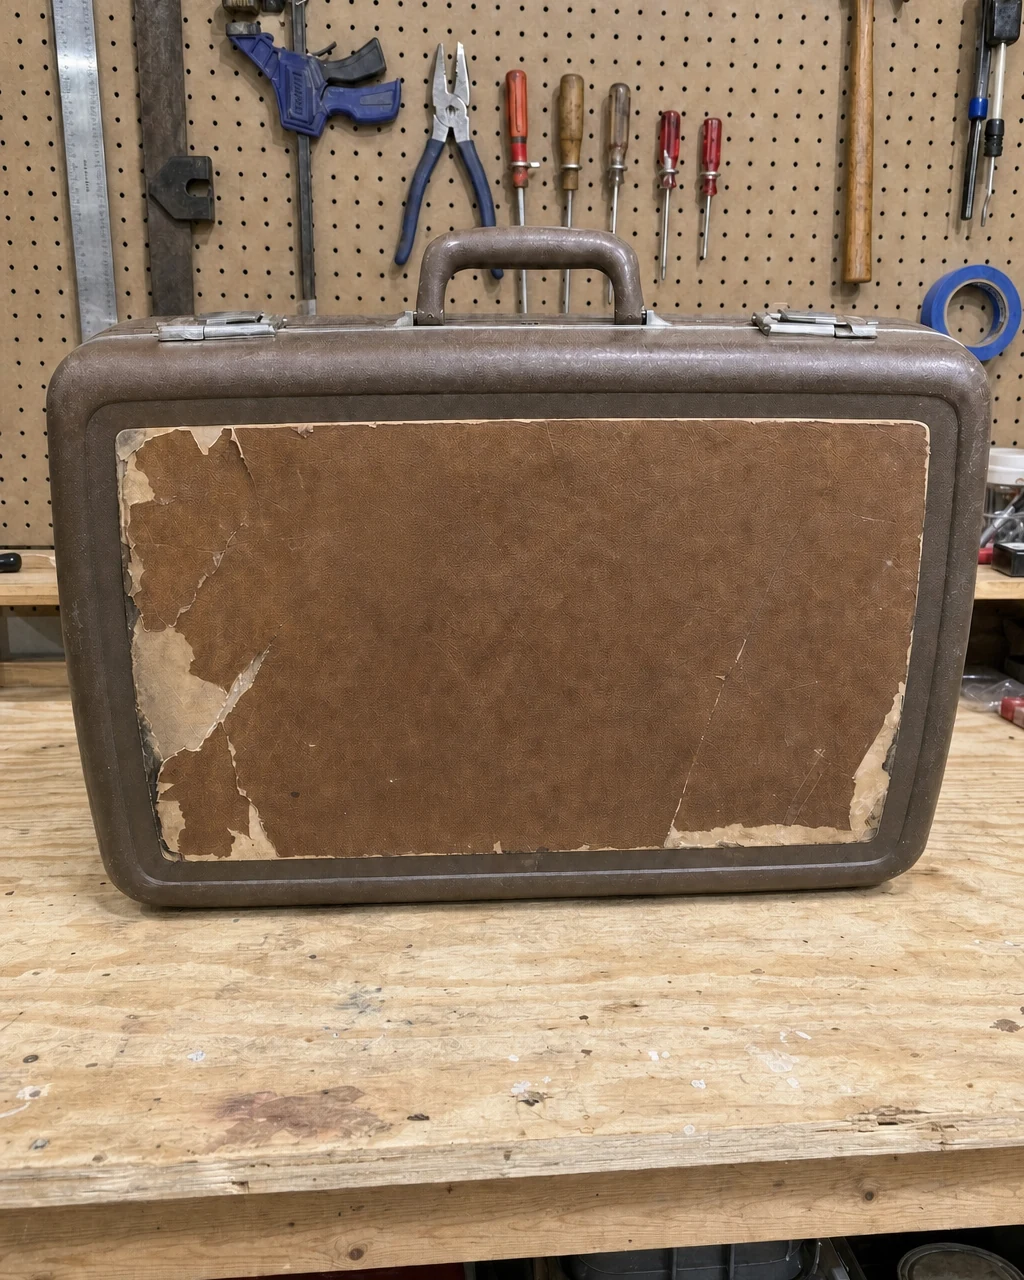
Rest the vintage suitcase flat on the workbench to evaluate the peeling brown vinyl and snapped metal clasps. Use a screwdriver to inspect the remaining hardware and confirm the molded plastic shell is structurally sound. Always handle broken metal clasps carefully to avoid sharp edges. The rigid plastic shell remains intact, providing an ideal foundation for stripping the vinyl and applying tufted textile panels.
Step 2: Remove the Peeling Vinyl
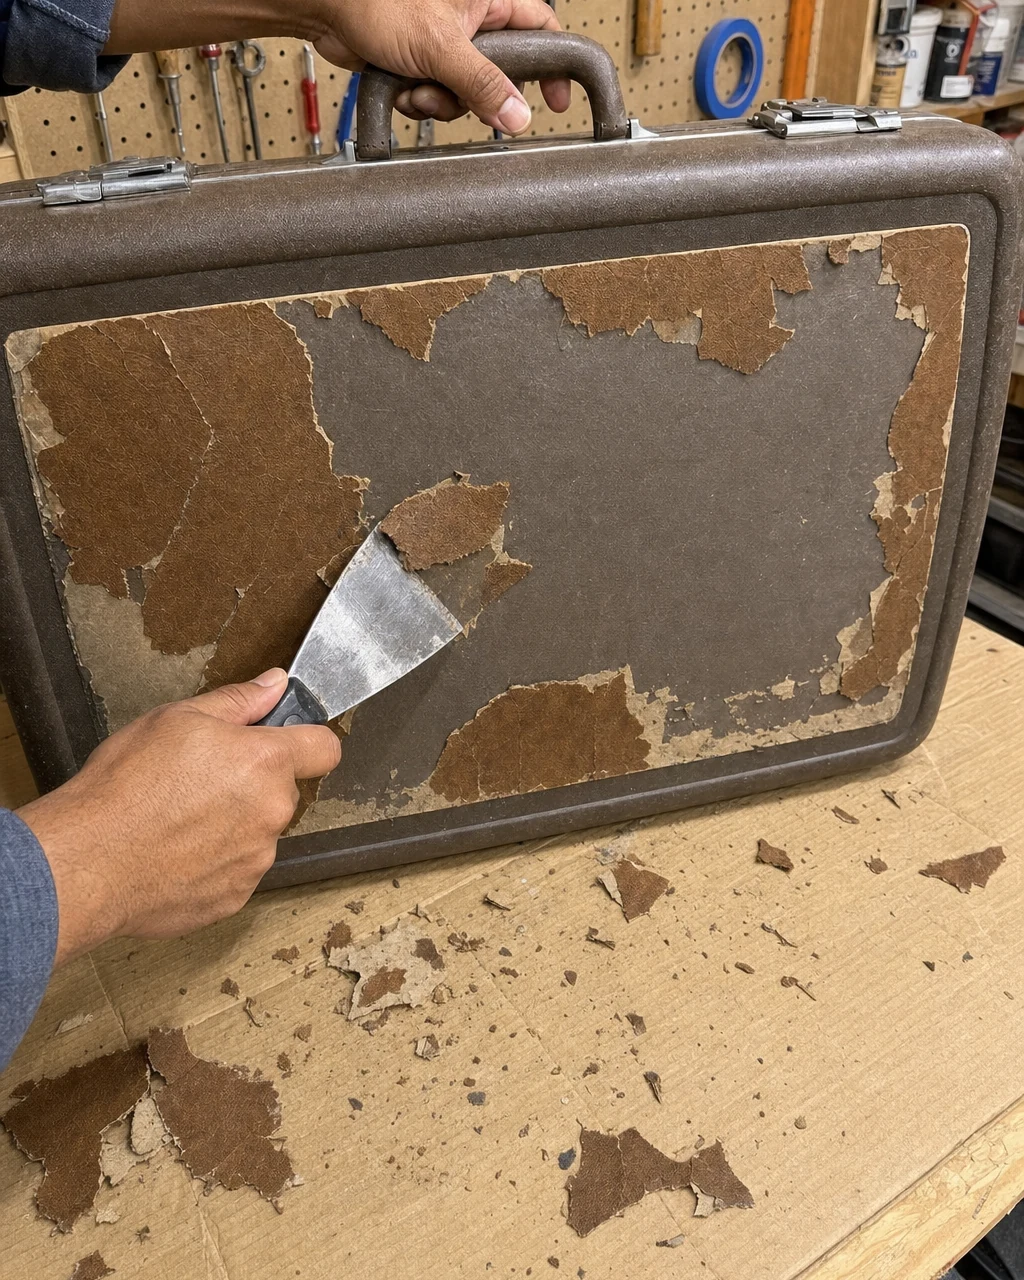
Peel and scrape the cracked brown vinyl away from the recessed flat faces of the hard-shell body. Use a stiff metal putty knife to clear the debris, leaving the intact molded plastic edges perfectly bare. Wear safety glasses when scraping brittle vinyl to protect eyes from flying plastic shards. Thoroughly clearing the recesses ensures the bare plastic is ready for the new panels.
Step 3: Tuft the Cyberpunk Design
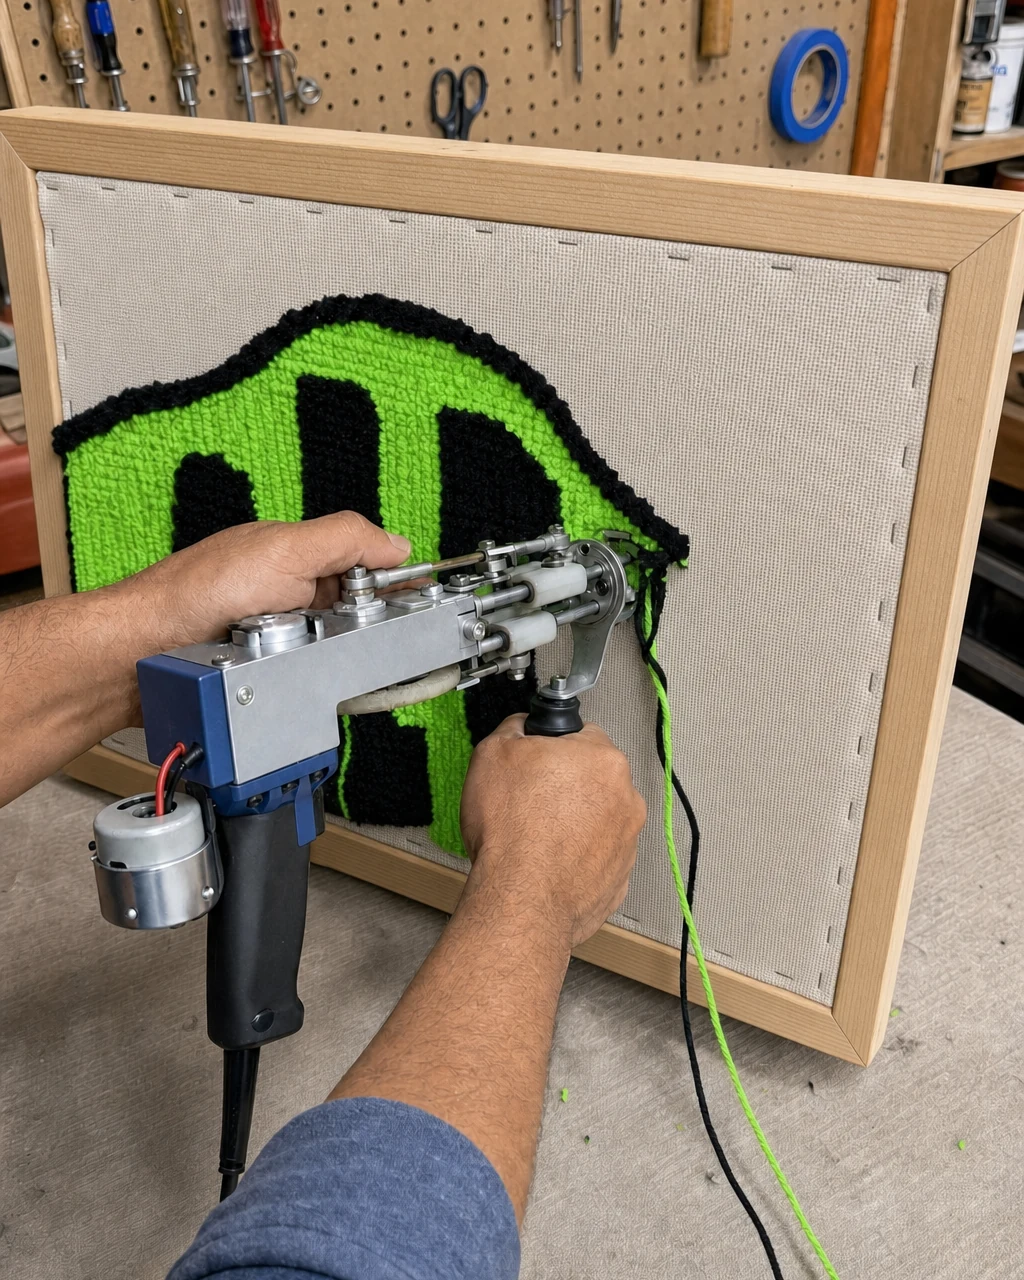
Drive neon green and black acrylic yarn through the stretched monks cloth using an electric tufting gun to create a circuit-board pattern. Coat the back with latex adhesive using a plastic trowel and let it cure overnight. Ensure the workspace is well-ventilated when applying latex adhesive, and always keep fingers clear of the tufting gun needle while working on the vibrant neon tufted pattern.
Materials checklist
Step 4: Glue the Custom Panels
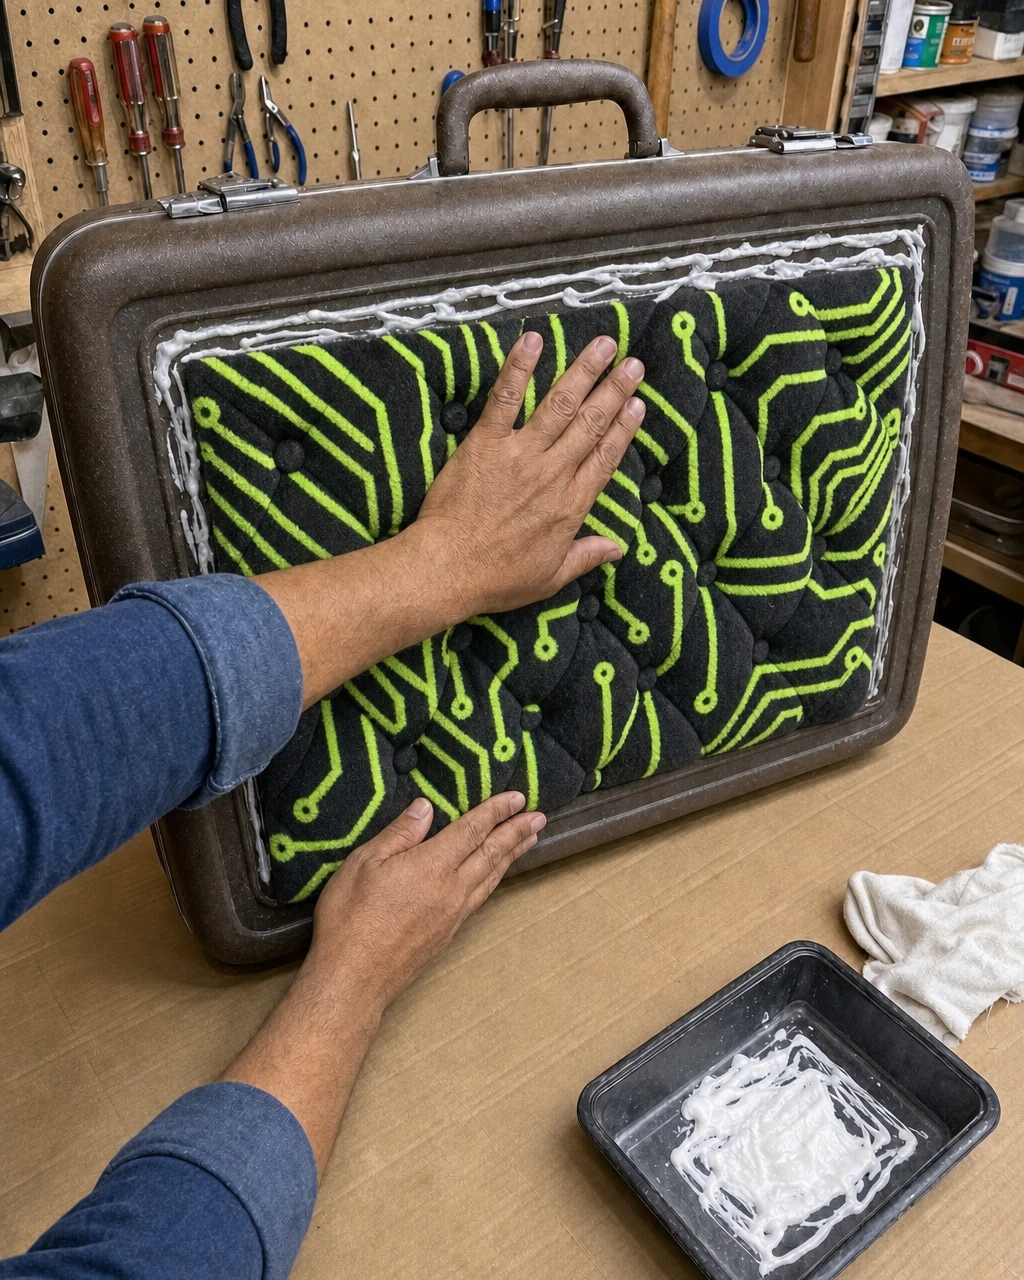
Cut the cured tufted fabric to the exact dimensions of the suitcase faces using a utility knife. Press the trimmed neon panels firmly into a layer of heavy-duty construction adhesive applied inside the suitcase recesses. Use construction adhesive in a ventilated area and wear disposable gloves during application. The tufted panels must be securely seated inside the suitcase shell to withstand future handling.
Step 5: Upgrade the Broken Hardware
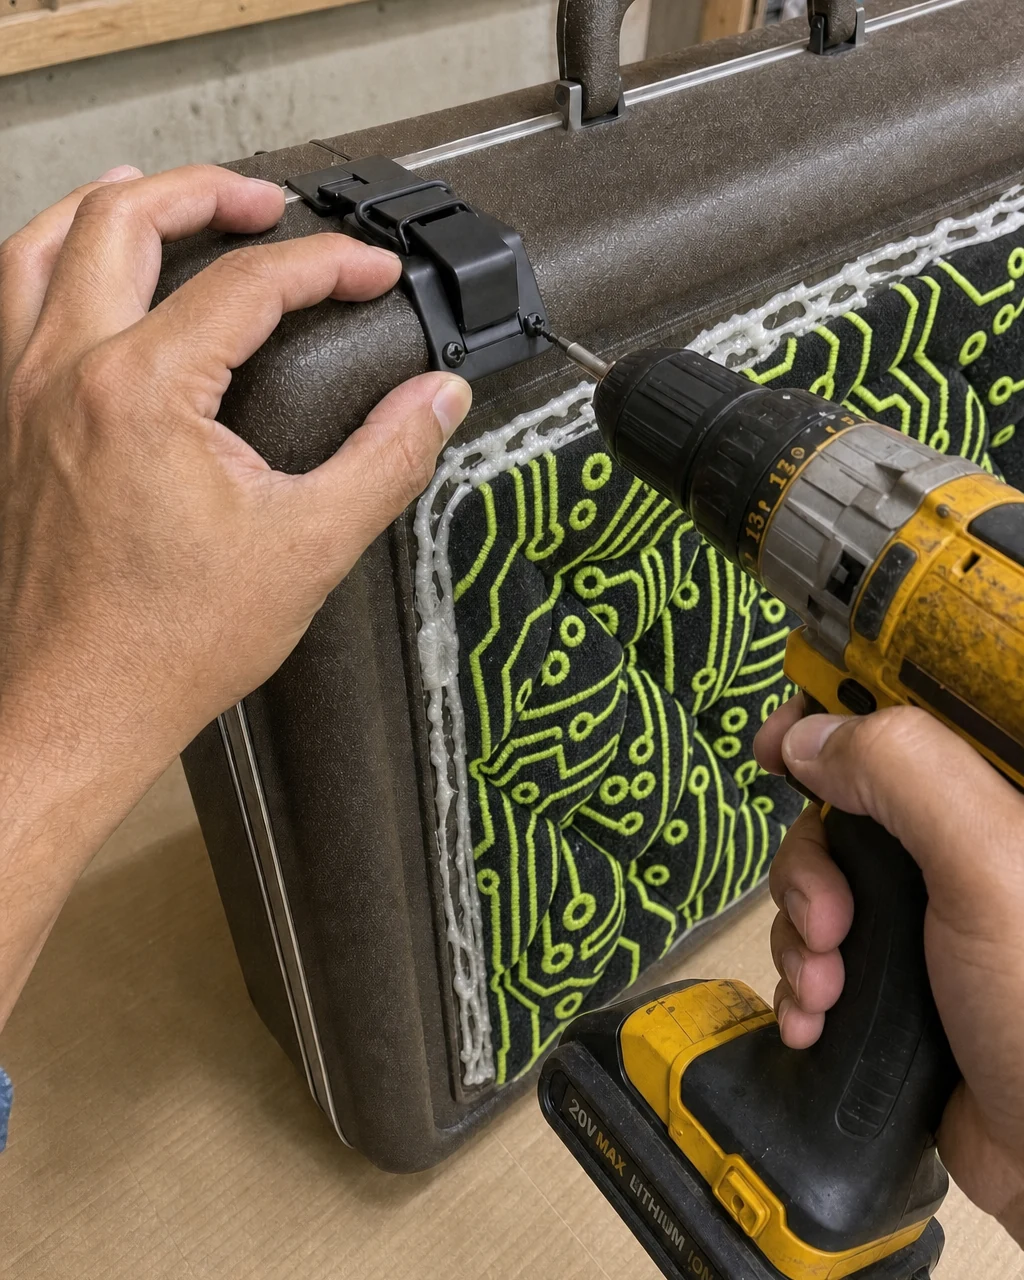
Drill out the rivets holding the broken original locks to prepare the surface for new hardware. Drive black screws through the new heavy-duty matte black toggle latches into the hard plastic shell to securely fasten the two halves of the case. Wear safety glasses when drilling out old metal rivets to prevent metal shavings from entering eyes while working on the metal latch hardware.
- Remove the snapped metal clasps by carefully drilling through the center of each original factory rivet.
- Align the heavy-duty matte black toggle latches over the newly exposed mounting holes on the plastic shell.
- Drive black screws through the latch plates to establish a functional locking mechanism that secures the suitcase halves.
Step 6: See the Workshop Result
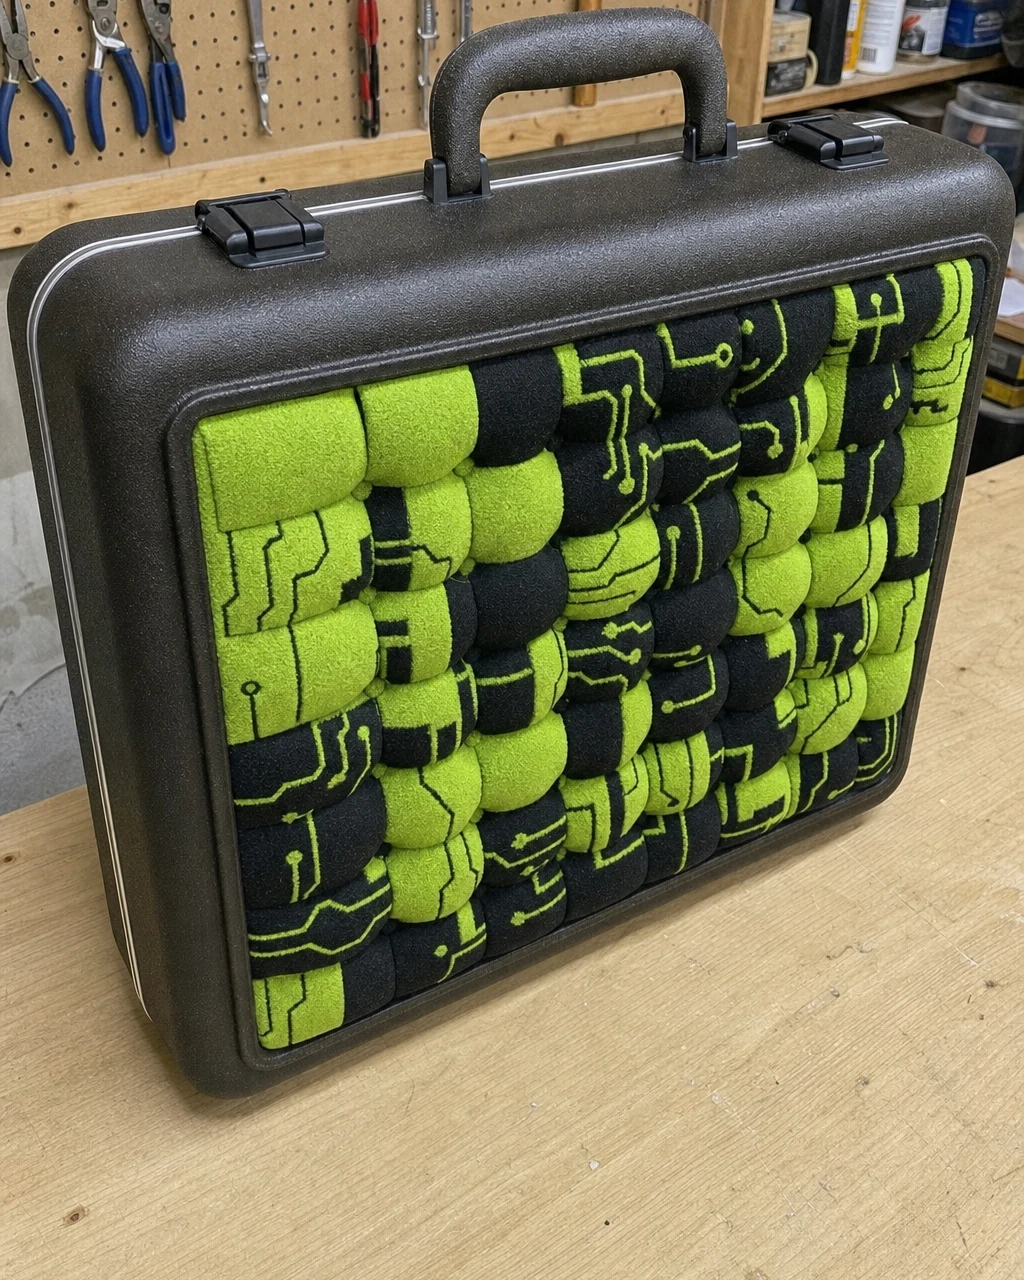
Review the completed cyberpunk suitcase on the workbench, checking that the tufted panels are secure. Test the new matte black latches to ensure they snap tightly shut and hold the heavy shell together. Clear all sharp tools and adhesive residue from the workbench before final inspection. The vibrant neon glitch-art tufting completely transforms the rectangular silhouette into a bespoke statement piece.
Step 7: Style the Cyberpunk Luggage
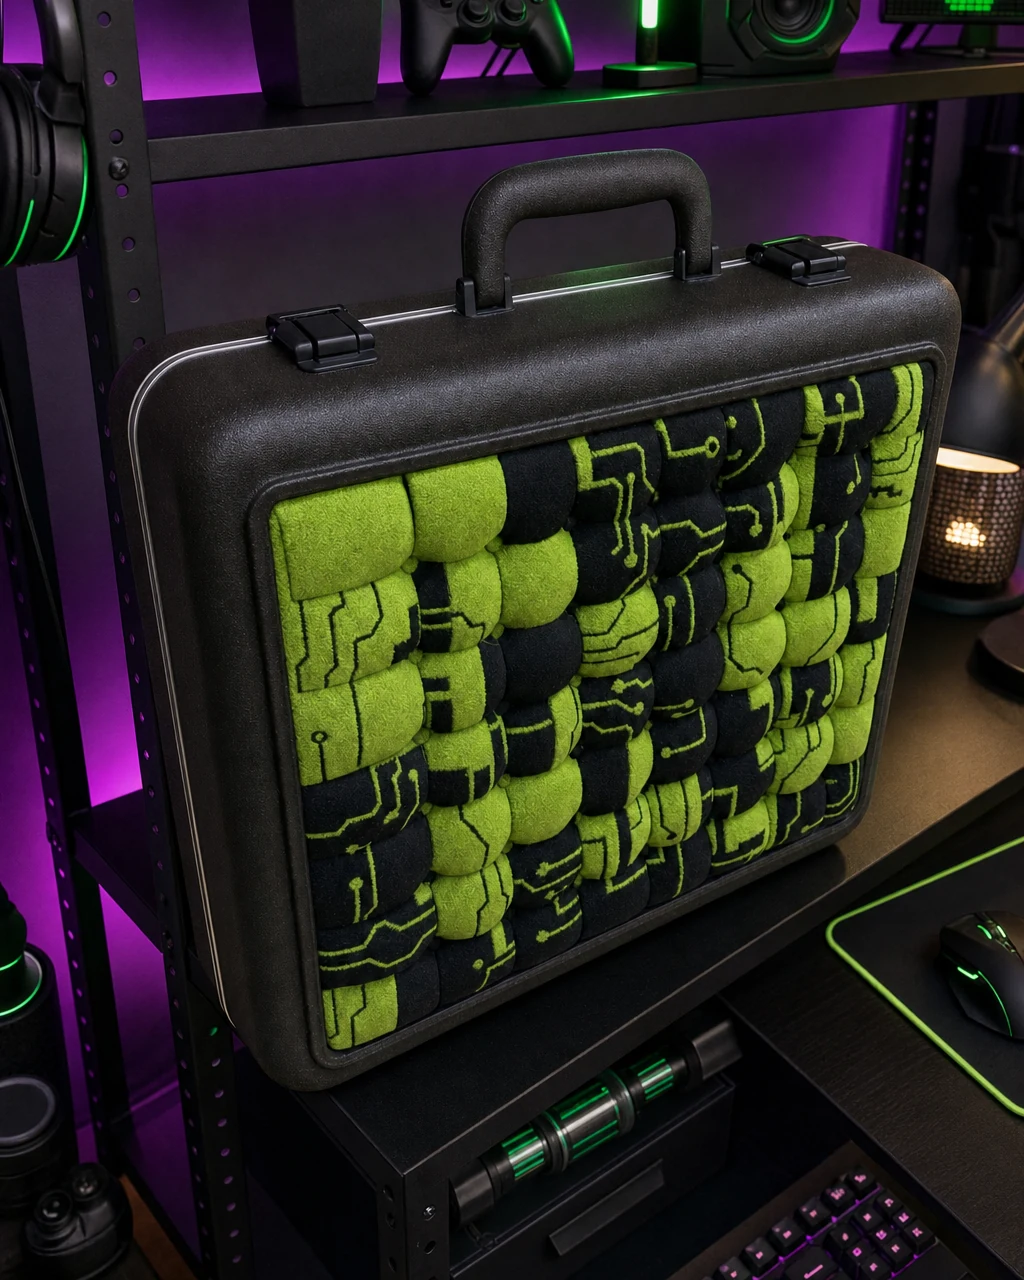
Style the cyberpunk suitcase in a dark, neon-lit gaming room or modern loft space. Position the tufted luggage on a dark metal shelf surrounded by subtle neon backlighting and gaming accessories as a striking storage piece. Ensure the shelf is rated to hold the weight of the hard-shell suitcase. The custom neon circuit-board tufted panels seamlessly integrate into a moody, tech-focused room environment.