
Brass Bakers Rack Secondhand Makeover into an Art Deco Bar
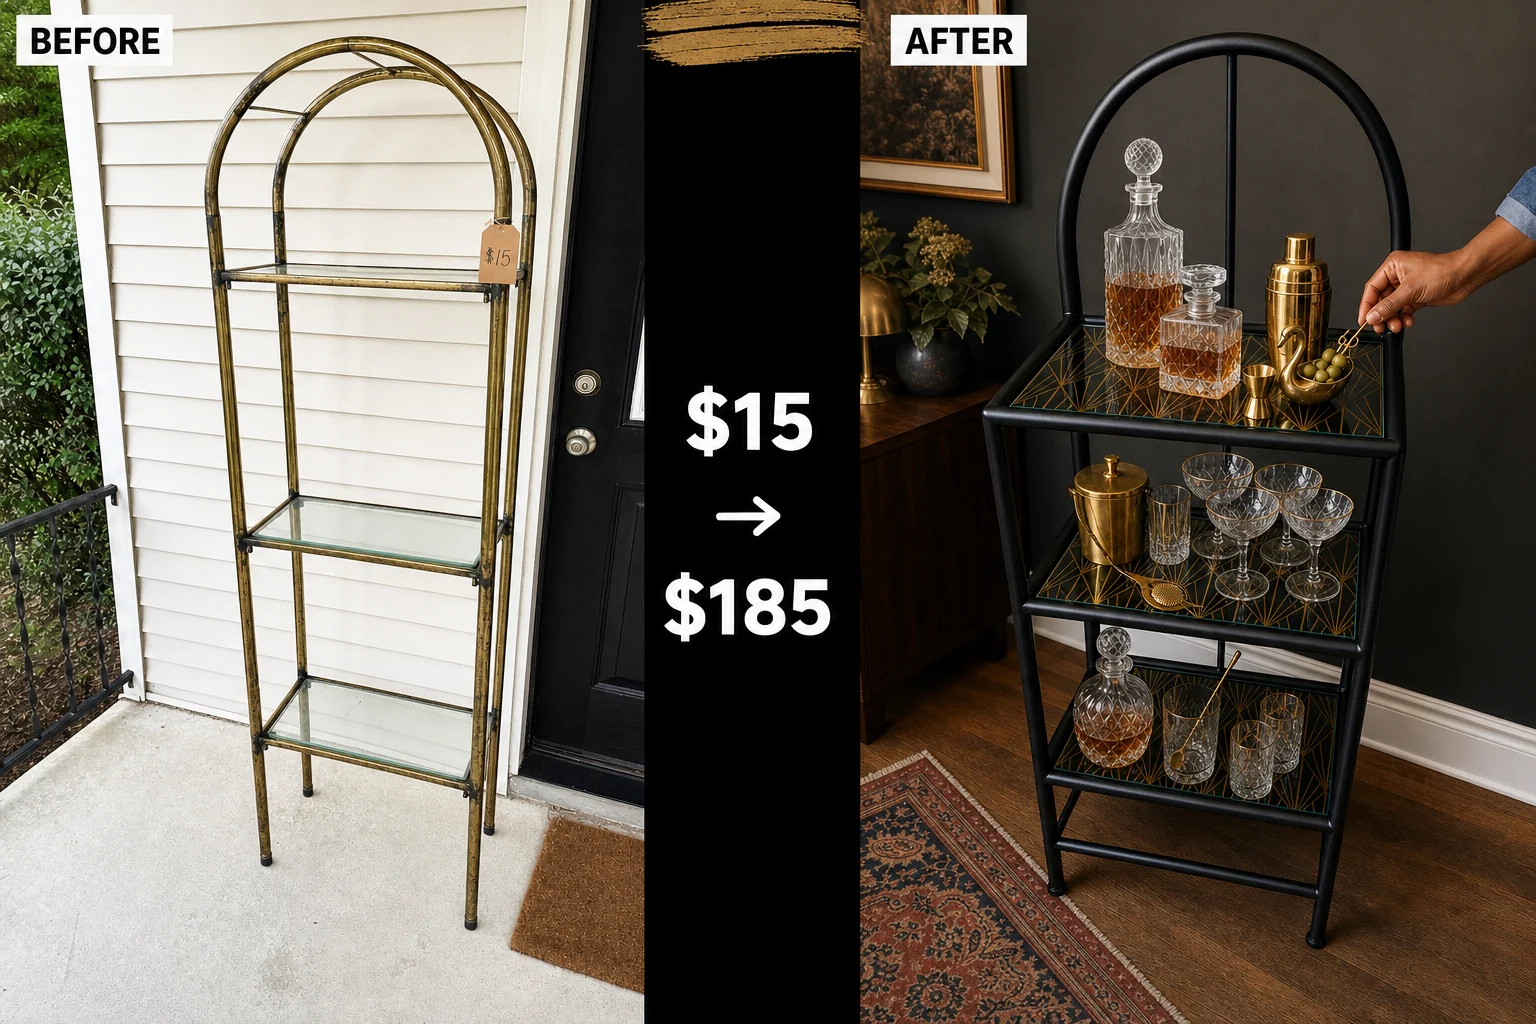
Found on a local app, this sunroom-damaged 1980s brass bakers rack needed serious help. We transformed the tarnished piece into a sleek Art Deco bar using satin black paint and geometric patterned film.
Evaluating the Sunroom Damage
Secured through a local listing pickup, this piece was originally sitting on a residential concrete front porch next to a doorway. The rack had suffered heavy humidity damage from its previous life in a sunroom, leaving the welded tubular steel and brass plating in poor condition. The fixed arched top and vertical wire support struts remained structurally sound, but the finish required immediate intervention.
- Heavy tarnish and pitting clustered around the welded intersections made the piece look neglected, requiring thorough mechanical scuffing before finishing.
- Fine surface abrasions across the three tempered glass drop-in shelves created a dull appearance, demanding a decorative treatment to camouflage the wear.
Step 1: Assess and Disassemble the Frame
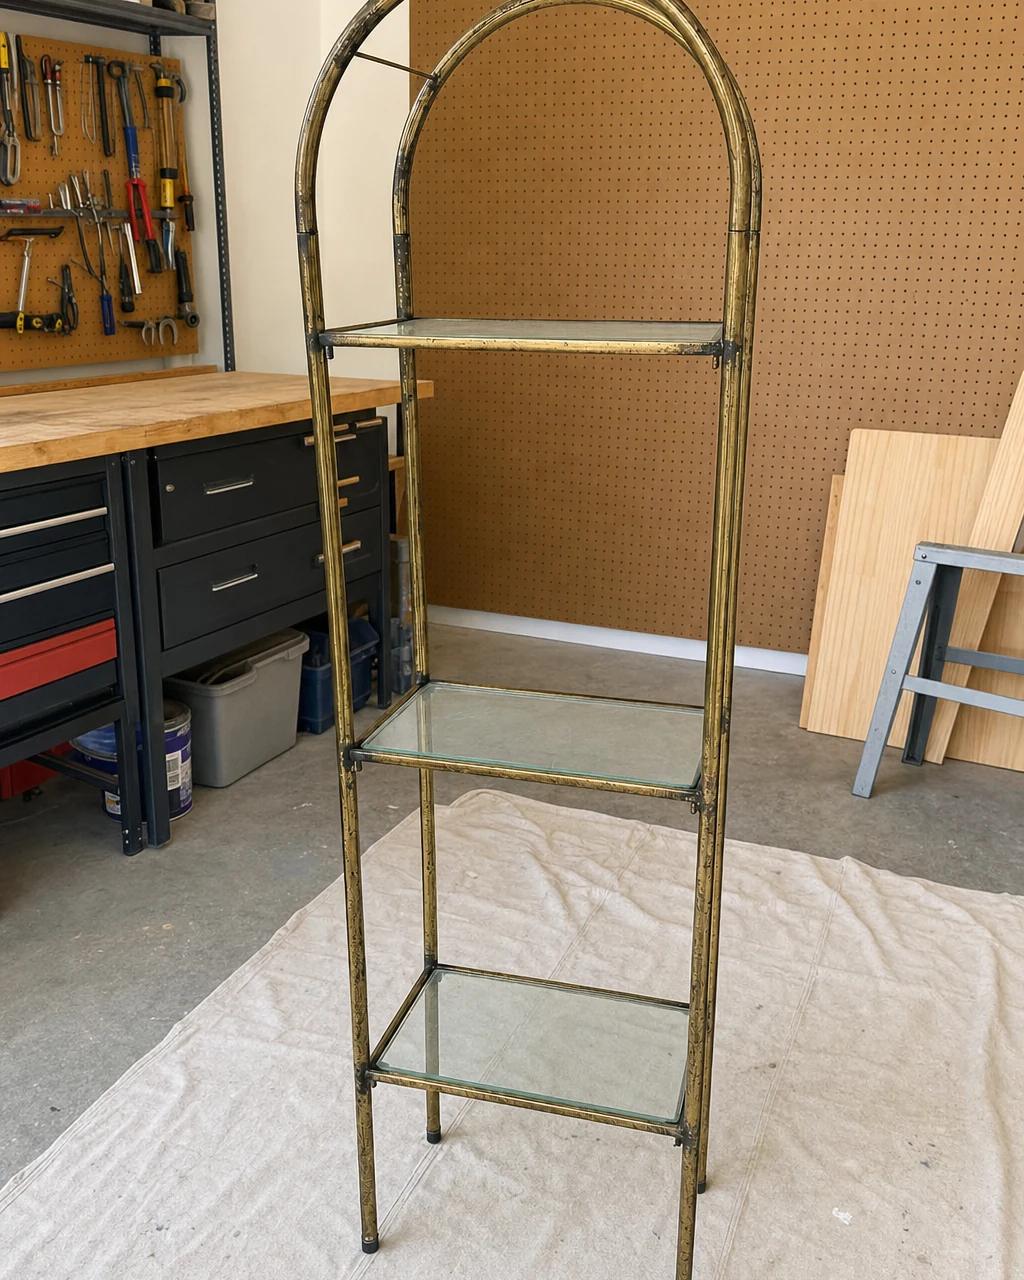
Evaluate the 1980s brass bakers rack in the workshop, noting the heavy tarnish on the joints and the scratched glass shelves before beginning disassembly. Running a hand along the heavily tarnished brass joints helps identify the worst surface pitting. The condition issues are clearly identified prior to removing the glass shelves for the complete transformation.
| Item | Cost |
|---|---|
| Purchase Price | $15 |
| Sanding Sponges | $6 |
| Black Spray Enamel | $18 |
| Deco Vinyl Film | $24 |
| Glass Cleaner | $4 |
| Total Investment | $67 |
| Estimated Resale Value | $185 |
| Value Gain | $118 |
Always wear work gloves when handling potentially chipped glass shelves during the initial teardown. Carefully lift each of the three removable tempered glass drop-in shelves out of the tall tubular metal frame and set them aside safely.
Step 2: Scuff the Tarnished Plating
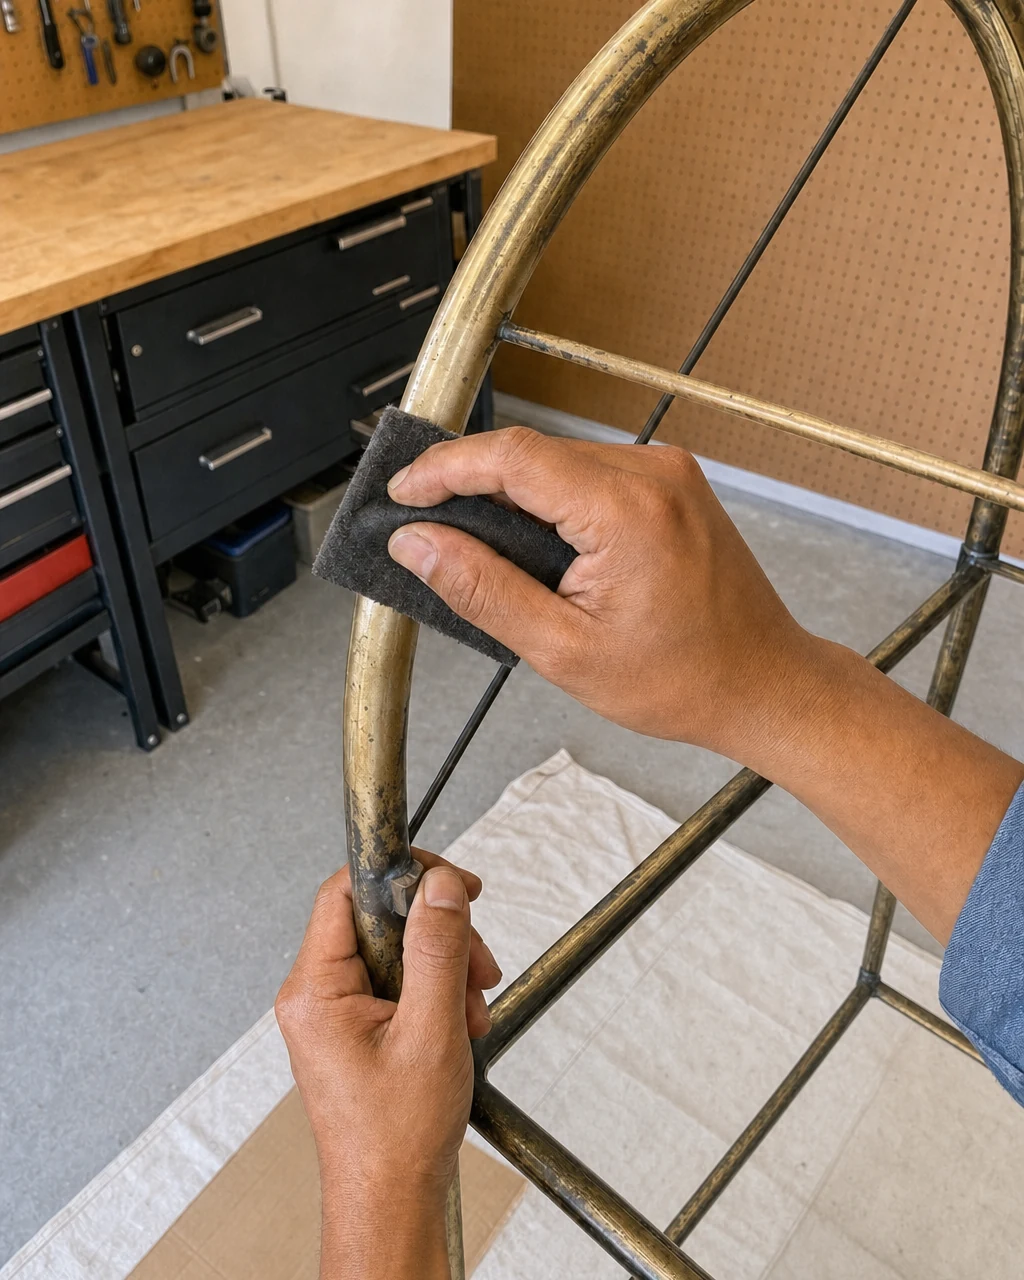
Sand the entire brass-plated frame with a medium-grit sanding sponge, focusing on the heavily tarnished joints to create a mechanical profile for the new primer. Rubbing the flexible sponge vigorously around each tubular joint smooths out the dark, oxidized spots. The shiny brass plating is dulled, ensuring the new finish will adhere properly.
Wear a dust mask to avoid inhaling fine metal and oxidation particles while working on the 72-inch tall frame. Thorough preparation is the only way to ensure the self-etching primer bonds tightly to the slick plated metal without peeling later.
Step 3: Prime and Paint the Metal
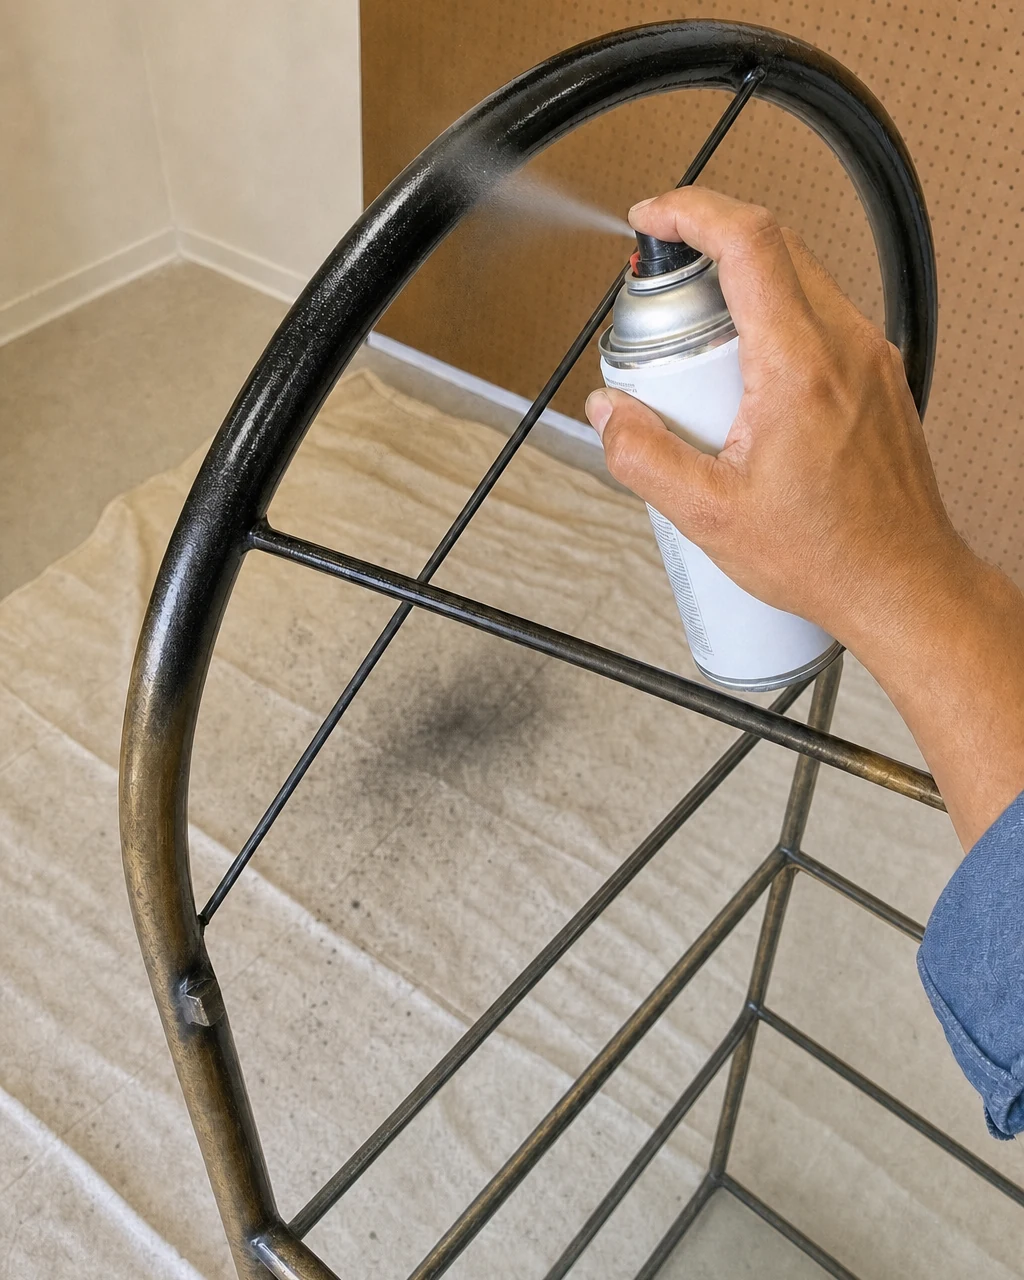
Apply a self-etching metal primer followed by two coats of satin black spray enamel to the sanded frame, allowing 30 minutes of drying time between coats. Spraying a mist of enamel paint onto the upper arch over a drop cloth slowly builds an even layer. The previously brass frame is now coated in wet satin black paint.
Materials checklist
Work in a well-ventilated area and wear a respirator mask when spraying enamel. The self-etching formulas grip the slick plated metal much more securely, creating a durable foundation for the sleek black finish on the welded tubular steel.
Step 4: Apply the Geometric Vinyl
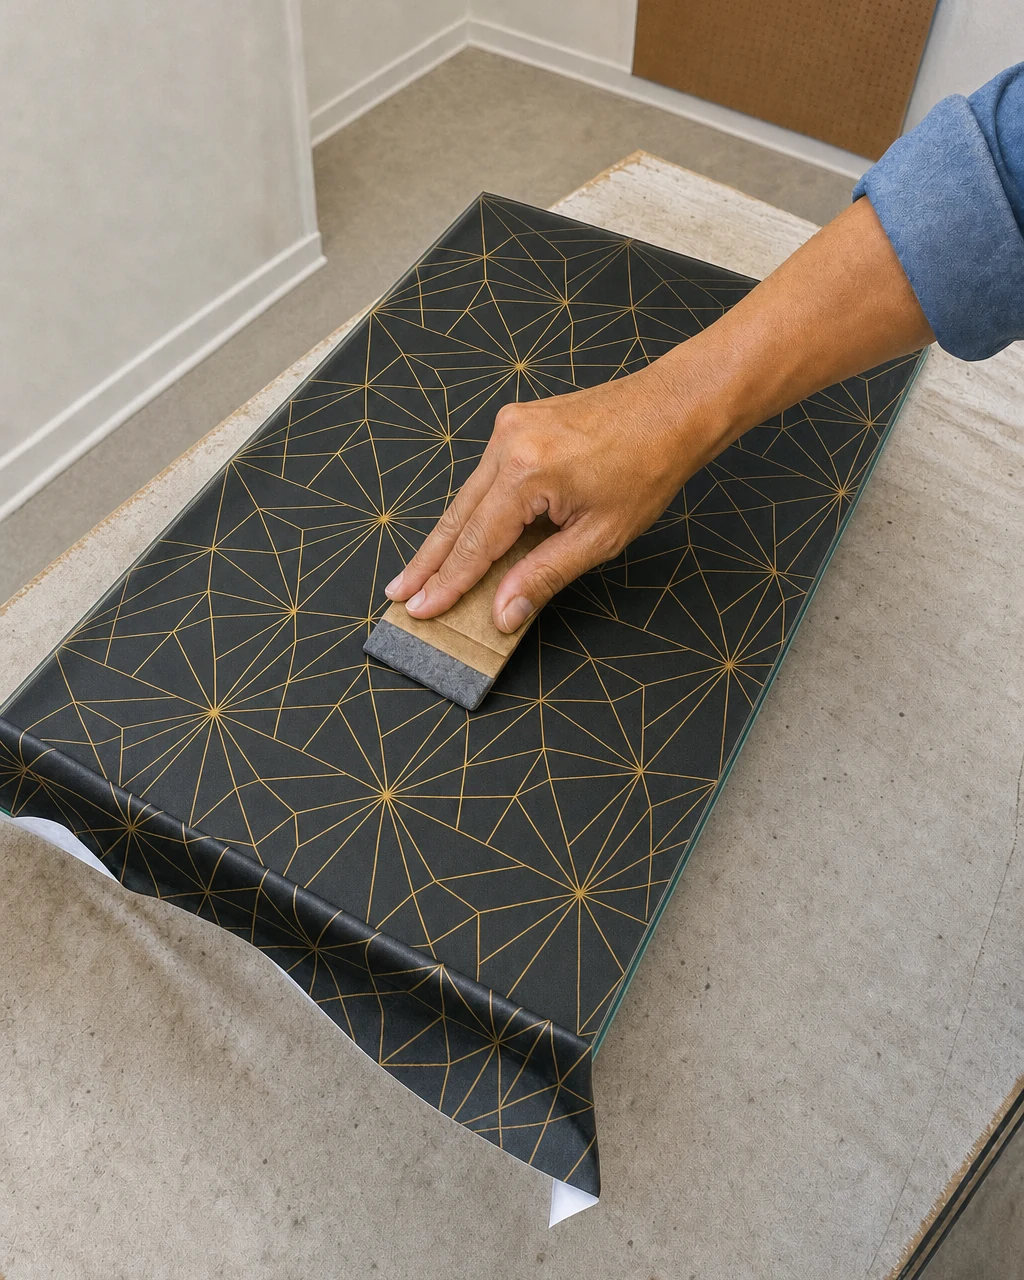
Cut a sheet of black and gold geometric Art Deco vinyl, peel back the liner, and press it onto the underside of the thoroughly cleaned glass shelves. Smoothing the patterned vinyl onto the flat underside with a felt-edge squeegee ensures a perfect application. The geometric vinyl is adhered smoothly to the glass with excess material hanging over the edges.
Ensure the glass is completely dry to prevent the vinyl adhesive from failing. Applying the film underneath protects the striking Art Deco fan pattern from heavy objects while allowing the bold design to shine through the original glass.
Step 5: Trim the Excess Film
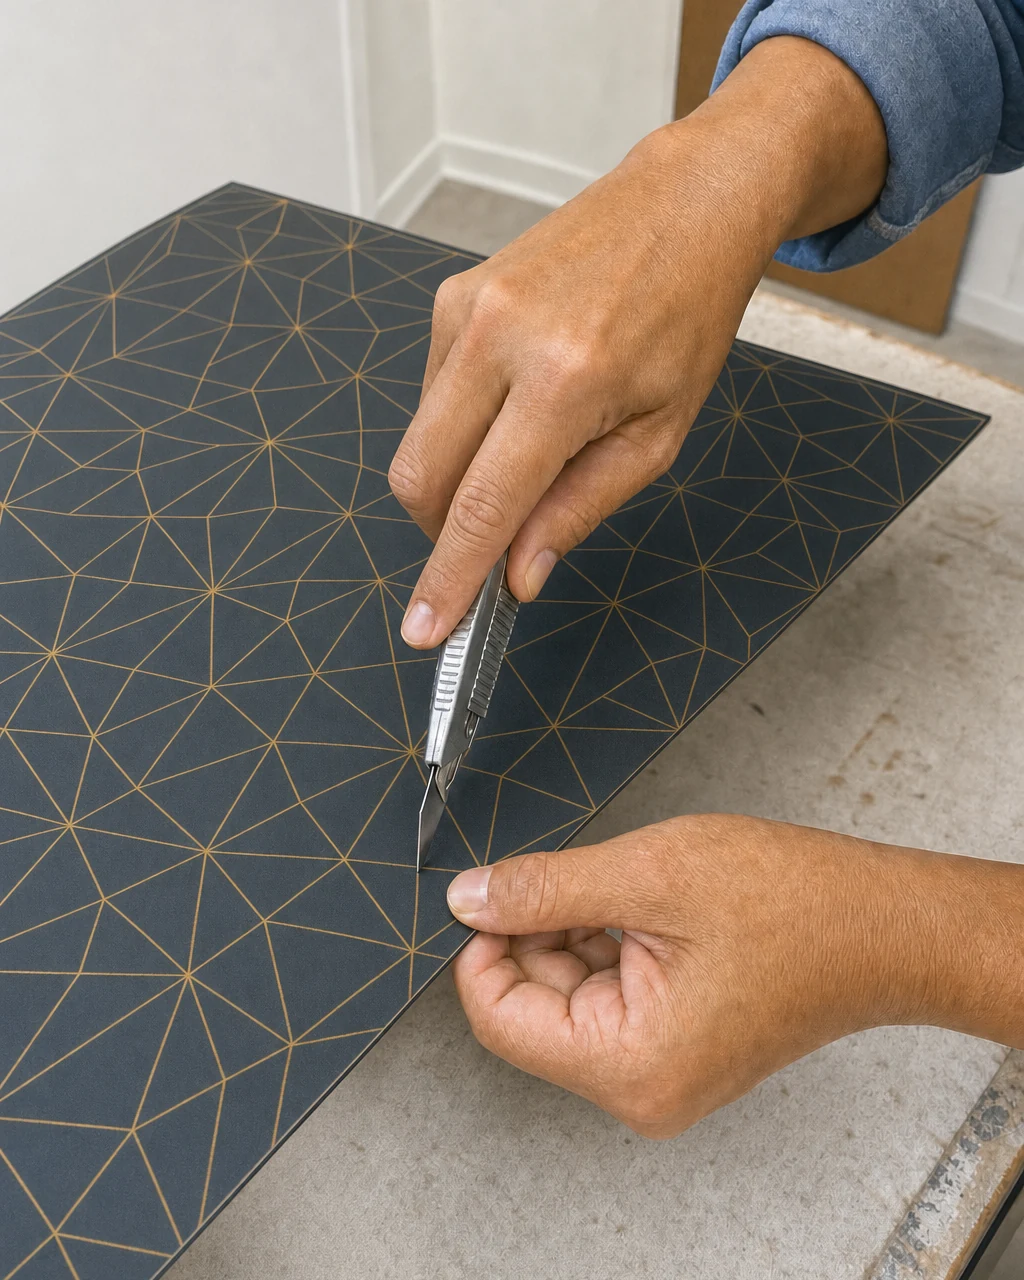
Run a sharp utility knife along the perimeter of the glass to remove the excess vinyl overhang, ensuring a perfectly flush patterned edge. Slicing the overhanging edge flush against the thick edge of the glass shelf requires a steady hand. The vinyl perfectly matches the exact dimensions of the shelf openings with no overhang.
Achieving Clean Edges
Cut away from your body and keep fingers clear of the utility knife blade. A fresh blade prevents the vinyl from tearing or stretching, guaranteeing the bold black and gold geometric patterned shelves look professionally finished.
Step 6: Reassemble the Upgraded Rack
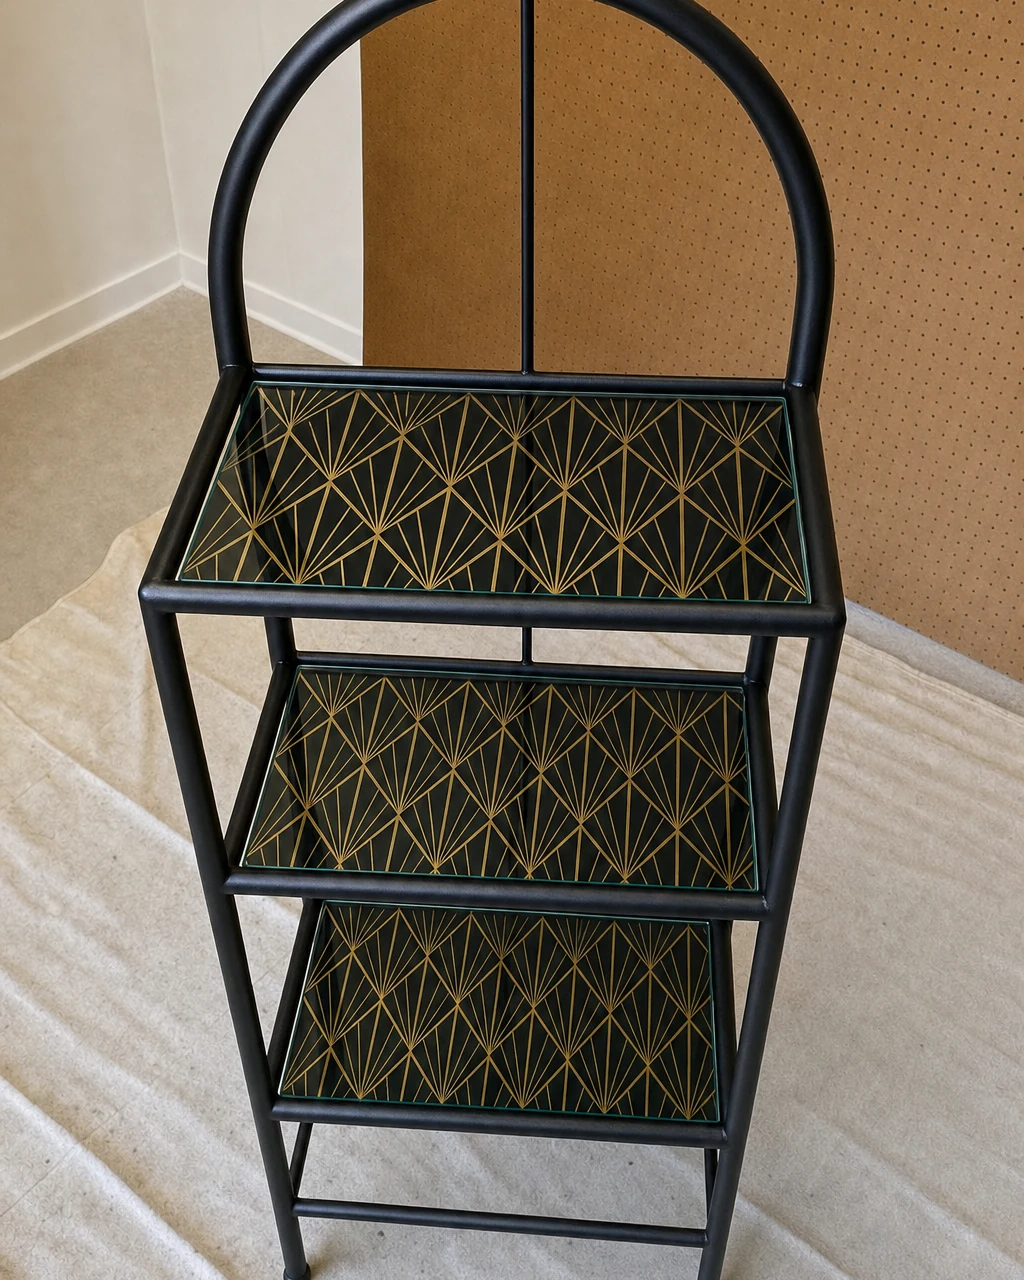
Carefully lower the newly patterned glass shelves back into the cured satin black frame, securing them on their original rubber resting pads. Guiding the final patterned glass shelf into its resting position completes the physical transformation. The fully assembled bakers rack now features a sleek black frame contrasting with geometric shelves.
Handling the Glass Safely
Lift the heavy glass shelves carefully to avoid pinching fingers against the metal frame. The cured enamel takes twenty-four hours to fully harden, so gentle handling prevents accidental scratches during this final assembly phase.
Step 7: Style as a Home Bar
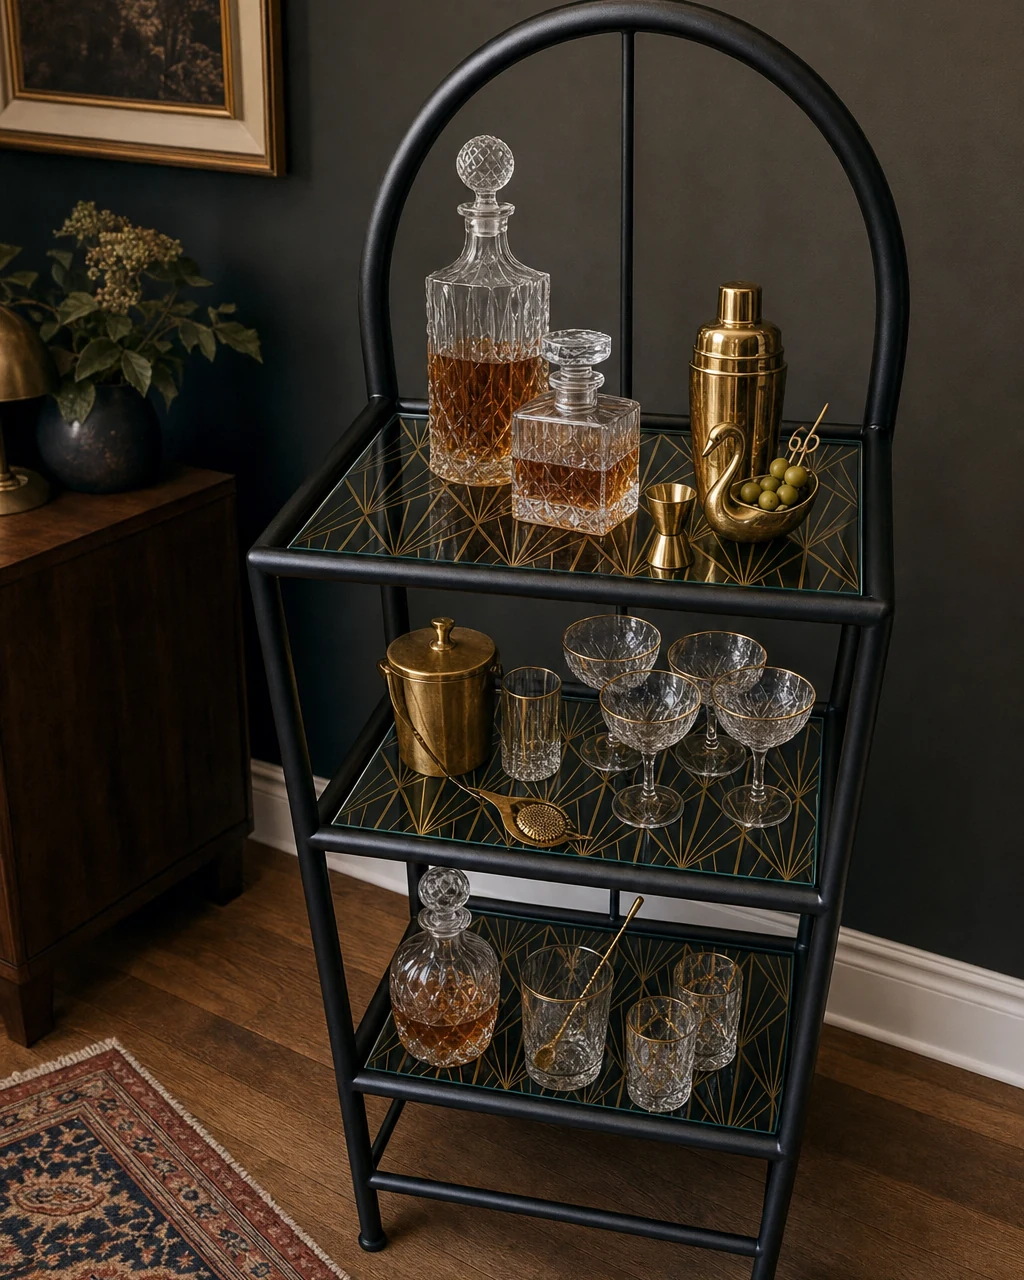
Move the transformed Art Deco rack into the dining room, styling it with crystal decanters, brass bar tools, and cocktail glasses to highlight the geometric shelves. Arranging these elegant accessories against the dark painted frame creates a sophisticated, fully styled Art Deco home bar setup.
Final Placement Details
Ensure the rack is placed on a level surface before loading it with heavy glassware. This bold geometric update easily rivals expensive boutique bar furniture, proving that a dated utility shelf can become a stunning focal point.
Art Deco Bar Valuation
The transition from dated 1980s brass to a high-contrast Art Deco aesthetic aligns perfectly with current trends for statement bar furniture. By converting a tarnished utility shelf into a sophisticated piece, the visual impact is dramatically improved. The signature detail of the fan pattern shining through the glass elevates the entire design.
Estimating the Return
This bold update significantly increases its appeal to boutique vintage buyers, driving the estimated resale value far beyond the initial investment. Remember that this valuation is an editorial estimate, not a completed sale, but the impressive transformation justifies the strong projected return.