
Pine Dresser Before and After: Fluted Deep Green Makeover
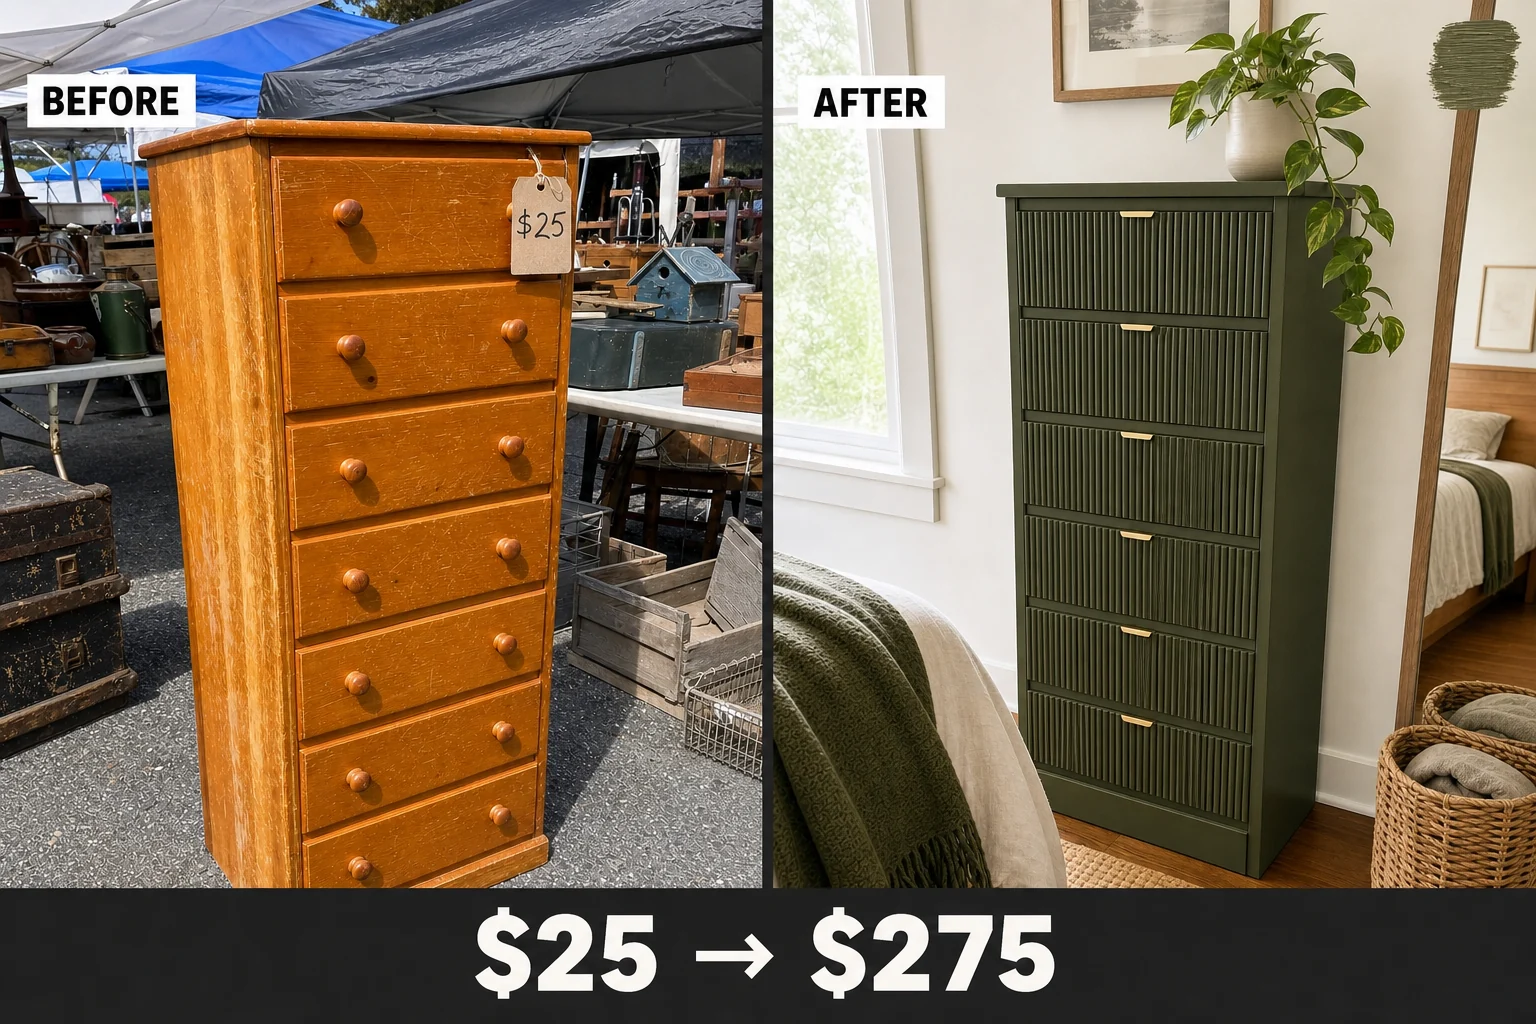
Spotted at a flea market, this dated 90s tallboy was begging for a textural update. We transformed the basic flat-front pine into a modern statement piece using half-round molding and deep green enamel.
Evaluating the Flea Market Find
Finding this structurally sound six-drawer dresser tucked behind milk crates at an outdoor flea market presented a fantastic opportunity. The tall, narrow rectangular column featured a simple straight plinth base and flush-overlay drawers, but the exterior required a serious condition audit before any transformation could begin.
- The dated glossy orange finish features a thick clear coat over yellowed pine stain, requiring thorough scuff sanding before any new paint or glue can adhere.
- Deep gouges in the clear coat on the top panel mean the surface needs leveling prior to painting.
- The chunky pine mushroom knobs screwed into the drawer centers must be removed to allow flat installation of the new fluted trim.
Project Materials and Costs
Upgrading this piece requires a modest investment in architectural trim and durable finishes. The financial breakdown below outlines the exact expenses, demonstrating how affordable a high-end textured look can be.
| Item | Cost |
|---|---|
| Flea Market Dresser | $25 |
| Half-Round Molding | $45 |
| Wood Glue | $6 |
| Cabinet Enamel | $25 |
| Brass Edge Pulls | $30 |
| Materials Total | $106 |
| Total Investment | $131 |
| Estimated Resale Value | $275 |
| Value Gain | $144 |
Gathering the Supplies
Sourcing the right components ensures a seamless application across the flat drawer boxes. Select high-quality adhesives and trim pieces to guarantee the ribbed texture remains permanently affixed to the solid pine frame.
Materials checklist
Step 1: Start With a Blank Slate
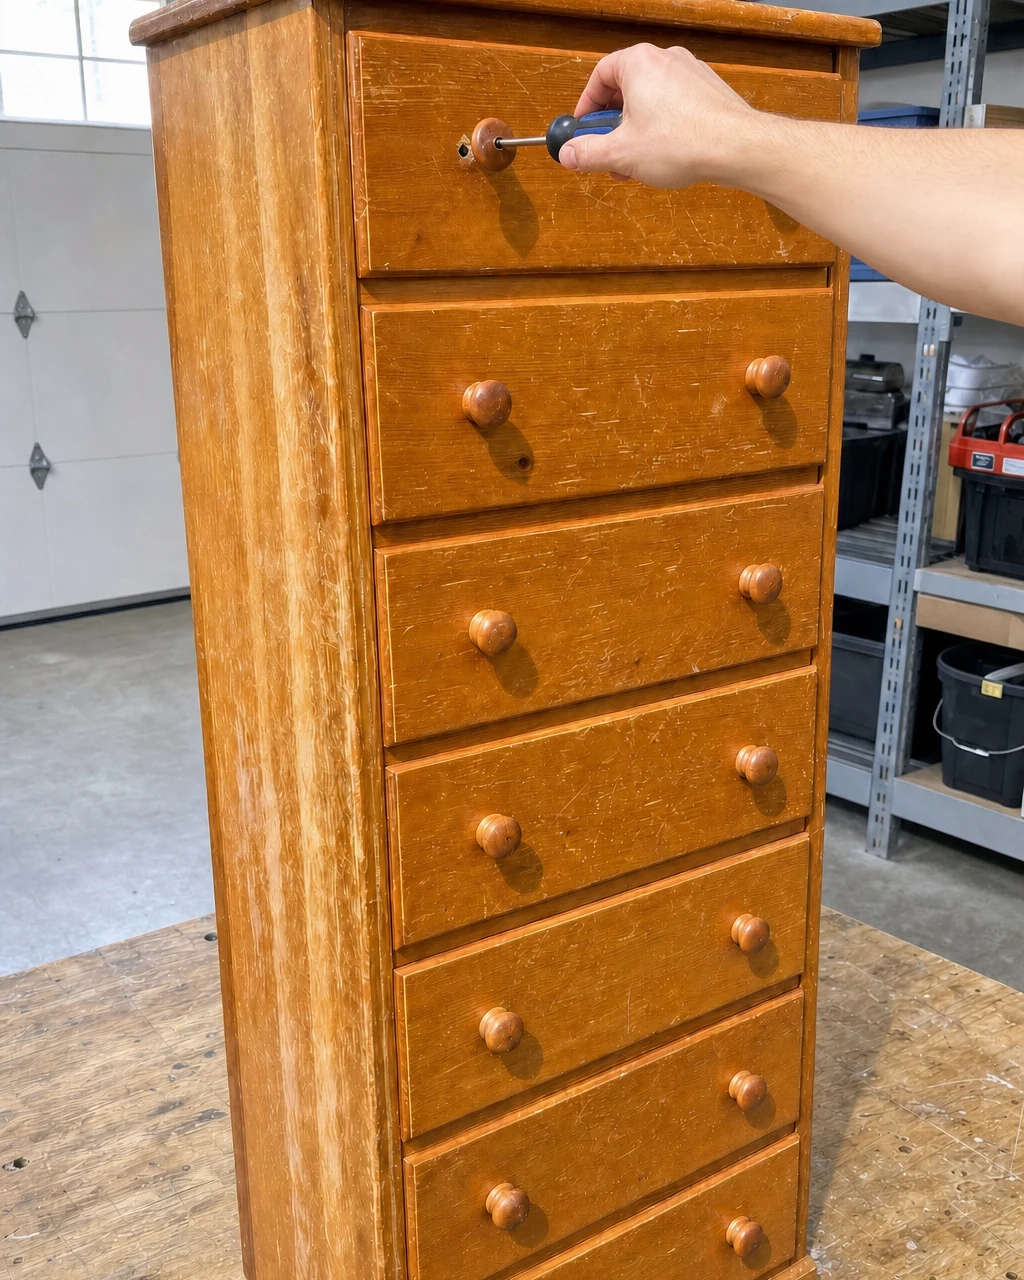
The dresser sits in the workshop with its original wooden knobs and glossy orange finish intact. Unscrew and remove the six wooden mushroom knobs from the drawer fronts using a manual Phillips screwdriver, leaving small empty screw holes in the flat pine fronts.
Clearing the Canvas
Pull each drawer out of the frame and set them on the plywood workbench to prepare for the upcoming trim installation. Keep track of old screws to avoid workshop floor hazards while working around the heavy furniture.
Step 2: Prep for Perfect Adhesion
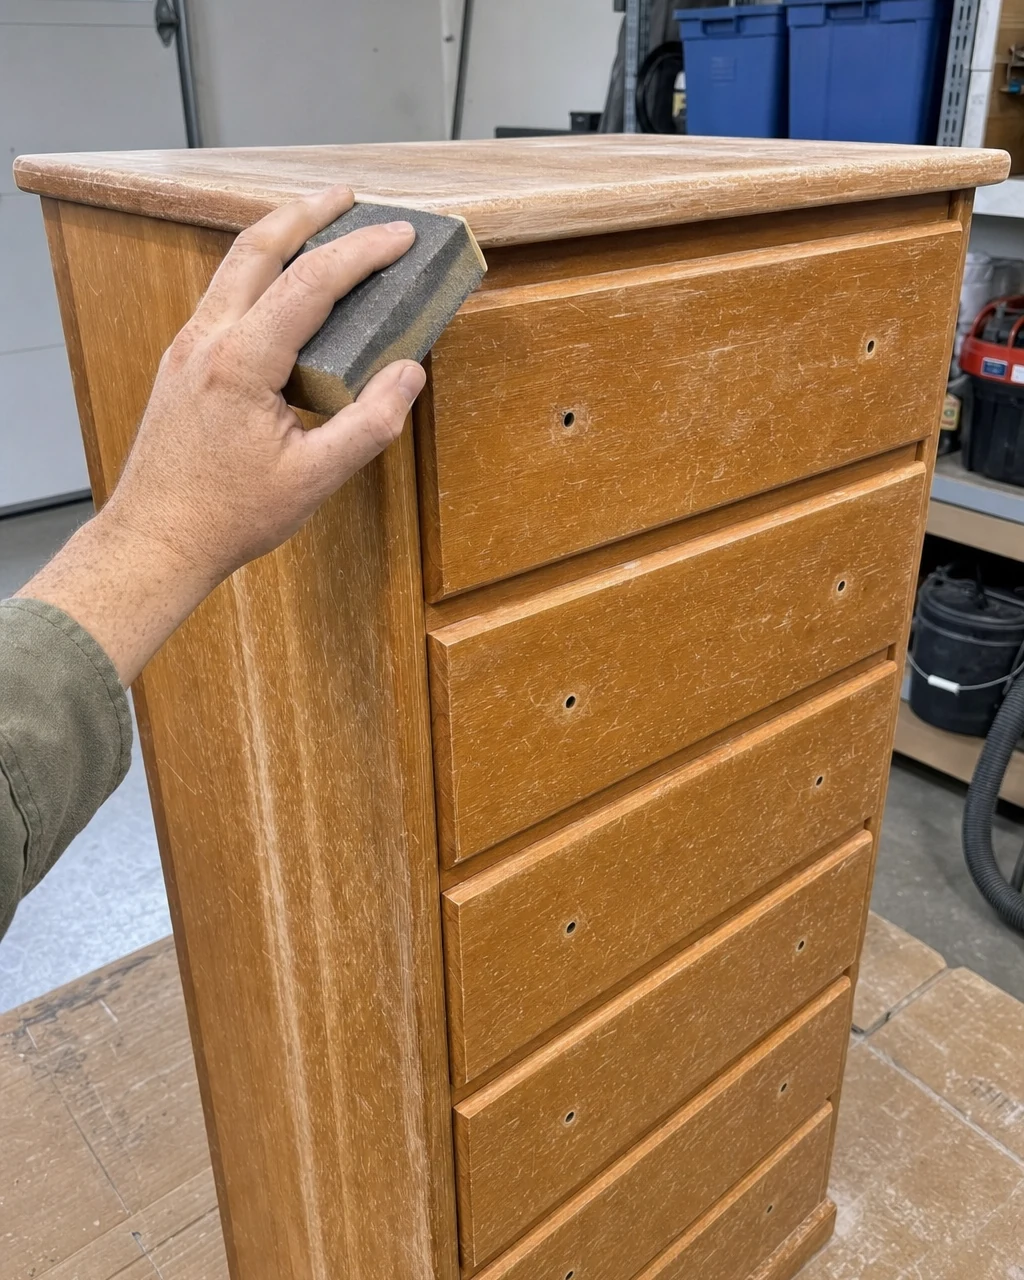
The drawers and frame currently feature a scratched, shiny clear coat that repels adhesives. Sand the dresser frame and the flat drawer fronts vigorously with a medium-grit sanding block to break this glossy barrier, creating a dull, cloudy surface.
Creating the Grip
This lightly scratched texture ensures the wood glue and cabinet enamel can grip permanently to the yellowed pine. Always wear a dust mask and work in a ventilated area when sanding old finishes to protect your lungs from airborne particulates.
Step 3: Cut the Custom Fluting
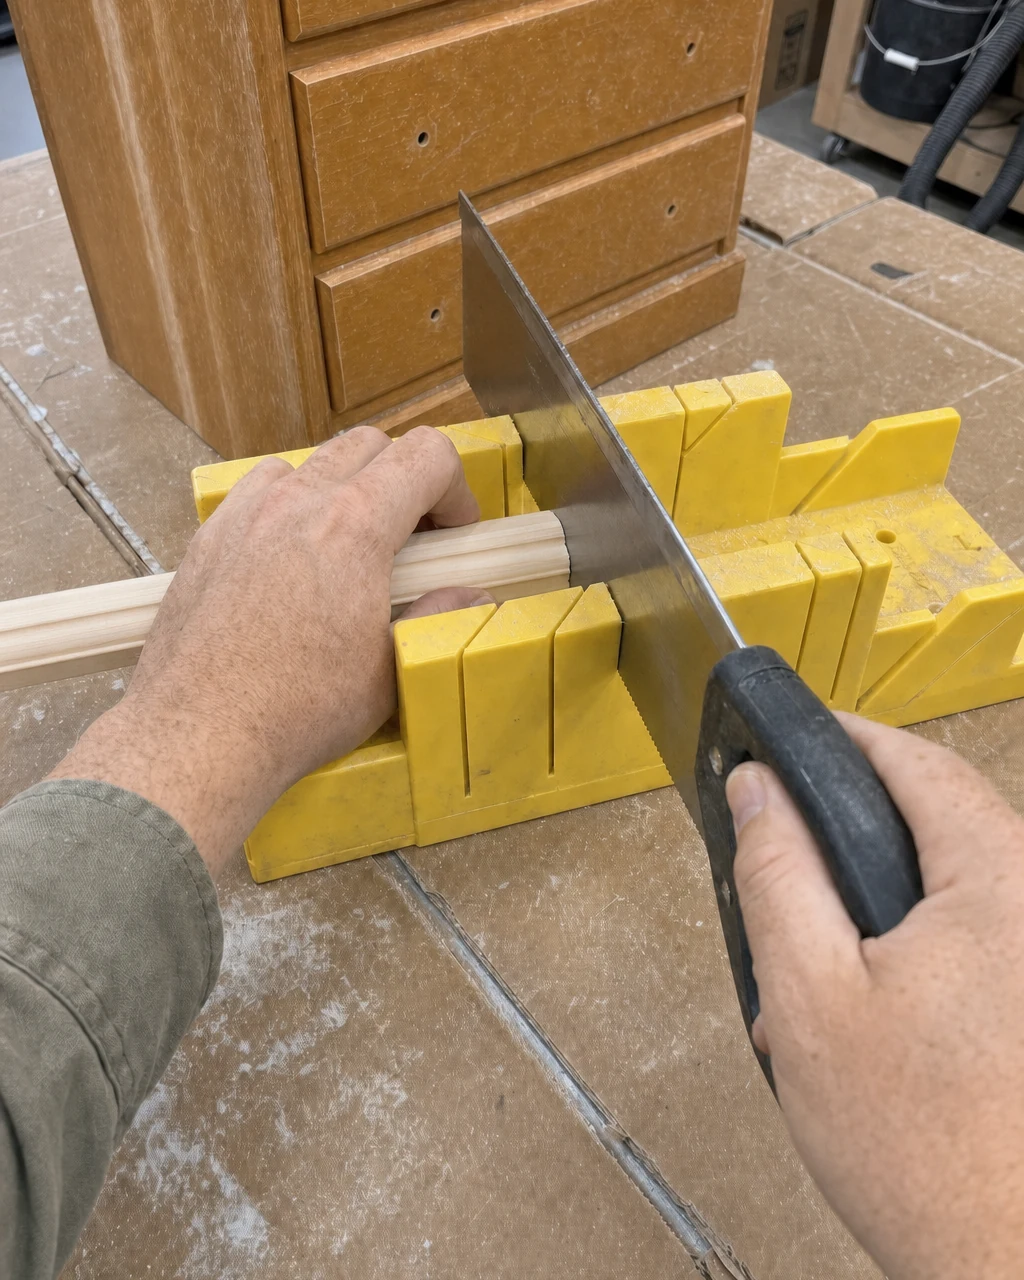
The half-round pine molding arrives in long retail lengths that must be sized perfectly. Measure the exact height of the drawer fronts to determine the required trim length, ensuring the final ribbed texture will sit flush with the top and bottom edges.
Precision Sawing
Use a yellow plastic miter box and hand saw to cut the molding into dozens of identical short vertical strips. Clamp the miter box to the workbench to prevent slipping while sawing through the wood.
Step 4: Create the Ribbed Texture
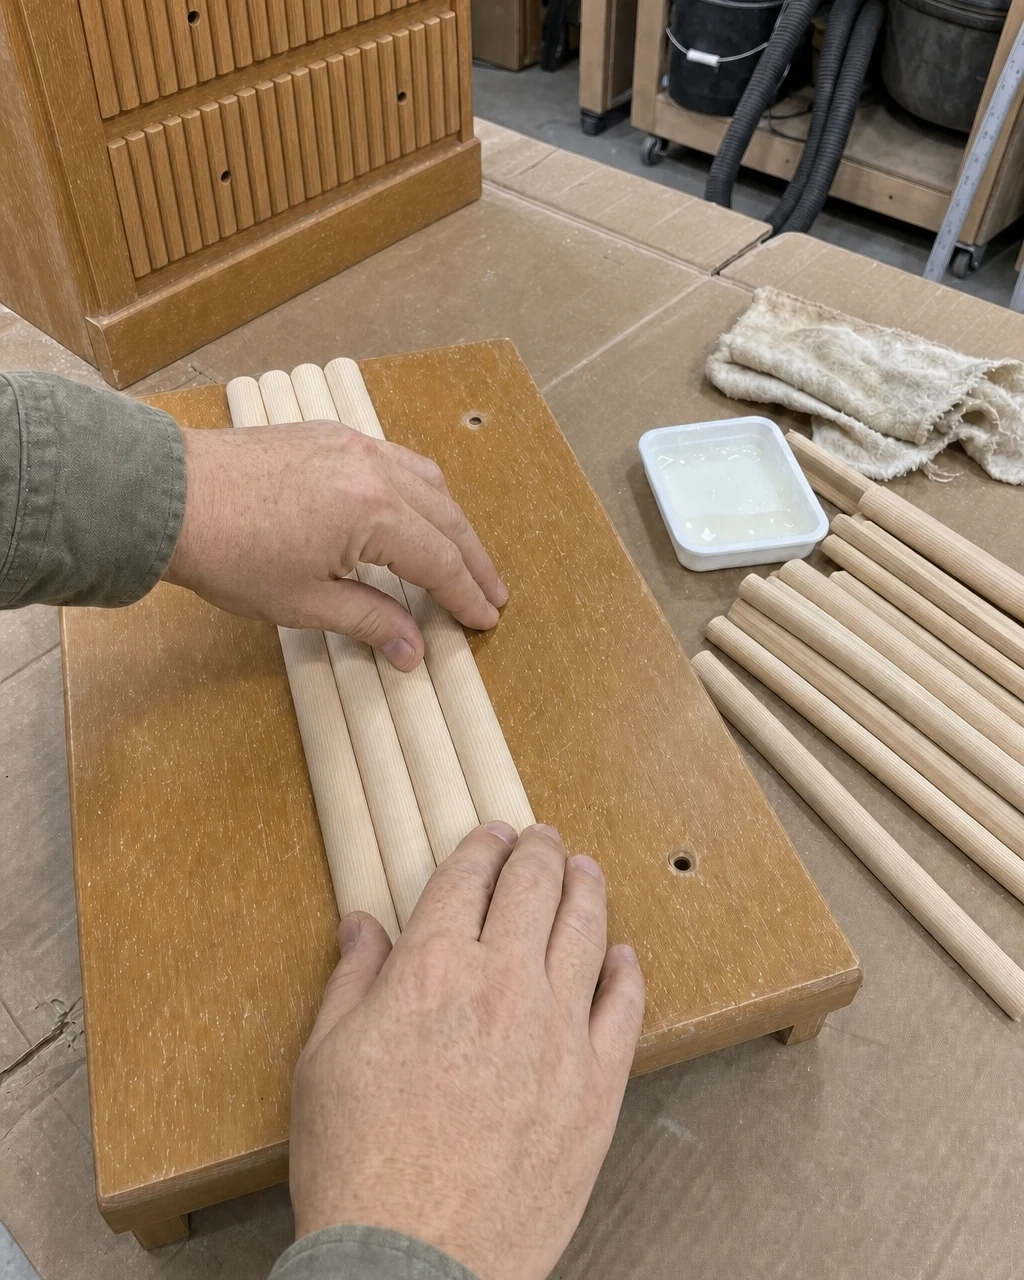
With the drawer fronts sanded flat and all trim pieces cut to size, the architectural transformation begins. Apply a zigzag of wood glue to the back of each trim piece and press them tightly together vertically across the flat drawer front.
Securing the Molding
Secure each end with a brad nailer to hold the trim in place, completely covering the surface in a continuous ribbed wood texture. Keep fingers clear of the brad nailer tip when securing the trim edges, then allow the glue to dry completely for two hours.
Step 5: Brush on Bold Color
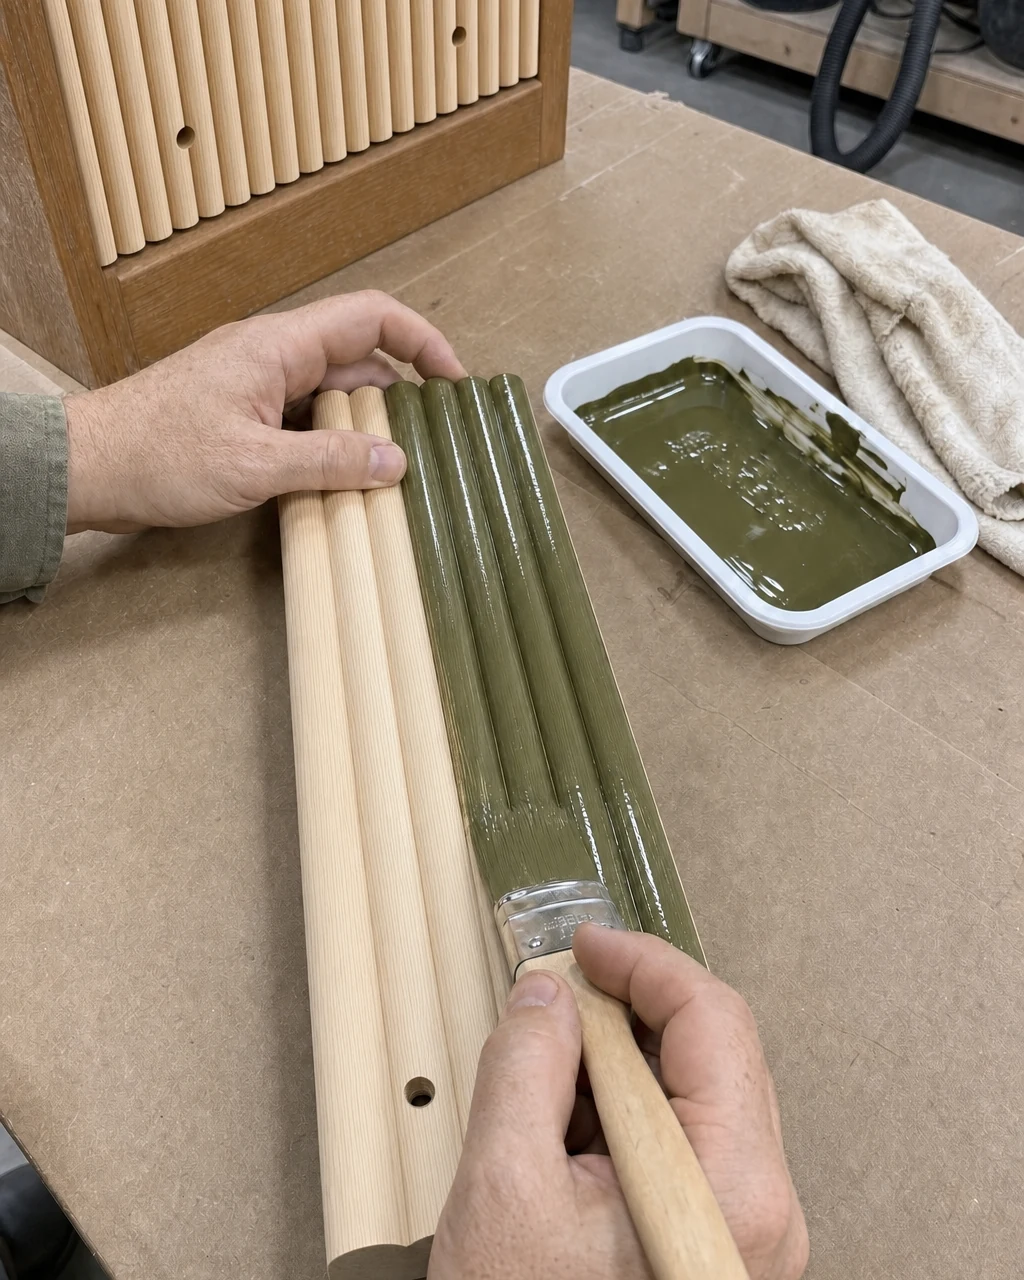
The frame is fully sanded and the drawers are now covered in raw pine trim. Brush a coat of deep olive green cabinet enamel directly into the vertical grooves of the fluting to ensure the rich color penetrates every crevice.
Building the Finish
Use a foam roller to paint the dresser frame, establishing a durable, smooth exterior. Work over a drop cloth to catch paint drips from the textured grooves, letting the first coat dry for four hours before applying a second coat.
Step 6: Add Modern Brass Hardware
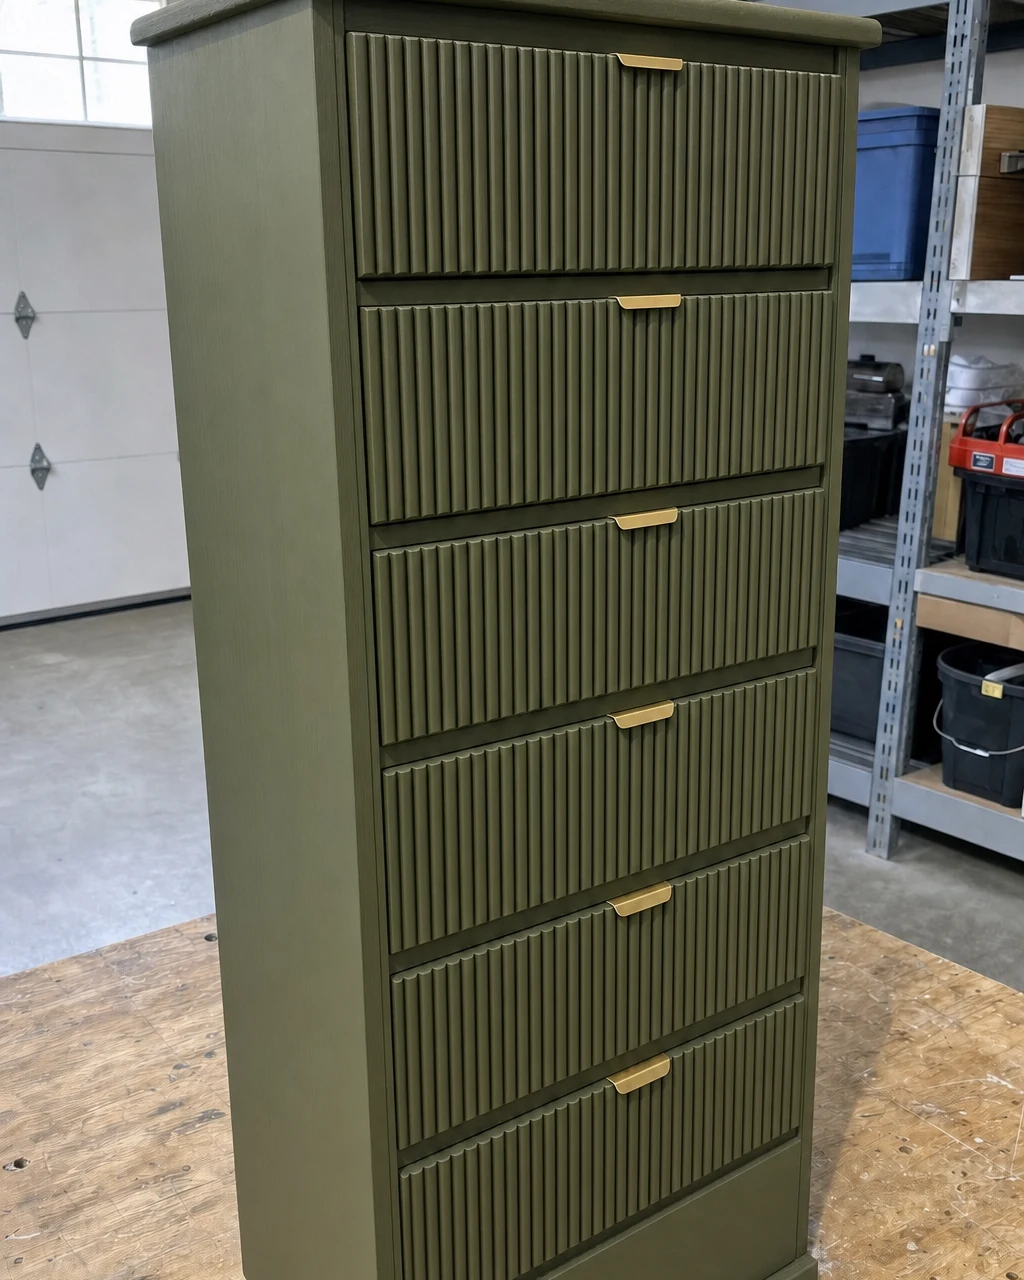
Once the dresser frame and drawers are fully painted and dry, slide the fluted drawers back into the tallboy structure. The continuous vertical wood fluting across all six drawers creates a striking architectural facade.
Final Assembly
Center and screw the new brass edge pulls into the top lip of each drawer front to provide a gleaming contrast against the green fluting. Pre-drill the screw holes to prevent the pine drawer lip from splitting during installation.
Step 7: See the Final Flip
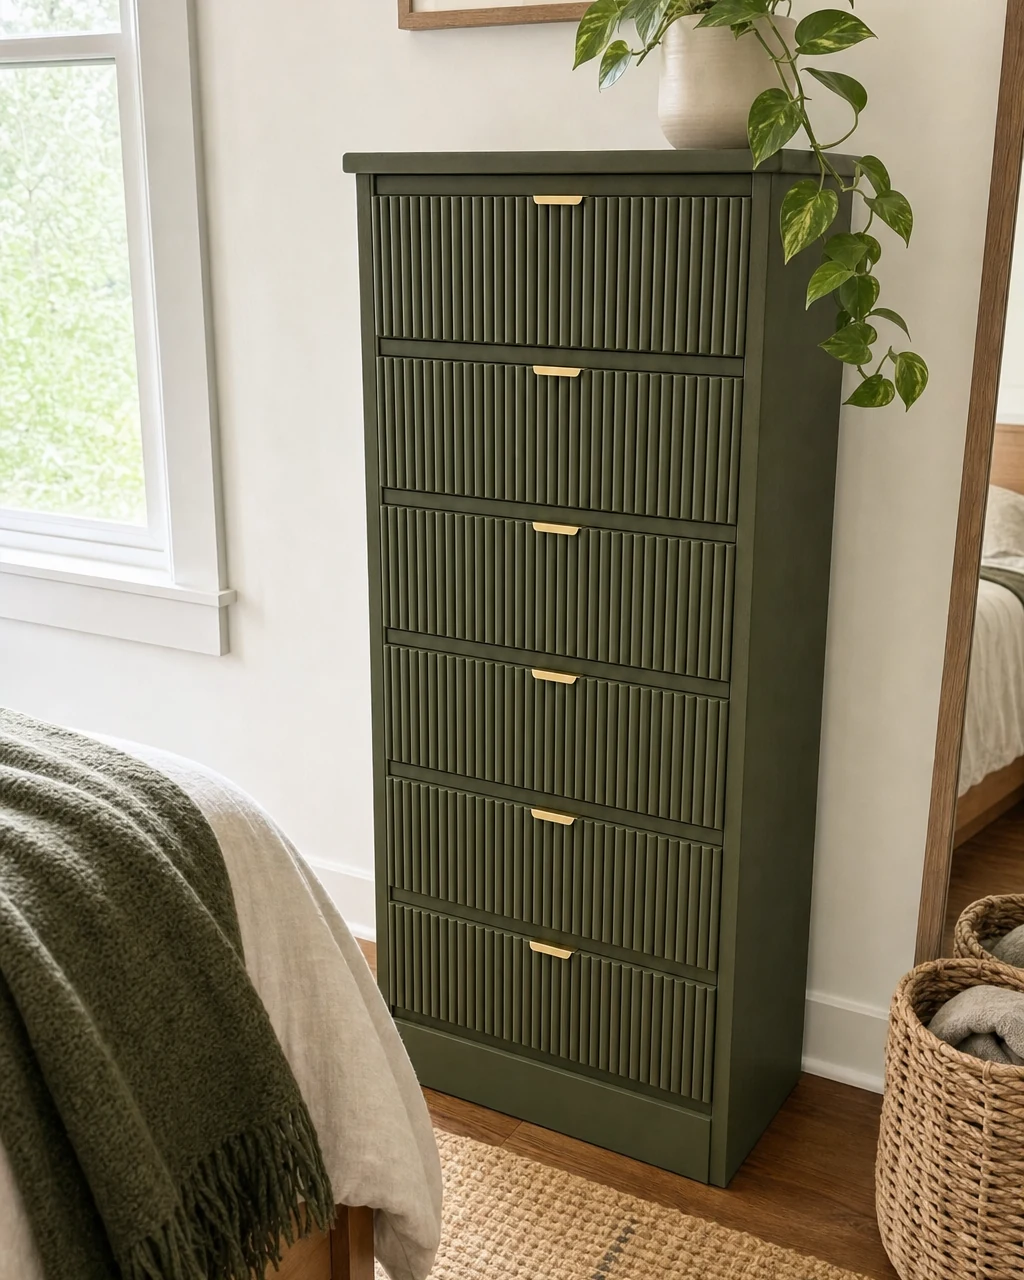
Move the completed dresser into a bedroom, styling it against a neutral white wall to let the deep green color stand out. Lift the solid pine dresser with a partner to avoid back strain during transport.
Understanding the Resale Value
Add a trailing pothos plant and a stack of vintage books to highlight the rich new ribbed texture. The addition of custom architectural fluting and a durable enamel finish elevates this basic piece into a boutique-style textured tallboy, significantly increasing its appeal to modern buyers and justifying the estimated resale valuation.