
Nesting Tables Upcycle with Bold Botanical Decoupage Tops
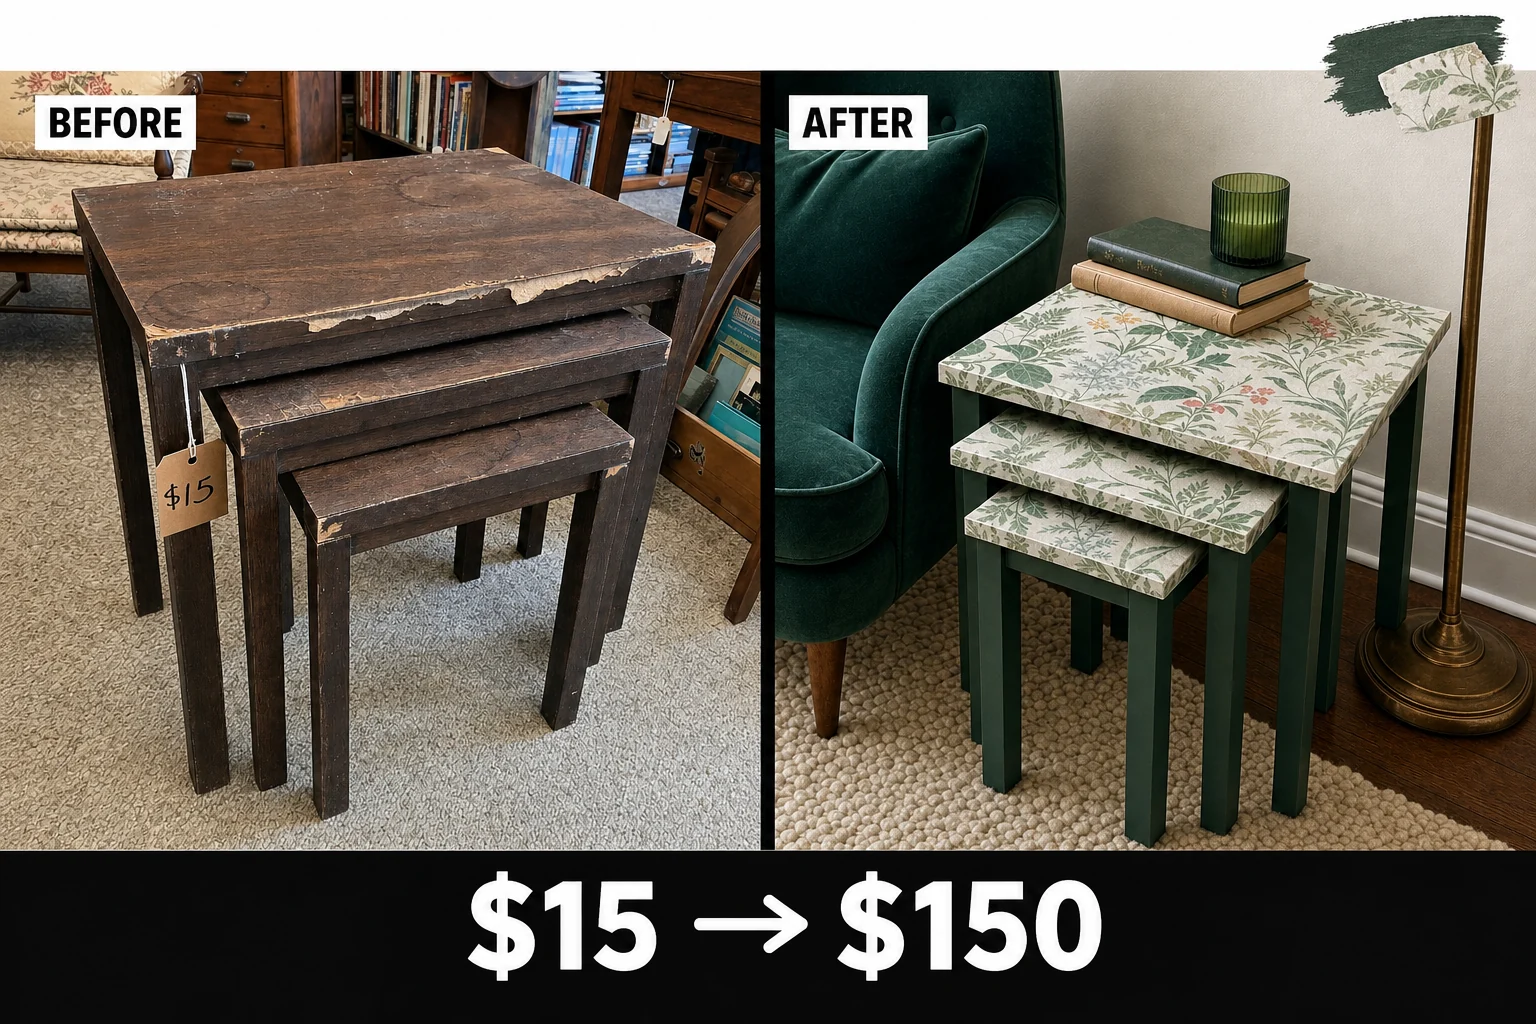
Tucked in an estate sale corner, these 1980s nesting tables featured severe water rings and peeling edges. We transformed the damaged particle board with bold botanical wallpaper decoupage and rich green painted bases.
Assessing the Estate Sale Find
Tucked in the corner of an occupied-looking estate-sale room, these secondhand nesting tables sat among books, lamps, and small paper price labels. The 1980s furniture was priced to move due to significant wear. Three rectangular tables with simple slab tops and straight, square legs nested together, but their dark faux-walnut paper laminate showed distinctive damage requiring immediate attention.
- Faux-wood laminate strips curling away from the particle board edges snag clothing and expose the vulnerable, crumbly core to further damage.
- The original faux-wood finish is a printed plasticized paper requiring a bonding primer, as standard paint will bead up.
- Raised rings where wet glasses dissolved the original laminate adhesive create an uneven base that will telegraph through the new wallpaper.
Project Valuation and Resale Potential
The bold, custom botanical pattern elevates these from cheap 1980s basics to trendy, boutique-style accent furniture, significantly increasing their decorative appeal. By covering the damaged particle board tops with heavyweight wallpaper and painting the bases a rich, contrasting green, the set gains substantial market interest. Note that the estimated resale value remains an editorial estimate rather than a guaranteed completed sale.
| Item | Cost |
|---|---|
| Purchase Price | $15 |
| Wood Filler | $6 |
| Bonding Primer | $14 |
| Furniture Enamel | $18 |
| Decoupage Medium | $8 |
| Heavyweight Wallpaper | $25 |
| Clear Matte Polycrylic | $12 |
| Materials Total | $83 |
| Total Investment | $98 |
| Estimated Resale Value | $150 |
| Value Gain | $52 |
Step 1: Inspect the Hidden Damage
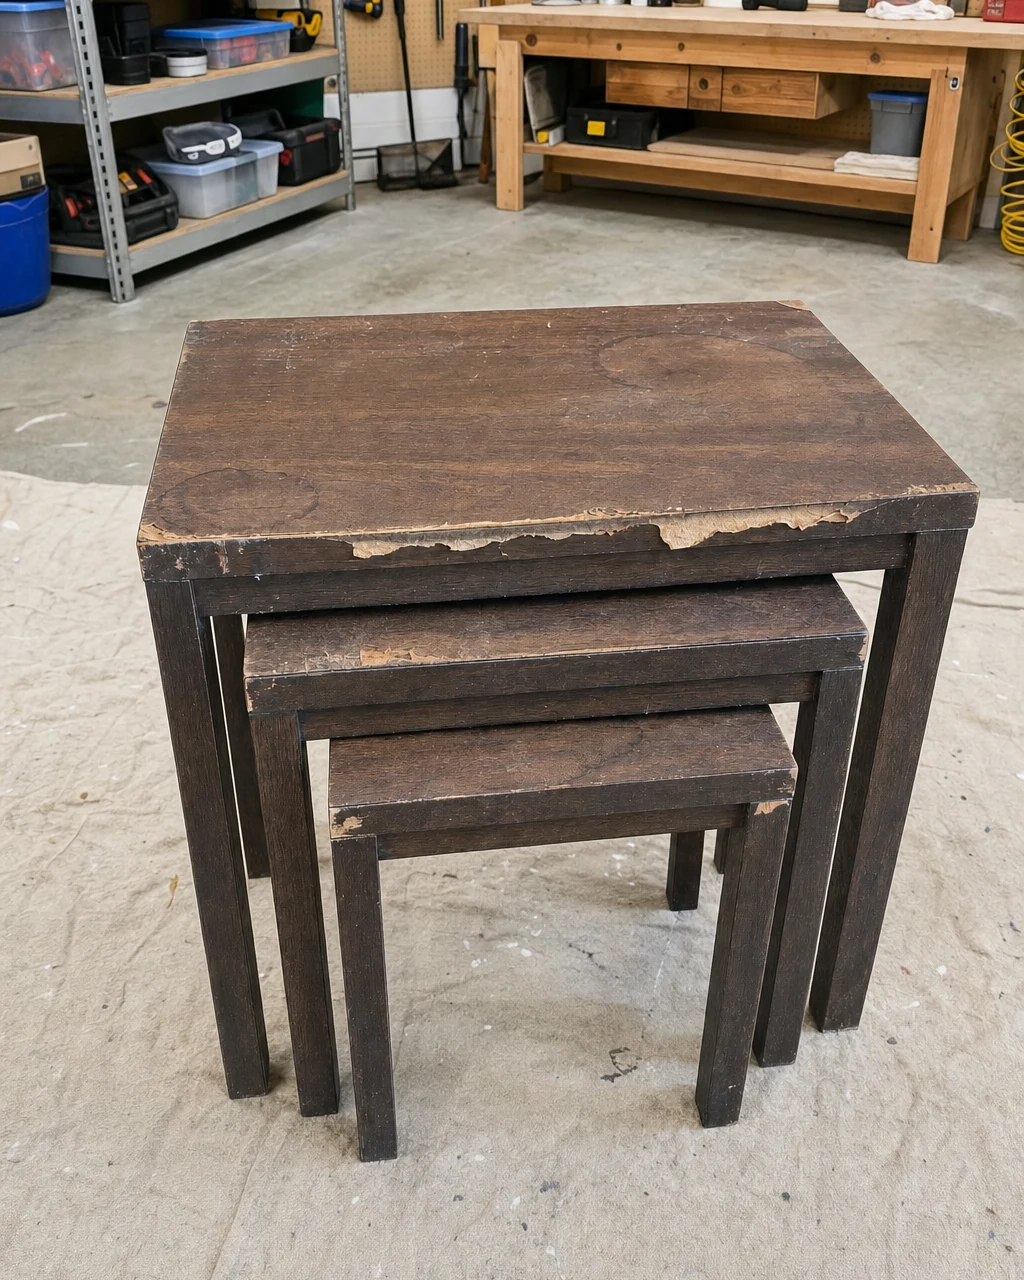
Evaluate the structural integrity of the particle board and plan the repair sequence. The three damaged nesting tables must be separated and staged for surface preparation on a canvas drop cloth under bright work lights. Wear work gloves when handling furniture with peeling, sharp laminate edges to prevent accidental cuts from the brittle plastic.
Materials checklist
Step 2: Fix Crumbly Edges Fast
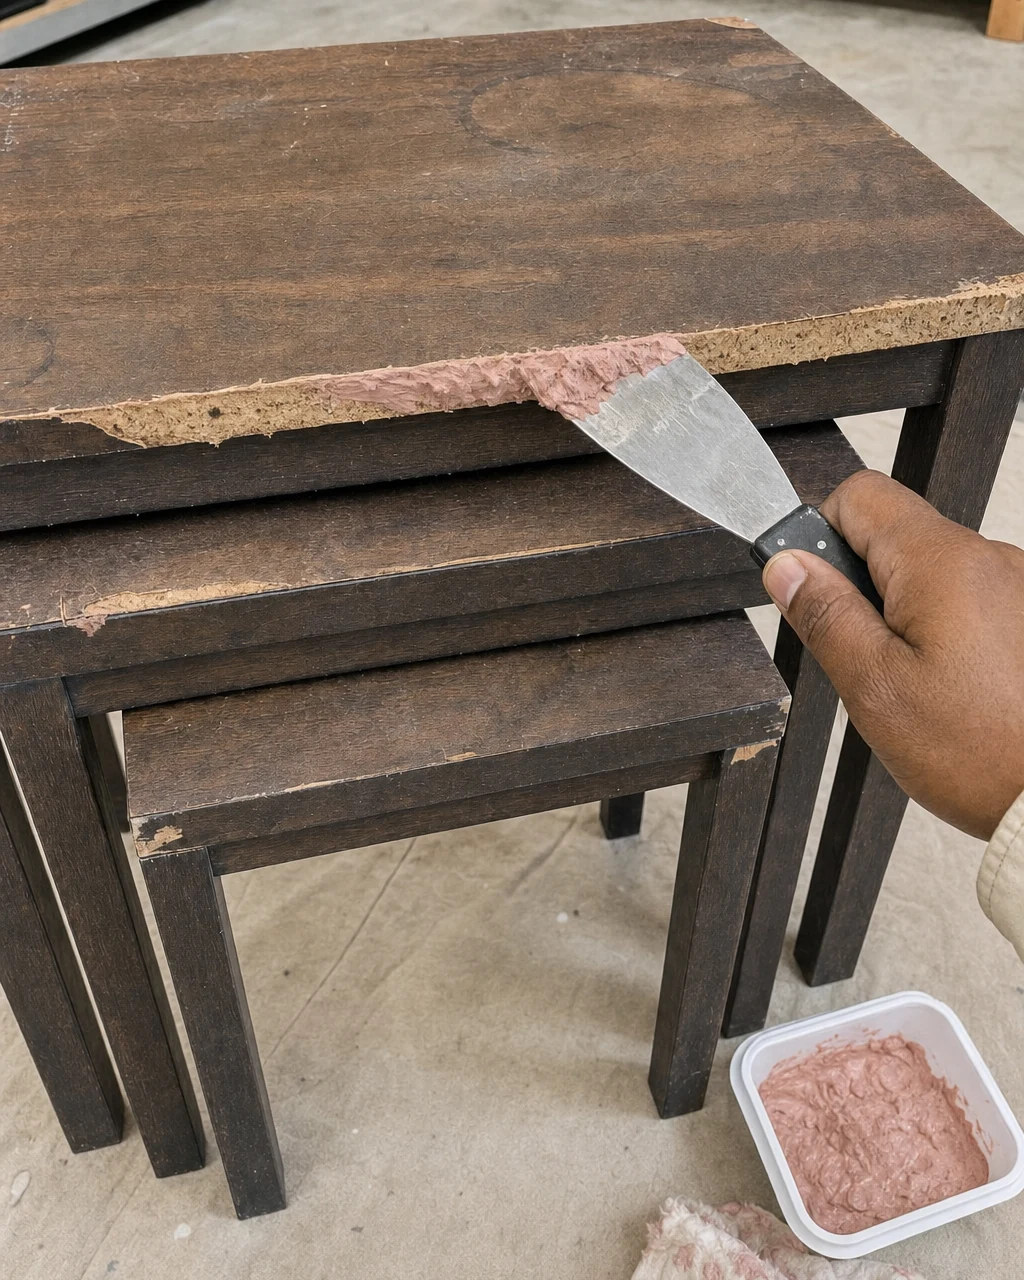
Peel away the failing edge banding, sand down the bubbled water rings, and fill the exposed particle board voids with wood filler. Use a metal putty knife to press the filler into the raw edges until they are solid and flush. Always wear a dust mask when sanding dried wood filler and particle board.
Stabilizing the Core
Because particle board requires complete sealing to prevent future moisture damage, patching these exposed edges is critical. The pink wood filler restores the sharp edge profile before painting begins, ensuring the final silhouette maintains the clean, straight lines of the original square legs and simple slab tops.
Step 3: Prime for Perfect Adhesion
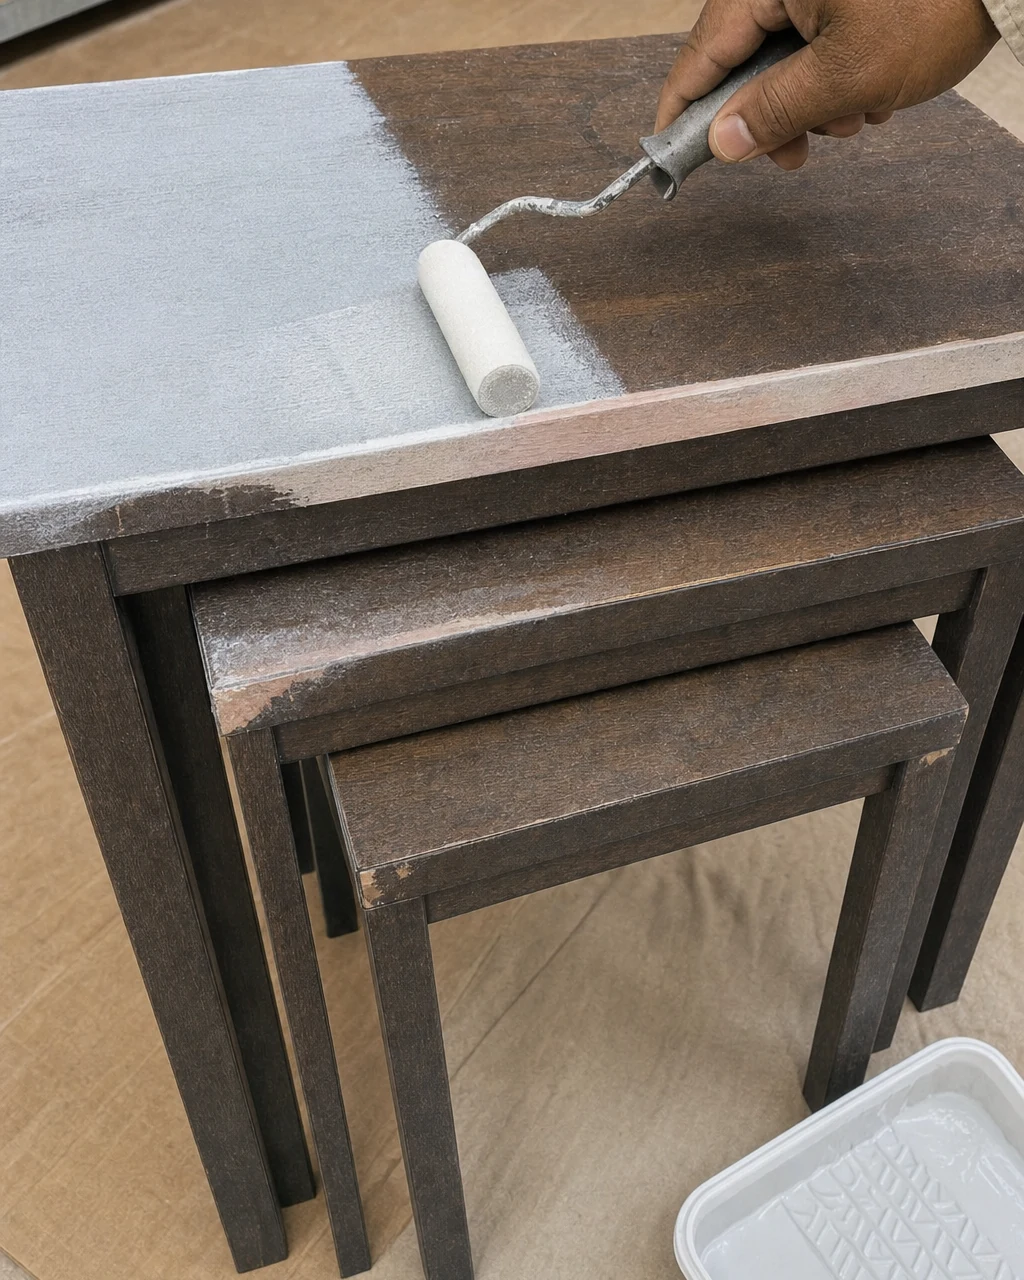
Roll a high-adhesion bonding primer over all surfaces to ensure the paint and decoupage medium will stick. A small foam roller applies the opaque white primer directly over the scuffed dark faux-wood table tops. Ensure adequate garage ventilation when applying solvent-based bonding primers to maintain a safe workspace.
Blocking the Slick Finish
The original faux-wood finish is a printed plasticized paper that repels standard water-based products. By applying a specialized high-adhesion bonding primer, you create a slightly textured, porous layer that grips the slick laminate. This step prevents the new finish from scratching off easily during daily household use.
Step 4: Add Rich Contrasting Color
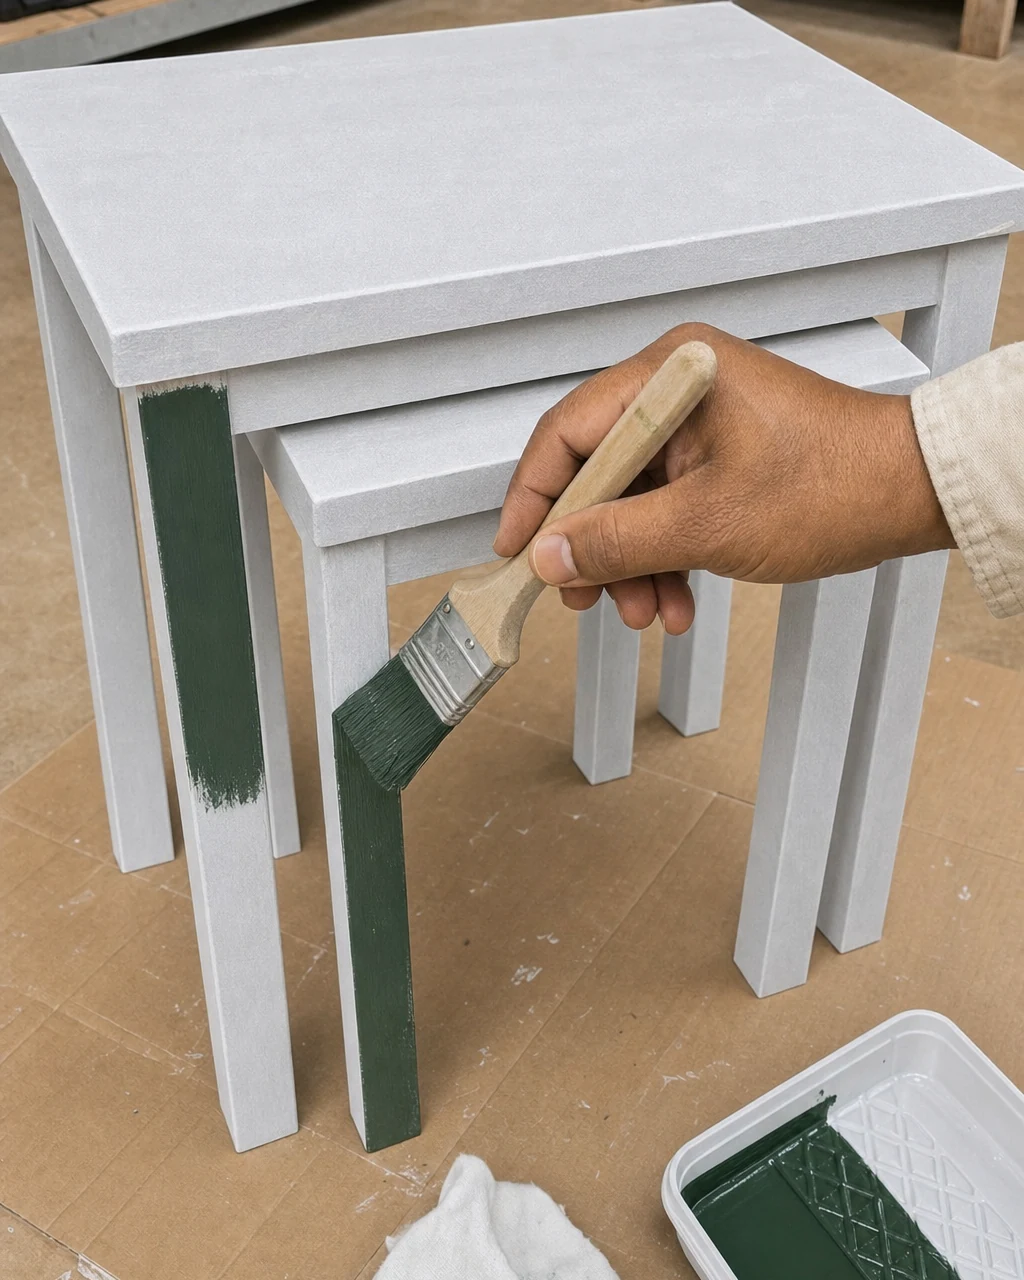
Brush two coats of durable dark green furniture enamel onto the legs and side aprons, allowing two hours of drying time between coats. Keep a damp rag nearby to immediately wipe up enamel drips. A synthetic brush helps spread the paint smoothly down the primed square legs.
Building a Durable Base
The deep forest green legs provide a striking visual hook against the planned botanical tops. Choosing a high-quality durable furniture enamel provides a hard shell that withstands daily foot traffic and vacuum bumps. Apply thin, even coats to prevent the self-leveling paint from pooling around the dowel joints.
Step 5: Apply the Bold Pattern
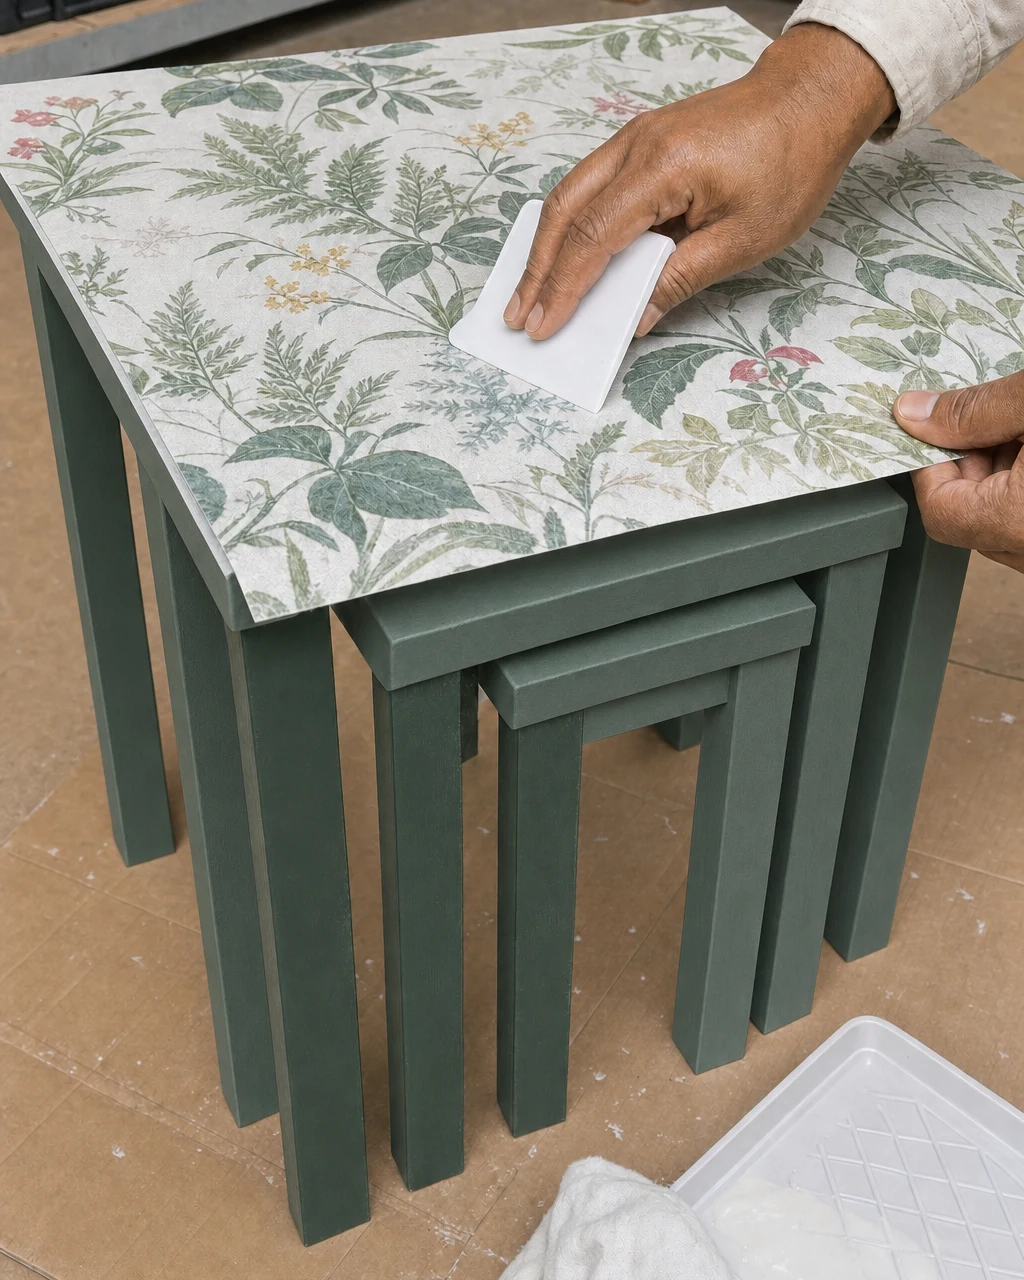
Apply a generous layer of decoupage medium to the top, lay down the cut wallpaper panel, and smooth out all air bubbles. A flat plastic smoothing tool presses the botanical wallpaper firmly into the wet medium. Wash hands immediately to prevent decoupage medium from transferring to the printed paper face.
Smoothing the Wallpaper
Using a thick, non-woven wallpaper is essential for this technique. Heavyweight wallpaper resists tearing when saturated with the wet adhesive, allowing you to reposition the panel slightly if needed. The seamless botanical wallpaper decoupaged across the three nesting table tops creates a vibrant, large-scale custom pattern.
Step 6: Seal for Daily Use
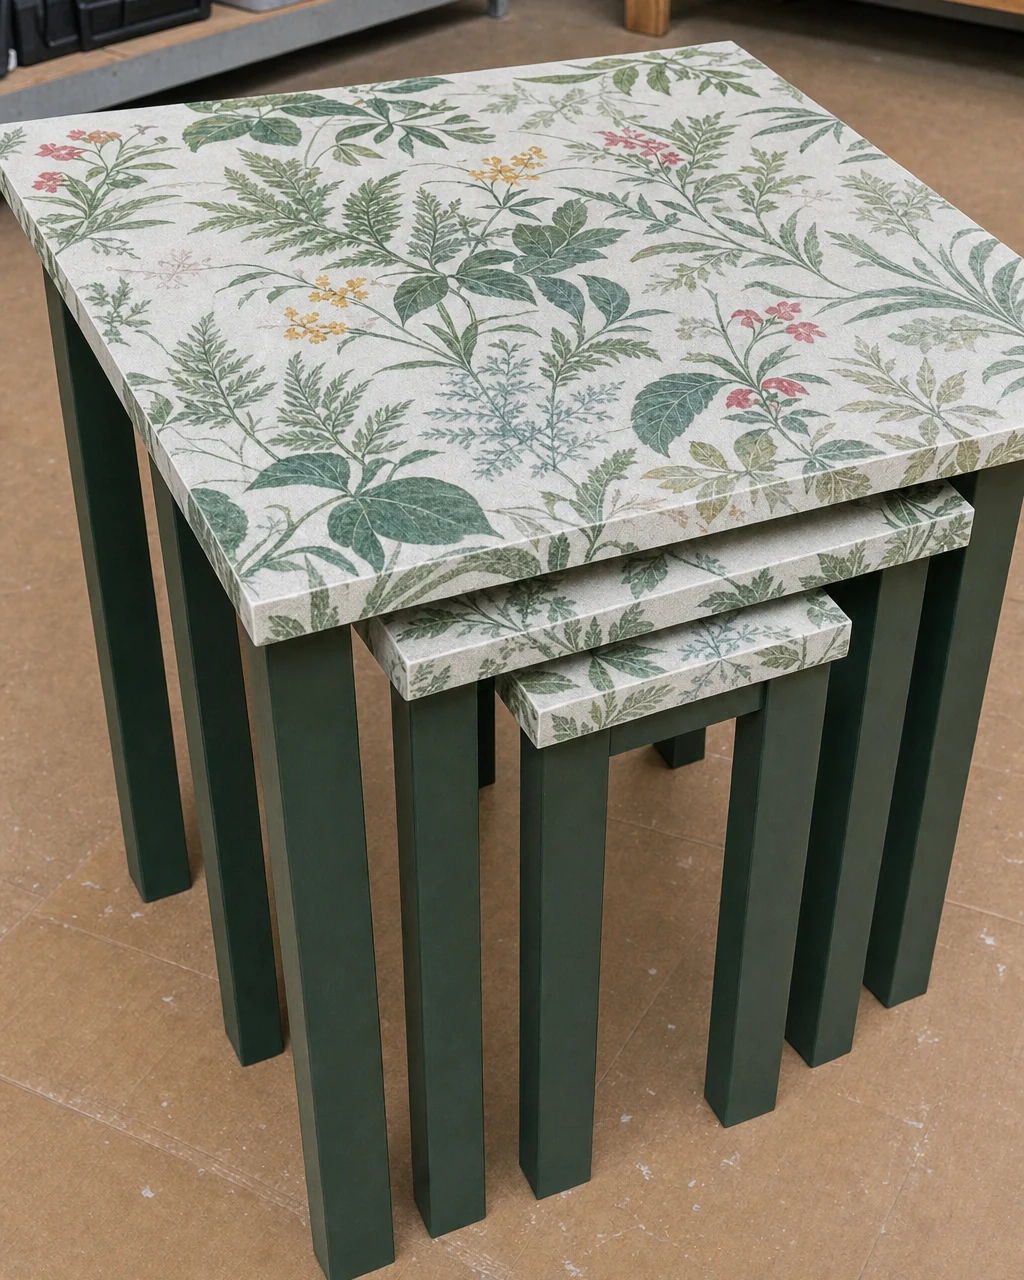
Apply three coats of clear matte polycrylic to the tops to seal the paper against moisture and daily wear. Use a soft bristle brush to create a durable, wipeable surface that reflects the overhead lights. Allow the final topcoat to cure completely in a well-ventilated space before stacking.
Protecting the Decoupage
Without a protective topcoat, the paper surface would quickly absorb spills and oils. Three coats of clear matte polycrylic ensure the paper tops repel water while maintaining a modern, low-shine appearance. Sand very lightly with ultra-fine grit between coats to achieve a perfectly smooth, factory-like finish.
Step 7: See the Final Reveal
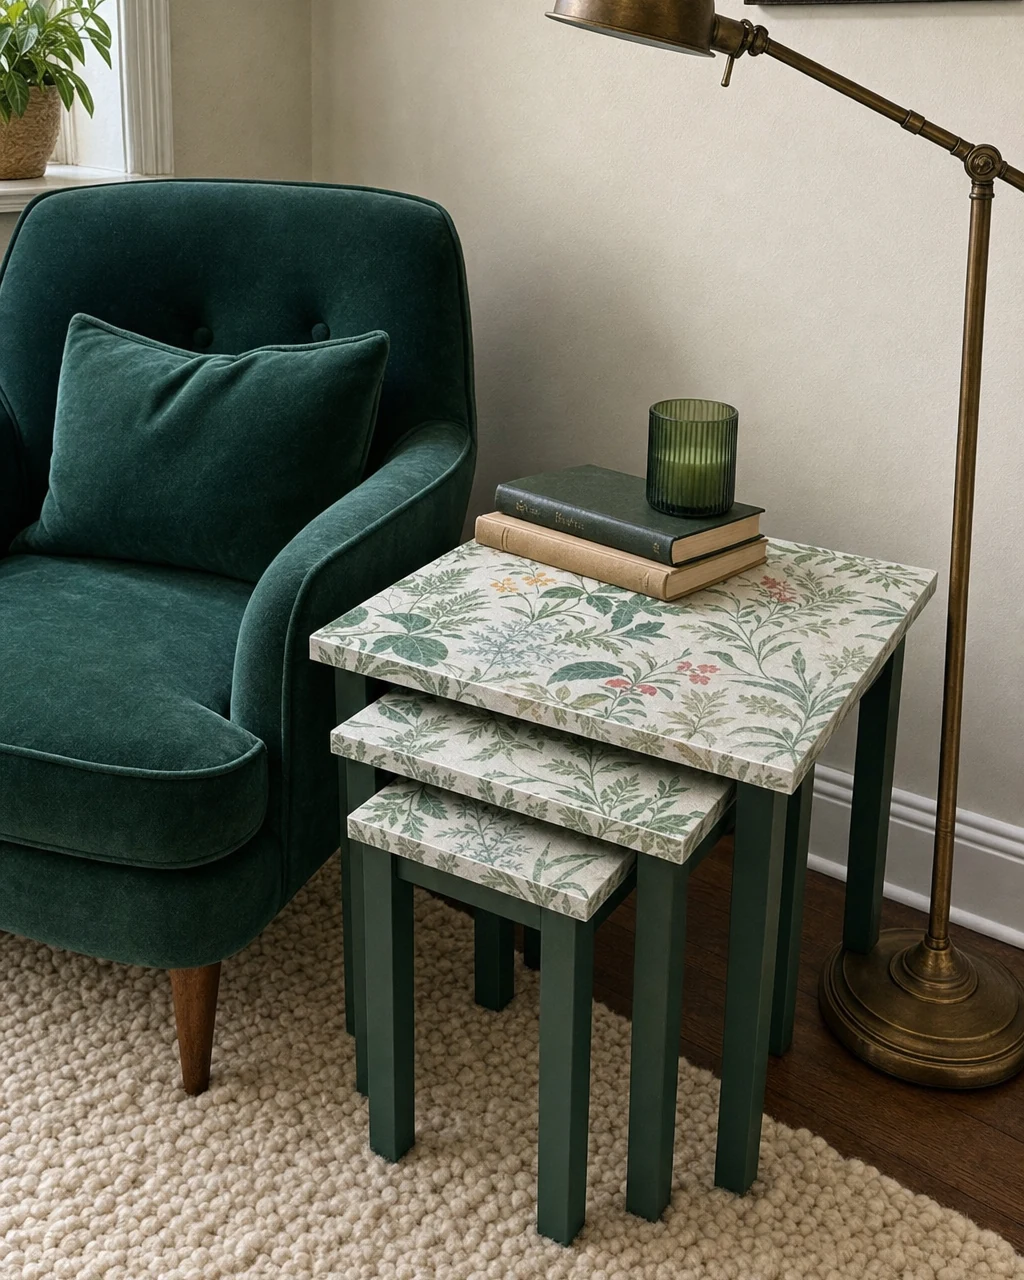
Move the nested set into the living room and arrange them beside a reading chair. Always lift the tables by the side aprons rather than dragging them across the rug. The tables function beautifully as a stylish, space-saving side table arrangement.
Styling the Accent Pieces
Bold botanical prints turn basic shapes into custom accent pieces. The finished nesting tables sit beside a velvet armchair on a textured cream rug with a brass floor lamp nearby. This striking combination of deep green painted bases and vibrant patterned tops completely erases their dated 1980s origins.