
Ceramic Pitcher Secondhand Makeover to Boho Macrame Vase
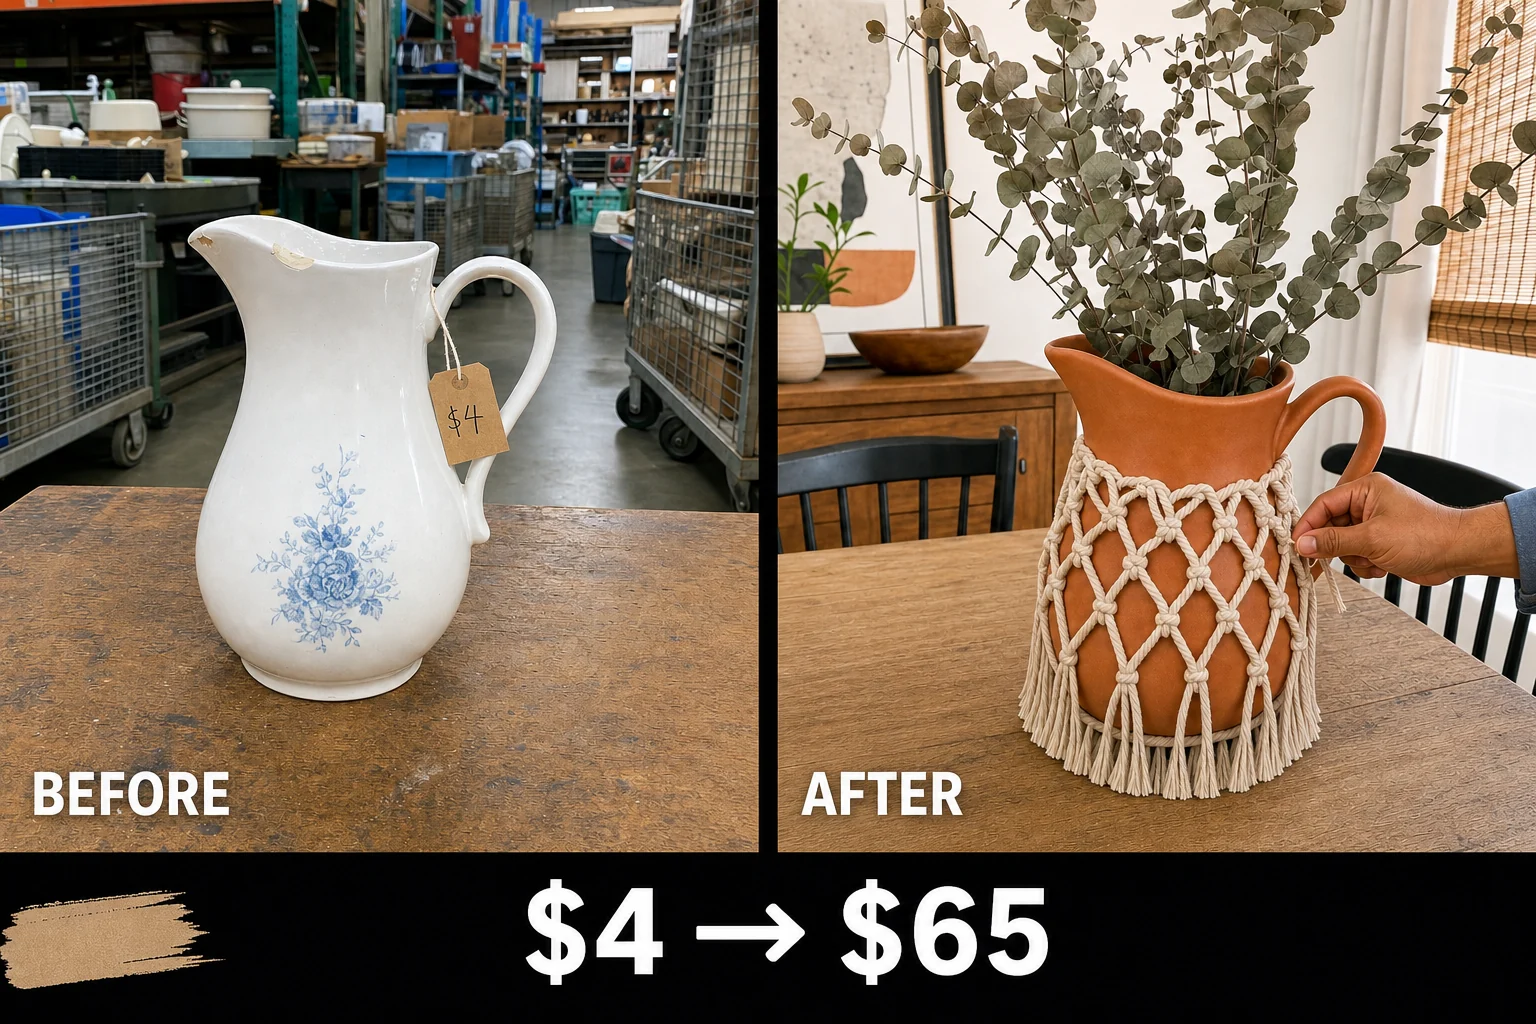
Sitting on a reuse depot cart, this chipped ceramic pitcher cost just four dollars. Repairing the broken lip and adding a custom macrame sleeve over a matte terracotta finish transforms this dated floral vessel into a modern boho centerpiece.
Assessing the Thrifted Pitcher
Finding a slip-cast single-piece glazed ceramic vessel at a community reuse center often means overlooking superficial damage. This particular pitcher sat on a rolling metal cart among roughly sorted bins of salvaged household goods. Measuring ten inches tall with a six-inch diameter belly, the overall silhouette featured a bulbous base tapering to a narrow neck with a curved side handle.
- Jagged chip on pouring lip: A missing chunk of ceramic exposes the rough, unglazed white clay beneath, making the piece unsafe for pouring liquids and creating an obvious visual defect.
- Dated surface decoration: A faded and slightly scratched 1990s blue floral decal on the front belly heavily dates the piece and clashes with modern interior styling.
The immutable features of this piece, including its interior volume and base footprint, remain perfectly intact. These strong structural elements make the vessel an ideal candidate for surface painting and wrapping the exterior with cord.
Project Valuation and Resale Potential
Boutique home decor stores frequently sell similar ceramic vessels with woven or macrame accents for sixty to eighty dollars. The heavy artisan texture and trendy matte finish elevate this piece from a basic thrift find to a premium decorative accent, yielding an estimated resale value of sixty-five dollars.
| Item | Cost |
|---|---|
| Purchase Price | $4 |
| Epoxy Putty | $6 |
| Matte Terracotta Paint | $8 |
| Cotton Macrame Cord | $12 |
| Materials Total | $26 |
| Total Investment | $30 |
| Estimated Resale Value | $65 |
| Value Gain | $35 |
This impressive value multiple of over two times the total investment demonstrates the power of creative technique. Changing the material dimensions and color palette completely erases the dated origins of the piece.
Step 1: Clean the ceramic
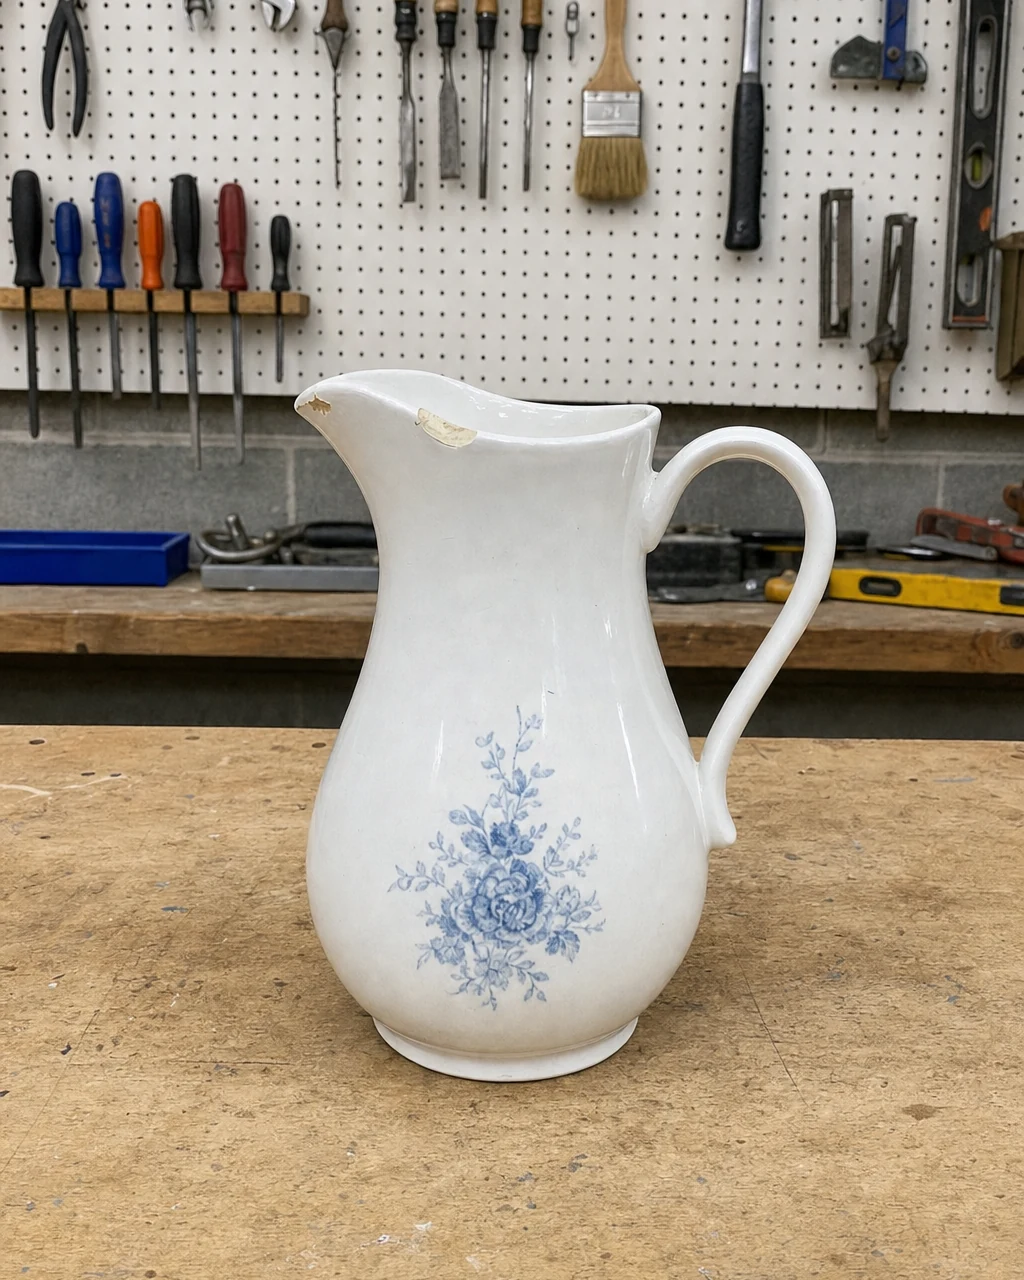
Wash the entire glazed ceramic surface with a degreasing dish soap and warm water using a sponge. Wiping the glossy white ceramic and faded blue floral decal removes all surface oils, ensuring the epoxy and paint will adhere properly. Handle the chipped lip carefully while washing to avoid cuts. A clean, dry pitcher provides the perfect blank slate for the upcoming repair work.
Step 2: Rebuild the lip
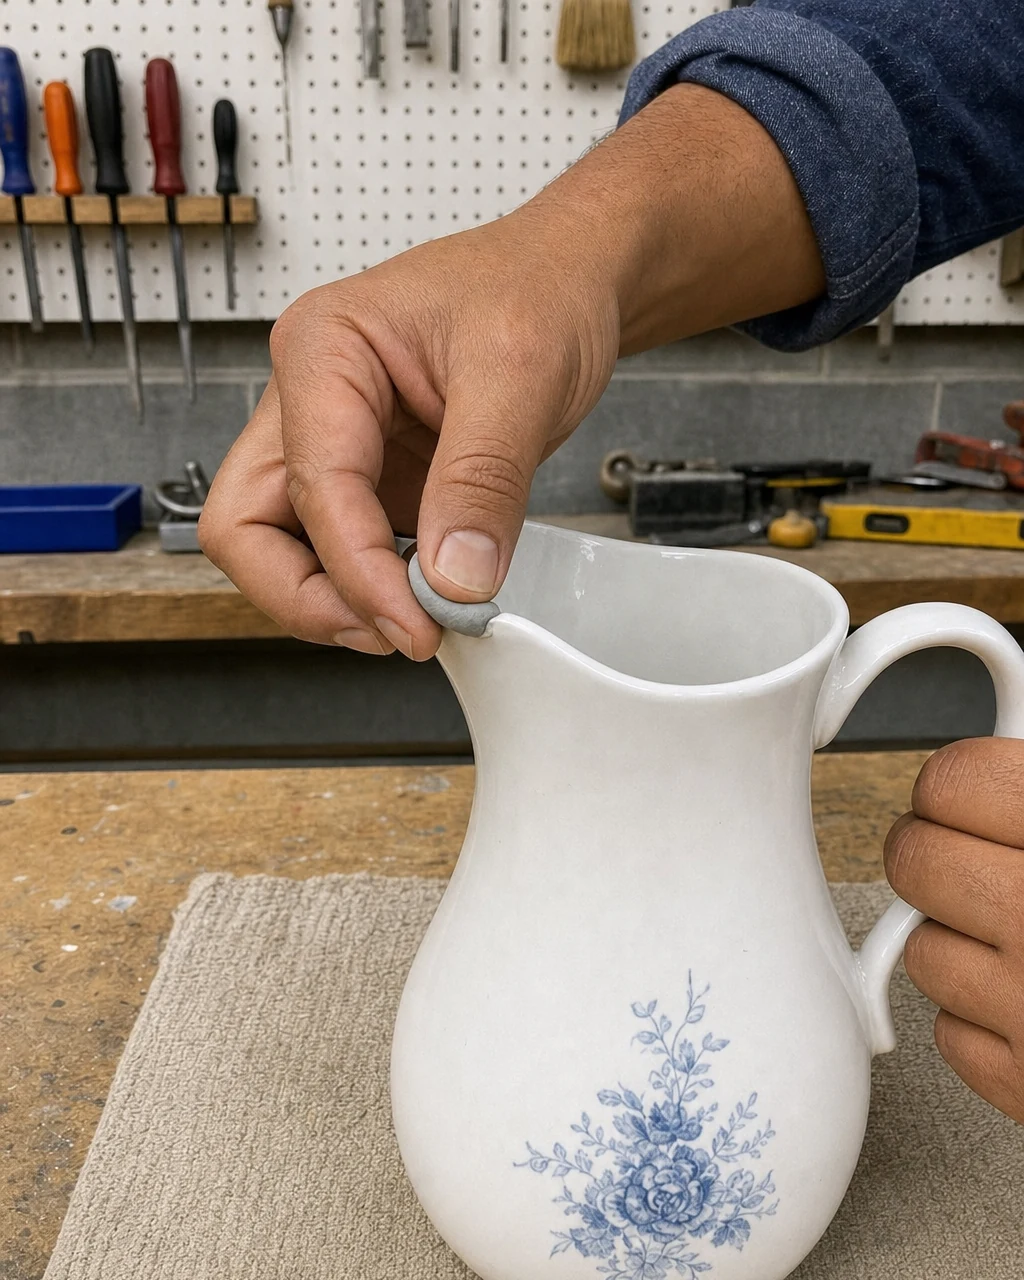
Knead a small piece of epoxy putty until uniform, then press it firmly into the chipped spout with a putty knife and your thumb. Mold the grey patch to match the original ceramic curve. Clean the edges with a sponge and let harden for thirty minutes. Wear disposable gloves when kneading and applying epoxy putty. The lip becomes smooth and whole again.
Plumber’s putty cures rock hard in under twenty minutes, providing a durable foundation for the next steps. The grey patch completely restores the broken white ceramic lip to its original functional shape.
Step 3: Apply matte finish
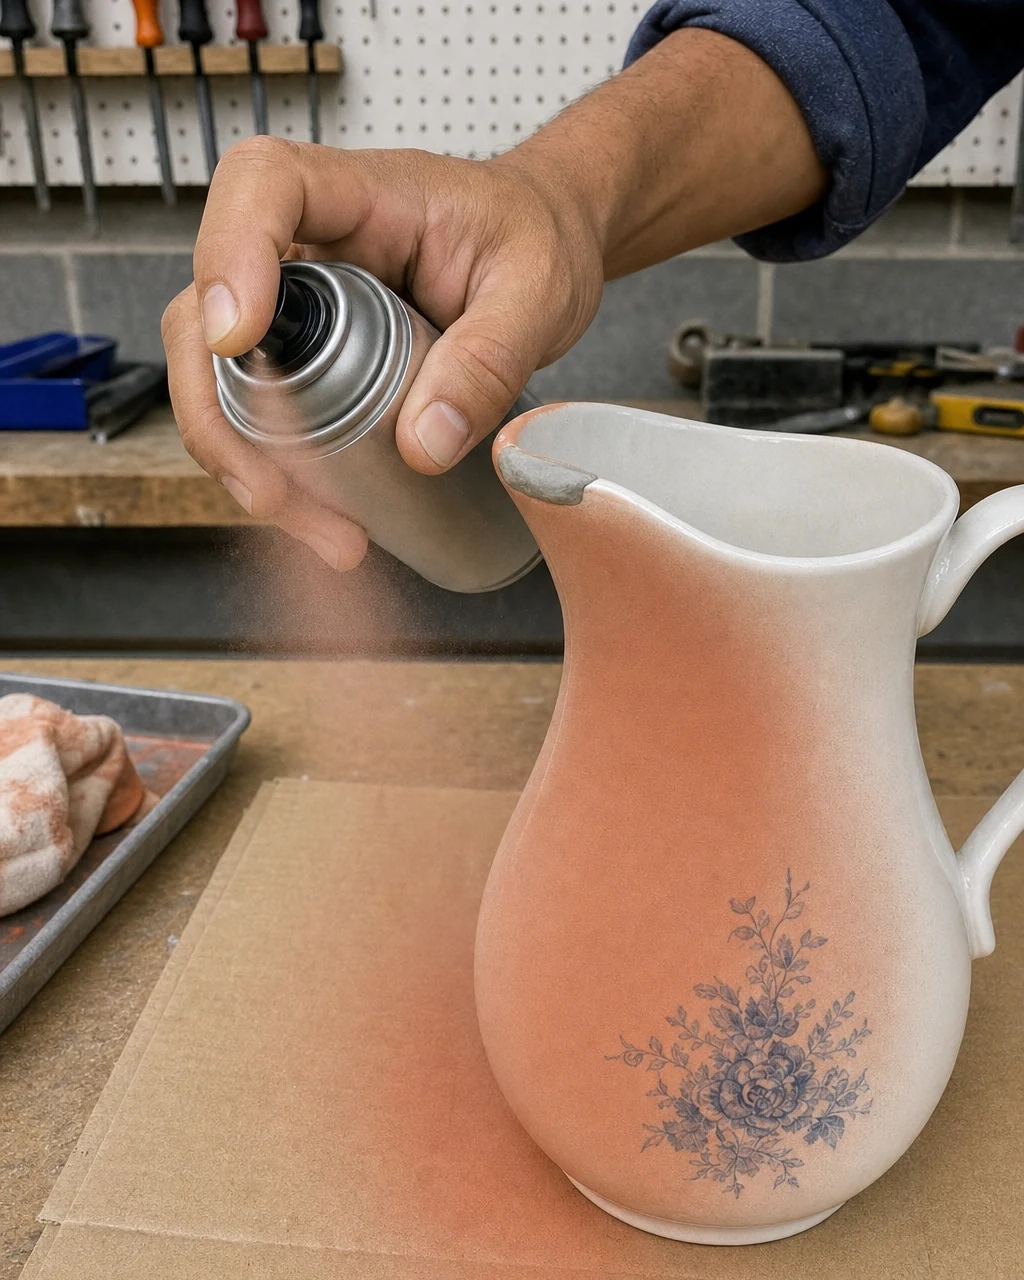
Spray the entire pitcher body with matte terracotta paint to unify the surface. This seamlessly hides the faded blue decal and completely covers the putty repair. Use a brush or putty knife to clear any nozzle drips, then allow two hours for the paint to fully cure. Spray paint outdoors or in a highly ventilated area while wearing a respirator mask.
Materials checklist
Matte finishes hide minor surface imperfections much better than gloss alternatives. The uniform terracotta coloring creates an earthy backdrop that perfectly complements the upcoming heavy textile elements.
Step 4: Knot the sleeve
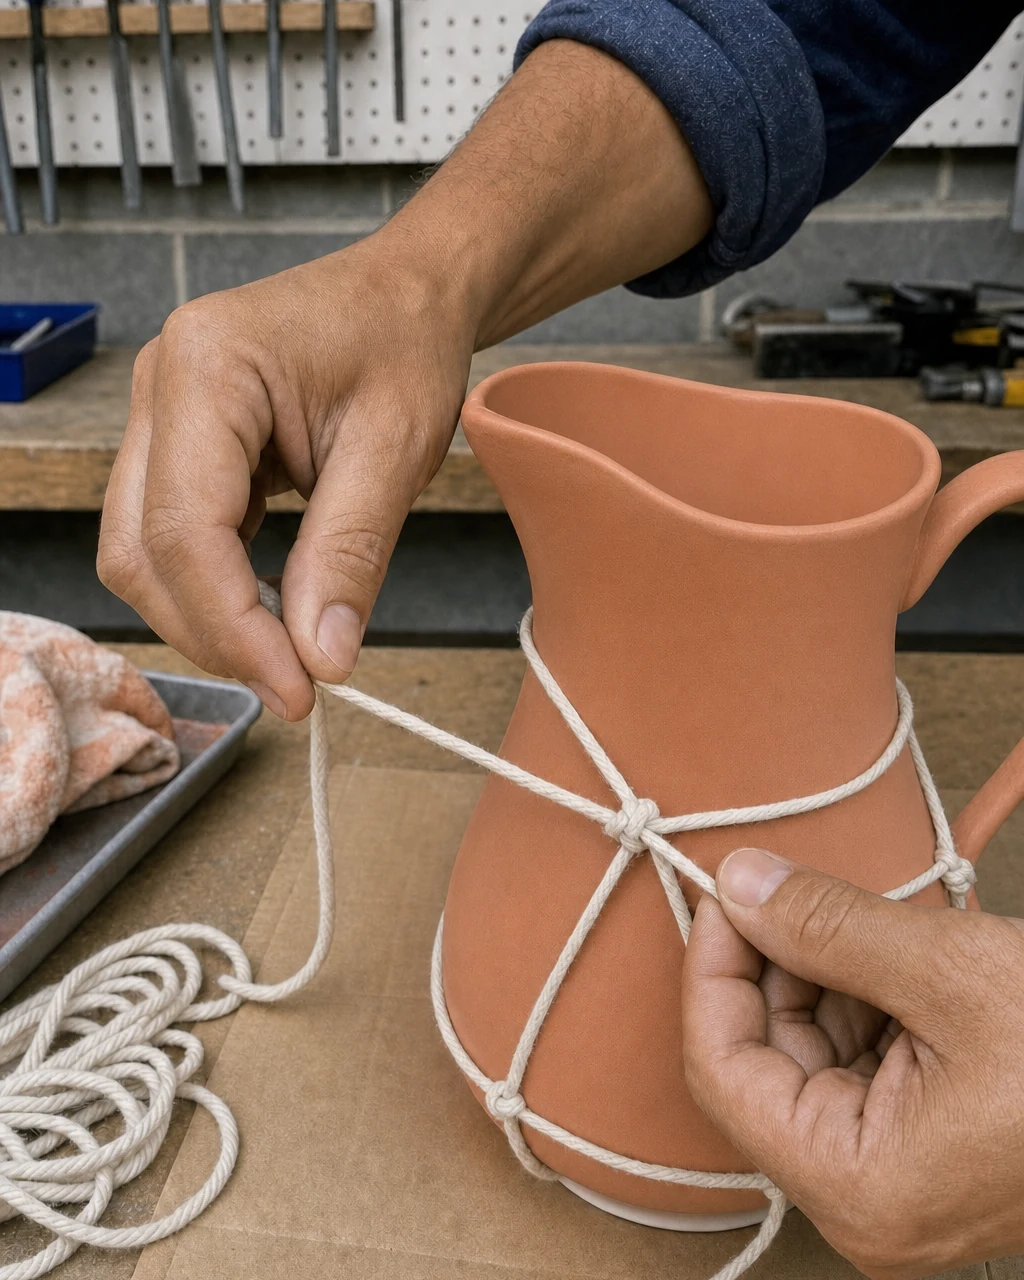
Once dry, tie a master ring of cotton macrame cord around the narrow neck. Attach vertical strands and tie alternating square knots down the belly to create a tight, textured net. Use a brush to gently position the cords as you work. Ensure the pitcher is stable on the workbench so it does not tip while pulling heavy textile elements tight.
The half-finished macrame net hugging the upper belly of the pitcher immediately adds heavy artisan texture. This tightly knotted sleeve transforms the smooth painted surface into a highly tactile decorative accent.
Step 5: Trim the fringe
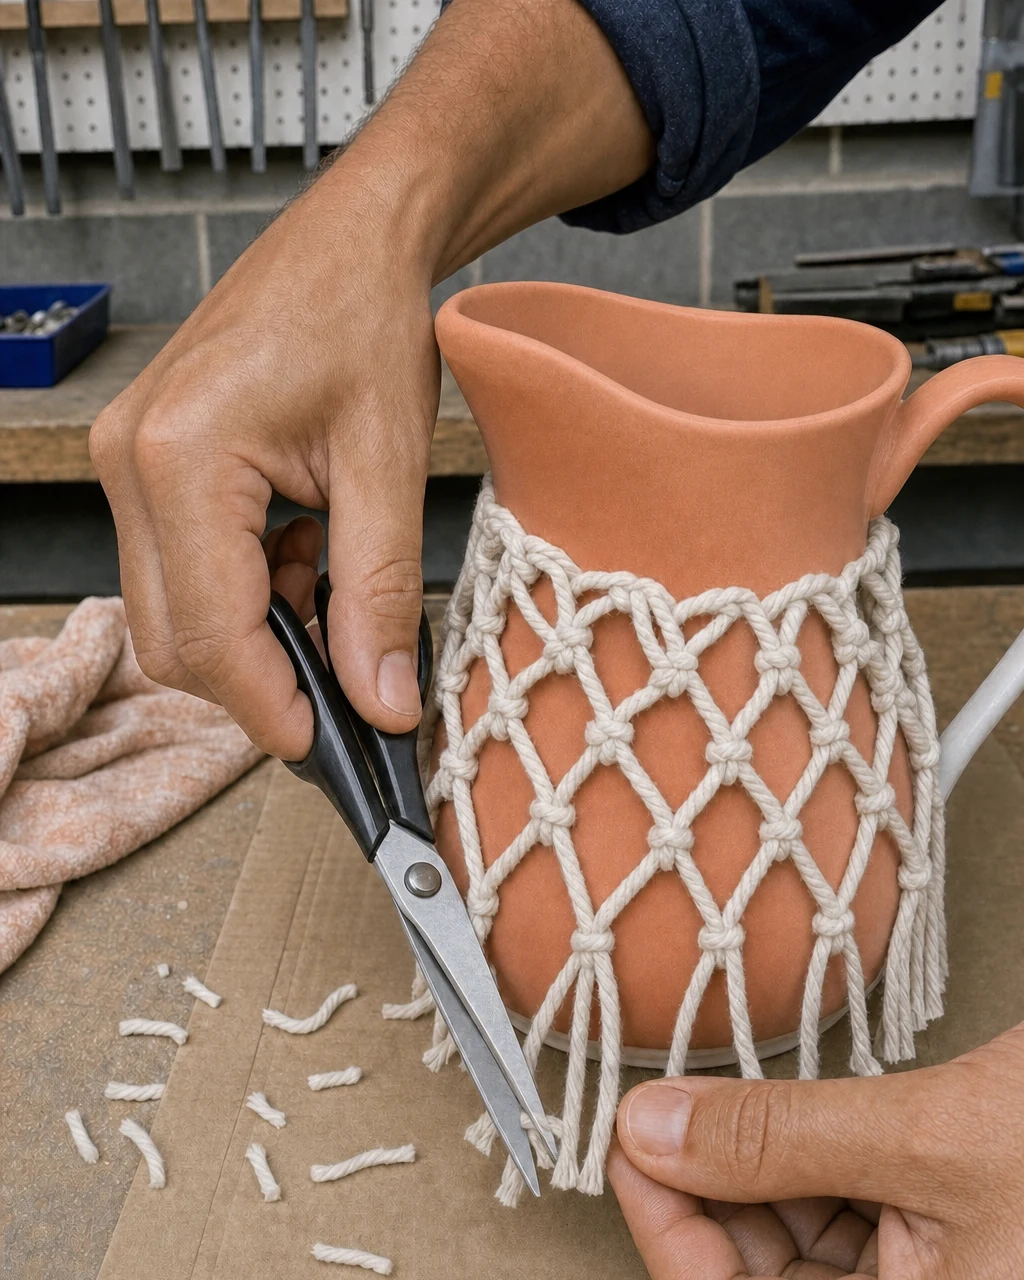
The macrame sleeve is fully knotted but leaves long cords hanging past the base. Cut the excess evenly around the base using fabric scissors. Keep fingers clear of the blades when trimming thick bundles. Next, use a macrame comb to brush out the plies, creating a soft, textured fringe resting above the table line. This forms a neat, uniform fringe finishing the bottom.
Step 6: Review the vessel
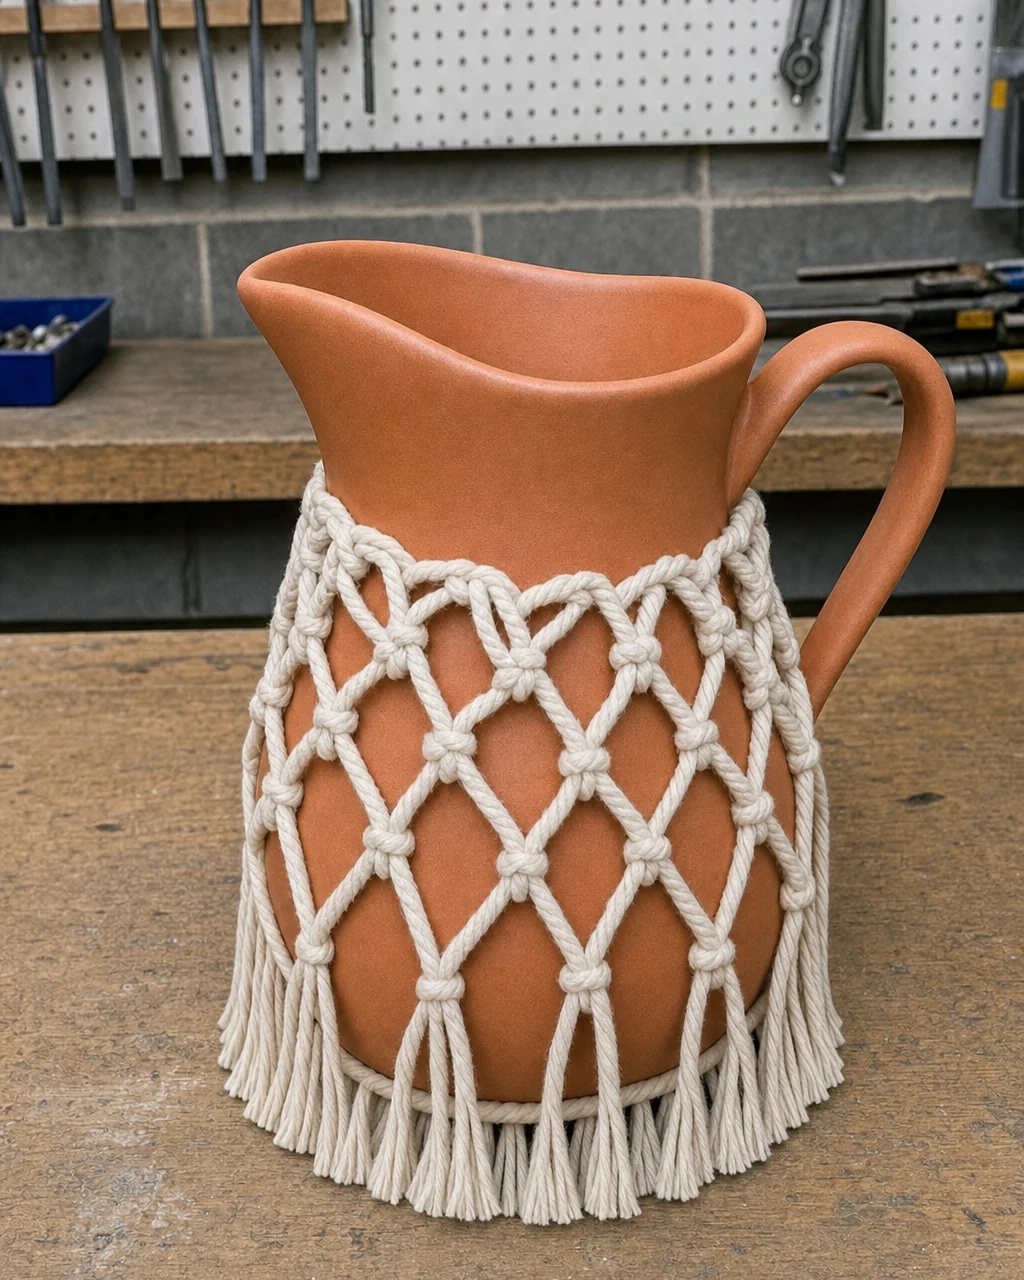
Inspect the finished piece on the cleared wooden workbench. Ensure the square knots are evenly spaced across the midsection and the paint finish remains unmarred. Use a brush or utility knife to carefully remove any stray cotton fibers stuck to the painted surface. Verify the bottom is completely free of paint residue before placing it on household furniture. The transformed pitcher is ready.
Step 7: Style with dried botanicals
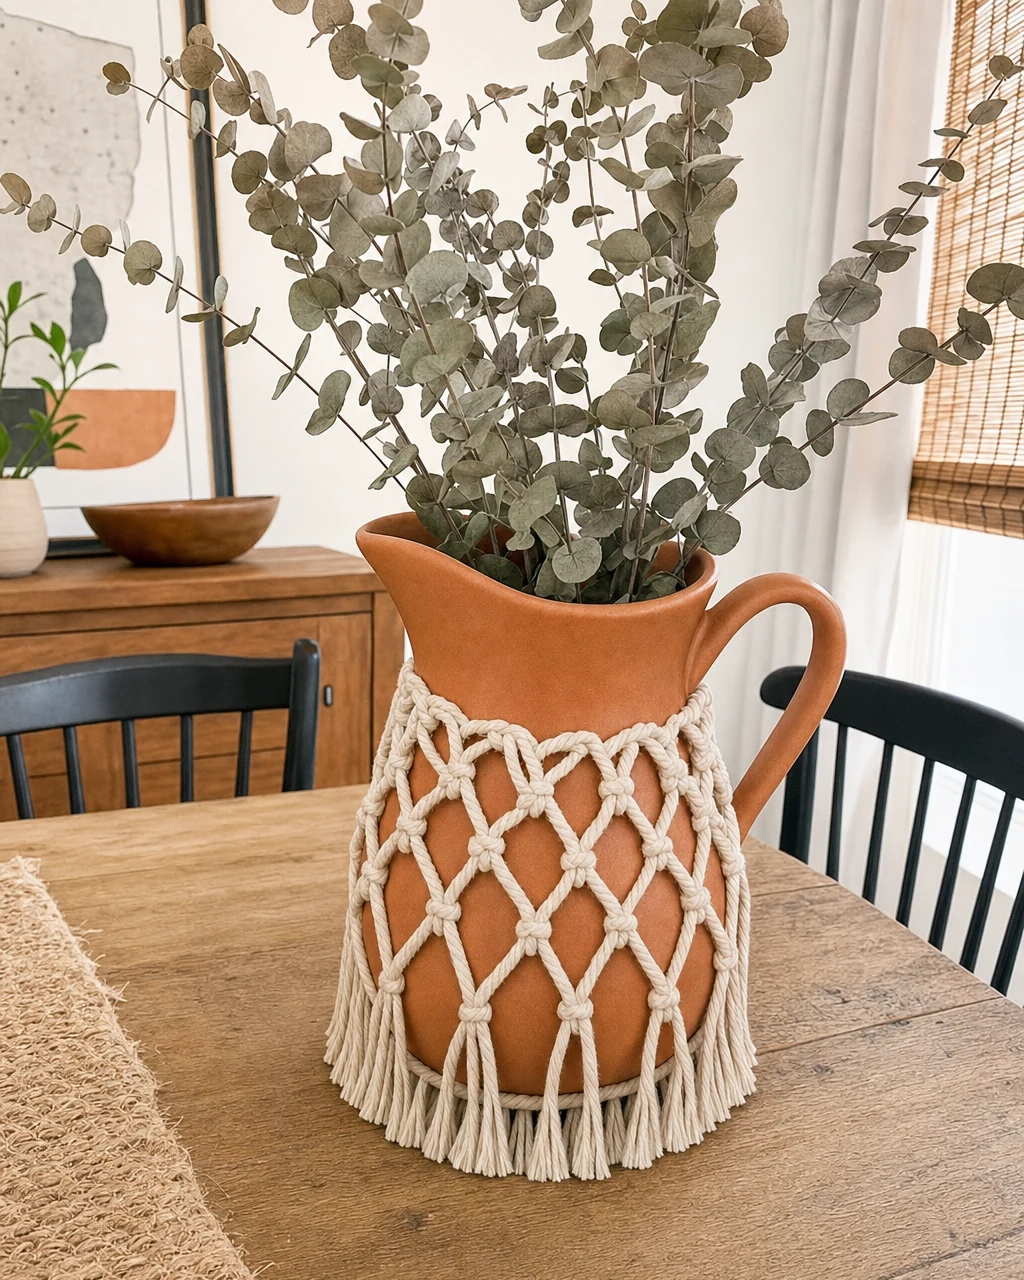
Place the transformed pitcher on a natural wood dining table. Fill the vessel with tall dried eucalyptus branches to highlight its earthy, artisan texture against a neutral wall. Use a putty knife to gently adjust the base fringe if it gets tucked under the ceramic. Because the interior is unsealed over the lip repair, use this stylish centerpiece only for dried arrangements.