
Plastic Wall Mirror Transformation: A Modern Color Block Finish
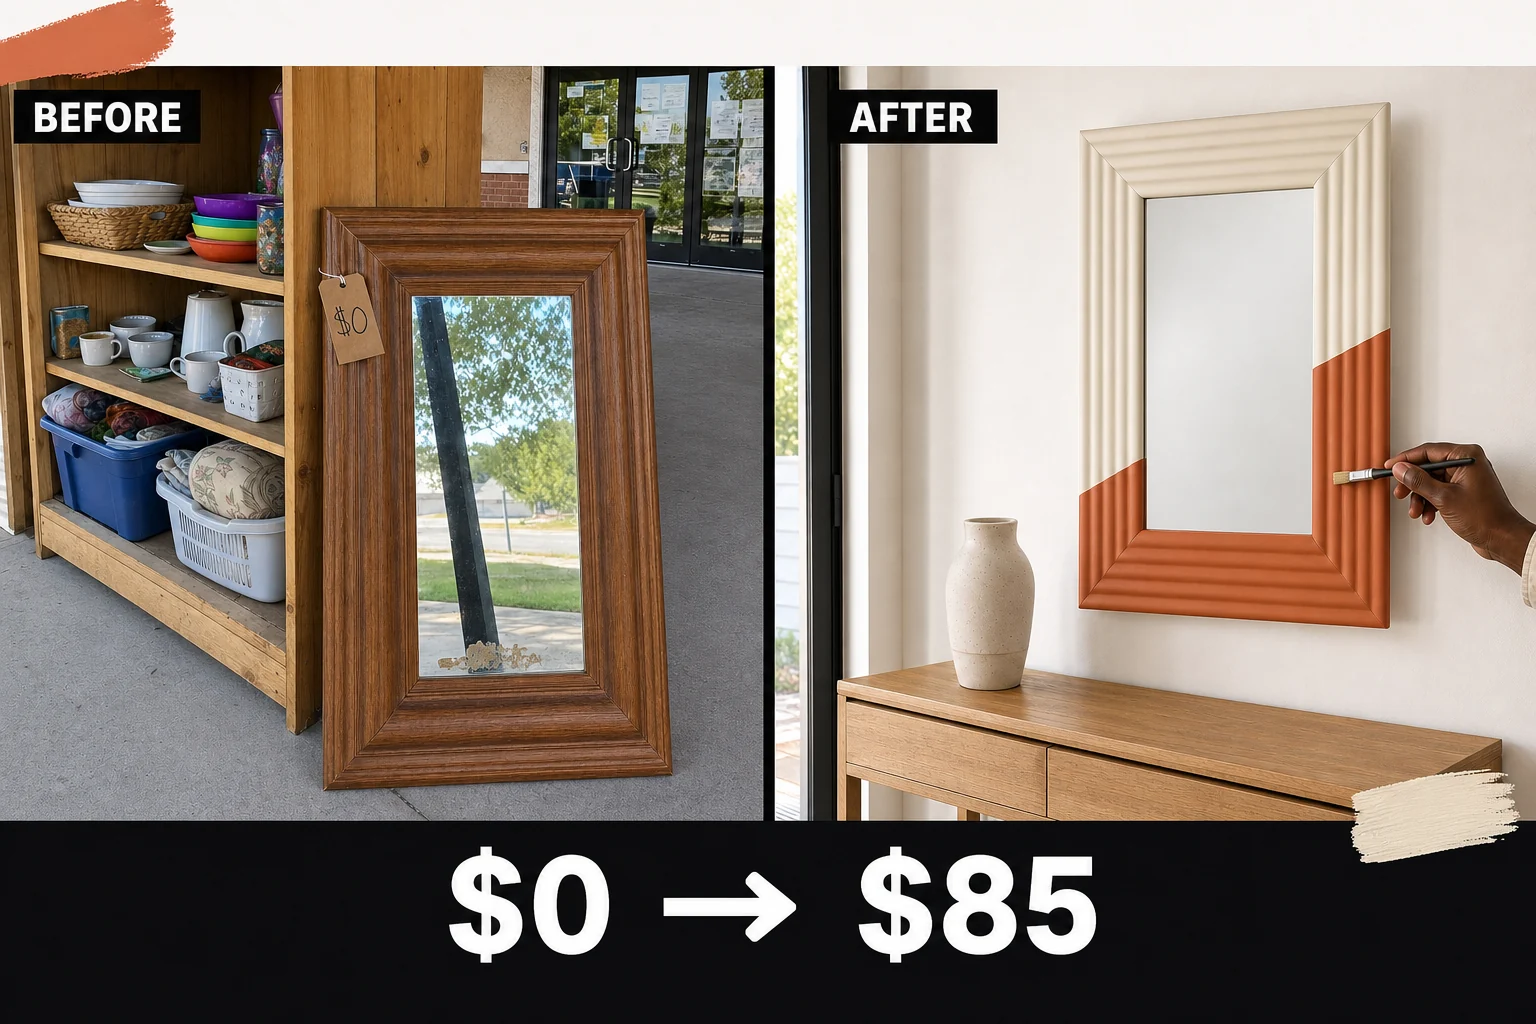
This heavy 1990s mirror was sitting on the bottom shelf of a neighborhood swap shelf with a handwritten free label. The dated faux-oak plastic received a modern asymmetrical color block transformation using matte terracotta and cream paint.
Step 1: Assess the Swap Shelf Find
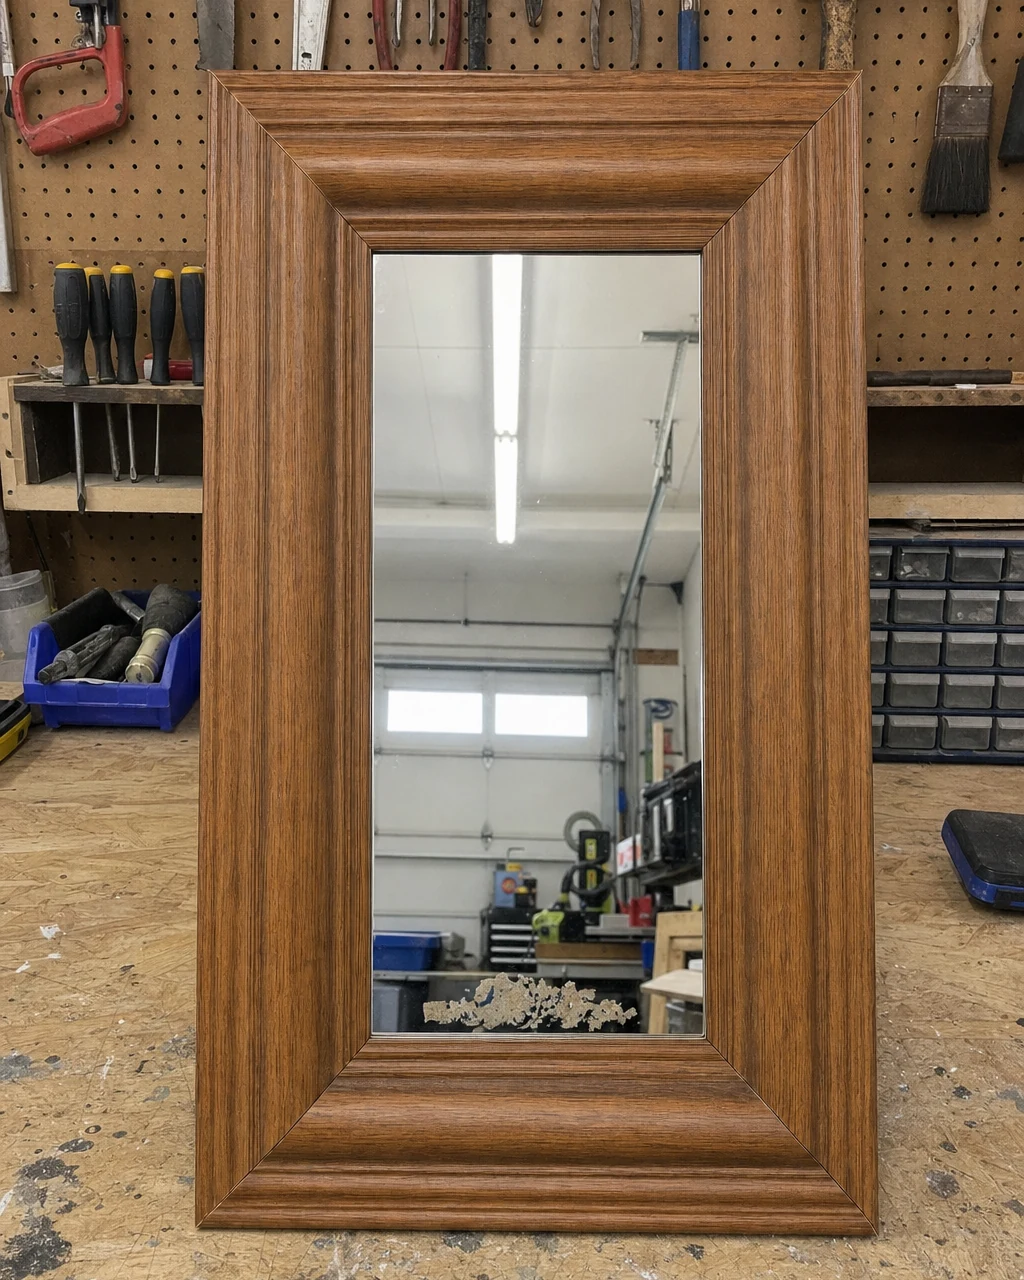
Evaluating this rectangular mirror revealed a deeply contoured four-inch wide frame made from a single piece of molded plastic. The glossy faux-oak finish presented a slick non-porous surface, meaning standard paint would easily scratch off without proper preparation. A thorough inspection highlighted two primary issues that required immediate attention before any cosmetic updates could begin.
- Sticky patches and a dull film on the plastic frame demand heavy-duty degreasing to prevent the new finish from peeling.
- The glossy faux-oak finish on the molded plastic requires a specialized bonding primer before standard paint will adhere properly.
Step 2: Clean and Mask the Glass
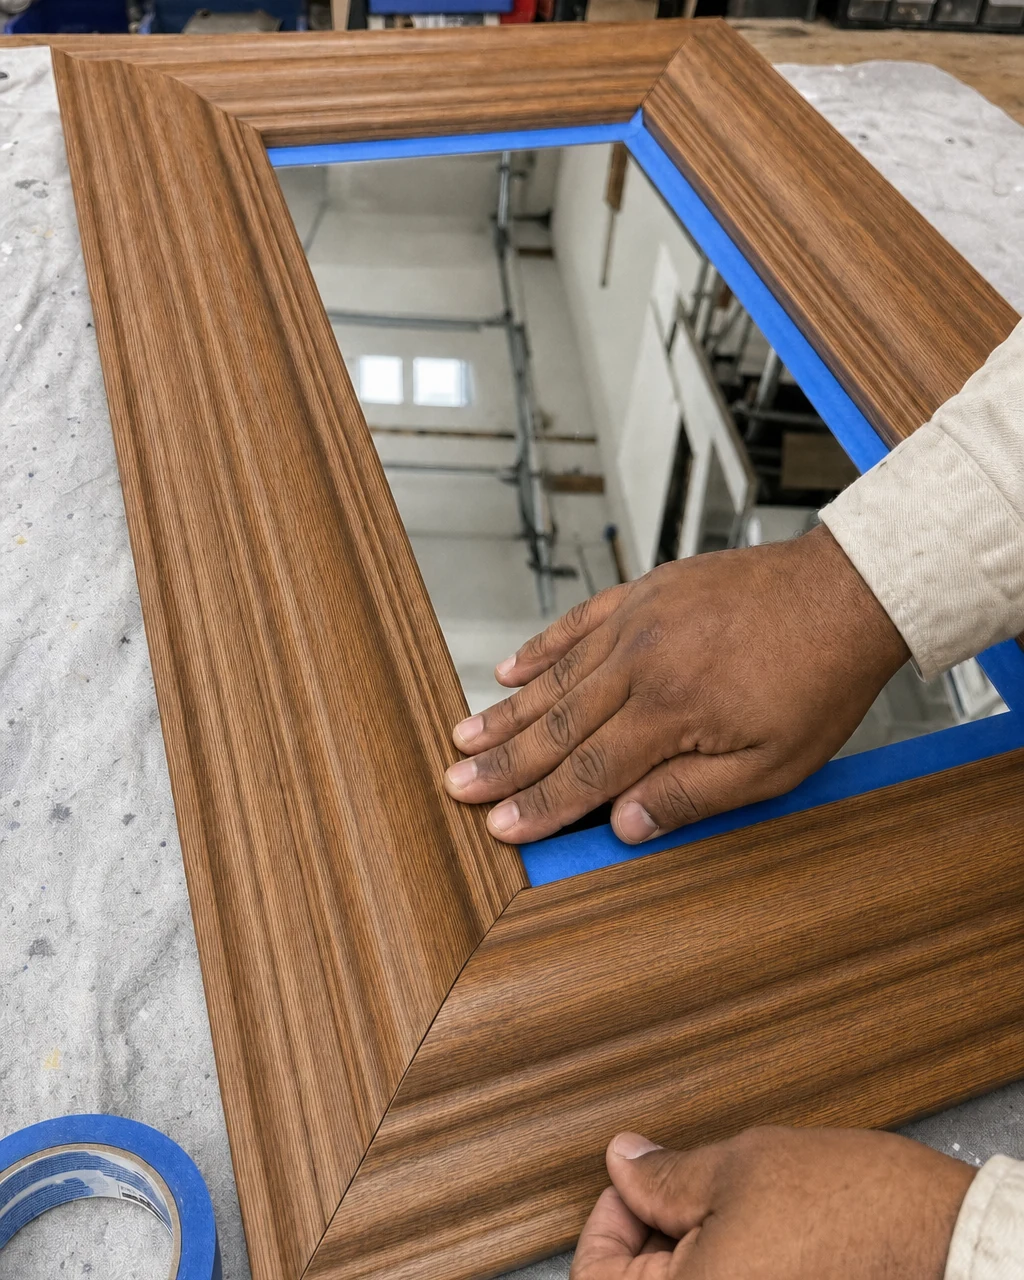
Wipe down the entire plastic frame with a heavy-duty degreaser using a shop rag to remove thirty years of household oils and the sticky label residue. This thorough cleaning leaves a dull plastic surface that is completely ready for masking and painting. Tape off the mirror glass right up to the inner plastic lip using blue painter’s tape.
Cover the center with masking paper to protect it from overspray, trimming any excess edges carefully with a utility knife. Wear nitrile gloves when handling heavy-duty degreasers to protect your skin, and ensure the workspace is clear of sharp offcuts.
| Item | Cost |
|---|---|
| Purchase Price | $0 |
| Heavy-duty degreaser | $8 |
| Painter’s tape | $6 |
| Masking paper | $4 |
| Bonding primer | $9 |
| Cream spray paint | $8 |
| Terracotta spray paint | $8 |
| Glass cleaner | $4 |
| Wall anchor | $2 |
| Total Investment | $49 |
| Estimated Resale Value | $85 |
| Value Gain | $36 |
Step 3: Apply the Bonding Primer
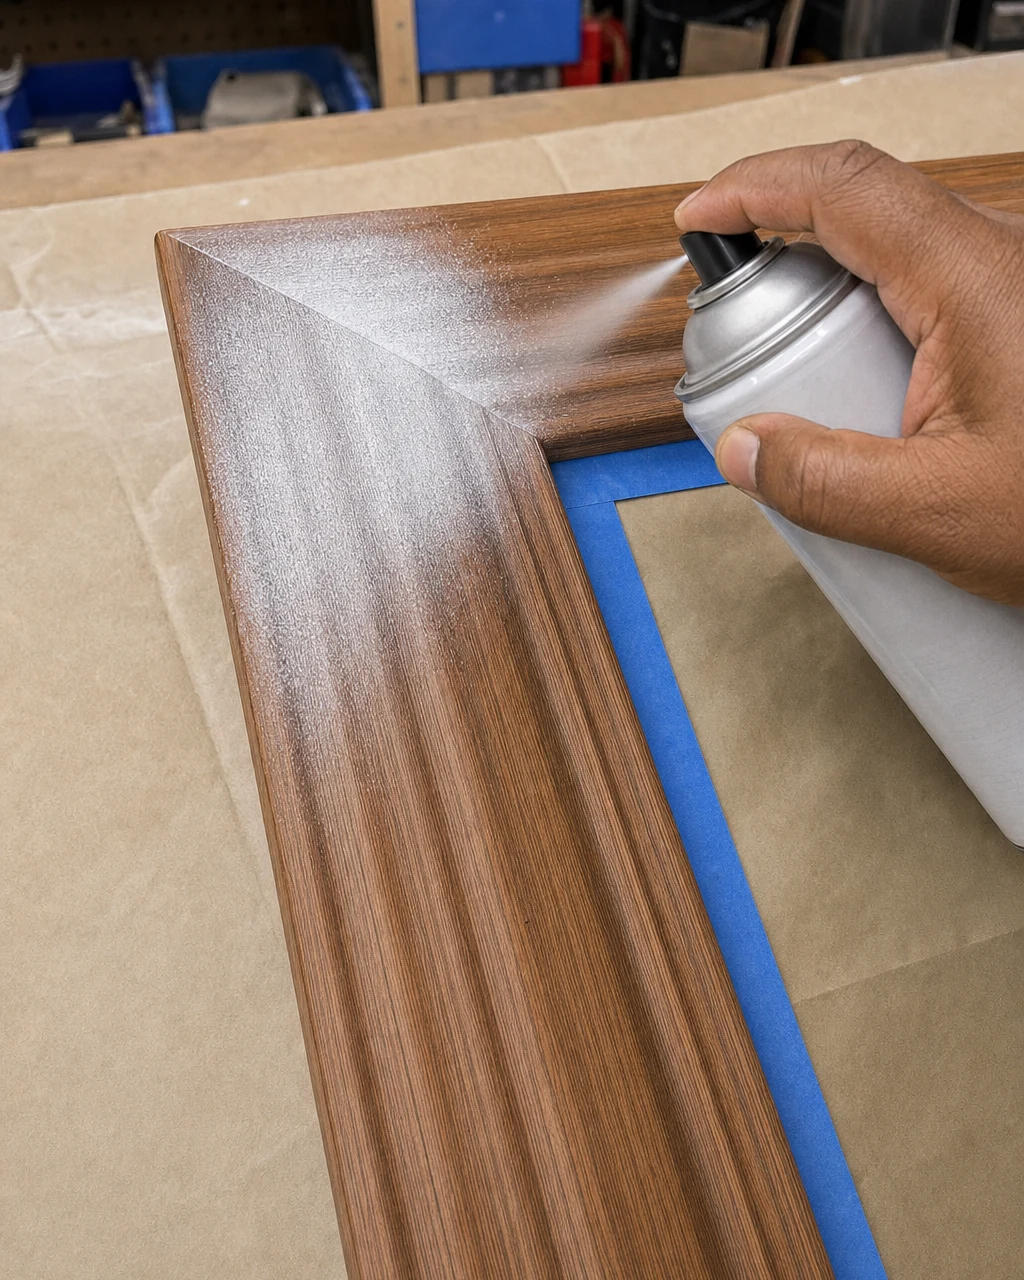
Lay down a drop cloth and spray a plastic-safe bonding primer over the frame to ensure the topcoat sticks to the slick molded surface. Ensure the bonding primer specifically states it adheres to slick, hard plastics for the best results. Allow the primer to dry for one hour until the frame is coated in a flat white finish.
Materials checklist
Always spray primer outdoors or in a highly ventilated garage while wearing a respirator. Proper ventilation is crucial when working with aerosol bonding agents designed for hard plastics. The flat white primer layer provides the perfect textured base for the subsequent color coats to grip securely.
Step 4: Spray the Matte Cream Base
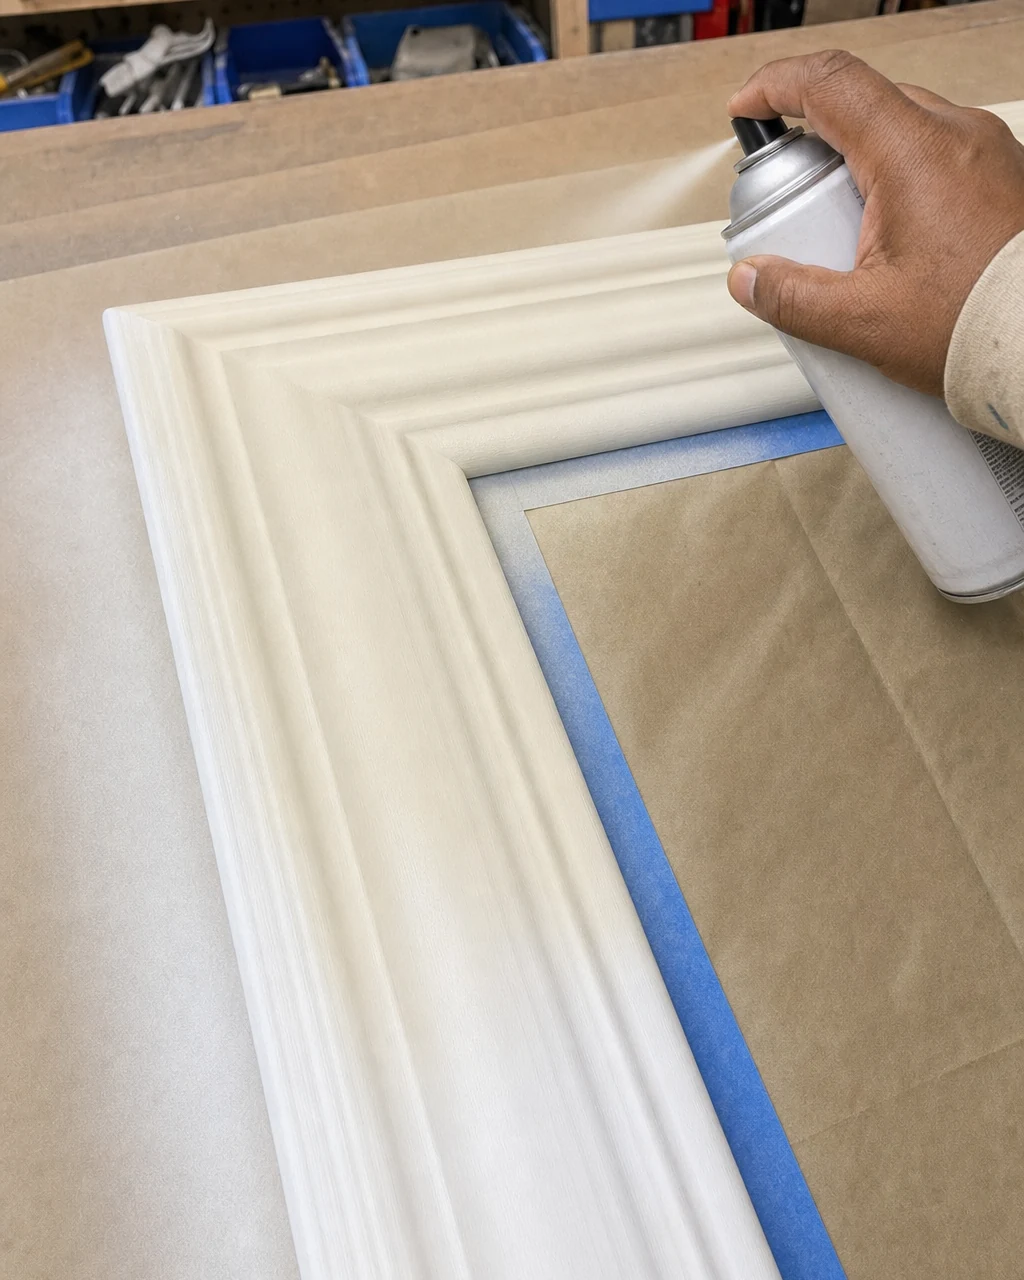
Coat the primed frame with matte cream spray paint, applying two light coats to prevent drips and ensure even coverage across the deeply contoured profile. Opting for a matte cream spray paint is essential to completely hide the original cheap plastic sheen and establish a modern, sophisticated foundation.
Curing the Base Coat
Let the paint cure for two hours until the frame is entirely matte cream and dry to the touch. Maintain ventilation and wear a respirator during all spray painting steps. Rushing the drying process can cause the base layer to lift when applying masking tape for the geometric design later.
Step 5: Tape and Spray the Color Block
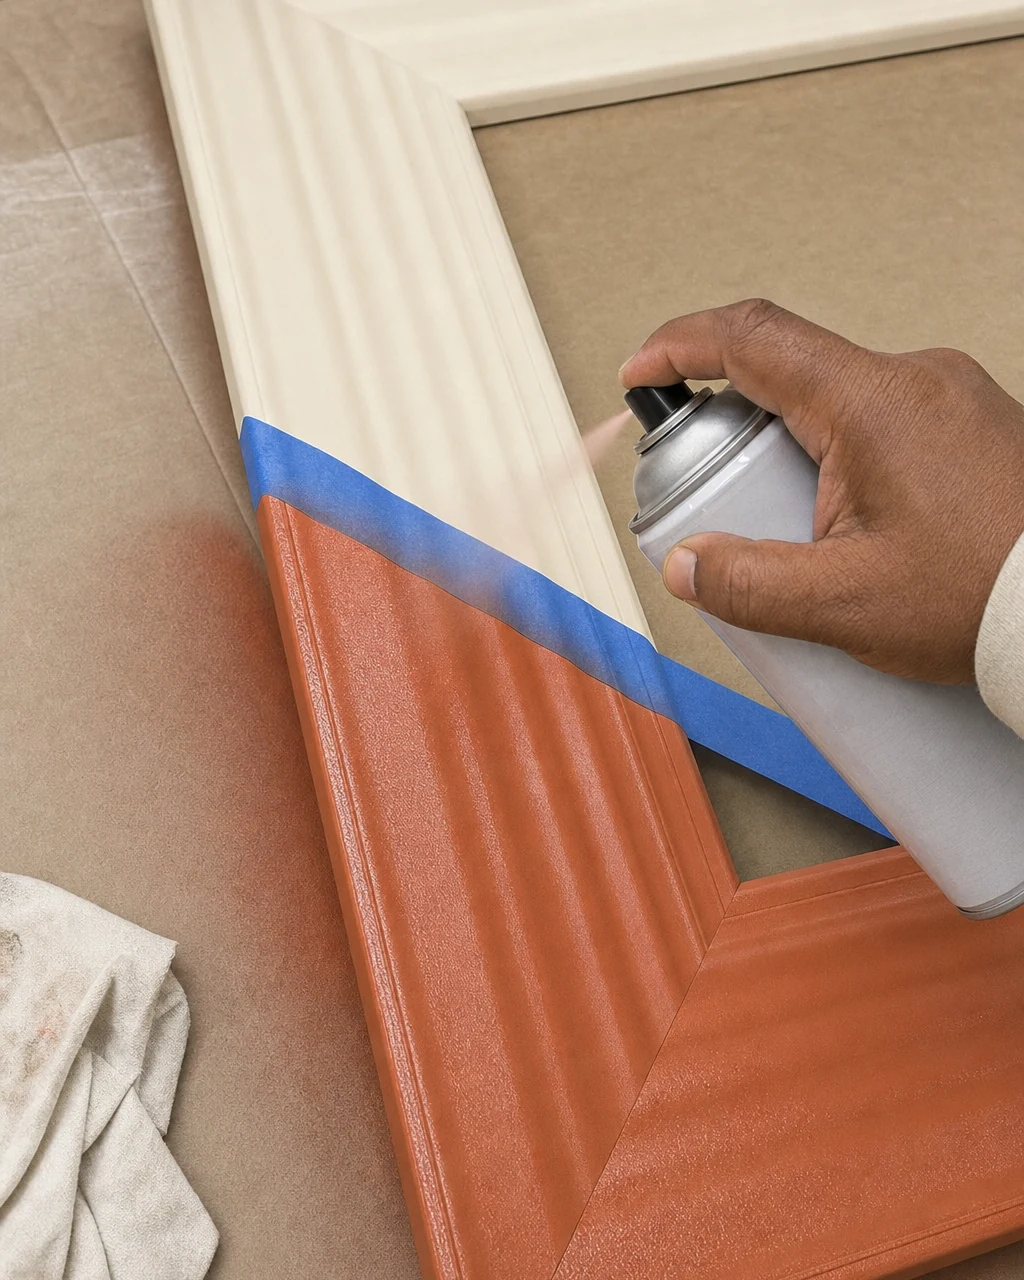
Tape a diagonal line across the bottom third of the frame, pressing the tape edges down firmly to prevent the contrasting spray paint from bleeding underneath. Select a high-quality blue painter’s tape with edge-lock technology to maintain a sharp boundary across the chunky, contoured profile of the plastic molding.
Spray the exposed lower section with matte terracotta paint to create the bold accent color block. Pick a matte terracotta spray paint for a modern, earthy contrast against the cream base. This diagonal split breaks up the heavy rectangular shape and transforms the dated piece into a trendy geometric statement.
Step 6: Peel Tape and Polish the Glass
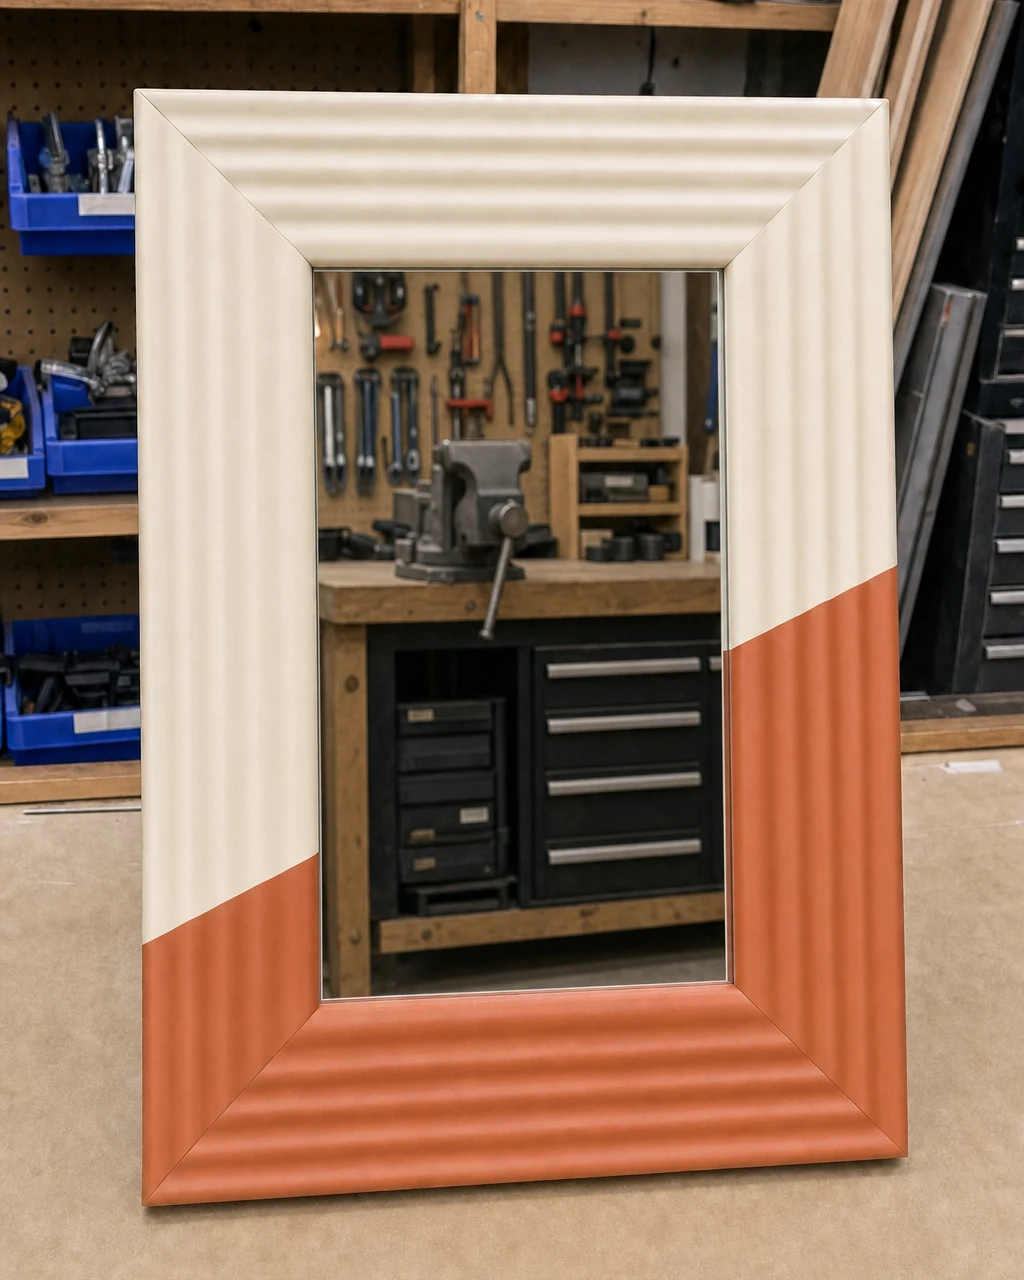
Remove all masking tape from the frame and glass while the terracotta paint is dry to the touch but not fully hardened. Pull the tape at a 45-degree angle to avoid lifting the fresh paint, revealing a crisp diagonal split between the two colors across the chunky frame.
Final Glass Cleaning
Clean the mirror surface with a streak-free glass cleaner and a microfiber cloth to remove any dust or stray adhesive left behind by the masking process. Polishing the glass immediately after tape removal ensures the crisp paint lines remain untouched while the surrounding frame continues to fully harden.
Step 7: Mount the Statement Mirror
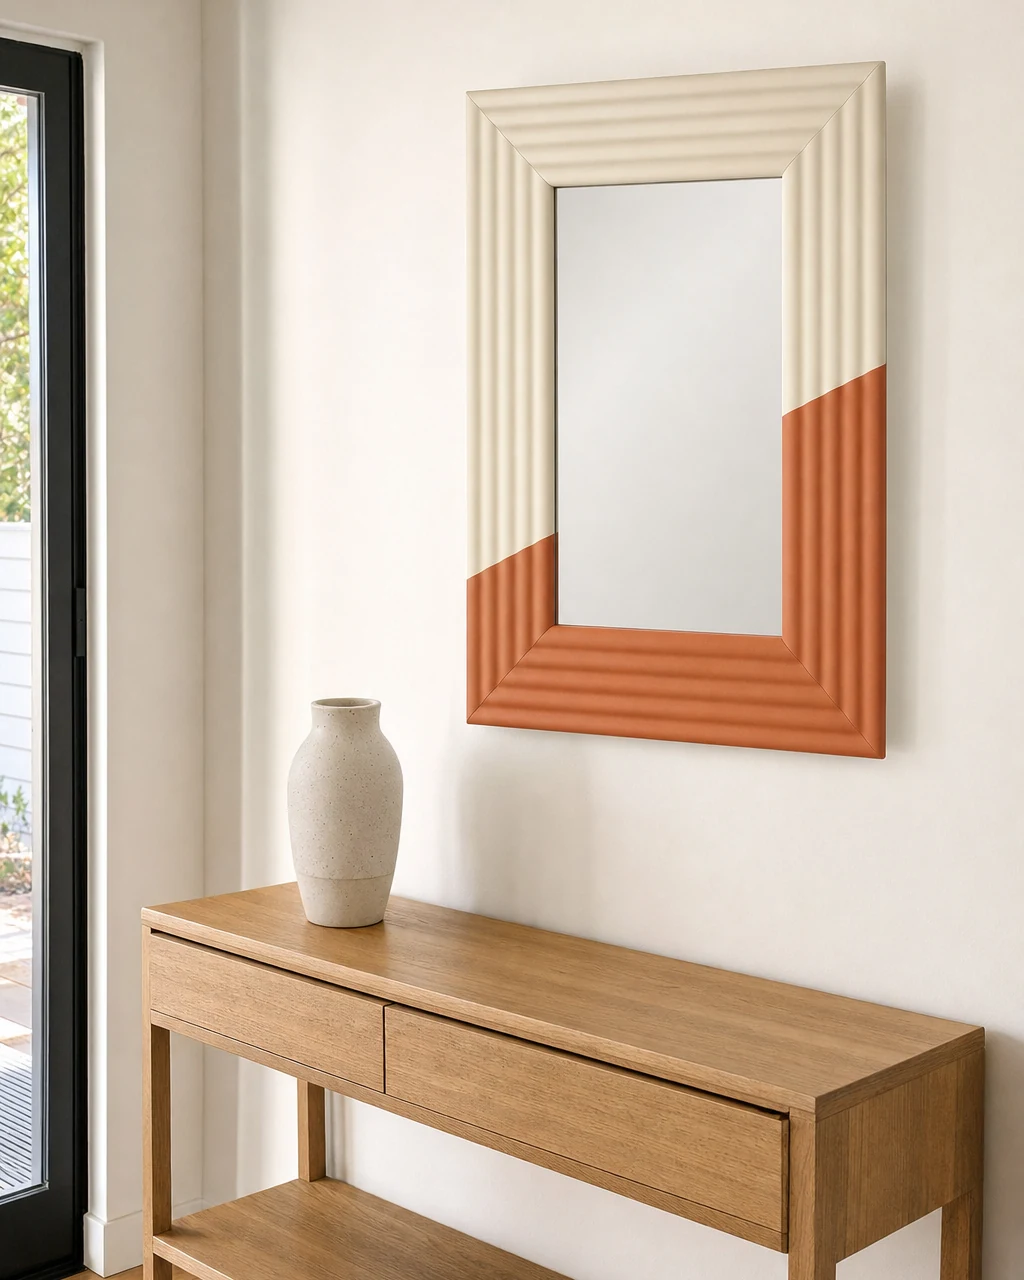
Hang the finished color-blocked mirror in a bright entryway to display its bold geometric design. Use a drill, screwdriver, level, and a heavy-duty wall anchor to securely support the thick plastic frame on the wall. Verify the wall anchor is rated for the weight of the mirror before letting go.
Valuation and Resale Potential
The bold, modern color-blocking elevates a free, dated plastic piece into a trendy geometric statement mirror suitable for contemporary decor. While acquired for free, this transformed piece carries an estimated resale value of $85 based on current home decor trends. The dramatic visual shift proves that thoughtful paint application can completely redefine molded plastic.