
Laminate Bookcase Secondhand Makeover with Botanical Backing
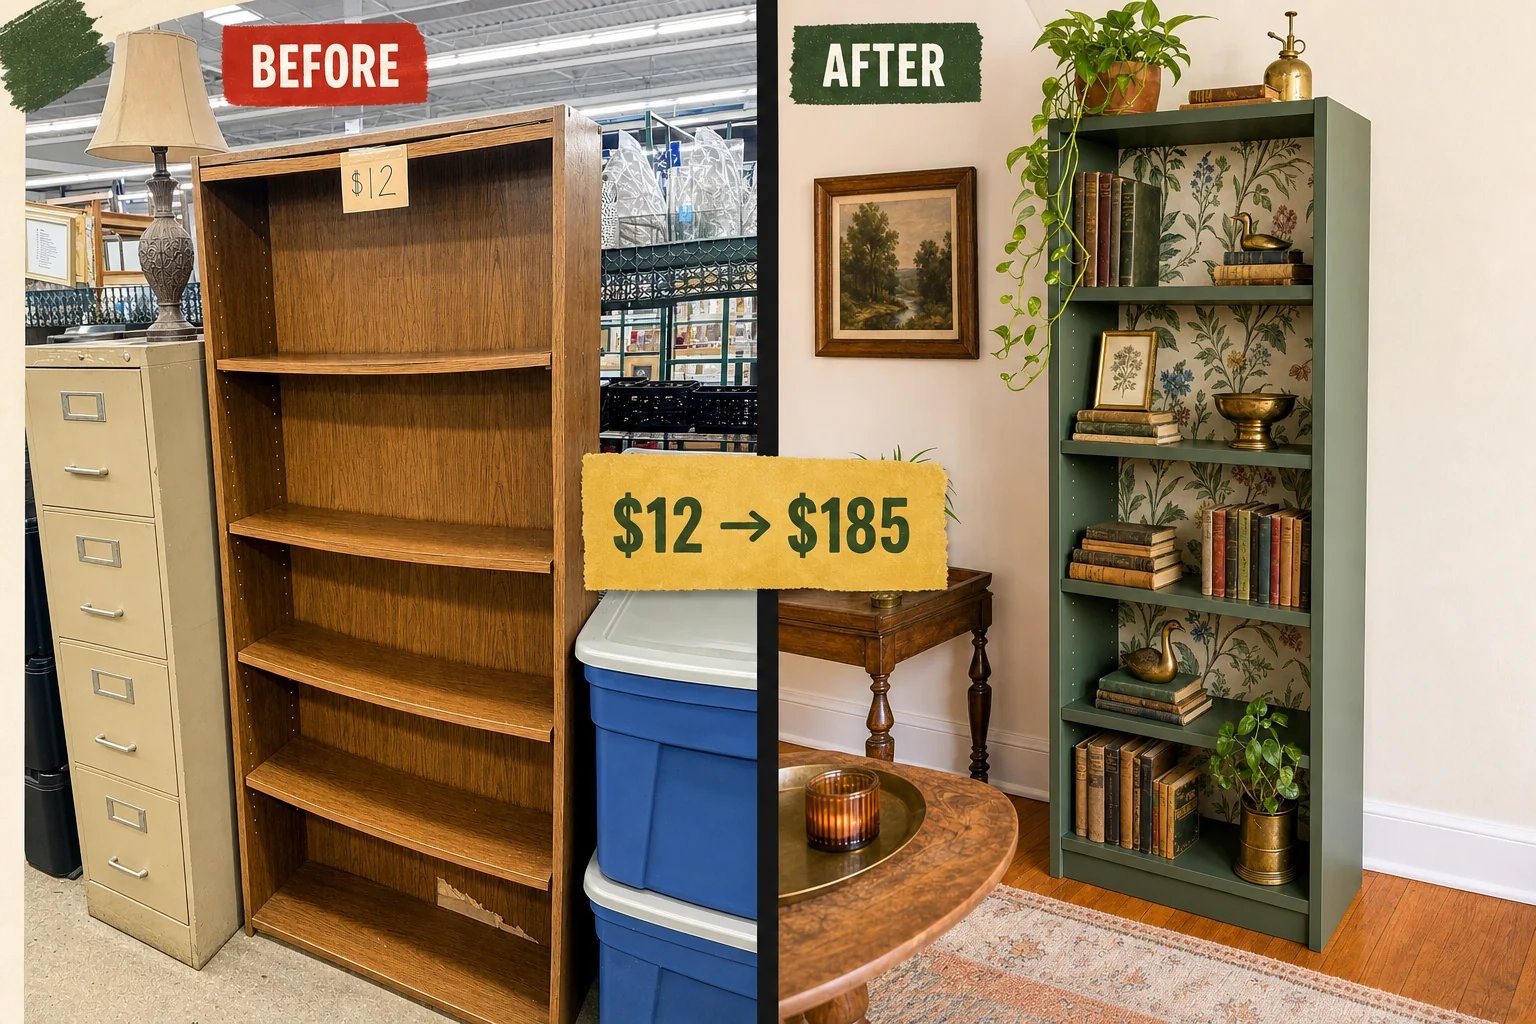
Found for $12 between broken chairs, this sagging 1980s laminate bookcase needed serious help. We transformed the faux-oak unit into a moody, custom-colored display piece featuring a striking botanical interior.
Evaluating the Faux-Oak Laminate Bookcase
Tucked between broken office chairs and plastic bins at a charity thrift store, this structurally sound but visually exhausted unit cost just $12. The glossy faux-oak printed laminate covered the entire 72-inch tall exterior, meaning standard paint would easily bead up and scratch off without proper mechanical abrasion. The thin cardboard backing panel was already pulling away at the corners.
- Slick non-porous surface: The glossy faux-oak printed laminate covering the exterior and shelves requires mechanical abrasion to create a bonding profile.
- Sagging horizontal supports: A visible downward bow in the center of the three adjustable shelves makes the piece look dilapidated.
- Compromised lateral stability: The torn original cardboard backing allows the tall vertical rectangle frame to rack side-to-side.
Step 1: Remove Damaged Backing
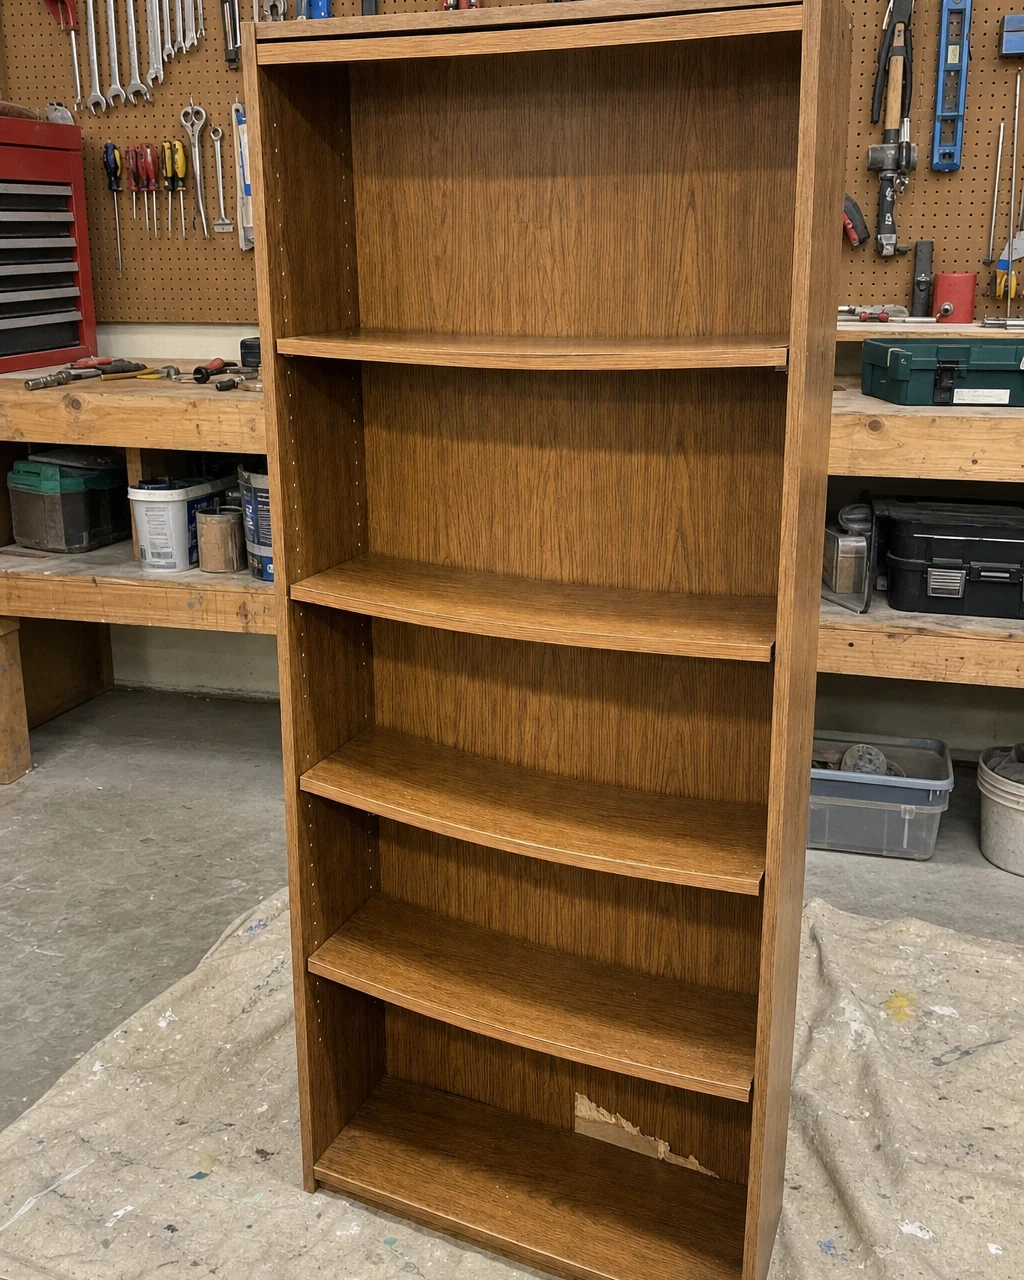
Evaluate the bookcase in the workspace and pry off the chipped cardboard backing panel to prepare the frame for sanding. The bookcase frame should be completely open from the back, ready for surface preparation to ditch the flimsy cardboard. Removing this damaged layer reveals the back edges of the laminate bookcase frame.
| Item | Cost |
|---|---|
| Purchase Price | $12 |
| Sanding Sponge | $5 |
| Chalk Paint | $25 |
| Clear Wax | $15 |
| Hardboard Panel | $12 |
| Botanical Wallpaper | $28 |
| Wire Brads | $3 |
| Total Investment | $100 |
| Estimated Resale Value | $185 |
| Value Gain | $85 |
Wear safety glasses when prying out old nails to protect against flying metal fasteners. Extracting every remaining staple and finishing nail with pliers ensures the back edges remain perfectly flat, setting a clean foundation for the upcoming transformation and the new rigid backing.
Step 2: Scuff Sand Laminate
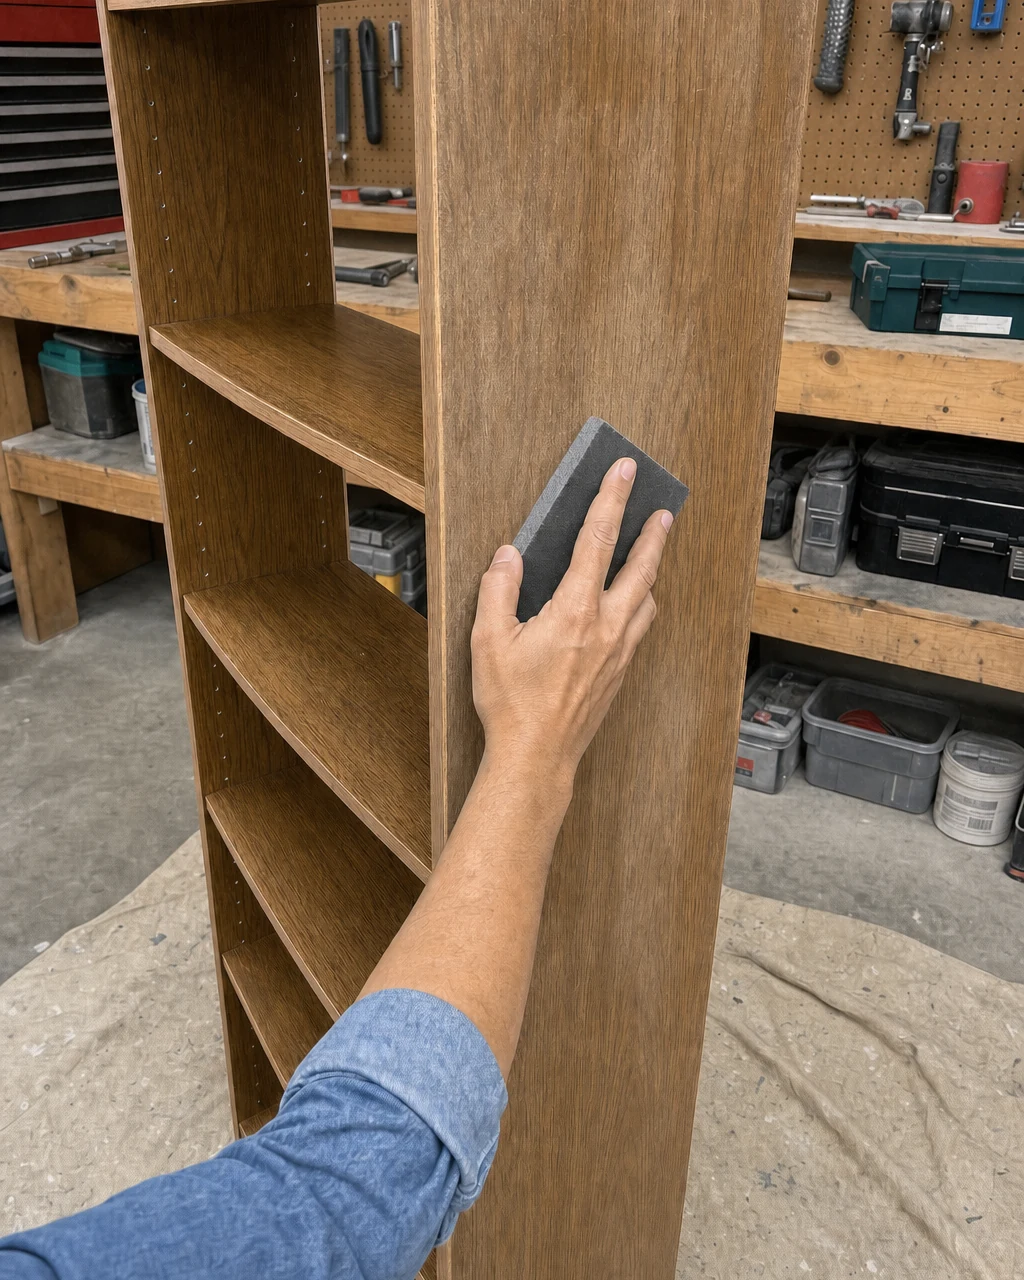
Rough up the slick faux-wood laminate surface with a medium-grit sanding sponge to create a mechanical bond for the chalk paint. The laminate surface will take on a dull, scratched appearance with no remaining glossy sheen, which is the secret to painting laminate successfully.
Wear a dust mask and work in a ventilated area to avoid inhaling fine plastic laminate dust. A shop vacuum quickly clears the bulk of the debris from the exterior side panels and the pre-drilled vertical holes for the adjustable shelf pins before moving on to the color application.
Step 3: Apply Chalk Paint
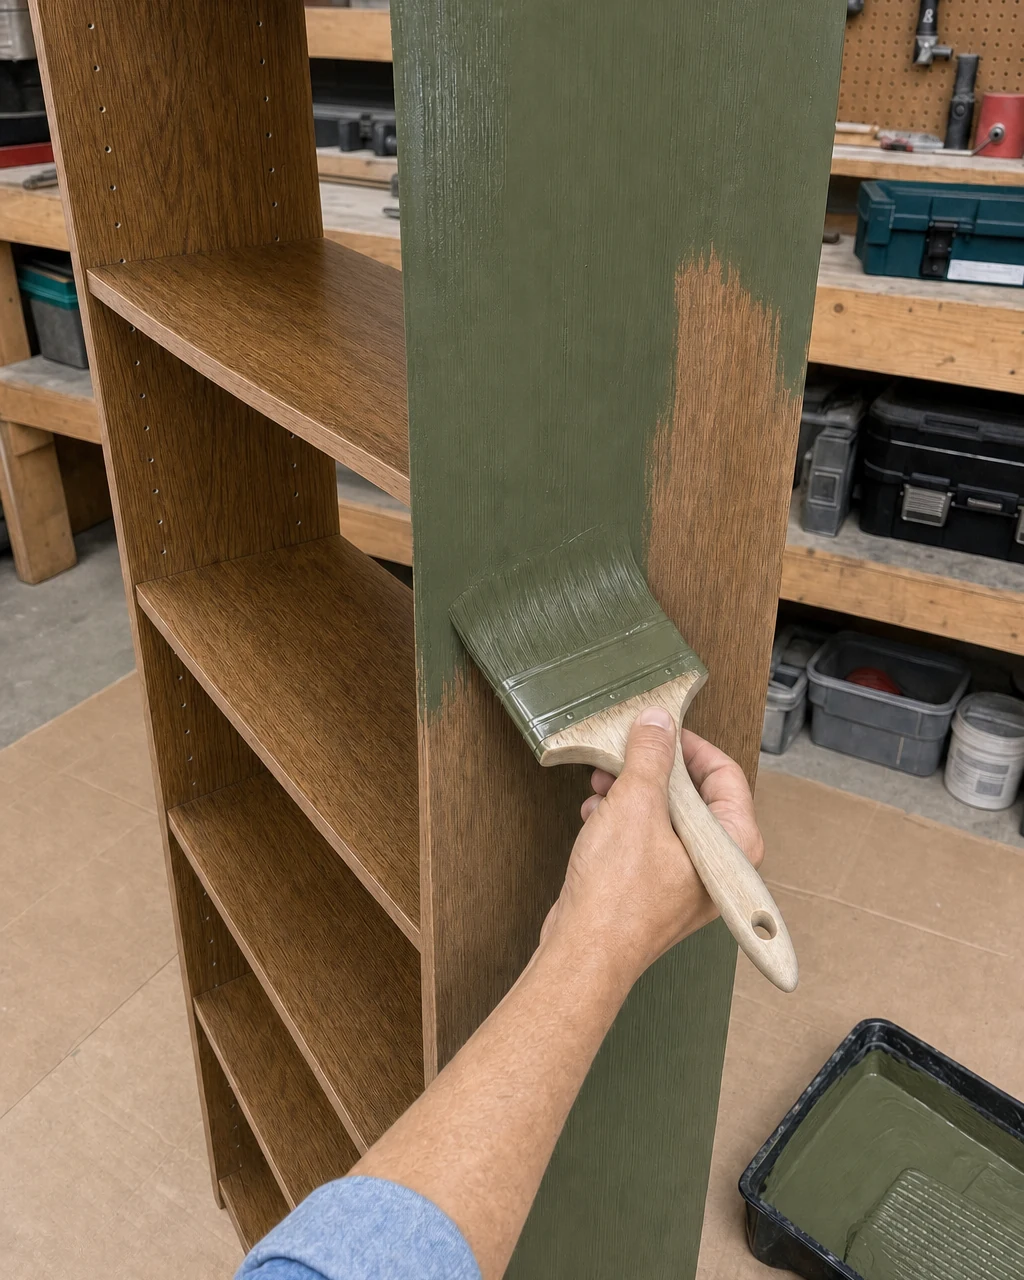
Brush a thick coat of olive green chalk paint over the scuffed laminate, allowing it to dry completely for two hours. The side panel will be fully covered in a wet, opaque layer of olive green paint, instantly brushing on rich color and hiding the dated faux wood grain.
Materials checklist
Place a canvas drop cloth under the frame to catch any paint drips from the edges. Using a wide synthetic bristle brush and a standard paint tray ensures smooth, even coverage across the entire particle board core, transforming the generic 1980s silhouette.
Step 4: Paper Replacement Backing
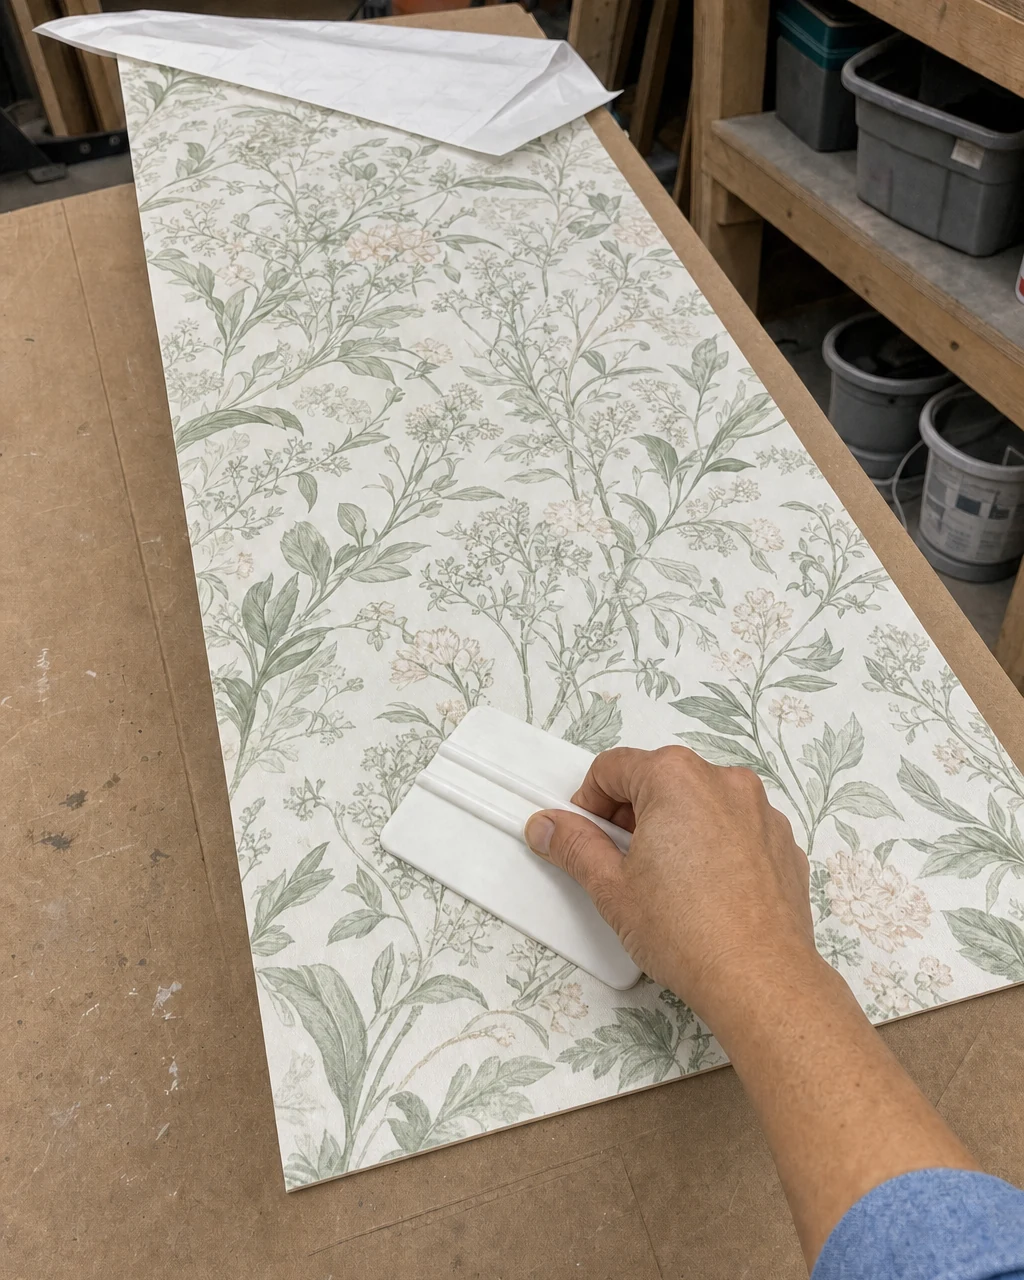
Cover the new custom-cut rectangular hardboard panel smoothly with vintage botanical peel-and-stick wallpaper to create a rigid, decorative backdrop. The hardboard panel becomes completely covered in a seamless botanical pattern. Keep fingers clear of the utility knife blade when trimming excess wallpaper from the board edges. A plastic smoothing tool helps eliminate air bubbles, ensuring the heavy-duty vinyl adheres perfectly.
Step 5: Seal Painted Finish
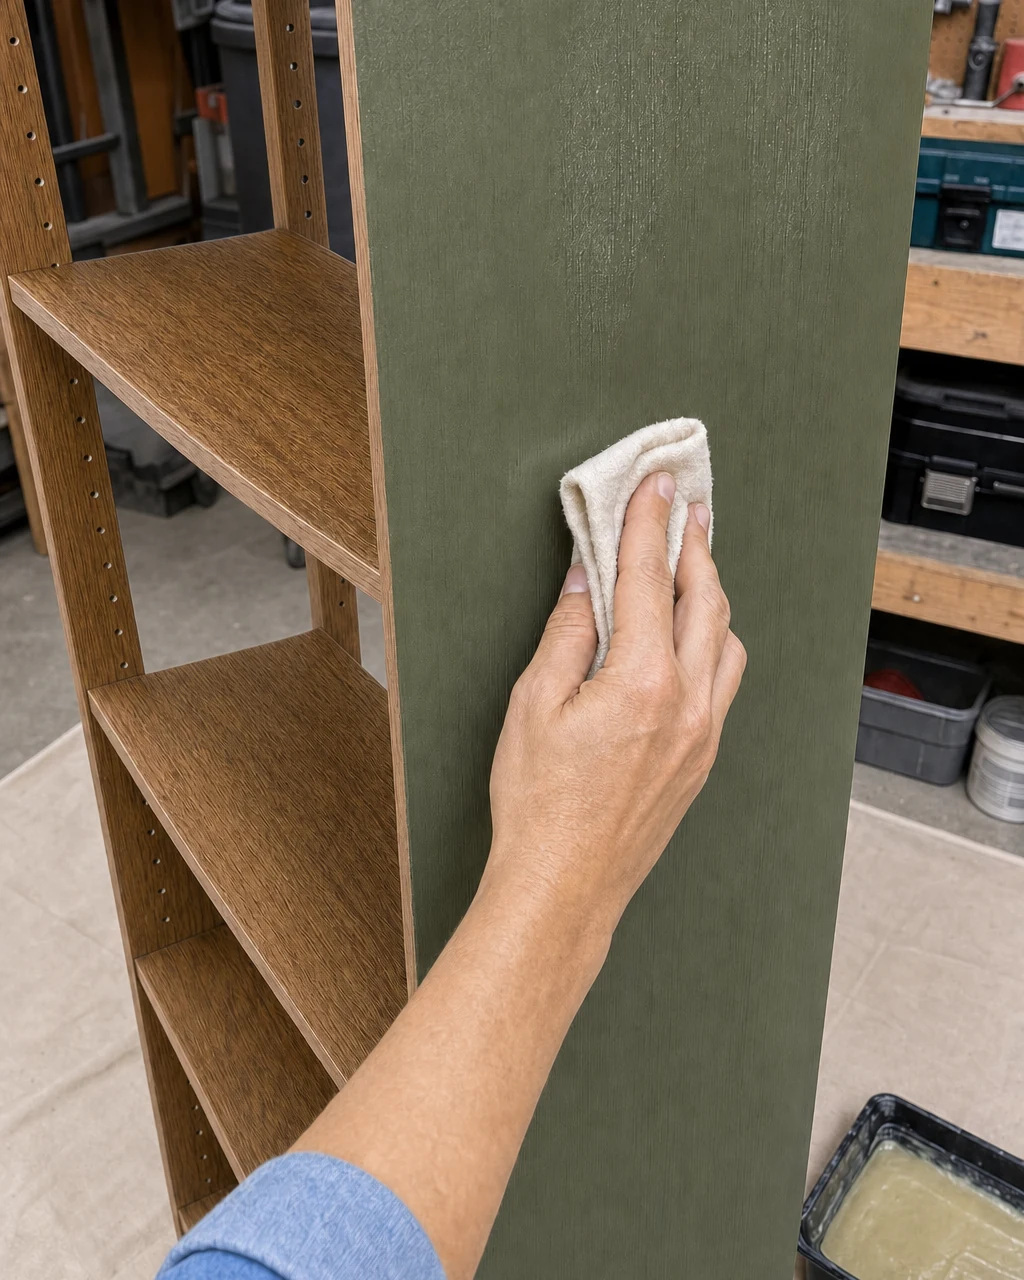
Protect the dried chalk paint by buffing a layer of clear finishing wax into the surface to prevent chipping. The painted surface takes on a subtle, protective satin sheen. Apply wax in a well-ventilated area and dispose of wax-soaked rags properly. Using a folded lint-free cotton cloth allows you to massage the clear finishing wax deeply into the matte olive green exterior.
Step 6: Reassemble And Reinforce
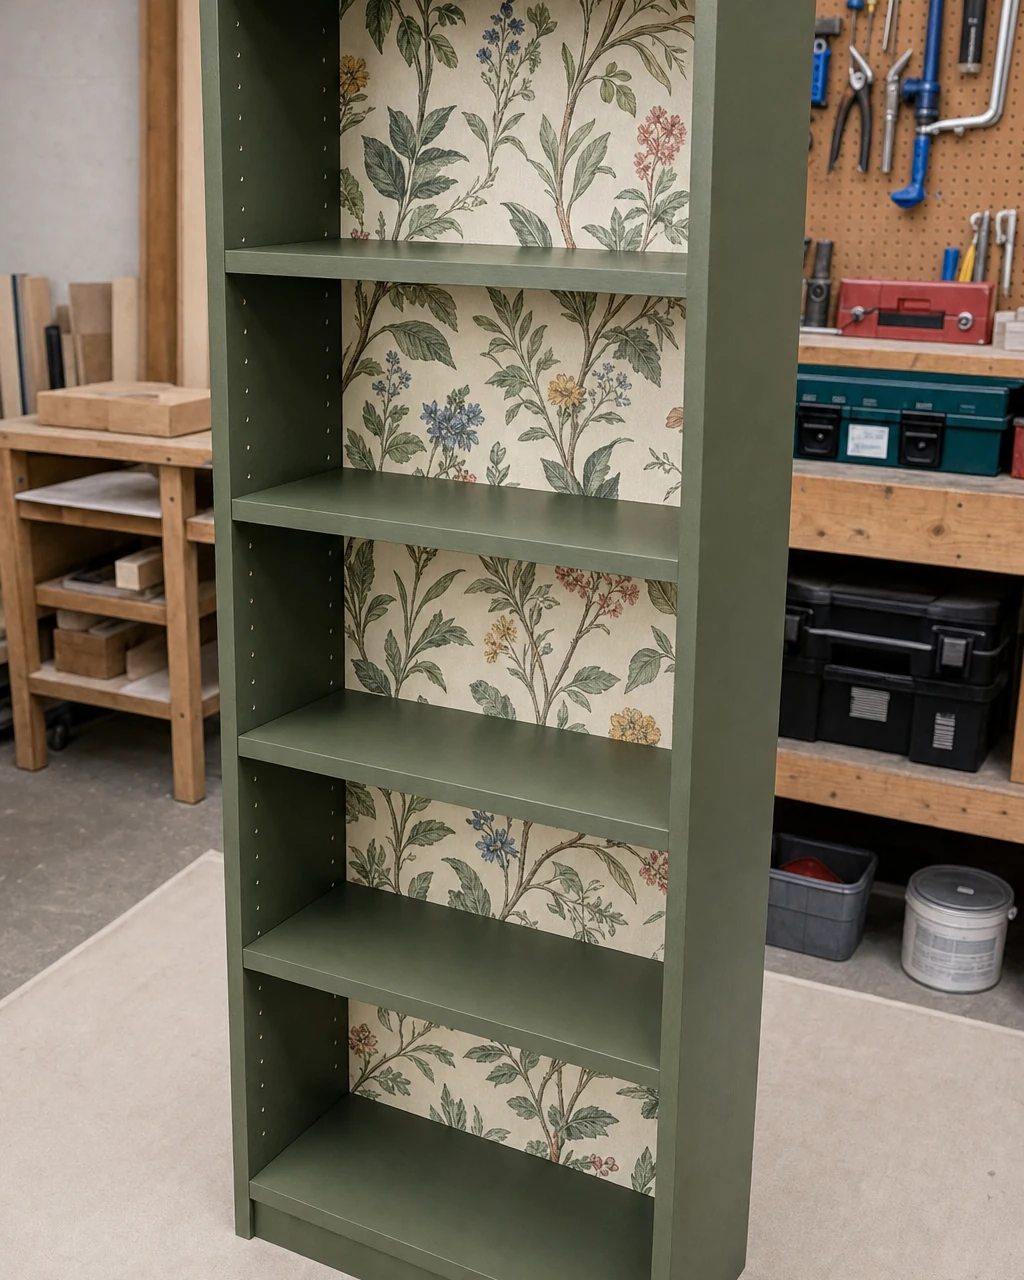
Nail the newly wallpapered backing panel onto the painted frame and insert the original shelves upside down to correct their sag. The fully assembled bookcase stands complete with its new patterned interior and straight shelves, fixing sagging shelves instantly and restoring full functionality.
Ensure the frame is perfectly square before nailing the backing to prevent locking in a permanent tilt. Hammering small wire brads through the heavy-duty paper into the back edges secures the rigid hardboard back firmly in place, providing essential lateral stability.
Step 7: Style The Bookcase
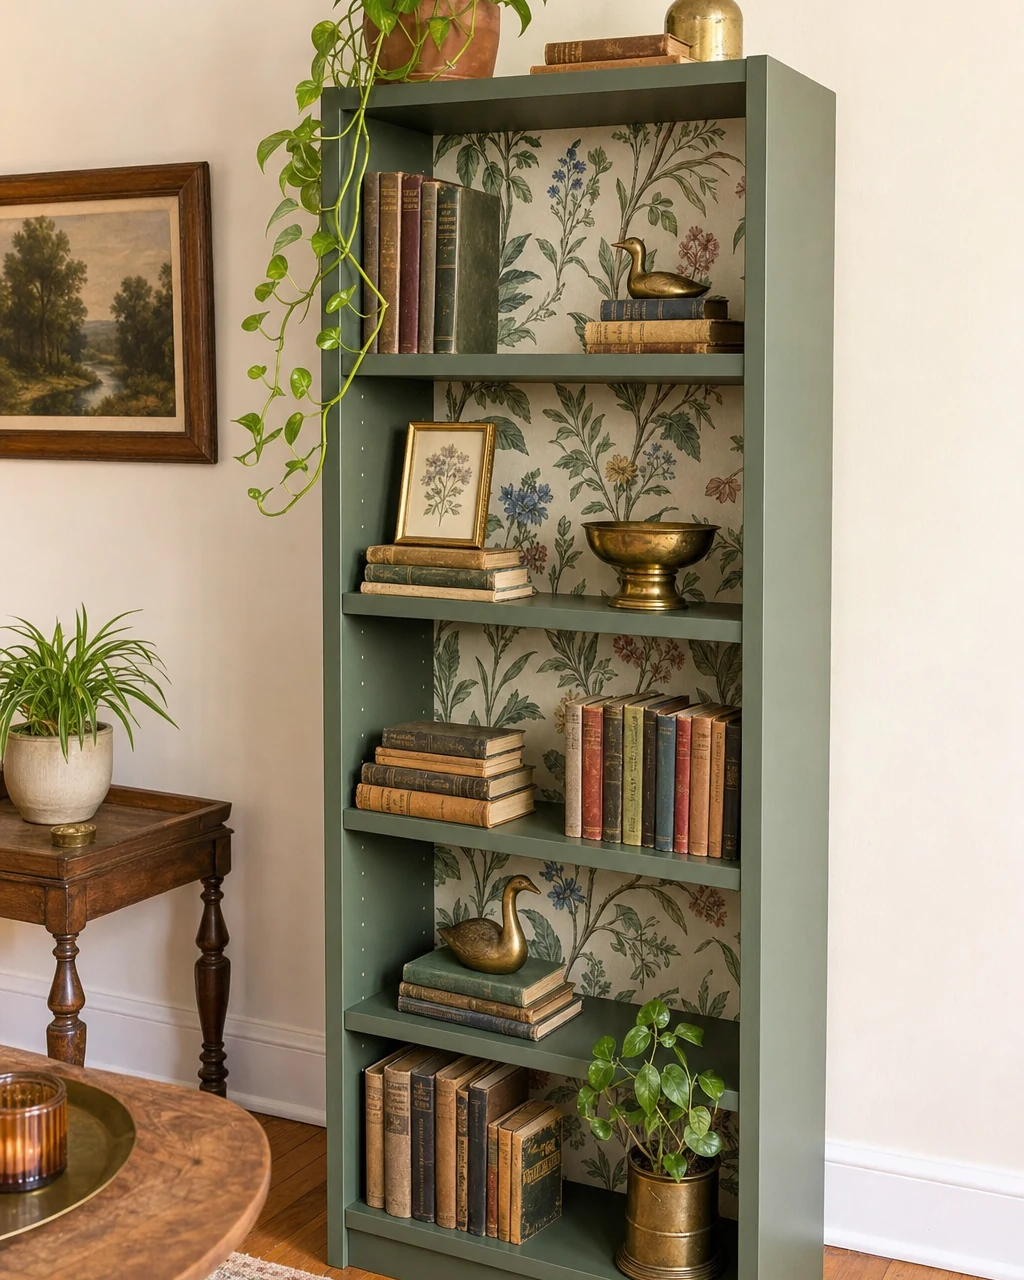
Move the finished piece into a living space and load the reinforced shelves with heavy books and trailing plants. Anchor tall bookcases to the wall using a safety strap to prevent tipping. The sturdy green shelves now confidently support curated stacks of vintage books and brass accents against the striking patterned interior, resulting in a beautifully styled, highly functional custom display.
Resale Value and Investment Return
Replacing the flimsy cardboard with a rigid hardboard back significantly improves the structural integrity of the piece. The trendy olive green finish and botanical interior elevate it from a dorm-room basic to a boutique-style accent piece, justifying the estimated $185 resale value compared to the $100 total investment. This estimated resale value represents an editorial calculation rather than a completed actual sale.