
Wicker Basket Transformation with an Antiqued Olive Finish
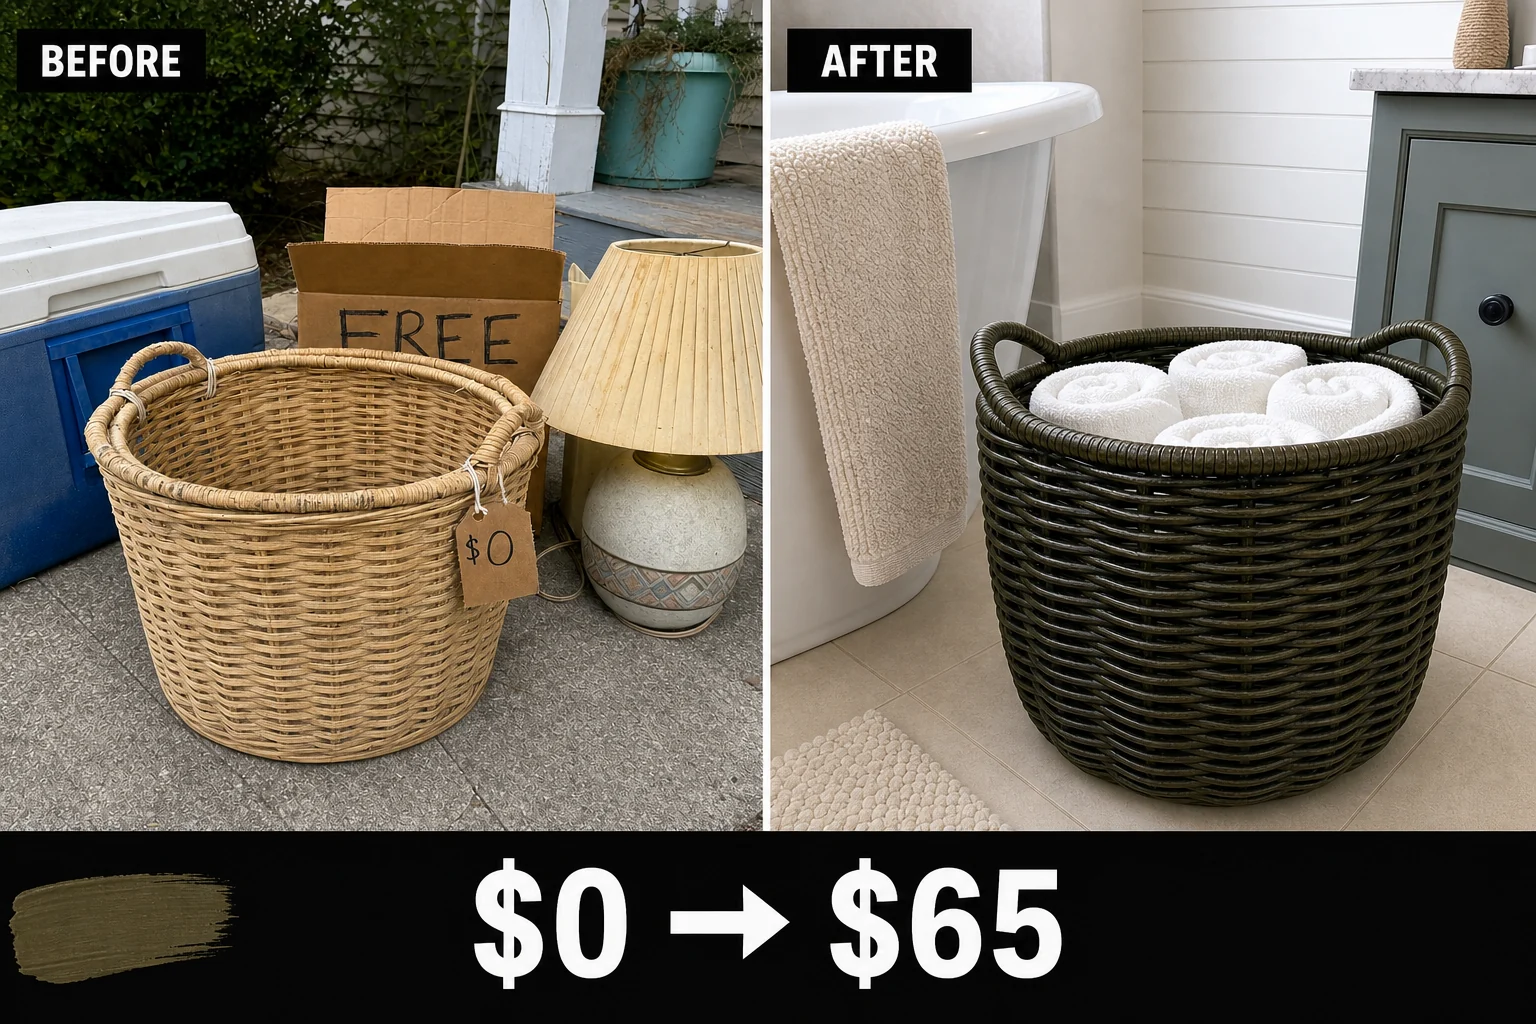
Spotted in a curbside free pile, this sun-baked laundry basket had a brittle finish but perfectly intact woven structure. This transformation uses a two-tone antiqued chalk paint method to create a deeply textured, aged olive-green finish.
Assessing the Sun-Faded Wicker
Found sitting on concrete pavement next to a porch, this large laundry basket was surrounded by a discarded plastic cooler. The piece features woven natural rattan reeds over a thick cane frame, measuring 24 inches in diameter. While the cylindrical shape and woven loop handles remained intact, the exterior required serious attention before painting.
- Embedded cobwebs and gray dust buildup were visible deep inside the overlapping reed joints, which prevents paint from adhering to the actual rattan surface.
- The sun-baked original topcoat was flaking, with a brittle clear finish peeling off the exterior facing side that would create an unstable base.
- The dry, porous fibers displayed a bleached, pale yellow color with a rough, splintery texture that will absorb paint rapidly and unevenly.
Valuation and Resale Potential
Large, structurally sound wicker baskets command high retail prices when properly restored. The custom antiqued finish elevates this from a basic curbside castoff to a boutique-style decor piece. While the estimated resale value is an editorial estimate rather than a guaranteed sale, the impressive transformation creates a highly desirable aesthetic.
| Item | Cost |
|---|---|
| Purchase Price | $0 |
| Foaming Degreaser | $6 |
| Olive Chalk Paint | $14 |
| Clear Finishing Wax | $12 |
| Dark Antiquing Wax | $12 |
| Total Investment | $44 |
| Estimated Resale Value | $65 |
| Value Gain | $21 |
Gathering the Supplies
Achieving this deeply textured, aged olive-green finish requires products that can penetrate the loose wicker weave while providing a thick, matte color layer. The right cleaners and waxes will ensure the porous paint seals properly before applying dark accents.
Materials checklist
Step 1: Clear Loose Debris
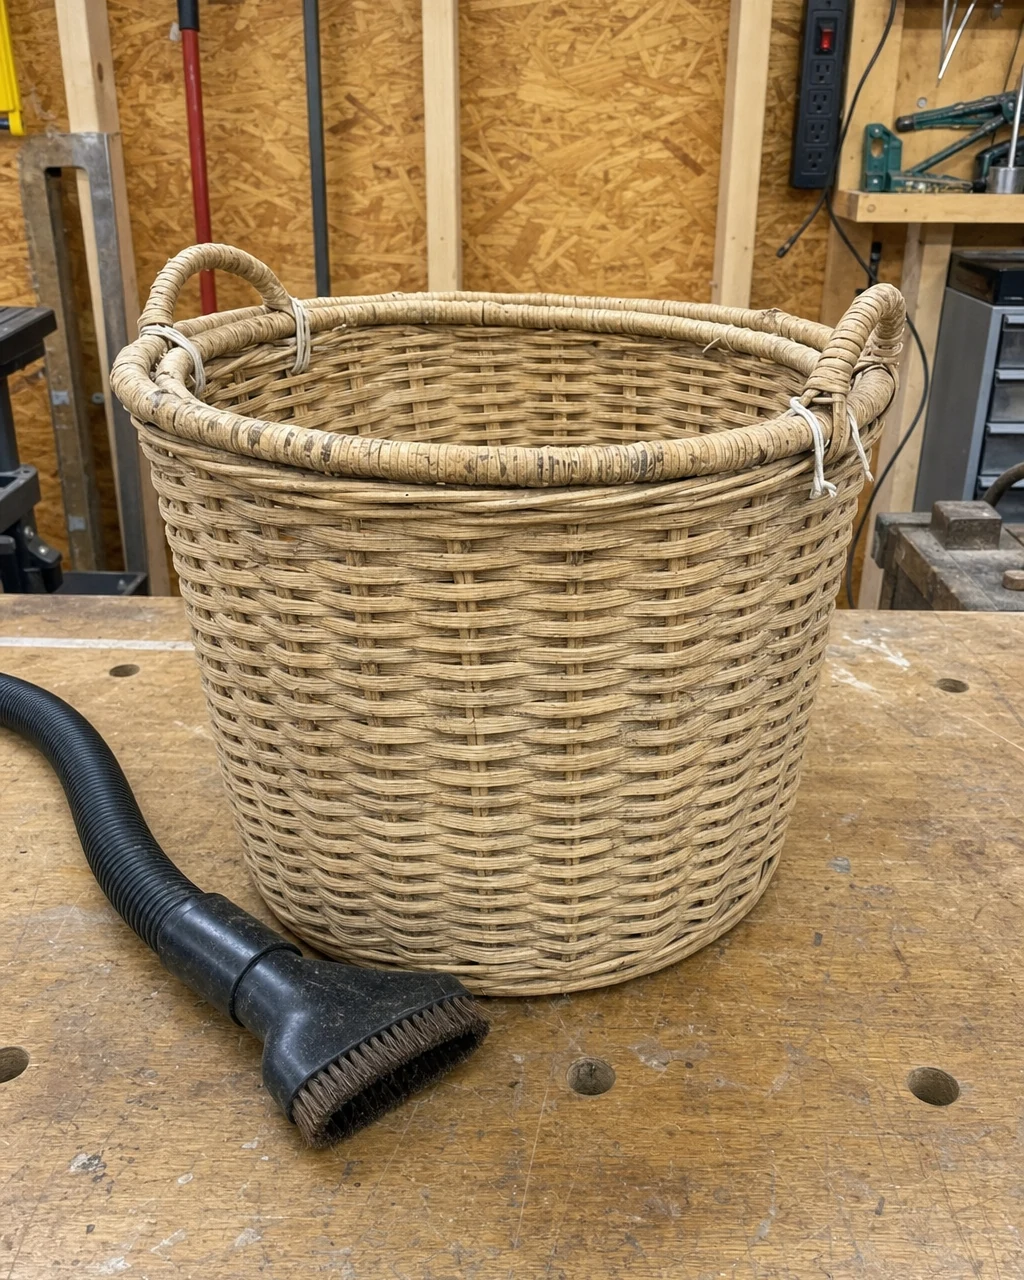
Inspect the overall structure of the entire unpainted basket on your workbench to locate the heaviest soil. Use a shop vacuum equipped with a brush attachment to pull out all loose dust, dirt, and cobwebs from the deep crevices. This crucial first action leaves a dust-free raw wicker surface ready for preparation. Wear a dust mask to avoid inhaling allergens.
Preparing the Raw Wicker
Starting with a deep vacuum ensures that the subsequent cleaning stages do not simply push dry dirt further into the overlapping joints. The natural rattan and thick cane frame must be completely free of loose debris before any liquid cleaners are introduced to the porous fibers.
Step 2: Scrub Away Flakes
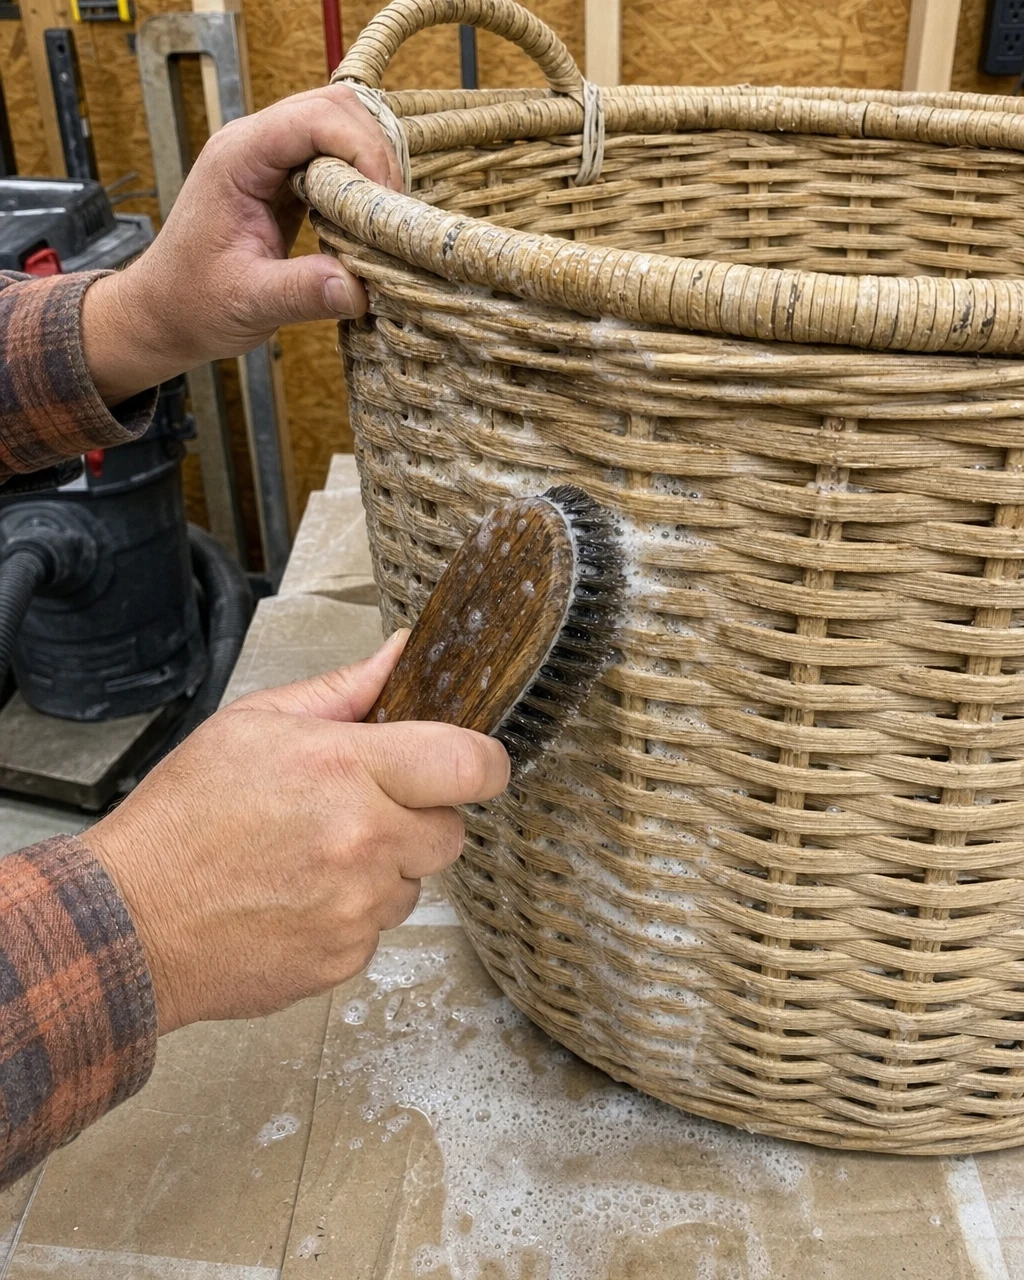
Spray foaming degreaser directly onto a stiff bristle brush and vigorously scrub the exterior to dislodge the sun-baked, flaking clear coat. Applying the cleaner to the brush rather than the basket prevents over-saturating the natural reeds, which could cause the material to swell or warp. This targeted scrubbing removes the failing finish and leaves a dull, matte wicker surface.
Protecting the Woven Structure
Always wear safety glasses to protect your eyes from flying brittle flakes as the stiff bristles break apart the degraded topcoat. Working in small sections around the cylindrical shape ensures the foaming degreaser breaks down the dirt and loose finish evenly without soaking into the wood.
Step 3: Stipple the Paint
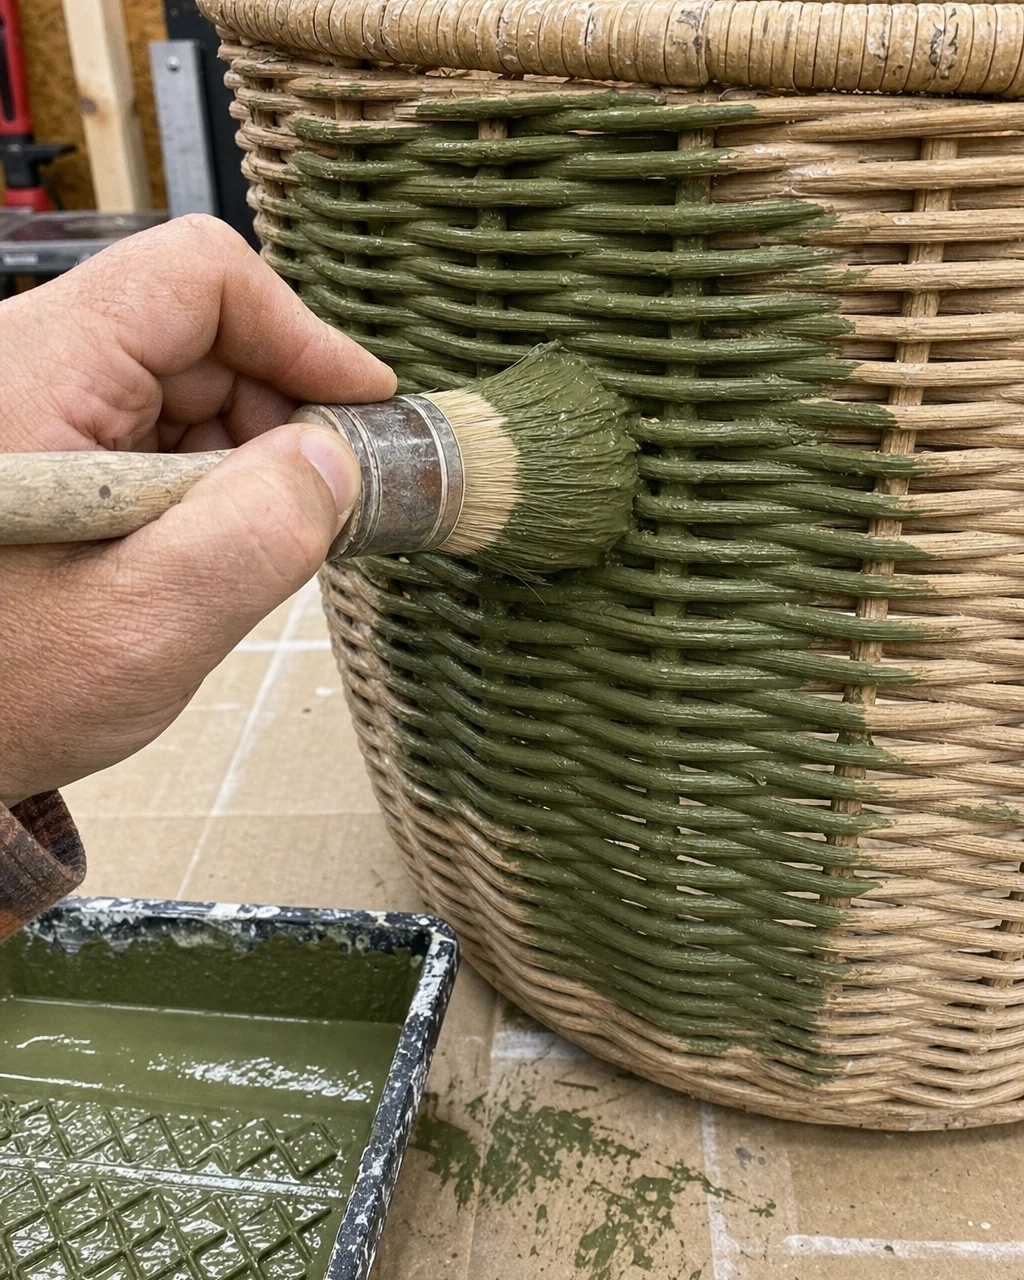
Use a large, round natural-bristle brush to push thick olive-green chalk paint directly into the raw wicker. The stippling motion ensures the rich color reaches deep into the overlapping joints, filling micro-splinters on the top rim. Ensure the floor is covered with a canvas drop cloth to catch heavy paint drips as you work the brush into the deep crevices.
Achieving Full Coverage
Allow the painted piece to dry for two full hours before handling. The dry, porous fibers will absorb the mineral paint rapidly, resulting in a completely opaque, matte olive-green basket that serves as the perfect foundation for the upcoming wax treatments.
Step 4: Seal with Clear Wax
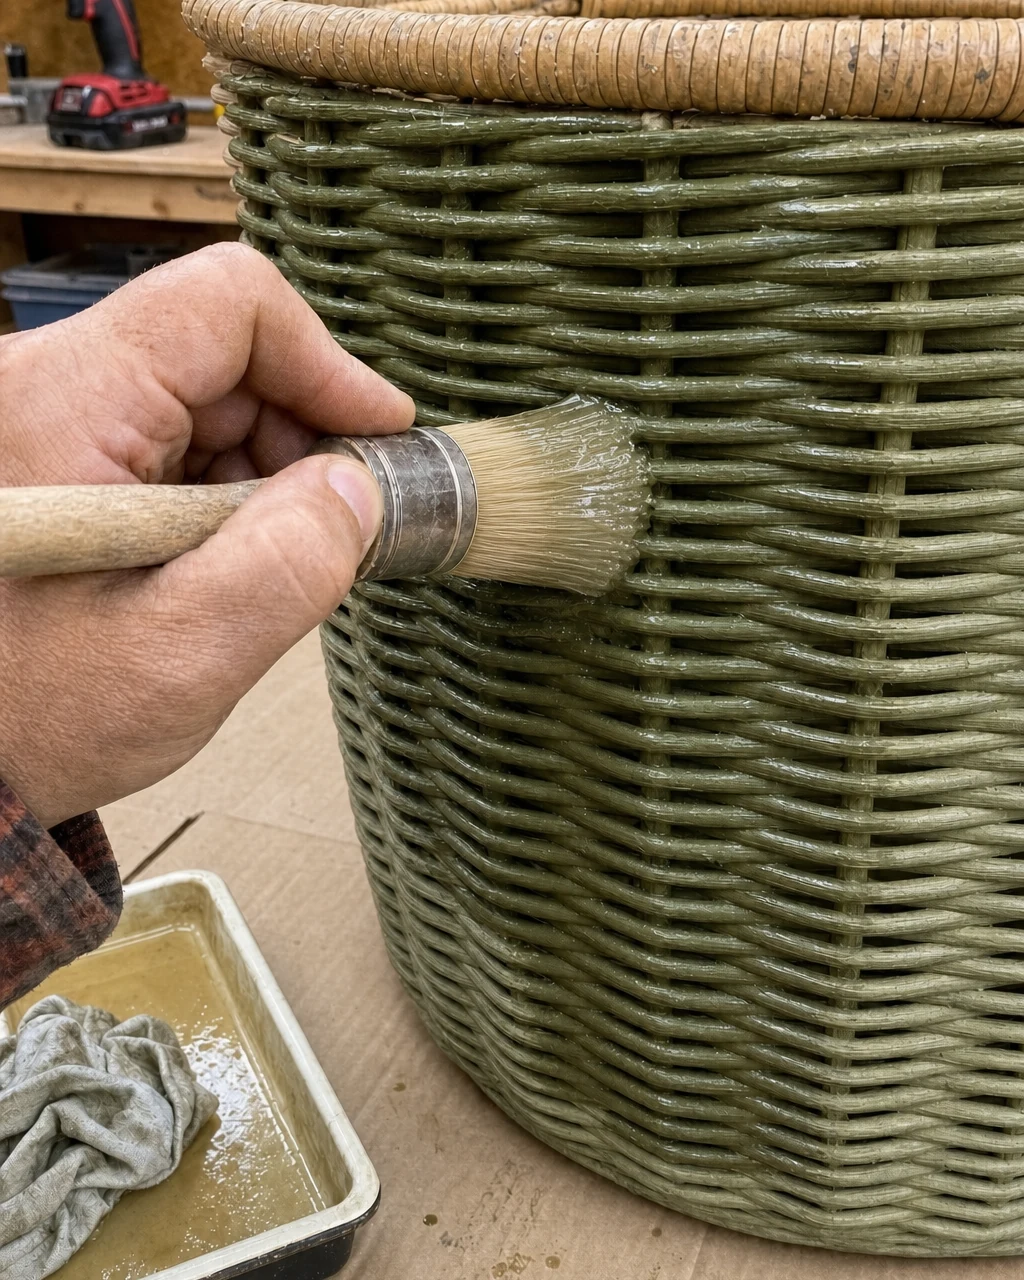
Stipple a generous layer of clear finishing wax over the dried paint using a dedicated wax brush. This essential step seals the porous chalk finish and creates a protective barrier that stops dark pigments from staining the high points of the weave. Work in a well-ventilated space when applying solvent-based waxes to the exterior.
Preparing for Antiquing
The clear wax slightly deepens the green color while leaving a waxy coating across the entire surface. By thoroughly coating the matte olive-green painted surface, you ensure that the subsequent dark accents will glide smoothly over the exterior rather than soaking permanently into the raw chalk paint.
Step 5: Add Antiquing Wax
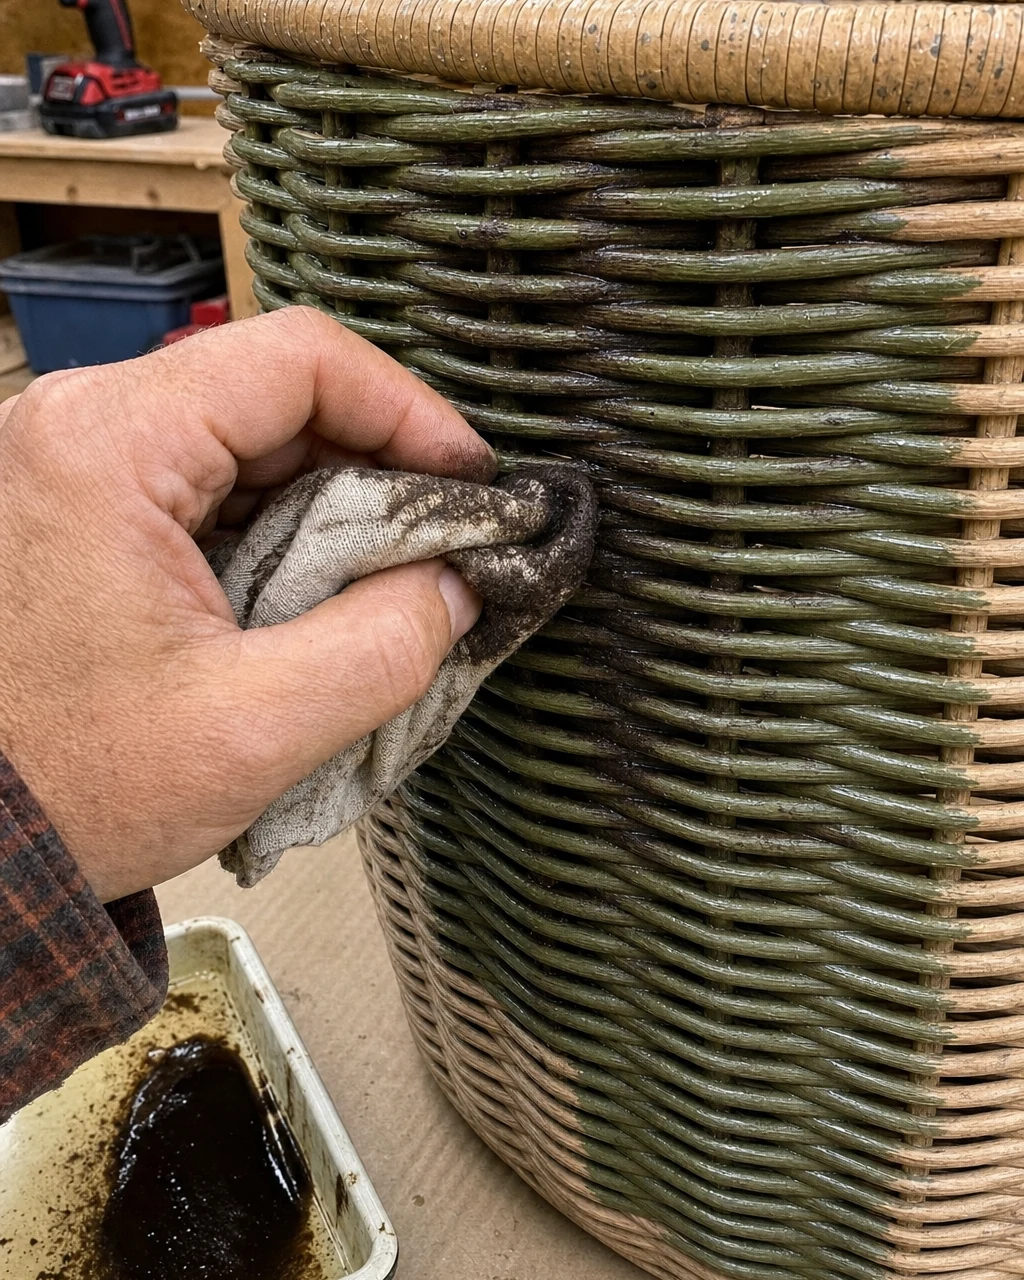
Wipe dark brown antiquing wax across the sealed weave with a cotton rag, pressing the pigment exclusively into the recessed gaps. This technique deposits the dark wax heavily into the loose wicker weave, creating artificial shadows and instant age. Dispose of wax-soaked rags properly by laying them flat to dry outside to prevent any fire hazards.
Developing the Two-Tone Finish
The dark brown wax mimics the natural shadow of aged woven materials, transforming the piece into a heavily textured, two-tone green and dark brown finish. Pressing the pigment deeply into the crevices highlights the intricate coiled construction of the natural rattan.
Step 6: Buff to a Sheen
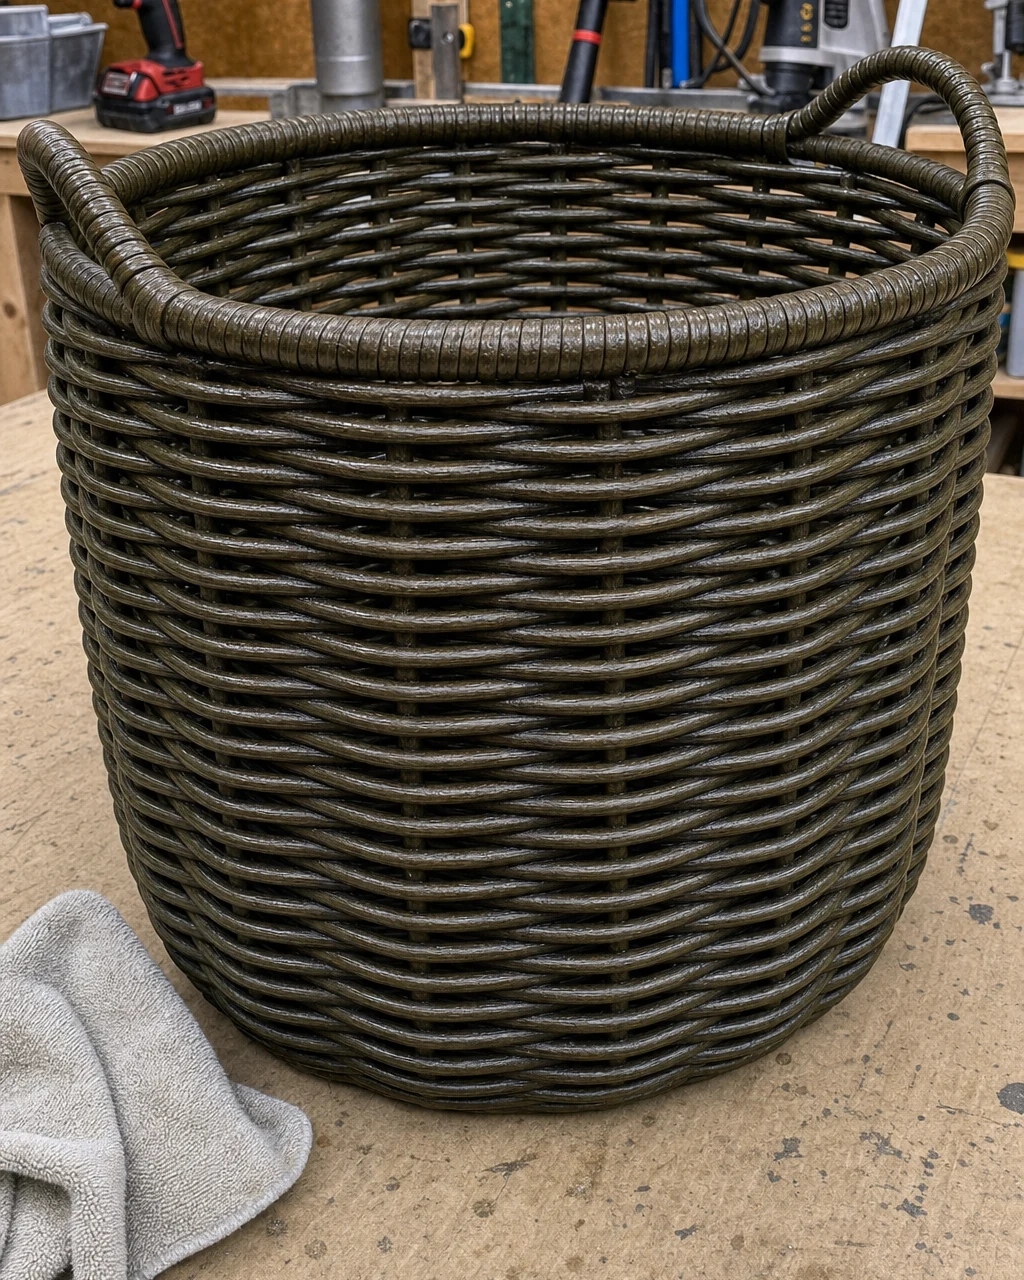
Buff the entire basket vigorously with a clean microfiber cloth to remove excess surface wax and develop a durable, soft sheen. The friction from the cloth warms the remaining wax, helping it cure into a moisture-resistant protective shell. Avoid pressing too hard on unsupported sections of the weave to prevent cracking the delicate natural rattan.
Revealing the Leather-Like Luster
As you continue buffing the dull, freshly waxed two-tone surface, a subtle sheen will begin to emerge across the exterior. This final polishing stage leaves the finished basket with a rich, leather-like luster that completely masks its brittle, sun-bleached origins.
Step 7: Style the Basket
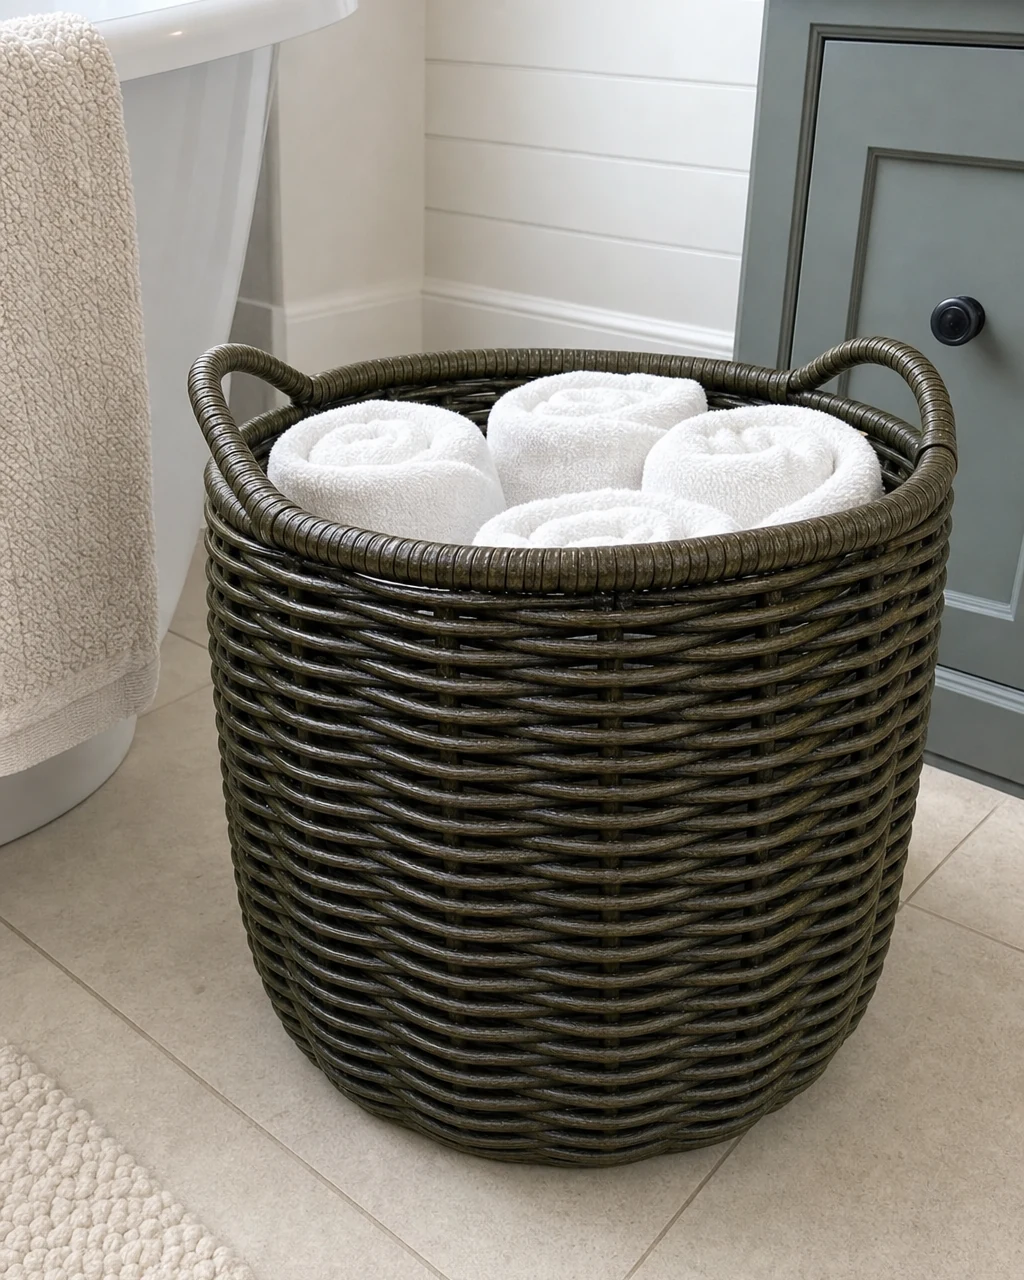
Move the cured basket into the home and fill it with pristine rolled white bath towels to demonstrate its renewed structural integrity. Placing the finished dark olive basket on a bright, neutral-tiled bathroom floor instantly showcases its upgraded aesthetic. Ensure the wax is fully cured before placing light-colored fabrics inside to avoid any accidental pigment transfer.
Enjoying Boutique Storage
The deeply textured, aged olive-green finish allows the basket to function beautifully as high-end bathroom storage. Boutiques charge premium prices for this exact aged texture, proving that a simple curbside find can be completely transformed with the right application of chalk paint and finishing wax.