
Resin Pedestal Secondhand Makeover: Creating an Aged Stone Look
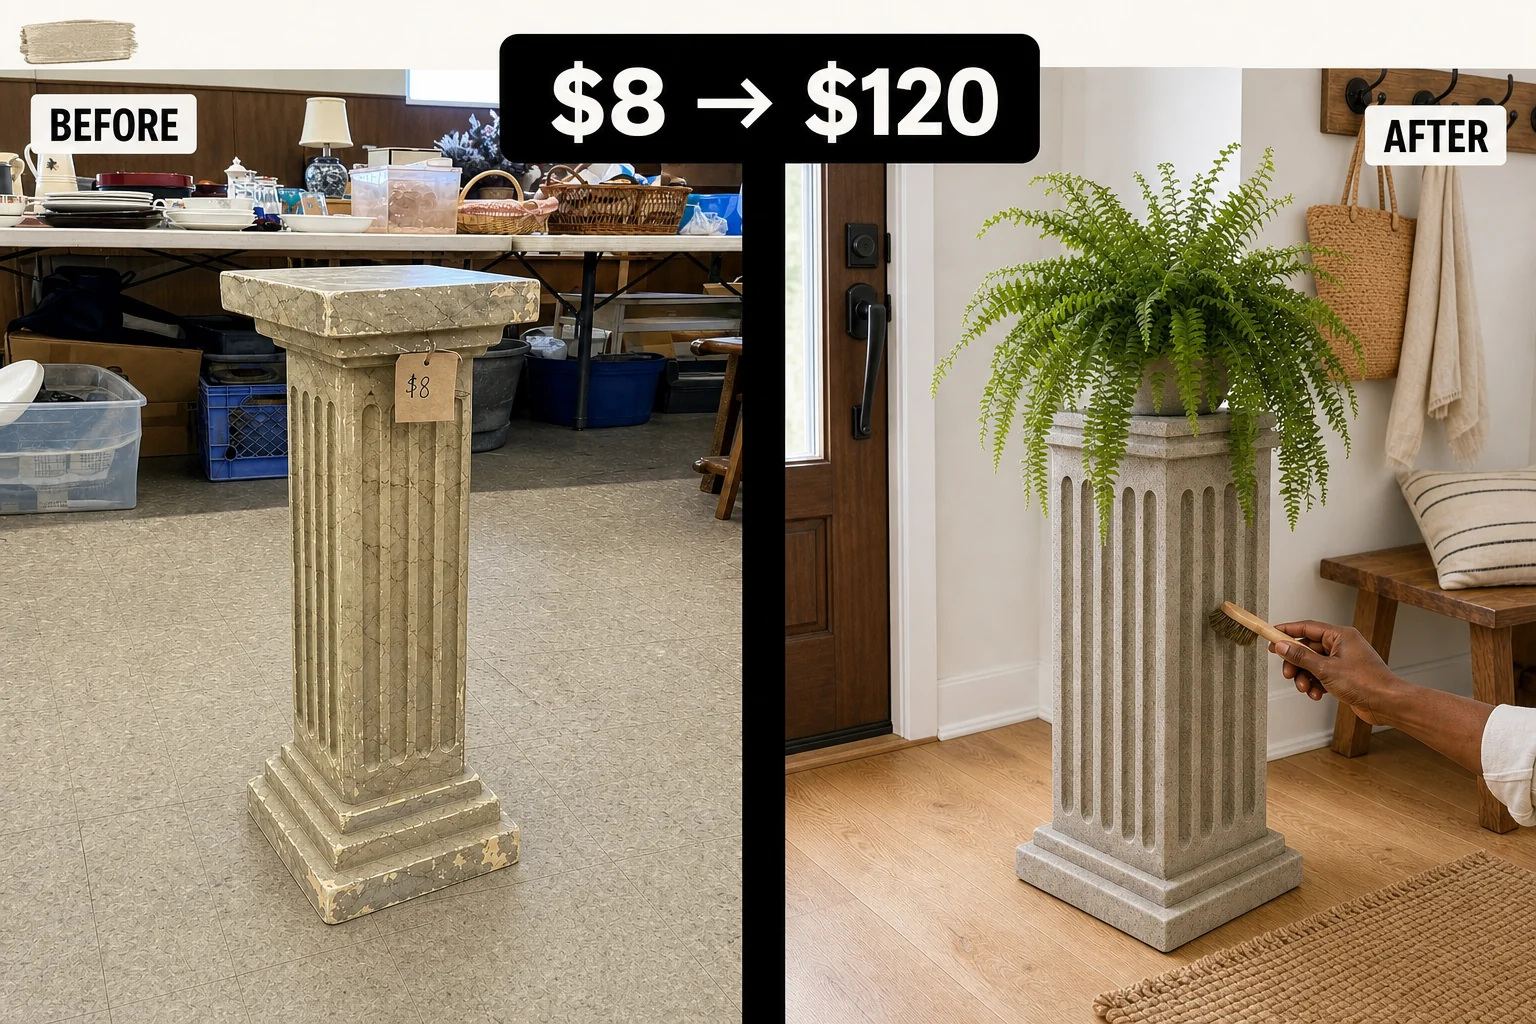
Found under a table at a church rummage sale, this chipped 1970s resin pedestal had great classical proportions. We used textured chalk paint and dark wax to transform the glossy plastic into a convincing aged limestone finish.
Assessing the Rummage Sale Find
Tucked under a table of donated board games at a modest church-hall rummage sale, this heavy 36-inch pedestal stood out. The single-piece molded hollow resin featured deep vertical fluting and a stepped square base. However, a badly flaking faux-marble factory finish scared off other buyers. Jagged, peeling edges revealed bare yellow plastic beneath, while sticky grease filled the grooves.
- Flaking factory finish: Jagged, peeling edges of the faux-marble coating reveal bare yellow plastic, preventing a smooth new paint finish.
- Greasy surface buildup: A sticky, dull film accumulated inside the deep fluted grooves will block chalk paint adhesion and cause peeling.
Step 1: Degrease the Resin
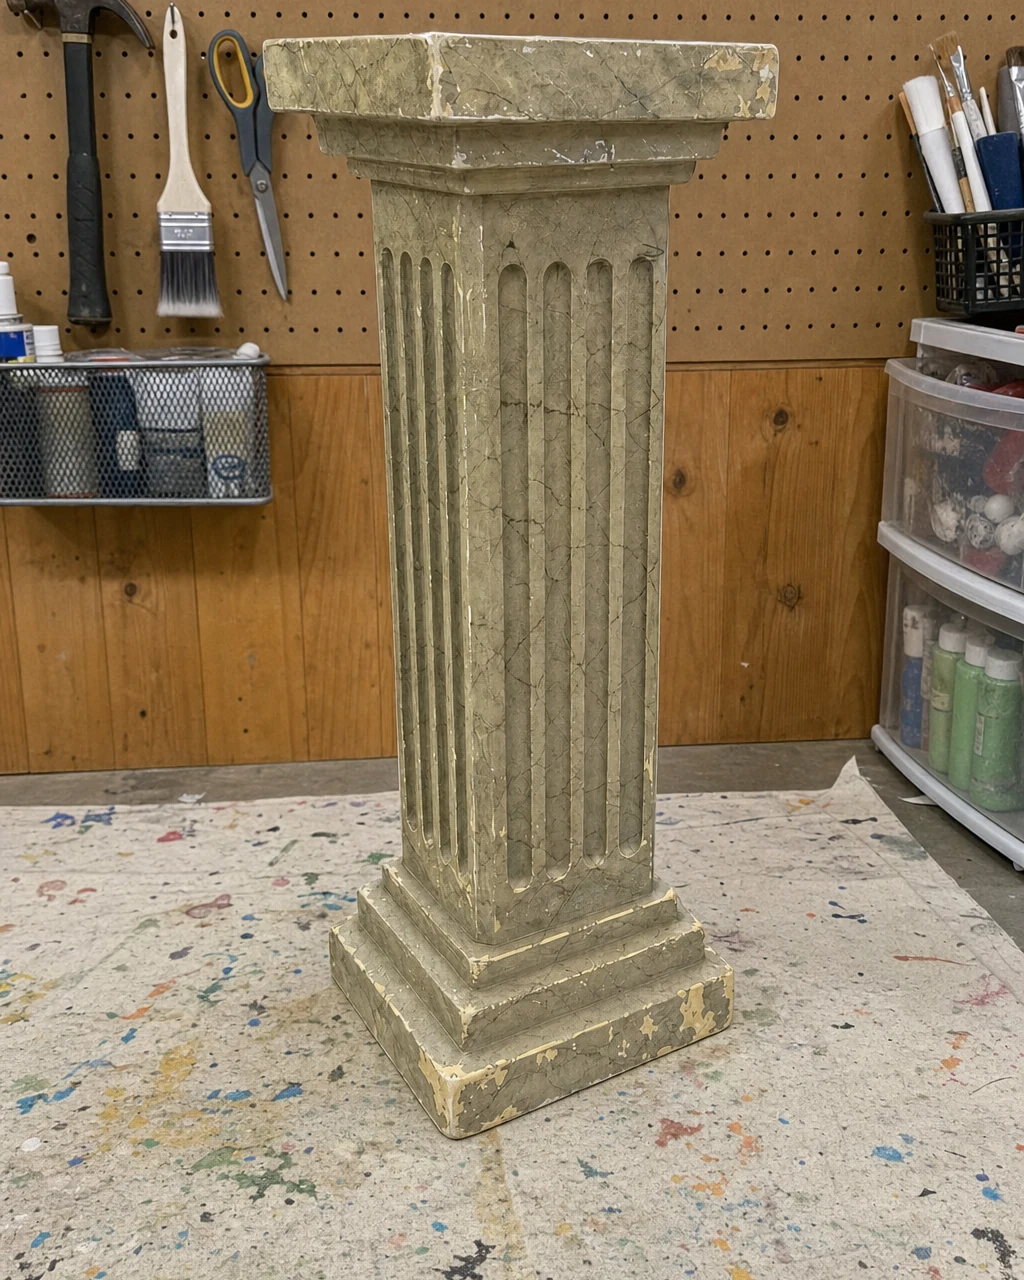
Resting the dusty pedestal on a canvas drop cloth, wipe the entire resin surface with a degreaser-soaked cotton rag. This removes decades of sticky buildup and floor wax. Focus heavily on the deep fluted grooves of the lower column and base to ensure a clean, matte surface. Always wear rubber gloves when handling heavy-duty degreasers to protect your skin.
Materials checklist
Step 2: Feather the Chips
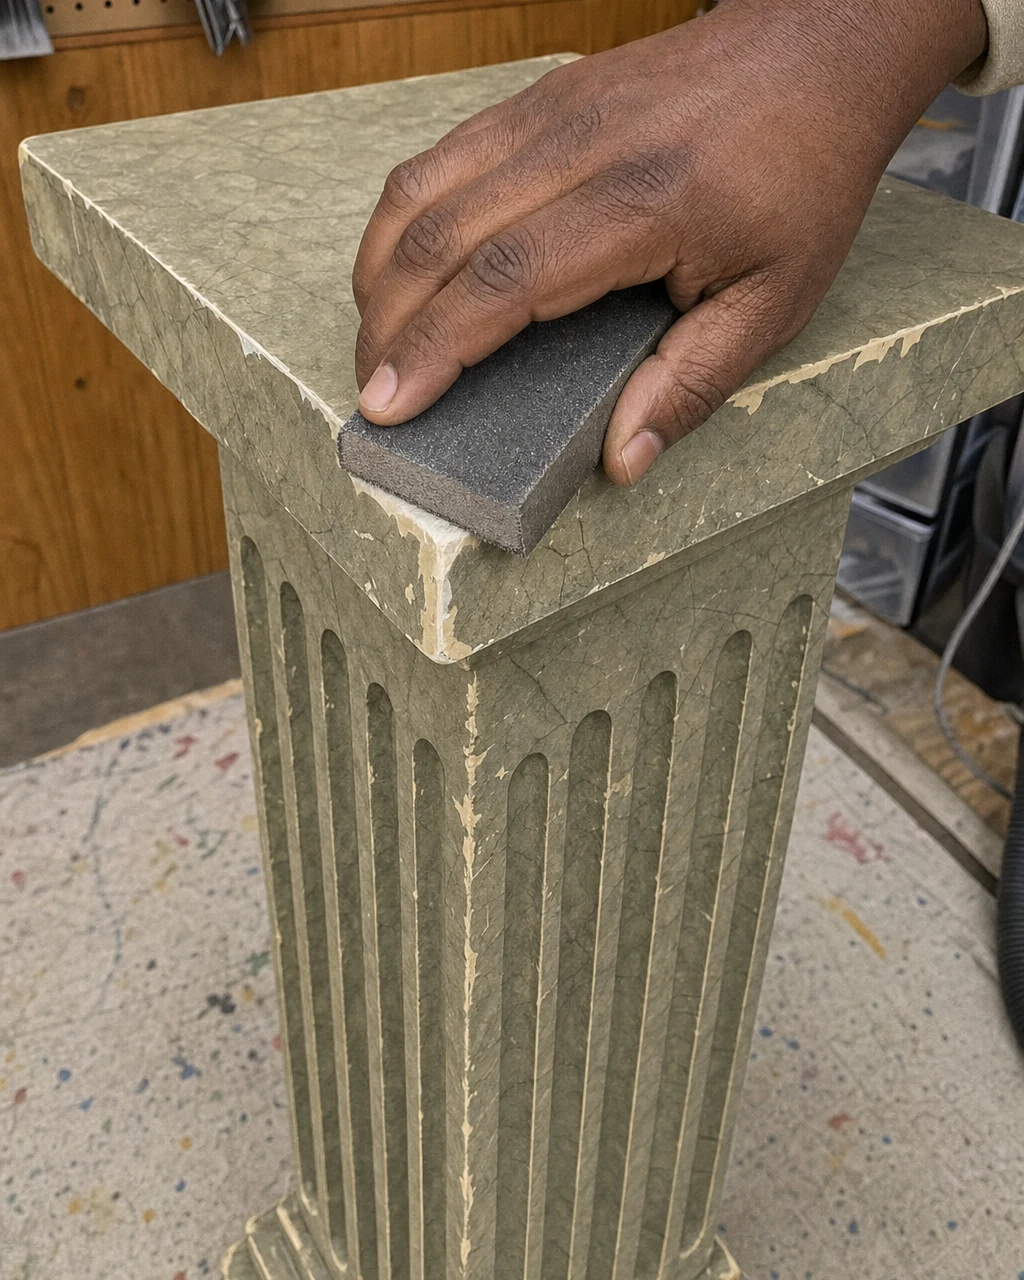
With the pedestal clean, address the sharp, flaking chips along the top edge. Rub a 120-grit sanding sponge back and forth over the jagged edges of the chipped faux-marble finish on the top square capital. Blend these edges smoothly into the bare yellow plastic so the old damage won’t telegraph through the new finish. Wear a particulate respirator mask when sanding resin.
Step 3: Apply Base Paint
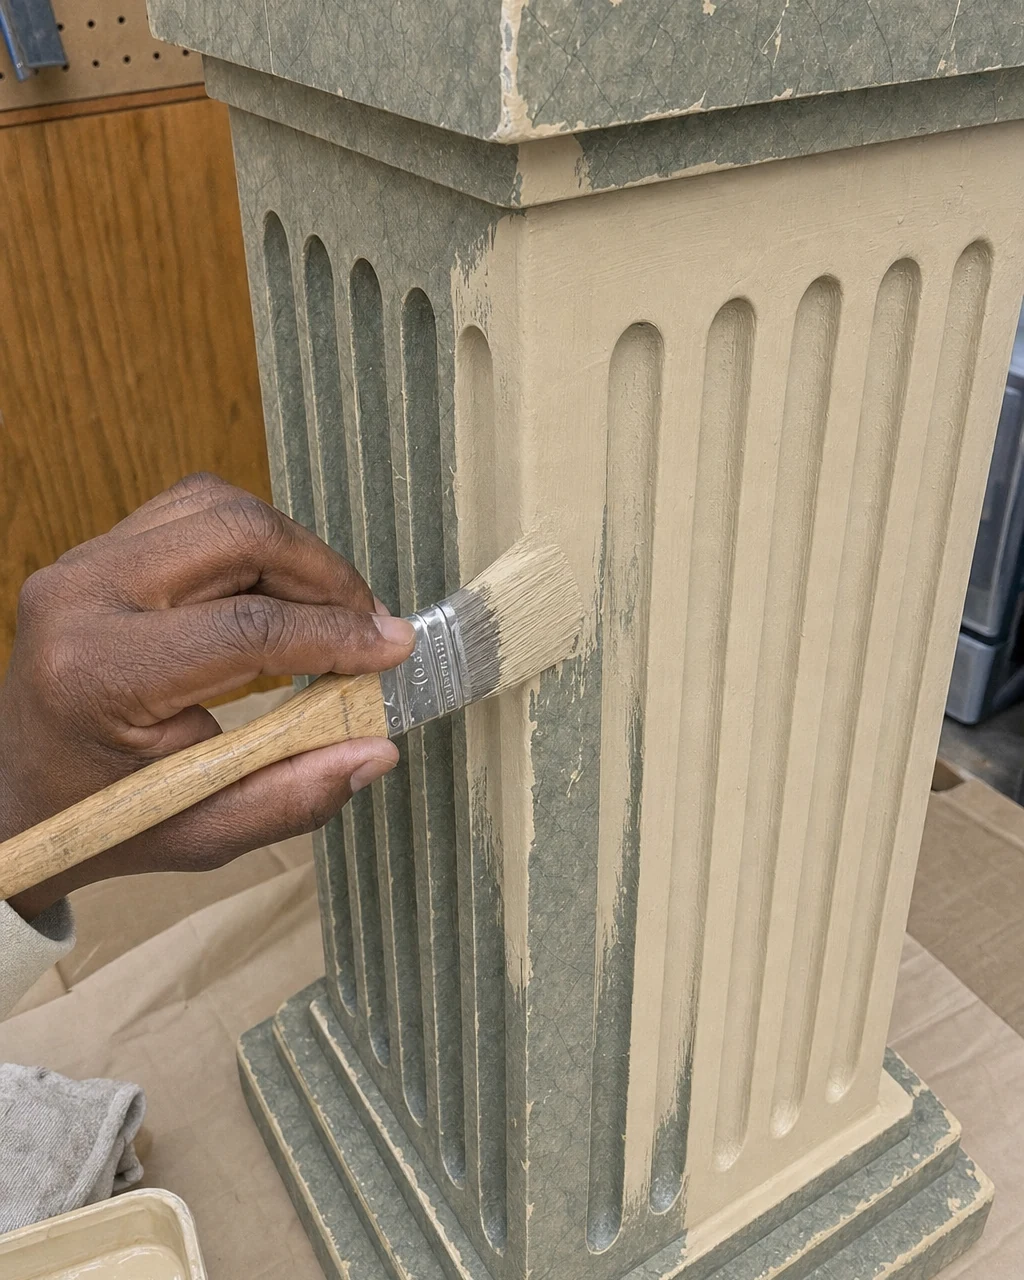
Once the chipped edges are sanded and prepped, brush a thick, even layer of limestone beige chalk paint onto the fluted resin column using a flat synthetic brush. This creates solid, opaque beige coverage that completely hides the original glossy faux-marble pattern beneath. The ultra-matte chalk formulation grips the slick resin without requiring chemical primers.
Coating the Deep Fluting
Focus on pushing the paint deep into the vertical fluting along the main column and the stepped geometric molding at the bottom. Ensure adequate ventilation when painting in an enclosed basement workshop, and allow this initial base coat to dry for two full hours before proceeding to the next step.
Step 4: Stipple for Texture
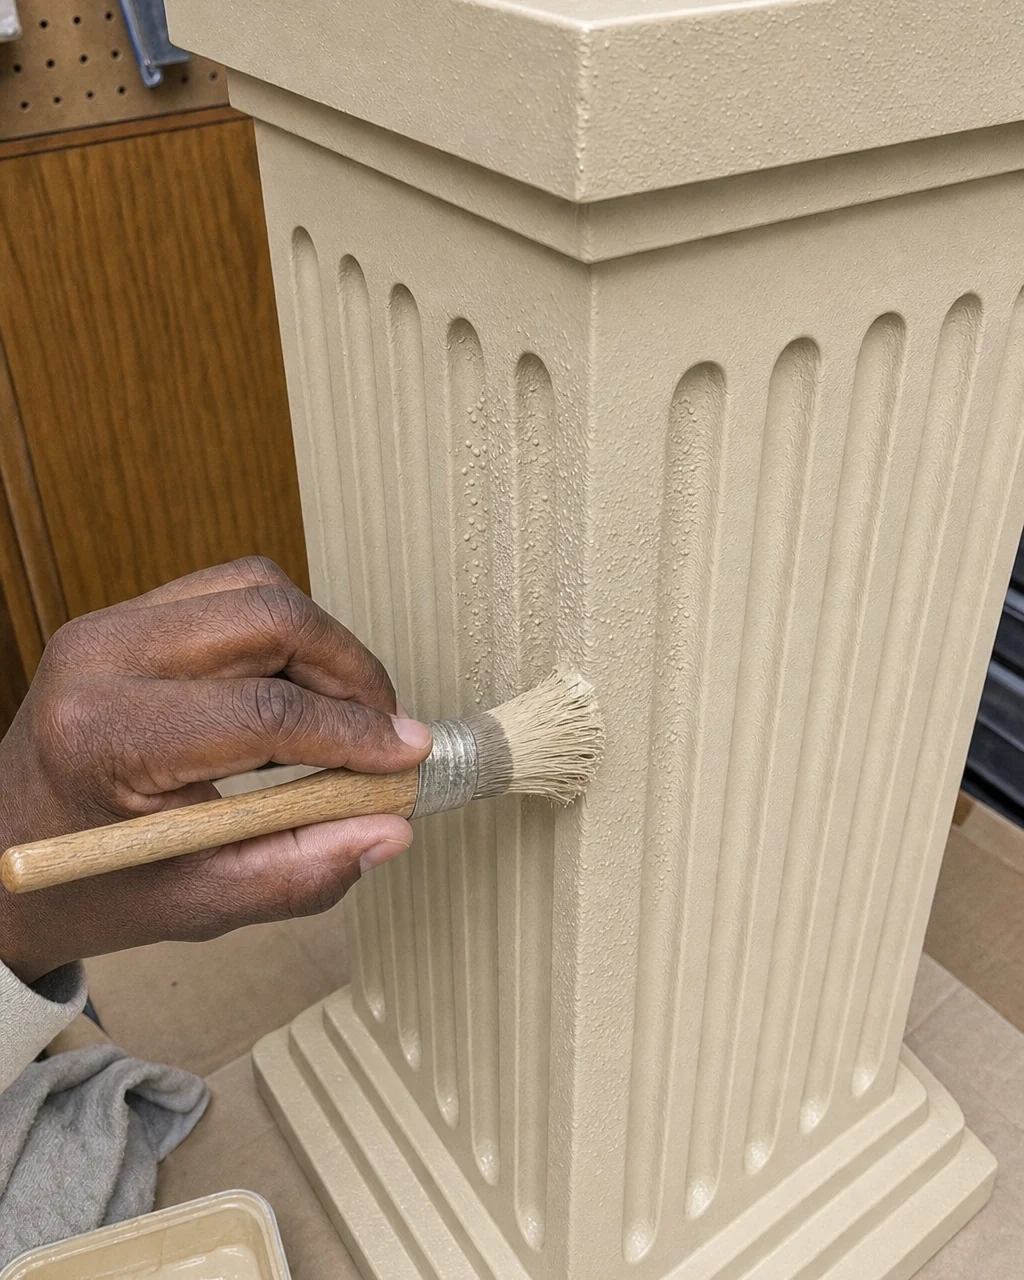
Apply a fresh, wet second coat of chalk paint, then pounce the flat bristles of a stiff round brush directly into the wet paint. This vertical pouncing builds a heavily stippled, pitted surface resembling porous stone. Protect the floor beneath the pedestal with a canvas drop cloth to catch paint spatter from the aggressive stippling action.
Allow the heavily textured chalk paint to dry completely for four hours. The resulting matte, deeply textured beige pedestal perfectly mimics heavy carved limestone, completely transforming the glossy plastic cast into a convincing architectural accent.
Step 5: Work in Wax
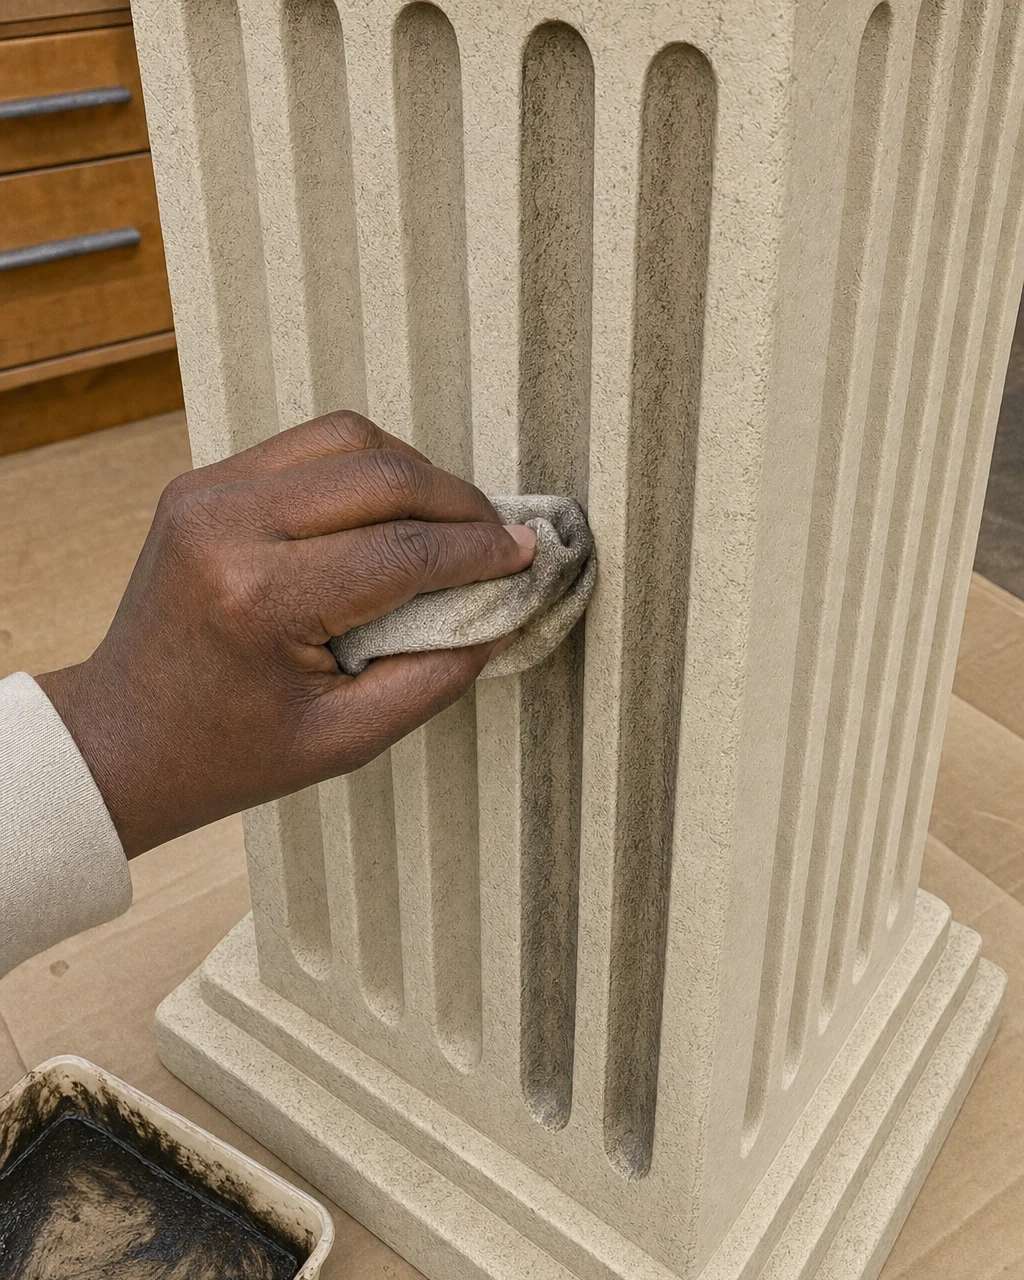
With the textured beige pedestal fully dried, rub dark antiquing wax into the stippled chalk paint crevices using a lint-free cotton cloth. The dark wax settles into the stippled valleys to highlight the faux-stone texture and mimic instant aging across the fluted column, creating darkened recesses.
Highlighting the Faux Stone
Work the soft, spreadable dark wax in small sections, ensuring it penetrates the deeply stippled areas for maximum contrast against the limestone beige base. Always dispose of wax-soaked rags properly by laying them flat to dry outdoors before throwing them away.
Step 6: Buff to a Sheen
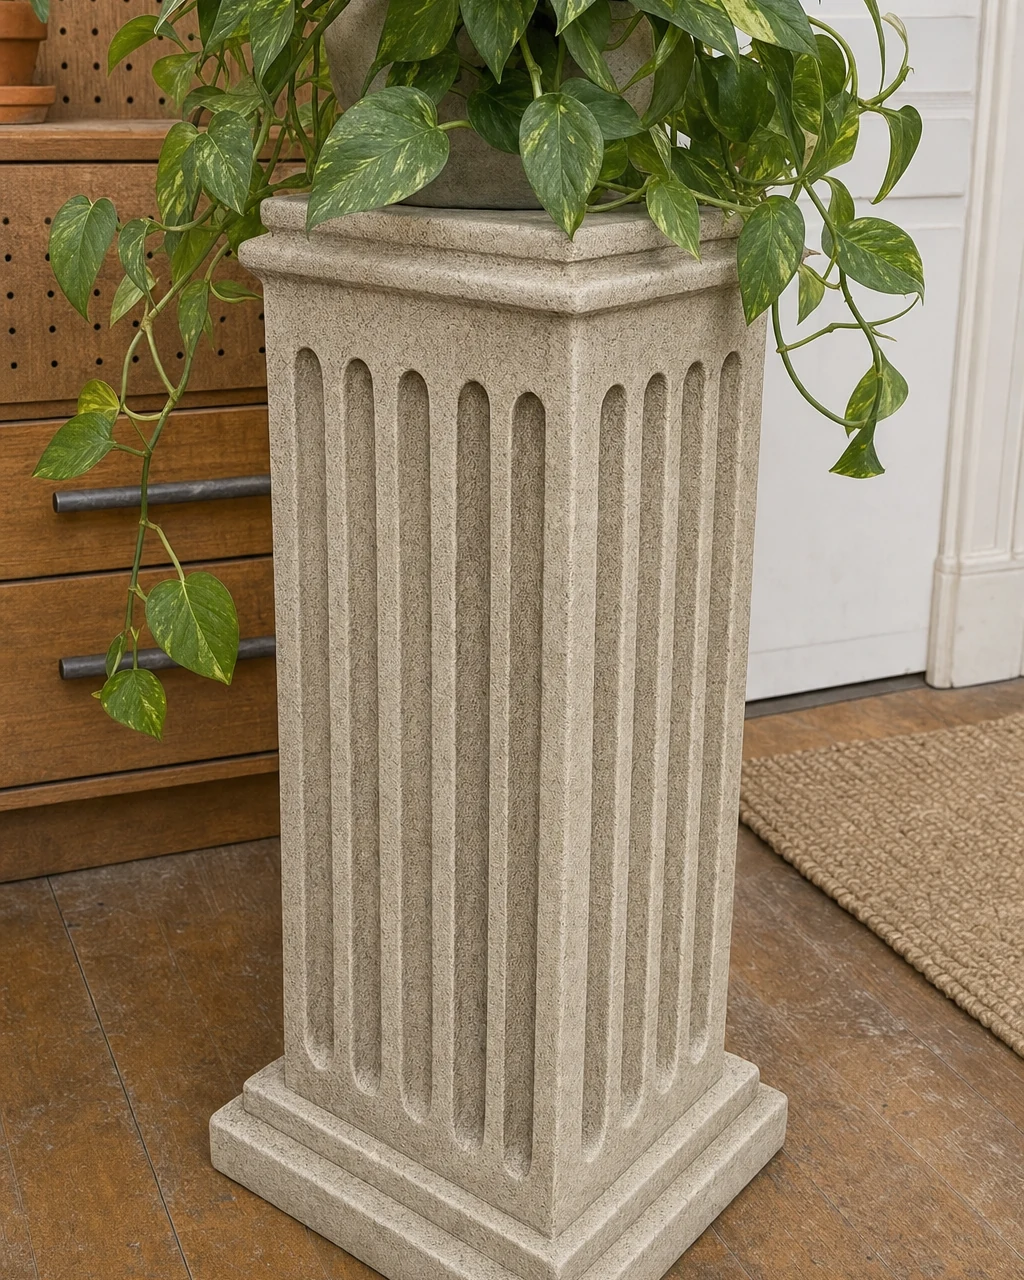
Allow the dark antiquing wax to cure for 24 hours before handling the piece, leaving the pedestal covered in a dull, hazy dried wax finish. Vigorously buff the cured wax on the pedestal top with a clean microfiber cloth to create a subtle, protective satin sheen.
Curing the Protective Finish
Maintain a stable stance while applying heavy downward pressure to buff the flat square capital safely. A thorough buffing cures the wax into a hard shell, ensuring the convincing aged stone texture remains durable and protected against daily wear and tear.
Step 7: Style the Pedestal
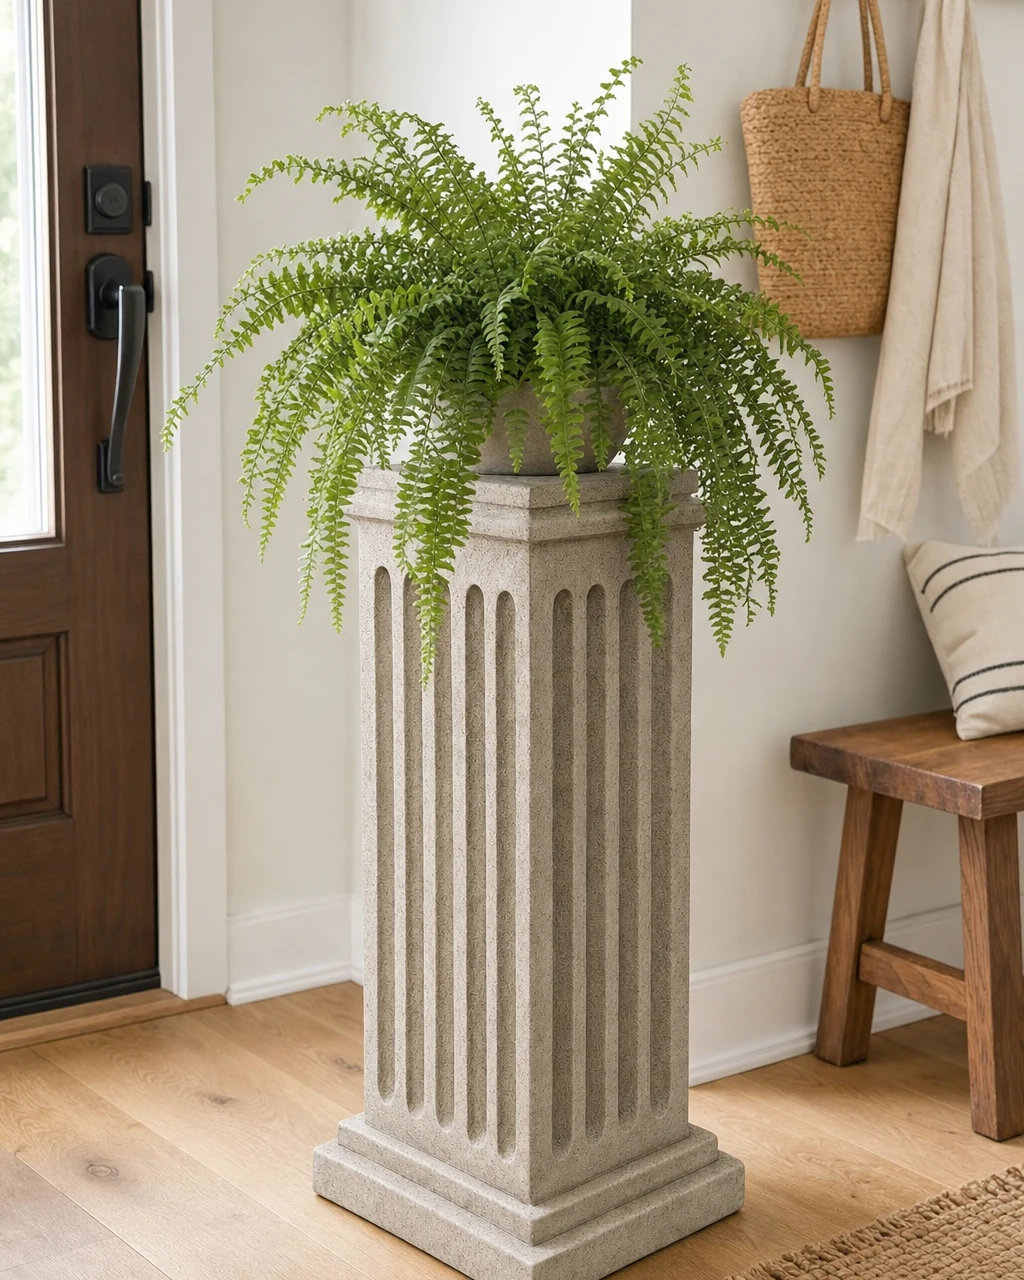
Position the finished stone-look pedestal in a bright entryway corner with white walls and natural oak floors. Use a basic hand tool if leveling adjustments are required on uneven surfaces. Ensure the heavy, bottom-weighted pedestal is placed on a completely level floor to prevent tipping hazards.
Elevating Entryway Decor
Top the flat square capital with a lush, potted trailing fern. Elevating trailing plants draws the eye upward in corners, showcasing the classic architectural accent in a modern home environment. The matte, porous-looking finish completely replaces the shiny chipped plastic of the 1970s relic.
Valuation and Resale Potential
While this piece has not been sold, the estimated resale value is $120, yielding a potential value gain of $74 over the initial $46 investment. The convincing faux-stone texture elevates this from a dated plastic cast to a classic architectural accent.
| Item | Cost |
|---|---|
| Purchase Price | $8 |
| TSP substitute cleaner | $8 |
| 120-grit sanding sponge | $4 |
| Limestone beige chalk paint | $14 |
| Dark antiquing wax | $12 |
| Materials Total | $38 |
| Total Investment | $46 |
| Estimated Resale Value | $120 |
| Value Gain | $74 |
Assessing the Transformation Impact
This deeply stippled and dark-waxed fluted column perfectly mimics carved limestone, matching the retail price of modern concrete or plaster pedestals. The dramatic before-and-after contrast proves that textured paint adds significant value to heavily chipped, glossy faux-marble relics found at rummage sales.