
Wooden Coaster Set Thrift Flip: High-Gloss Resin Makeover
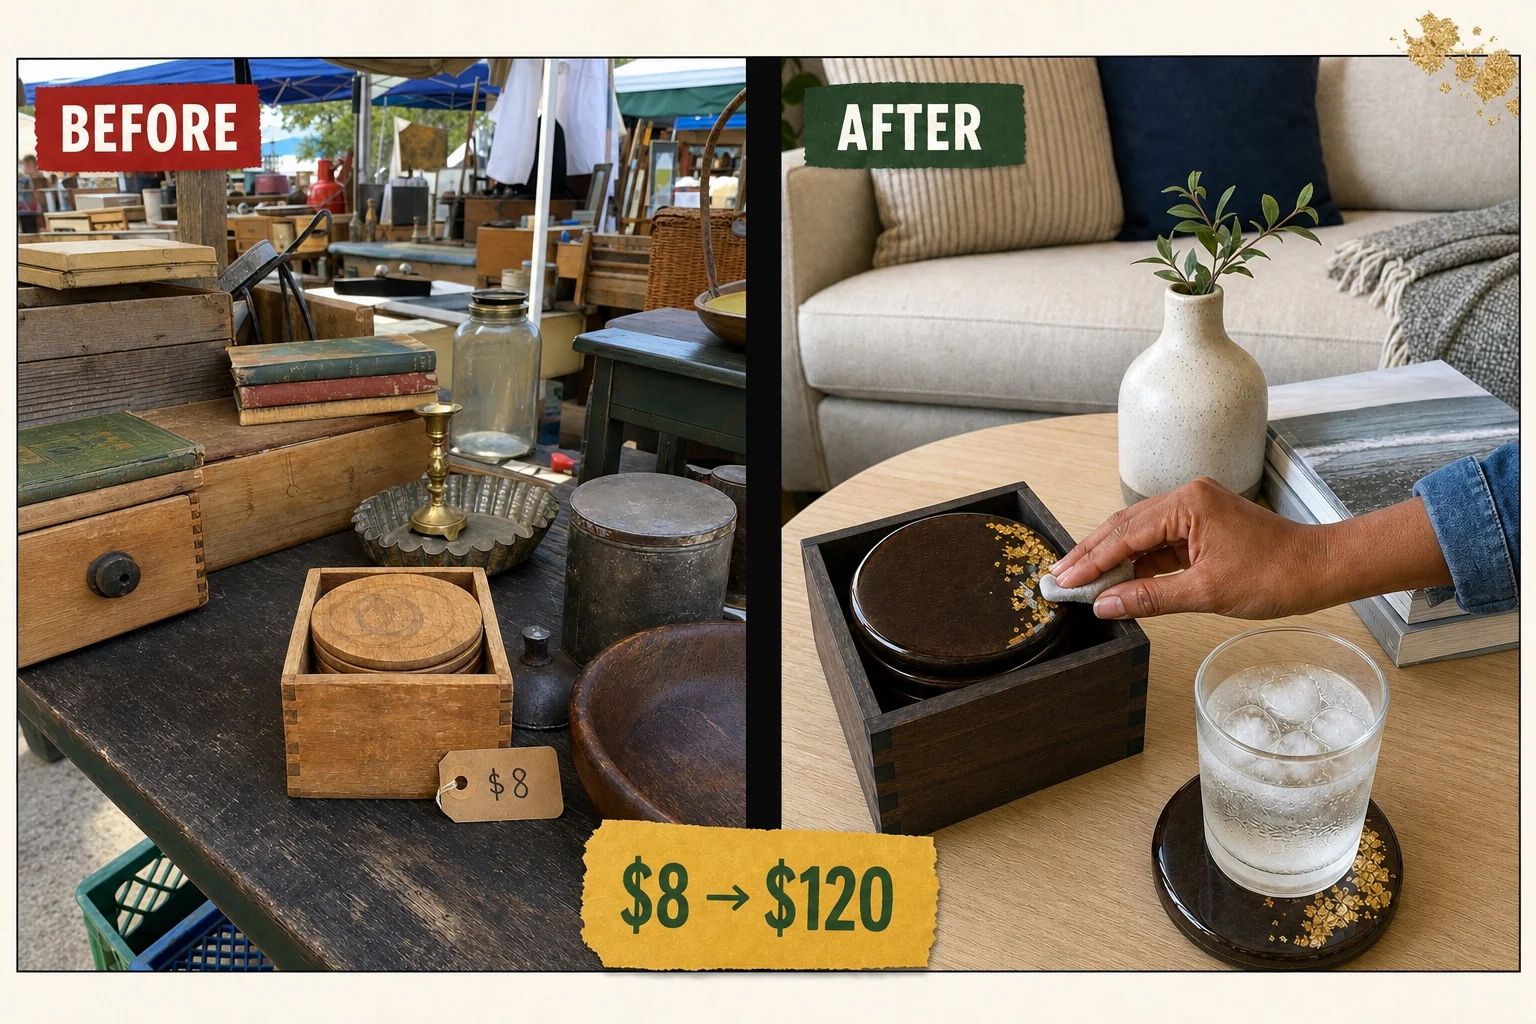
Spotted at a flea market, this water-stained pine coaster set was structurally perfect but visually ruined. We sanded away the damage to apply a rich dark walnut stain, asymmetrical gold leaf, and a glass-like epoxy resin dome.
Assessing the Flea Market Find
Found sitting on a folding table between old tools and crates, this basic pine coaster set was heavily water-stained but structurally perfect. The set features six flat solid pine rounds inside a low-profile square-jointed open-top box. Measuring four inches in diameter, the raw wood absorbed moisture quickly, leaving overlapping dark grey rings on the top coasters that required immediate attention.
- Deep water rings: The dark grey circular stains on the raw pine surfaces require aggressive sanding to reach clean wood before any new finish can be applied.
- Dried out wood: The faded, chalky surface on the square pine storage box needs conditioning and a rich gel stain to restore its original color and depth.
Valuation and Resale Potential
The combination of rich wood tones, metallic accents, and a flawless epoxy resin finish elevates a basic pine set into a luxury home accessory. Transforming dull, water-stained raw pine into a highly reflective finish changes the texture, color, and decorative detail entirely. This thrift flip rivals high-end boutique decor, making our estimated resale value a realistic expectation rather than a completed sale.
| Item | Cost |
|---|---|
| Flea Market Coaster Set | $8 |
| 120-Grit Sanding Block | $5 |
| Dark Walnut Gel Stain | $12 |
| Cotton Rags | $4 |
| Gold Leaf Flakes | $8 |
| Clear Epoxy Resin | $25 |
| Silicone Craft Mat | $10 |
| Total Investment | $72 |
| Estimated Resale Value | $120 |
| Value Gain | $48 |
Materials checklist
Step 1: Assess the Water Damage
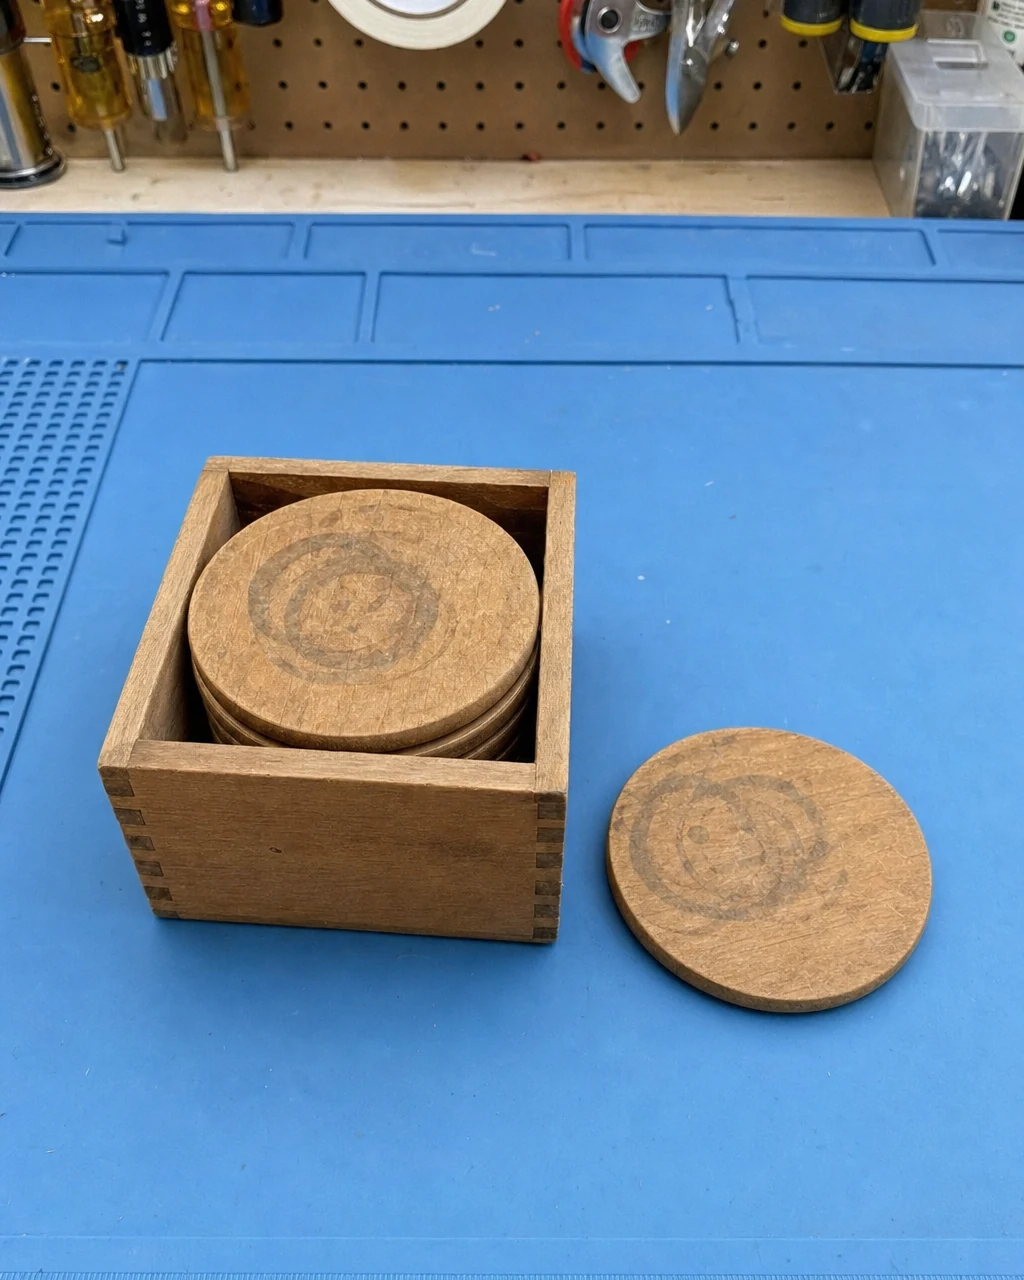
Evaluate the water-stained pine coasters and box on the workbench to identify the depth of the damage before beginning restoration. Resting the pieces on a protective silicone mat reveals the extent of the overlapping dark grey water rings under the workshop lighting. Ensure the workbench is clear of debris before starting, as any dust left behind will interfere with the final epoxy coating process.
Step 2: Sand Away the Stains
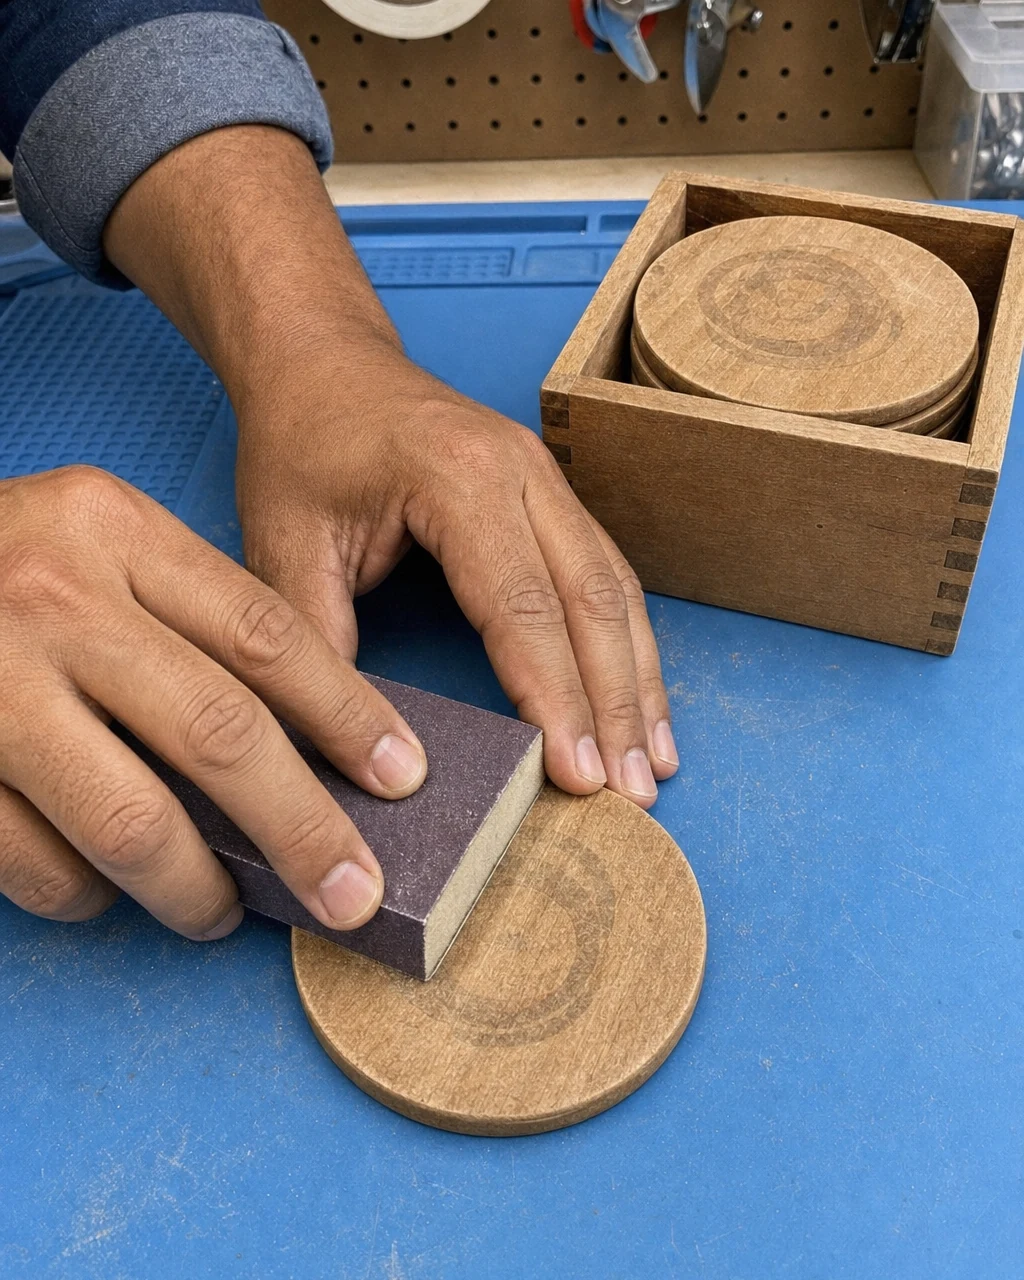
Sand the top surface of each coaster and the exterior of the box using 120-grit paper to remove the water rings and old finish. Rubbing the sanding block across the top face erases the dark circular water rings completely, leaving the coaster surface as smooth, bare wood with no remaining stains. Always wear a dust mask when sanding dry wood indoors to protect your lungs.
Step 3: Apply a Rich Stain
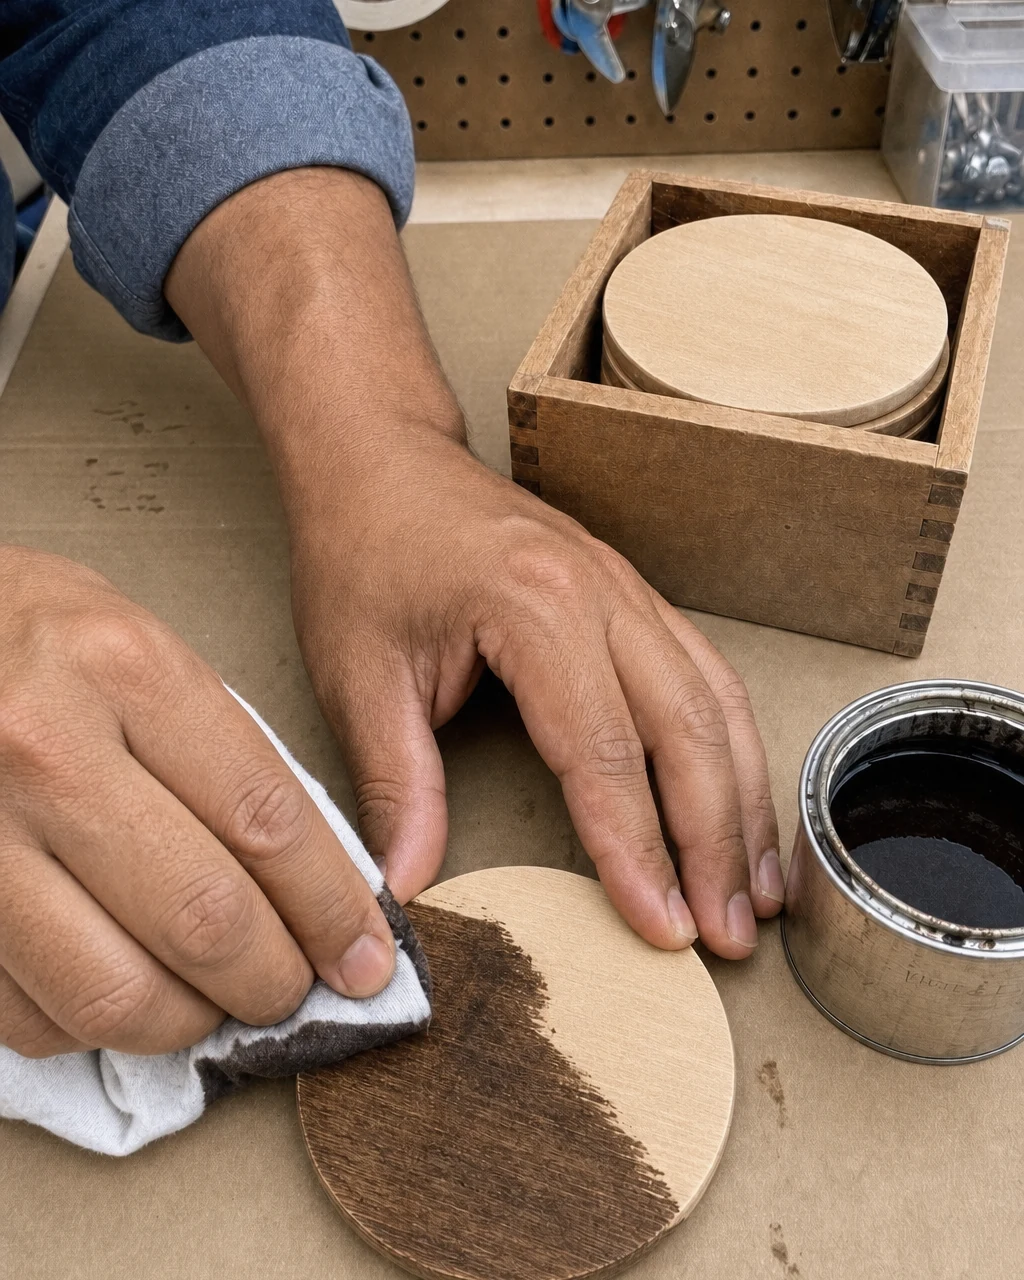
Wipe dark walnut gel stain onto the sanded coasters and box with a lint-free cloth, letting it penetrate before wiping off the excess. Using a folded cotton rag ensures even coverage on the notoriously blotchy bare pine. The wood quickly takes on a rich, dark walnut color, restoring depth and hiding any minor imperfections. Dispose of stain-soaked rags safely to prevent spontaneous combustion.
Step 4: Add Metallic Gold Accents
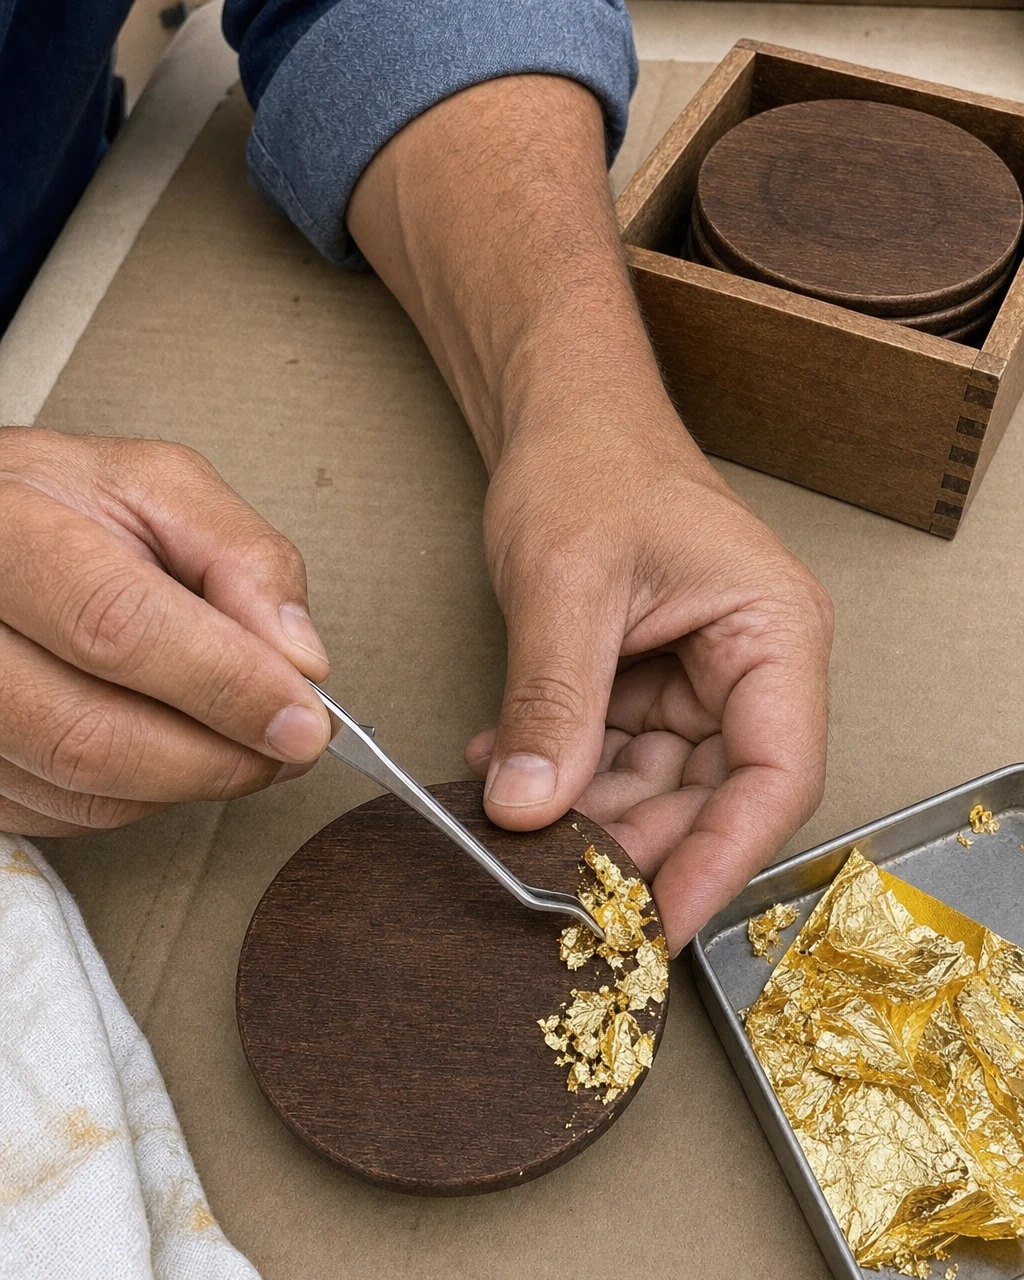
Press small clusters of gold leaf flakes onto one edge of each fully dry, stained coaster using metal tweezers. This creates a striking, asymmetrical metallic accent against the dark wood background. The bright metallic gold accent sits securely on the dark wood, adding a touch of luxury before the final protective topcoat is applied. Work in a draft-free area so the lightweight flakes remain stationary.
Step 5: Pour the Clear Resin
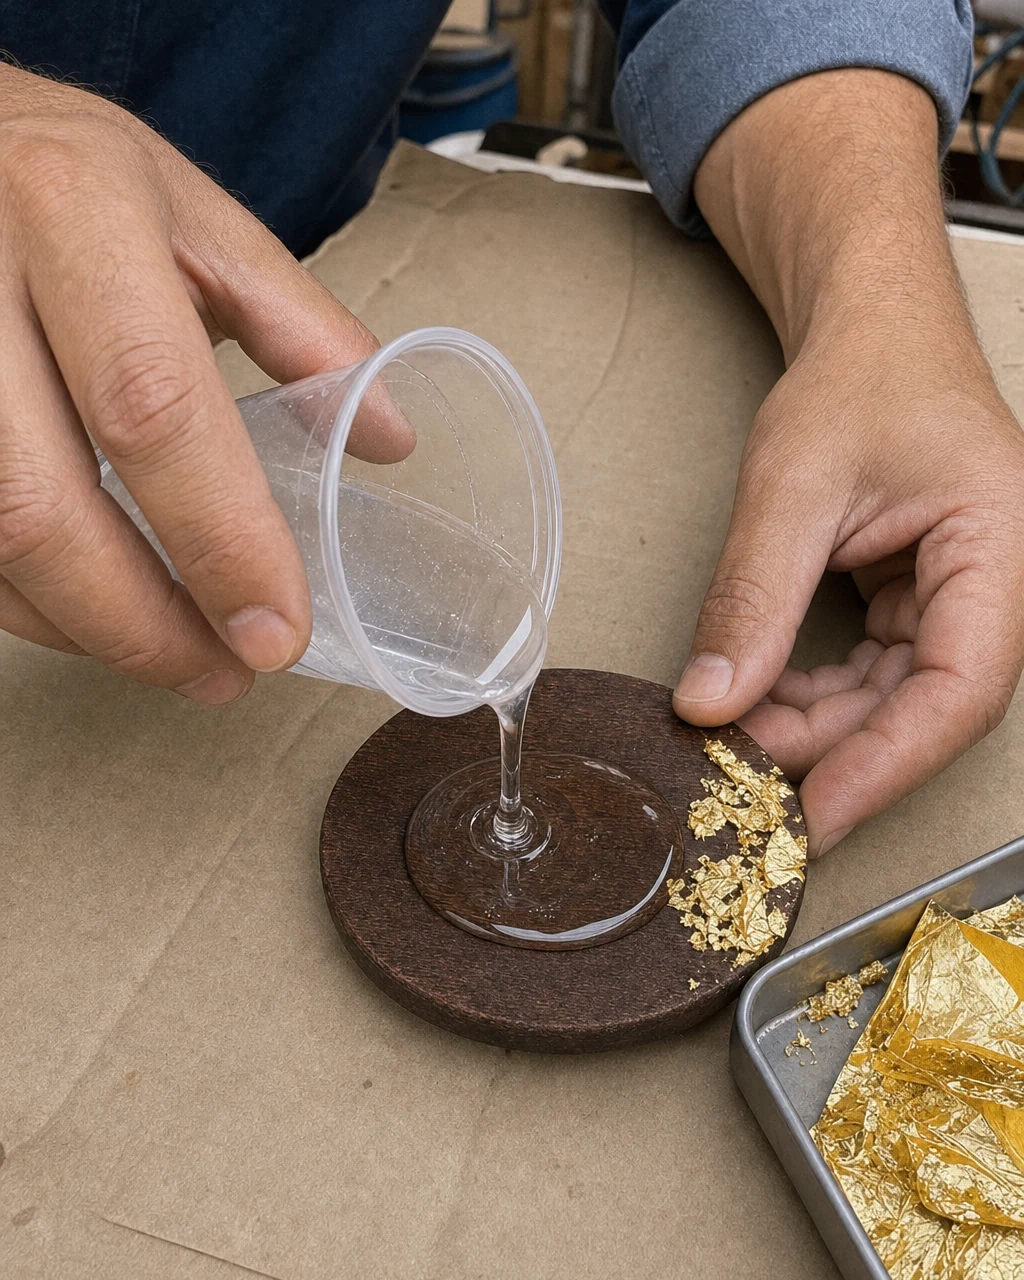
Mix the two-part clear epoxy resin in a plastic mixing cup and slowly pour a flood coat directly onto the center of each gold-accented coaster. Let surface tension dome the thick liquid at the edges, creating a thick, wet layer of resin. Allow the pieces to cure undisturbed for twenty-four hours. Wear nitrile gloves and work in a well-ventilated area when mixing epoxy.
Step 6: Assemble the Finished Set
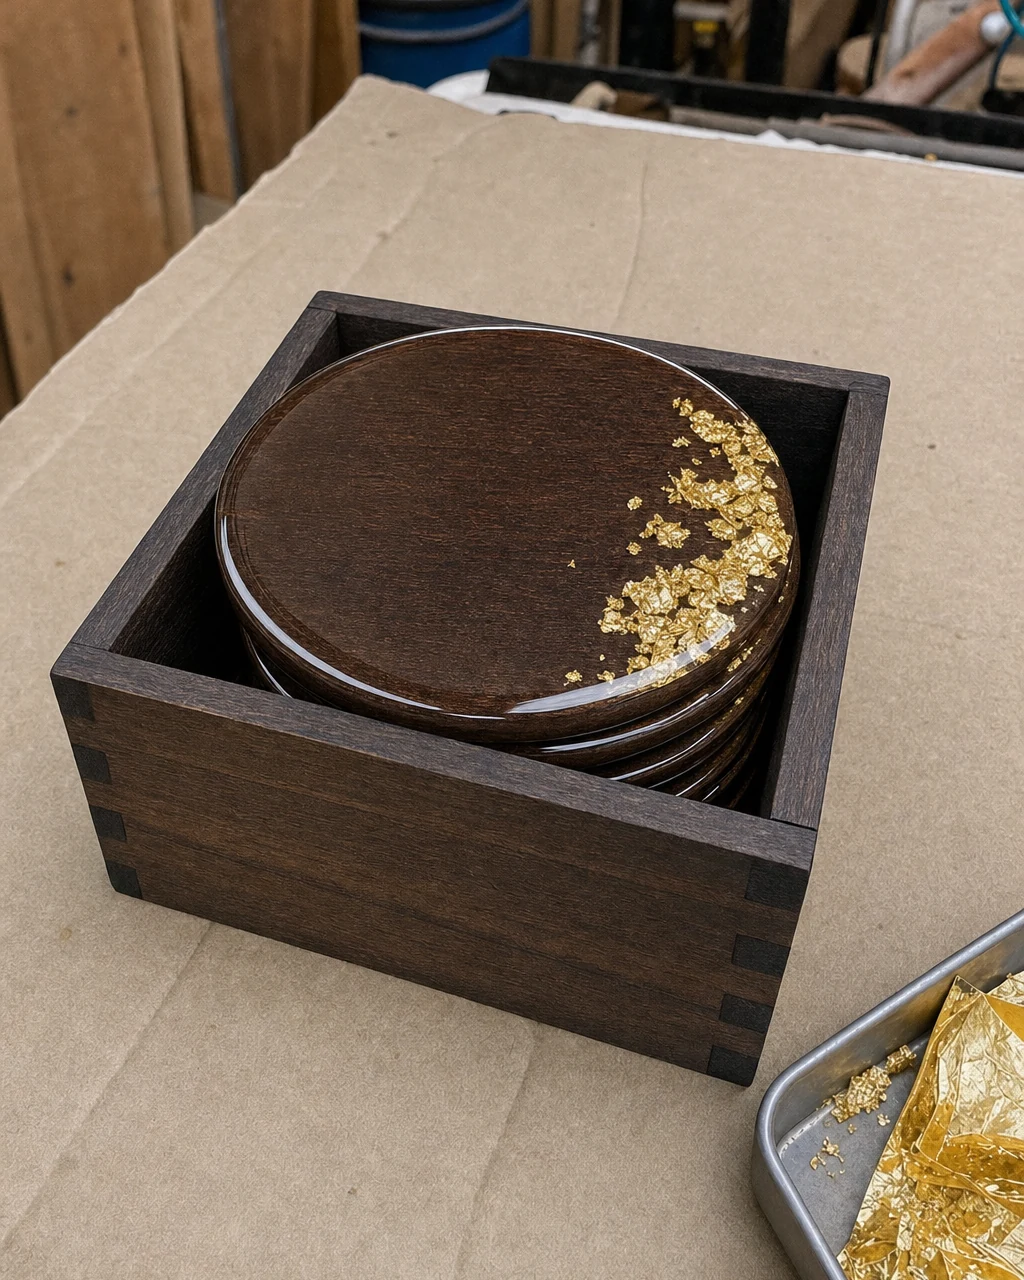
Check the cured resin for a smooth, glass-like finish. The fully restored and upgraded coaster set is now ready to be assembled. Place the glossy resin-coated round coasters back into their dark stained square pine box on the workbench, completing the dramatic transformation. Allow the resin to cure fully before handling to ensure the highly reflective surface remains free of fingerprints or smudges.
Step 7: Style in Your Home
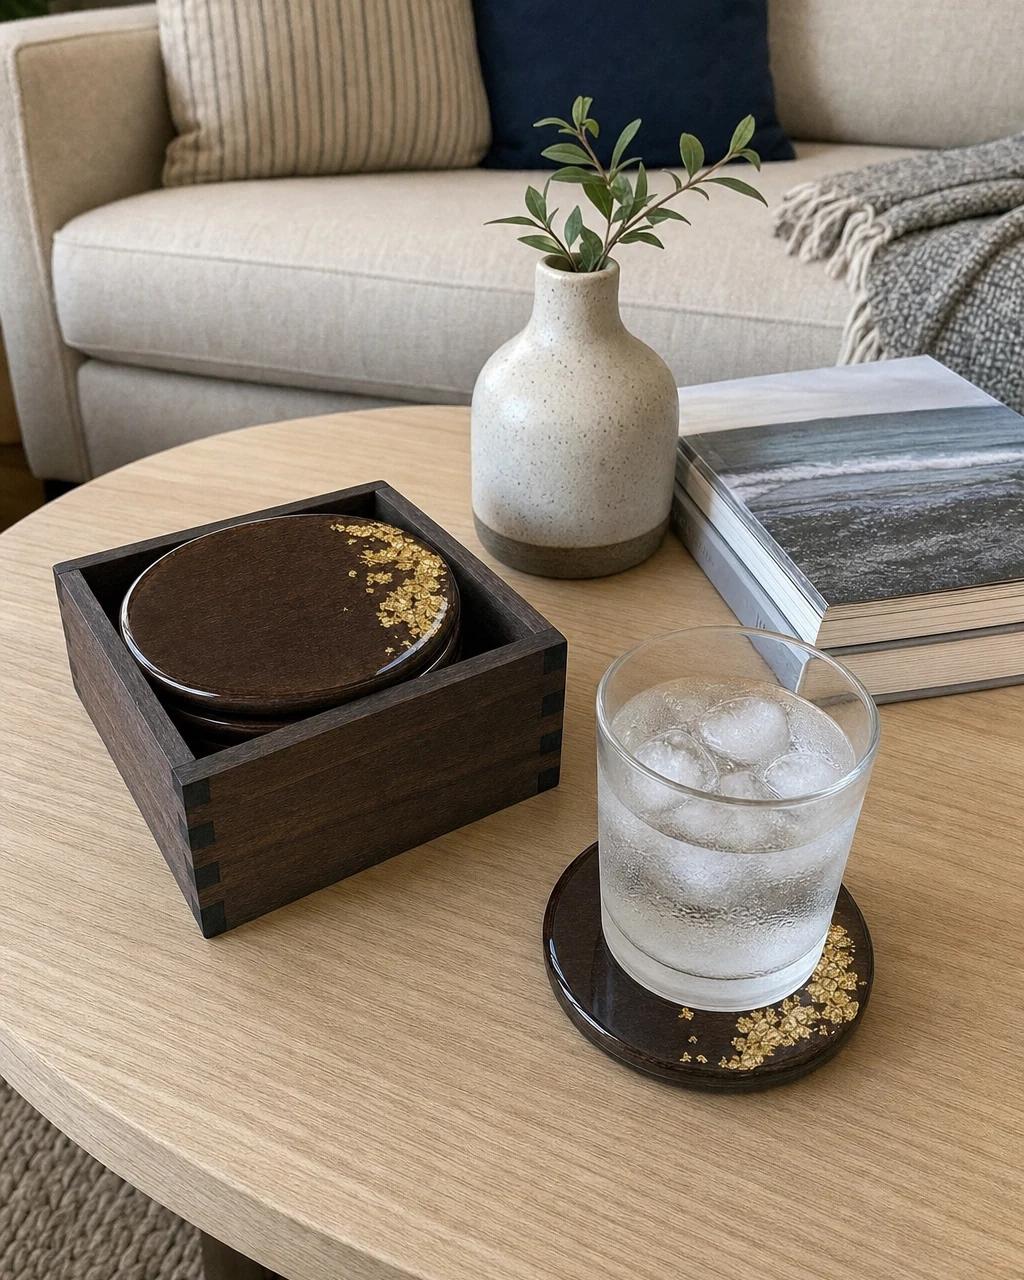
Arrange the finished coaster set on a living room coffee table to showcase the high-end metallic and glass-like resin finish. The glossy surface easily handles a sweating glass of iced water. The coaster protects the table while adding a luxurious decorative element to the room. Ensure the bottom of the coaster is completely dry before placing it on any delicate furniture surfaces.