
Entryway Bench Transformation with a Faux-Tile Stenciled Seat
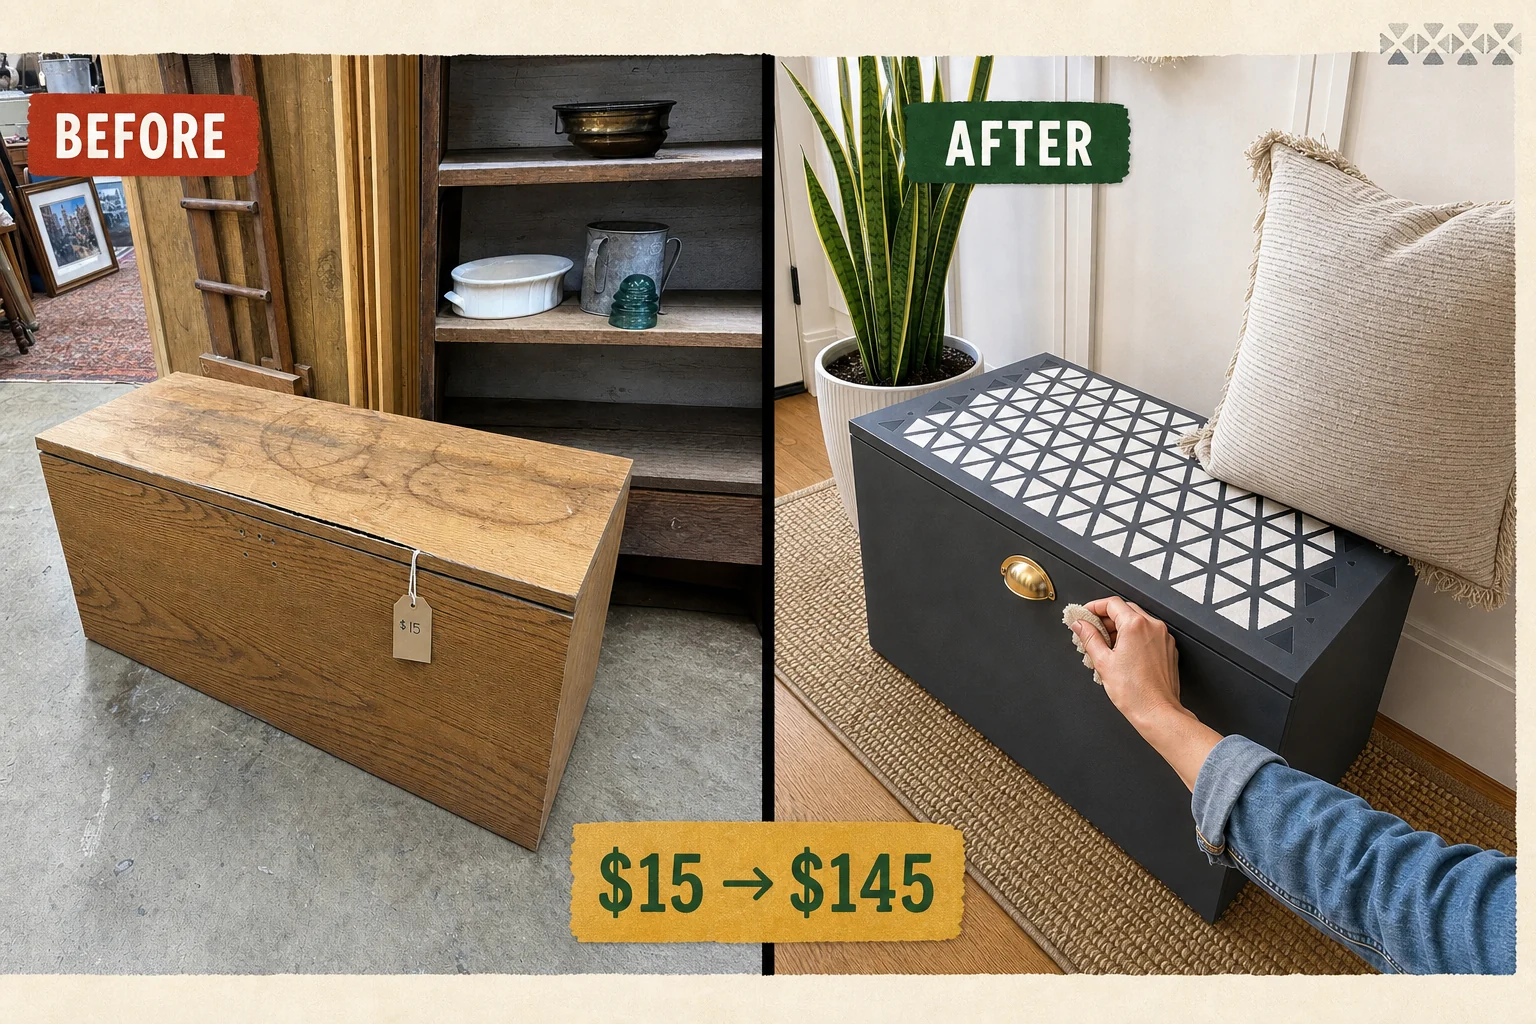
Tucked under vintage quilts at an antique market, this 1980s particle board bench suffered from severe water damage. We transformed the dated box into a modern focal point using a crisp geometric stencil and fresh brass hardware.
Assessing the Antique Market Find
Found in a slightly cluttered indoor antique market booth with wooden partitions, this simple rectangular box featured a hinged flat seat and a solid front panel. Despite its sturdy boxy storage base and internal metal hinges, the laminated particle board showed distinctive damage that required immediate attention.
- Heavy water stains penetrated the faux-oak laminate, leaving dark, raised rings across the top lid.
- A six-inch crack separated the particle board layers at the front edge, causing structural weakness.
- The front panel featured two empty screw holes where the original hardware was completely missing.
Valuation and Resale Potential
The bold, flawless stencil work elevates a cheap particle board piece into a boutique-style accent. This striking visual upgrade justifies a strong markup over the total investment, yielding an estimated resale value of $145.
| Item | Cost |
|---|---|
| Bench Purchase | $15 |
| Epoxy Wood Filler | $12 |
| 120-Grit Sanding Block | $5 |
| Shellac Primer | $18 |
| Charcoal Paint | $25 |
| White Paint | $15 |
| Geometric Stencil | $14 |
| Stencil Brush | $8 |
| Brass Cup Pull | $6 |
| Total Investment | $118 |
| Estimated Resale Value | $145 |
| Value Gain | $27 |
Step 1: Inspect the Damage
The water-stained, split particle board bench sits on a drop cloth in the garage, ready for a thorough evaluation. Measuring 36 inches wide and 18 inches high, this simple rectangular box requires careful inspection to identify the extent of the water damage and the depth of the split.
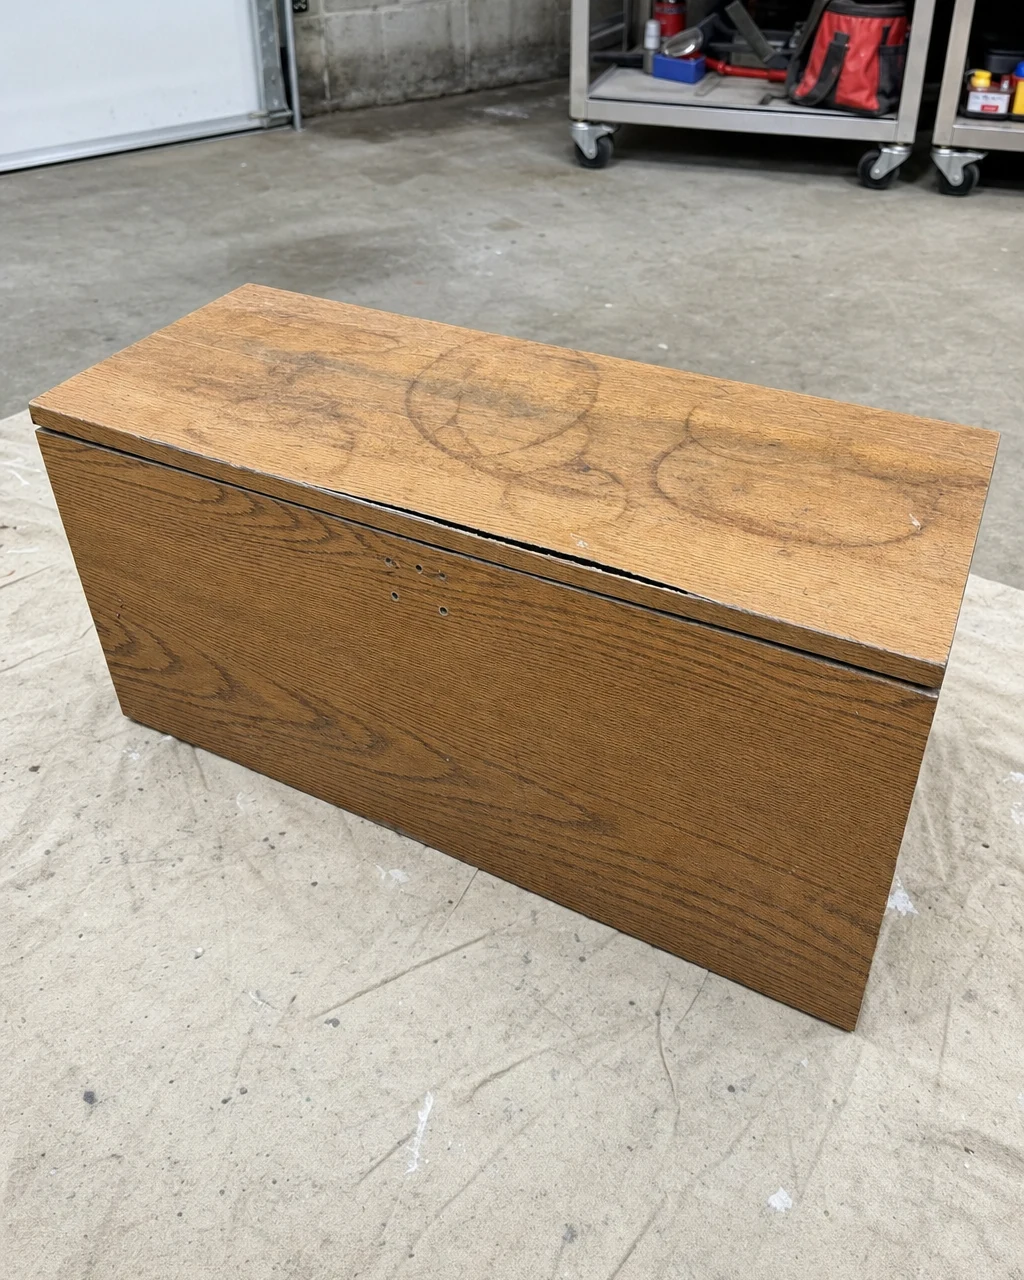
Ensure the internal metal hinges are still securely attached to the hollow storage base before beginning the cosmetic repairs. Always check for sharp exposed staples or splintered laminate near the split to avoid injury. Once the split is identified as repairable, the physical restoration can safely begin.
Step 2: Repair the Split Seat
The bench seat has a six-inch open crack separating the particle board layers at the front edge, which causes snagging and structural weakness. Mix the two-part epoxy wood filler and press it deeply into the split using a metal putty knife to bind the particle board fibers securely together.
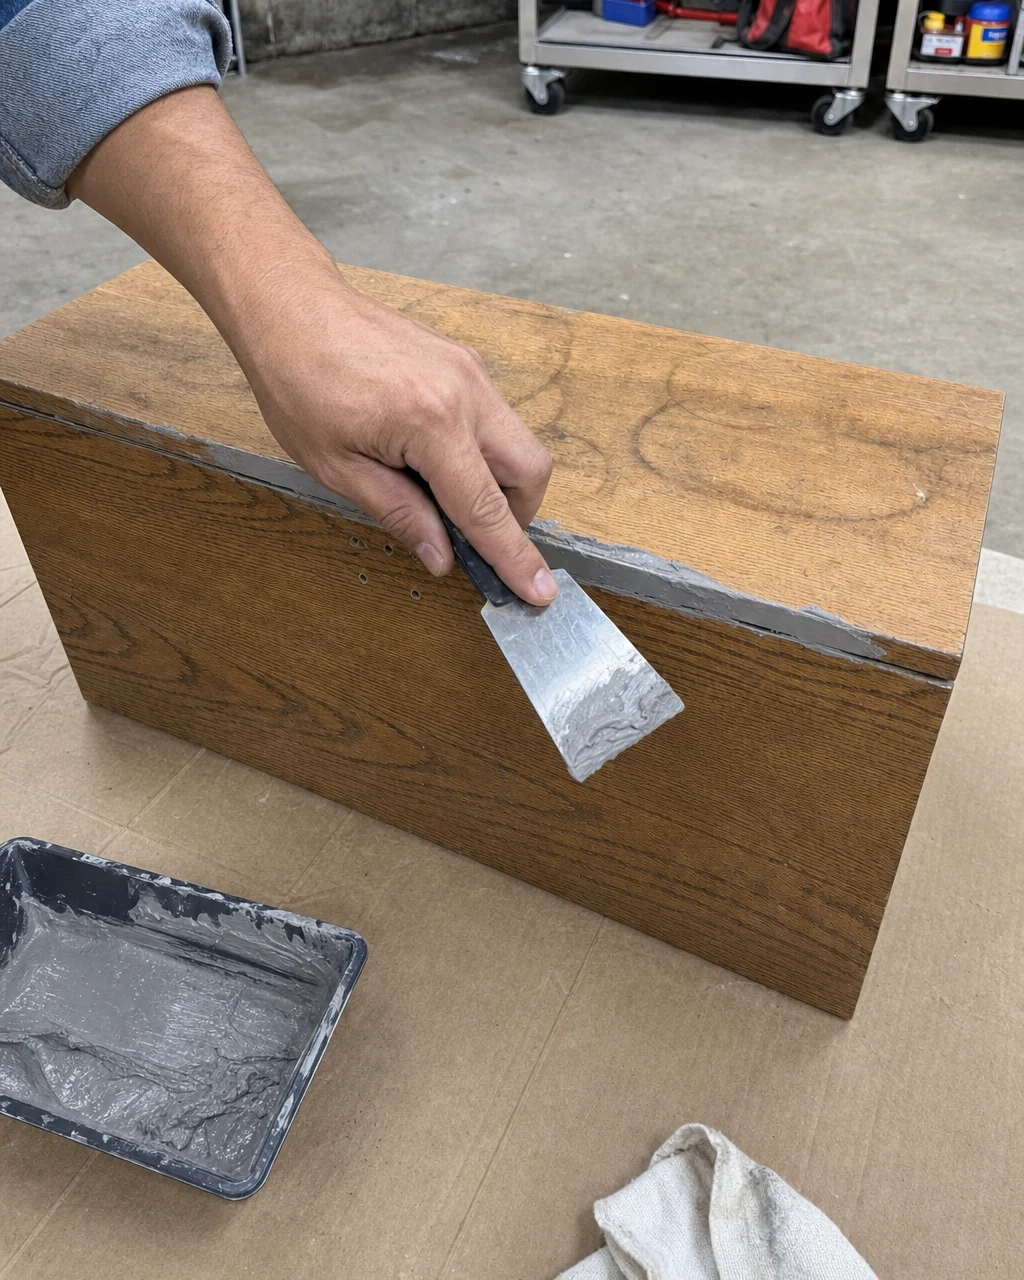
Wear nitrile gloves and work in a ventilated area when mixing epoxy. Allow the filler to cure for 30 minutes, then smooth it completely flush using a 120-grit sanding block. The split will be completely filled with gray epoxy, sitting slightly proud of the surface before sanding.
Step 3: Block the Water Stains
With the seat repaired and sanded smooth, the dark water rings penetrating the faux-oak laminate remain visible. Apply a thick coat of shellac-based primer over the entire bench using a mini paint roller and tray, focusing heavily on the water-stained top to permanently block the tannins from bleeding through.
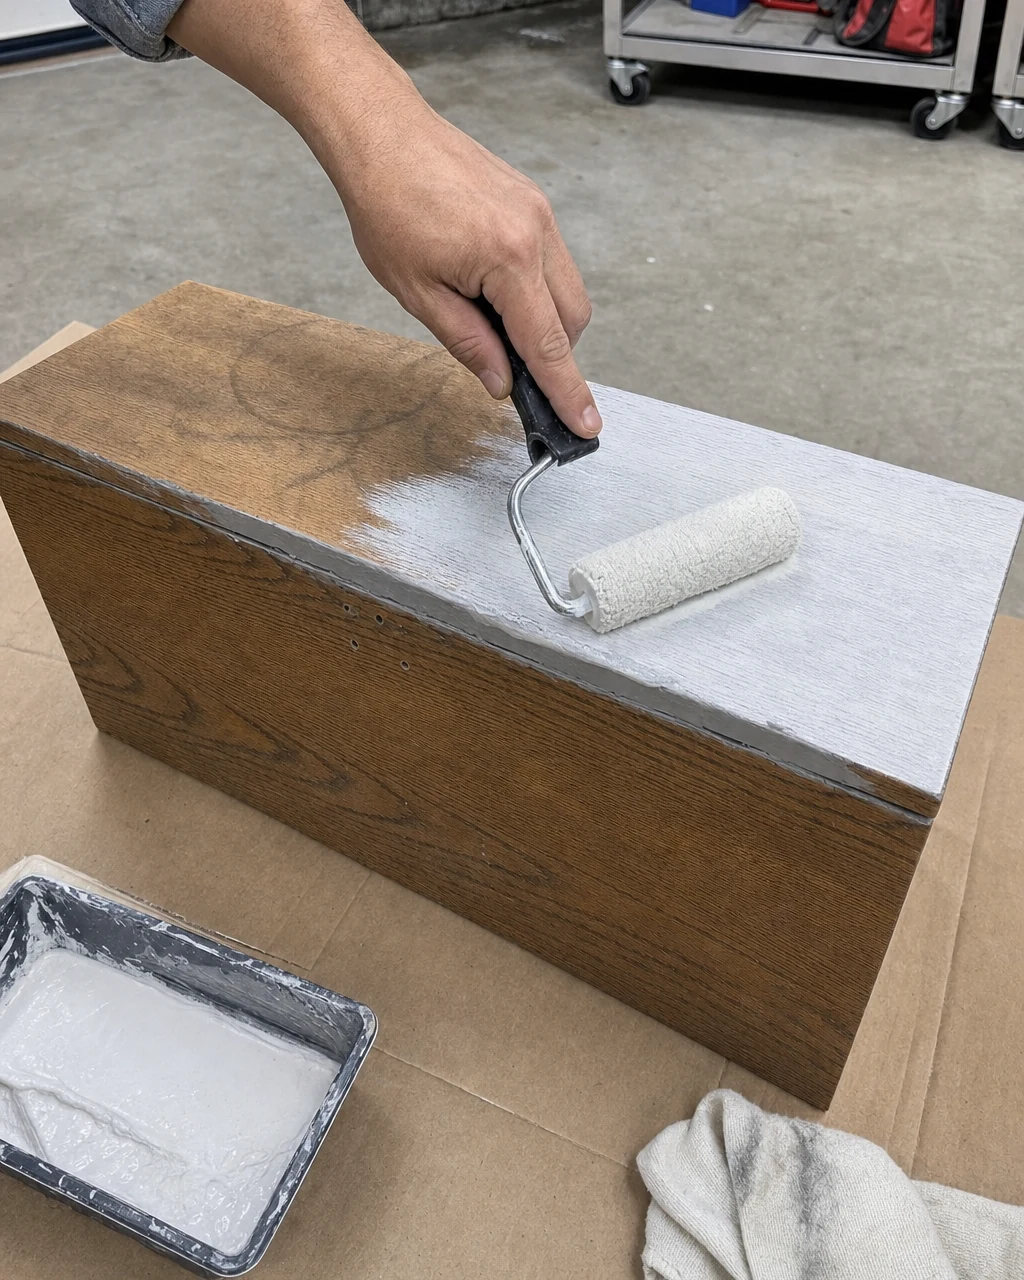
Shellac primer emits strong fumes, so ensure the garage door is fully open for proper ventilation. Let the primer dry for 45 minutes until the bench is coated in an opaque white layer. This completely hides the heavy dark water rings and prepares the 15-inch deep surface for paint.
Step 4: Apply the Base Color
Once the bench is fully primed white and dry to the touch, it is ready for paint. Coat the entire bench with charcoal gray all-in-one furniture paint using a synthetic paint brush to create a dark, solid foundation that will contrast beautifully with the upcoming geometric stencil.
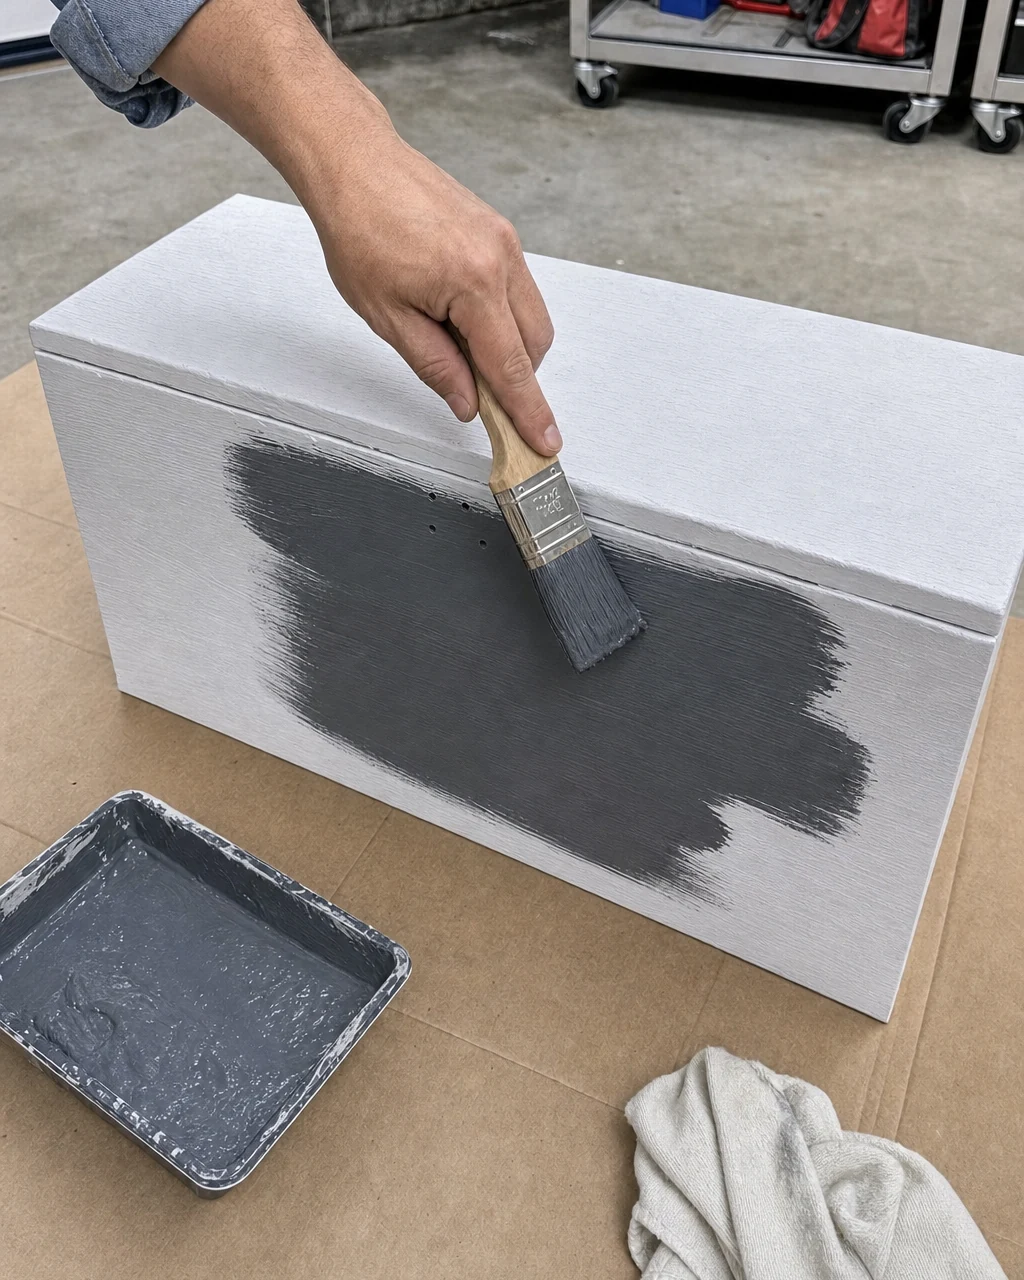
Protect the floor with a drop cloth to catch any paint drips. Apply two even coats of the charcoal gray paint, waiting two hours between each application. The visible result is a solid, even charcoal gray finish across the boxy storage base and flat slab lid.
Step 5: Stencil a Bold Pattern
After the bench is painted solid charcoal gray and fully dry, tape the geometric stencil flat to the seat. Load a round stencil brush with white paint, offload the excess onto paper towels, and stipple the nearly dry brush over the design to create a seamless faux-tile pattern.
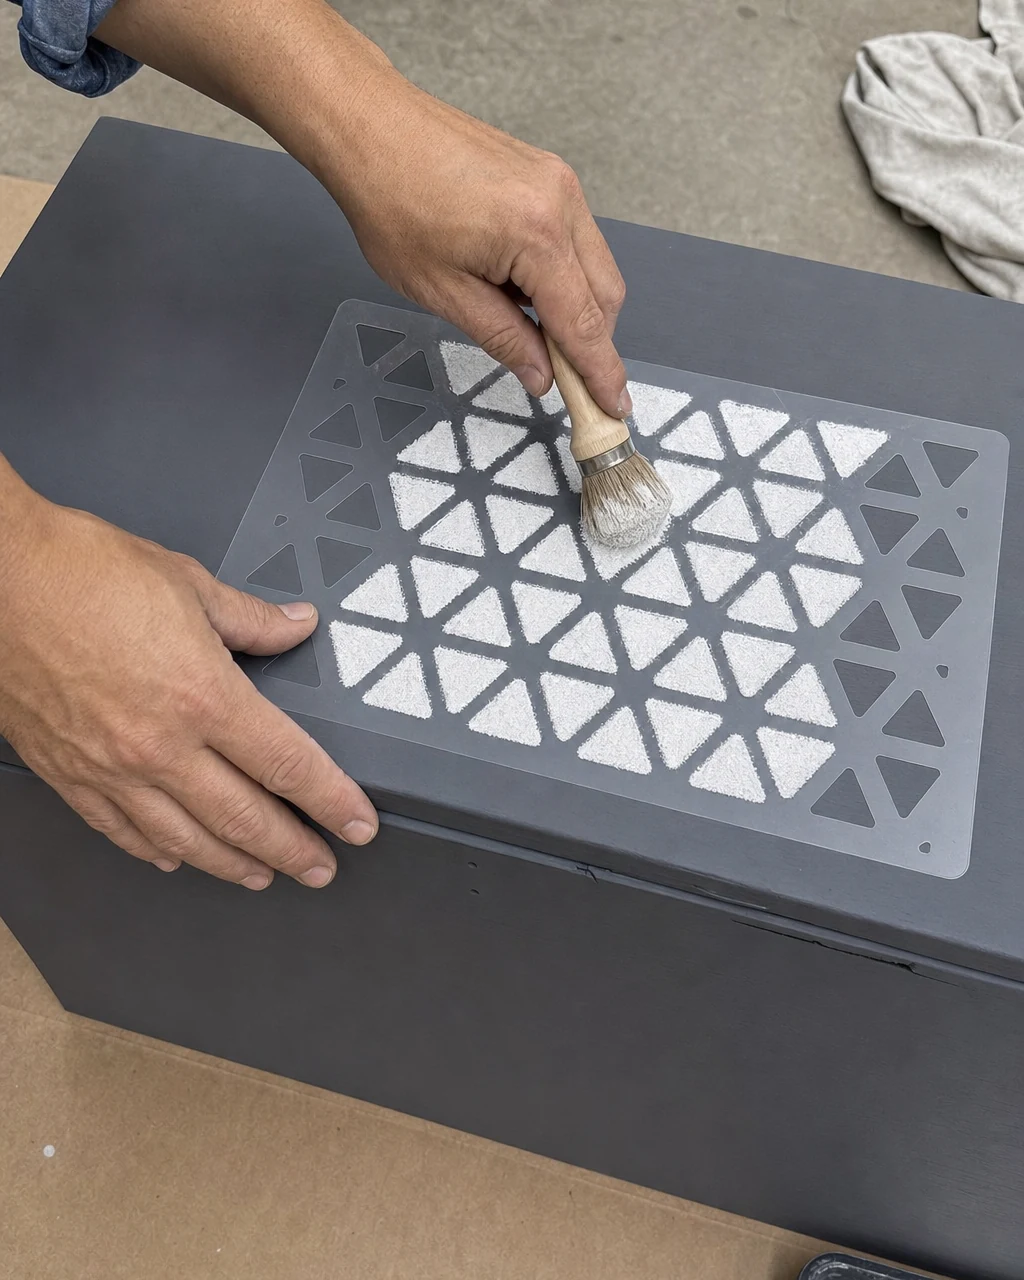
Keep the stencil flat to prevent tripping hazards if working near the floor. Repeat the stippling process until the entire seat is covered in a crisp white-on-gray geometric faux-tile pattern. This bold visual hook transforms the simple rectangular box into a striking visual feature.
Step 6: Attach Modern Hardware
The bench is fully painted and stenciled, but it still requires a replacement for the missing front handle, which currently makes opening the storage compartment difficult. Align the new surface-mount brass cup pull with the existing two empty screw holes on the solid front panel.
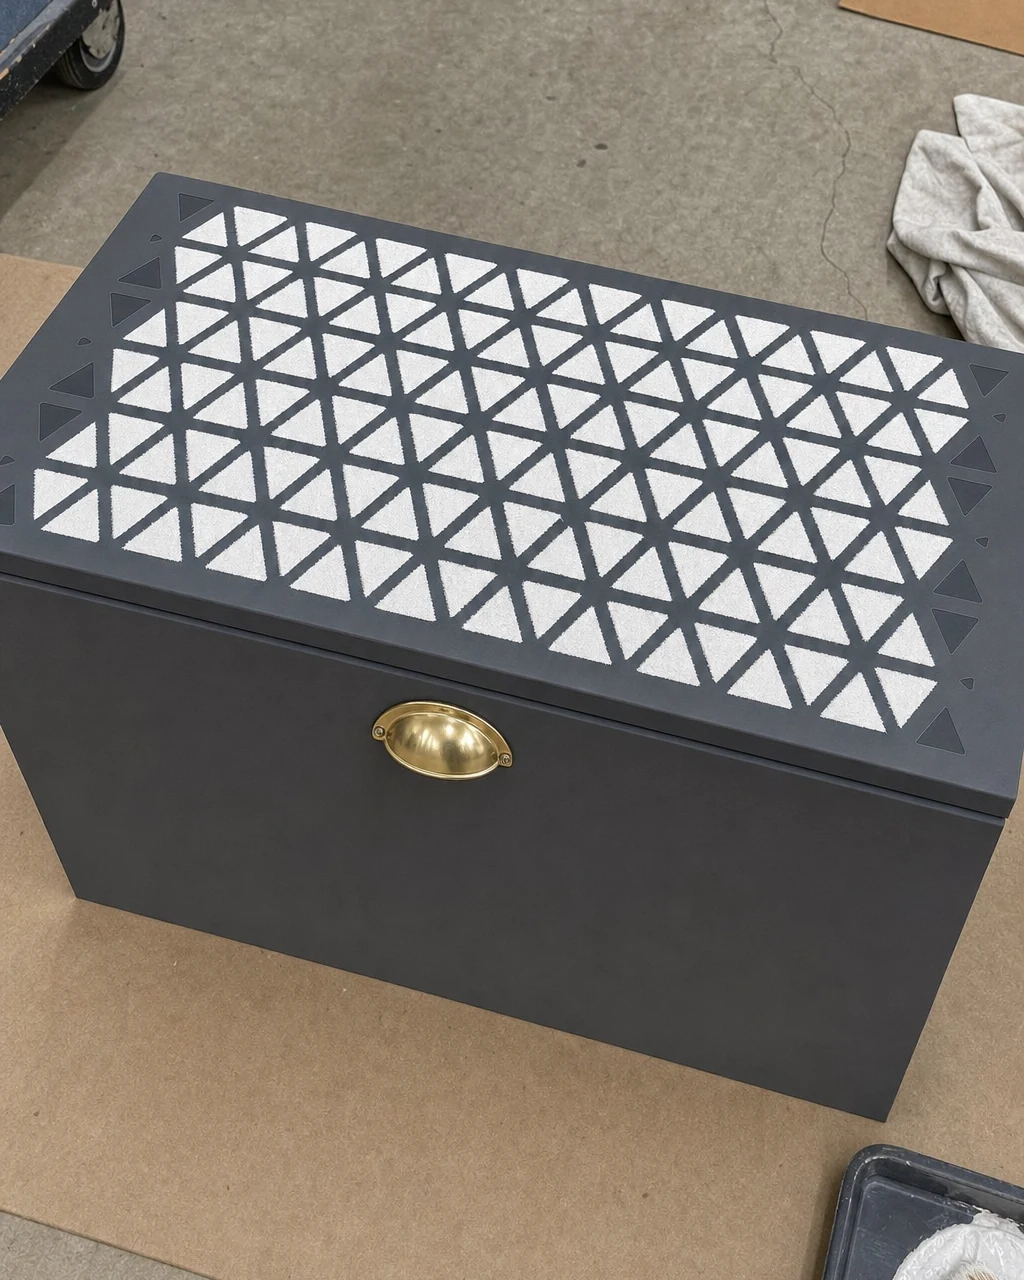
Secure the handle with the provided screws using a screwdriver. Ensure the screwdriver is properly seated to avoid stripping the screw head. The finished bench now sits in the workshop, complete with a patterned seat and shiny new brass hardware that instantly modernizes the previously dated silhouette.
Step 7: Style the Finished Bench
The fully finished and cured bench is ready for daily use. Move the bench into the entryway, ensuring it sits level on the floor, and arrange a few simple accessories around it to highlight the newly patterned seat and modern brass hardware.
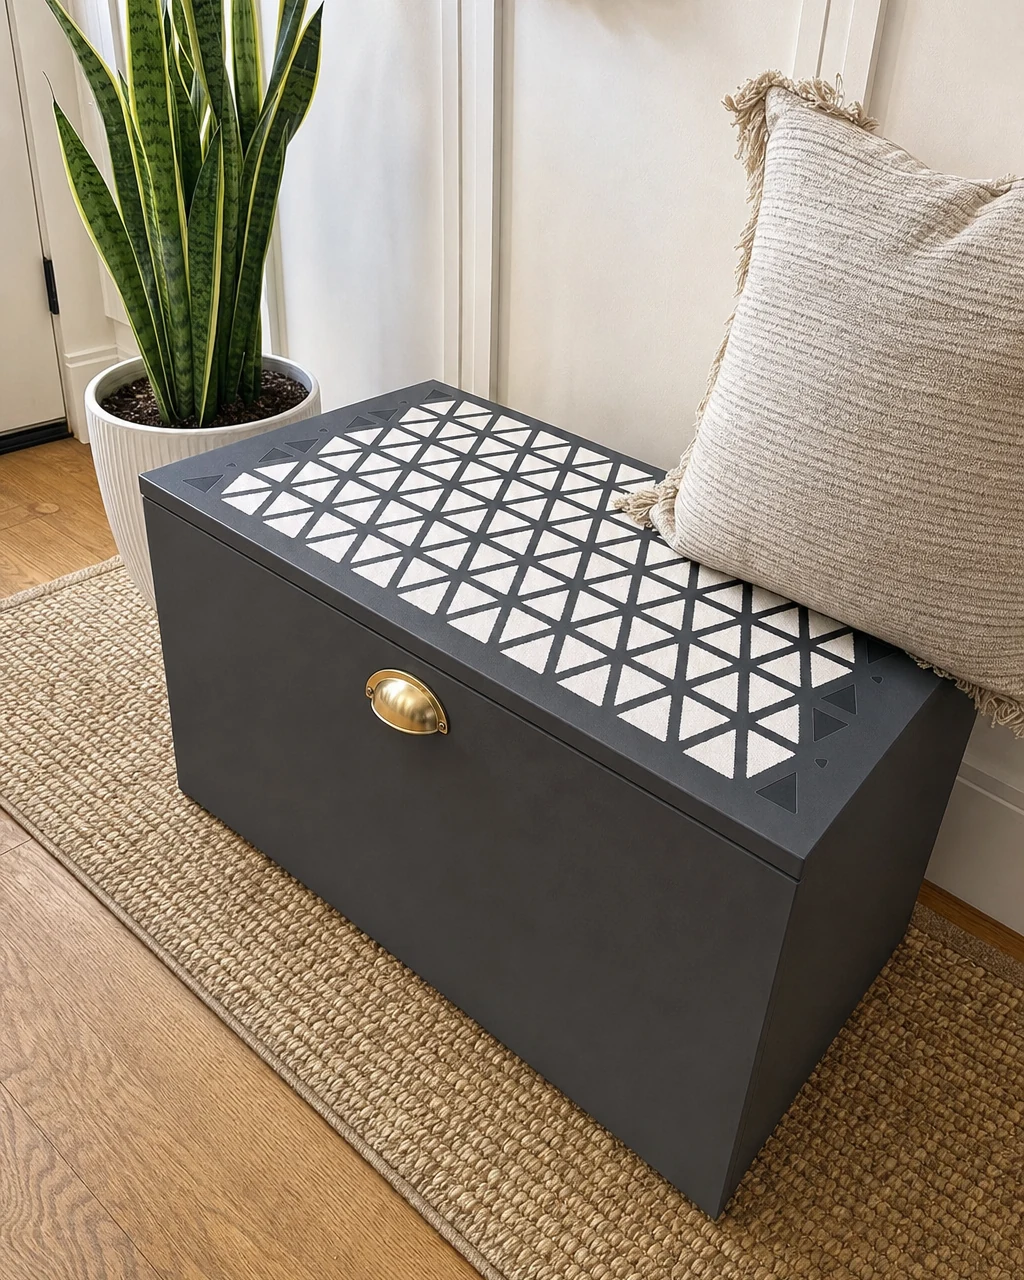
Always lift the bench from the sturdy base, not the hinged lid, when moving it. Place a neutral woven throw pillow on top to accentuate the crisp, high-contrast black and white geometric faux-tile pattern. The charcoal bench now serves as a striking, functional focal point in a bright entryway.