
Wooden Bread Box Transformation: Matte Charcoal and Wood
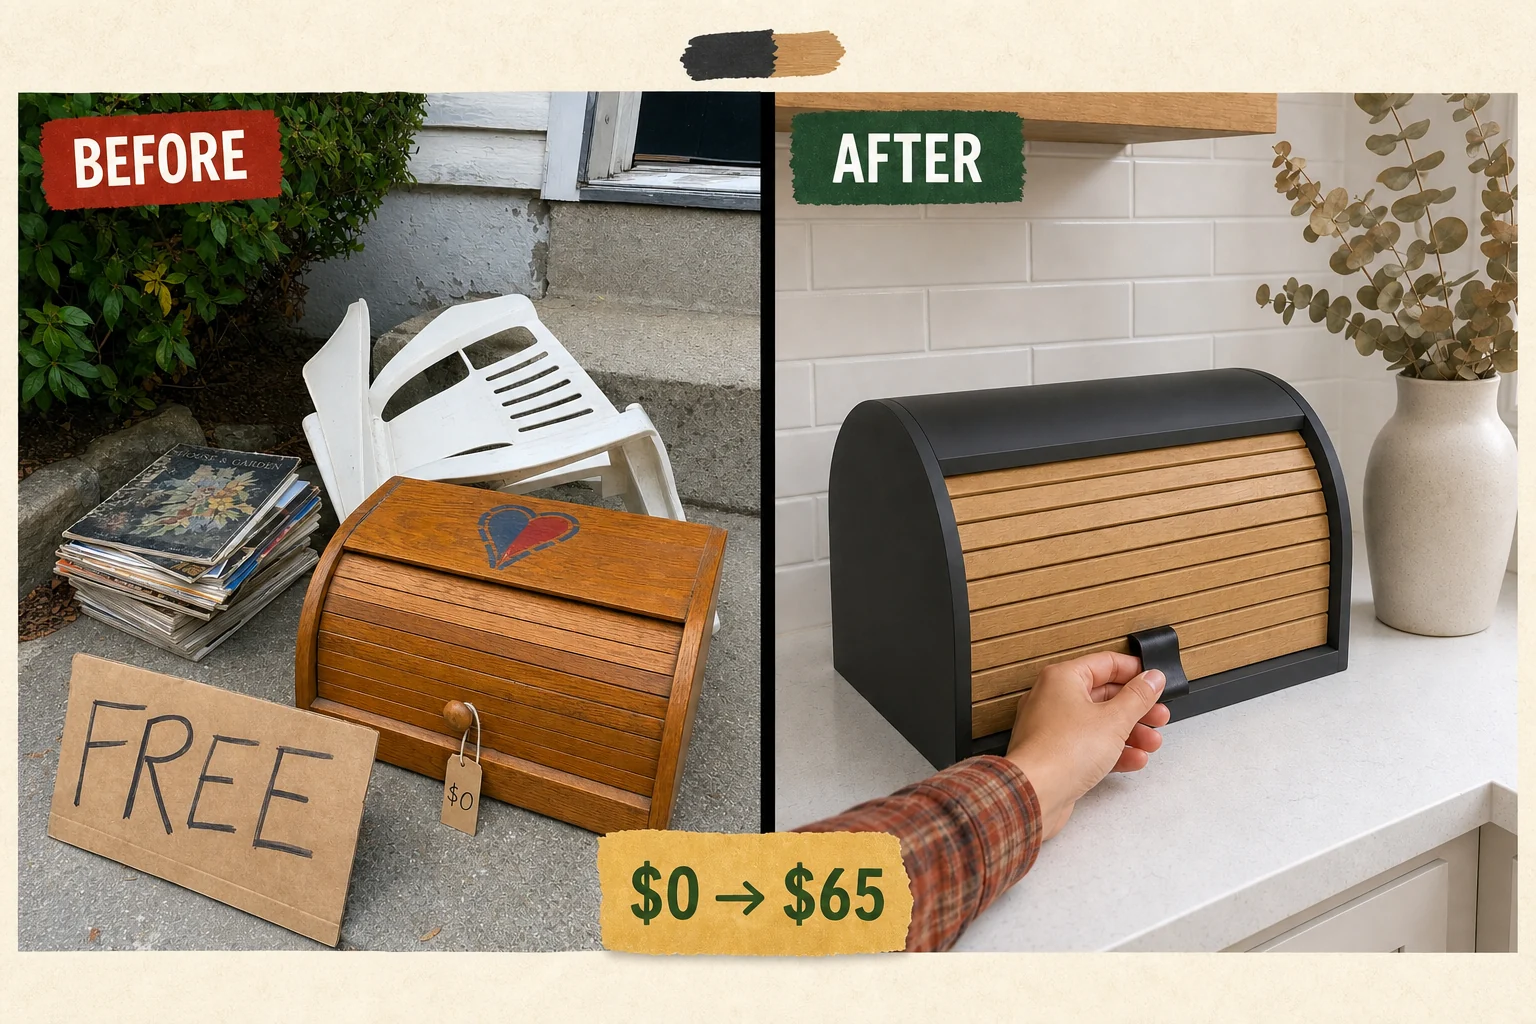
Spotted in a curbside free pile, this jammed 1990s oak bread box needed a serious update. We transformed the stenciled relic into a sleek Nordic kitchen accessory with matte charcoal paint and a natural wood slatted door.
Evaluating the Curbside Find
Spotted on a neighborhood walk just before trash day, this solid oak-veneer piece was structurally perfect but abandoned. It sat in a dry curbside free pile beside a handwritten sign on cardboard, resting on concrete pavement near a broken plastic chair. The exterior featured a glossy orange-tinted clear coat and a faded country heart stencil.
- The slatted tambour door jams halfway up the curved track and requires excessive force to move.
- This friction prevents easy access to the internal storage capacity and makes daily use incredibly frustrating.
- The faded 1990s country-craft styling heavily dates the piece and clashes with modern minimalist kitchen aesthetics.
Project Costs and Value
Transforming this rectangular base into a two-tone minimalist kitchen accessory requires a small investment in abrasives, paint, and hardware. The visual hook of a matte charcoal shell contrasting with a natural wood slatted door elevates this from a discarded craft piece to a boutique-quality organizer, yielding a strong estimated resale value.
| Item | Cost |
|---|---|
| Purchase | $0 |
| Sanding sponge | $4 |
| Beeswax block | $6 |
| Matte charcoal paint | $12 |
| Foam roller | $5 |
| Leather pull kit | $8 |
| Total Investment | $35 |
| Estimated Resale Value | $65 |
| Value Gain | $30 |
Gather these specific supplies before starting the exterior shell sanding and track lubrication. Having the right abrasives and applicators ensures the matte charcoal paint adheres perfectly to the curved roofline.
Materials checklist
Step 1: Assess the Jammed Tambour Door
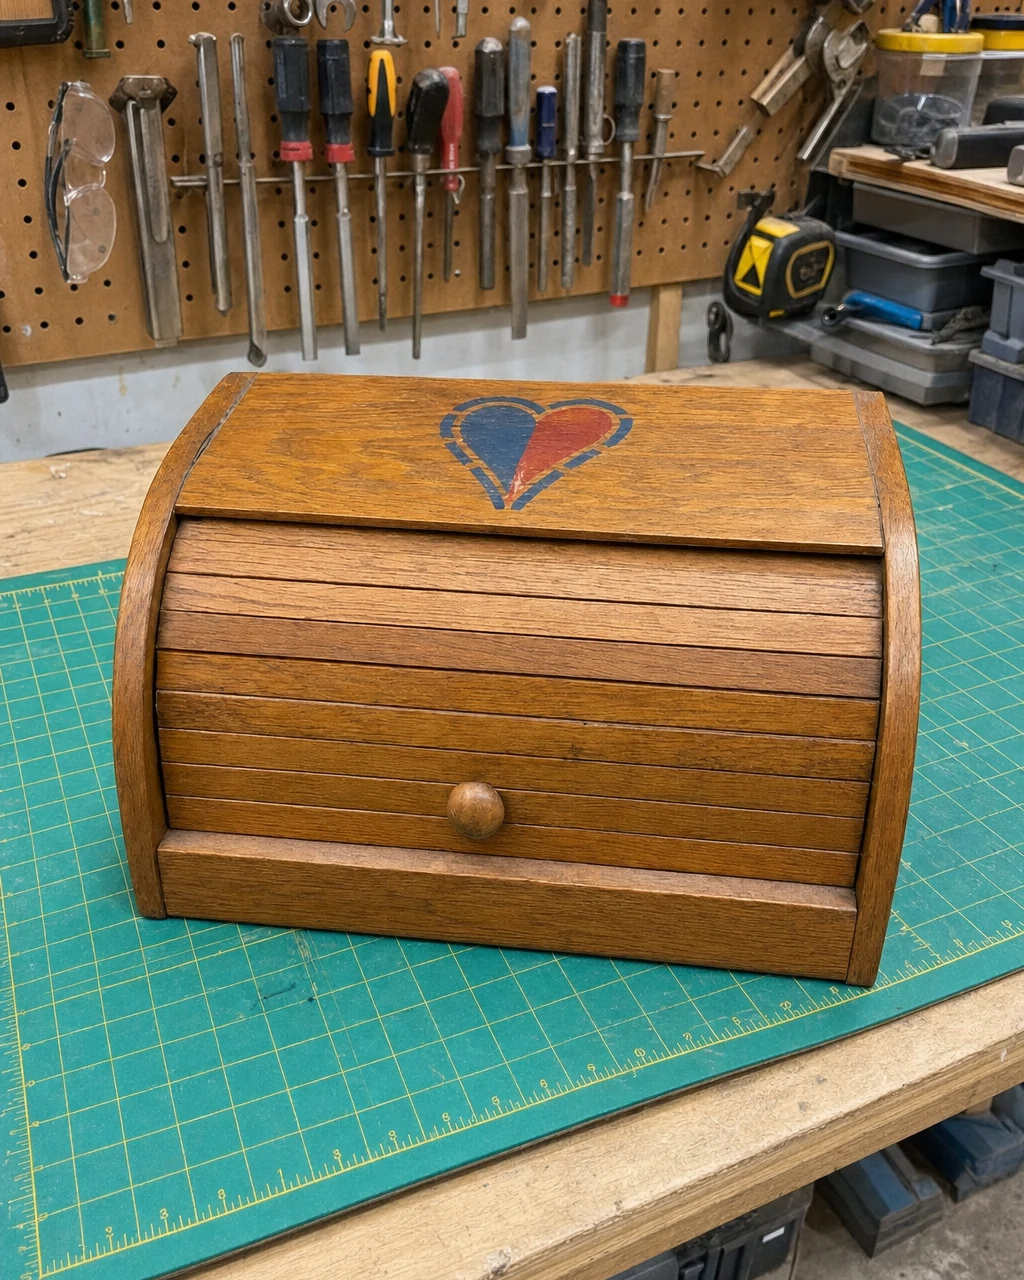
The 1990s oak bread box sits on the workbench with its tambour door jammed halfway open. Inspect the 16-inch wide piece to identify the cause of the stuck door and prepare the surface for a modern update. Test the moving parts to locate the exact point of friction in the wooden track. Ensure the workbench is completely clear of debris before testing.
Step 2: Sand Away the 1990s Stencil
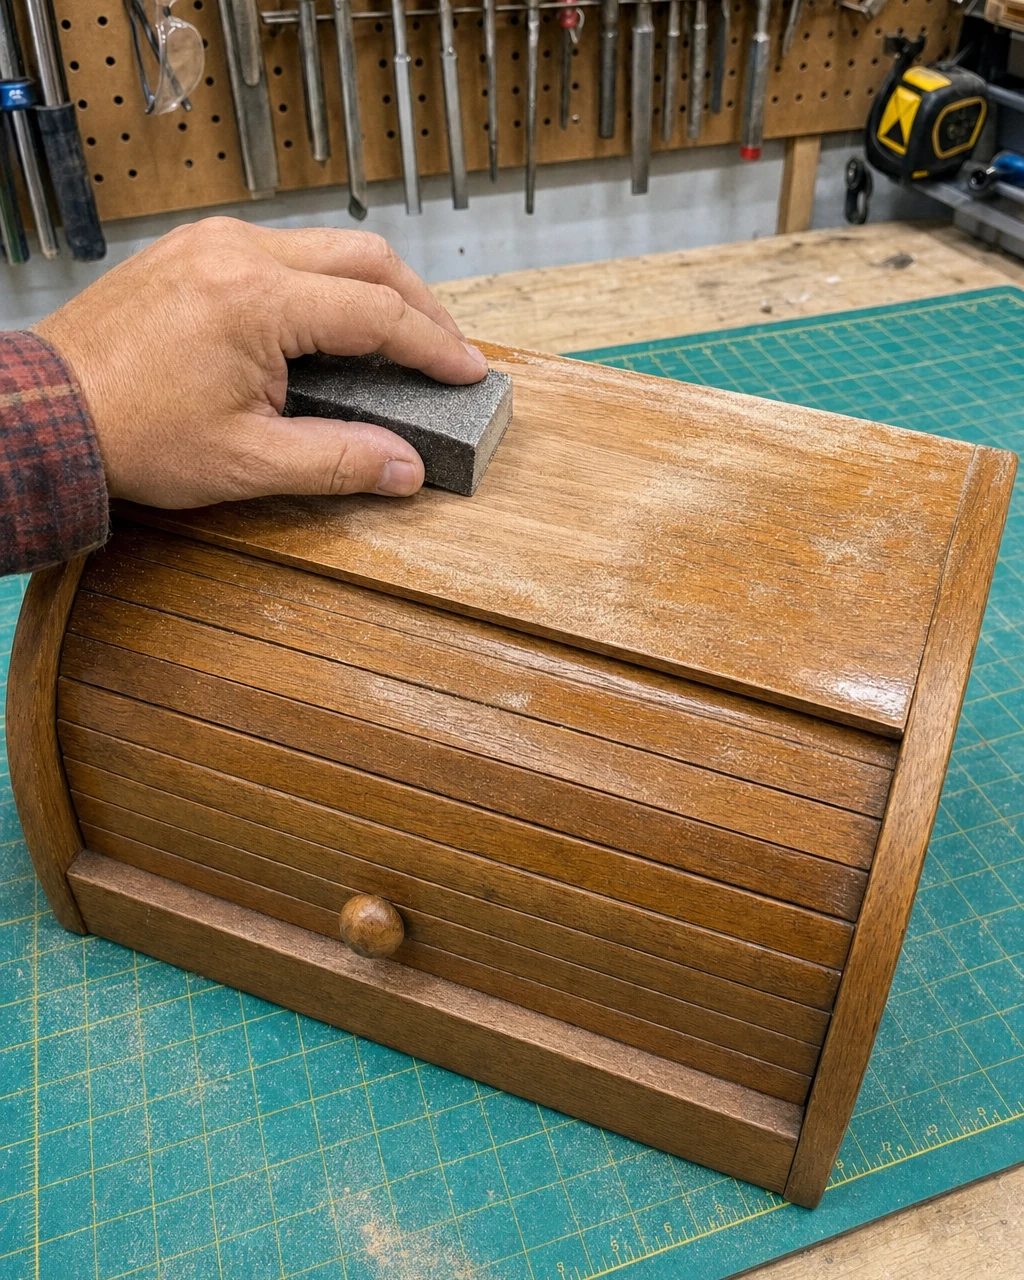
The bread box is intact but covered in a glossy orange clear coat. Scuff-sand the entire exterior shell using a medium-grit sanding sponge. This crucial step removes the faded stencil and deglosses the topcoat so the new paint can adhere. The exterior shell soon reveals a dull, scuffed surface. Always wear a dust mask when sanding old clear coats to protect your lungs.
Step 3: Lubricate the Wooden Tracks
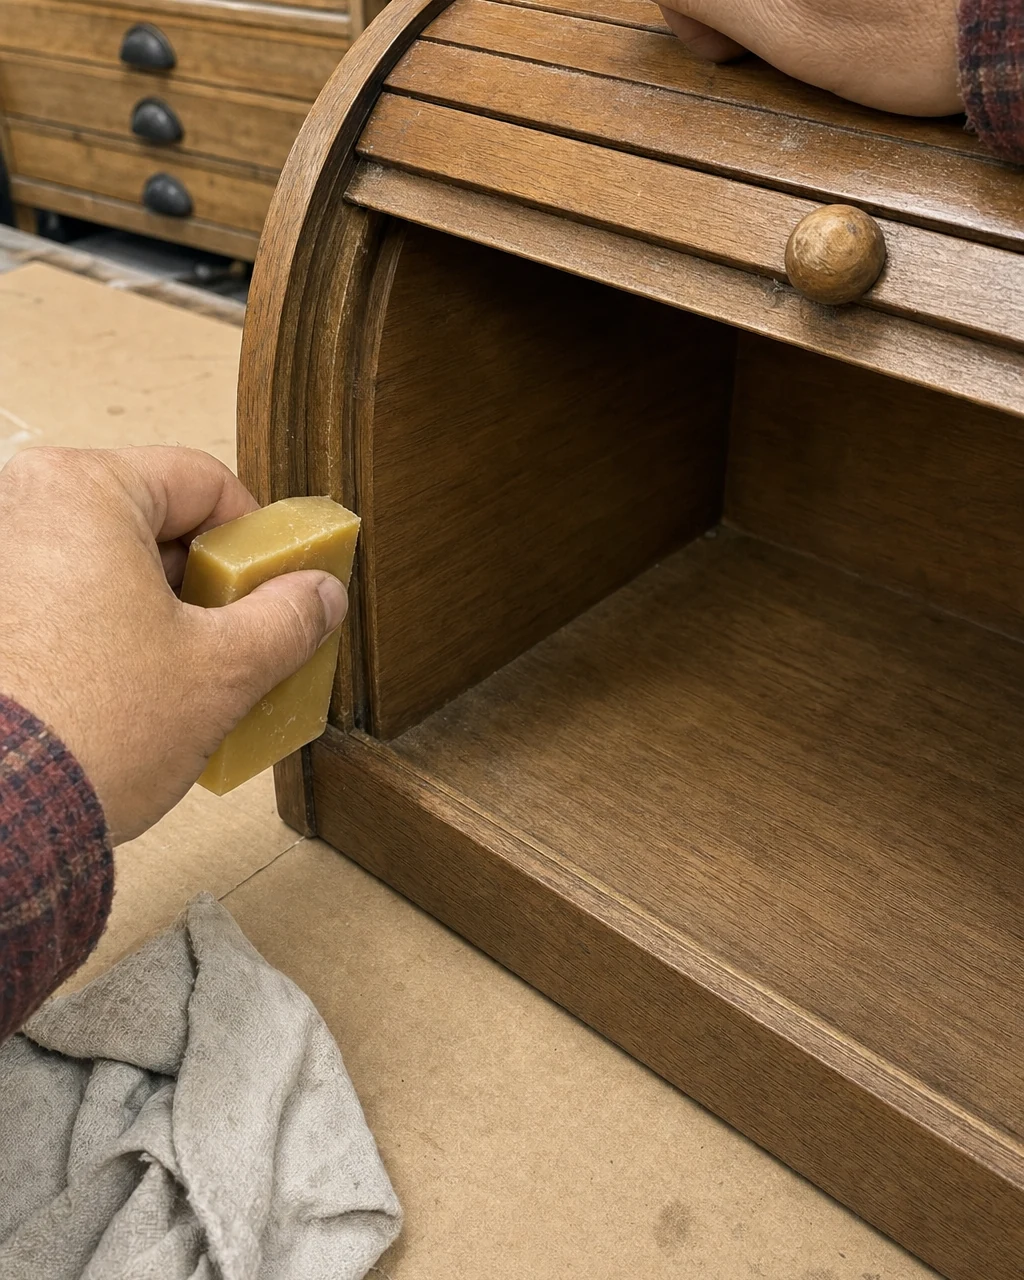
The exterior is sanded, but the tambour door still jams in its wooden grooves. Rub a solid block of natural beeswax directly into the exposed internal side grooves while holding the door open. This restores a smooth glide without using liquid lubricants that can swell the delicate wood. Avoid pinching your fingers in the sliding track while working the wax into the mechanism.
Step 4: Paint the Exterior Shell
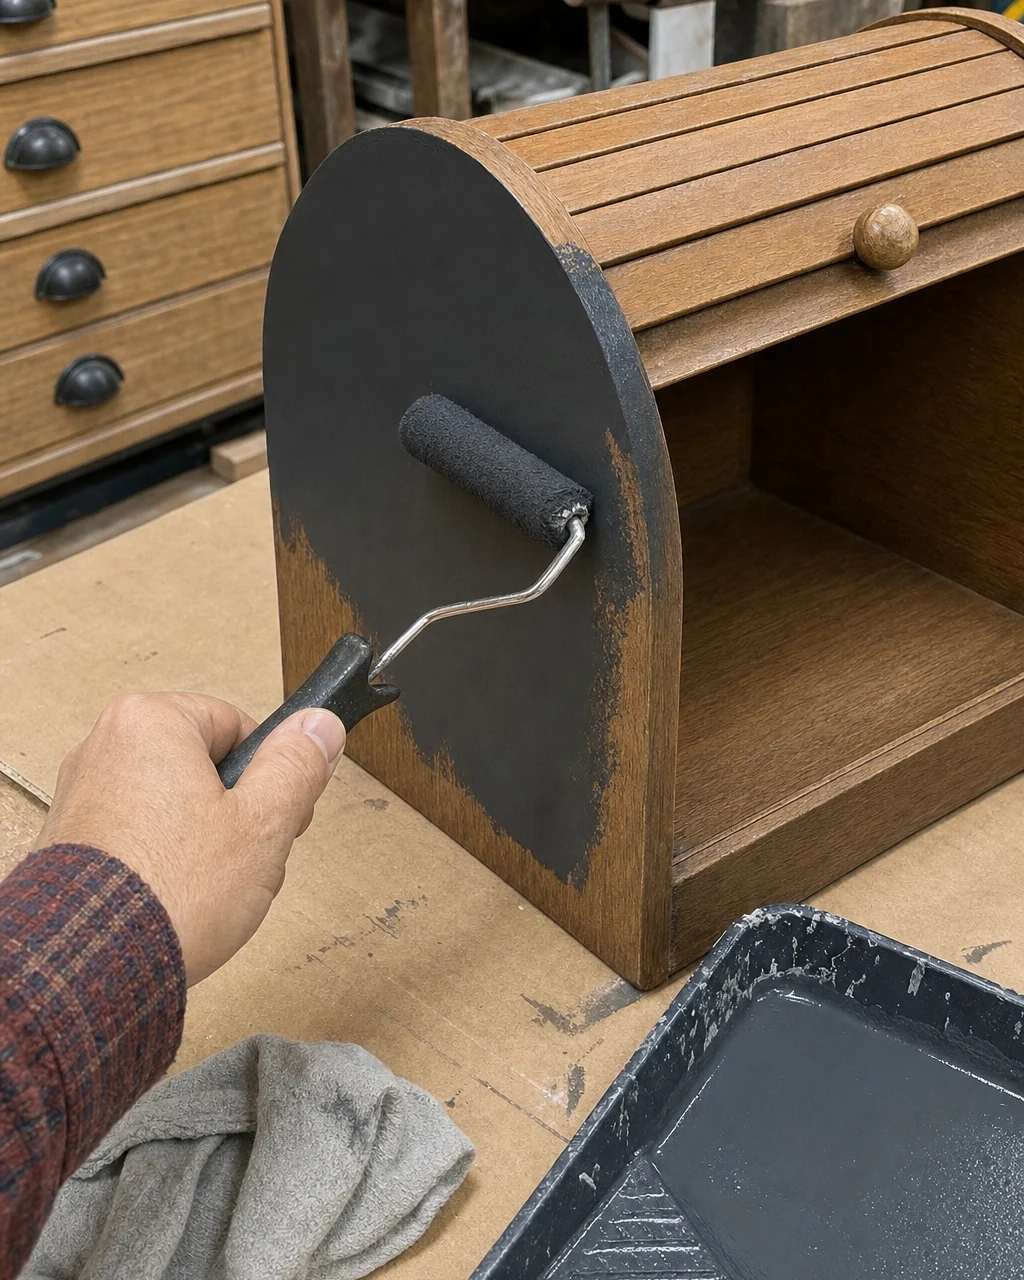
With the exterior sanded and the door operating smoothly, apply two coats of matte charcoal acrylic paint to the shell using a small foam roller. Leave the slatted tambour door raw for a modern two-tone contrast, allowing two full hours of drying time between coats. Work in a well-ventilated area and protect the workbench with a drop cloth.
Step 5: Install a Modern Leather Pull
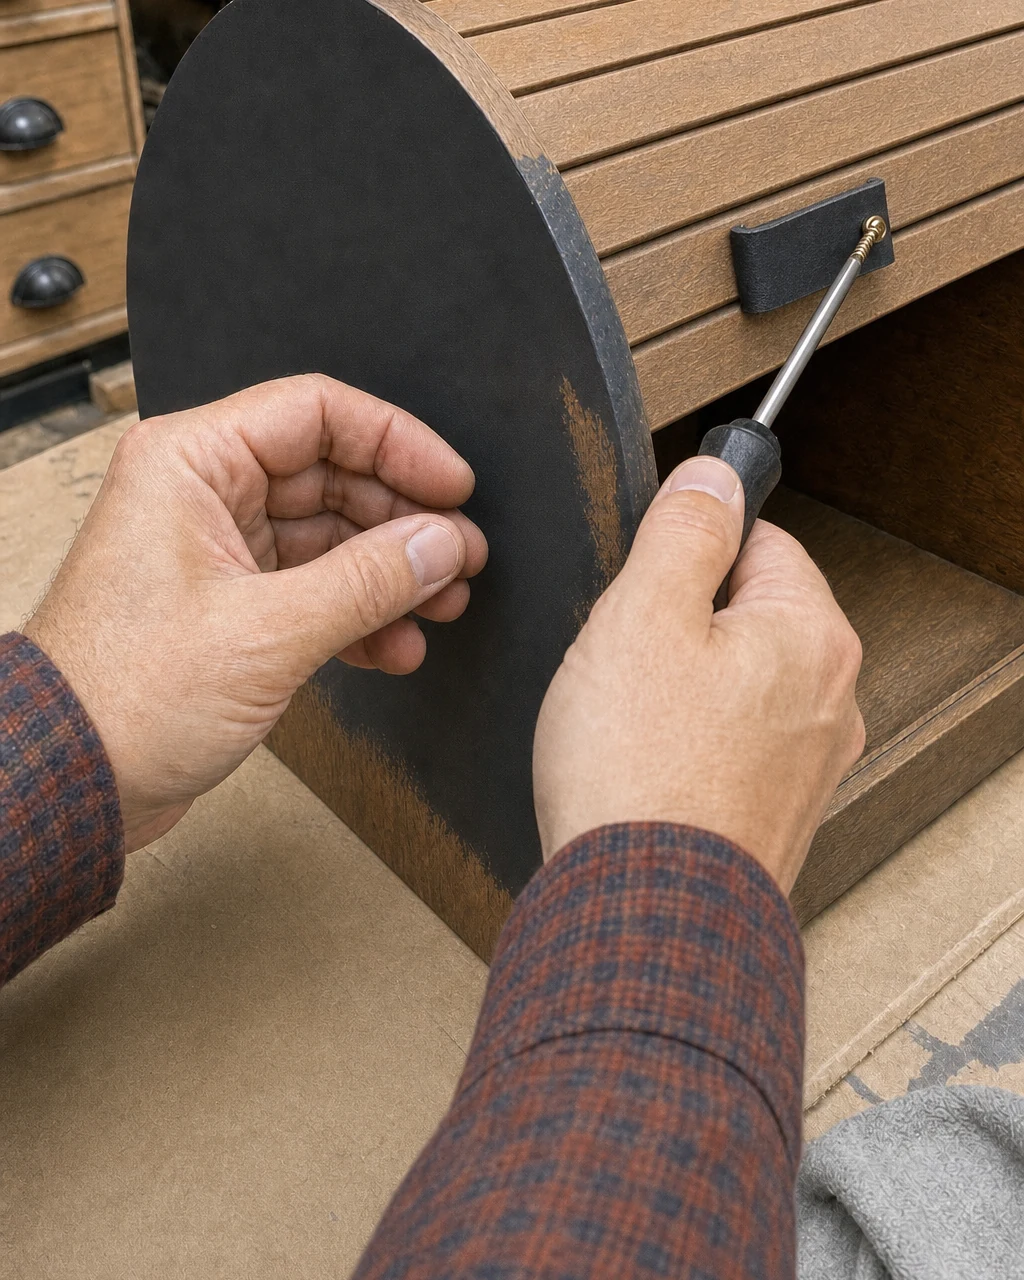
Once the exterior paint is fully dry and the original wooden knob is removed, attach a modern leather tab pull to the tambour door. Drive a brass screw through a folded strip of black leather into the existing center hole. A sleek pull is securely fastened to the natural wood door. Do not overtighten the screw, which could split the thin wooden slat.
Step 6: Review the Finished Bread Box
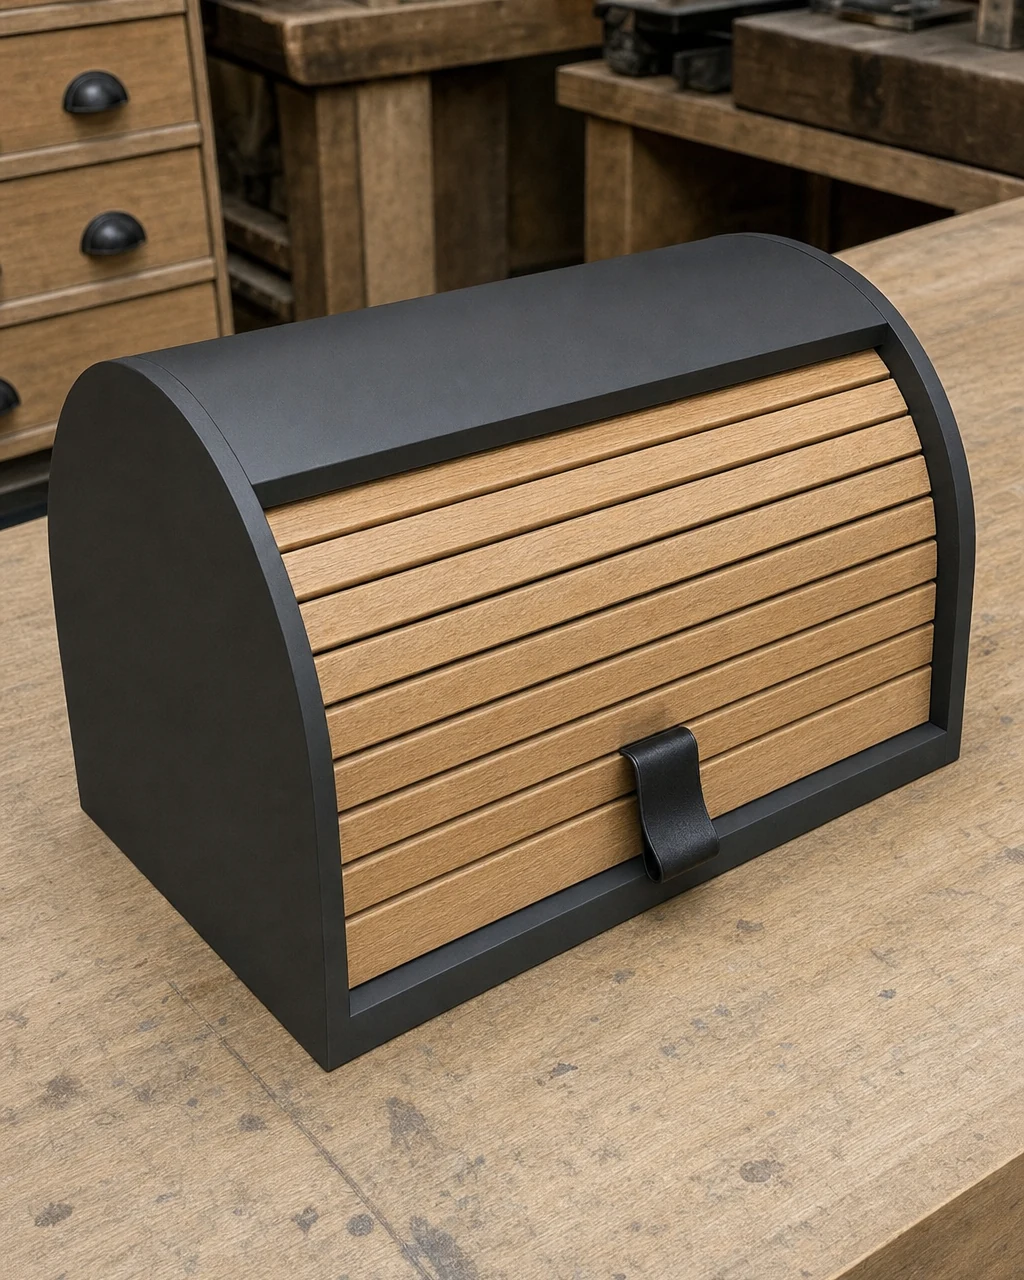
The bread box is fully painted, reassembled, and upgraded with new hardware. Inspect the completed piece on the clean workbench to ensure the matte charcoal finish is completely flawless. Test the tambour door one last time to confirm it glides effortlessly along the waxed tracks. Ensure the paint is fully cured before handling heavily, as the curved roofline requires a durable surface.
Step 7: Style the Modernized Accessory
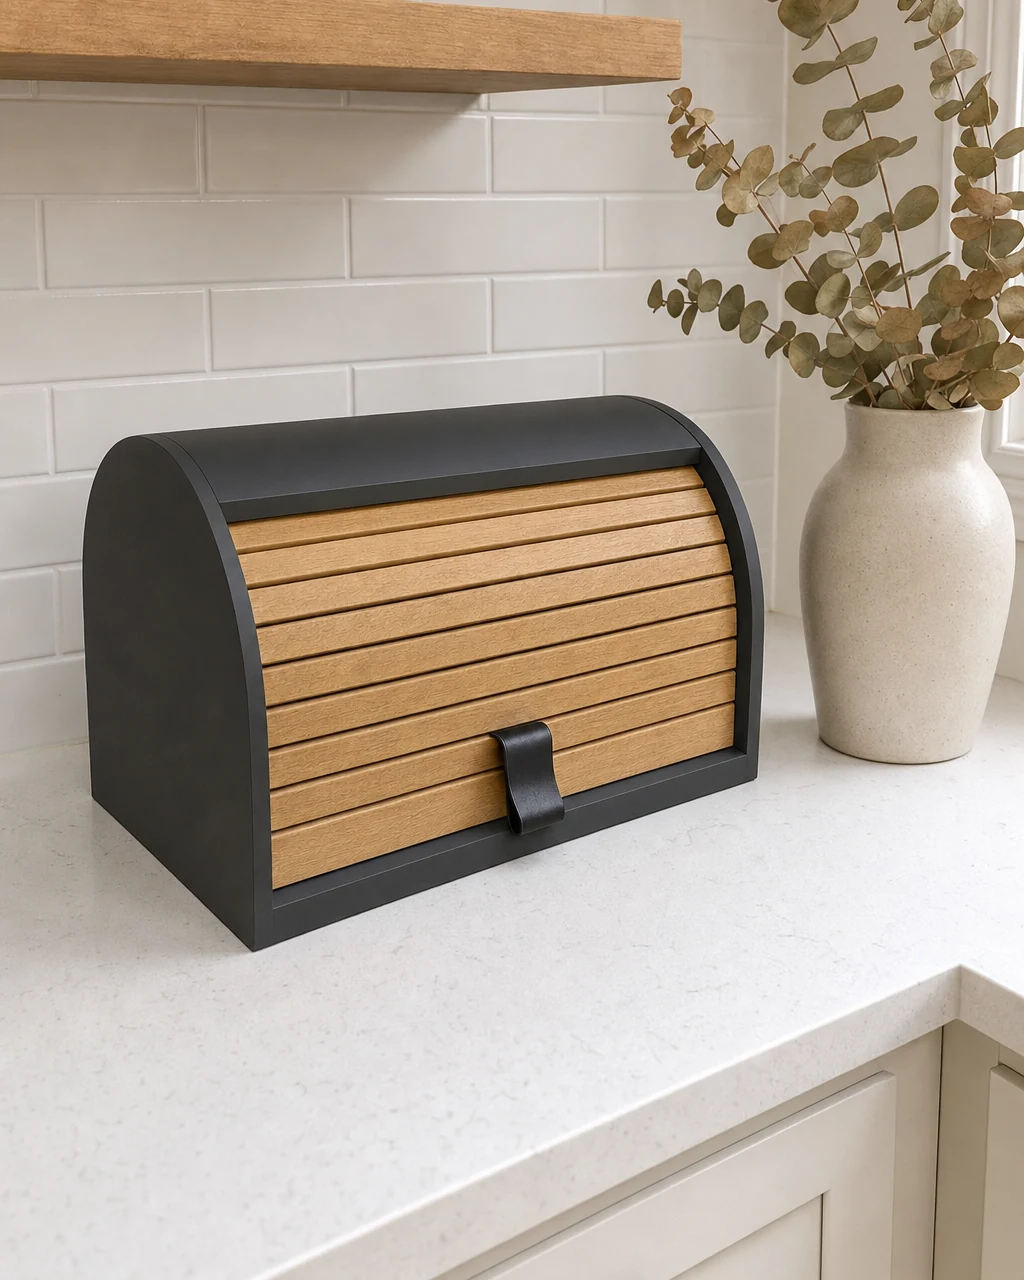
The finished bread box is ready for daily use. Move the modernized piece into a bright kitchen, styling it as a functional and aesthetic countertop storage accessory. Place it beside a ceramic vase on a white quartz counter to highlight its new Nordic look. Keep the oak-veneer plywood shell away from direct heat sources on the counter to preserve the matte finish.
Valuation and Resale Potential
The striking two-tone Nordic design and smooth functionality elevate this piece significantly. It transitions from a glossy, stenciled 1990s country relic to a sleek, minimalist kitchen accessory, justifying an estimated $65 resale value. This editorial estimate reflects the modernized aesthetic and restored utility achieved through a minimal investment in matte paint and an oversized folded black leather tab pull.