
Vintage Fondue Pot Thrift Flip with a Faux Marble Finish
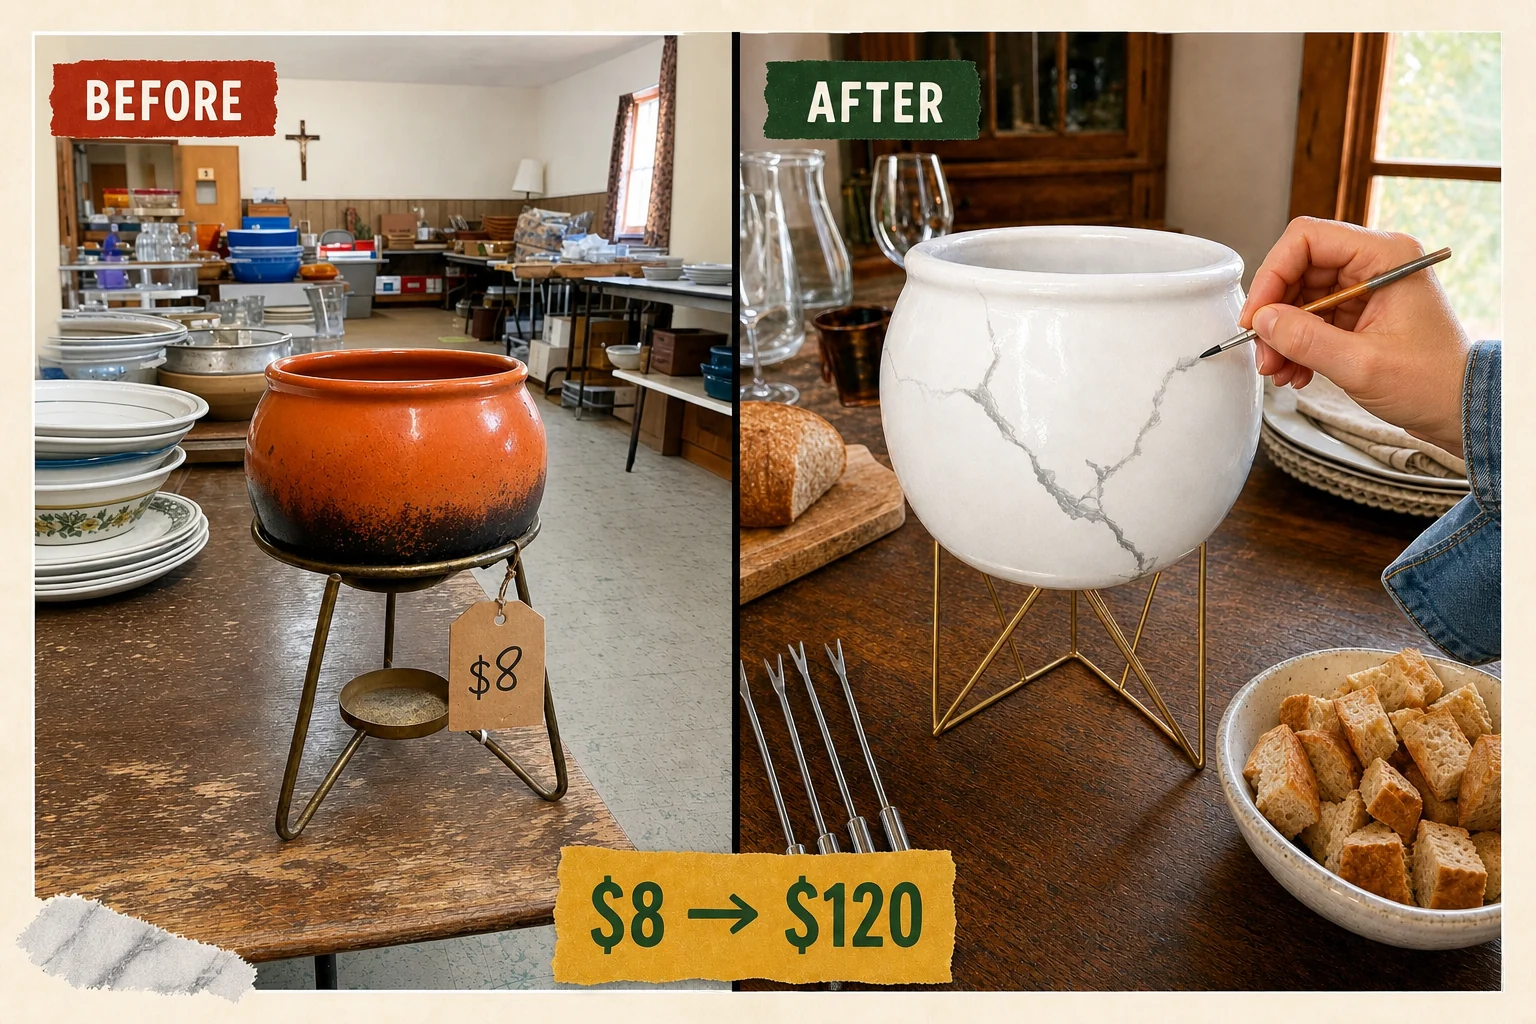
Tucked behind mismatched Tupperware at a church rummage sale, this heavy 1970s fondue set was marked down to clear. We transformed the scorched orange enamel into a sleek faux-marble ceramic finish with brilliantly polished brass.
Assessing the Vintage Damage
Finding this bulbous spherical ceramic bowl resting on a minimalist three-legged wire stand was a stroke of luck. Amid scuffed linoleum floors, long folding tables, stacked kitchen donations, and simple handwritten masking-tape pricing, the two-piece set stood out. The heavy cast-ceramic vessel and welded brass-plated steel tripod base possessed great geometry, but they required serious intervention.
- Scorched exterior finish: Black carbon marks baked into the lower orange enamel require heavy degreasing and an opaque heat-safe recoat to hide the damage completely.
- Heavy metal oxidation: Dull brown and green tarnish covering the tripod legs requires chemical polishing to restore the metallic contrast without scratching the surface.
Step 1: Inspect and Separate Components
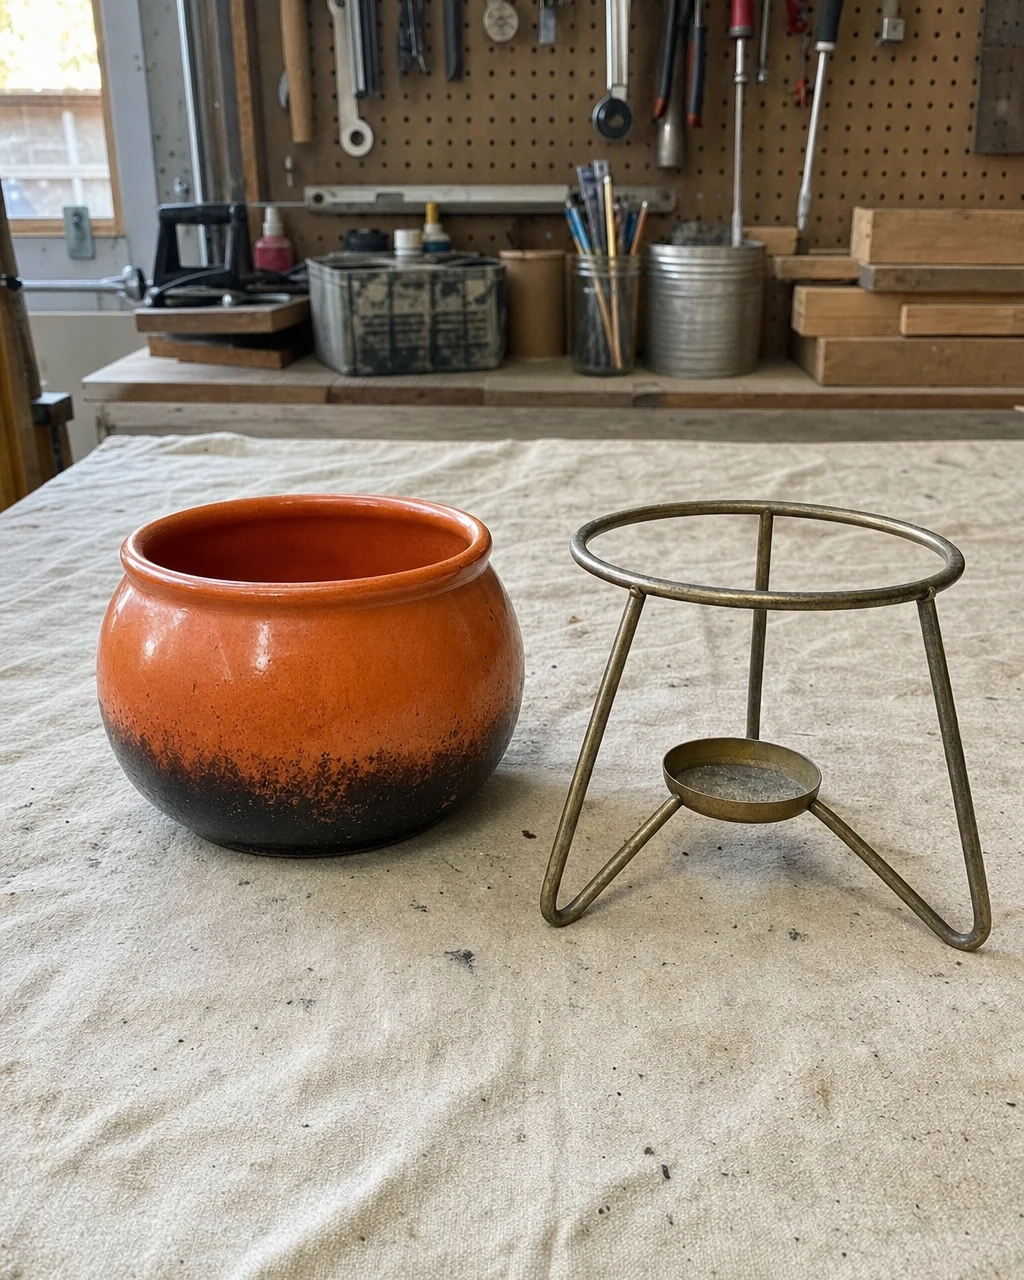
The fondue pot sits fully assembled on a drop-cloth-covered workbench, displaying heavy carbon scoring and tarnished legs. Lift the ceramic bowl off the brass tripod stand to evaluate the extent of the scorch marks.
Preparing for Restoration
Separating the pieces allows you to prepare the ceramic and metal for their distinct treatments without risking cross-contamination. Always wear protective work gloves when handling secondhand cookware with unknown baked-on residues. The pot and stand are now safely separated, revealing the full extent of the vintage damage.
Step 2: Polish the Brass Stand
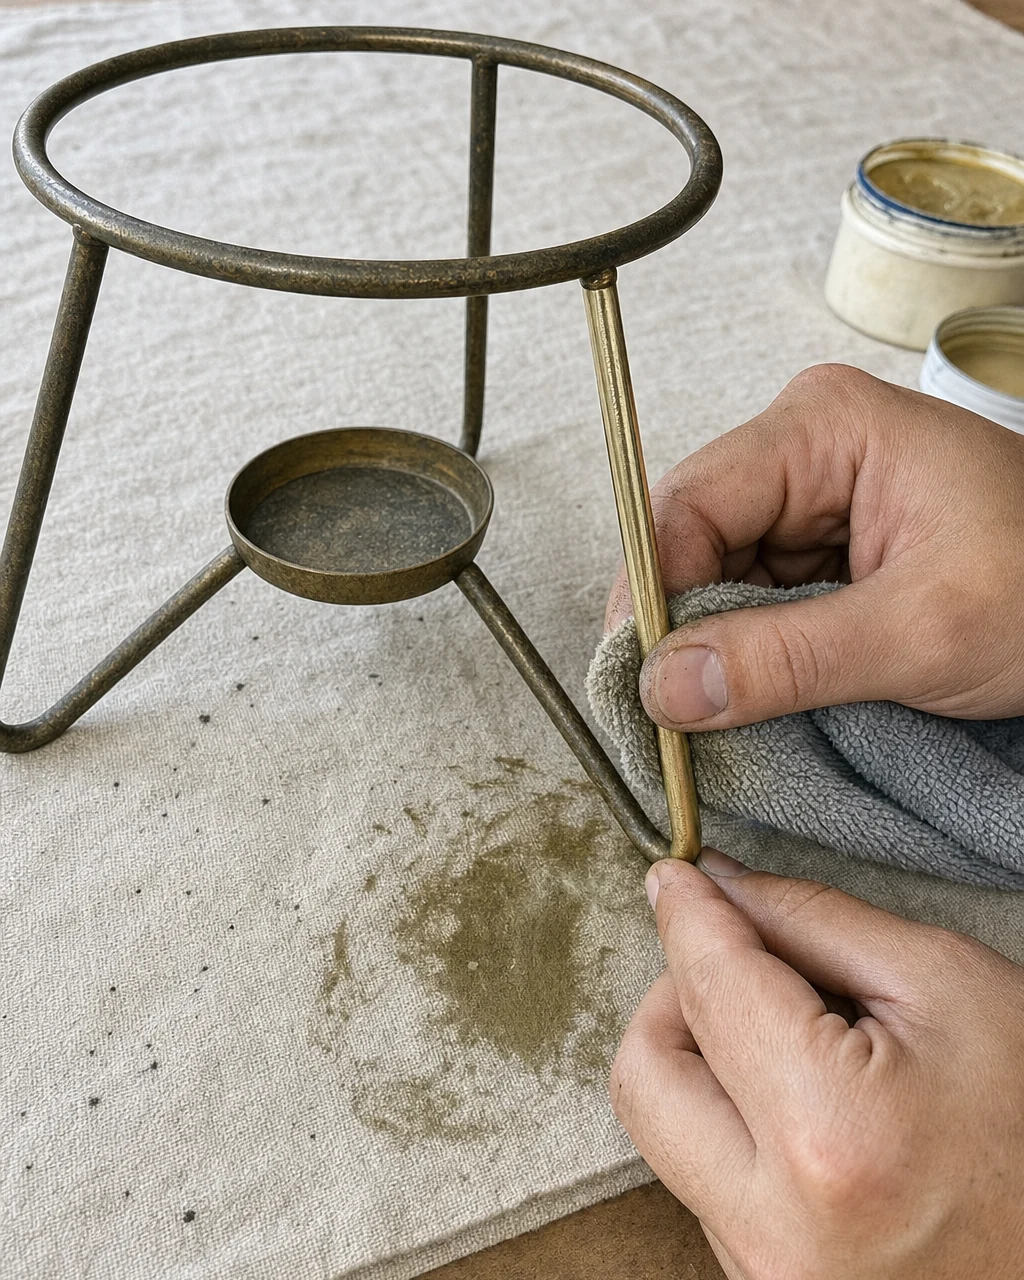
The brass tripod is detached and heavily oxidized, covered in dull brown and green tarnish. Apply brass polish to the tripod legs and buff vigorously with a microfiber cloth. This strips away the heavy oxidation, restoring the original bright metallic shine to the vintage stand.
Achieving a Brilliant Shine
Work in a ventilated area when using chemical metal polishes to ensure proper safety. Once buffed, one leg gleams with bright brass while the others remain dull, providing a clear visual indicator of your progress. Continue polishing until the entire base reflects a brilliant, restored finish.
Step 3: Degrease the Burnt Ceramic
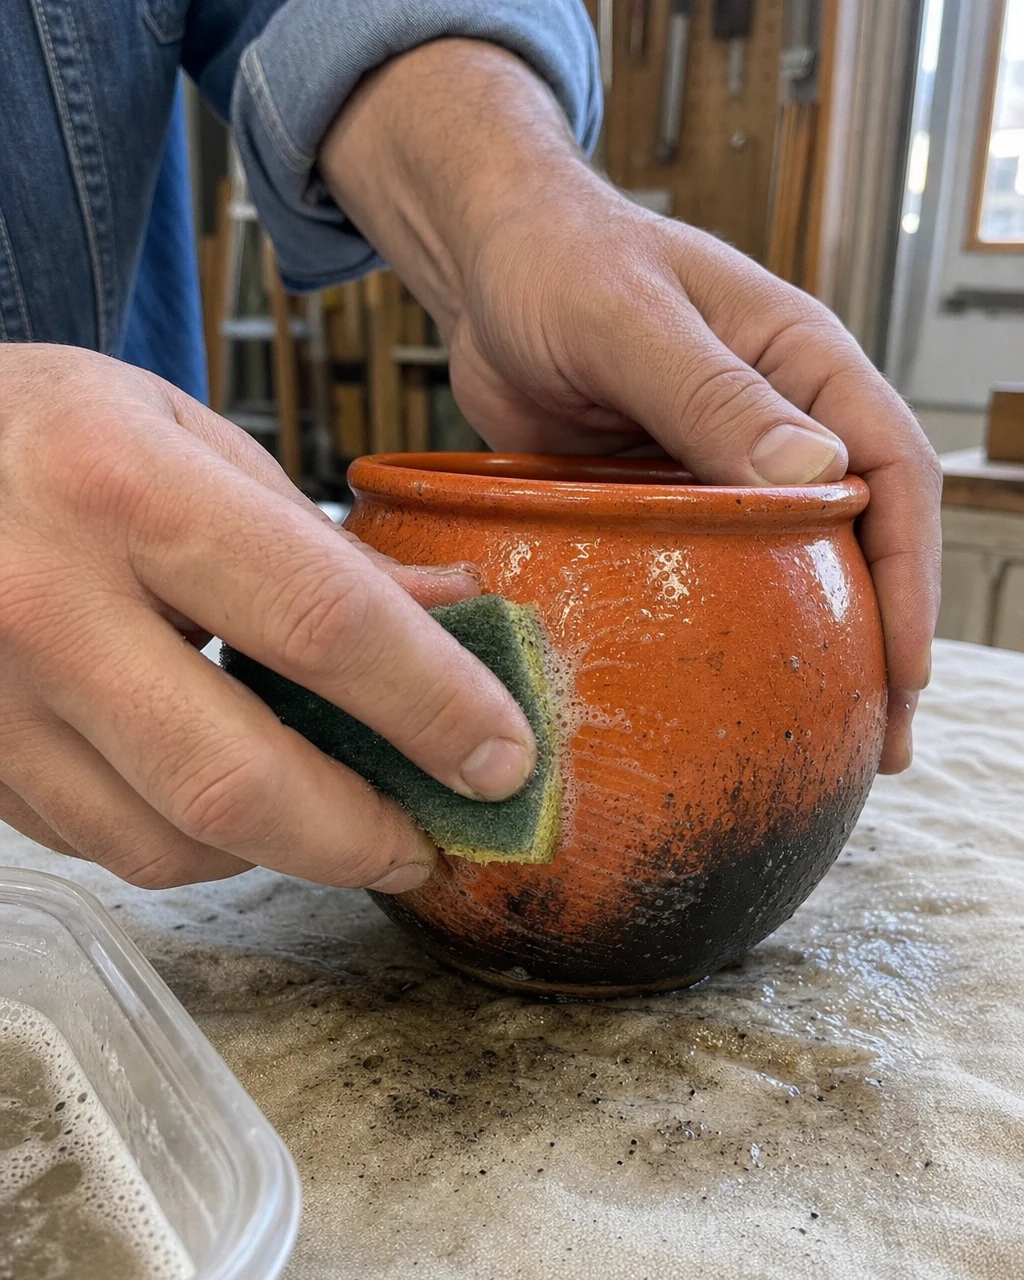
The orange ceramic bowl is covered in baked-on carbon and grease from decades of use. Scrub the exterior of the ceramic bowl with a heavy-duty degreaser and an abrasive sponge. This removes all baked-on carbon scoring and creates a clean surface for paint adhesion.
Materials checklist
Wear rubber gloves to protect skin from harsh chemical degreasers during this heavy scrubbing phase. The ceramic surface is now clean, dull, and completely free of greasy residue, ensuring the upcoming epoxy application will bond securely without peeling.
Step 4: Apply Gloss White Base
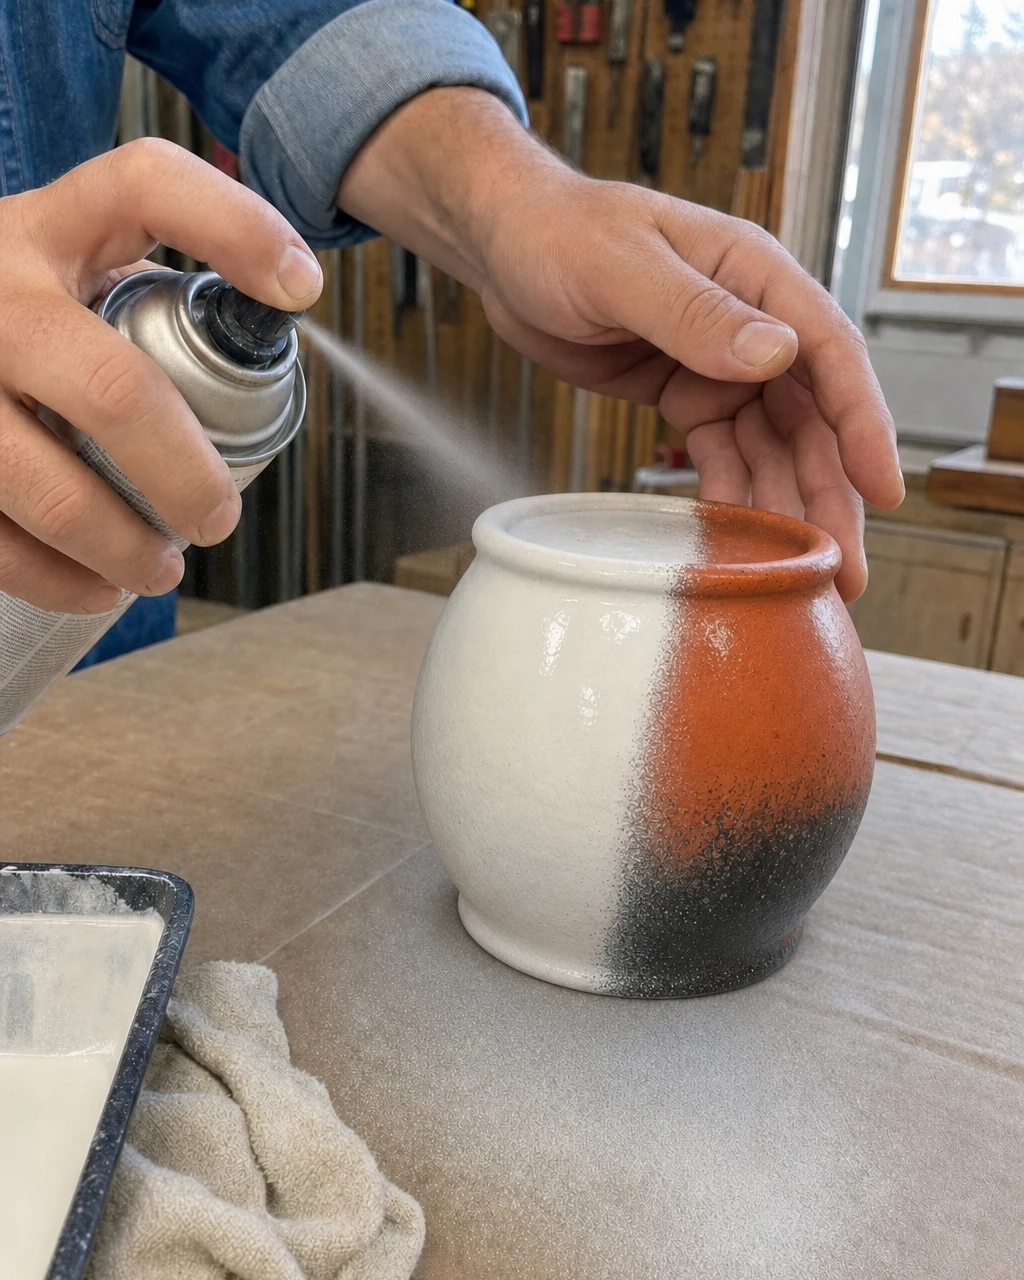
The ceramic bowl is clean, dry, and resting upside down on your workspace. Spray an even coat of high-heat gloss white appliance epoxy over the exterior of the inverted orange ceramic bowl. This blocks the old color and provides a durable, heat-safe background.
Curing the Epoxy Finish
Spray aerosols outdoors or in a heavily ventilated workshop while wearing a respirator mask. Allow the epoxy to dry for two hours. The bowl is soon half-covered in opaque white gloss, completely hiding the scorched orange enamel beneath a sleek, modernized shell.
Step 5: Paint the Marble Veins
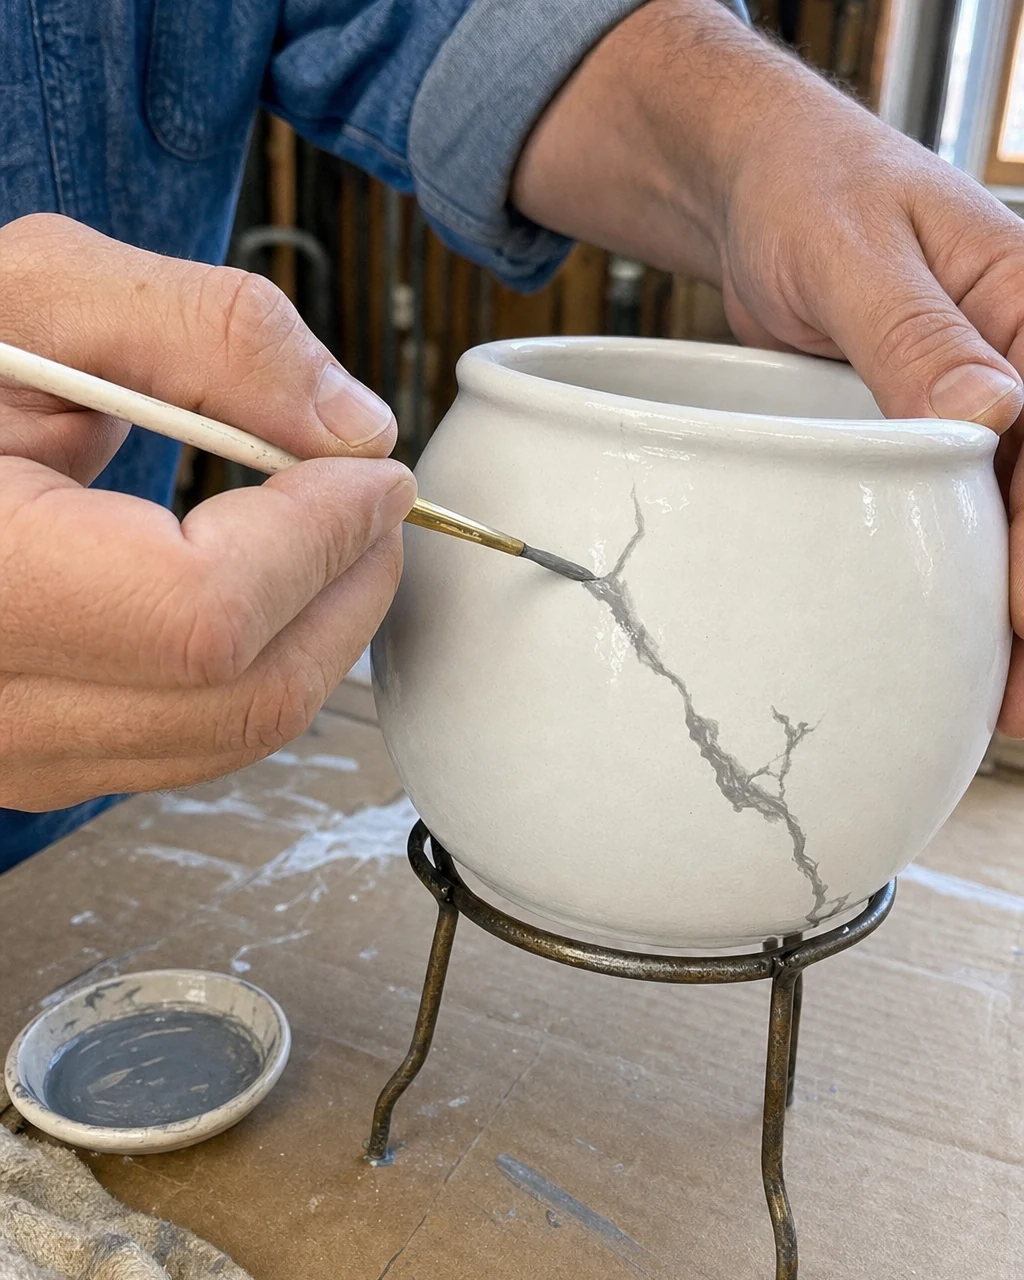
The ceramic bowl is now coated in dry, solid white gloss epoxy. Use a fine artist’s brush to drag high-heat gloss grey paint across the white surface in diagonal, branching lines. This mimics the natural veining of Carrara marble beautifully.
Finalizing the Stone Aesthetic
Keep paint strictly on the exterior, away from the interior food-contact surfaces of the bowl. Let the finish cure overnight. Realistic grey mineral veins stretch across the glossy white ceramic surface, transforming the vintage piece into a stunning faux-marble centerpiece.
Step 6: Reassemble the Fondue Set
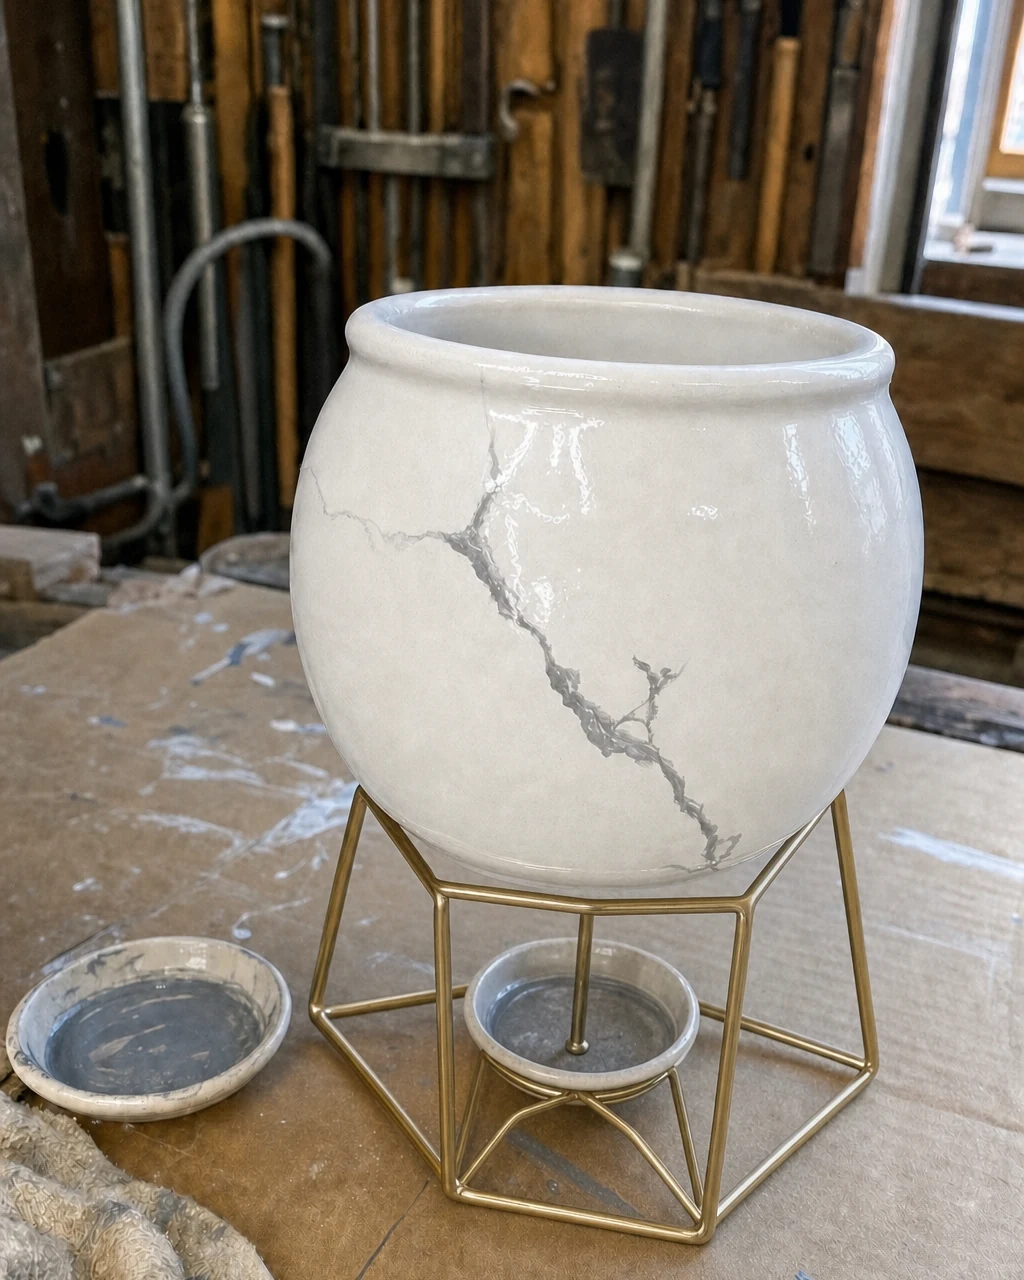
The bowl is fully cured and the brass stand is polished to a high shine. Wipe down the hardware with a lint-free cloth, then place the finished faux-marble ceramic bowl back onto the gleaming brass tripod stand.
Inspecting the Final Fit
Verify the fit and inspect the final stark white contrast against the bright brass. Ensure the bowl sits securely in the tripod cradle so it will not tip during use. The completed fondue set sits fully assembled, showcasing the stark white marble against the bright brass.
Valuation and Resale Potential
Vintage fondue sets with modern, luxury finishes command premium prices from home entertainers. Restoring the original brass hardware and pairing it with a heat-safe faux stone aesthetic maximizes the return. This approach turns an inexpensive thrift find into a highly desirable centerpiece.
| Item | Cost |
|---|---|
| Purchase Price | $8 |
| Heavy-Duty Degreaser | $8 |
| Abrasive Sponge | $3 |
| Brass Polish | $6 |
| High-Heat White Epoxy | $12 |
| High-Heat Grey Paint | $8 |
| Total Investment | $45 |
| Estimated Resale Value | $120 |
| Value Gain | $75 |
Please note that this resale value is an editorial estimate, not a completed sale. The stark white faux marble contrasting with brilliantly polished brass elevates the piece significantly above its original scorched condition.
Step 7: Style for Entertaining
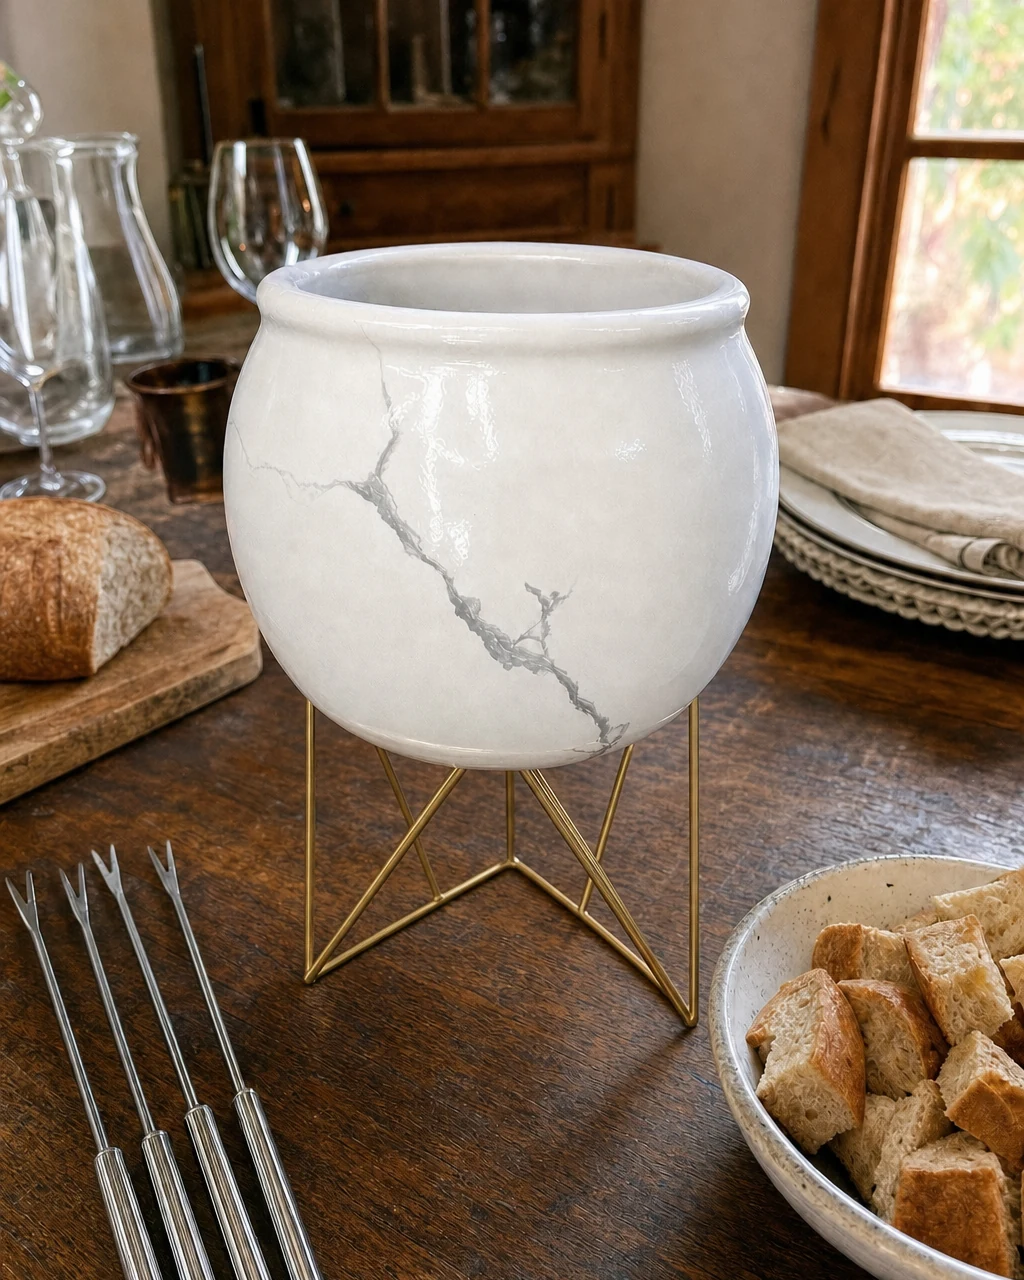
The fondue set is fully restored and assembled, ready for a modern gathering. Move the fondue set to a dining table, add the burner underneath using a basic hand tool if required, and surround it with dipping forks and a bowl of bread cubes.
Hosting a Luxury Dinner
Always place a lit fondue pot on a heat-resistant surface away from flammable table linens. The piece now serves as a modern, luxury entertaining setup. The fondue set looks like a high-end luxury piece ready for a dinner party, proving the power of a thoughtful thrift flip.