
Laundry Hamper Secondhand Makeover with Navy and Botanical Canvas
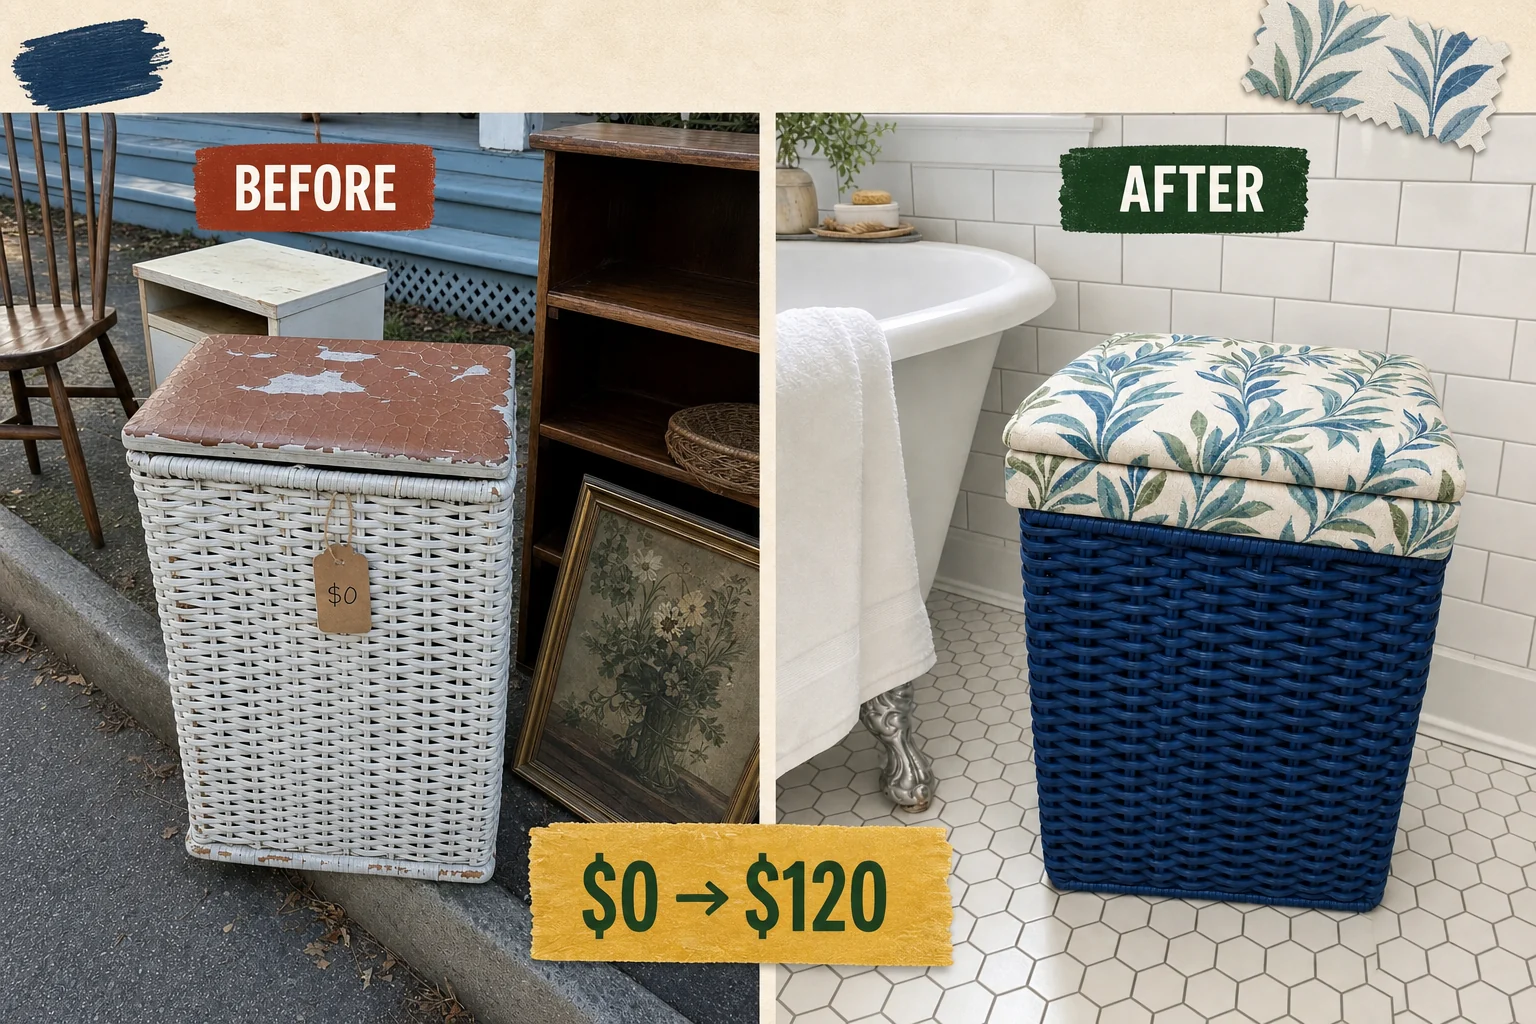
Spotted in a curbside free pile, this neglected laundry hamper needed serious help. We transformed its chipping wicker and torn vinyl into a boutique piece using matte navy paint and bold botanical canvas.
Assessing the Damage
Found sitting beside a handwritten FREE sign on a neighborhood walk, this solid but neglected hamper was let down by its brittle finish. The rectangular wire frame, original metal hinges, and solid wooden lid core remained completely intact. These immutable features provided the perfect foundation for a comprehensive fabric makeover.
- First, we noted the brittle, chipping wicker body that snags clothing and sheds sharp debris onto the floor, requiring immediate binding and sealing.
- Second, the broken, cracked, and peeling vinyl lid cover was exposing the raw wood core beneath, making it completely impossible to wipe clean or sanitize properly.
Project Valuation and Resale Potential
A free curbside find gains significant value through durable structural stabilization, a modern matte paint finish, and high-quality custom canvas upholstery. This comprehensive fabric makeover elevates a basic utility piece into boutique bathroom decor, making the final estimated resale value highly attractive. Please note that this specific resale valuation remains an editorial estimate.
| Item | Cost |
|---|---|
| Purchase | $0 |
| Binding Primer | $12 |
| Navy Spray Paint | $16 |
| Botanical Canvas Fabric | $15 |
| Upholstery Foam | $10 |
| Heavy-Duty Staples | $4 |
| Botanical Canvas Liner | $22 |
| Total Investment | $79 |
| Estimated Resale Value | $120 |
| Value Gain | $41 |
Gathering the Makeover Supplies
Preparing for this transformation requires a few specific upholstery and painting supplies to address the distinctive damage. Gathering everything before starting ensures the primer and paint have adequate time to cure between the structural repair stages. The total investment remains incredibly low by reusing the original metal hardware and the solid wooden core.
Materials checklist
Step 1: Detach Broken Lid
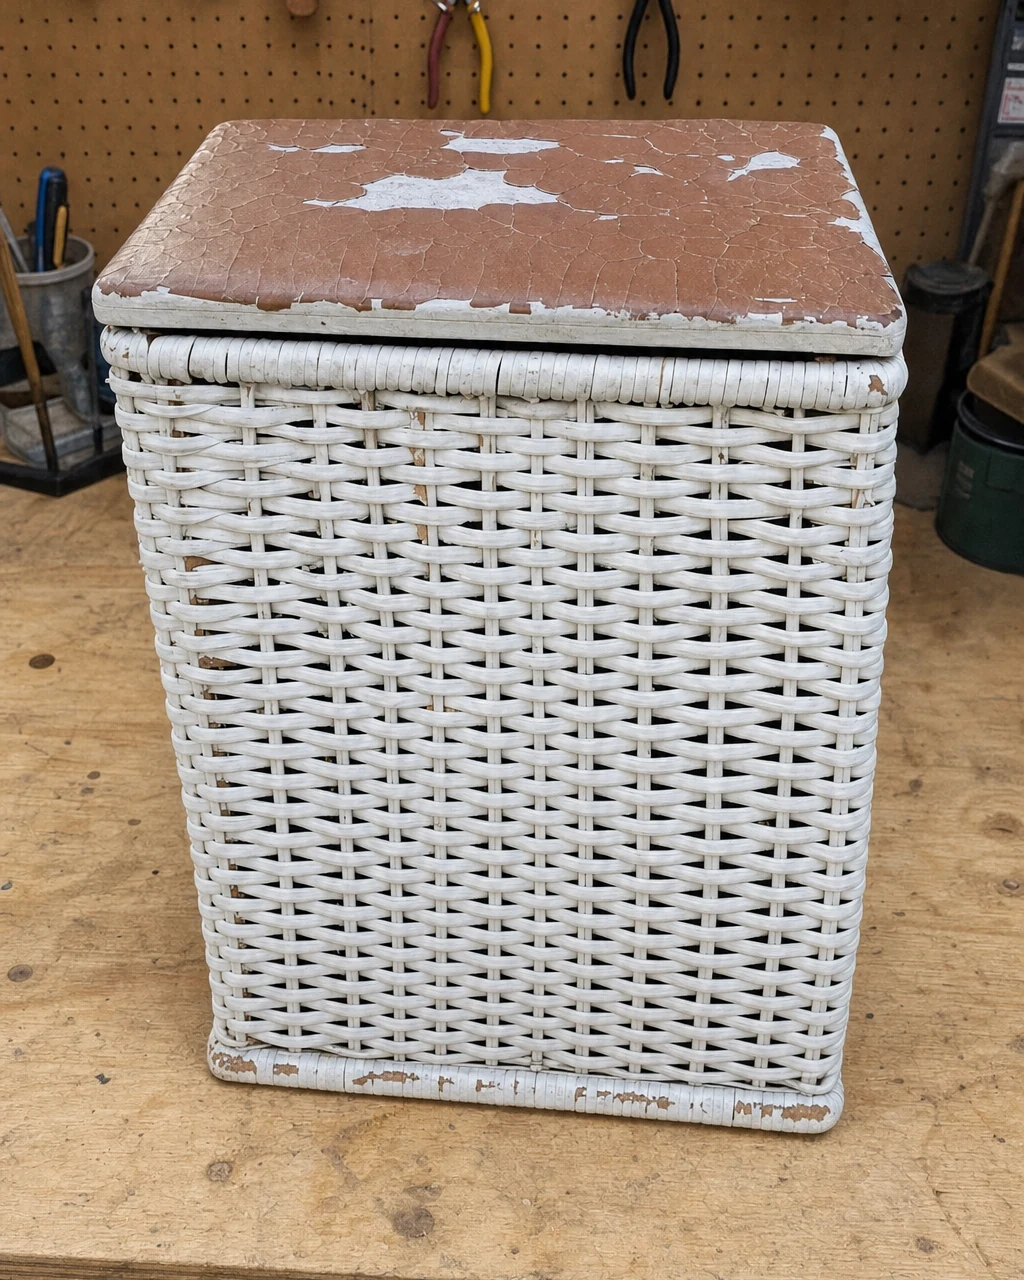
The hamper sits on the workbench with its cracked vinyl lid still securely attached to the back rim. Unscrew the original hinges to separate the damaged vinyl lid from the wicker body using a manual Phillips screwdriver. This simple action leaves the bare wicker body completely ready for prep. Wear work gloves to protect hands from sharp edges while handling the brittle material.
Step 2: Prime Brittle Wicker
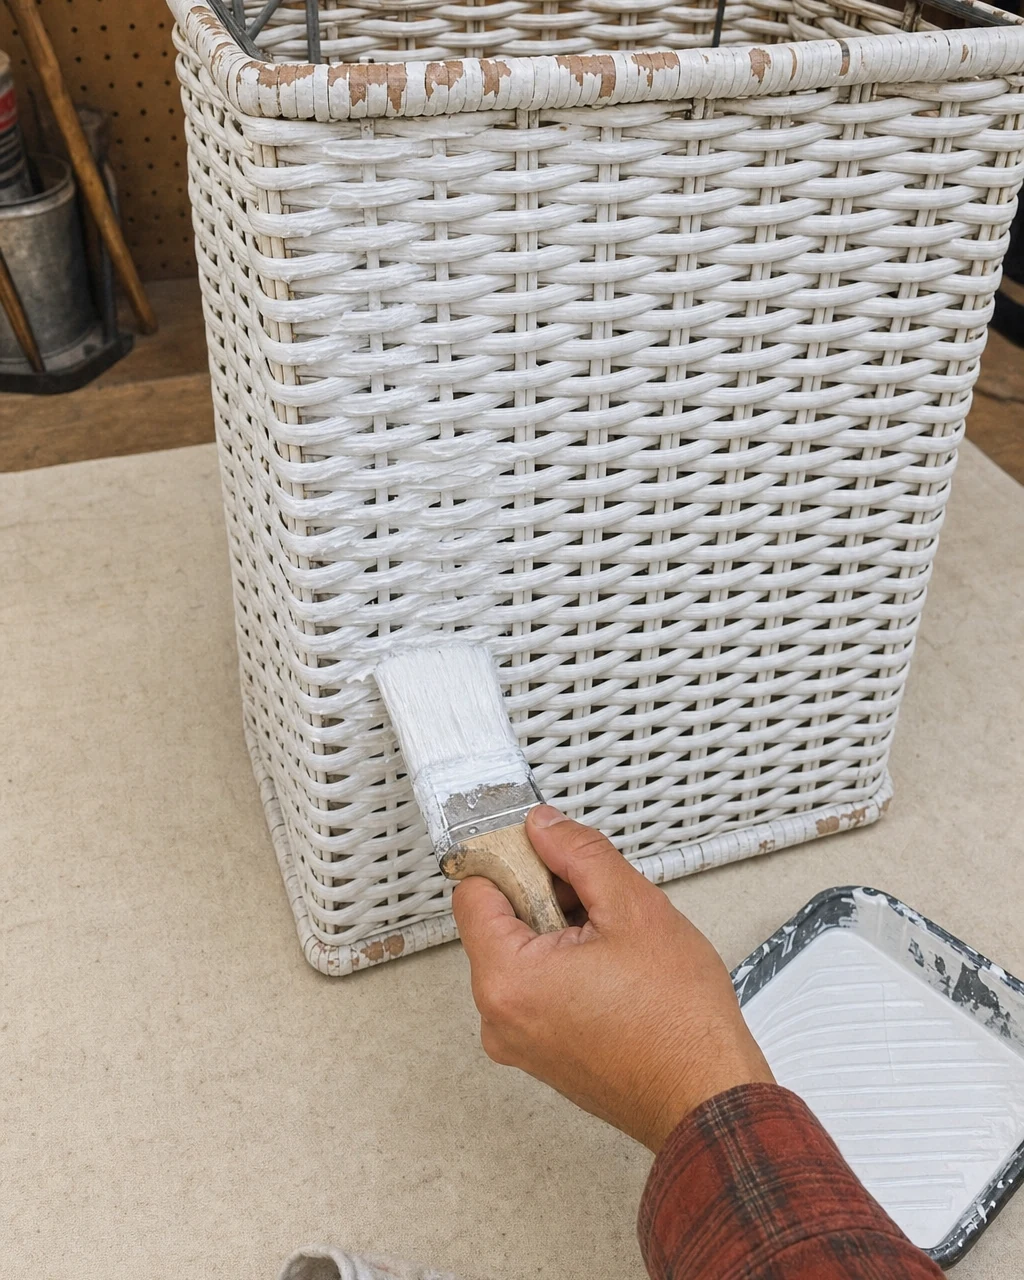
The detached wicker body is brittle and shedding flakes of old paint across the front panel. Apply a thick coat of binding primer to glue down loose fibers and seal the chipping surface. Allow the piece to dry for four hours until the wicker is coated in a solid white, stabilized layer. Always work over a canvas drop cloth to catch drips.
Step 3: Spray Paint Body
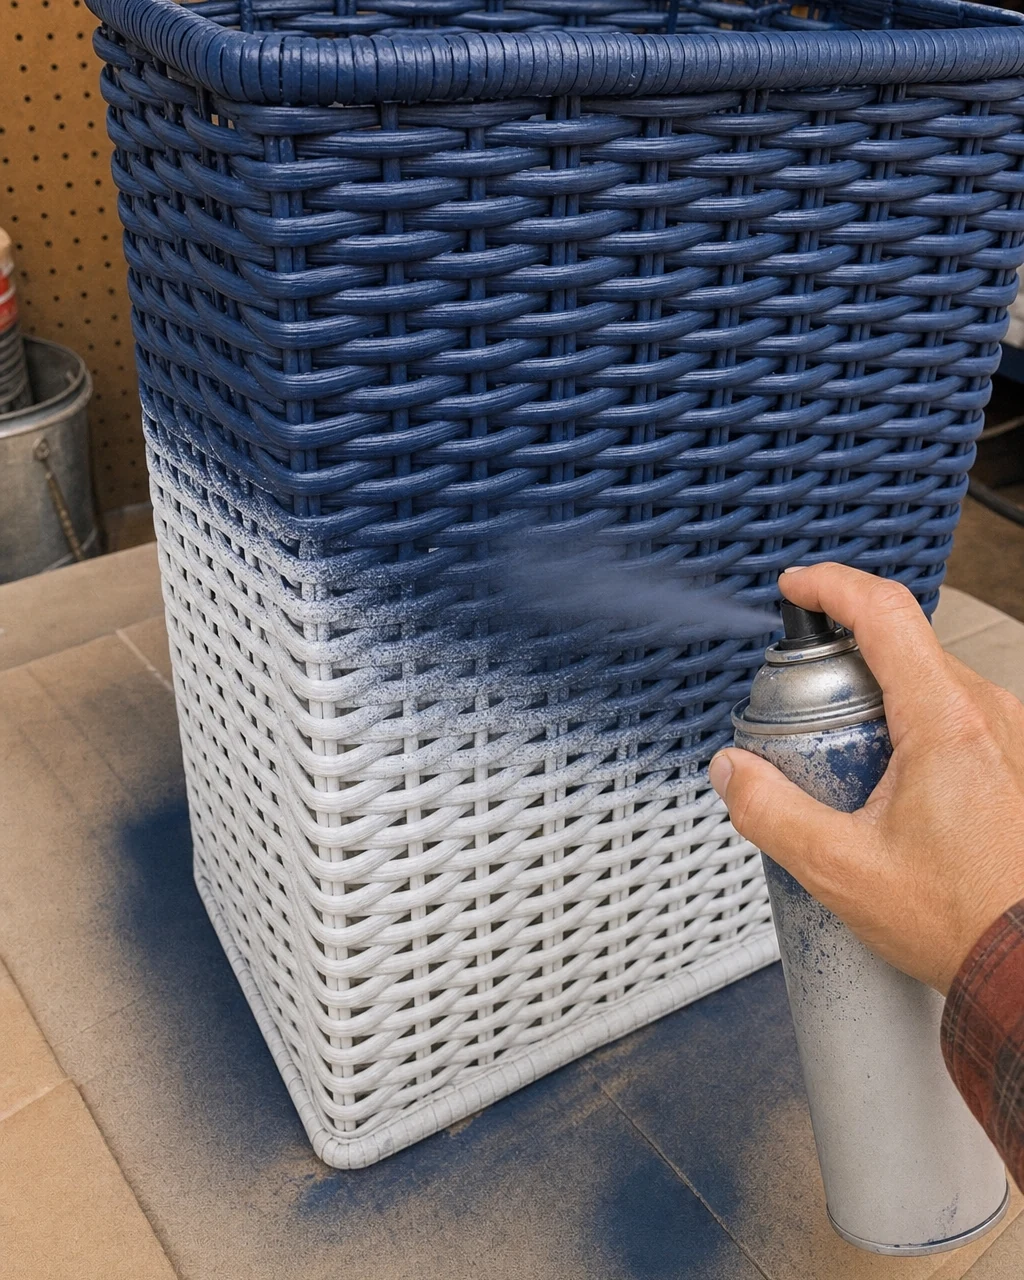
Once the wicker body is fully primed, dry, and structurally stabilized, coat the entire hamper in matte navy blue spray paint. Work in light, even layers to prevent paint pooling in the deep woven texture. Allow the finish to cure for 24 hours until it achieves a smooth, opaque appearance. Use a respirator and spray in a well-ventilated garage for proper safety.
Step 4: Upholster Lid Base
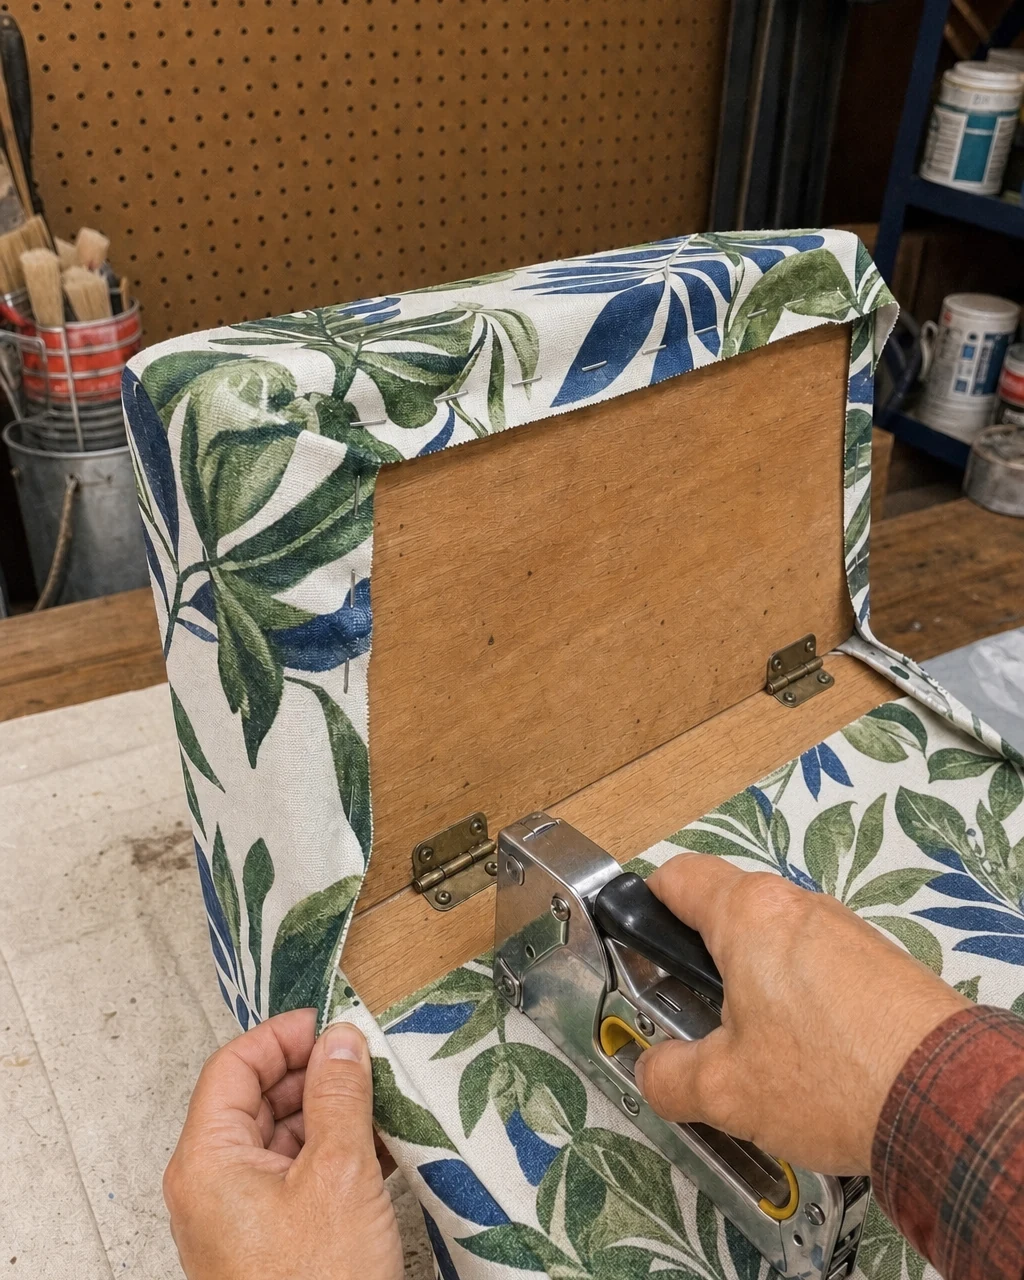
The old vinyl has been stripped, leaving the bare wooden lid core exposed on the underside. Stretch botanical canvas over a new foam pad on the original wooden lid core. Secure it tightly with a heavy-duty staple gun and trim the excess with fabric scissors. Keep fingers clear of the staple gun discharge area during this entire upholstery step to prevent injury.
Step 5: Reattach Upholstered Lid
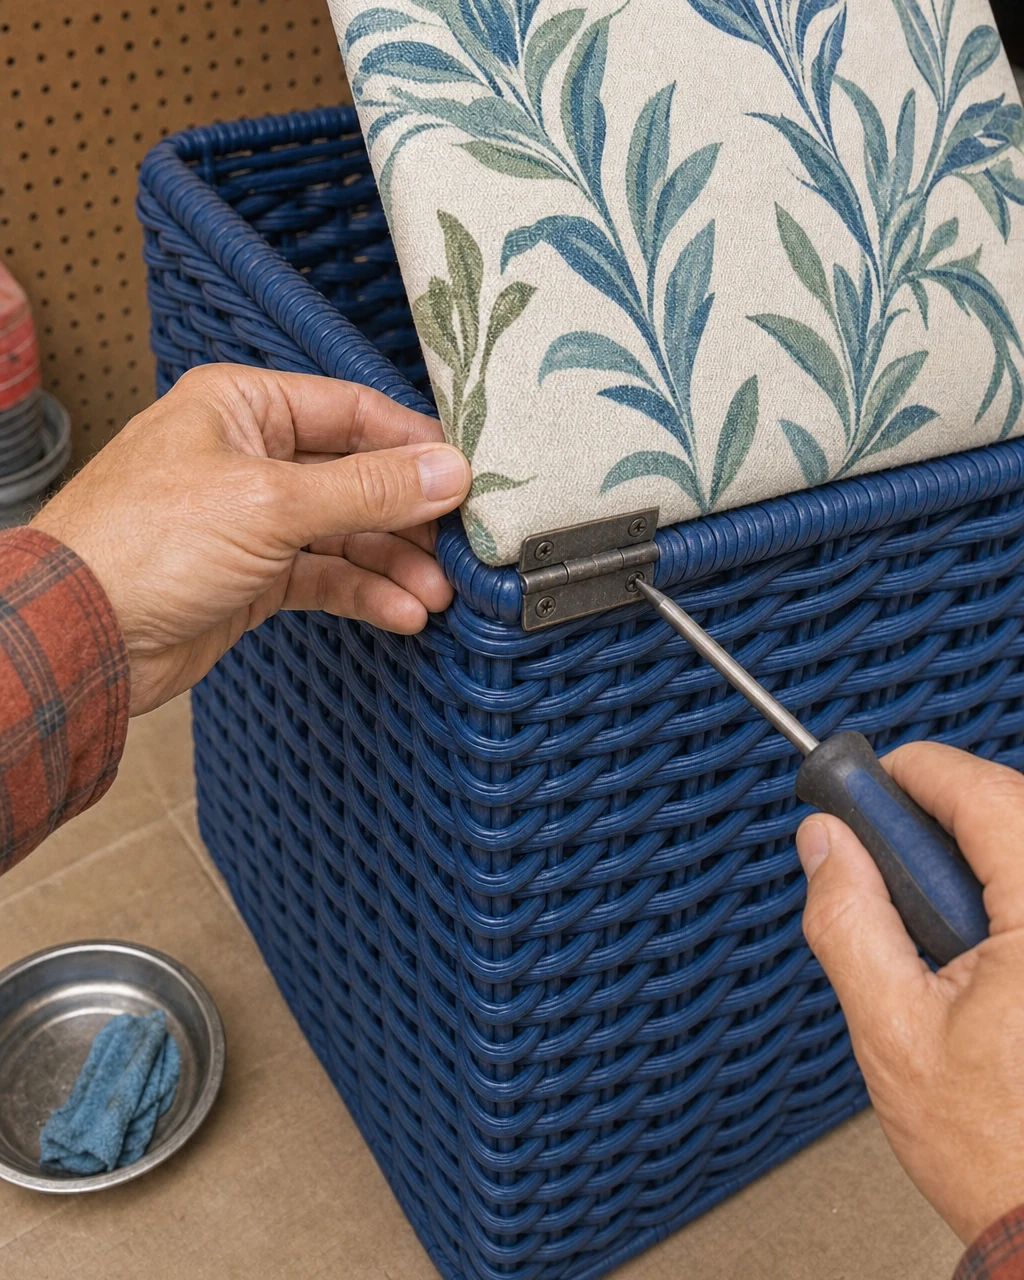
The hamper body is painted navy and the lid is neatly covered in taut botanical fabric with smooth, folded corners. Screw the newly upholstered lid back onto the painted hamper body using the original hinges and a Phillips screwdriver. Ensure the hamper is completely stable before driving screws to prevent slipping and damaging the new botanical canvas lid during the final reassembly.
Step 6: Fit Fabric Liner
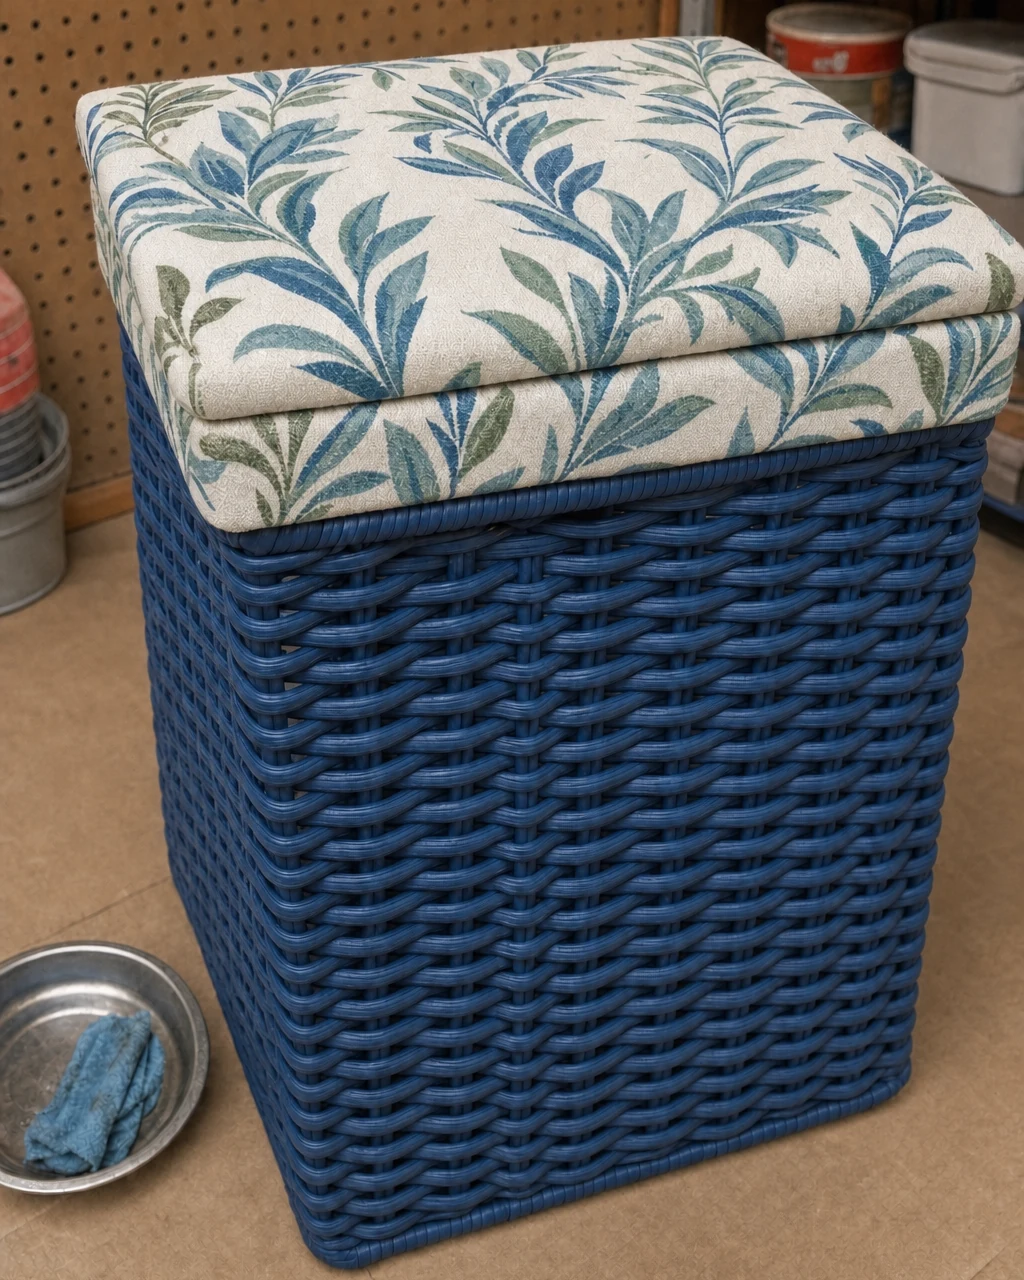
The hamper is fully assembled but the rough interior remains exposed at the top opening. Drop a matching botanical canvas liner into the basket and fold its tailored edge over the painted rim. Use a brush and staple gun if needed to secure the fit. Ensure the paint is fully cured before inserting the fabric liner to prevent sticking or unwanted smudging.
Step 7: Place In Bathroom
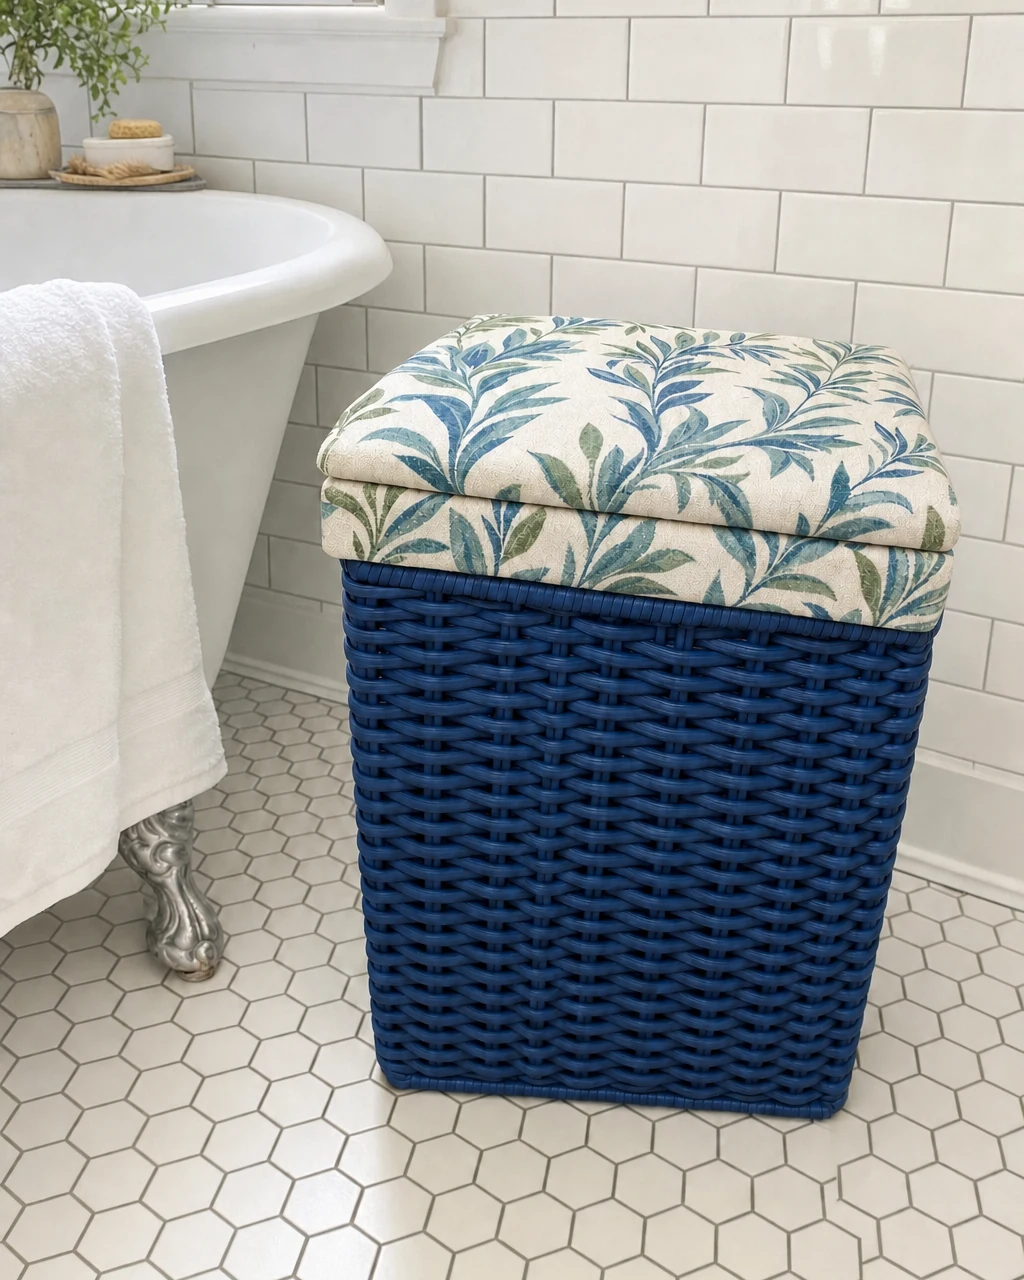
The completed hamper sits on the workbench, fully lined and upholstered, with a neat fabric border resting over the navy rim. Position the finished hamper in a bright bathroom, ready to hold laundry. Keep a staple gun handy for any final fabric adjustments. Lift the hamper from the base to avoid stressing the new hinges when moving it to its final spot.