
Wooden Toolbox DIY Makeover: Charcoal Charging Station
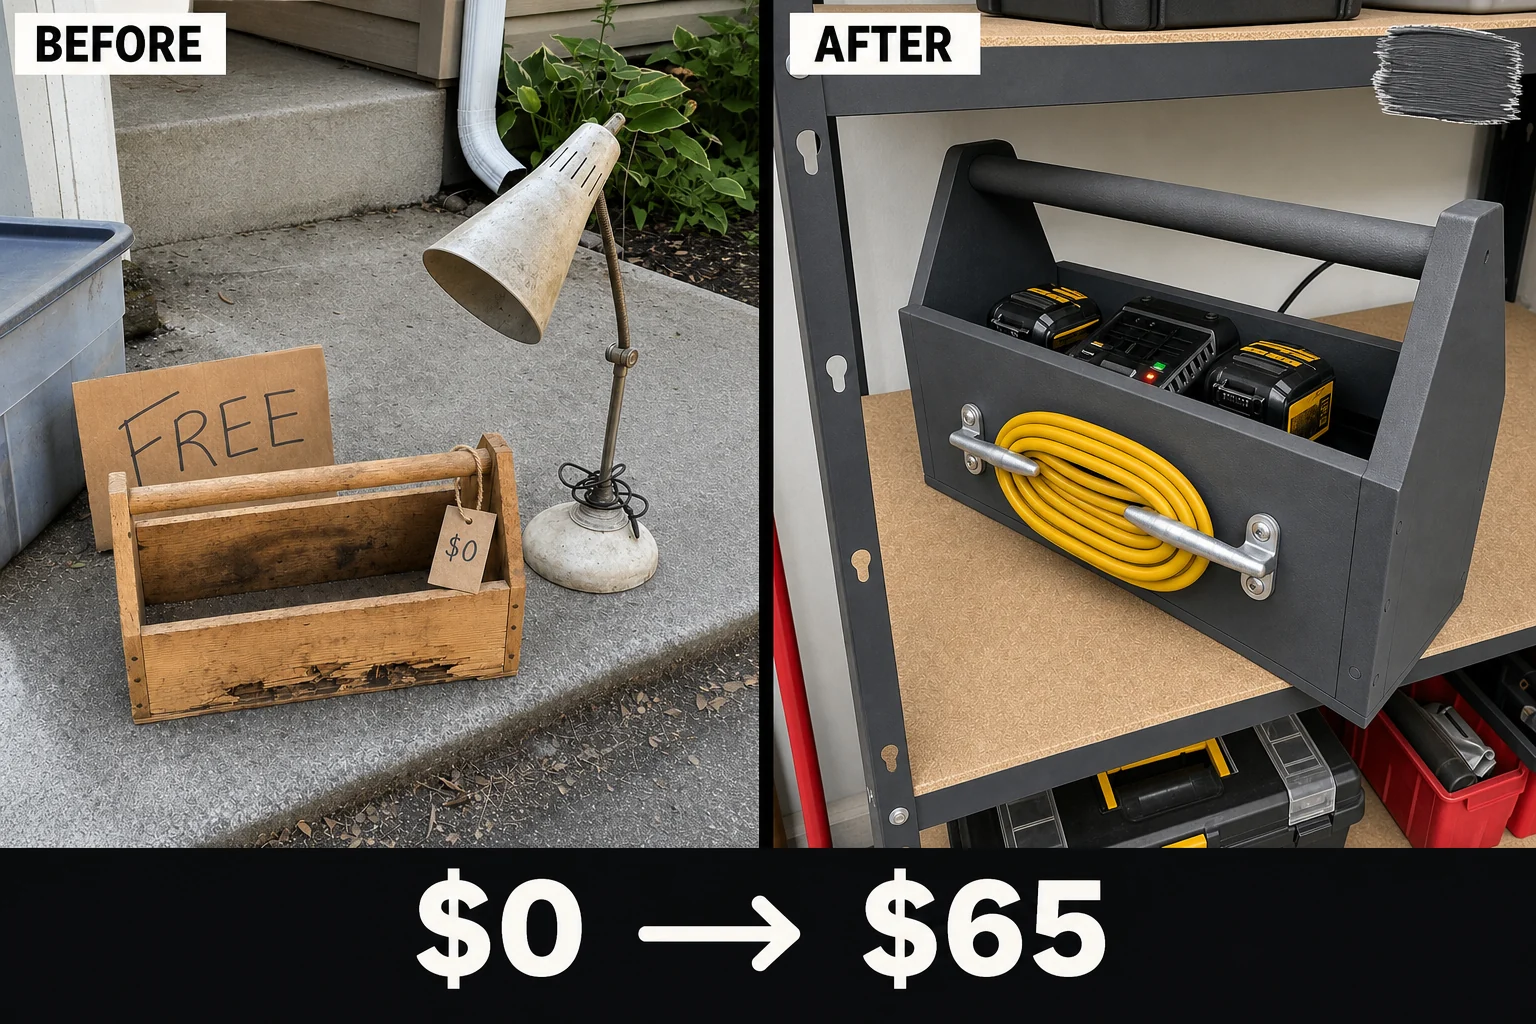
Spotted in a curbside free pile, this battered wooden carpenter’s tote was structurally perfect but cosmetically damaged. This DIY makeover converts the raw pine toolbox into a heavy-duty charging station with exterior cord wrap cleats.
Assessing the Curbside Toolbox Damage
Found resting between a concrete porch and the pavement beside a handwritten cardboard sign, this raw pine toolbox required a thorough condition audit. The rectangular open-top tray featured angled end panels and a fixed round wooden center handle, but several areas demanded immediate attention before any hardware installation could begin.
- First, deep splintered gouges along the front bottom edge create a hazard and prevent smooth cable wrapping.
- Second, dark, sticky grime and oil stains pooled in the bottom corners will ruin clean extension cords and prevent new paint from adhering properly.
Valuation and Resale Potential
Solid wood organizers with industrial hardware sell at a premium in boutique utility catalogs. The functional addition of galvanized boat cleats elevates this from a simple box to a specialized storage solution, easily justifying the estimated resale value. Note that this valuation remains an editorial estimate rather than a guaranteed sale.
| Item | Cost |
|---|---|
| Curbside toolbox purchase | $0 |
| Sandpaper | $5 |
| Enamel paint | $12 |
| Boat cleats | $8 |
| Wood screws | $3 |
| Materials Total | $28 |
| Total Investment | $28 |
| Estimated Resale Value | $65 |
| Value Gain | $37 |
Step 1: Assess the Pine Toolbox for Hardware Placement
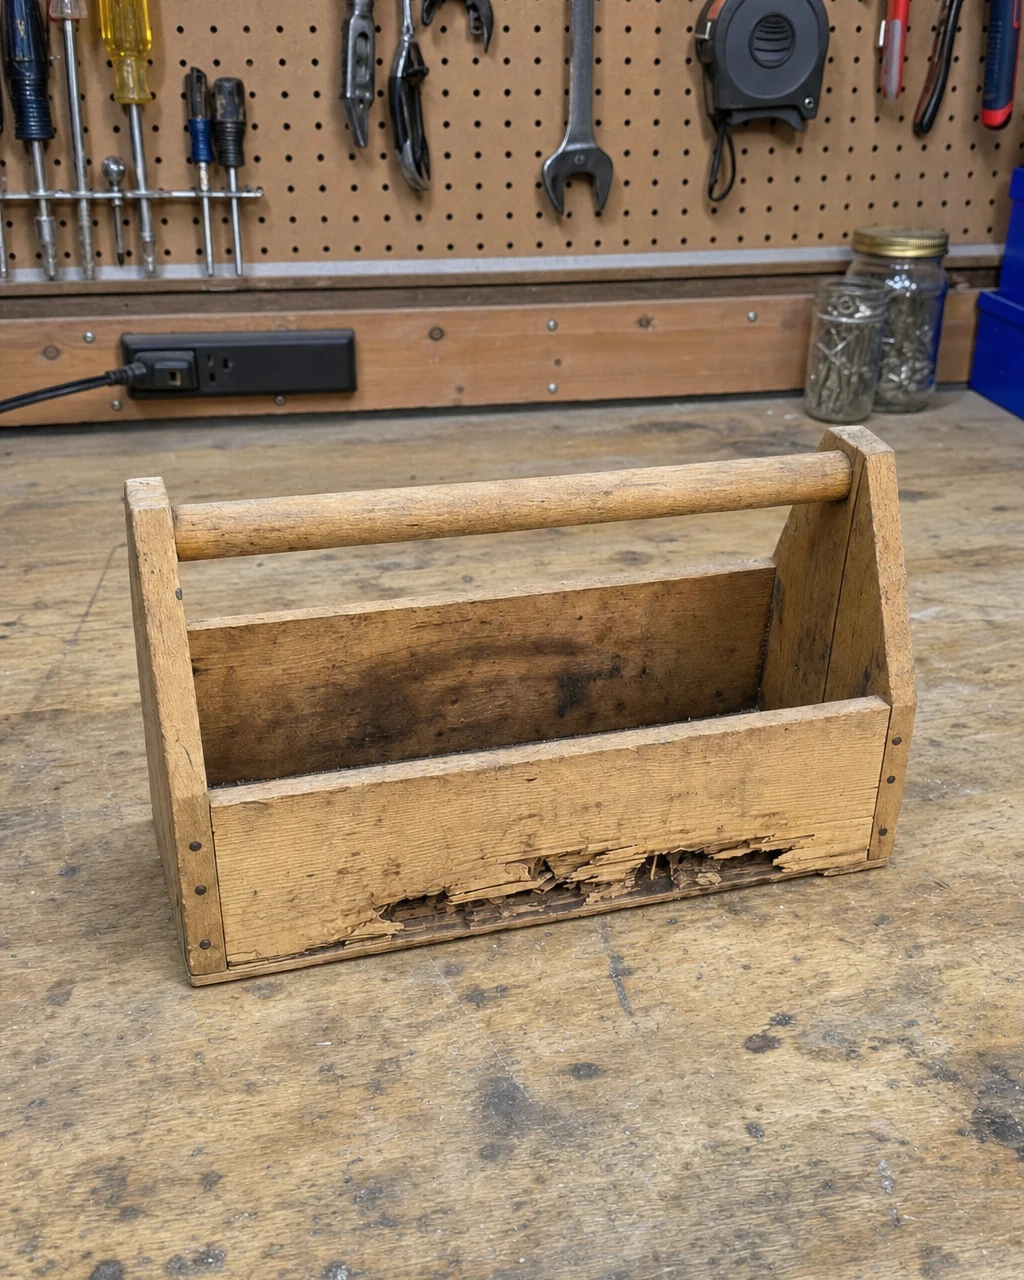
Inspect the curbside find on a protected workbench to map out the hardware placement and identify the deep gouges requiring repair. Wipe the toolbox free of loose curbside debris with a shop rag so the raw pine wood is completely ready for sanding. Wear leather gloves when handling splintered wood to prevent injury.
Materials checklist
Step 2: Sand the Deep Gouges Smooth
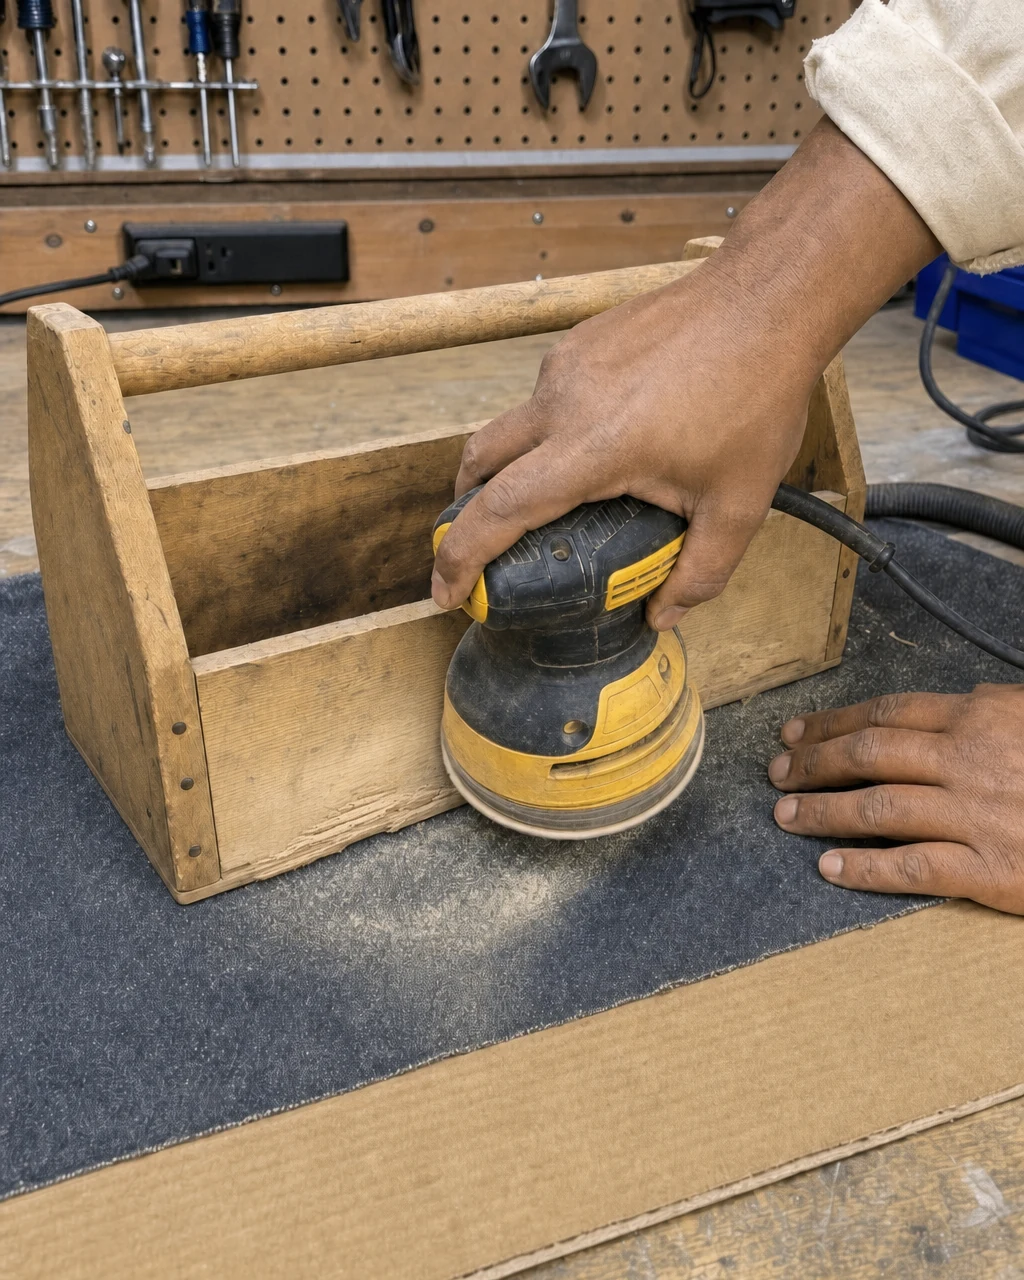
Smooth out the splintered damage using a random orbital sander and sandpaper to create a safe, even surface that will not snag rubber cable jackets. The front edge must feel smooth to the touch, with the jagged gouges blended into shallow, safe depressions. Wear a dust mask and run a shop vacuum to capture fine pine dust.
Preparing the Surface for Paint
Proper preparation ensures the upcoming industrial finish adheres correctly to the raw pine wood. By thoroughly removing the dark, sticky residue pooled in the bottom corners of the tray during this abrasive phase, you guarantee that the final utility station remains clean and safe for storing expensive power cables.
Step 3: Drill a Pass-Through Cable Hole
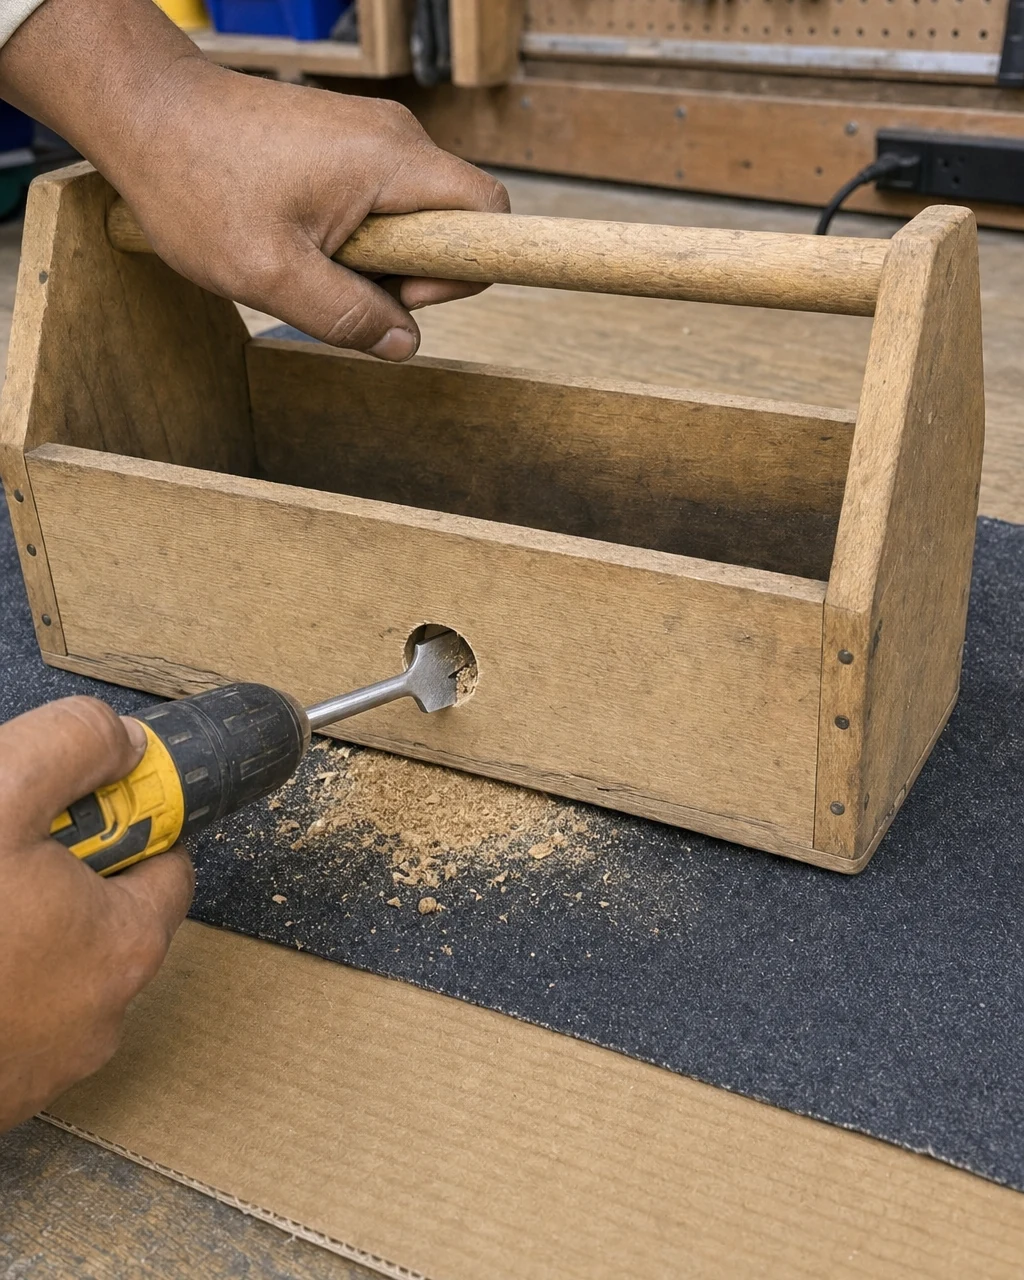
Bore a one-inch hole through the lower back panel using a power drill and a spade bit to allow a power strip plug to pass through the box. Use clamps to secure a scrap block of wood behind the panel to prevent the drill bit from blowing out the interior veneer.
Verifying the Cable Access
Once drilled, a clean circular hole sits at the bottom center of the back panel. This precise modification transforms the enclosed wooden tray into a functional charging hub, allowing the main power cable to remain hidden while providing ample electricity inside.
Step 4: Paint the Exterior for Durability
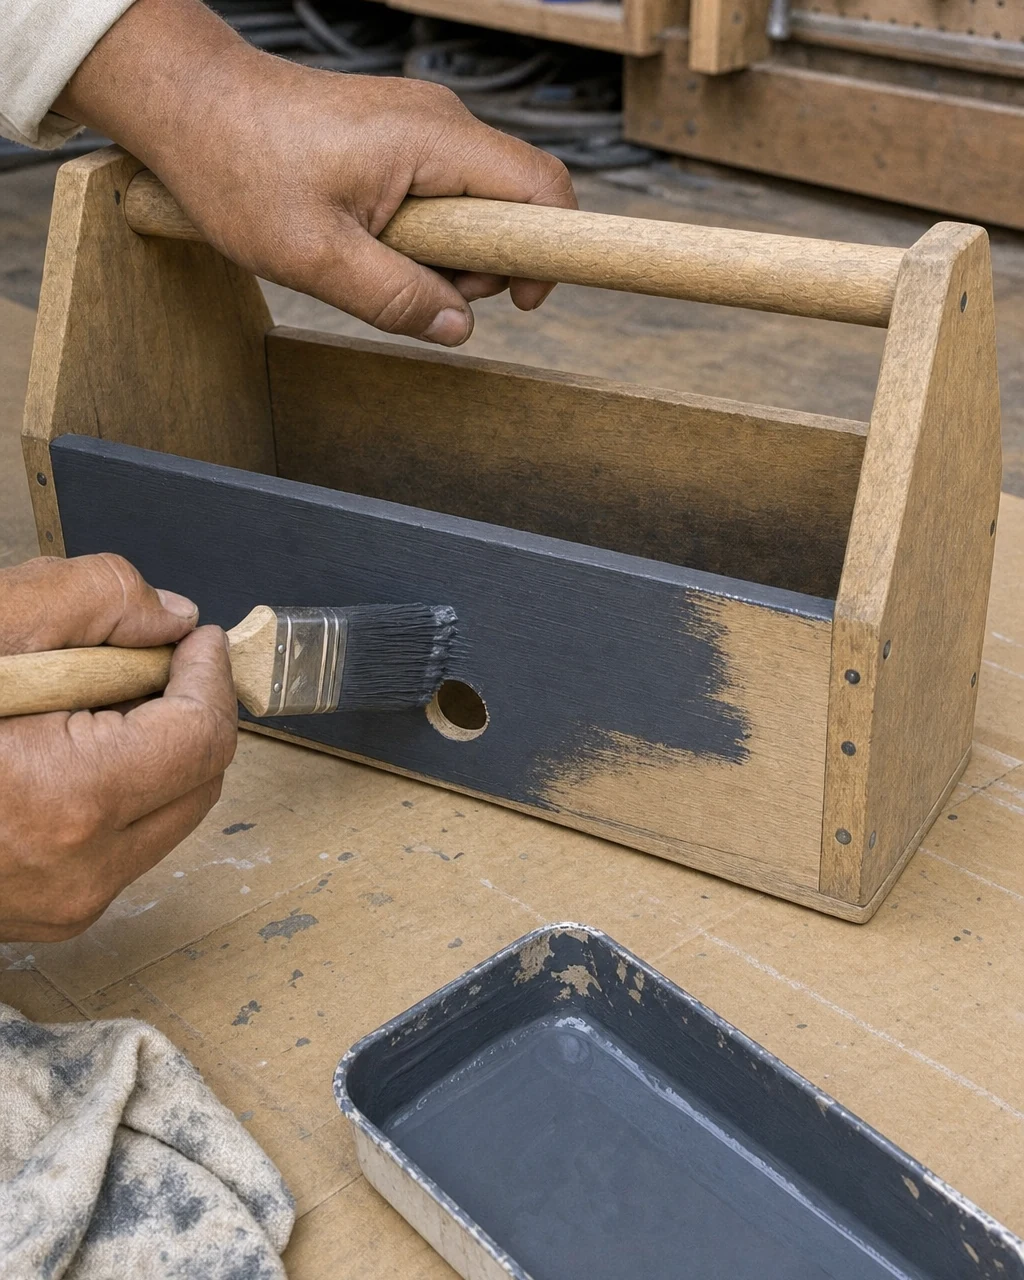
Apply a coat of matte charcoal enamel paint over the sanded pine with a paintbrush to create a durable, industrial finish. The toolbox should be entirely coated in wet, matte charcoal gray paint. Work in a well-ventilated area and place a drop cloth underneath to catch enamel drips.
Curing the Industrial Finish
Leave the freshly painted panels to cure for a full 24 hours before handling. This extended drying period ensures the heavy-duty coating hardens completely, protecting the underlying solid pine boards from the heavy daily wear expected in an active garage environment.
Step 5: Mount the Boat Cleats for Cord Wrapping
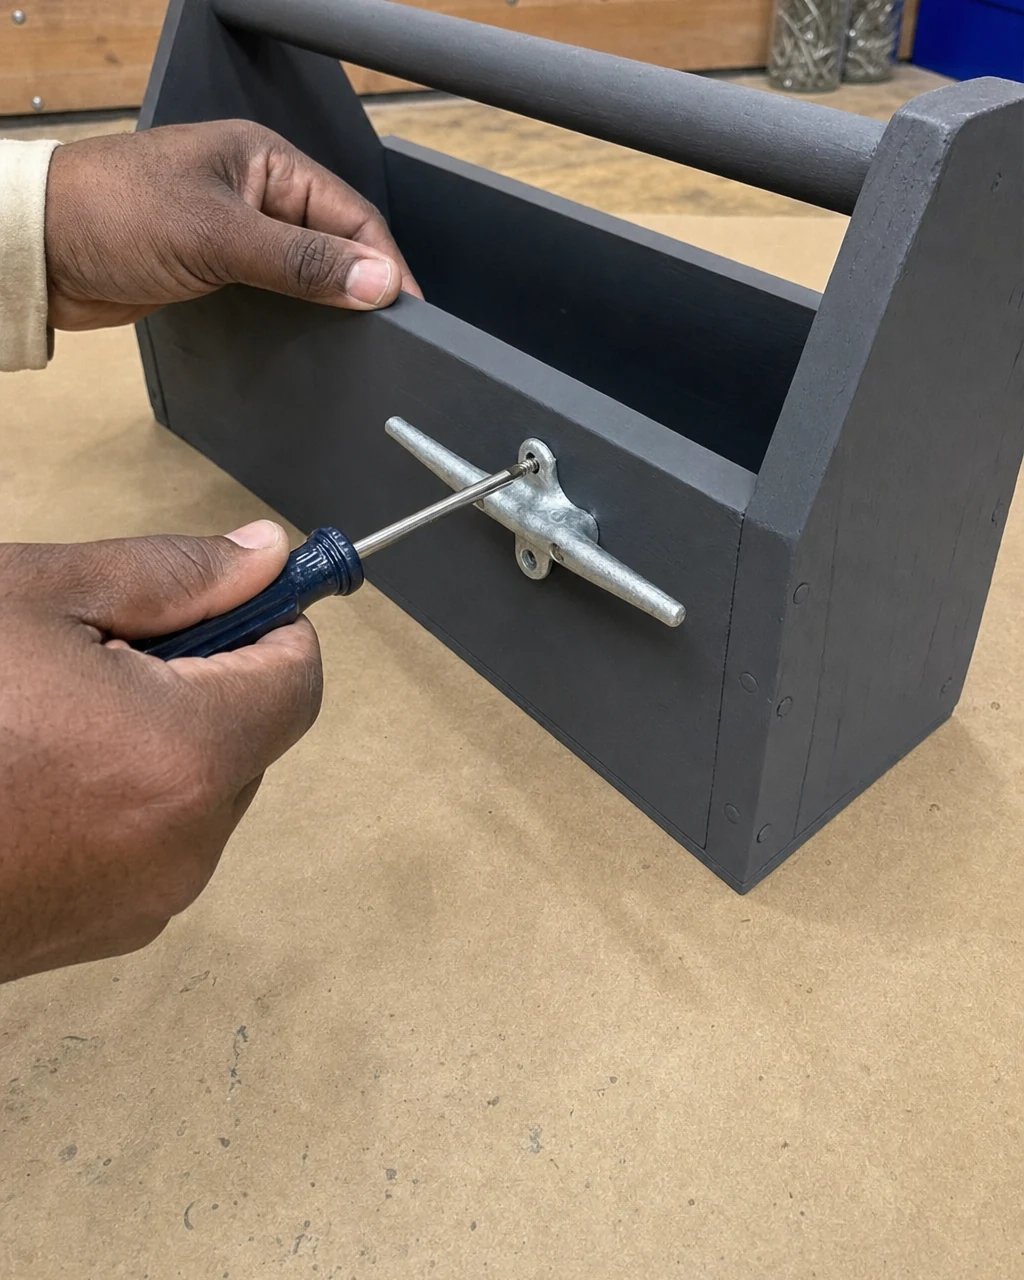
Attach galvanized boat cleats to the exterior side panels using a screwdriver and wood screws to serve as heavy-duty cord wraps. Ensure the fasteners are short enough that they do not protrude into the interior compartment. The shiny hardware should sit firmly mounted to the side of the gray toolbox.
Securing the Heavy-Duty Anchors
Positioning these chunky metal anchors on the angled end panels maximizes exterior storage capacity. Driving the screws straight and tight guarantees the cleats support the substantial weight of thick yellow extension cords without loosening or damaging the newly painted charcoal surface.
Step 6: Wrap the Heavy Extension Cords
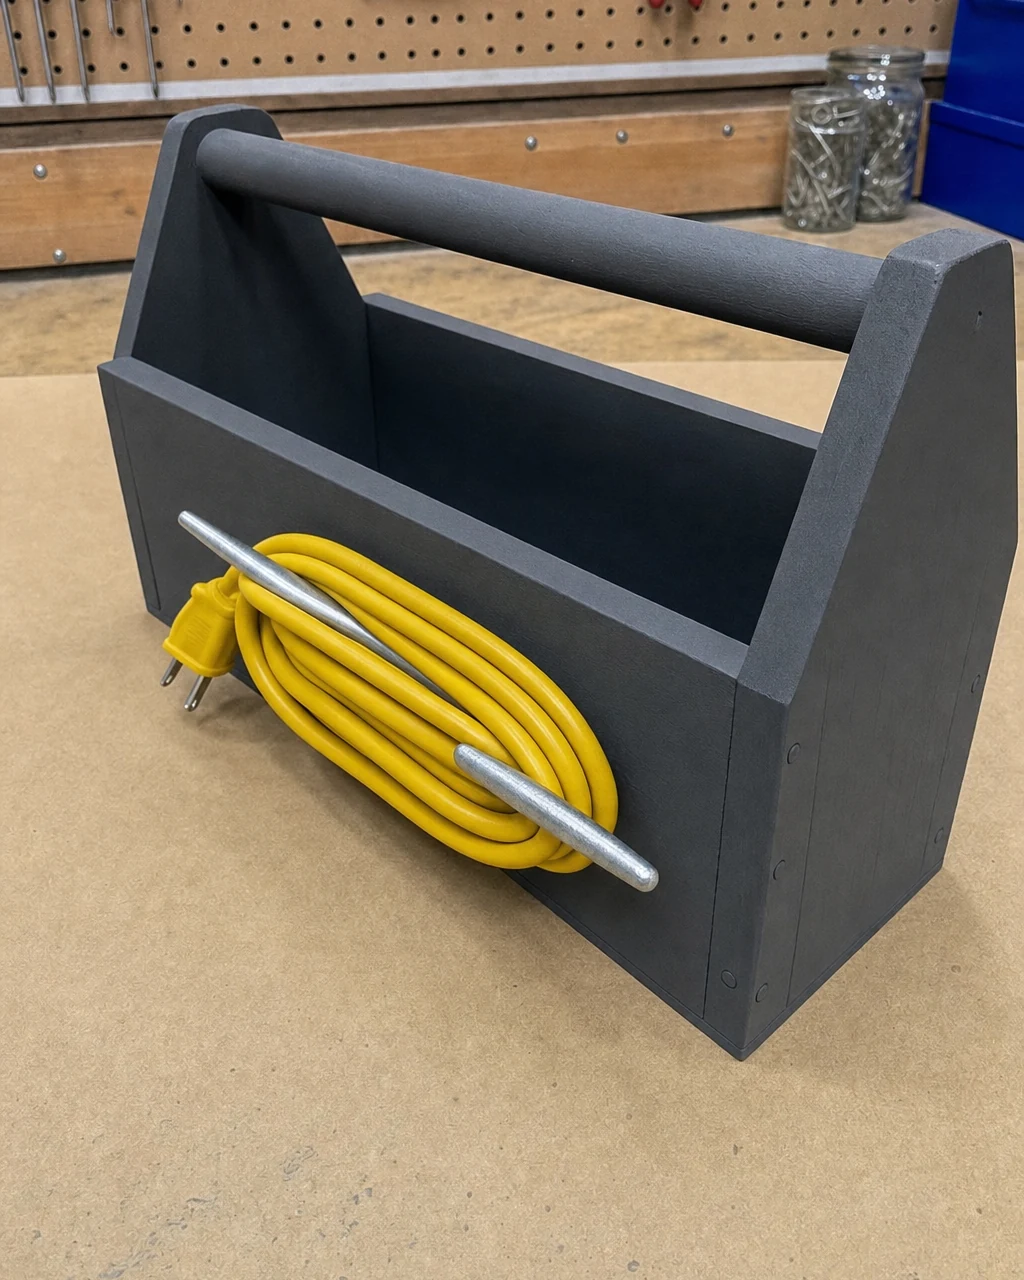
Coil a heavy-duty extension cord around the newly installed side cleats, using a basic hand tool to guide the thick wire and test the wrap capacity and balance. Wrap the cords loosely enough to prevent internal wire strain. The gray toolbox will sit on the bench with a yellow cord neatly wrapped around its side.
Testing the Wrap Capacity
Evaluating the balance of the loaded utility station confirms the side-mounted hardware functions perfectly. The wide spacing of the galvanized boat cleats prevents thick rubber cable jackets from kinking, ensuring your essential workshop power supplies remain organized, accessible, and free from tangles.
Step 7: Set Up the Active Charging Station
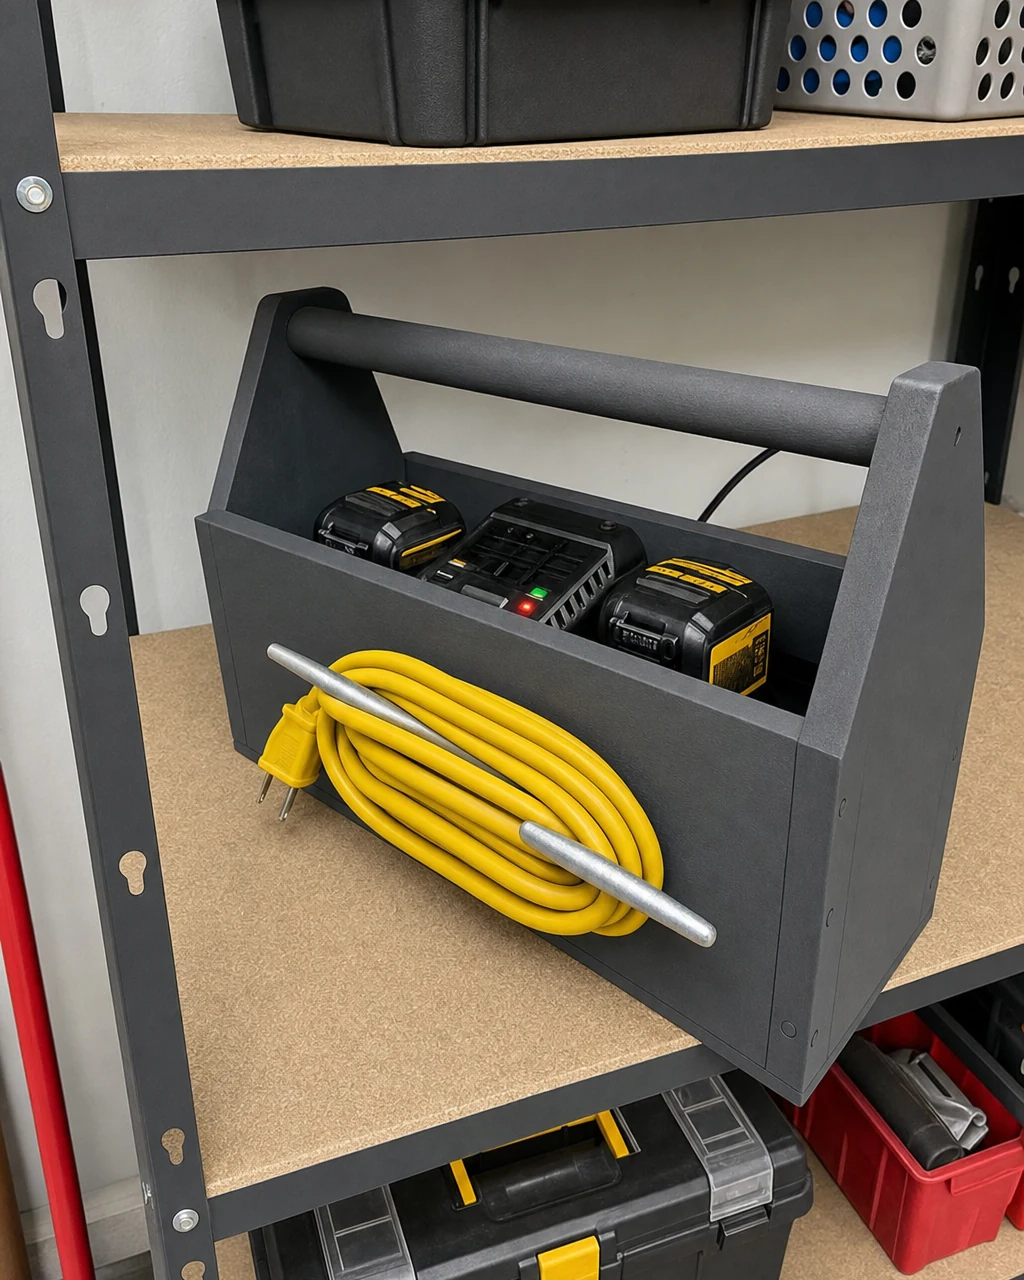
Use a scraper to clear shelf debris, then position the finished cord wrap station in the garage, routing a power strip through the back hole to charge tool batteries inside. Only use power strips rated for workshop use and avoid overloading the circuit. The toolbox now functions as an active charging station.
Organizing the Garage Shelf
This sleek utility tote clears hazardous clutter from garage workbenches by centralizing power management. Holding drill batteries neatly inside while managing bulky cables on the exterior, the upcycled carpenter’s tote proves that thoughtful hardware additions can completely reinvent abandoned storage pieces.