
Wainscoting Layout Rules: The Complete Math & Spacing Guide
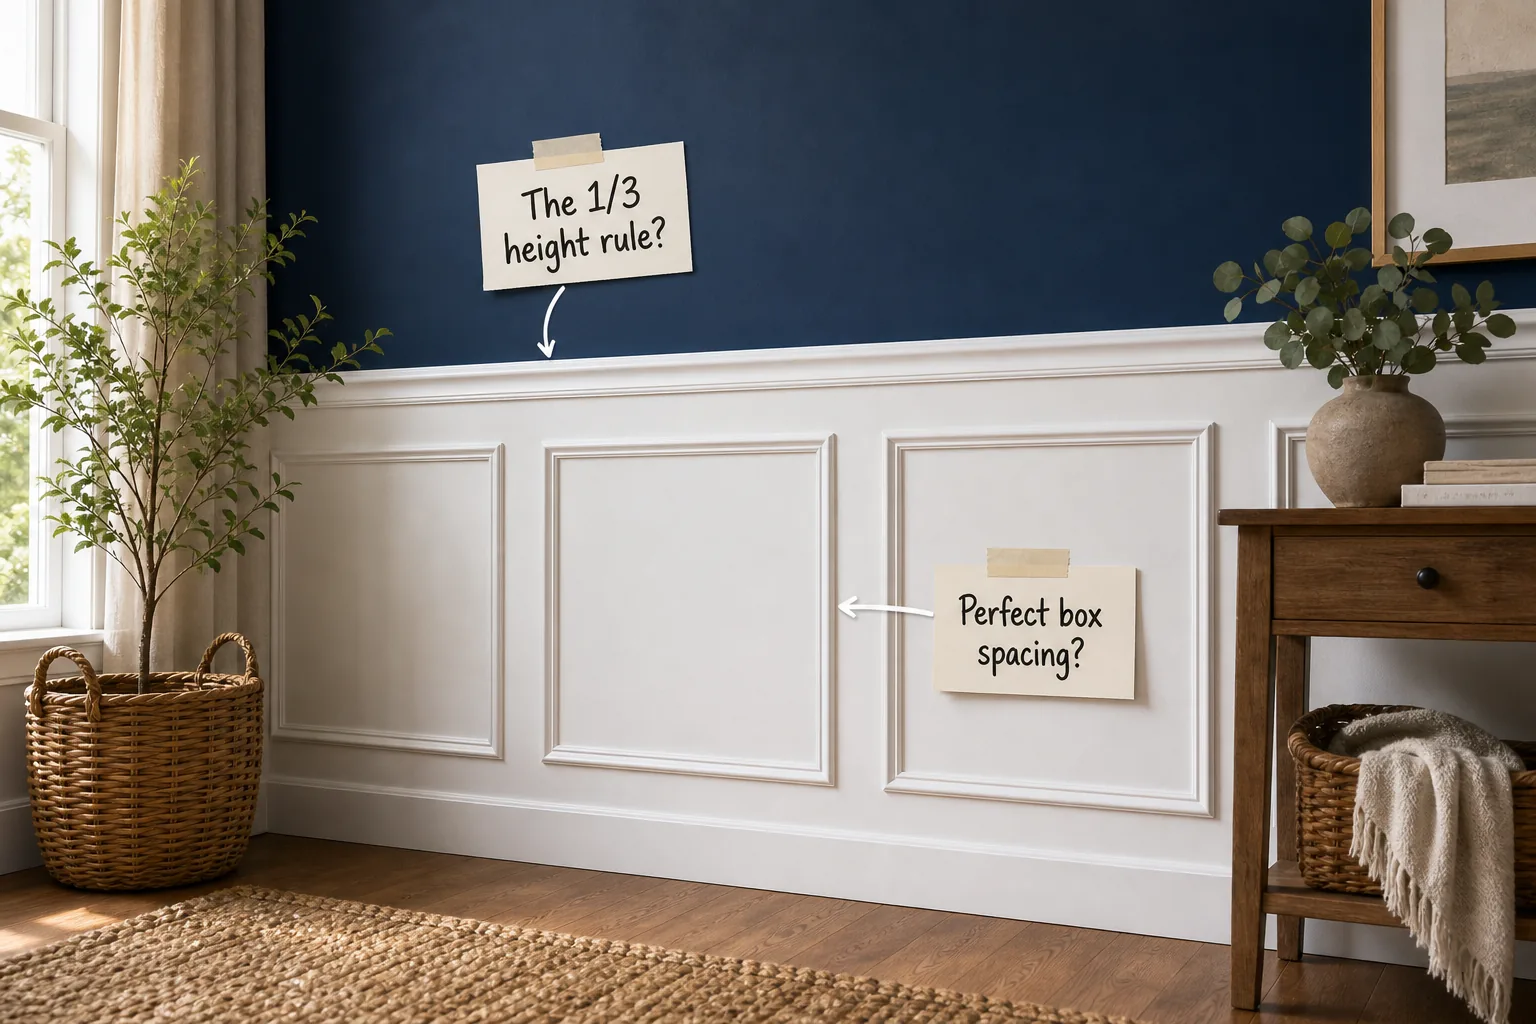
Master the exact measurements, gap spacing, and layout math needed to install flawless picture-frame paneling in any home space. You will calculate the precise dimensions and perfect box spacing for every wall using our definitive wainscoting math and spacing guide.
Determining the Ideal Wainscoting Height
The classic 1/3 height rule dictates that traditional wainscoting should cover roughly the bottom third of your wall. This specific proportion keeps the room feeling grounded without visually shrinking your overhead space or crowding the ceiling area.
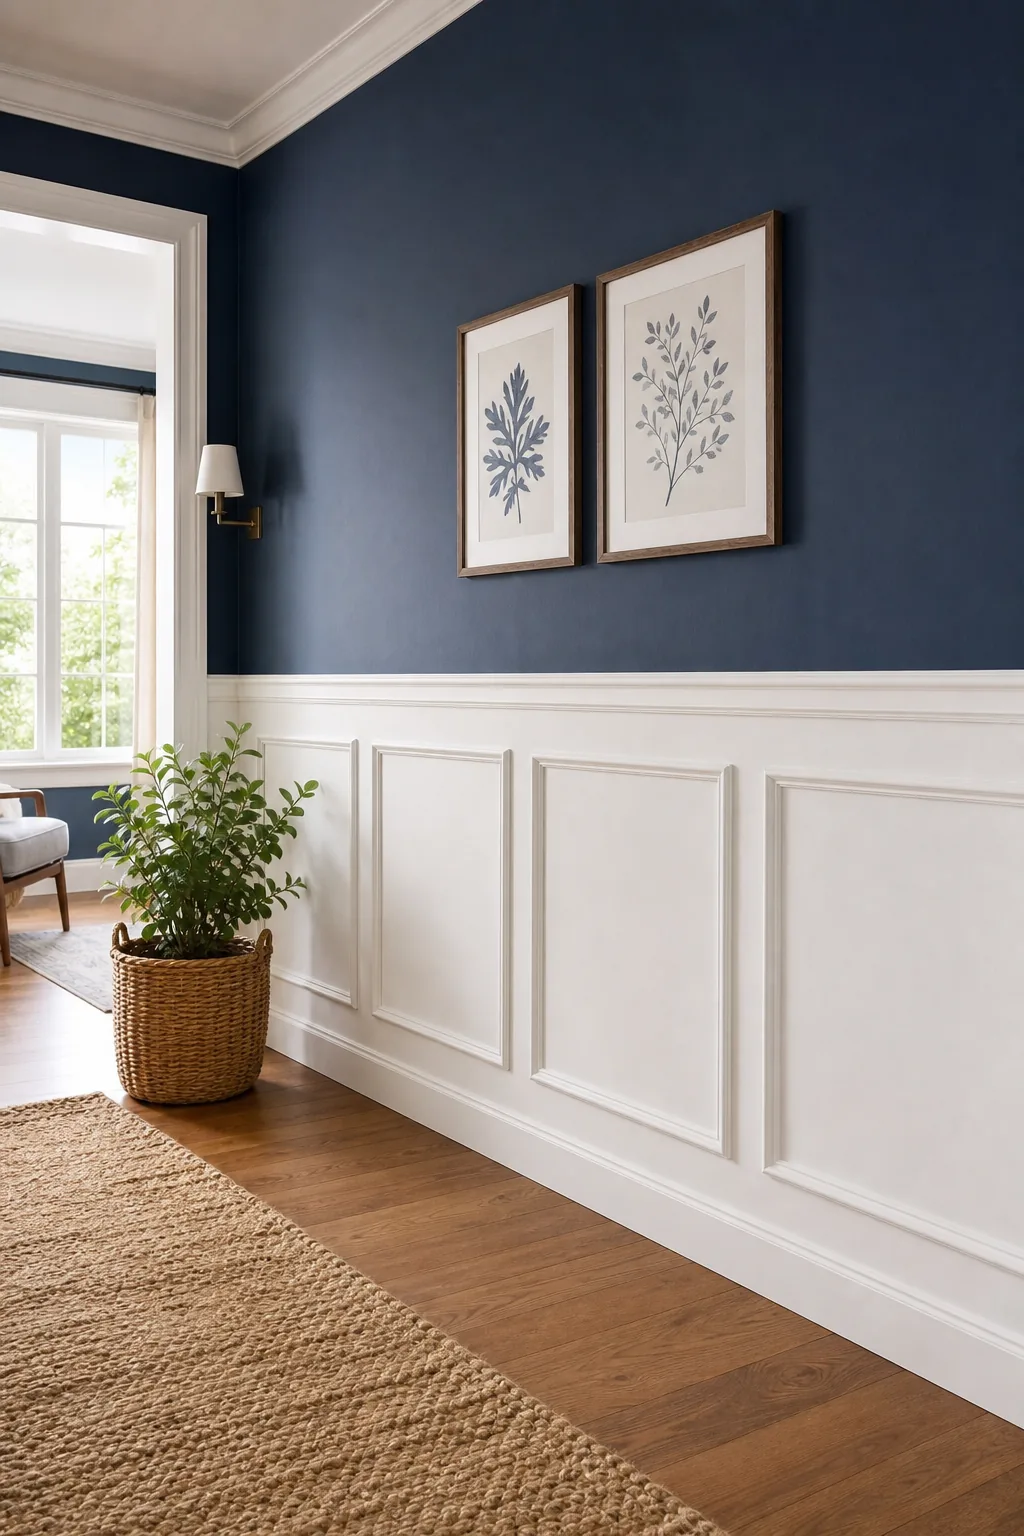
For a standard 96-inch ceiling, plan for the top edge of your chair rail to sit between 32 and 36 inches from the floor. Measuring this height carefully ensures the final installation maintains a pleasing, architecturally appropriate scale.
Marking the Level Reference Line
Before calculating individual boxes, use a laser level to strike a continuous horizontal line across the entire room at your chosen height. This crucial step ensures your top molding remains perfectly straight even if the house floor slopes slightly over long distances.
Setting a Flush Baseboard Foundation
A completely flat, flush baseboard is structurally necessary so your vertical picture frame molding sits correctly against the wall. Standard 1×4 or 1×6 MDF boards provide the ideal smooth, square surface required for this essential bottom anchor.
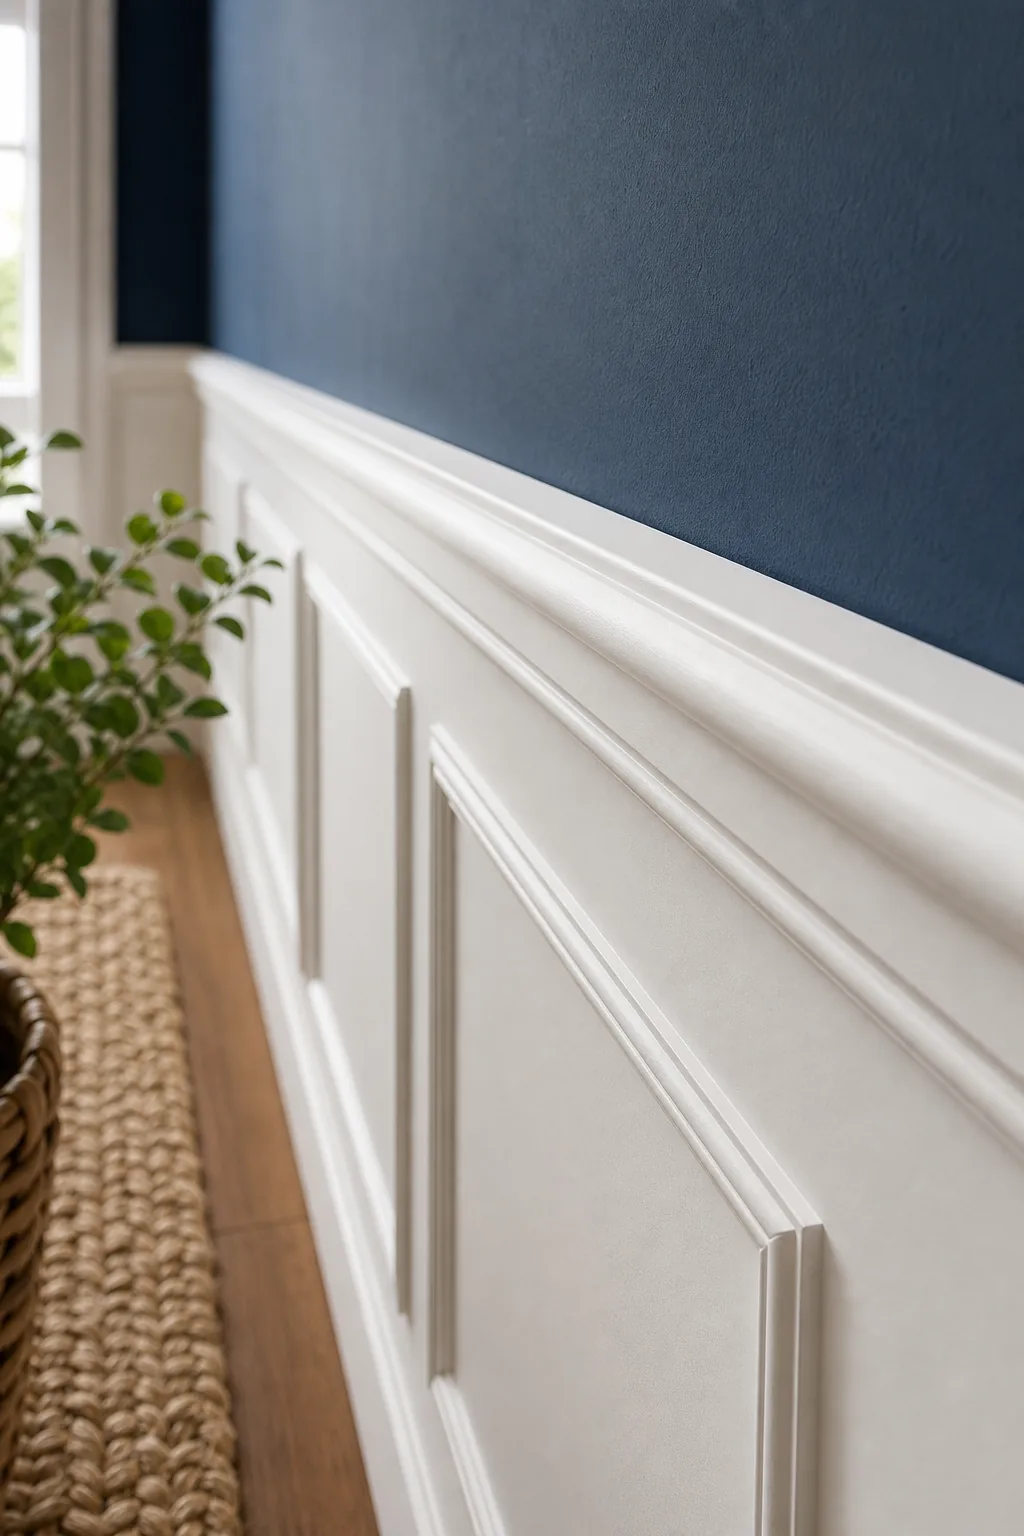
Before attaching any decorative boxes, ensure your foundation is completely flat and level to avoid these common structural errors. Taking the proper time to prep the base guarantees the rest of the molding grid will align perfectly.
Selecting the MDF Backing Board
If your drywall is heavily textured, installing a smooth 1/4-inch MDF backing board behind the lower section creates a flawless, professional finish. This thin layer mimics solid wood paneling once painted, entirely hiding any underlying drywall imperfections or heavy orange-peel textures.
Choosing the Chair Rail Profile
A traditional chair rail profile adds a sculpted ledge that caps the flat boards underneath it. This classic profile creates a distinct physical transition between the crisp white lower wall and the moody upper wall paint color.
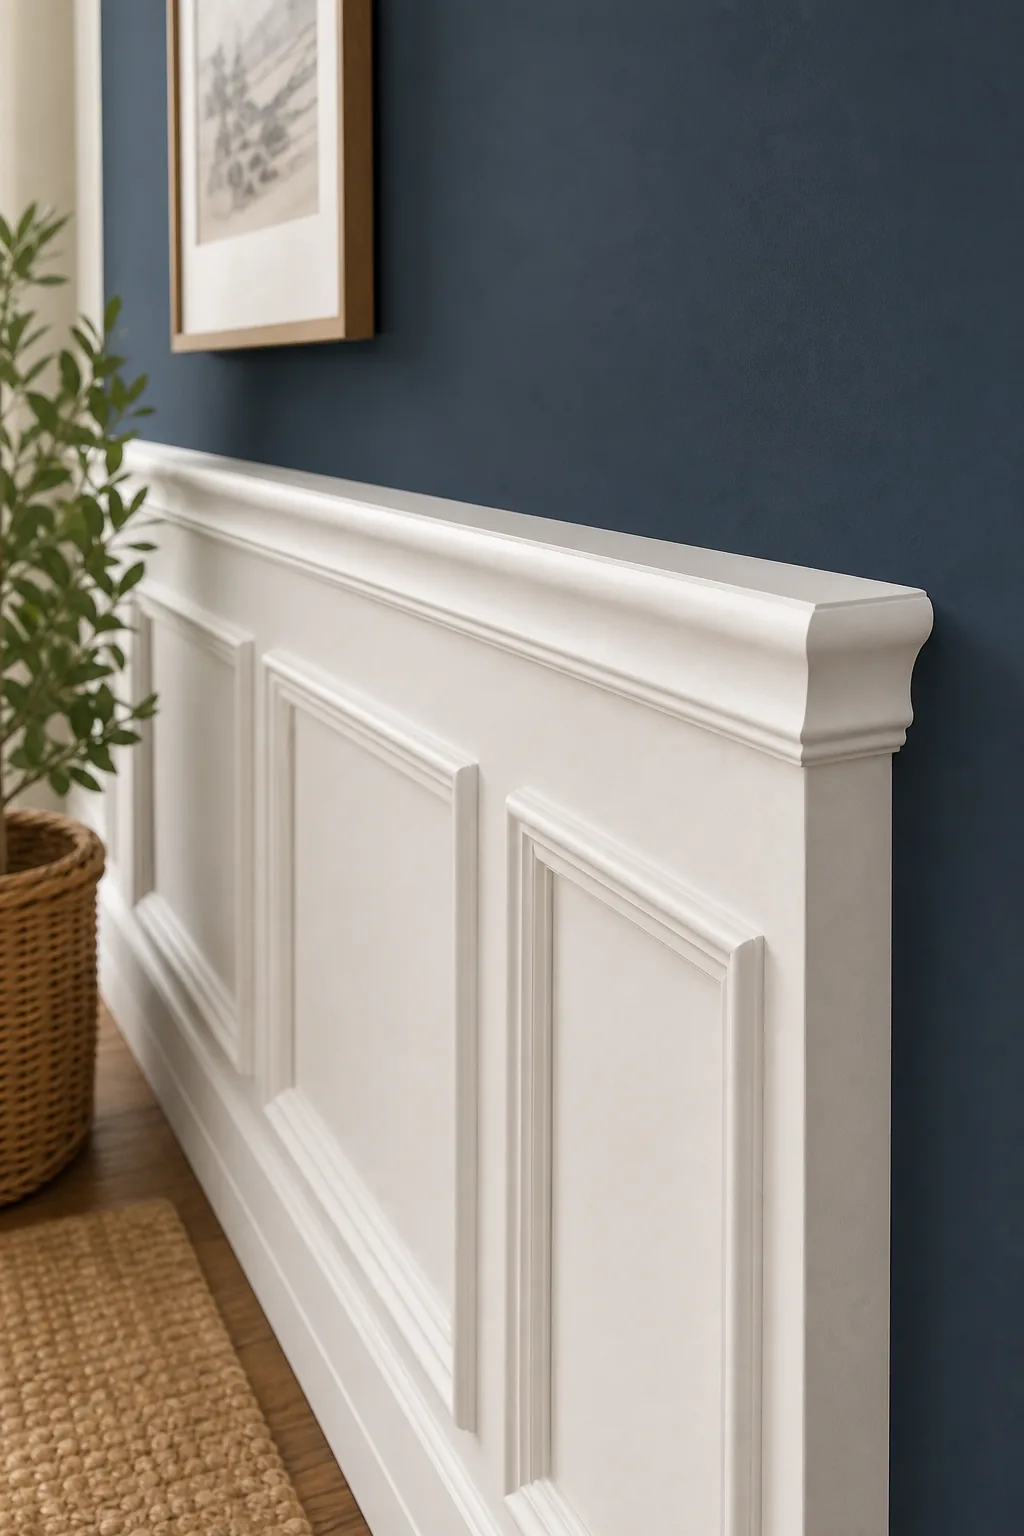
Always select a top cap that projects at least 1/4-inch further than the flat boards below it. This deliberate projection guarantees sharp, professional shadow lines that beautifully highlight the architectural separation between the two wall zones.
| Component | Recommended Depth | Primary Purpose |
|---|---|---|
| Baseboard | 0.75 inches | Foundation support |
| Vertical stiles | 0.50 inches | Frame structure |
| Chair rail cap | 1.25 inches | Upper transition |
Planning the Vertical Stiles
While true recessed wainscoting uses solid vertical wood stiles, the picture-frame method relies entirely on negative space for its structure. The blank, smooth drywall between your applied molding boxes acts as the visual stile, effectively saving both installation time and material costs.
Establishing Perfect Box Spacing
Achieving perfect box spacing requires maintaining a consistent flat gap between all adjacent molding boxes. Standard layout rules dictate a uniform 3 to 4-inch gap across the entire wall for a balanced, highly symmetrical appearance.
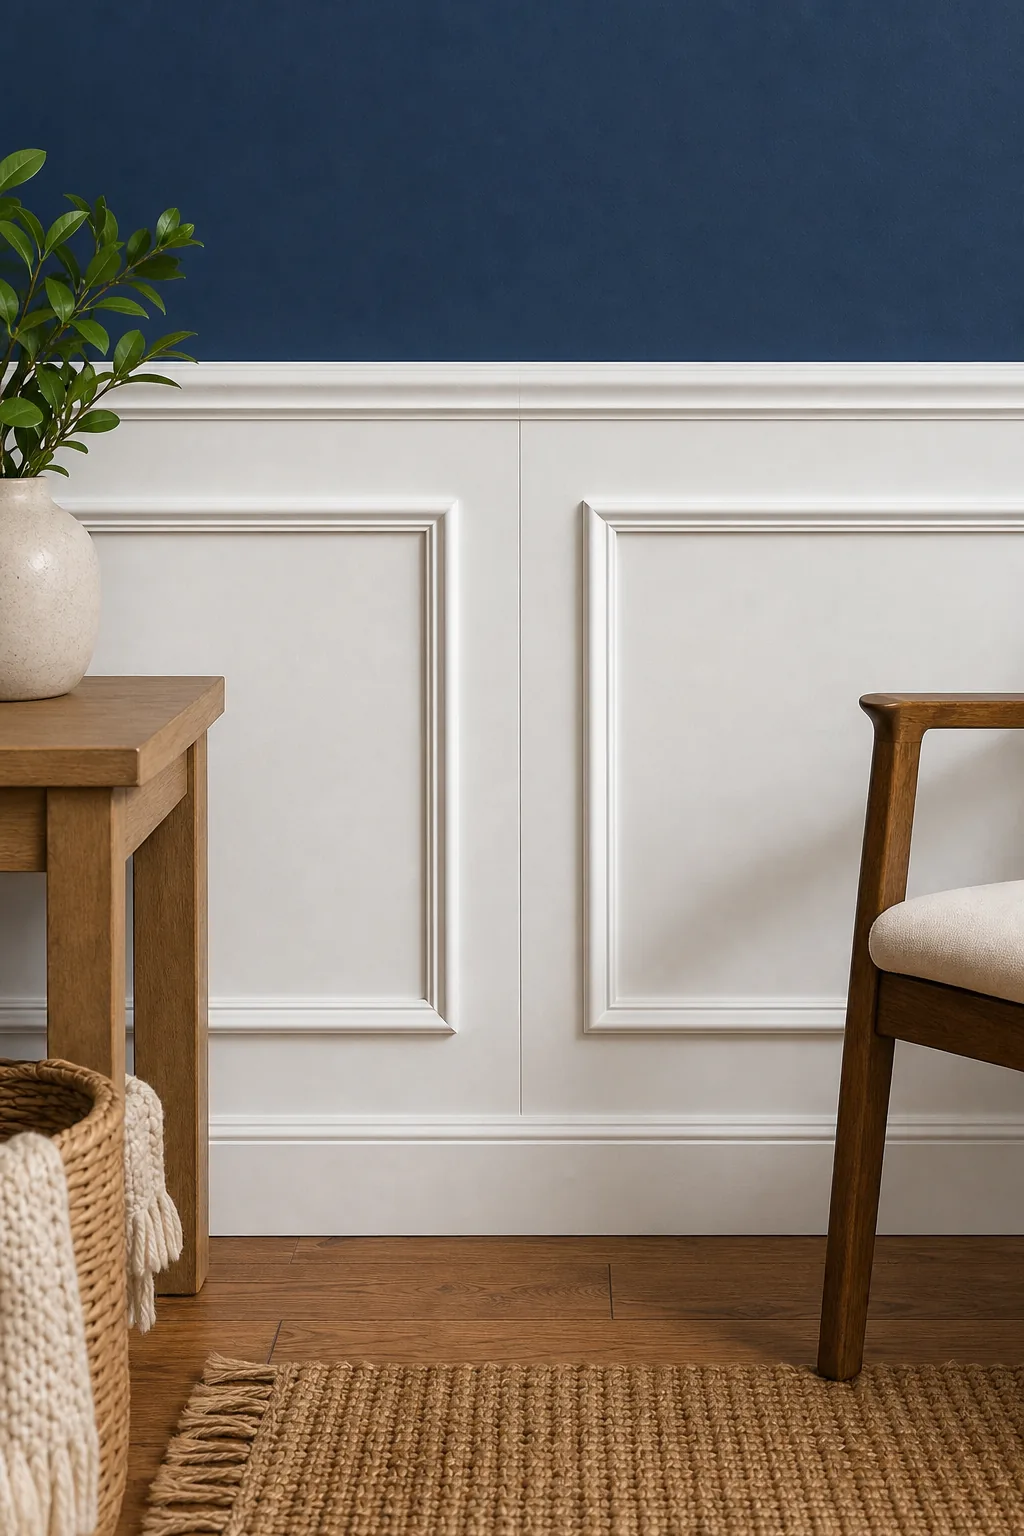
Apply this exact same measurement between the boxes and your baseboard, as well as between the boxes and the chair rail. Maintaining a static measurement across all vertical and horizontal gaps ensures visual harmony throughout the entire space.
Balancing Wall Proportions
When a wall features doors or windows, treat each uninterrupted section of drywall as an independent layout zone. This strategy prevents awkward partial boxes and keeps the visual rhythm perfectly intact across natural architectural breaks in the room.
Selecting the Picture Frame Trim
The inner decorative molding, known as picture frame trim, features a sculpted inner edge that draws the eye inward. This specific profile creates a traditional recessed panel effect without needing actual routed wood backing panels.
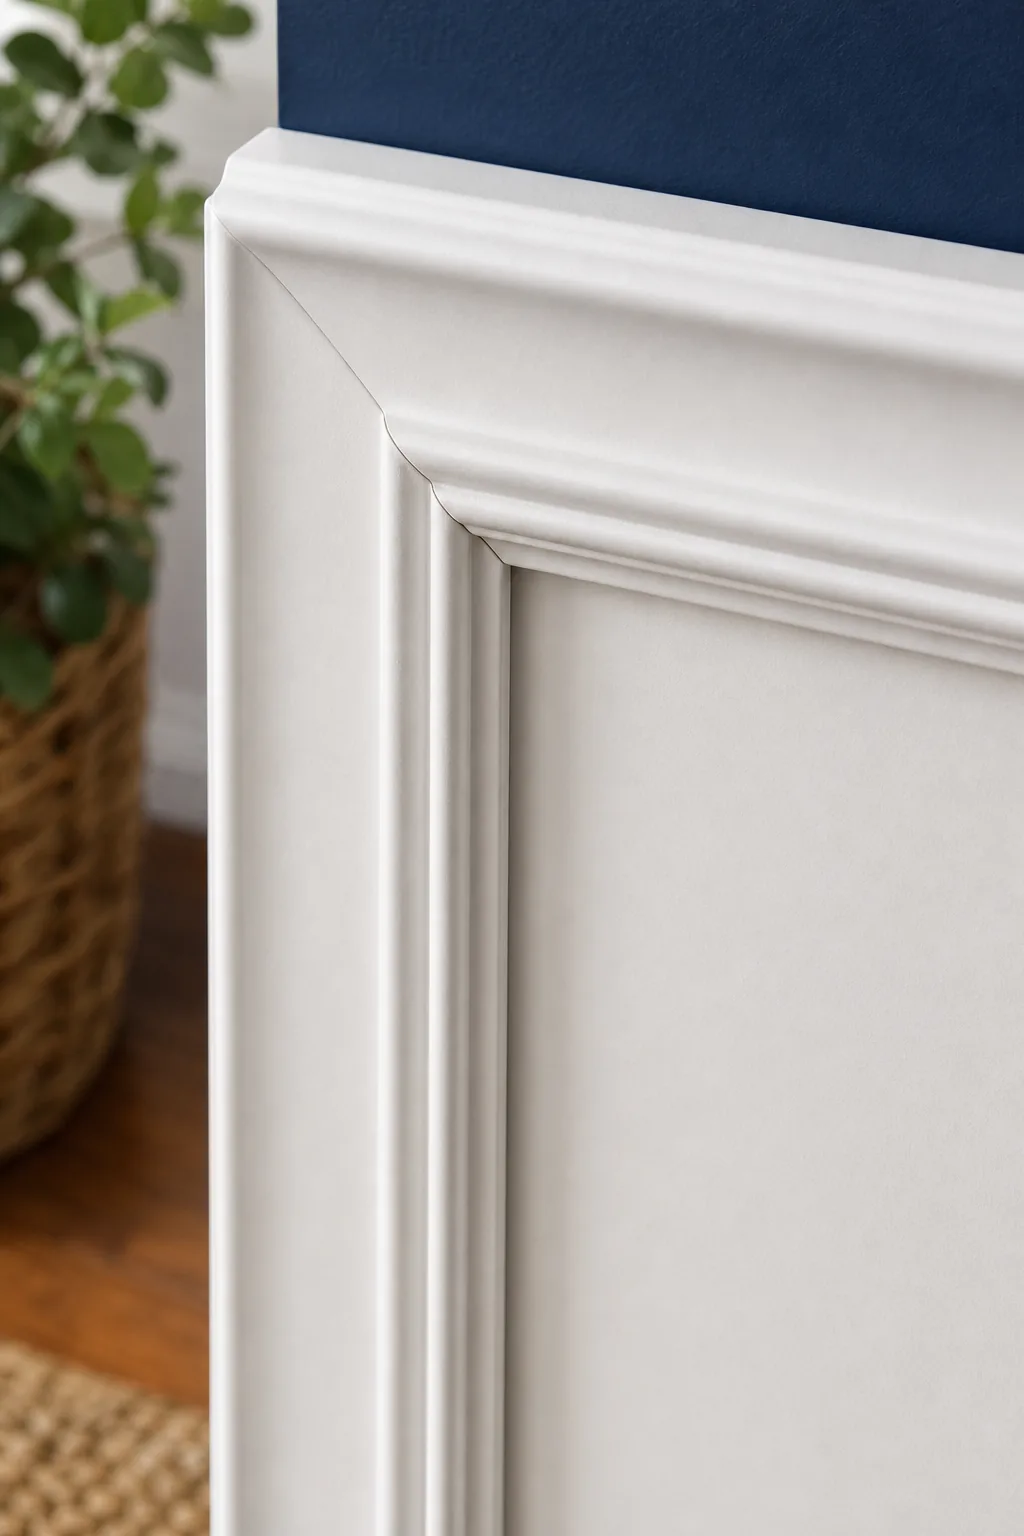
Base cap or panel molding measuring between 1.25 and 1.75 inches wide offers the best scale for standard residential hallways. Thinner profiles often look too delicate, while significantly wider profiles can easily overwhelm the lower wall section.
Cutting Mitered Corners
Every single corner of your molding boxes requires a precise 45-degree angle cut to form a perfect rectangle. Using a high-quality compound miter saw ensures these delicate joints fit together seamlessly without requiring excessive wood filler or heavy sanding.
The Wainscoting Math & Spacing Guide
To find your exact panel width, measure the total wall length in inches and subtract the combined width of all planned gaps. Divide that remaining number by your desired number of boxes to determine the precise cut length for horizontal pieces.
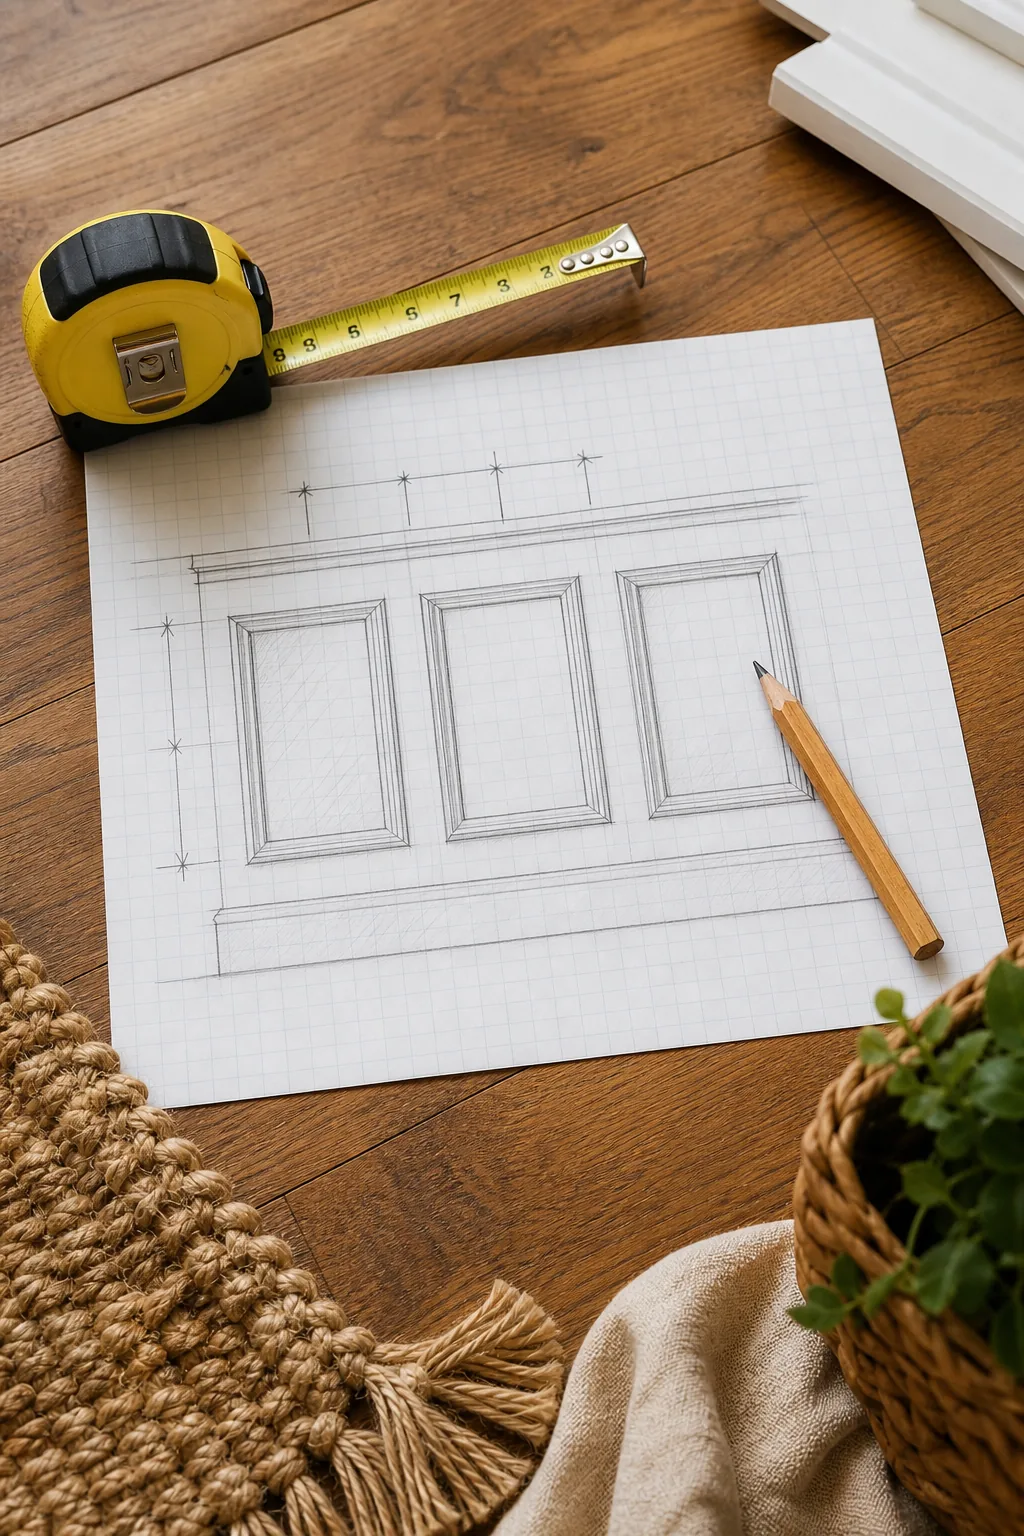
Use this straightforward sequence to calculate your exact box dimensions before you make a single saw cut. Following this reliable formula prevents costly material waste and ensures every panel matches the overall grid perfectly.
Adjusting for Visual Balance
If your calculated box width feels noticeably too narrow or too wide, simply add or subtract one box from your total planned count. Run the mathematical formula again until the resulting proportions achieve true visual balance for your specific wall length.
Navigating Outlets and Wall Switches
Subtle adjustments are necessary when electrical obstacles sit directly in the path of your planned vertical molding. Slightly altering the width of all boxes on that specific wall provides a clean, professional solution that avoids structural conflicts.
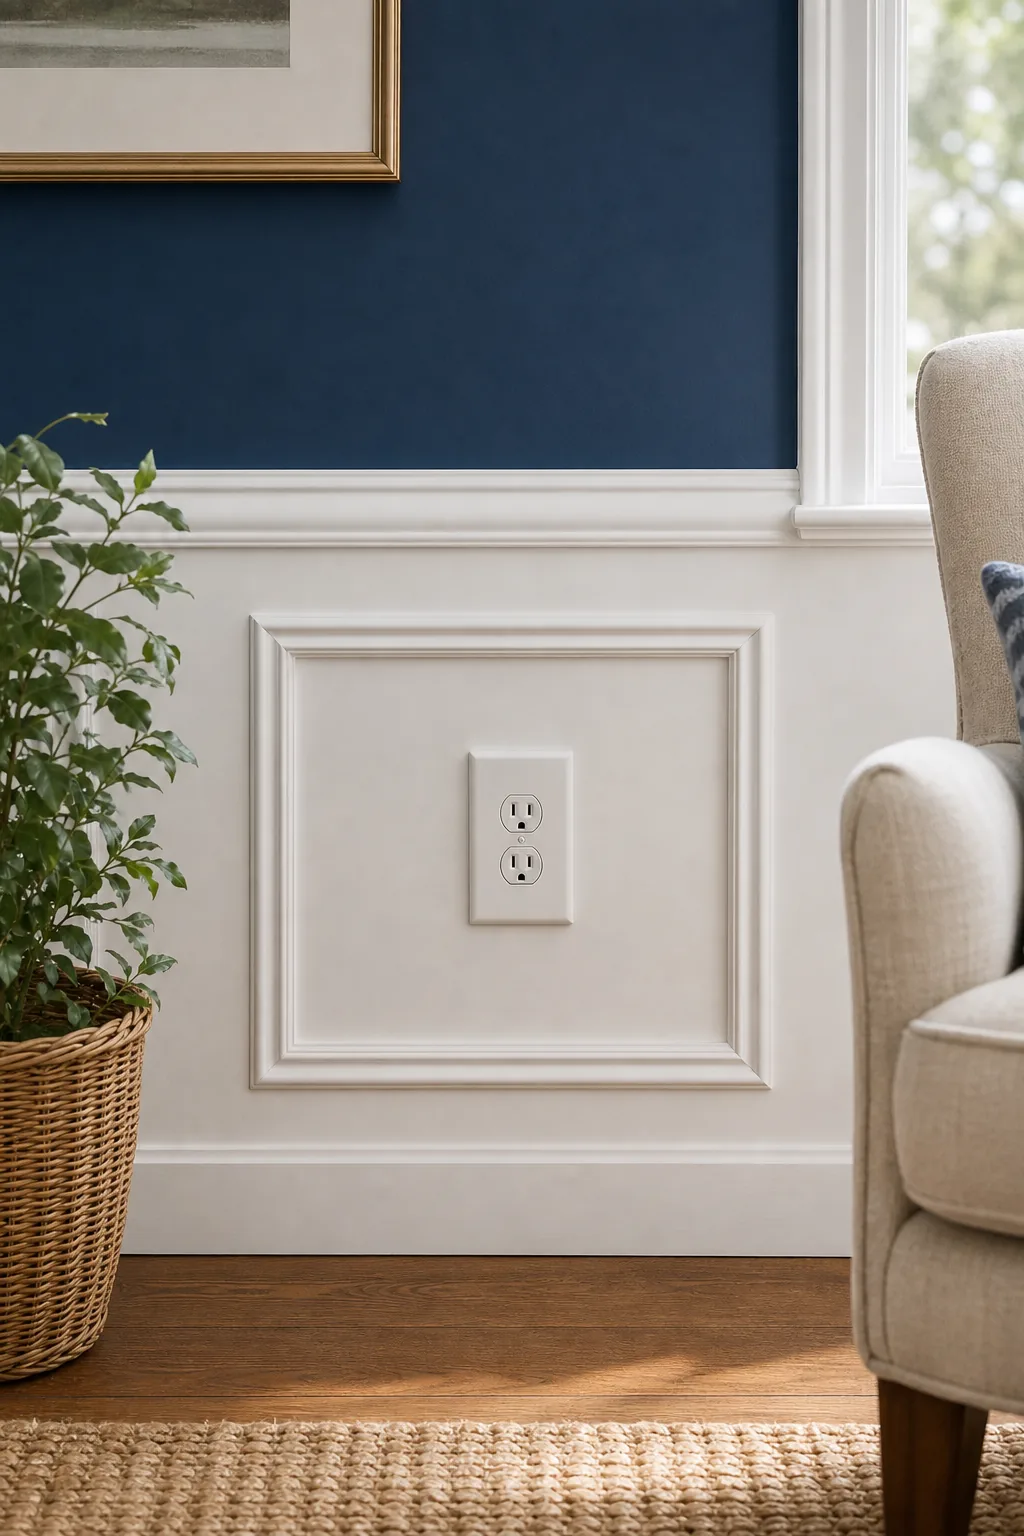
This subtle resizing ensures the trim safely bypasses electrical plates, avoiding the messy look of molding intersecting with outlet covers. Always prioritize electrical safety and clean lines over mathematically perfect box widths.
- Mark all outlet locations on your paper layout first.
- Shift the entire grid left or right by one inch.
- Reduce all box widths slightly to widen the vertical gaps.
Prepping and Caulking the Joints
Filling every nail hole with wood putty and caulking all seams where the trim meets the drywall is absolutely mandatory. This essential preparation step transforms individual pieces of wood into a singular, built-in architectural feature that looks original to the house.
Finishing with High-Contrast Paint
Pairing crisp white wainscoting with a dark, moody upper wall delivers a striking, professional visual payoff. The sharp dividing line beautifully highlights the architectural detail and depth of your newly installed molding grid.
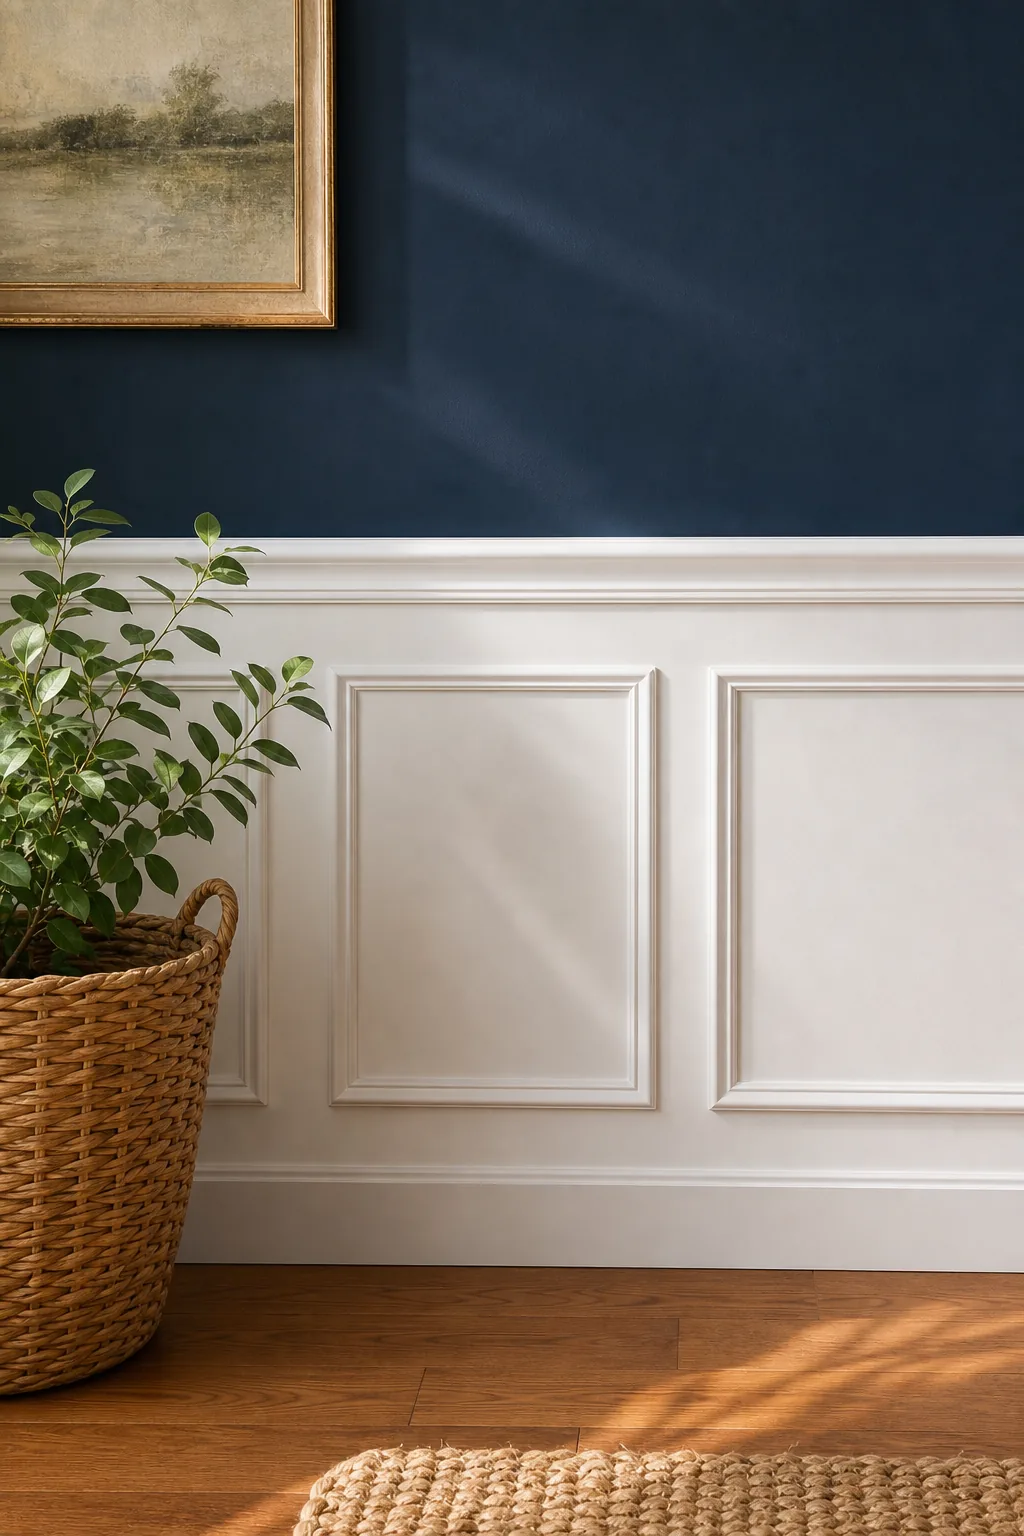
Always apply a durable semi-gloss finish on the lower trim to protect the wood against daily scuffs and impacts. This higher sheen level makes the bright white panels incredibly easy to wipe clean in high-traffic hallways and dining rooms.