
Oak Cabinet Thrift Flip: Charcoal and Faux Marble Finish
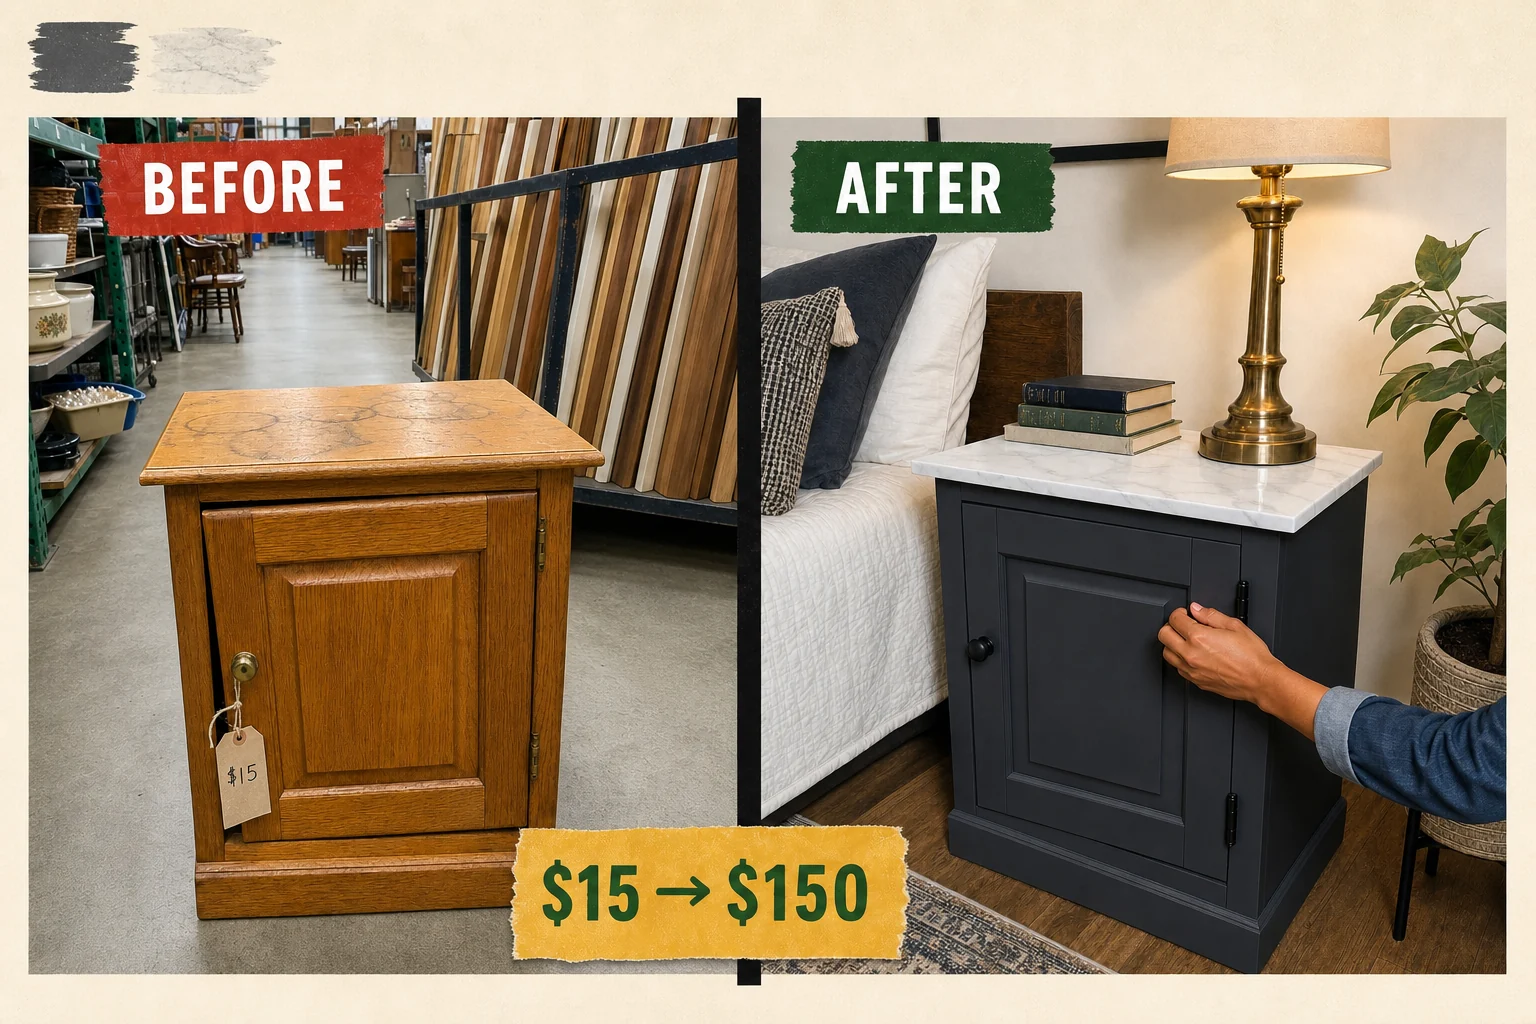
Found at a community reuse center, this water-damaged 1990s honey-oak bedside cabinet needed serious help. We transformed it into a modern nightstand featuring a deep charcoal base and a realistic faux Carrara marble top.
Step 1: Assess And Remove Hardware
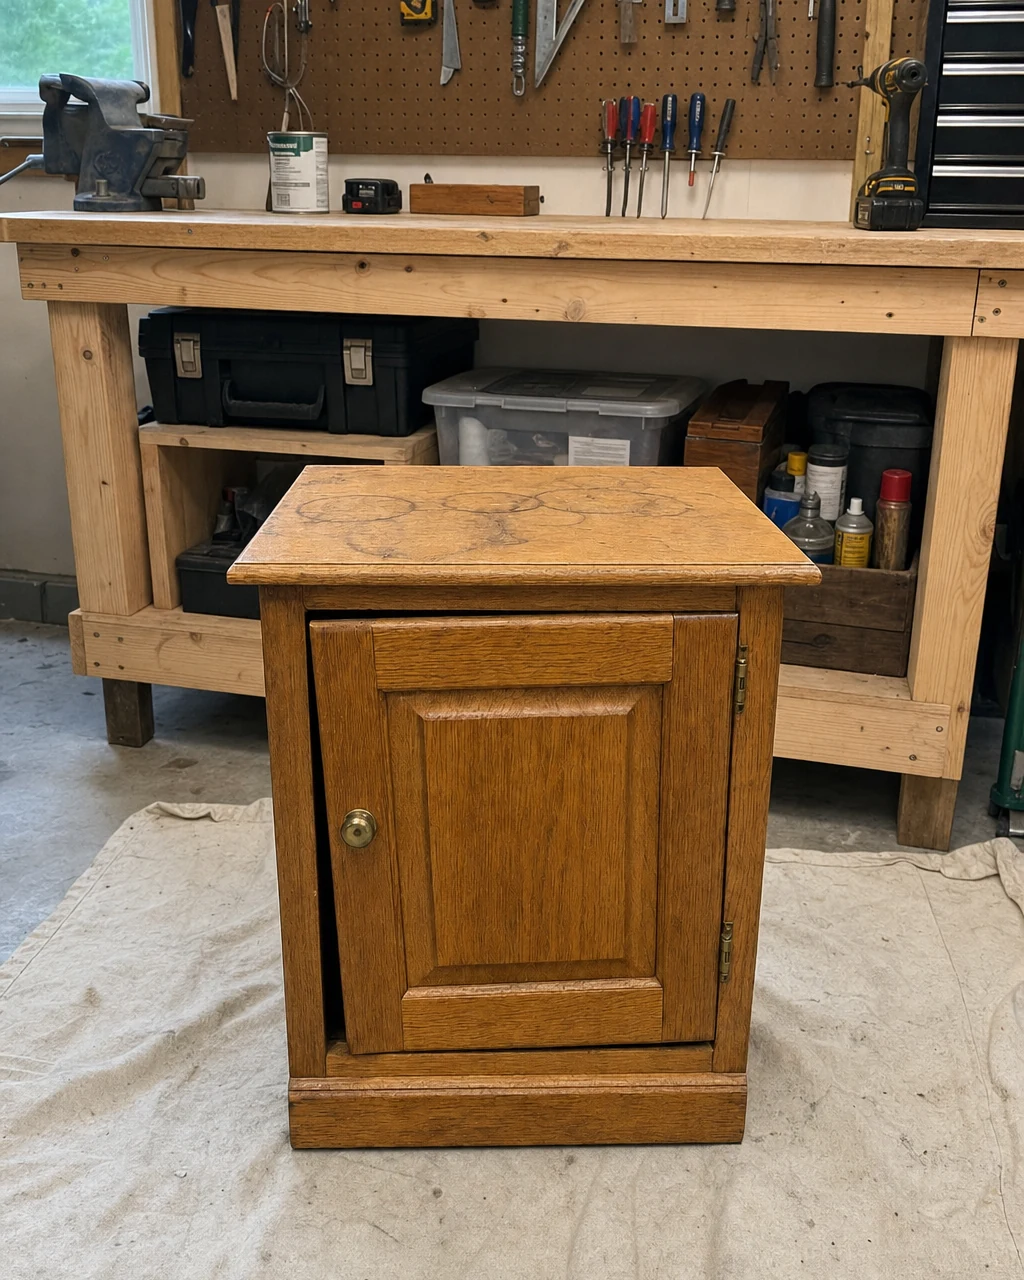
Tucked between salvaged interior doors at a bustling community reuse depot, this 1990s honey-oak bedside cabinet featured a sturdy solid oak face frame. However, the piece required a complete overhaul before sanding could begin, starting with the removal of the old brass knob and the wobbly door.
- Identify severe water damage on the top surface, marked by dark black rings penetrating through the clear coat into the wood veneer.
- Inspect the wobbly cabinet door, caused by bent brass hinges that wiggle loosely in their mortises and make the door scrape the bottom frame.
- Unscrew the bent brass hinges with a manual Phillips screwdriver to detach the wobbly door completely from the cabinet body.
Always keep track of old screws in a magnetic tray to prevent them from becoming floor hazards during the dismantling phase.
Step 2: Sand The Water Stains
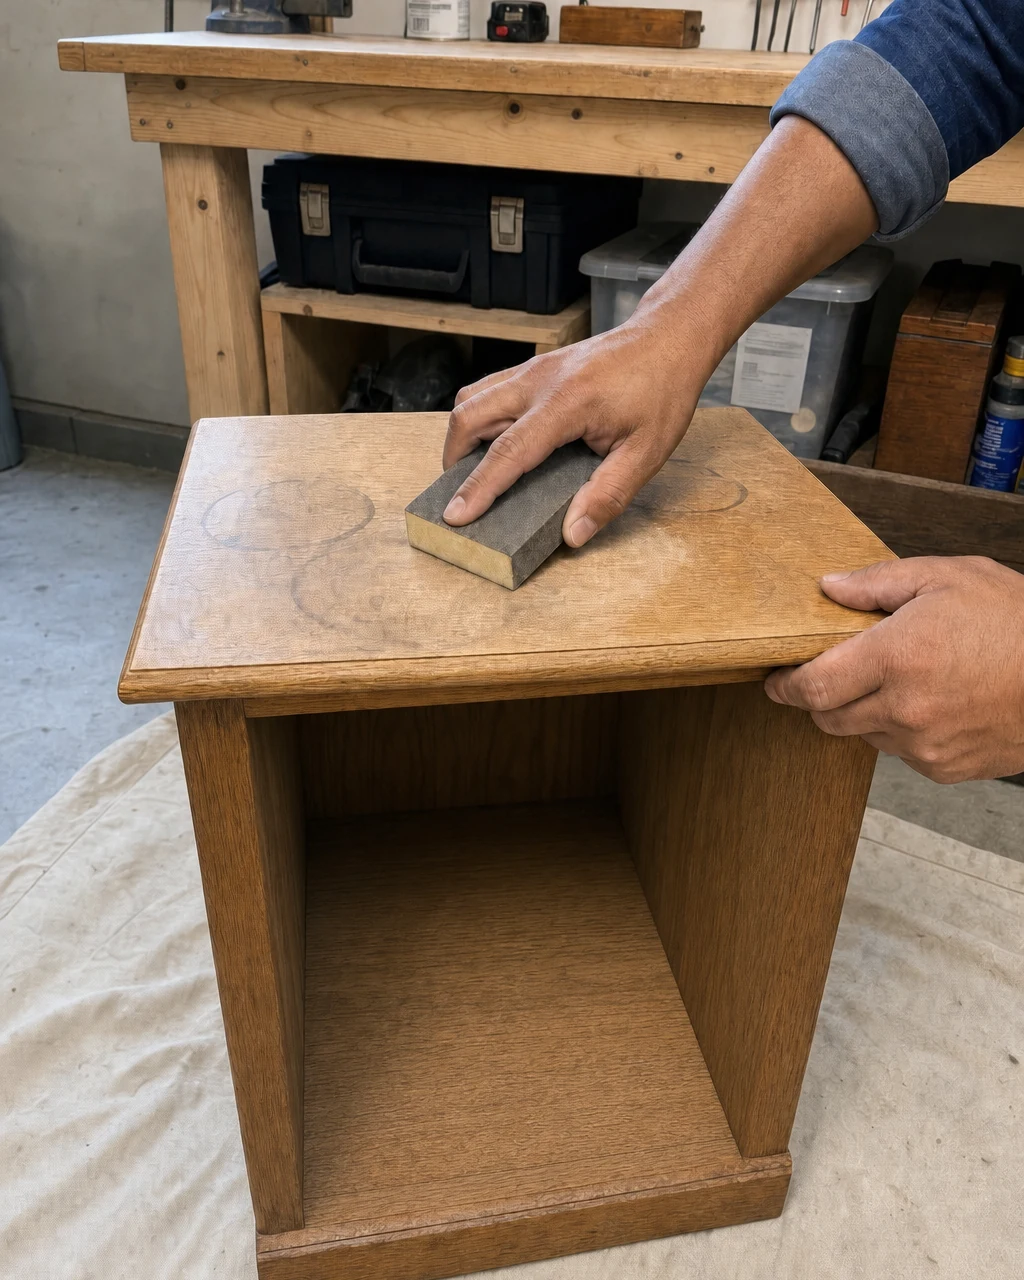
Scuff-sand the entire piece to degloss the factory lacquer, focusing heavily on the water-stained top to smooth the damaged clear coat. Rub a medium-grit sanding block vigorously over the dark water rings on the bare cabinet top to remove flaking finish. Once the surface feels uniformly dull, wipe away all residual dust with a microfiber cloth to prepare for paint.
| Item | Cost |
|---|---|
| Purchase | $15 |
| Sanding block | $4 |
| Stain-blocking primer | $12 |
| Charcoal enamel | $18 |
| White acrylic paint | $5 |
| Gray acrylic paint | $5 |
| Craft feather | $2 |
| Clear polyurethane | $15 |
| Black hinges with screws | $8 |
| Black knob | $5 |
| Total Investment | $89 |
| Estimated Resale Value | $150 |
| Value Gain | $61 |
Wear a dust mask and work over a drop cloth to contain the fine sanding dust while preparing the surface.
Step 3: Apply Bonding Primer
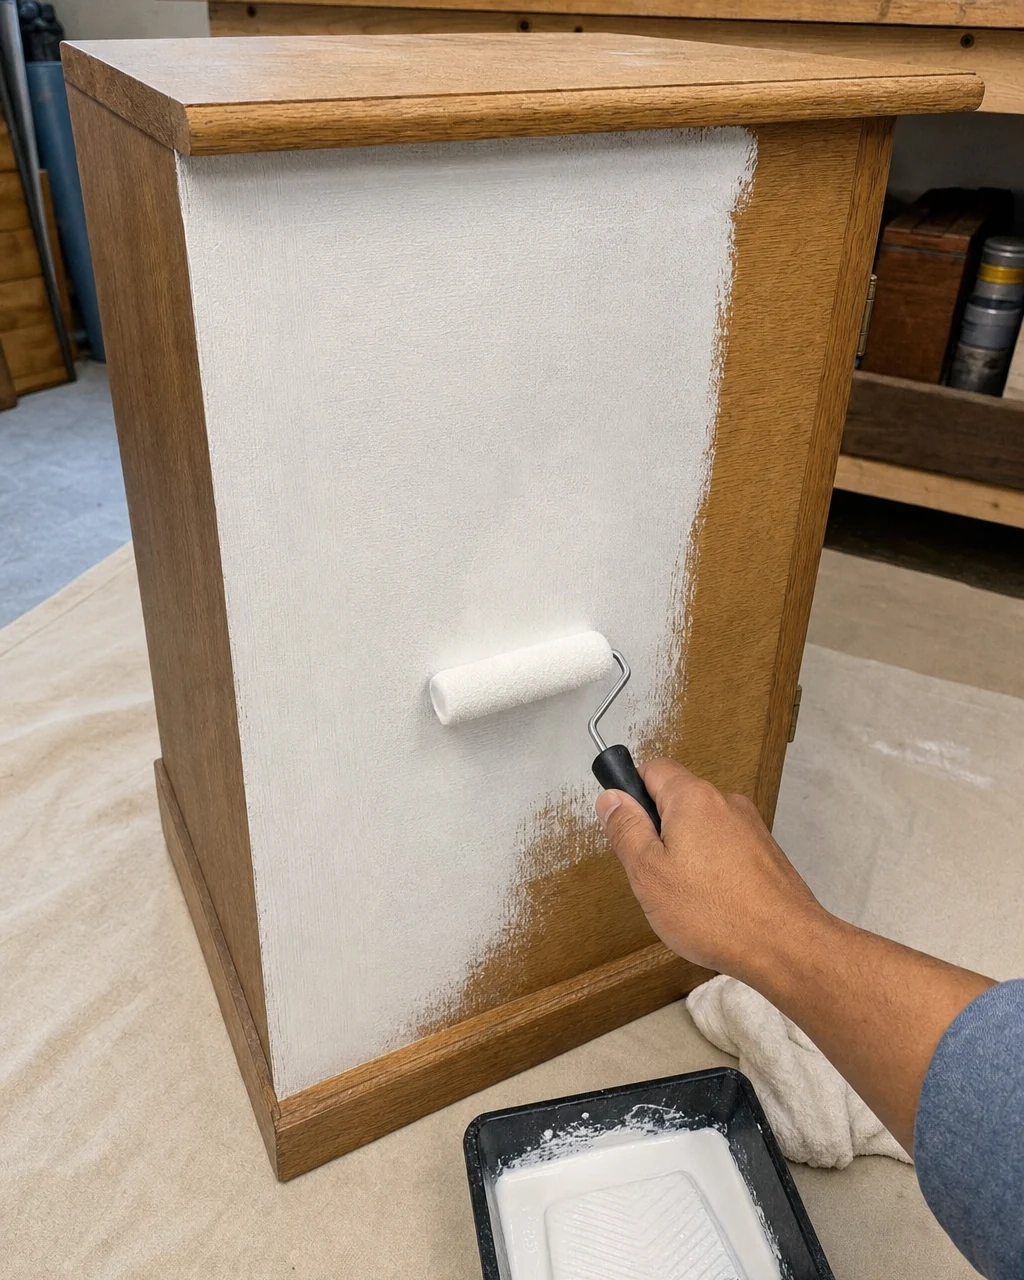
Coat the bare oak and sanded top with a stain-blocking primer to prevent tannin bleed and water stain show-through. Roll the stark white primer evenly onto the cabinet side panels and top using a small foam roller, ensuring complete coverage over the dark rings, then let it dry for two hours.
Materials checklist
Ensure the workshop is well-ventilated when applying solvent-based stain blockers to protect yourself from strong fumes.
Step 4: Paint The Cabinet Base
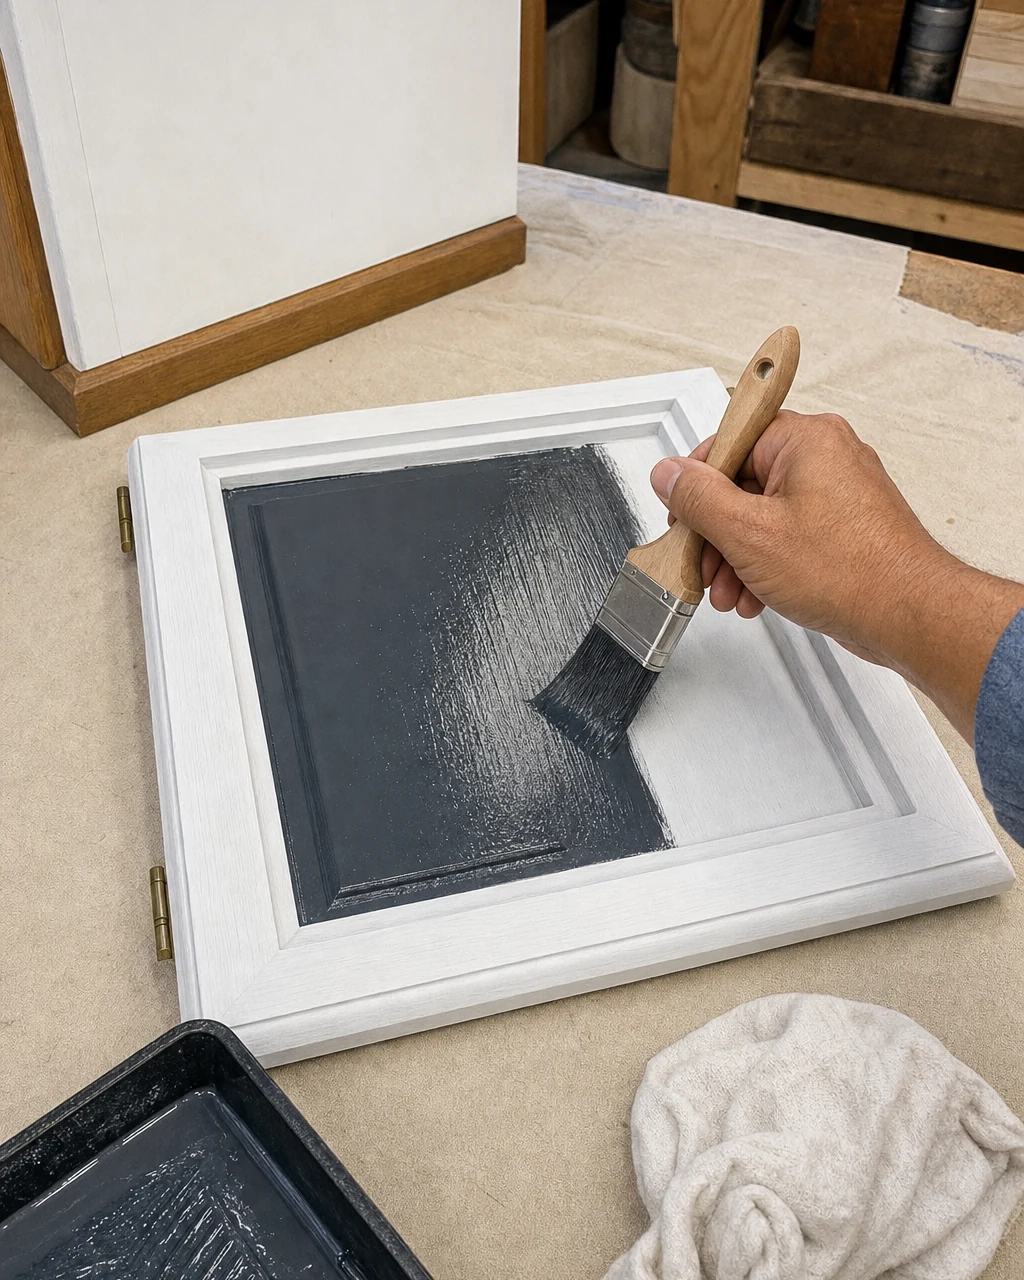
Paint the cabinet body and door with two coats of deep charcoal enamel, intentionally leaving the top primed white for the upcoming faux marble effect. Brush the dark charcoal paint carefully into the recessed panel of the detached cabinet door, ensuring the finish remains smooth, even, and completely free of drips.
Curing the Base Coat
Place the door on painter’s pyramids to prevent the wet edges from sticking to the workbench while the deep charcoal enamel cures overnight. This durable cabinet paint provides a strong, protective shell against daily bedroom wear and tear, ensuring the base remains pristine.
Step 5: Paint The Faux Marble
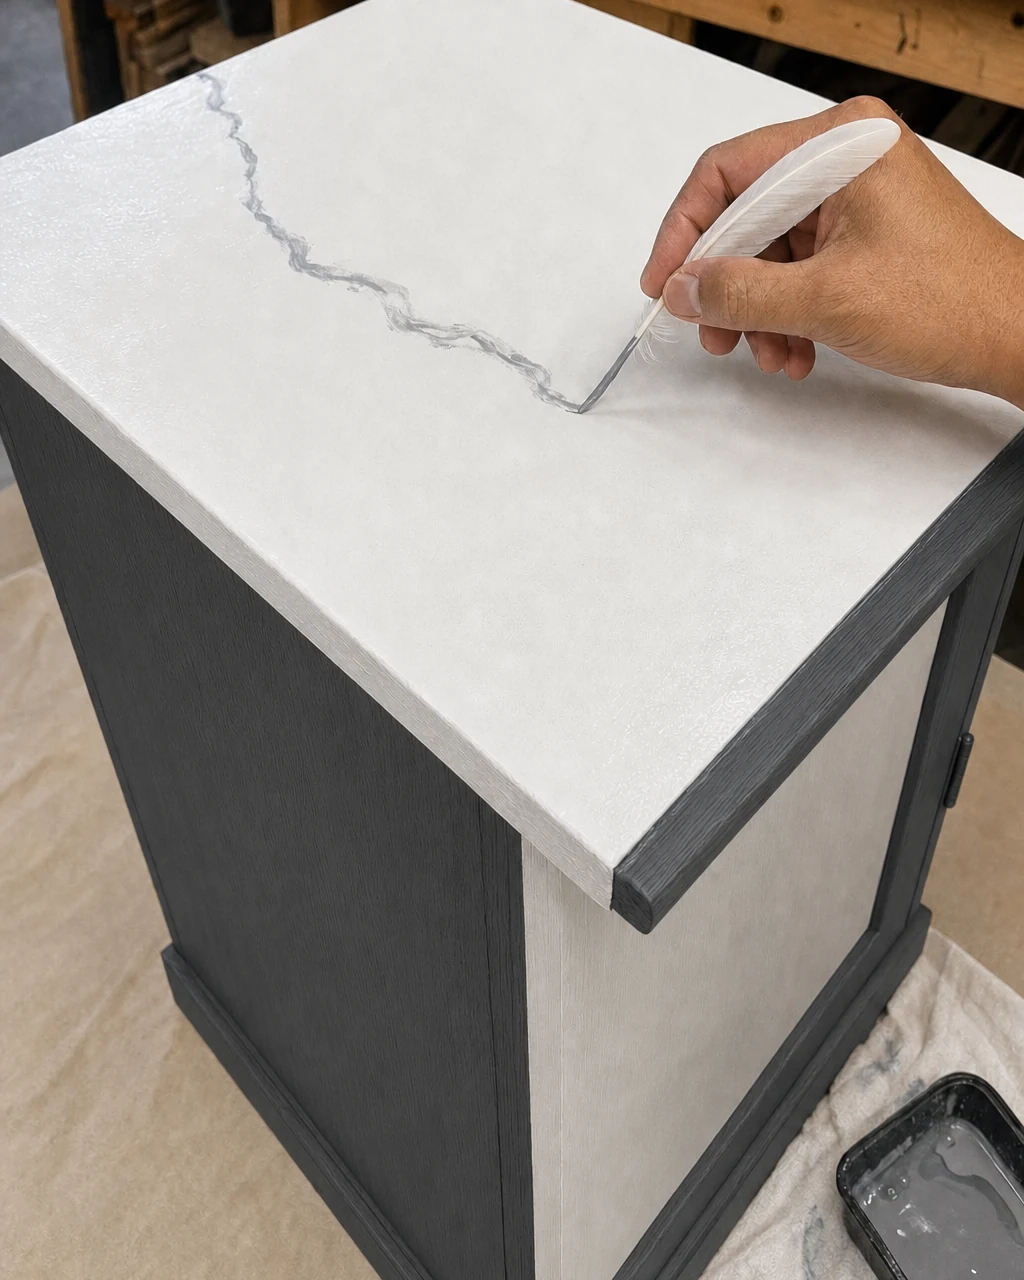
Sponge a wet white base coat onto the top, then drag the tip of a small craft feather dipped in gray paint to draw organic veins. Blend the veins softly with a dry brush to mimic natural stone depth. Once the acrylic dries completely, apply a protective clear polyurethane topcoat and let it cure for 24 hours.
Always wear gloves to keep acrylic paint off your hands while blending the realistic faux Carrara marble finish.
Step 6: Reattach The Door
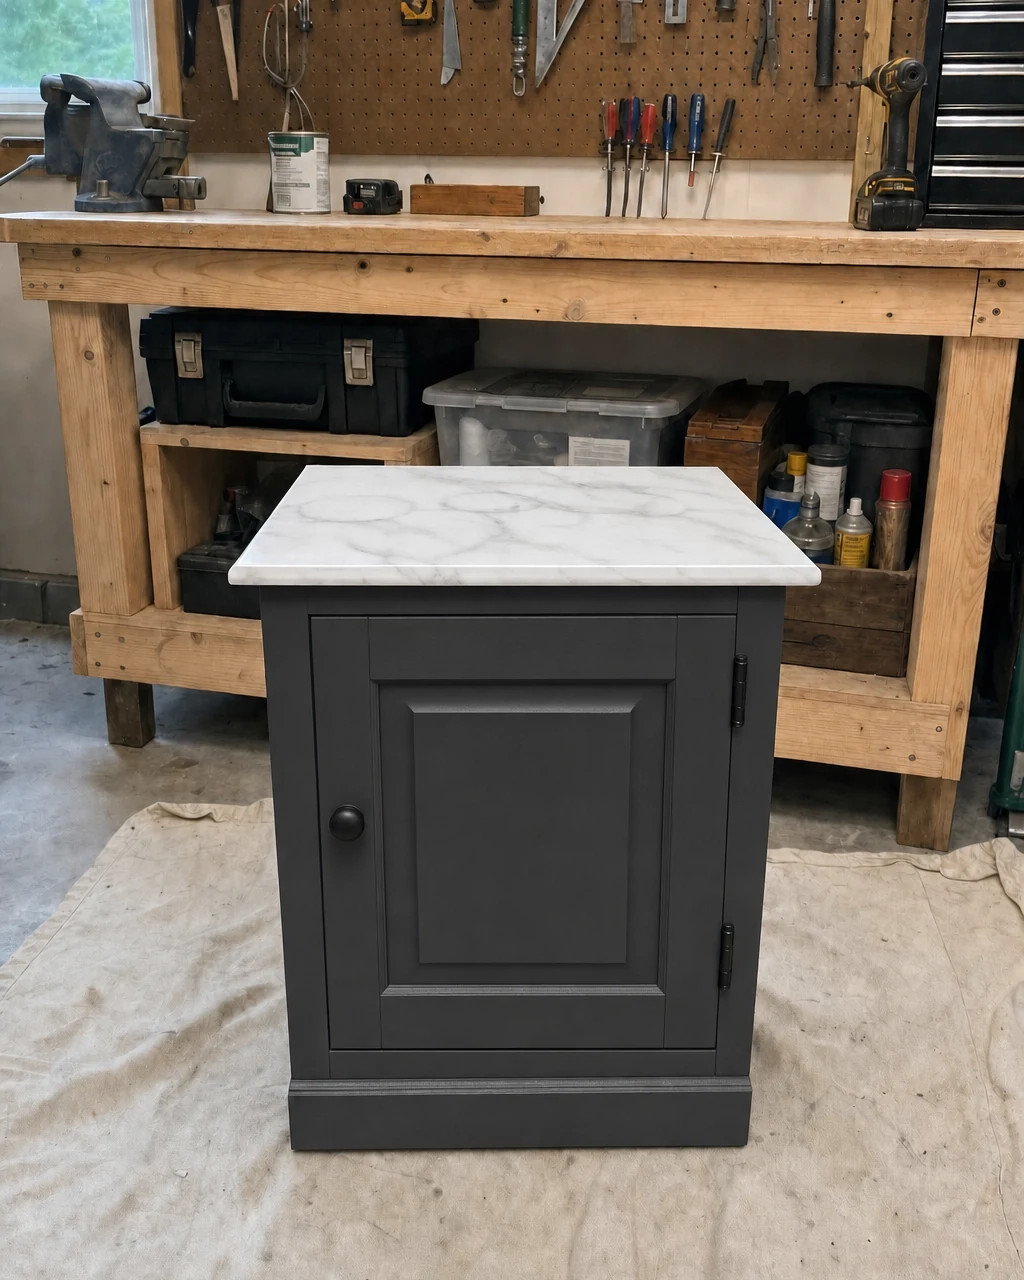
Install new flat black hinges to fix the severe wobble, attach the modern matte black knob, and carefully mount the door back onto the cabinet frame. Drive screws into the new hardware to secure the freshly painted door, ensuring it hangs perfectly straight on the finished cabinet without scraping the bottom plinth base.
Hardware Installation
Support the bottom of the door with a wooden shim while driving the screws to ensure it stays perfectly level during installation. These upgraded hinges completely eliminate the frustrating sag of the original 1990s hardware, restoring full functionality to the piece.
Step 7: Style The Bedside Cabinet
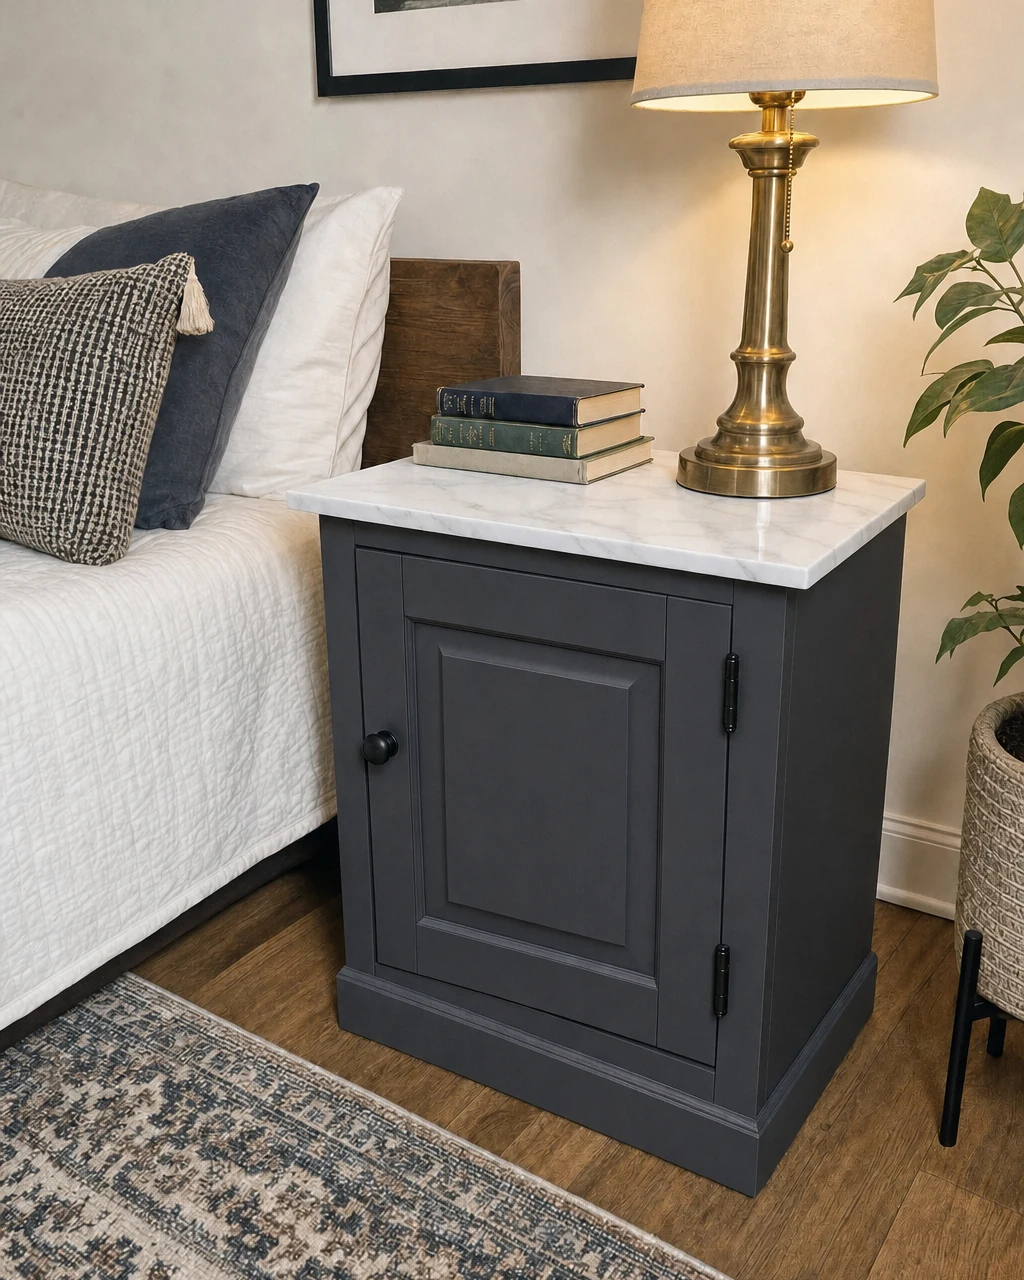
Move the finished piece into a bedroom, styling it with a lamp and books to showcase the durable faux marble surface. Place a heavy brass bedside lamp onto the fully cured cabinet top to complete the sleek, modern nightstand look.
Project Valuation and Resale Potential
The high-end look of the faux stone top combined with the moody charcoal base elevates this from a dated thrift store cast-off to a boutique-style nightstand. Always lift the cabinet by the sturdy base frame rather than the overhanging top when moving it into position.
- The striking contrast significantly increases its decorative appeal, raising the estimated resale value to $150—an editorial estimate rather than a completed sale.
- This impressive transformation yields a strong financial return on the initial $89 total investment.