
Front Yard Landscaping: The 3-Tier Planting Guide
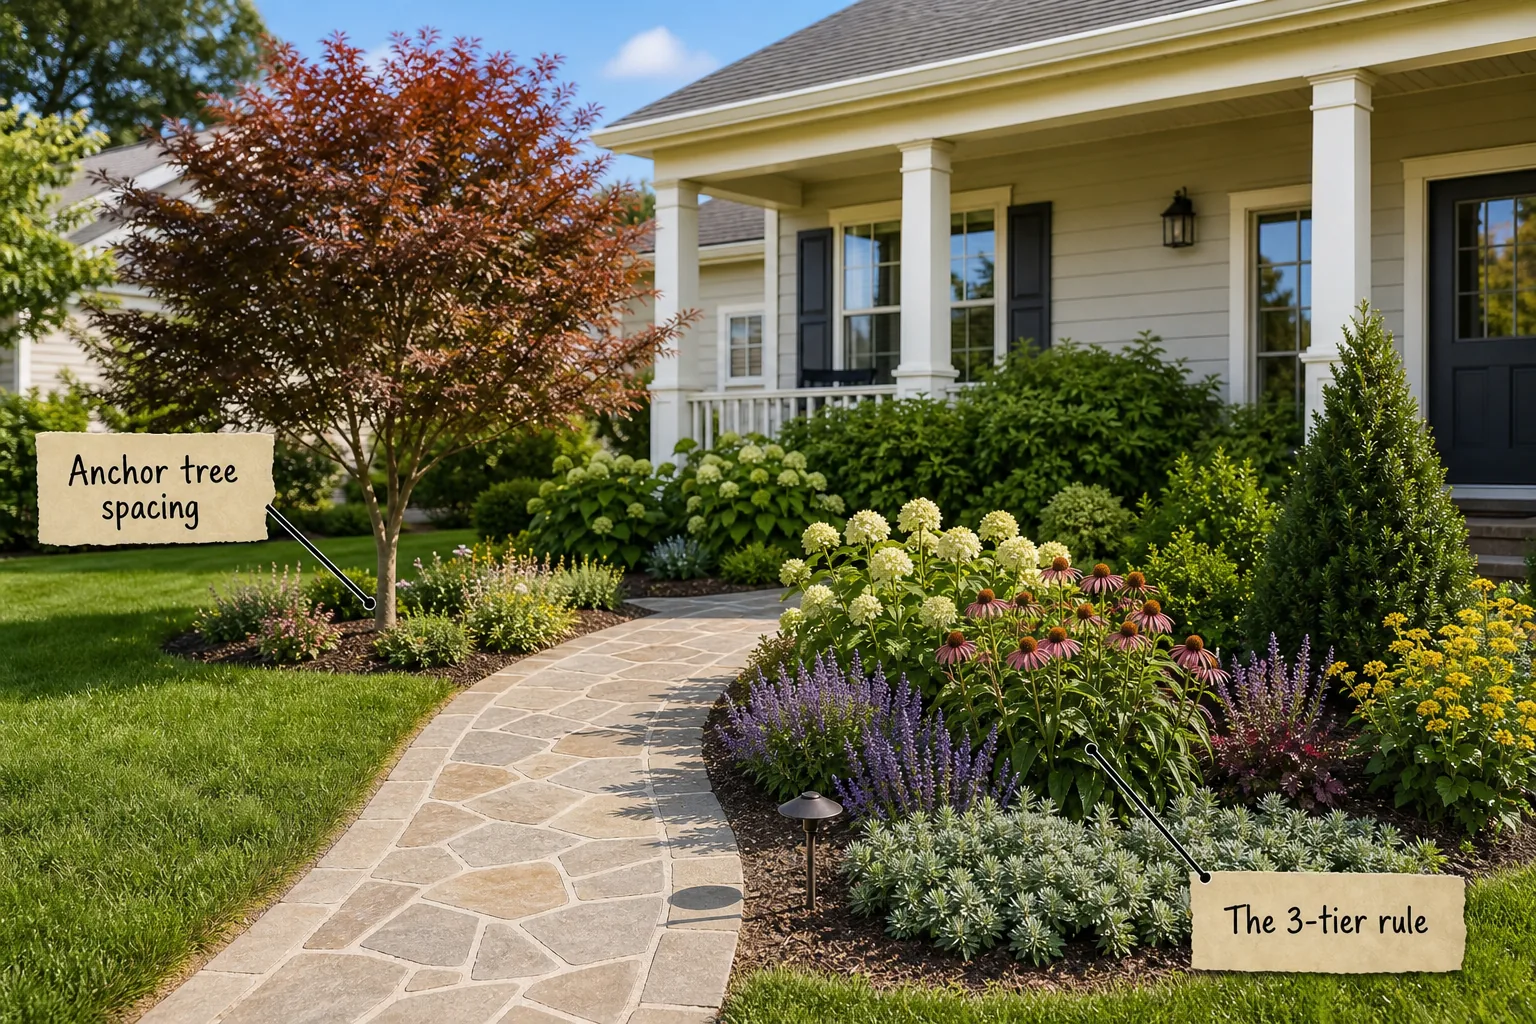
With this comprehensive 3-tier planting guide, you will successfully map out your front yard beds and confidently layer shrubs, perennials, and groundcovers. By mastering anchor tree spacing and the exact evergreen ratio, you can build a welcoming, structured landscape that thrives year-round.
Sizing the Front Walkway
A welcoming entrance requires balancing your softscape with the right amount of structural hardscape. A primary front walkway must be wide enough for two people to walk side-by-side comfortably, requiring a strict minimum width of 48 to 54 inches.
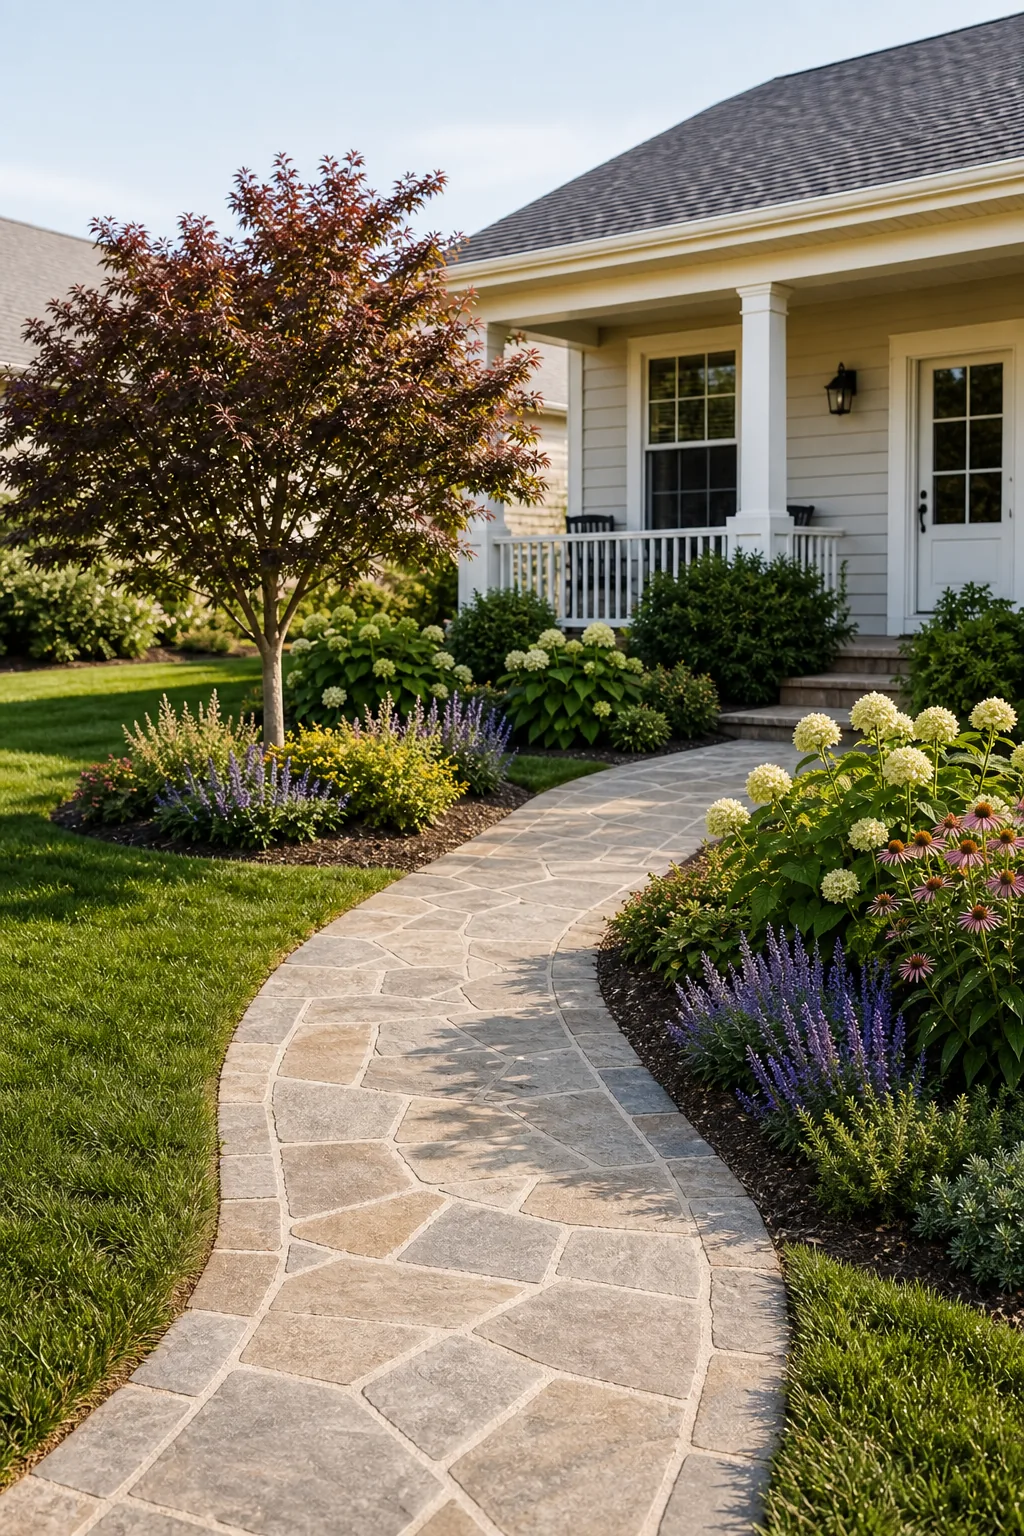
A meandering hardscape layout breaks up a perfectly square lawn and provides the necessary physical space to stack multiple rows of foliage. This intentional geometry sets the stage for a lush, deeply layered entrance.
Choosing Walkway Materials
Selecting the right paving surface ensures your new path remains safe and visually cohesive with the house. You must match the material’s durability, texture, and slip resistance to your local climate conditions and the home’s exterior color palette.
| Material Type | Climate Suitability | Slip Resistance | Maintenance Level |
|---|---|---|---|
| Natural Flagstone | Excellent for freeze-thaw cycles | High when left unpolished | Low; requires joint sand |
| Poured Concrete | Good, requires expansion joints | Medium; needs a broom finish | Very low; seal annually |
| Clay Brick | Moderate; can crack in extreme cold | High textured surface | Medium; monitor for moss |
| Concrete Pavers | Excellent; flexible interlocking system | High textured finish | Low; replace joint sand |
| Crushed Gravel | Good; requires regular raking | High natural friction | High; weeds easily |
| Porcelain Tiles | Excellent frost resistance | Medium; needs texture | Low; sweep regularly |
Always install your chosen paving material over a properly compacted gravel base. A minimum 6-inch aggregate foundation prevents the walkway from settling unevenly, ensuring your carefully measured 48-inch path remains perfectly level for decades of daily foot traffic.
Positioning the Anchor Tree
Properly spacing your primary anchor tree prevents future root damage to your new walkway and home foundation. Calculate this critical planting distance by researching the specific ornamental tree’s mature canopy width before you ever pick up a shovel.
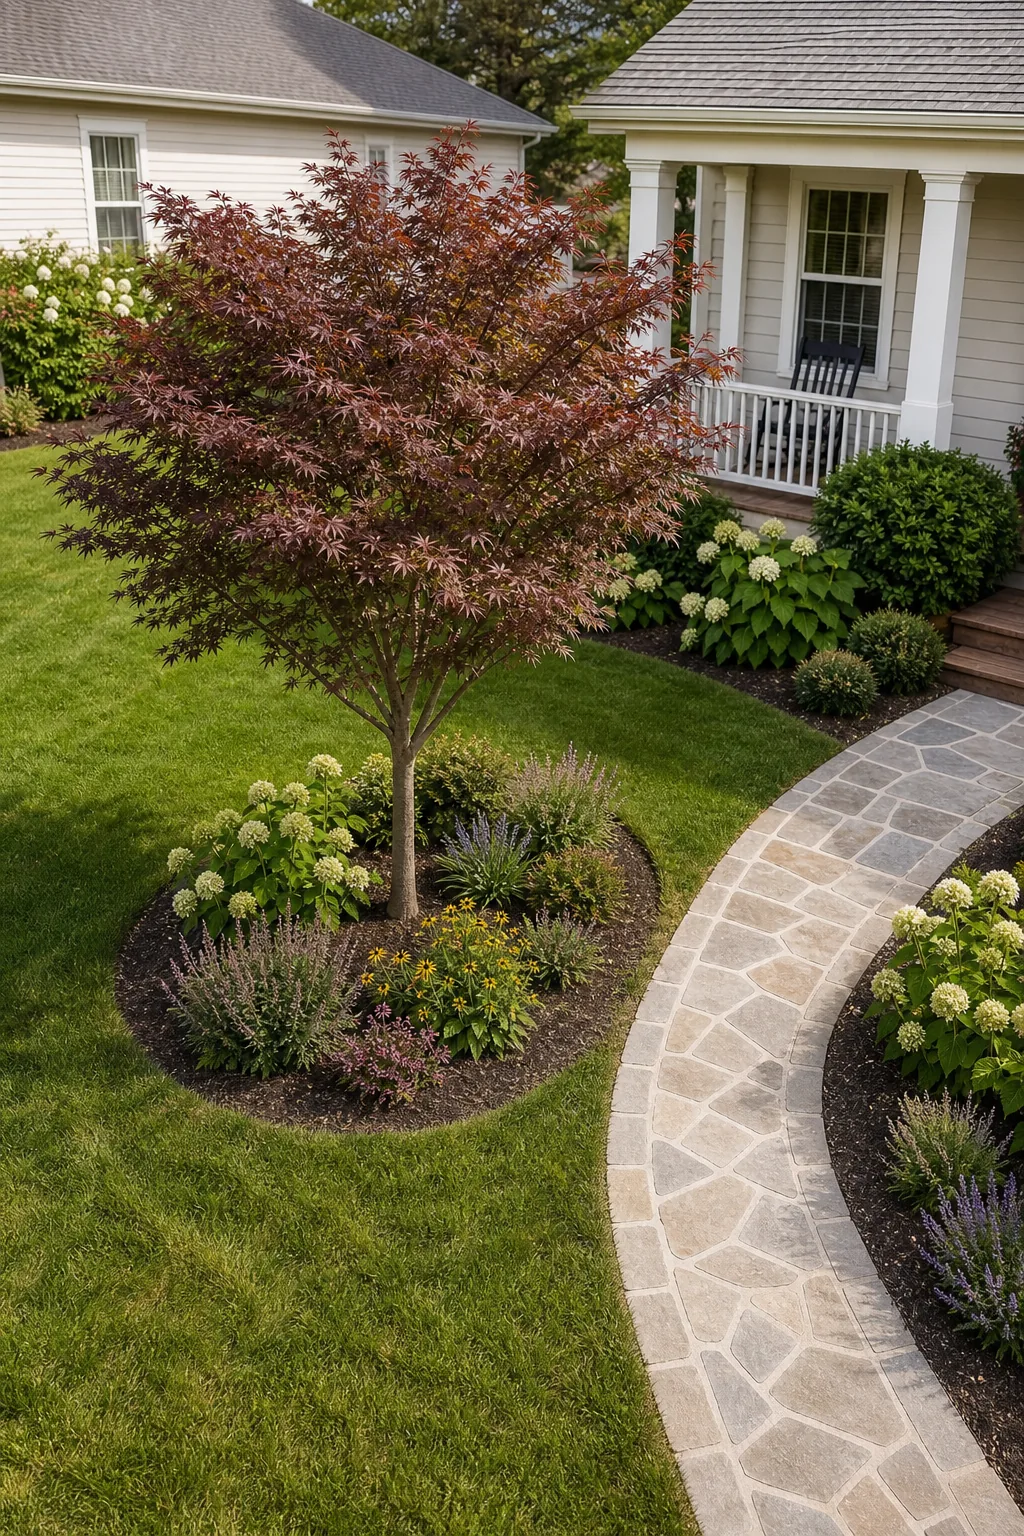
Always plant the tree trunk at least half that mature width away from any hardscape or structural walls. This precise measurement guarantees the growing canopy has ample room to spread safely without aggressively scraping against the delicate siding.
Preparing the Tree Planting Site
Once you calculate the exact spacing, dig a hole that is twice as wide as the root ball but no deeper. Keeping the tree’s root flare slightly above the surrounding soil grade prevents suffocating the trunk and encourages lateral root growth.
Planting the Foundation Zone
The foundation zone visually anchors your house to the surrounding landscape using dense, structural shrubs. To prevent trapped moisture and siding damage, always leave a 2-to-3-foot airflow gap between the mature plant’s expected back edge and your home’s exterior.
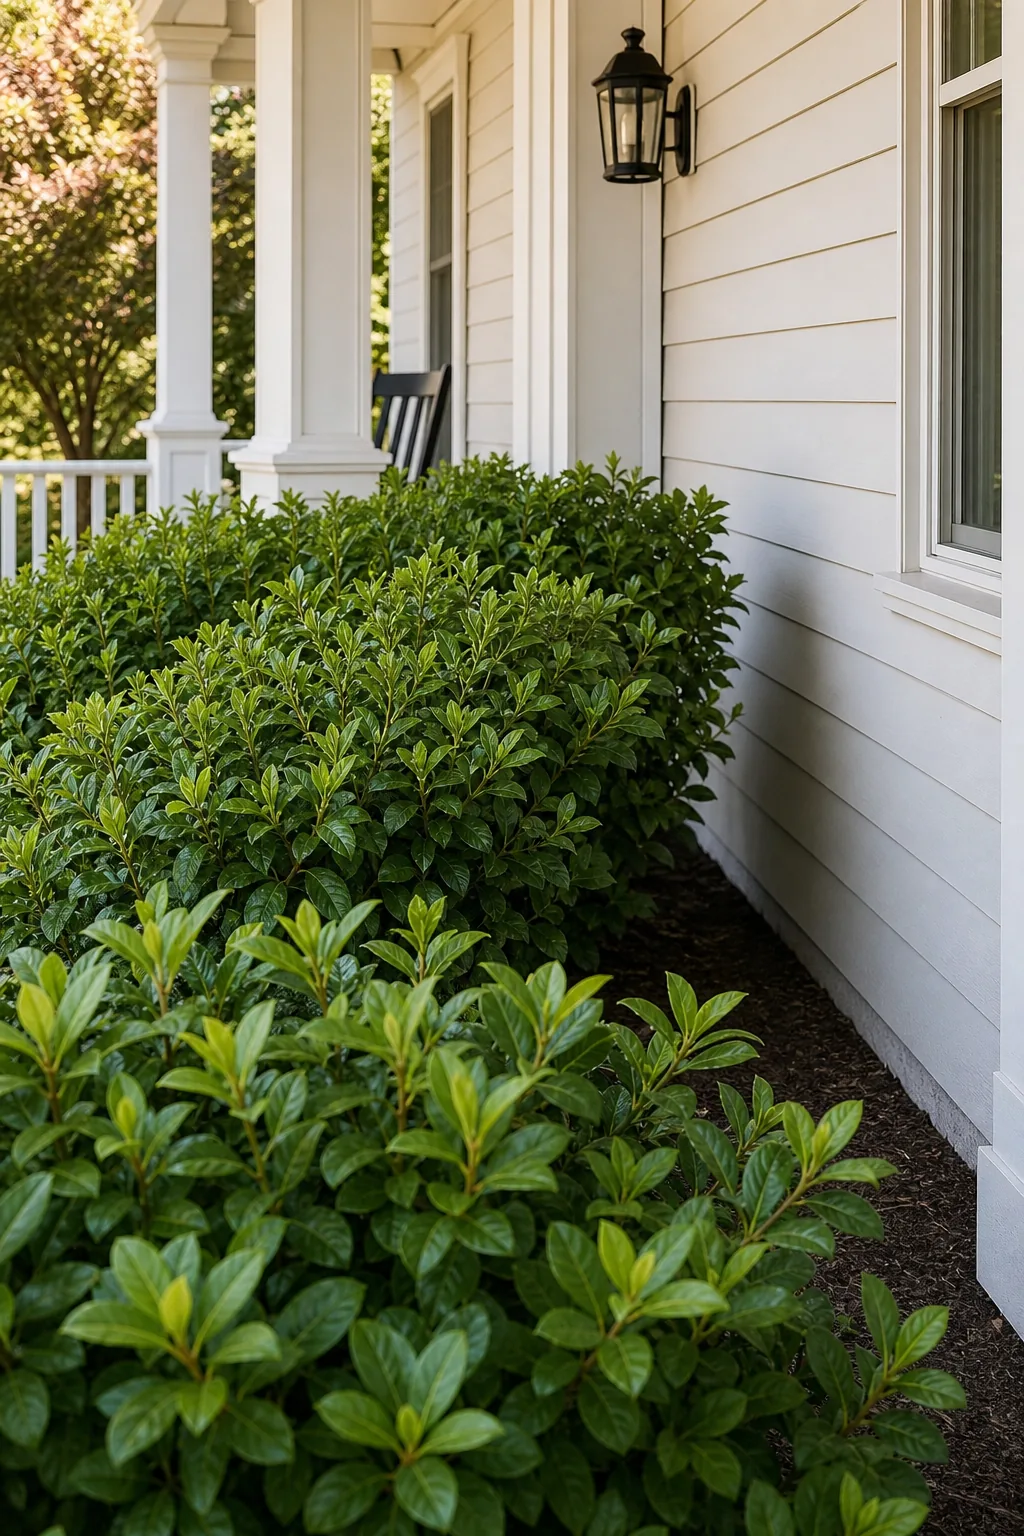
While these foundation plants are completely essential for grounding the home visually, placing them incorrectly during installation can easily lead to severe, long-term structural issues.
Managing Foundation Drainage
Before adding any plants to the foundation zone, verify that the soil grade actively slopes away from the house. A proper slope drops at least 6 inches over the first 10 feet to move rainwater safely away from the basement.
- Ensure gutter downspouts extend fully past the new garden bed edges to prevent soil erosion.
- Avoid raising the soil level above the home’s original foundation line when adding fresh compost.
- Keep all organic wood mulch at least 6 inches away from the actual siding to deter pests.
Correcting these crucial drainage elements before planting ensures your foundation shrubs thrive without inadvertently flooding your crawlspace. Always test the water flow with a garden hose before spreading your final layer of decorative organic mulch.
Calculating the Evergreen Ratio
Keeping your front yard looking vibrant and alive through the dormant winter requires a strict evergreen ratio. Aim for a precise 50/50 split between deciduous varieties and permanent green shrubs across your main front beds.
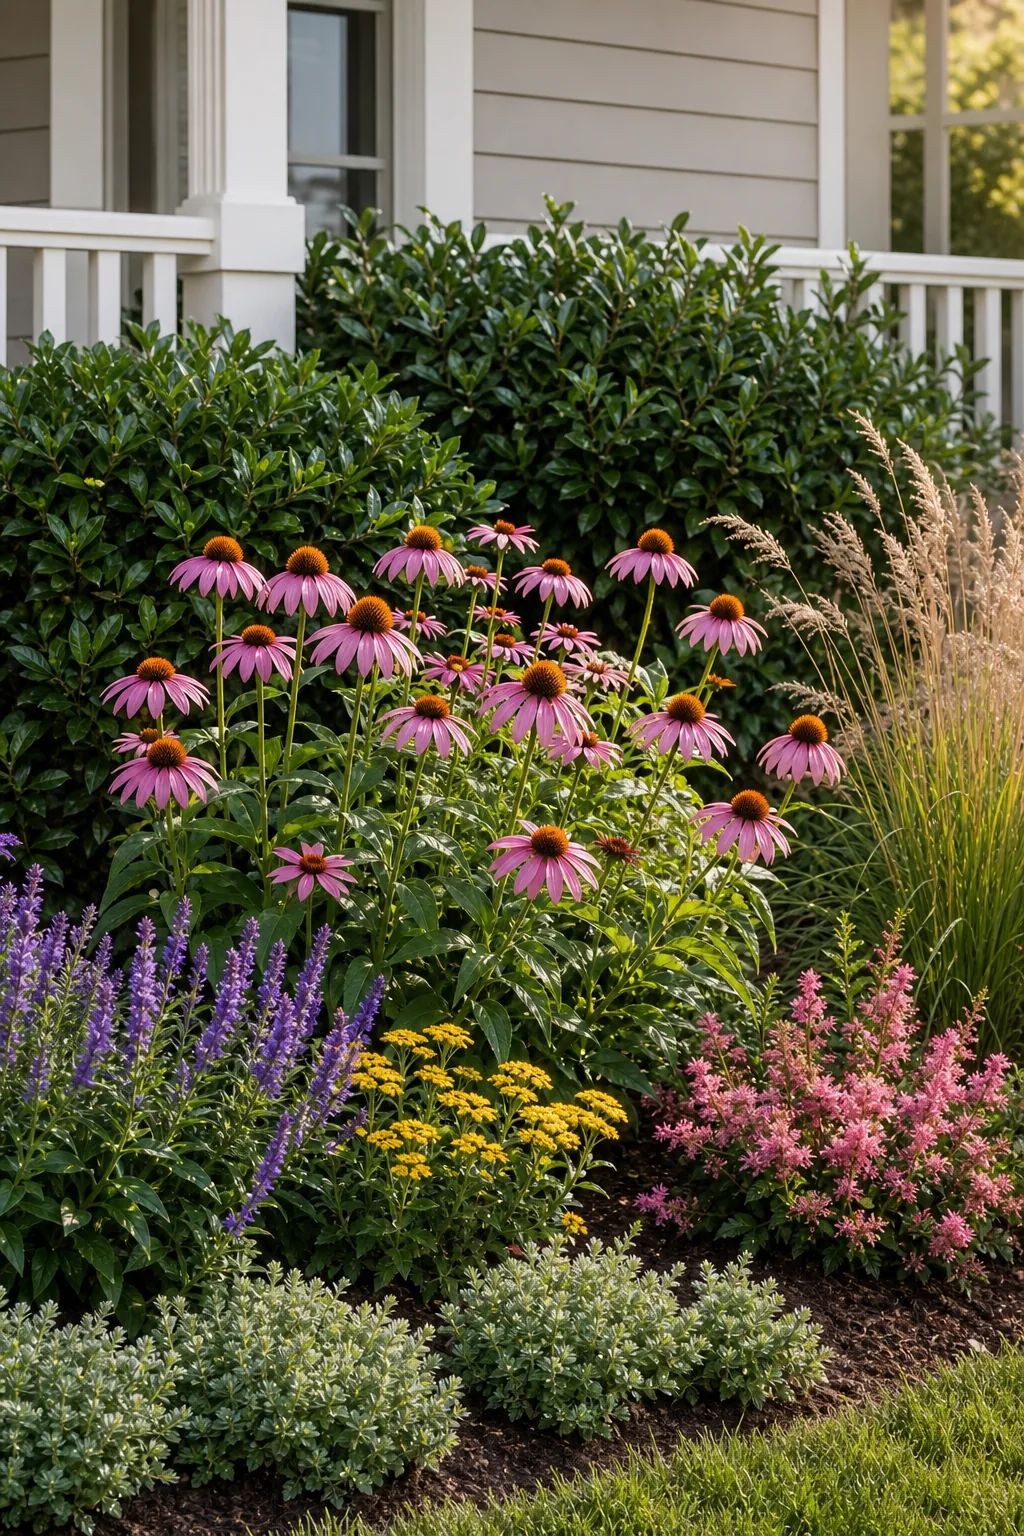
This balanced mathematical approach guarantees that a solid, reliable green structure remains to frame your home beautifully, ensuring the yard never looks barren even after the delicate seasonal flowers completely fade and drop their colorful leaves in the late autumn months.
Distributing Evergreen Structure
Instead of clumping all your permanent greenery in one isolated corner, weave these structural plants evenly throughout the entire landscape. Placing evergreens at the corners of your home and beside the front door creates a strong, symmetrical framework that naturally guides the eye.
The 3-Tier Planting Guide
The true secret to a professional landscape is the 3-tier rule, which organizes garden beds by height to create immense visual depth. This reliable framework steps down continuously from tall backdrops to mid-level fillers and finally to low groundcovers.
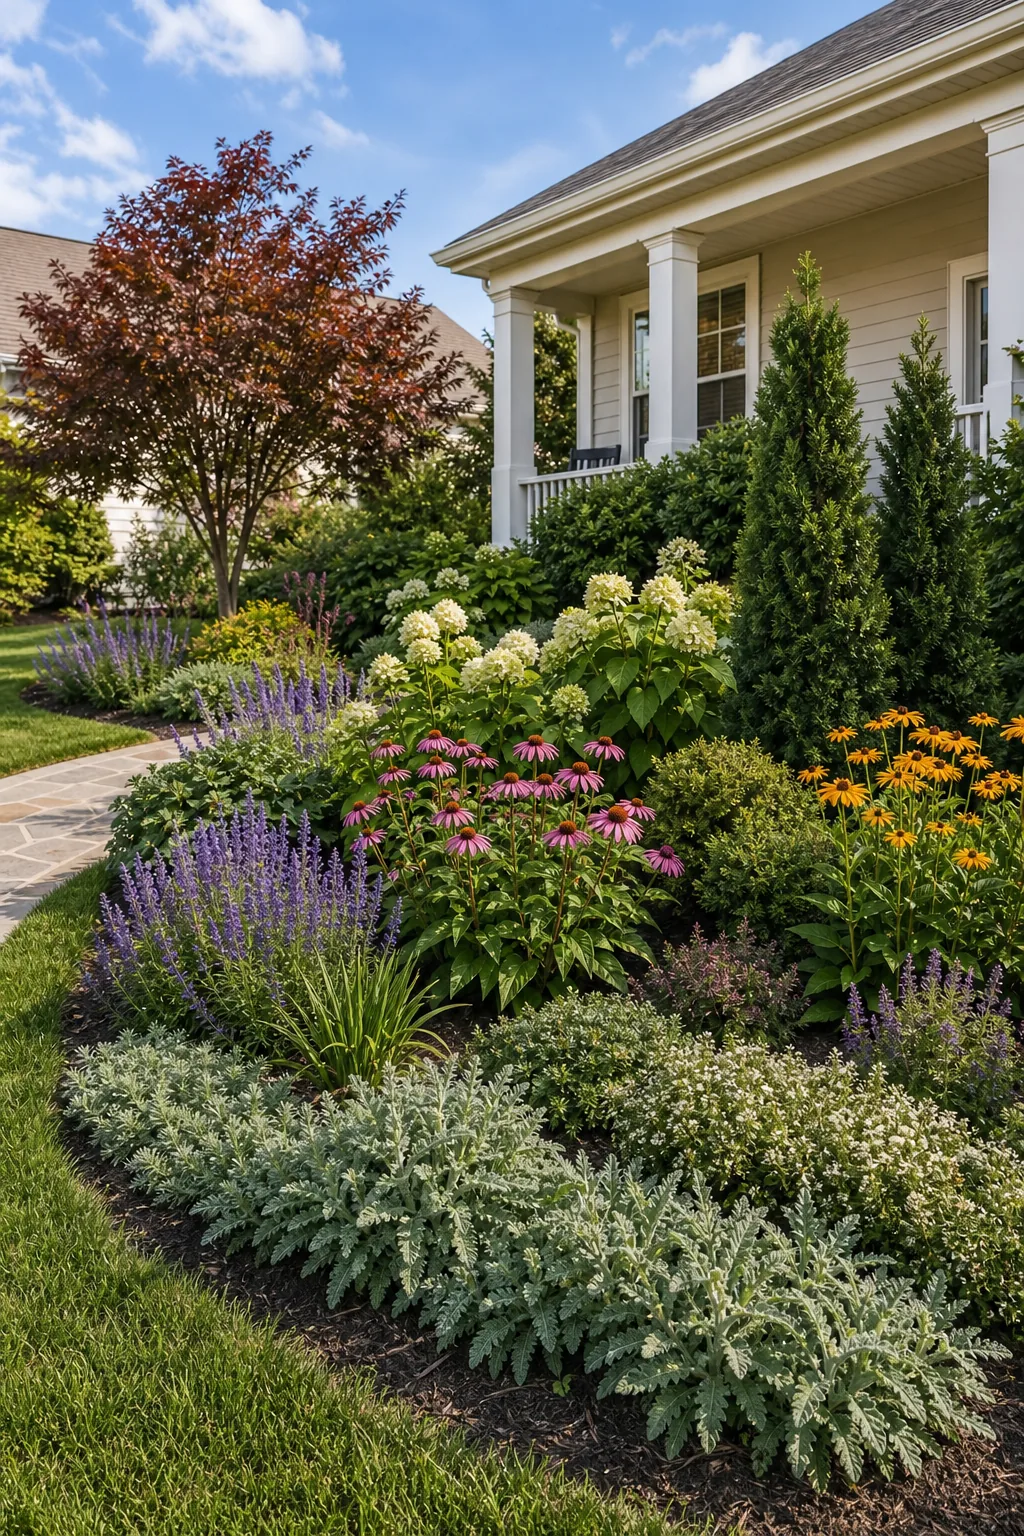
Structuring your newly shaped beds into these three distinct layers ensures every single plant remains fully visible. This rigorous organization makes the entire front yard feel intentionally designed, highly organized, and completely unified from the street to the porch.
Mapping the Bed Layout
To accommodate all three tiers properly, your main front garden beds must be substantially deeper than standard builder-grade strips. Plan for a minimum bed depth of 6 to 8 feet from the foundation out to the lawn edge to fit every layer comfortably.
Tier 1: Low Groundcovers and Edging
The front layer of your 3-tier system transitions the garden smoothly into the lawn or hardscape. Select creeping plants that predictably remain 6 to 12 inches tall, allowing them to spill slightly over and soften rigid stone edges.
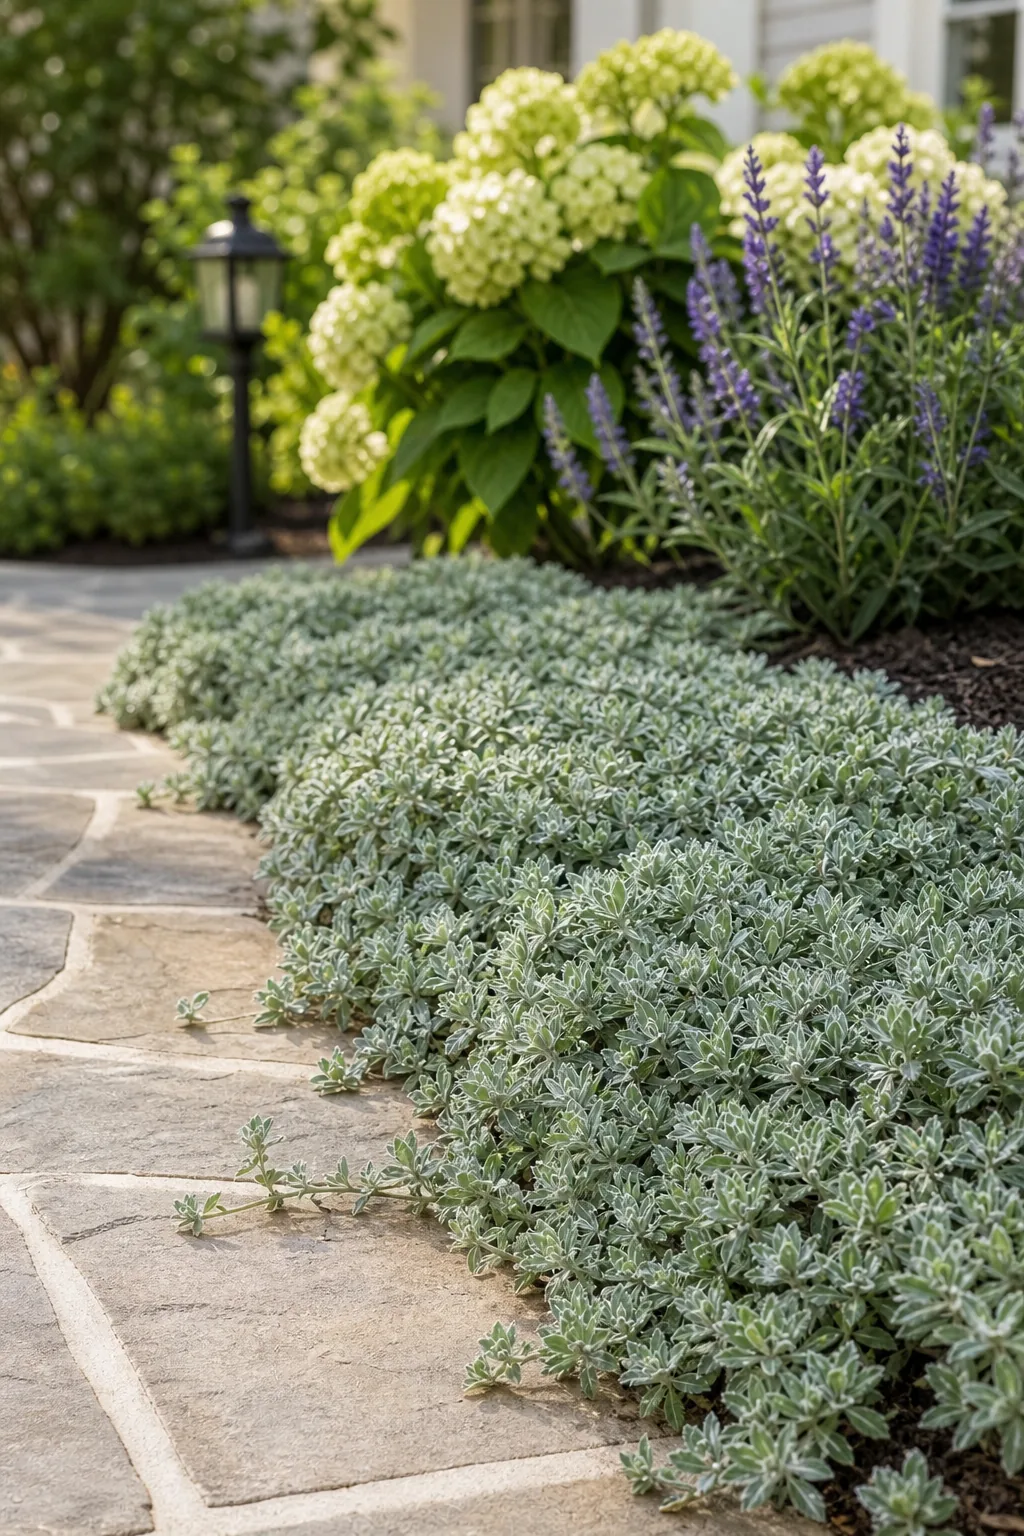
Space these low-growing varieties tightly along the front border to form a continuous, dense living mulch. This unified green edge expertly hides the bare lower stems of the taller perennial plants directly behind it, keeping the entire bed looking pristine.
Maintaining the Edging Layer
Keep your front tier looking highly intentional by lightly shearing the edges back away from the walkway twice a season. This simple maintenance prevents the vigorous groundcovers from completely swallowing the stone path and creating a dangerous tripping hazard for your guests.
Tier 2: Mid-Size Perennials and Shrubs
The middle tier provides the bulk of your seasonal color, varied textures, and vibrant blooming interest. Fill this central zone with robust perennials and compact shrubs that naturally reach 18 to 36 inches tall at their absolute maturity.
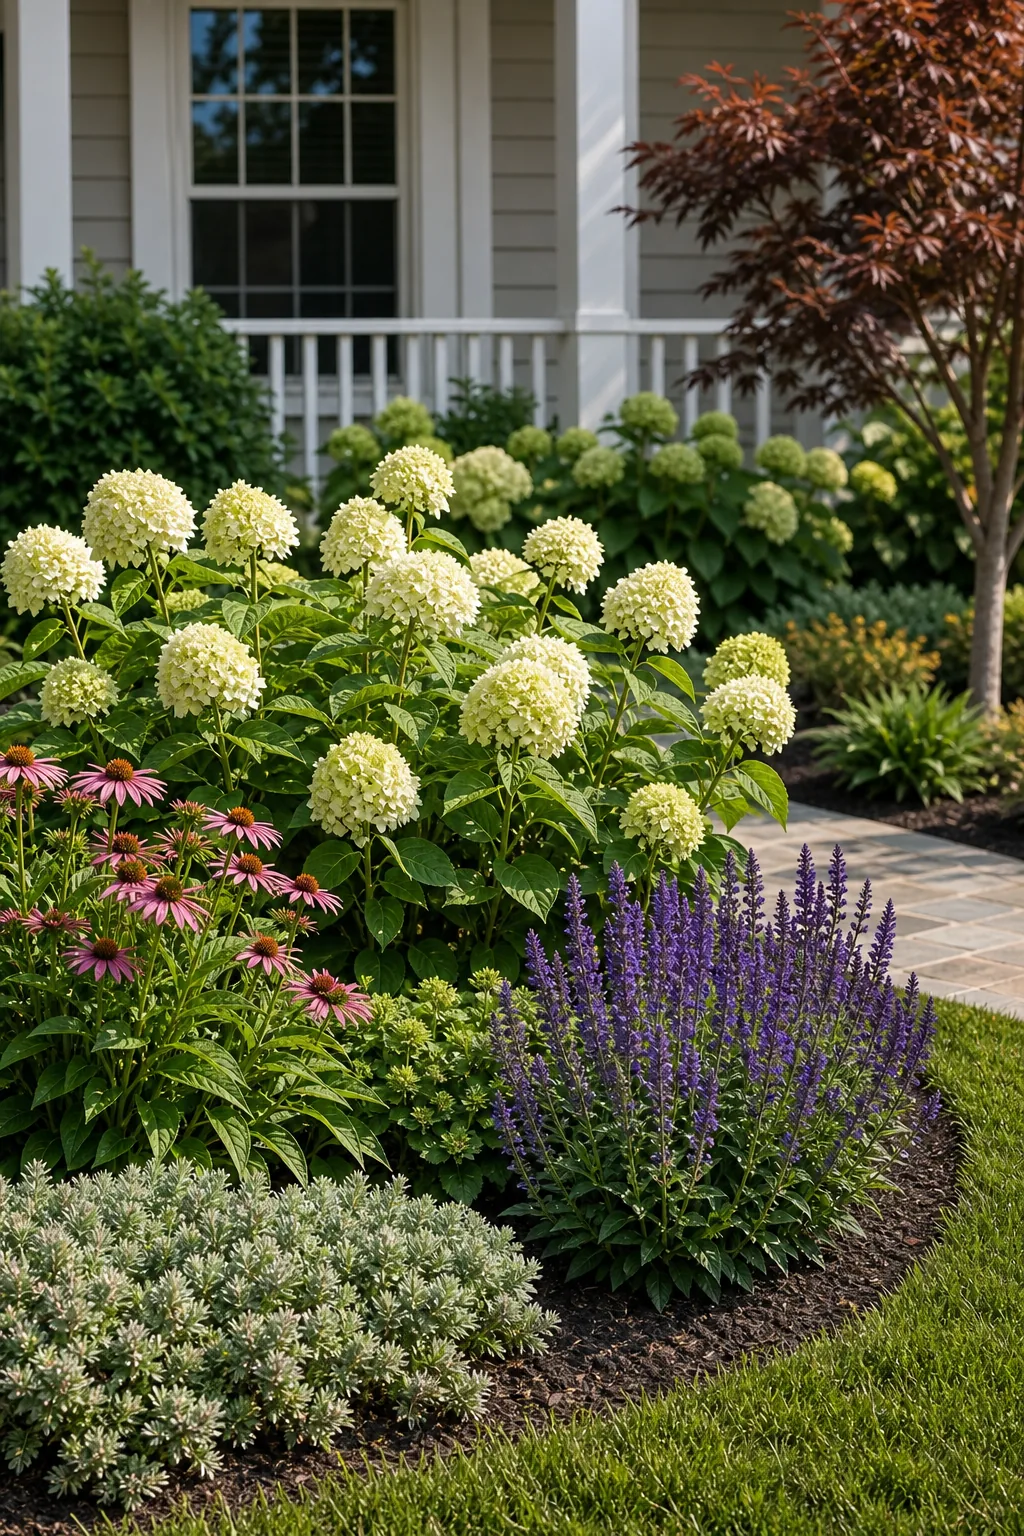
Instead of planting single isolated specimens that look chaotic, group these mid-size plants together in drifts of three or five. This specific counting method guarantees the mature foliage weaves together into a single, massive block of uninterrupted seasonal color.
Spacing Tier 2 Plants
Give your middle layer enough physical room to reach its full potential without severe overcrowding. Always read the plant tag and space each perennial based on its maximum mature width, ensuring the foliage barely touches when fully grown to maintain excellent, healthy airflow.
Tier 3: Tall Backdrop Plants
The final back tier frames the house architecture and clearly defines your outer property line boundaries. Choose substantial upright plants that reliably reach 4 to 6 feet tall when fully grown to create a solid, permanent visual wall.
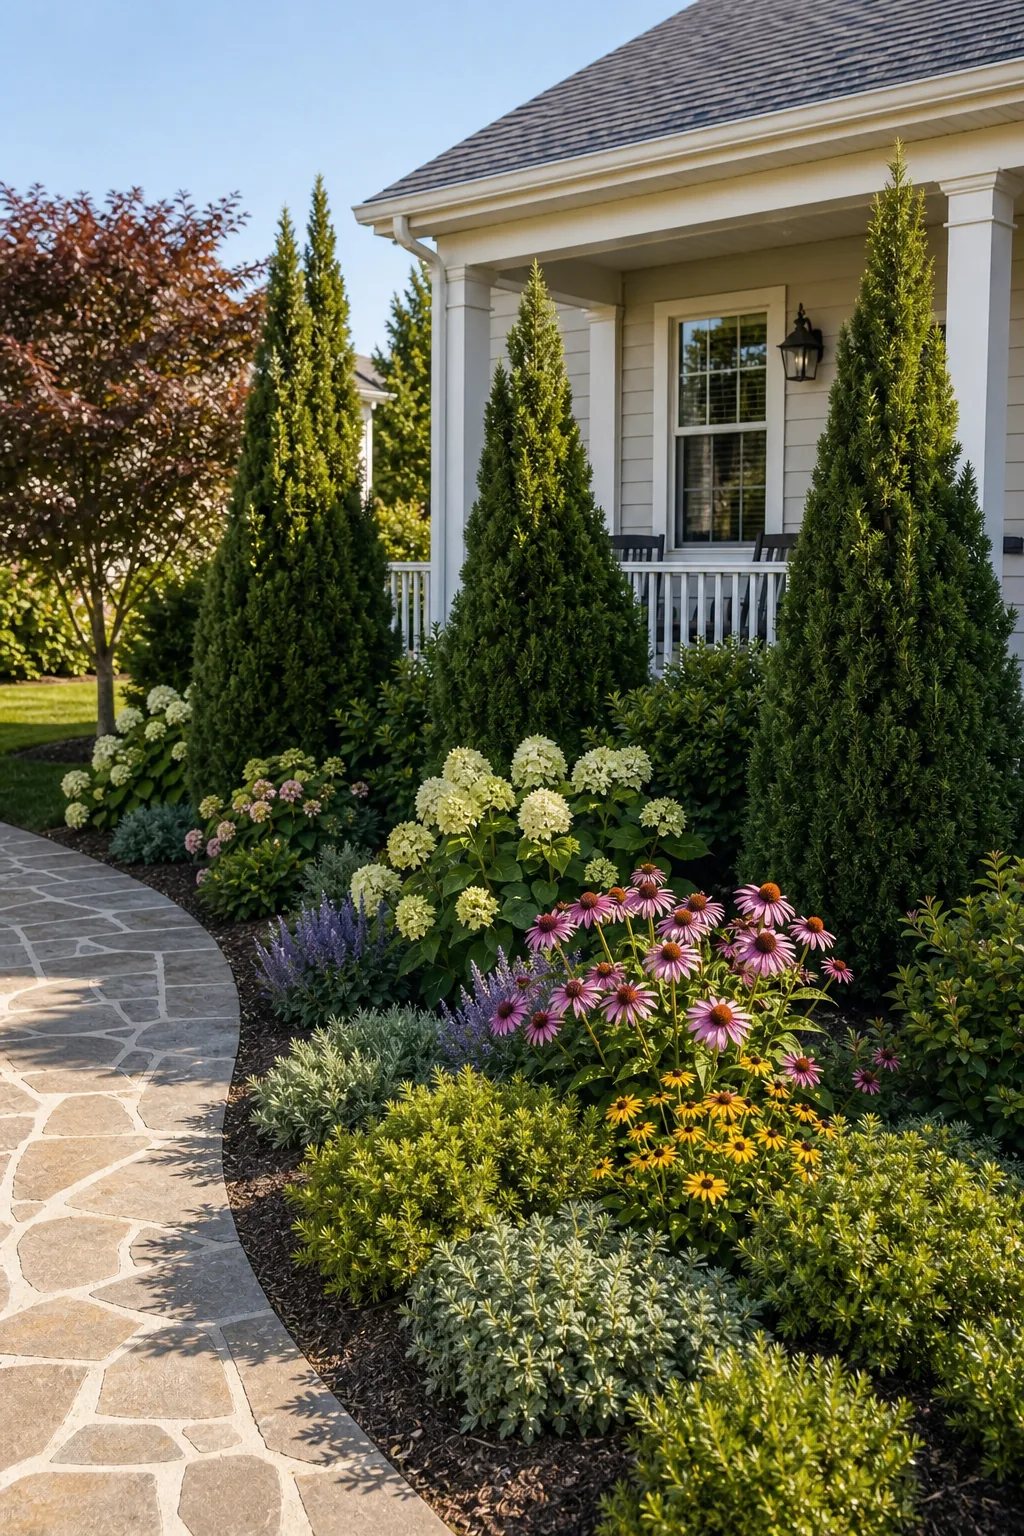
Before you start digging massive holes for this new three-tier landscape, run through a quick verification process to protect your home’s infrastructure and ensure long-term planting success.