
Cozy Loft Space Ideas and the Ultimate Clearance Cheat Sheet
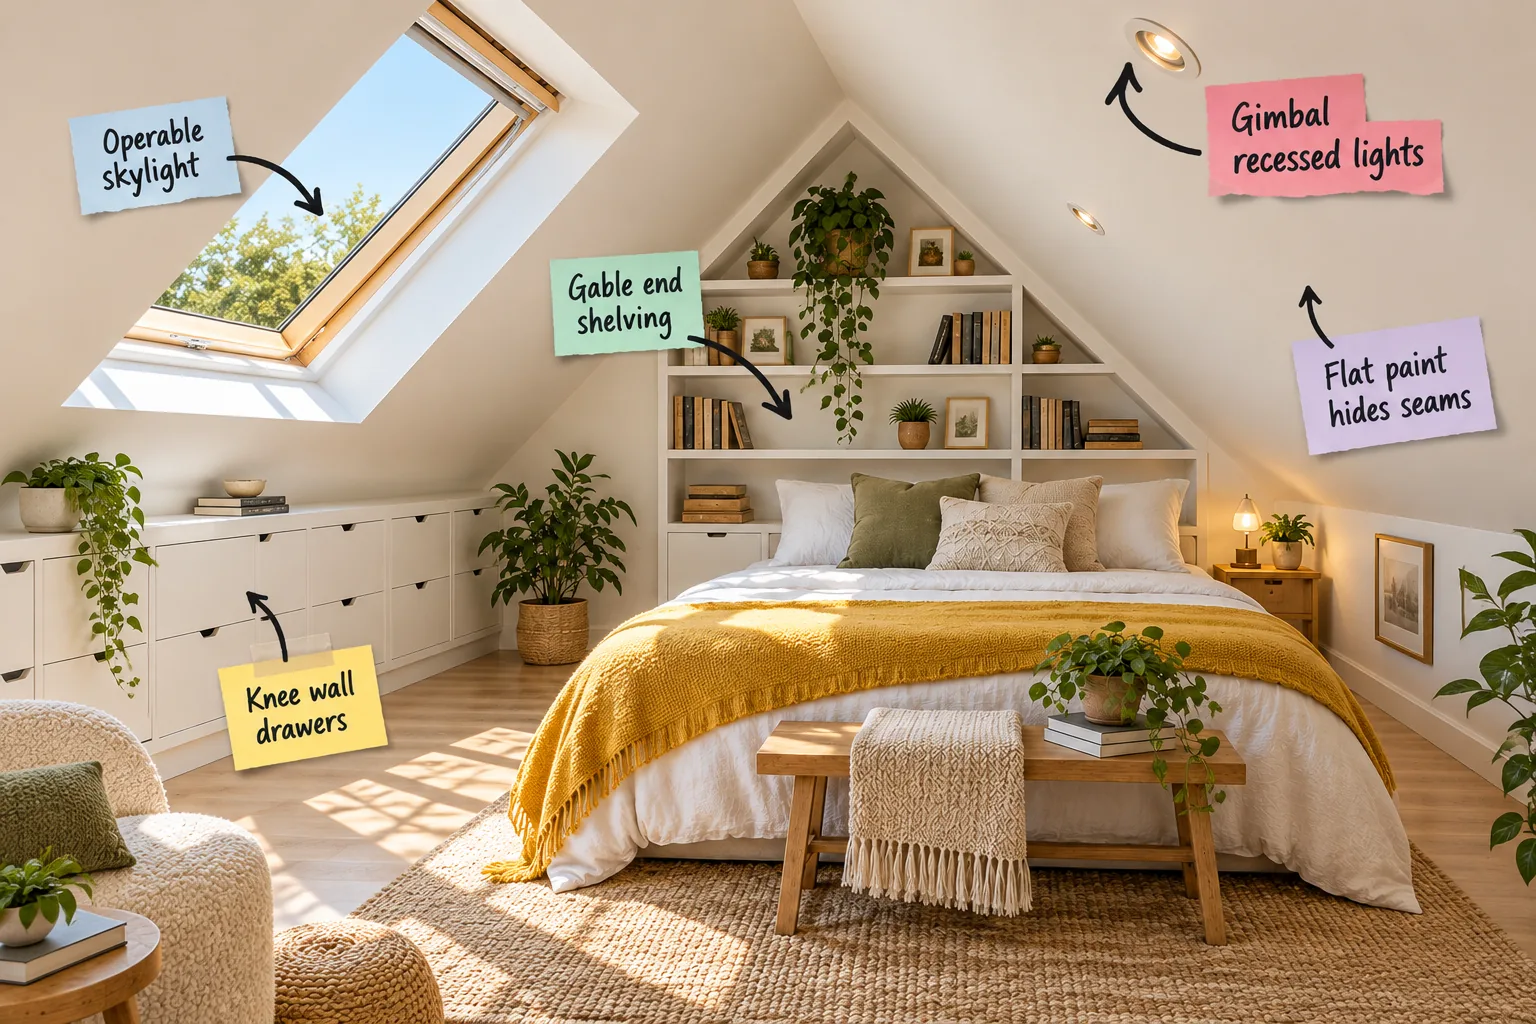
Grab your tape measure, because this loft clearance cheat sheet will help you accurately arrange your bed, storage, and lighting to maximize every inch of usable space. You will transform those cramped slanted ceilings into a spacious, well-balanced daily retreat.
The Loft Clearance Cheat Sheet
To define your usable floor plan, start by mapping out the 7-foot minimum standing height and the 3-foot knee wall clearances. Understanding exactly where the ceiling slopes down ensures your bed and walkways fit seamlessly into the room’s unique geometry.
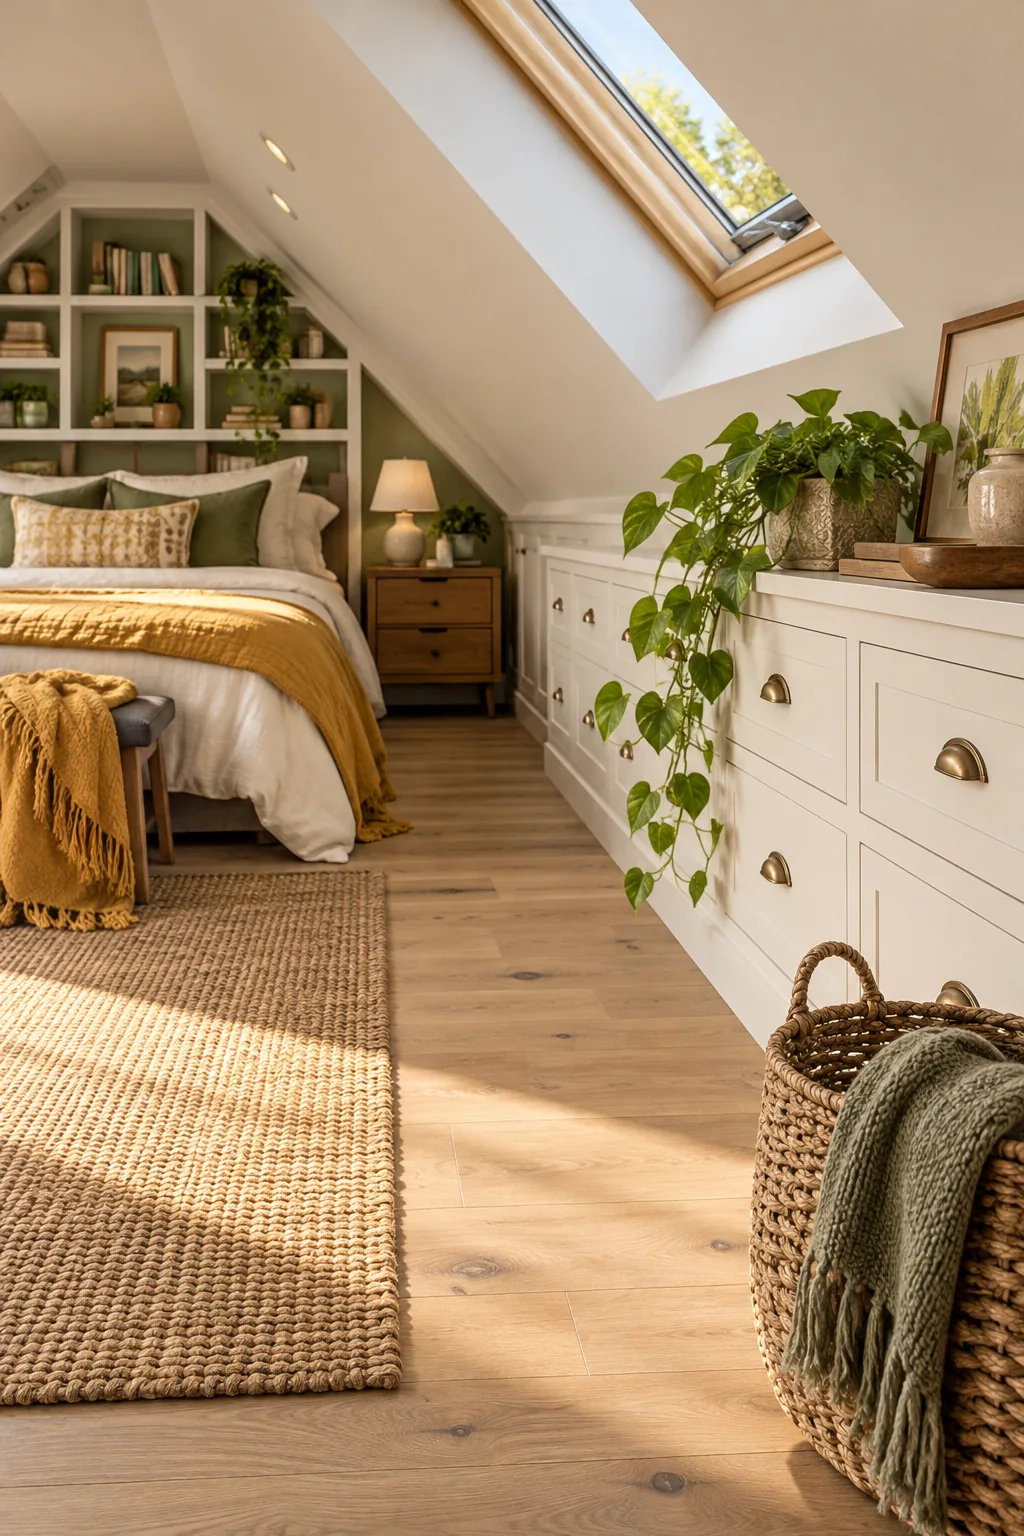
Before moving any furniture or framing out walls, grab a tape measure to map out your usable footprint. These baseline dimensions will dictate everything from where you sleep to where you can comfortably stand without crouching.
Assessing Your Roof Pitch
Your roof pitch dictates how much of that footprint is actually walkable, as a steeper pitch offers more center headroom but sharper angles at the edges. Use a digital level or a smartphone app to find the exact angle before ordering any framing materials.
Reinforcing the Floor Joists
Most standard attic joists were originally sized only to support the weight of the ceiling below, not heavy furniture and daily foot traffic. Upgrading to deeper framing members ensures your new retreat feels rock-solid and meets structural building codes.
Planning Your Egress Window
Before finalizing your floor plan, verify that your loft meets local fire safety codes for an emergency exit. You must include at least one operable egress window that meets strict size requirements to ensure a safe, reliable escape route.
| Egress Dimension | Minimum Requirement |
|---|---|
| Net Clear Opening | 5.7 square feet |
| Opening Height | 24 inches |
| Opening Width | 20 inches |
| Sill Height | Max 44 inches from floor |
Selecting the Right Staircase Profile
Accessing your newly finished space requires a staircase that balances safety with a compact footprint. A straight run is easiest to frame, but a winder or spiral staircase often preserves more usable square footage on the main floor below.
Framing the Knee Wall Structure
A properly framed knee wall supports your built-in storage while hiding the awkward, unusable sliver of floor space where the roof meets the joists. Use standard two-by-four framing secured directly to the floor and rafters for maximum stability.
Maximizing the Knee Wall with Built-Ins
Measuring the depth behind the knee wall is crucial to accommodate standard 18 to 22-inch drawer glides for built-in storage. In my own Denver bungalow, utilizing these lowest, hardest-to-reach areas with seamless built-in drawers turned dead space into my primary storage.
You can safely frame out these seamless knee wall drawers under the lowest part of the sloped ceiling without sacrificing standing room. Always verify the cavity depth before purchasing your drawer hardware so the tracks never hit the roof decking.
Designing a Functional Walk-In Closet
If your floor plan allows, partitioning off the deepest section of the slope creates an out-of-sight dressing area. You can stack standard clothing rods in the center where the ceiling peaks, reserving the lower, angled edges for custom shoe racks.
Selecting the Right Mattress Height
Your mattress thickness directly impacts how far under the sloped ceiling your bed can comfortably sit. Choosing a low-profile platform frame paired with an 8 to 10-inch mattress buys you precious extra inches of vertical breathing room.
Utilizing the Gable End for Shelving
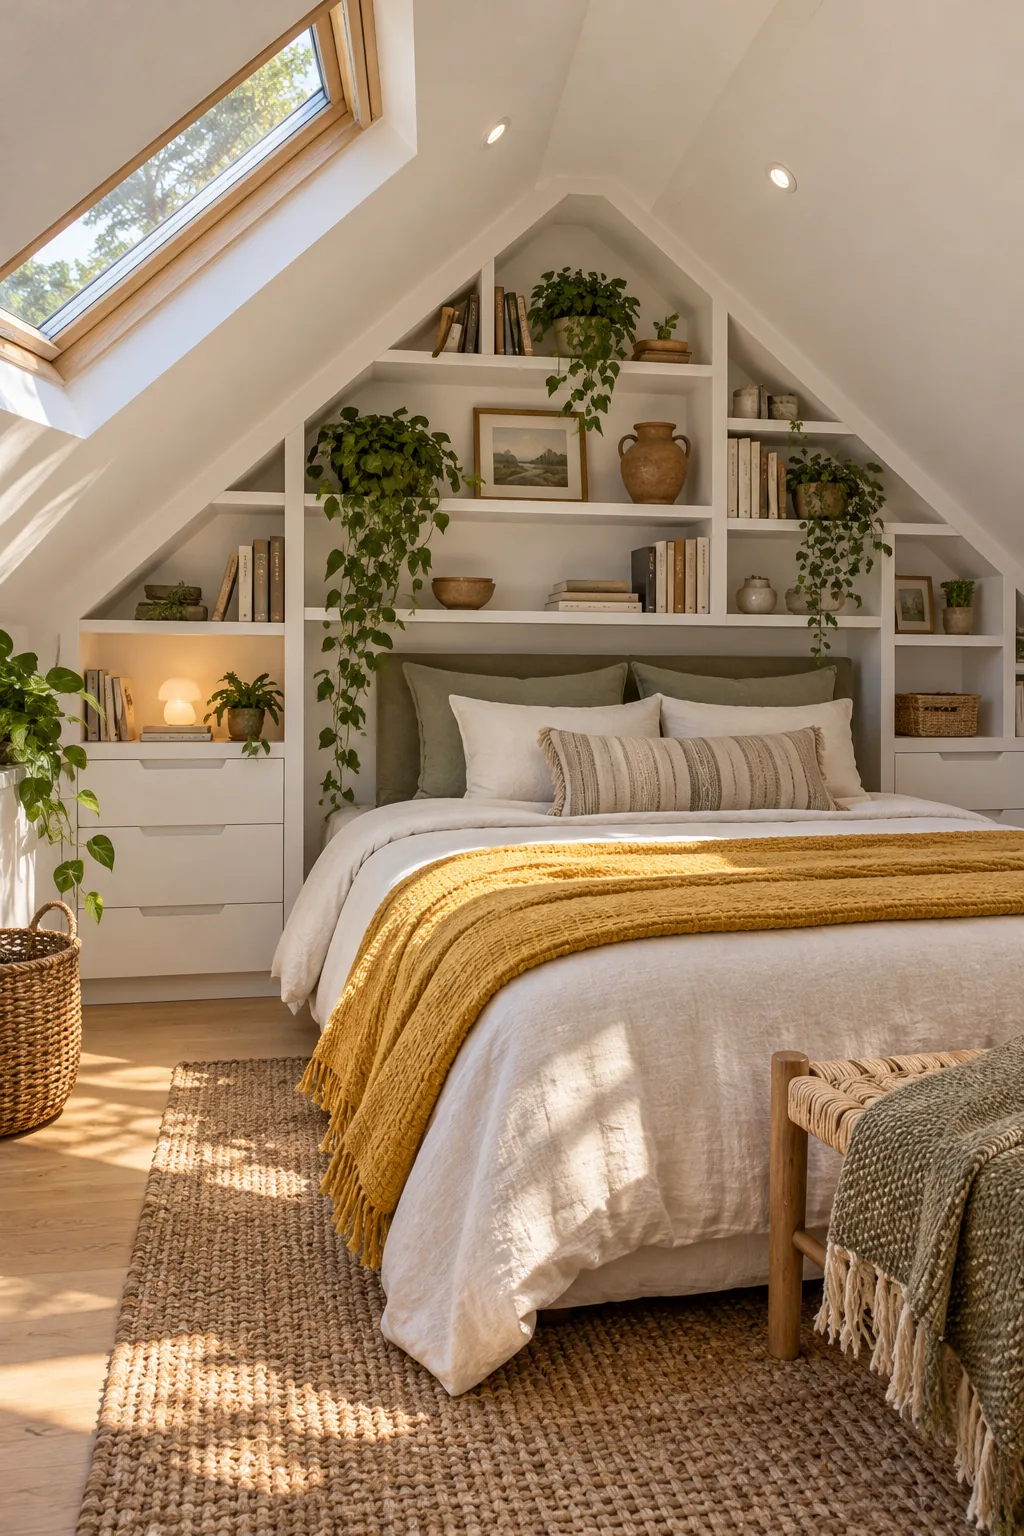
The flat triangular end wall, known as the gable end, provides the perfect canvas for custom shelves built flush into the framing. Spacing these shelves 10 to 12 inches apart accommodates standard books without eating into the room’s limited walkable footprint.
Designing the Bedside Layout
Because standard nightstands often sit too high for steep knee walls, consider integrating floating ledges directly into the adjacent framing. This keeps your floor clear while providing just enough surface area for a book, a lamp, and a glass of water.
Positioning the Bed for Headroom
Building flush custom shelves into the flat gable end creates a focal point that anchors your bed without sacrificing floor space. I once designed a tiny attic where integrating the headboard against this wall was the only way to leave the center open.
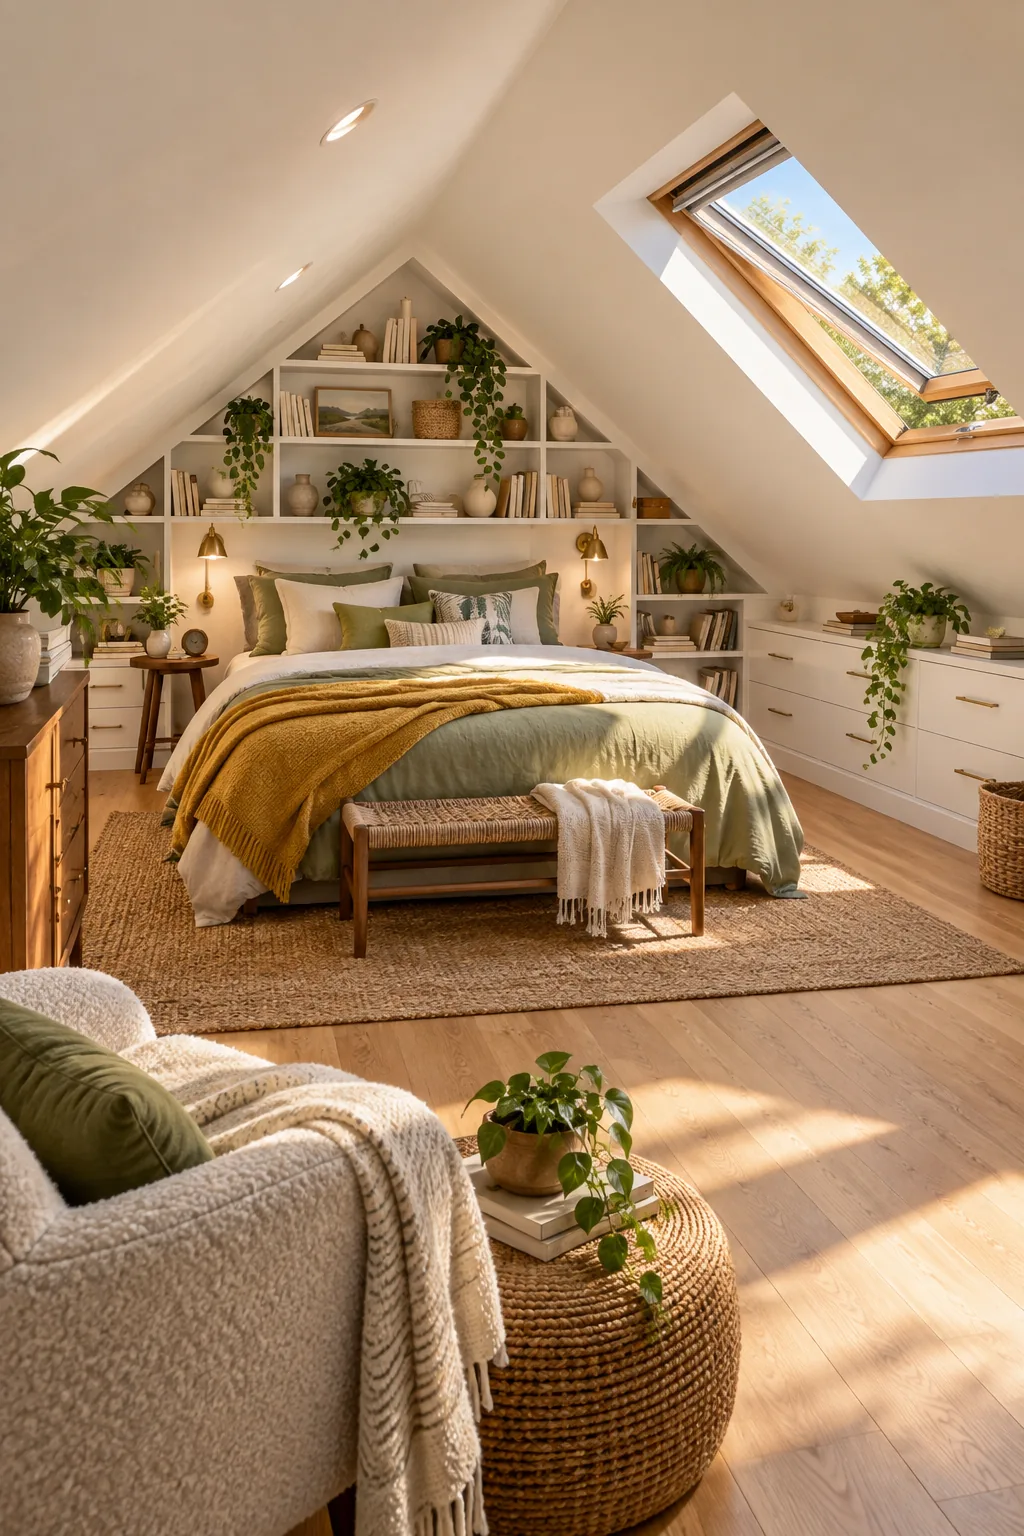
Place the bed under the slope only if you have confirmed that 36-inch minimum clearance above the mattress. Testing the layout with an air mattress first prevents bumped heads upon waking and keeps your central dressing area completely spacious.
Bringing in Air with an Operable Skylight
An operable skylight opens up the sloped ceiling, letting in fresh air and making the room feel expansive rather than cramped. When I added one to my own guest loft, it completely transformed the stale, trapped air into a breezy, comfortable retreat.
- Measure the rafter spacing to choose a skylight that fits without structural framing changes.
- Position the bottom edge at eye level for comfortable, unobstructed seated views.
- Install flashing kits specifically rated for your roof material to prevent seasonal leaks.
Selecting Window Treatments for Skylights
Direct sunlight pouring through an untreated roof window will quickly overheat your cozy retreat during summer afternoons. Install motorized blackout blinds designed specifically for angled frames to control the intense light and temperature with the simple push of a button.
Angling the Gimbal Recessed Lights
Positioning the skylight 35 to 40 inches from the floor maximizes fresh air and seated views while leaving the upper ceiling clear for lighting. This pairs perfectly with gimbal recessed lights, which are adjustable LED fixtures that angle straight down from the sloped ceiling.
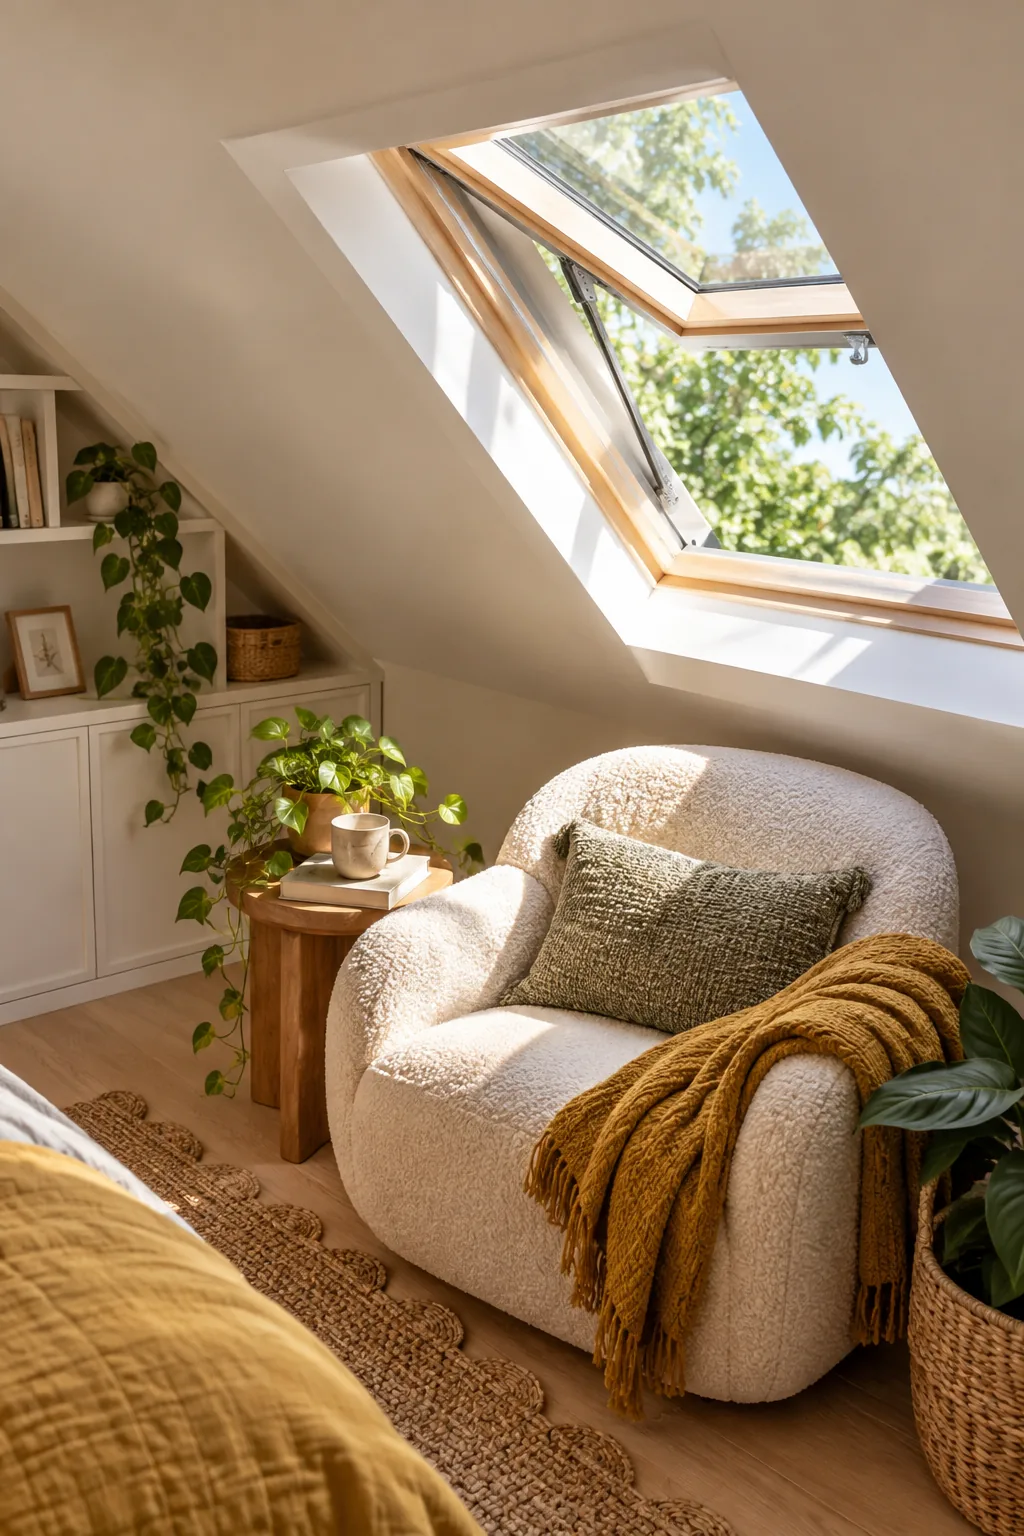
Because these fixtures point directly down toward the floor, their brightness and color temperature will dramatically affect the room’s overall mood. Getting the bulb specs right prevents the space from feeling like a sterile office when the sun goes down.
Routing Electrical for Recessed Lights
Sloped ceilings leave very little cavity space between the finished drywall and the roof decking for standard electrical housings. Always specify ultra-thin, IC-rated LED fixtures that can safely sit directly against your rigid foam insulation without creating a dangerous fire hazard.
Integrating Hidden HVAC Vents
Proper airflow requires carefully placed supply and return registers that do not interrupt your clean, angled wall surfaces. Installing linear slot diffusers flush along the baseboards provides highly efficient heating and cooling while remaining virtually invisible to the eye.
Managing Temperature Variations
Lofts naturally trap heat in the summer and lose it in the winter, making climate control a top priority during the build phase. Adding rigid foam insulation between the rafters ensures the room maintains a comfortable sleeping climate year-round.
- Insulation: Use closed-cell spray foam or rigid boards to maximize R-value in shallow rafters.
- Airflow: Install a low-profile ceiling fan to push warm air down to the floor in winter.
- Cooling: Add a dedicated mini-split system to handle aggressive, trapped summer heat efficiently.
Choosing the Right Drywall Thickness
Sloped ceilings are highly susceptible to shifting and cracking as the roof structure expands and contracts with the weather. Hanging 5/8-inch drywall instead of the standard half-inch thickness adds crucial rigidity and helps prevent those unsightly hairline fractures over time.
Choosing Flooring for Sound Dampening
Attic floors easily transmit heavy footsteps and shifting furniture down to the quiet bedrooms directly below. Installing a premium acoustic underlayment beneath thick, plush carpeting or engineered hardwood dramatically reduces noise transfer and makes the entire upper level feel more substantial.
Adding Architectural Ceiling Beams
Leaving the collar ties exposed or wrapping them in rough-sawn wood introduces warm, natural texture to the angular room. These horizontal beams draw the eye upward, breaking up the massive expanse of painted drywall with beautiful, grounding structural details.
3 Ways to Style Your Loft Retreat
Find the perfect aesthetic for your sloped-ceiling sanctuary.
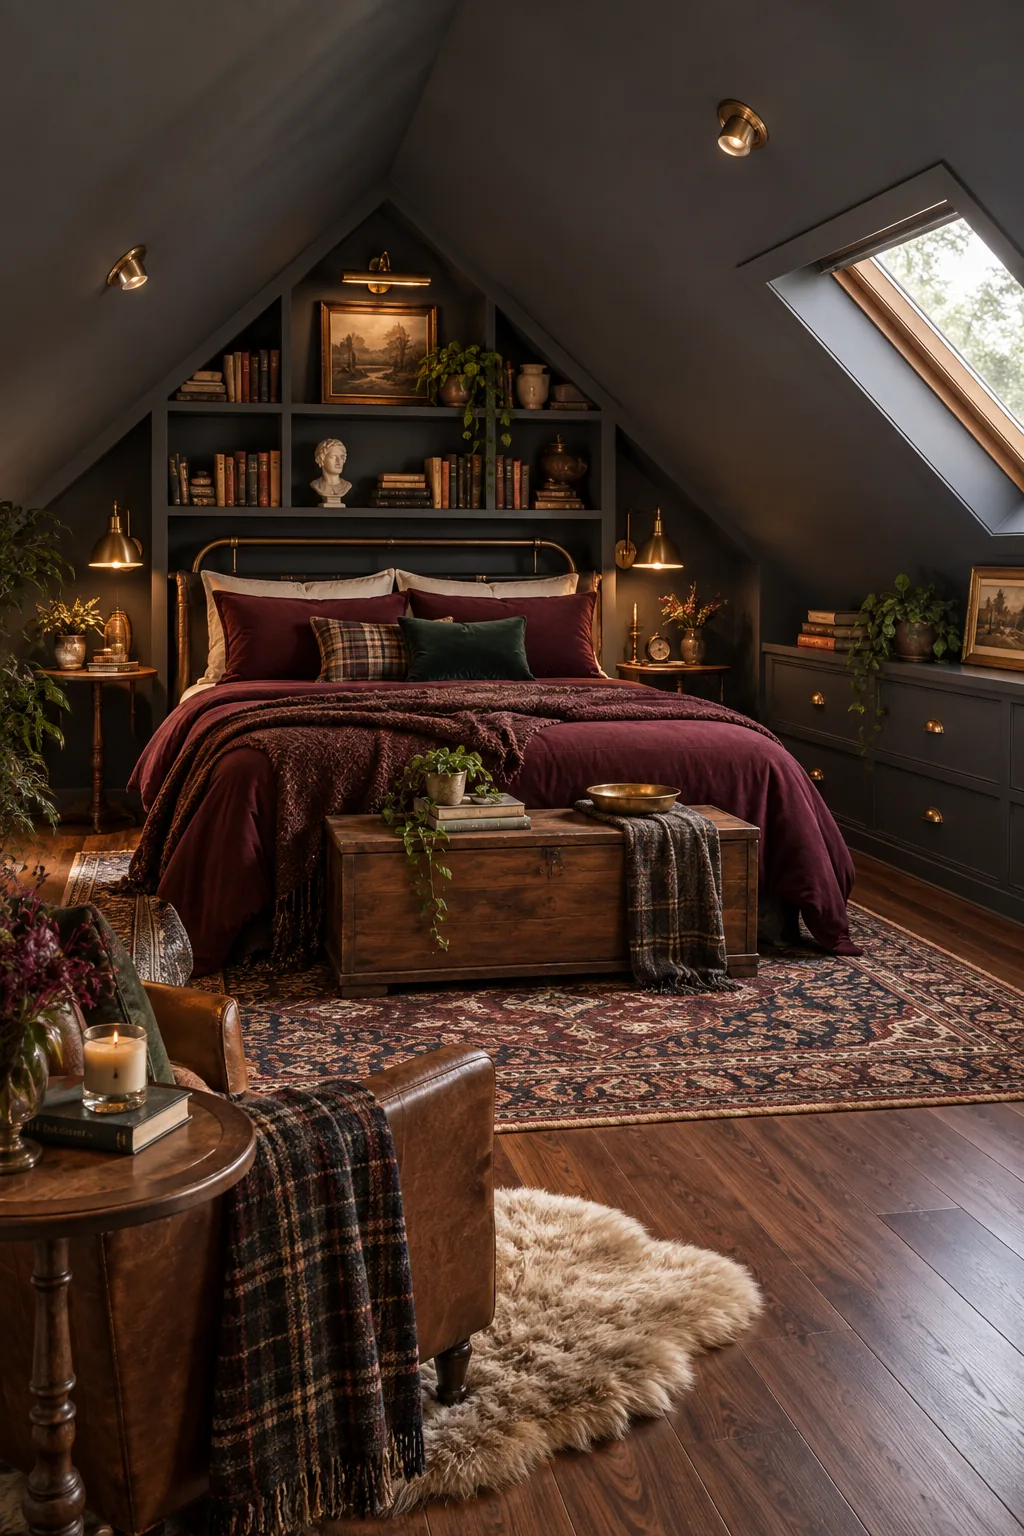
Moody Slate Retreat: Dark charcoal ceilings blur the room's boundaries, creating an intimate, enveloping atmosphere perfect for sleeping.
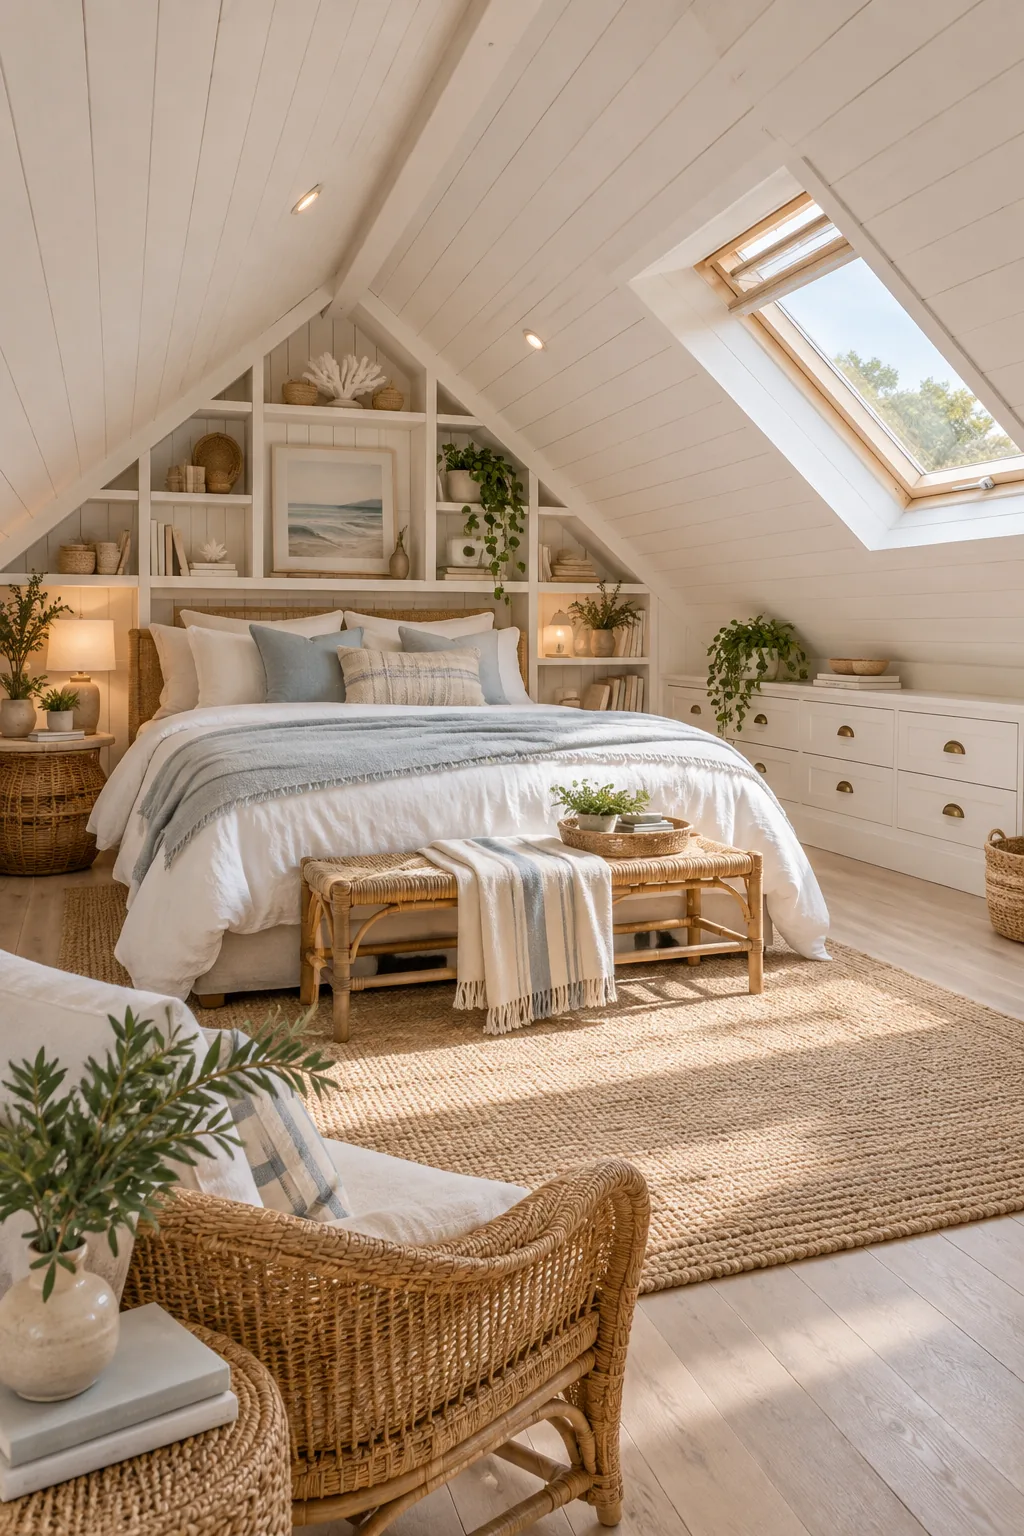
Coastal Sand Hideaway: Whitewashed shiplap draws the eye upward along the slope, making the low ceiling feel intentionally architectural.
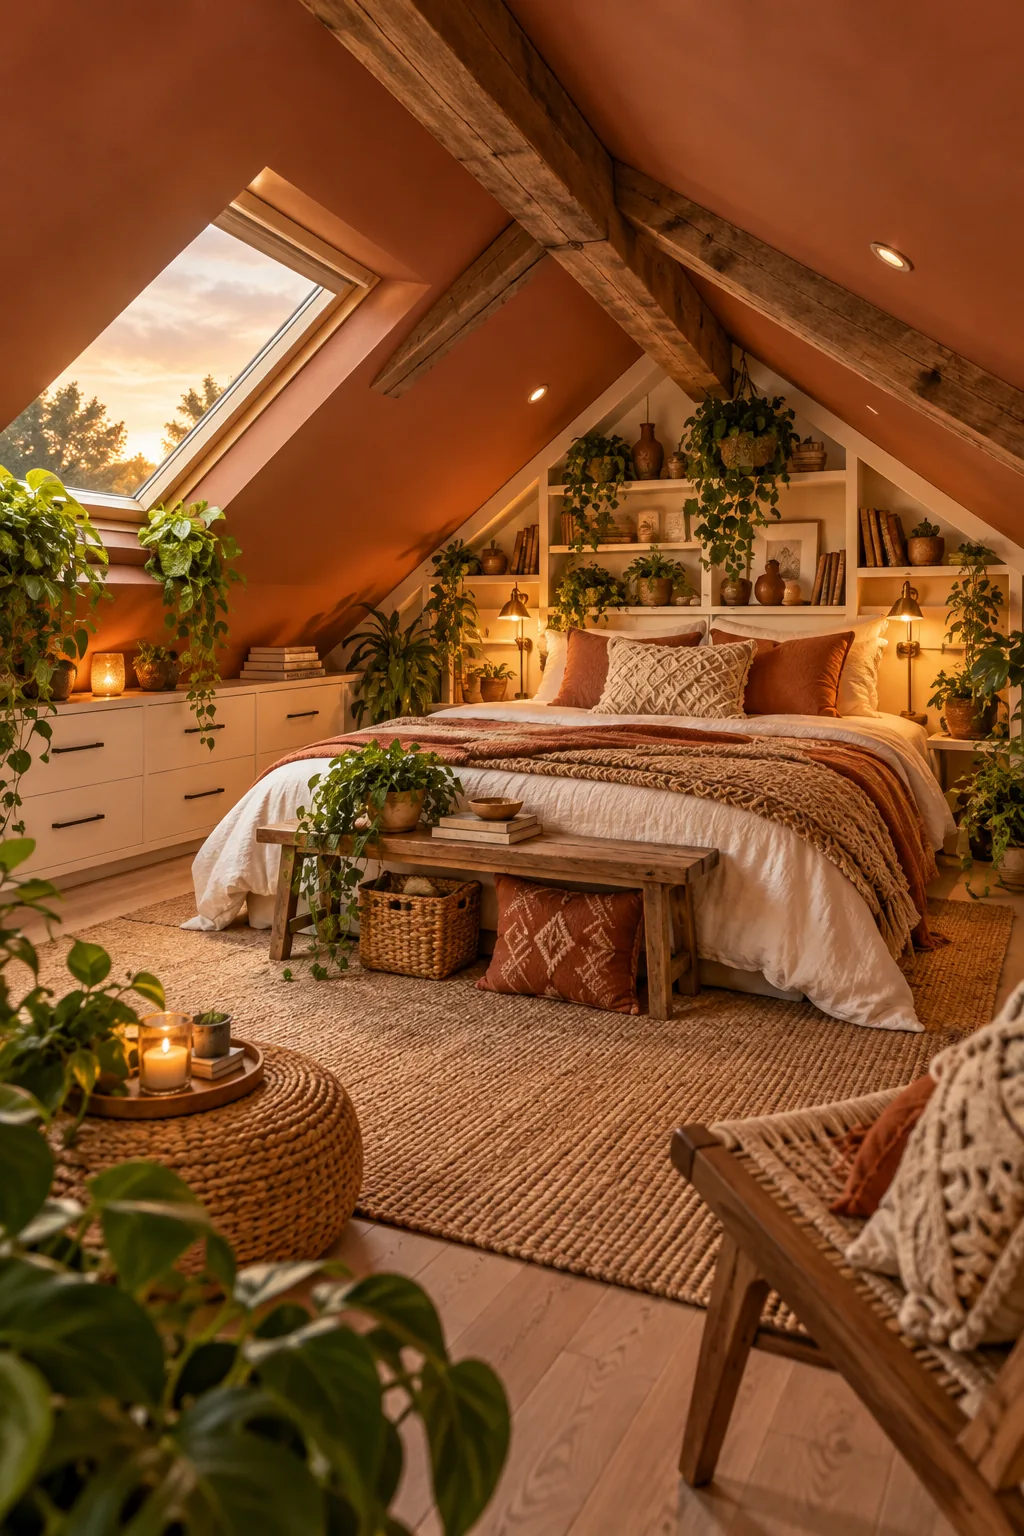
Warm Clay Sanctuary: Exposed rustic beams highlight the roof's natural pitch while earthy terracotta tones add incredible warmth.
Choosing Flat Paint to Hide Seams
Using flat, non-reflective paint on sloped ceilings hides the inevitable drywall seams and blurs the harsh architectural angles of the room. This smooth finish absorbs light rather than bouncing it, making the low space feel taller and far more peaceful.
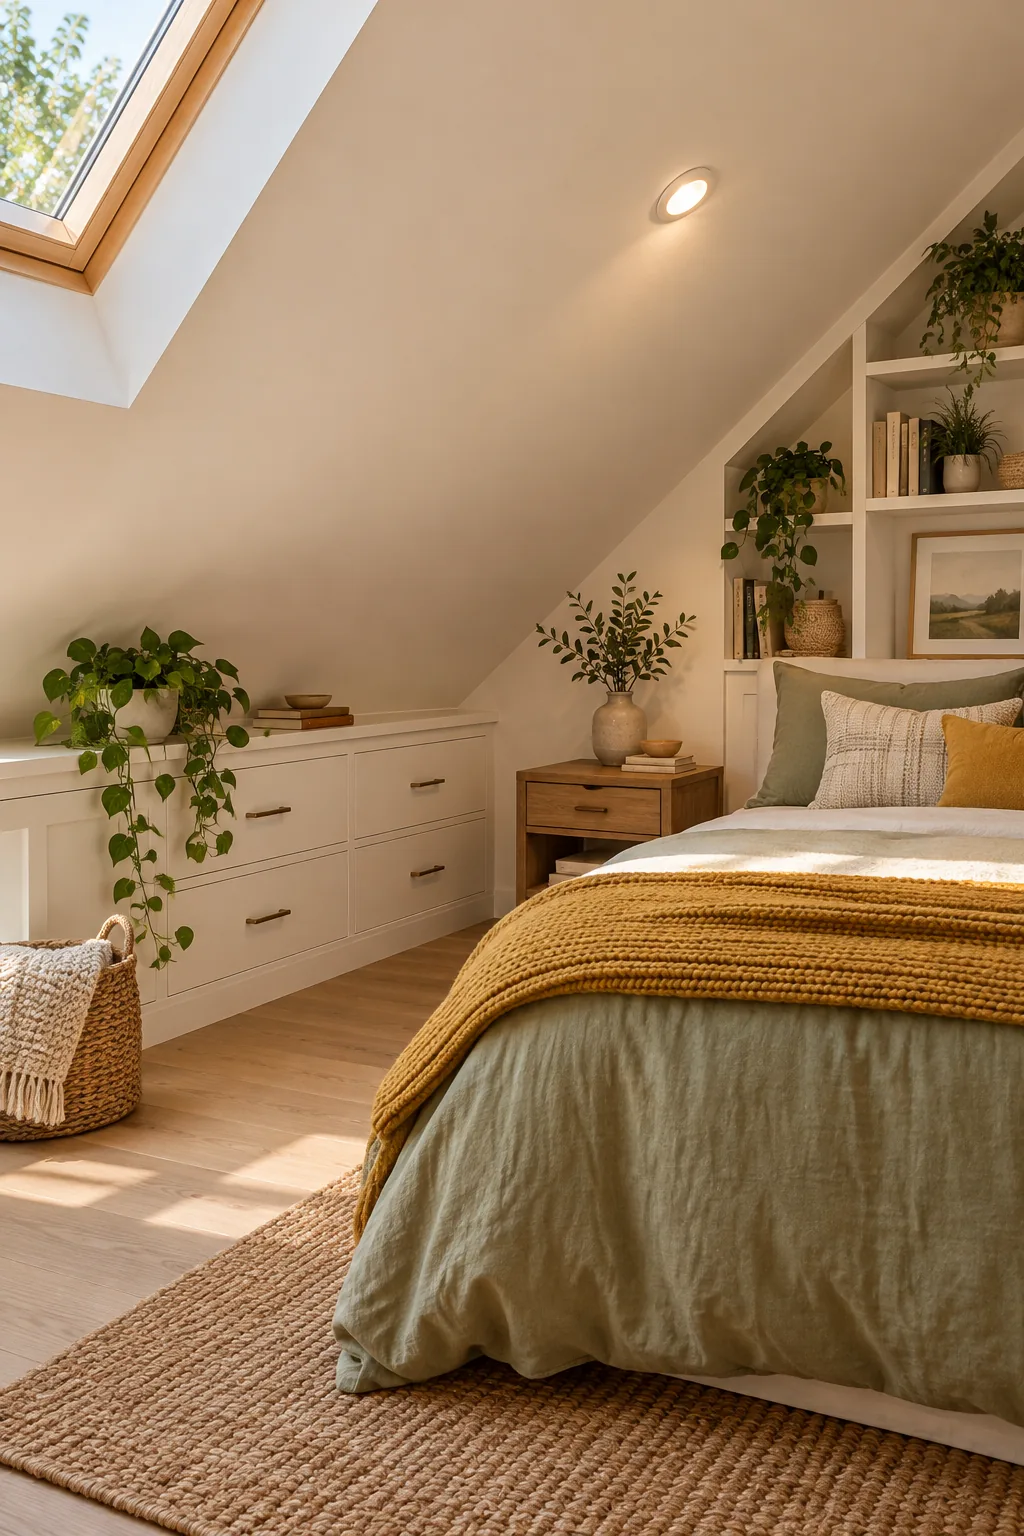
This simple painting technique ensures the transition between the straight wall and the angled ceiling feels completely seamless. It is the easiest way to give your newly measured and built loft a polished, professional finish that feels like a true sanctuary.