
6-Month House Remodel Master Schedule: Contractor Secrets
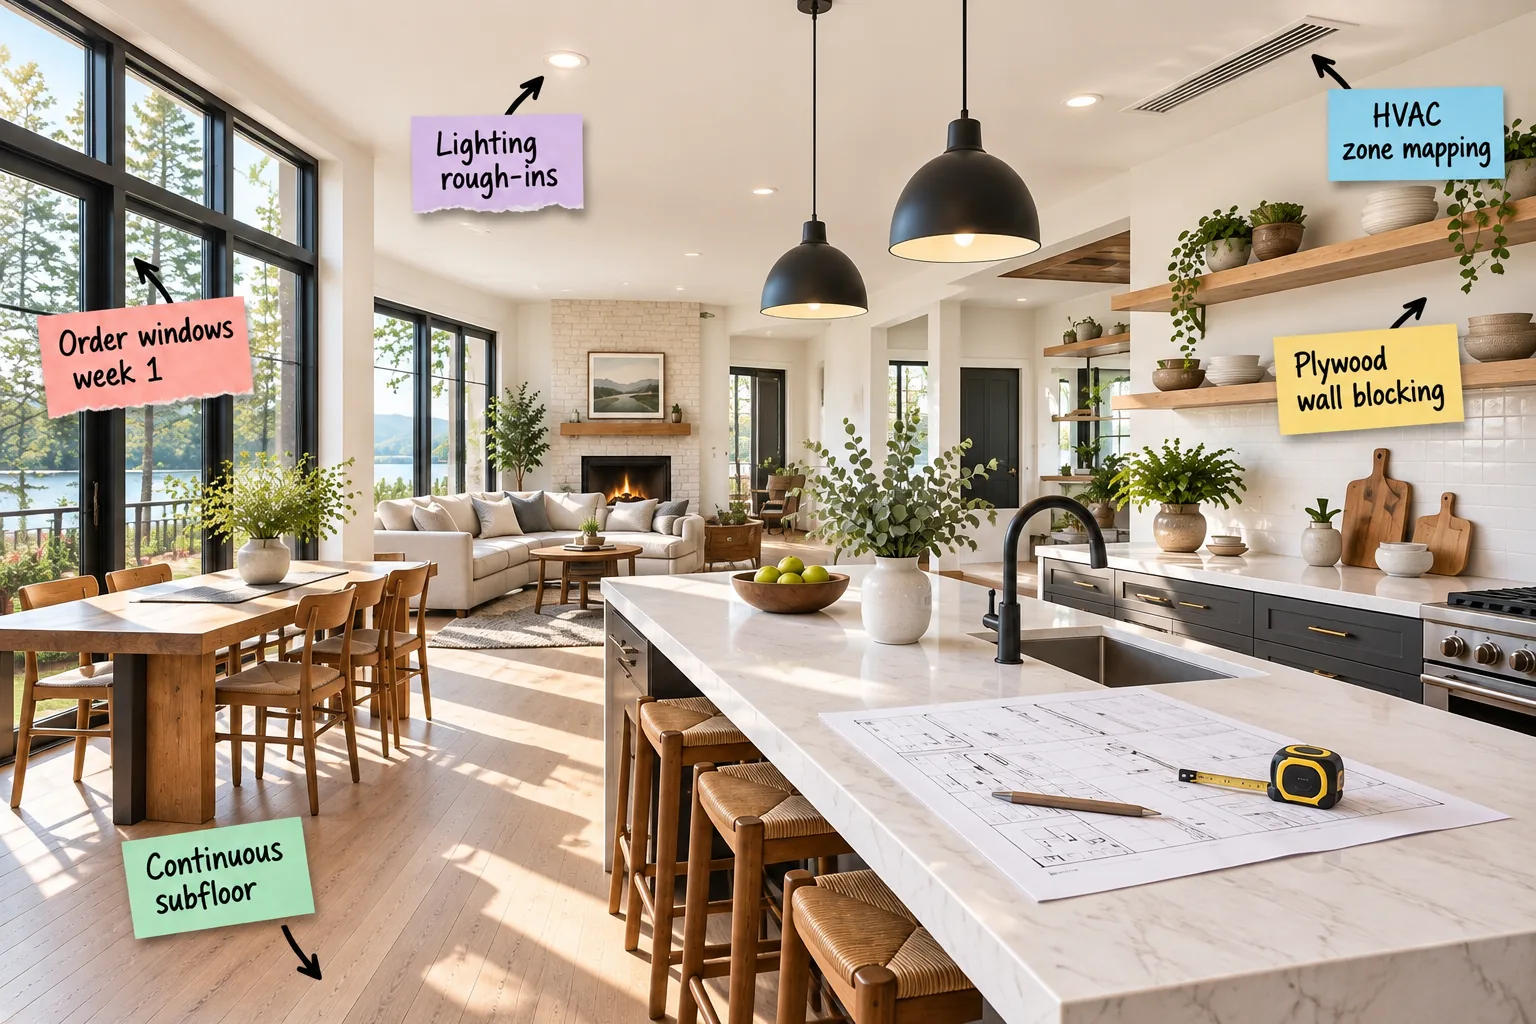
If you want to plan your renovation like a pro, you need the exact 6-month house remodel master schedule contractors use to sequence materials and structural prep. I’m sharing the roadmap that guarantees you will sequence phases correctly and instruct your crew on essential hidden prep work.
The 6-Month Remodel Master Schedule
A successful full-scale remodel requires a strict chronological roadmap, which I learned the hard way when my own kitchen stalled for a month. This 24-week schedule allocates four weeks for demolition, six for rough-ins, four for drywall, and six for finishes.

Before finalizing your timeline and tearing down the first wall, ensure your administrative groundwork is completely locked in.
Securing Structural Engineering Approvals
Removing load-bearing walls to create an open concept requires stamped architectural plans and municipal approval before any hammers swing. Hire a licensed structural engineer to calculate the exact steel beam dimensions needed to safely carry your roof load across the newly opened span.
Ordering Long-Lead Materials First
Custom architectural features dictate your early timeline, so you must order windows week 1 to keep the project moving. Because custom black-framed windows typically carry a 12-to-16-week lead time, securing them immediately ensures the house can be weather-sealed right after framing.

Getting the structure fully weather-tight protects your exposed framing from moisture damage and allows the delicate interior mechanical work to begin safely.
Establishing Temporary Site Utilities
Your construction crew needs reliable power and running water throughout the six-month process, even when the main systems are shut down. Set up a temporary electrical pole and a dedicated water spigot outside to keep saws running and allow for daily site cleanup.
Executing Safe Interior Demolition
Taking a house down to the studs generates massive amounts of heavy debris that must be managed daily to maintain a safe workspace. Schedule three massive roll-off dumpsters for the first month and require your crew to sweep the subfloor completely clean every single afternoon.
Evaluating Exposed Foundation Integrity
Once the old flooring and drywall are gone, you finally get a clear view of your concrete slab or pier-and-beam foundation. Inspect the exposed base carefully for structural cracks or severe moisture intrusion before you start building the new interior walls.
| Foundation Issue | Measurement | Required Action |
|---|---|---|
| Hairline cracks | Under 1/8 inch | Seal with epoxy injection |
| Structural gaps | Over 1/4 inch | Consult structural engineer |
| Moisture pooling | Visible dampness | Install French drain system |
| Uneven slab | Over 1/2 inch dip | Pour self-leveling compound |
Addressing these hidden foundation issues immediately prevents your brand-new drywall from cracking when the house settles during the upcoming seasonal temperature shifts.
Prepping for a Continuous Subfloor
Seamless transitions between rooms require a flawlessly level base layer to prevent squeaks and movement underfoot. Installing a continuous subfloor of 3/4-inch tongue-and-groove plywood across the open plan ensures wide-plank oak flooring lays perfectly flat without awkward transition strips.
Gluing and screwing this thick plywood layer directly to the joists creates an unyielding foundation that dramatically extends the lifespan of your expensive hardwood finishes.
Framing Open Concept Layouts
Building new interior walls defines your updated floor plan and provides the crucial skeleton for all upcoming mechanical routing. Ensure your framing crew uses premium kiln-dried studs to prevent the new walls from bowing or twisting as the lumber dries out inside the climate-controlled house.
Installing Plywood Wall Blocking
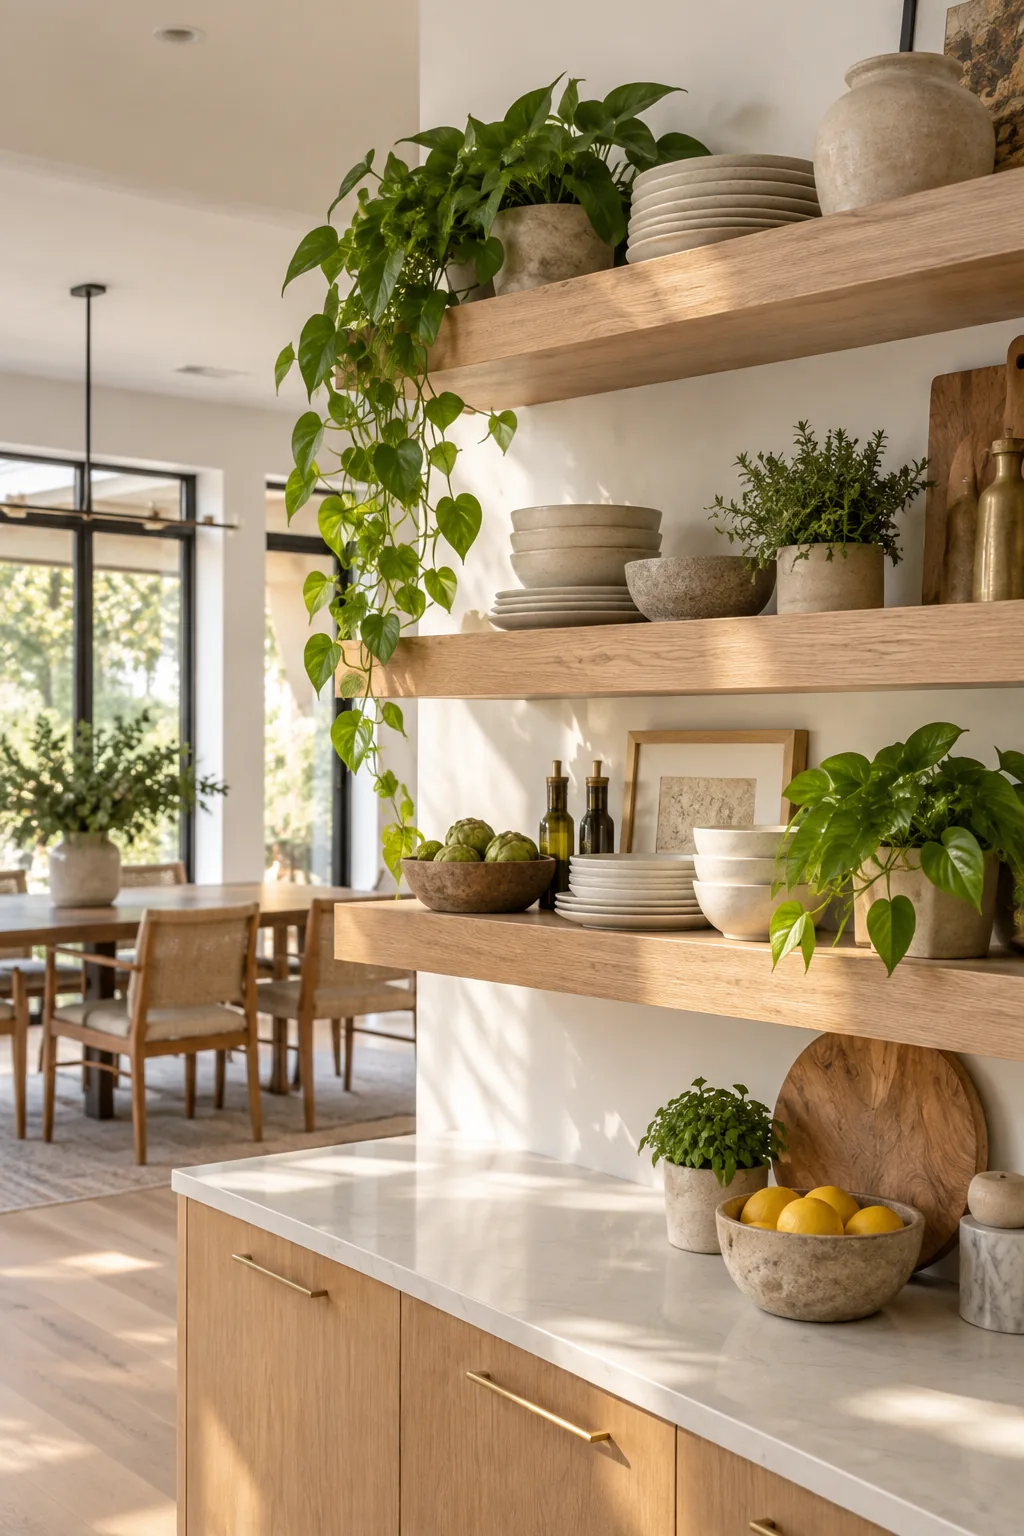
Heavy floating shelves require structural support beyond standard 16-inch stud spacing to hold dishes safely. Adding plywood wall blocking between the studs before drywall goes up allows you to mount heavy brackets absolutely anywhere along the wall.
Once the blocking is installed, you need a reliable way to locate it exactly after the drywall hides the framing.
Upgrading the Main Electrical Panel
Modern appliances and smart home systems draw significantly more power than older homes were originally designed to handle safely. Upgrading to a 200-amp electrical panel provides the necessary capacity for your new induction range, dual HVAC systems, and future electric vehicle charger.
- Calculate your total projected household amperage draw
- Install the new heavy-duty 200-amp breaker box
- Run dedicated circuits to all major kitchen appliances
Completing this heavy electrical upgrade during the rough-in phase ensures your electrician has easy access to route thick cables through the open wall cavities before the drywall goes up.
Mapping HVAC Zones for Open Plans
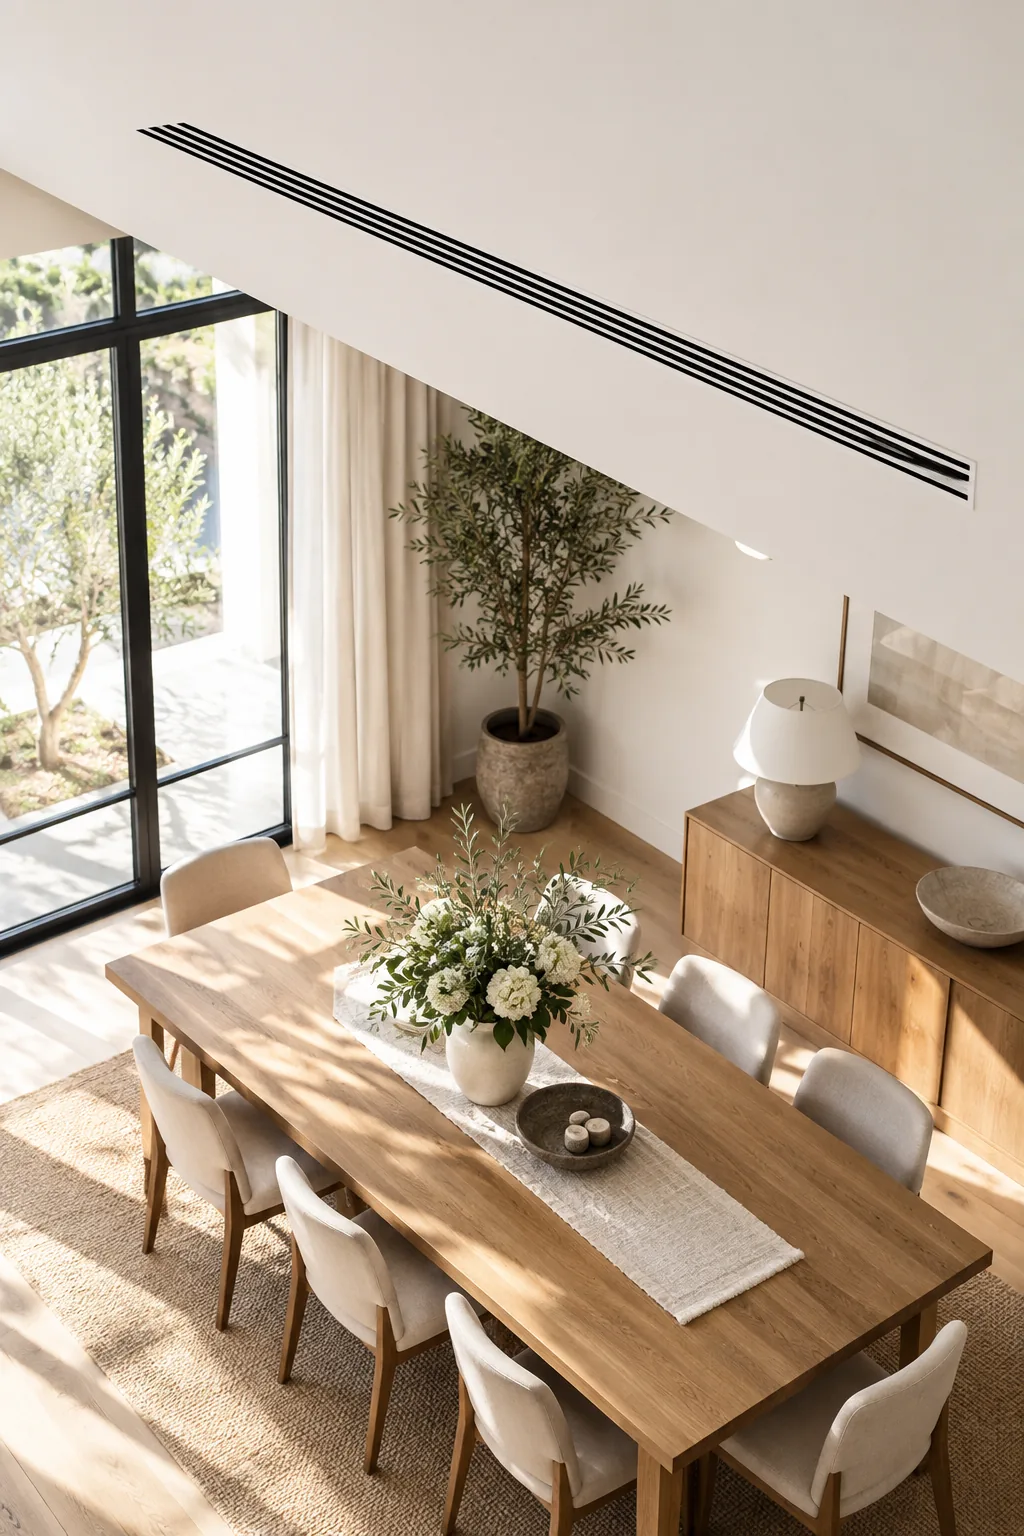
Large expanses of glass drastically change a room’s heating and cooling loads, making early HVAC zone mapping absolutely critical. Map your zones during the rough-in phase to integrate sleek, minimalist linear diffusers into the ceiling.

Planning these specific plenum boxes during framing ensures balanced airflow without relying on bulky traditional floor registers that interrupt your seamless wood floors.
Routing Custom Plumbing Lines
Moving a kitchen sink to a central island requires trenching the concrete slab to run new drain lines at the correct downward slope. Coordinate your plumber and foundation crew carefully to ensure these deep trenches are backfilled and leveled perfectly before the subfloor goes down.
Perfecting Lighting Rough-Ins
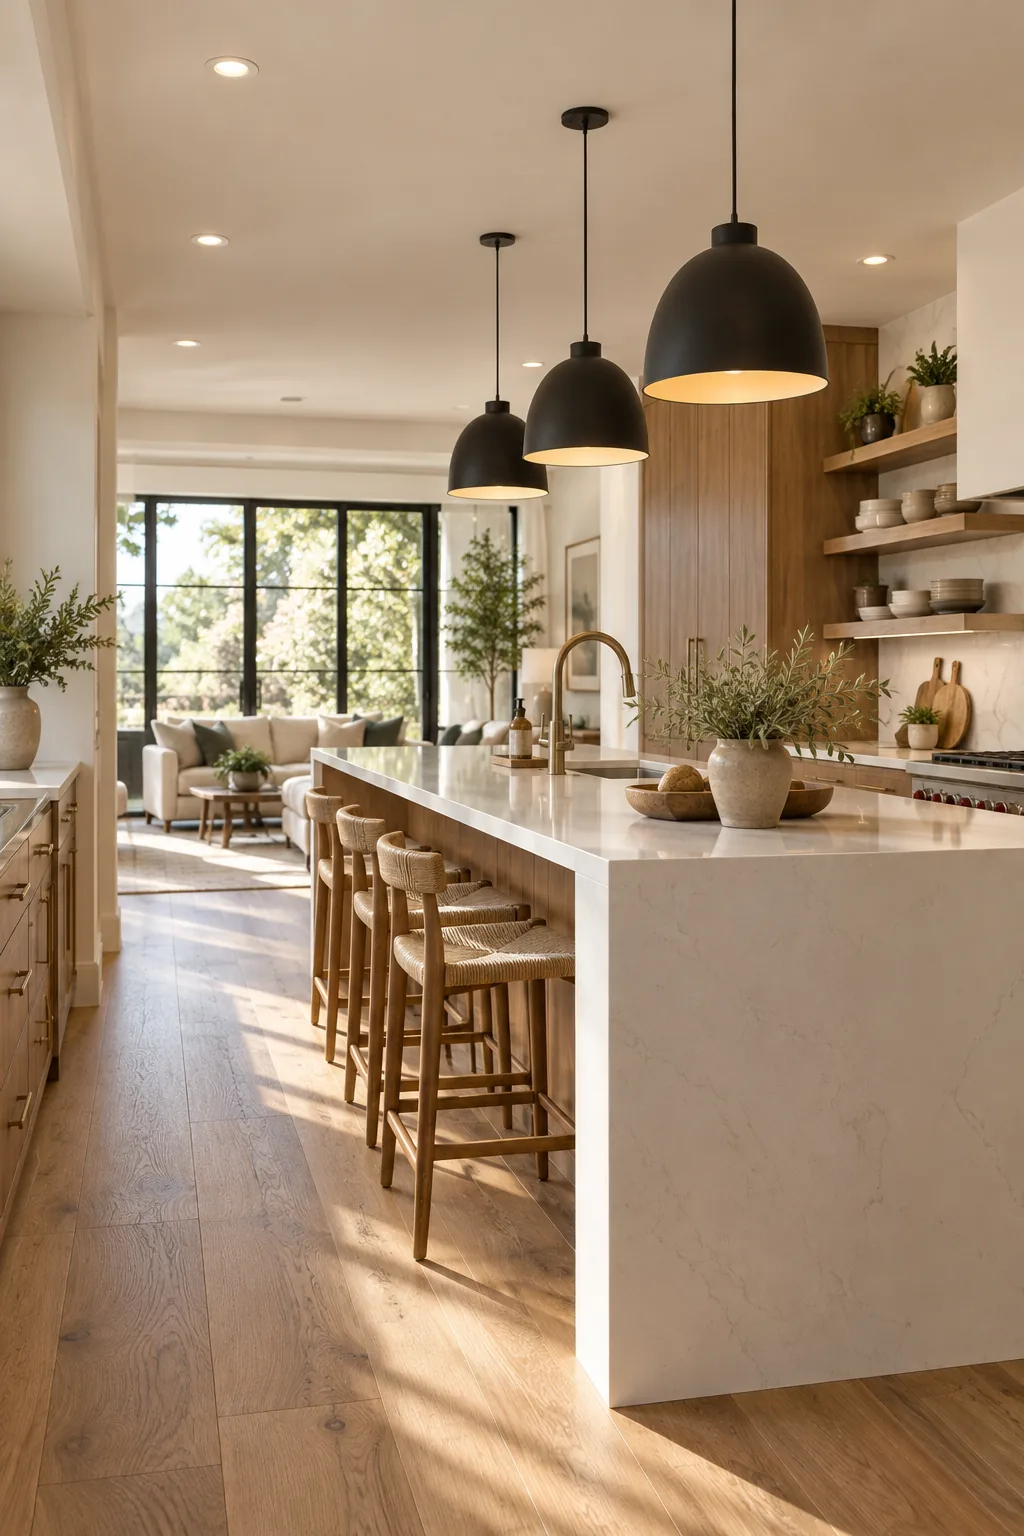
Lighting placement must be finalized before the ceiling is closed up, a lesson I memorized after having to patch my own freshly painted living room ceiling. Finalize your lighting rough-ins by positioning flush ceiling spotlights approximately 36 inches away from the walls.
This specific three-foot spacing washes the perimeter evenly without casting harsh, scalloped shadows on your freshly finished drywall.
Passing Municipal Rough Inspections
Before a single sheet of drywall can be hung, the city inspector must verify that all framing, electrical, plumbing, and mechanical work meets current building codes. Schedule this crucial inspection at least two weeks in advance to avoid a frustrating standstill in your project timeline.
Managing Drywall and Paint Sequencing
Once the rough-ins pass inspection, the messy work begins, requiring a strict timeline to keep dust away from finished products. Schedule a full two weeks for drywall hanging, taping, and mudding to ensure perfectly smooth walls.
- Complete all drywall sanding and texturing
- Apply an immediate coat of high-quality primer
- Seal the paper face completely before cabinetry arrives
Locking down the drywall dust with primer prevents microscopic particles from contaminating your expensive cabinet glides and pristine factory paint finishes during the final weeks.
Selecting the Right Drywall Thickness
Standard half-inch drywall works perfectly for walls, but ceilings require a thicker material to prevent sagging between the joists over time. Specify 5/8-inch drywall for all ceiling applications to ensure a perfectly flat, rigid surface that won’t warp under the weight of heavy insulation.
Acclimating Wide-Plank Hardwood
Solid wood flooring expands and contracts based on the ambient humidity inside your home. Stack the unboxed hardwood planks inside the climate-controlled house for at least seven days before installation so the wood reaches its final moisture content and won’t buckle later.
Installing Interior Doors and Millwork
Baseboards, window casings, and interior doors add the final architectural character to your newly framed rooms. Install all interior millwork after the flooring is protected but before the final wall color is sprayed to ensure crisp, caulk-free paint lines.
Protecting Finishes During Final Work
The last month of a remodel involves multiple trades working simultaneously in close quarters, putting your new floors at high risk. Roll out heavy-duty breathable floor protection paper and tape it securely to the baseboards to shield the hardwood from dropped tools and muddy boots.
3 Distinct Remodel Material Palettes
Explore how different finish selections completely transform the same open-plan layout.
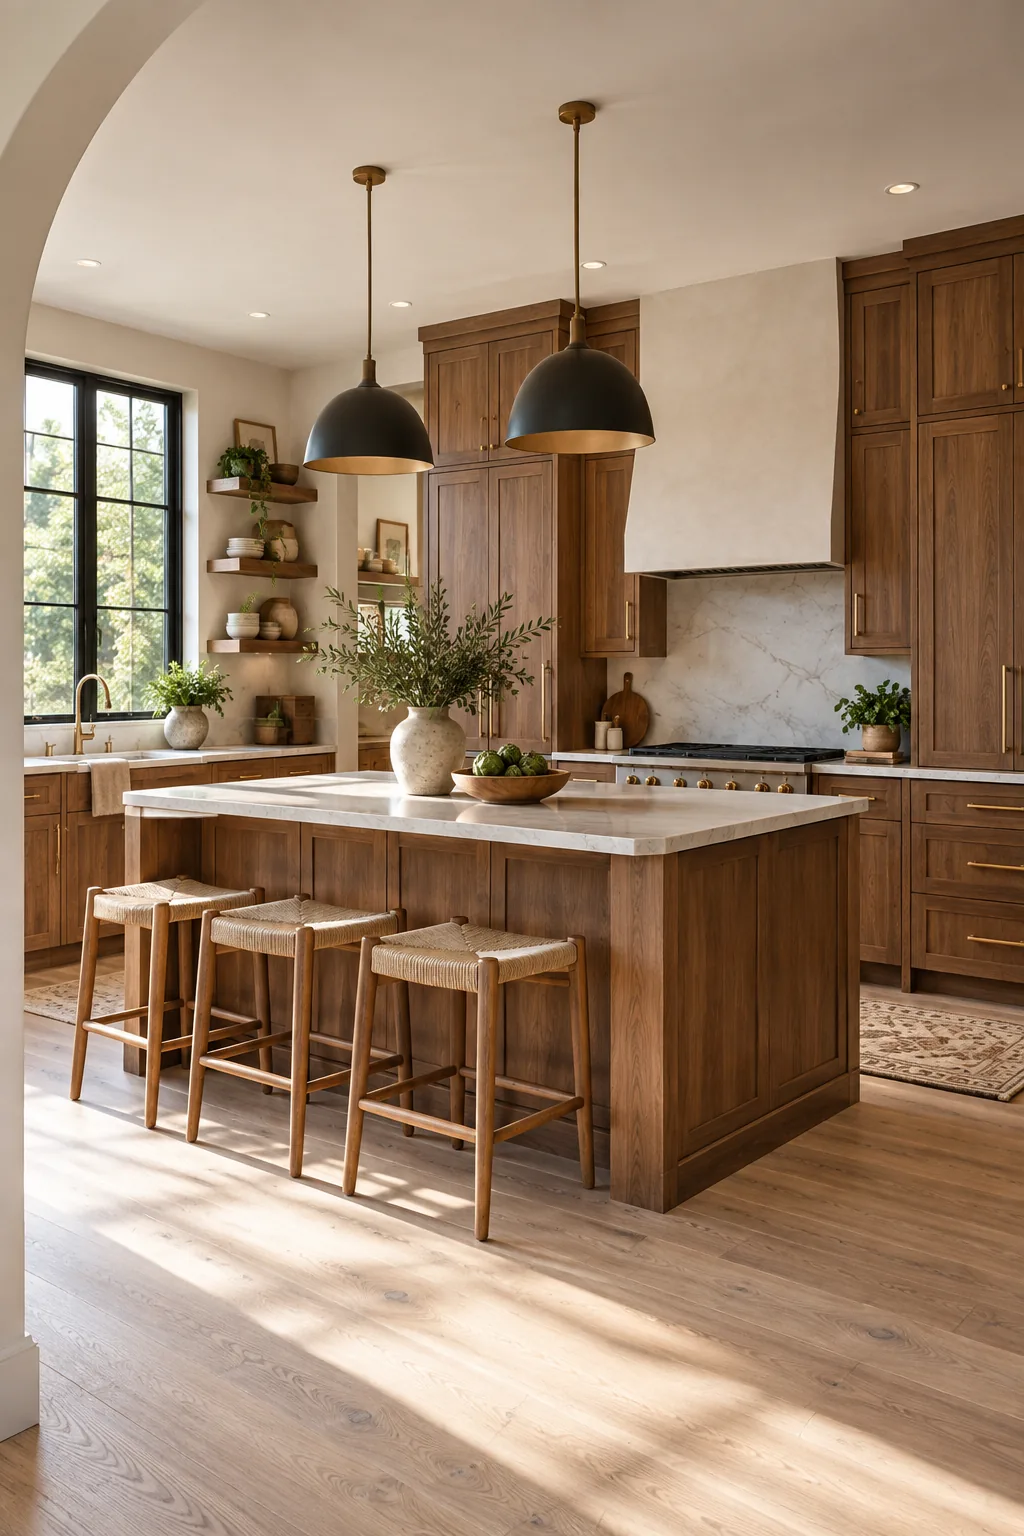
Modern Organic Kitchen Setup: Warm walnut cabinetry pairs beautifully with creamy white oak floors and unlacquered brass hardware for a soft, natural aesthetic.
Industrial Loft Living Space: Exposed brick walls and polished concrete floors create a rugged backdrop for sleek steel-framed interior glass partitions.

Transitional Formal Dining Room: Deep charcoal wainscoting grounds the room while classic herringbone wood floors add timeless architectural interest.

Coordinating Final Fixtures and Trim
The final weeks of the schedule are reserved for delicate installations, which is always my favorite part because the house finally feels like a home. Heavy pendant lights, plumbing fixtures, and cabinet hardware should only be installed after the final coat of paint has fully cured.

Waiting for the paint to harden completely prevents accidental scratches and ensures your expensive finishing touches remain totally pristine for move-in day.