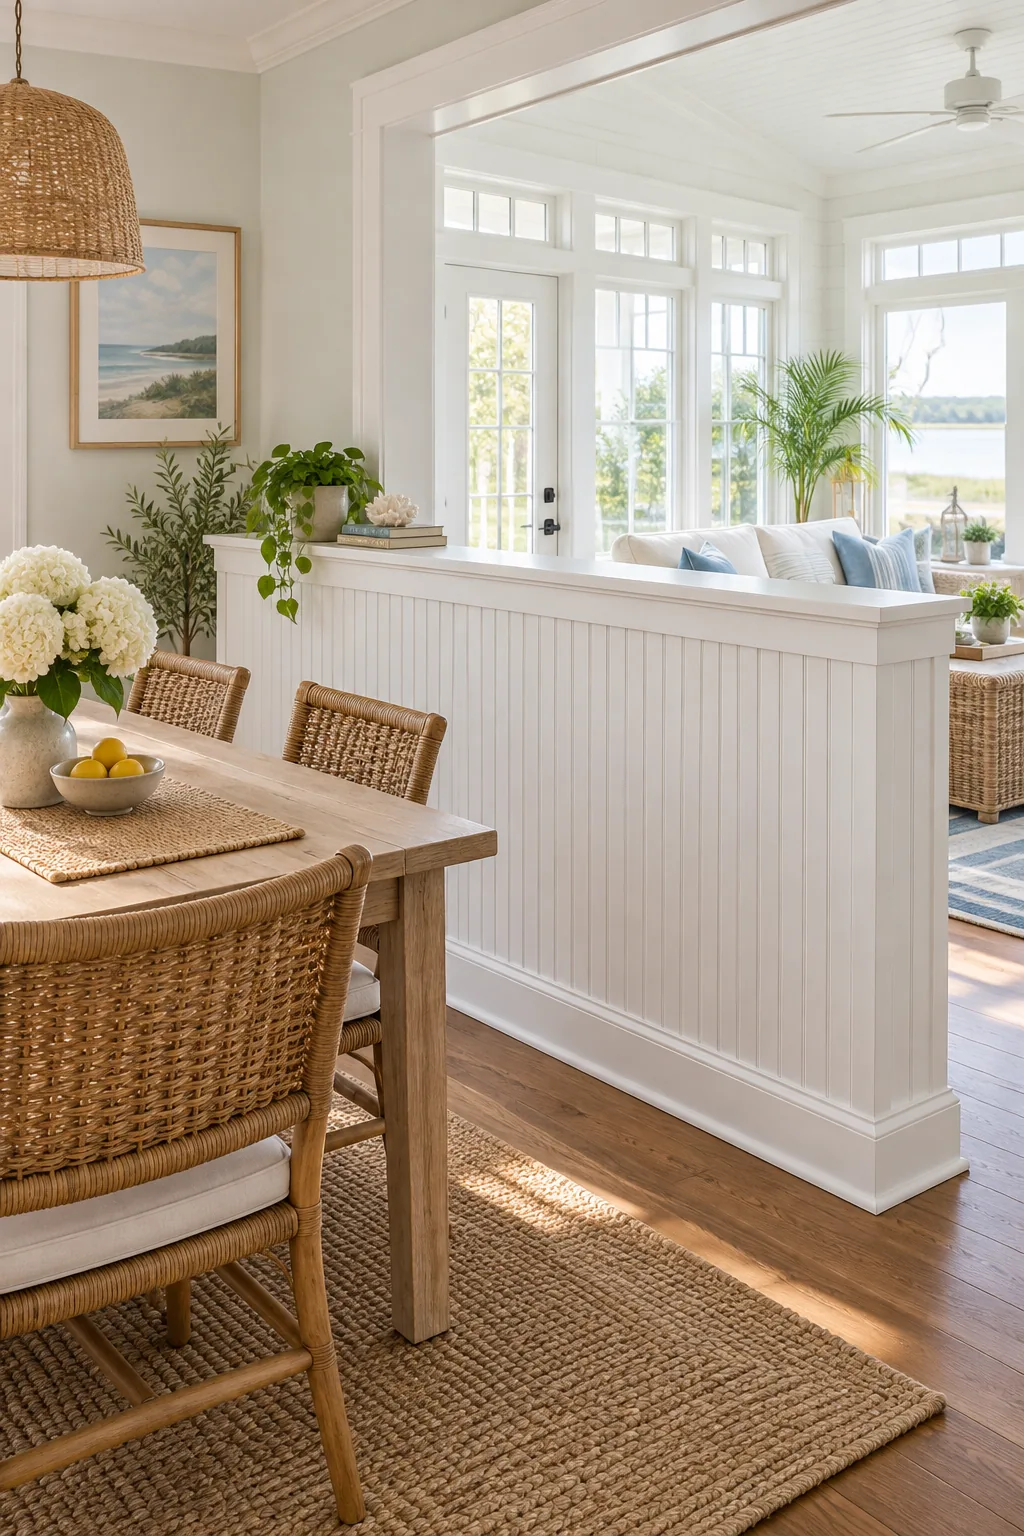
Room Divider Half Wall: Builder Framing Secrets & Cut List
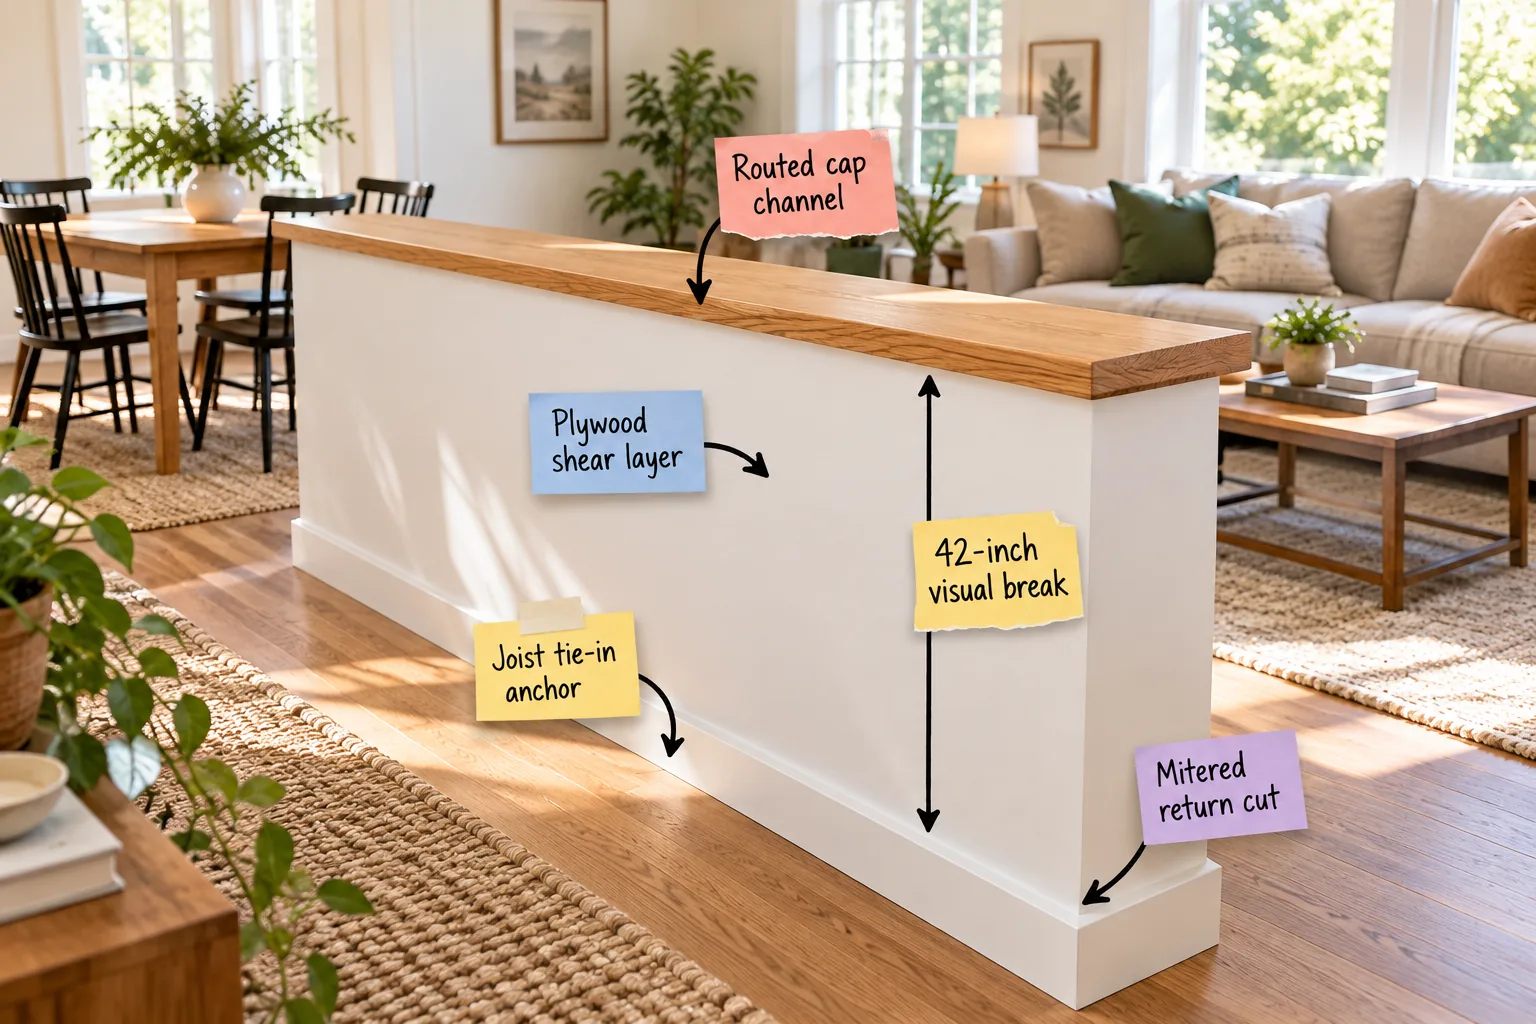
Grab the exact framing measurements and cut list you need to build a rock-solid half wall that beautifully divides your open floor plan. You will be able to confidently frame, anchor, and finish this custom room divider using professional techniques and our exact cut list.
Securing the Base to Floor Joists
A half wall gets its required rigidity by anchoring the bottom plate directly into the floor joists, preventing the dreaded wobble. You must always use 4-inch structural screws rather than standard framing nails to guarantee a permanent, unmoving hold through the subfloor.
| Fastener Type | Required Length | Spacing Interval | Structural Application |
|---|---|---|---|
| Structural wood screws | 4 to 5 inches | Every 16 inches | Locks the bottom framing plate directly into the solid floor joists below to prevent leaning. |
| Standard framing nails | 3.5 inches (16d size) | Every 12 inches | Connects the vertical wall studs securely to the horizontal top and bottom framing plates. |
| Heavy construction adhesive | Continuous thick bead | Full plate length | Prevents annoying squeaks between the bottom wooden plate and the home’s original plywood subfloor. |
| Concrete wedge anchors | 3 to 4 inches | Every 24 inches | Secures the framing base permanently when building your room divider directly on a concrete slab. |
| Coarse drywall screws | 1.25 to 1.625 inches | Every 8 inches | Attaches the outer drywall panels tightly to the newly built internal wood frame without popping. |
| Finish brad nails | 2 inches (18-gauge) | Every 10 inches | Secures the final decorative oak cap and the mitered baseboard trim pieces cleanly without splitting. |
Selecting the correct heavy-duty fasteners for the base connection is the single most critical step in this entire architectural project. Skipping this robust anchoring method guarantees that your newly built divider will eventually lean under normal daily household pressure.
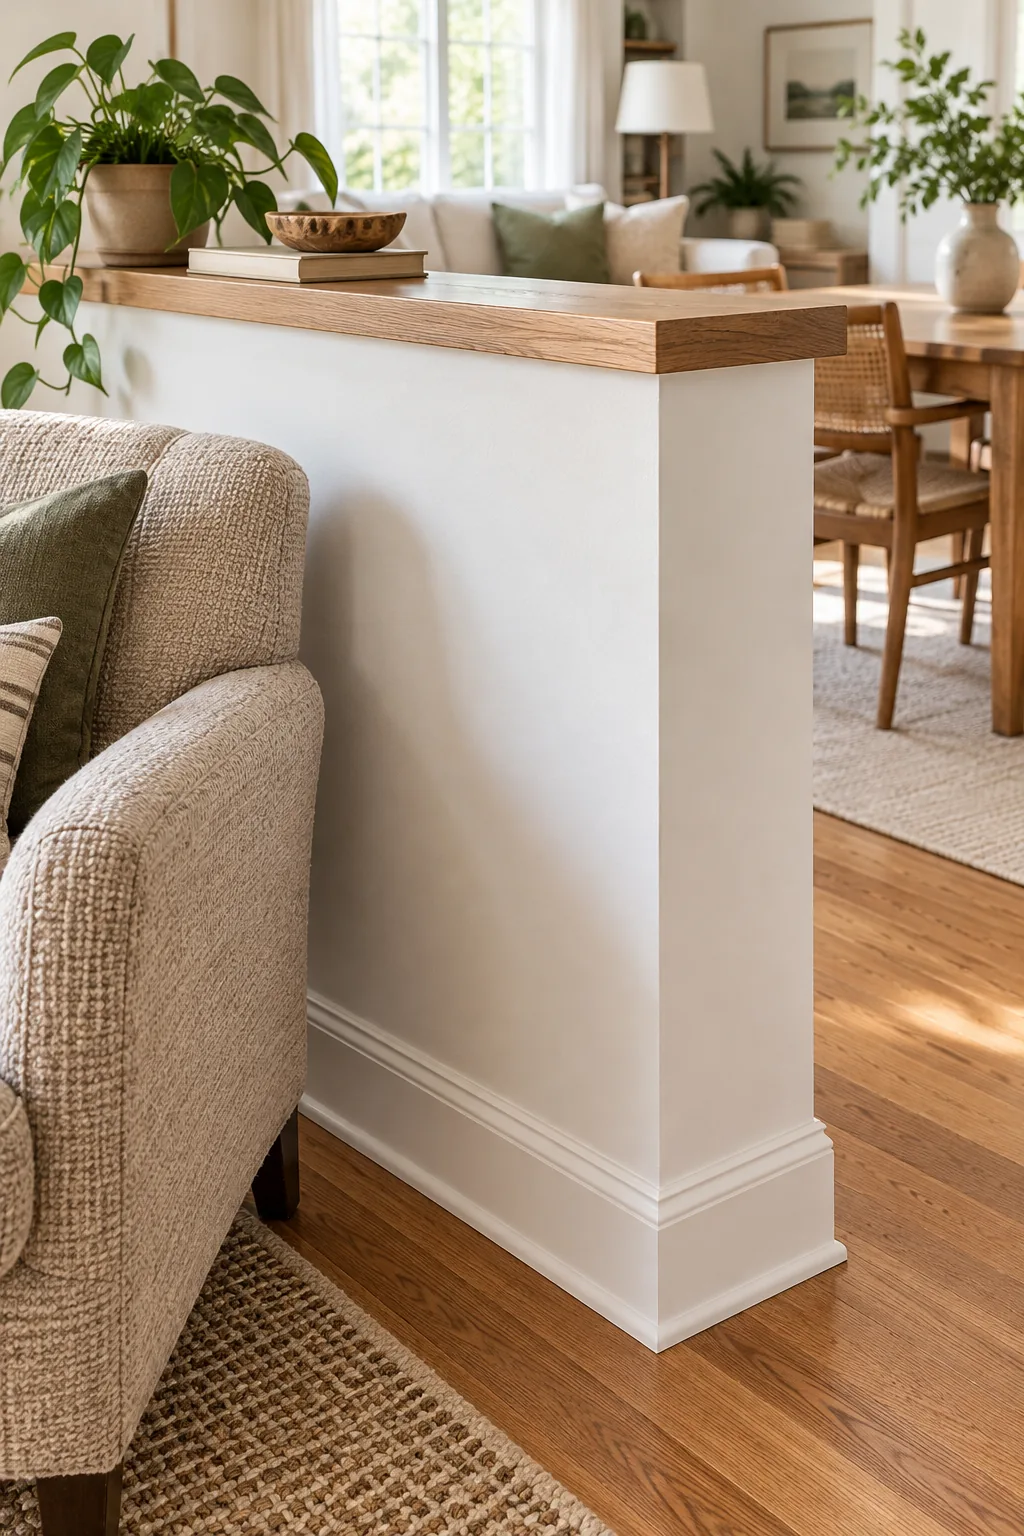
Driving these heavy structural anchors straight through the subfloor into the joists below creates a truly permanent architectural feature. This robust connection ensures your new room divider will easily support the weight of leaning guests without ever shifting or cracking.
Adding the Plywood Shear Layer
The secret to a remarkably stiff framing structure is adding a solid layer of 1/2-inch plywood beneath the drywall on at least one side. This continuous wood sheet acts as a rigid shear panel to completely stop lateral movement.
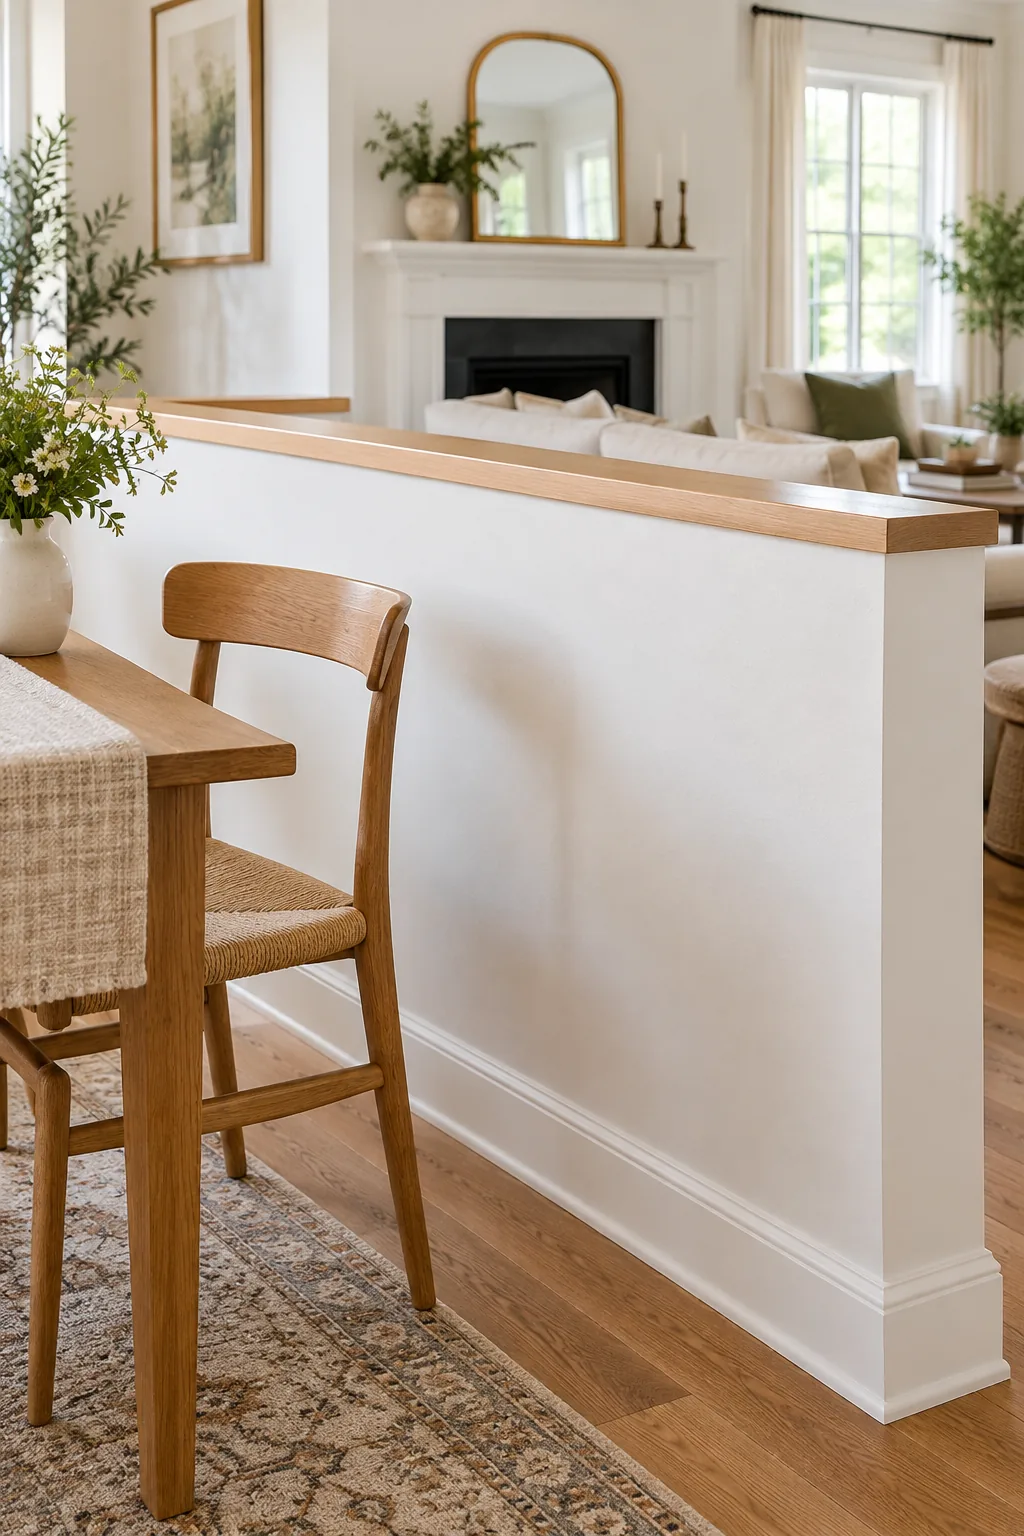
Using a half-inch plywood backing layer under the drywall physically locks all the individual vertical studs together into one unbreakable structural unit. You will instantly feel the massive difference in lateral strength as soon as the panel is screwed down.
Setting the 42-Inch Visual Break
Building to a 42-inch finished height is the ideal visual break because it successfully hides the back of most standard furniture. I learned this the hard way in my own living room when my first attempt left the sofa tags visible!
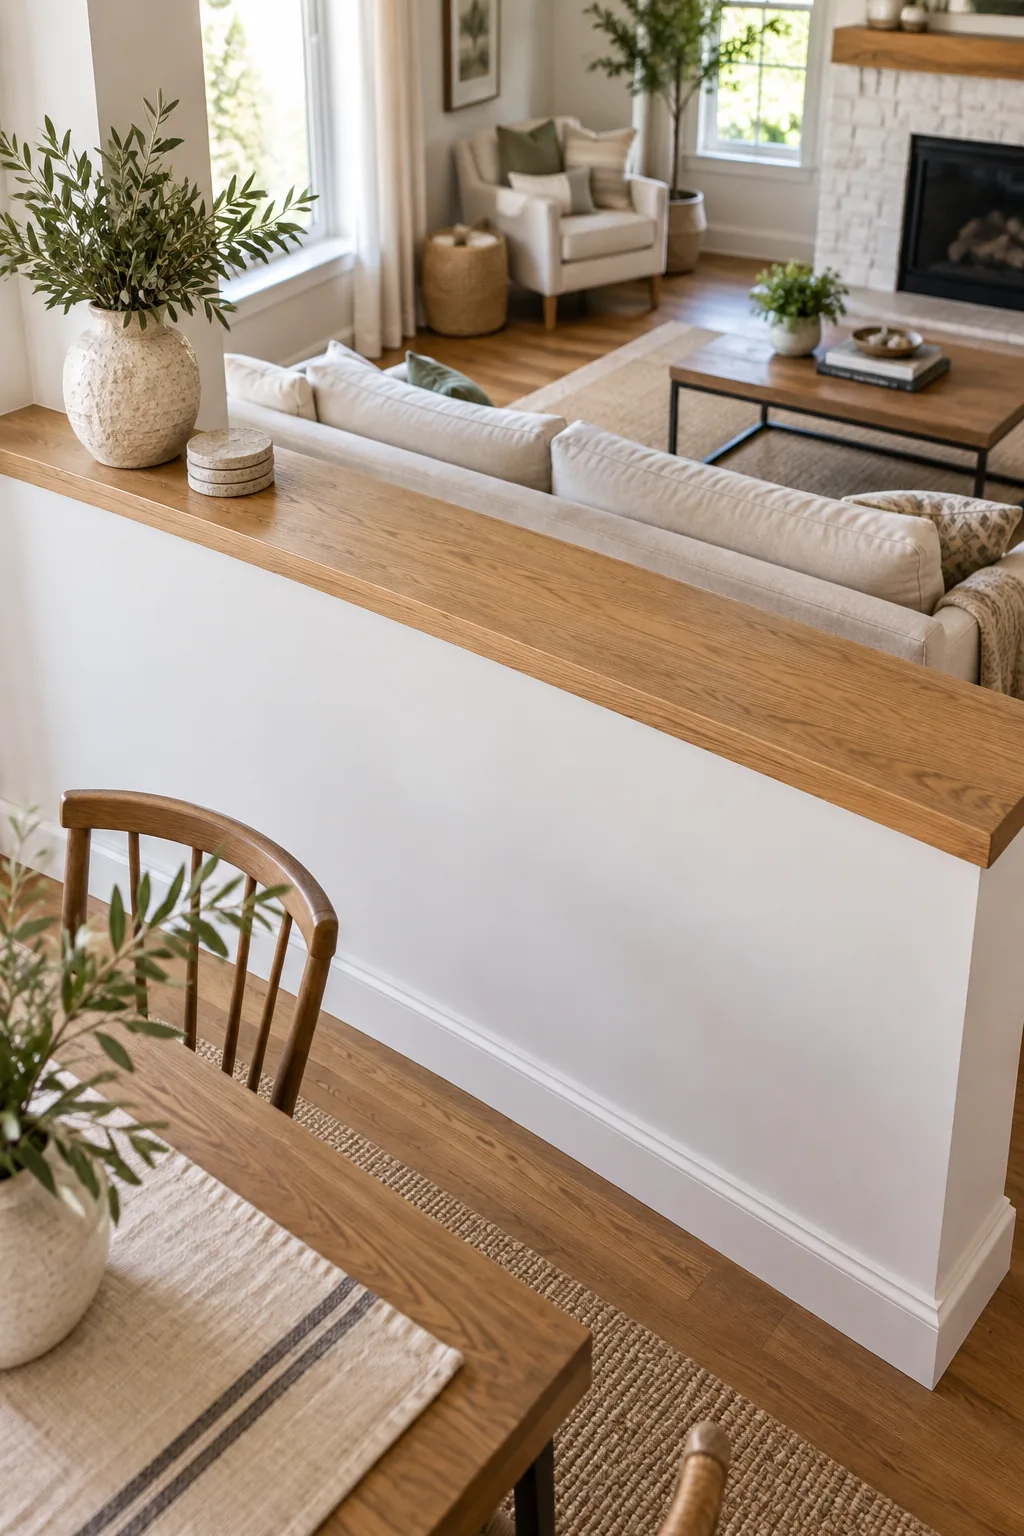
Getting the height wrong is one of the most common DIY framing errors, so check your furniture dimensions before cutting any studs. Keeping sightlines open across the room makes your home feel expansive while still clearly defining the separate living zones.
Routing the Oak Cap Channel
The warm oak cap sits perfectly flush over the drywall because we cut a routed channel directly into its underside. When I built the divider for my Austin dining room, this 1/4-inch deep groove made all the difference in achieving a professional look.
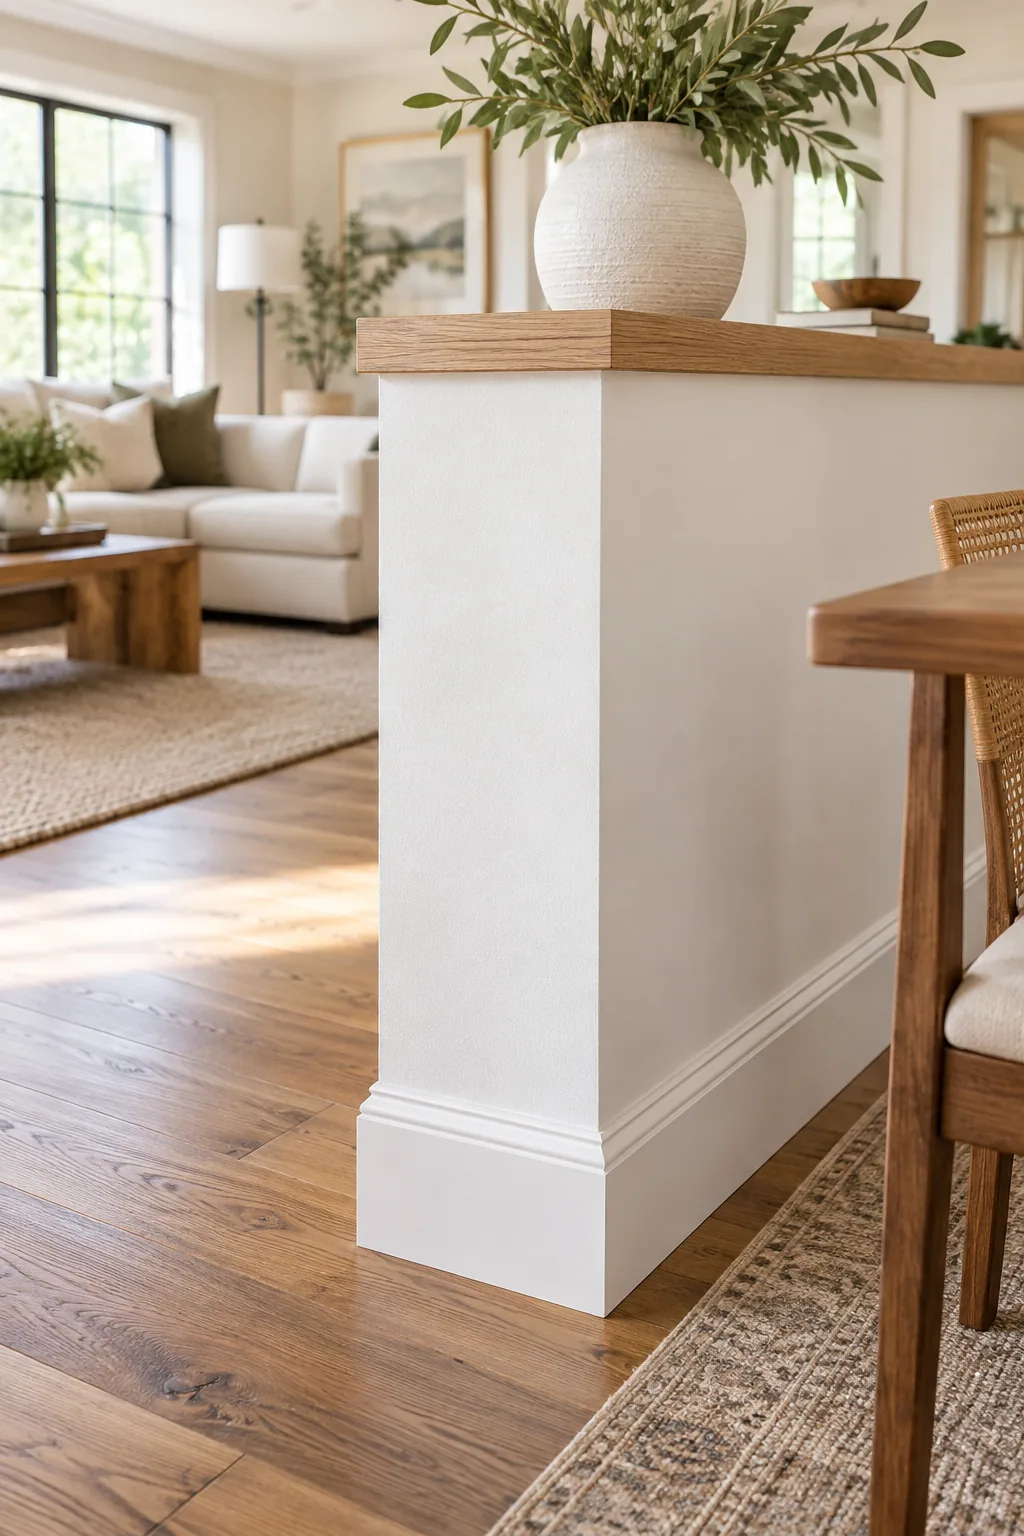
This shallow channel completely hides the raw drywall edge and physically locks the heavy wood in place so it cannot shift. Taking the time to properly mill this groove elevates the entire project from a basic DIY build to custom carpentry.
- Measure the exact total thickness of your finished wall, including the drywall and corner beads on both sides, to determine the channel width.
- Set your router bit depth to precisely one-quarter inch to ensure the groove is deep enough to hide the seams without weakening the board.
- Clamp a straight edge guide to your oak board to keep the router perfectly aligned down the entire length of the decorative cap.
- Make multiple shallow passes with the router rather than cutting the full depth at once to prevent wood tear-out and preserve the grain.
- Test fit the routed cap over a scrap piece of your finished wall assembly before applying any permanent construction adhesive to the top plate.
- Sand the routed channel lightly with fine-grit paper to remove any splinters, ensuring the cap slides smoothly over the painted drywall without scratching.
Wrapping with Mitered Baseboards
The finishing touch at the floor involves wrapping the baseboard cleanly around the wall’s exposed end. Using a mitered return cut creates a professional, finished edge rather than leaving raw end grain exposed to the room’s daily foot traffic.
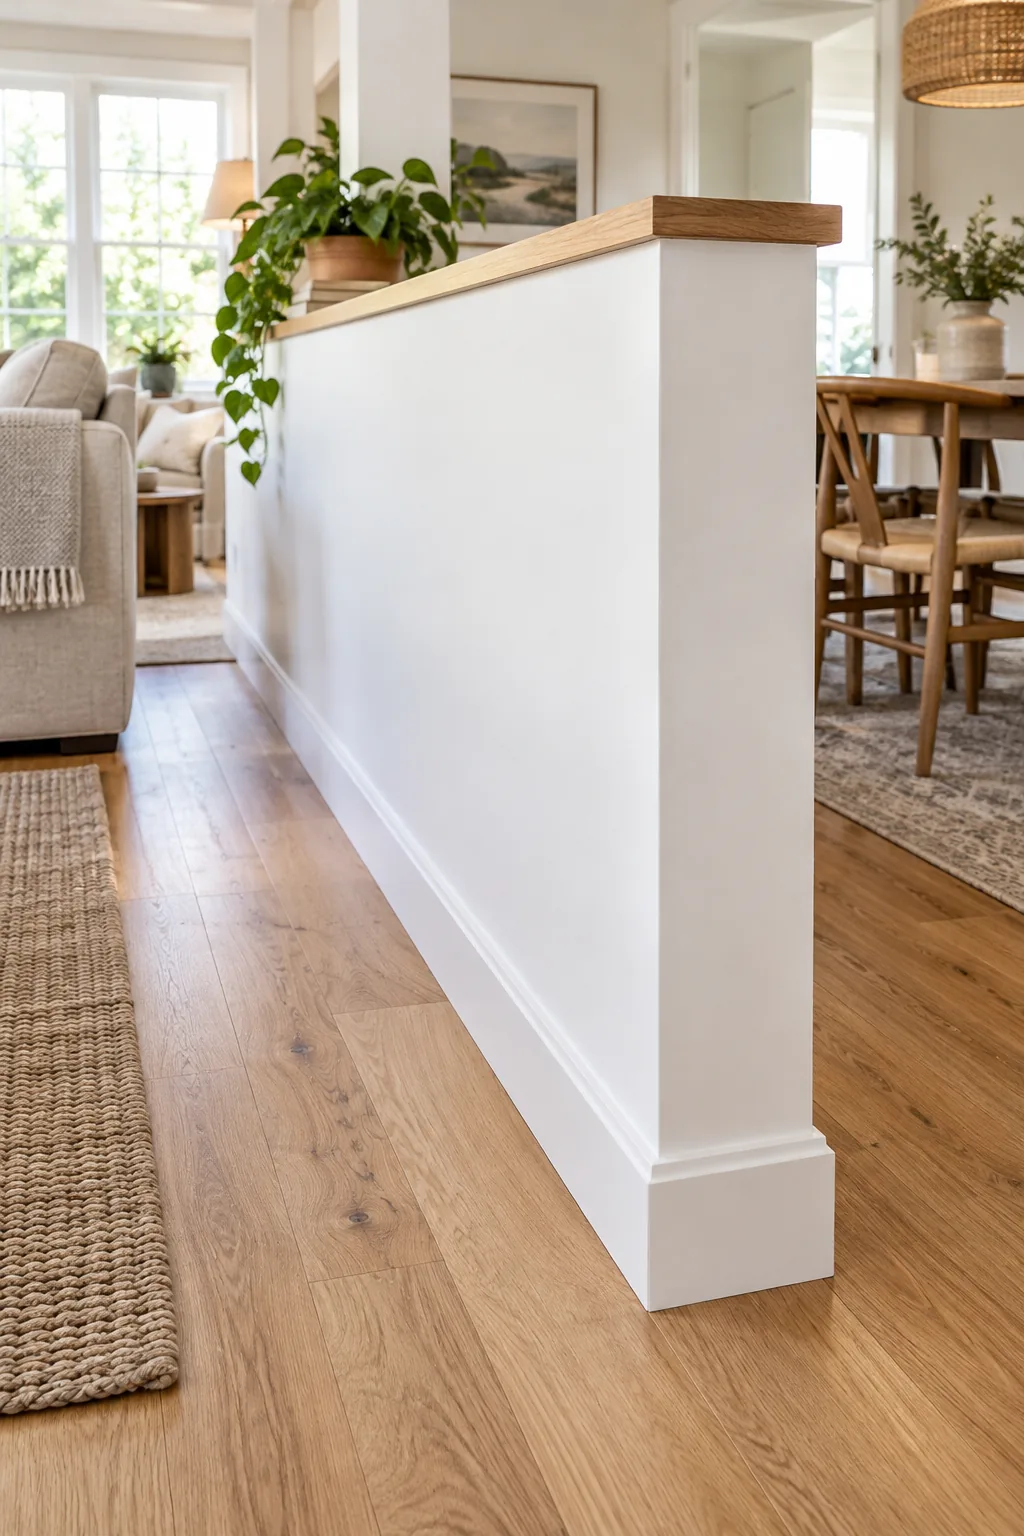
Gluing and pinning this tiny mitered piece ensures the delicate corner stays perfectly tight despite heavy foot traffic and vacuum bumps. Taking the time to cut these precise angles makes the new divider look like original architecture rather than an afterthought.
Reinforcing the Vertical End
You must install a rigid metal corner bead on the vertical end of the half wall to create a crisp, durable edge. In my busy house, this simple addition is the only reason the wall survives daily bumps from kids and pets.
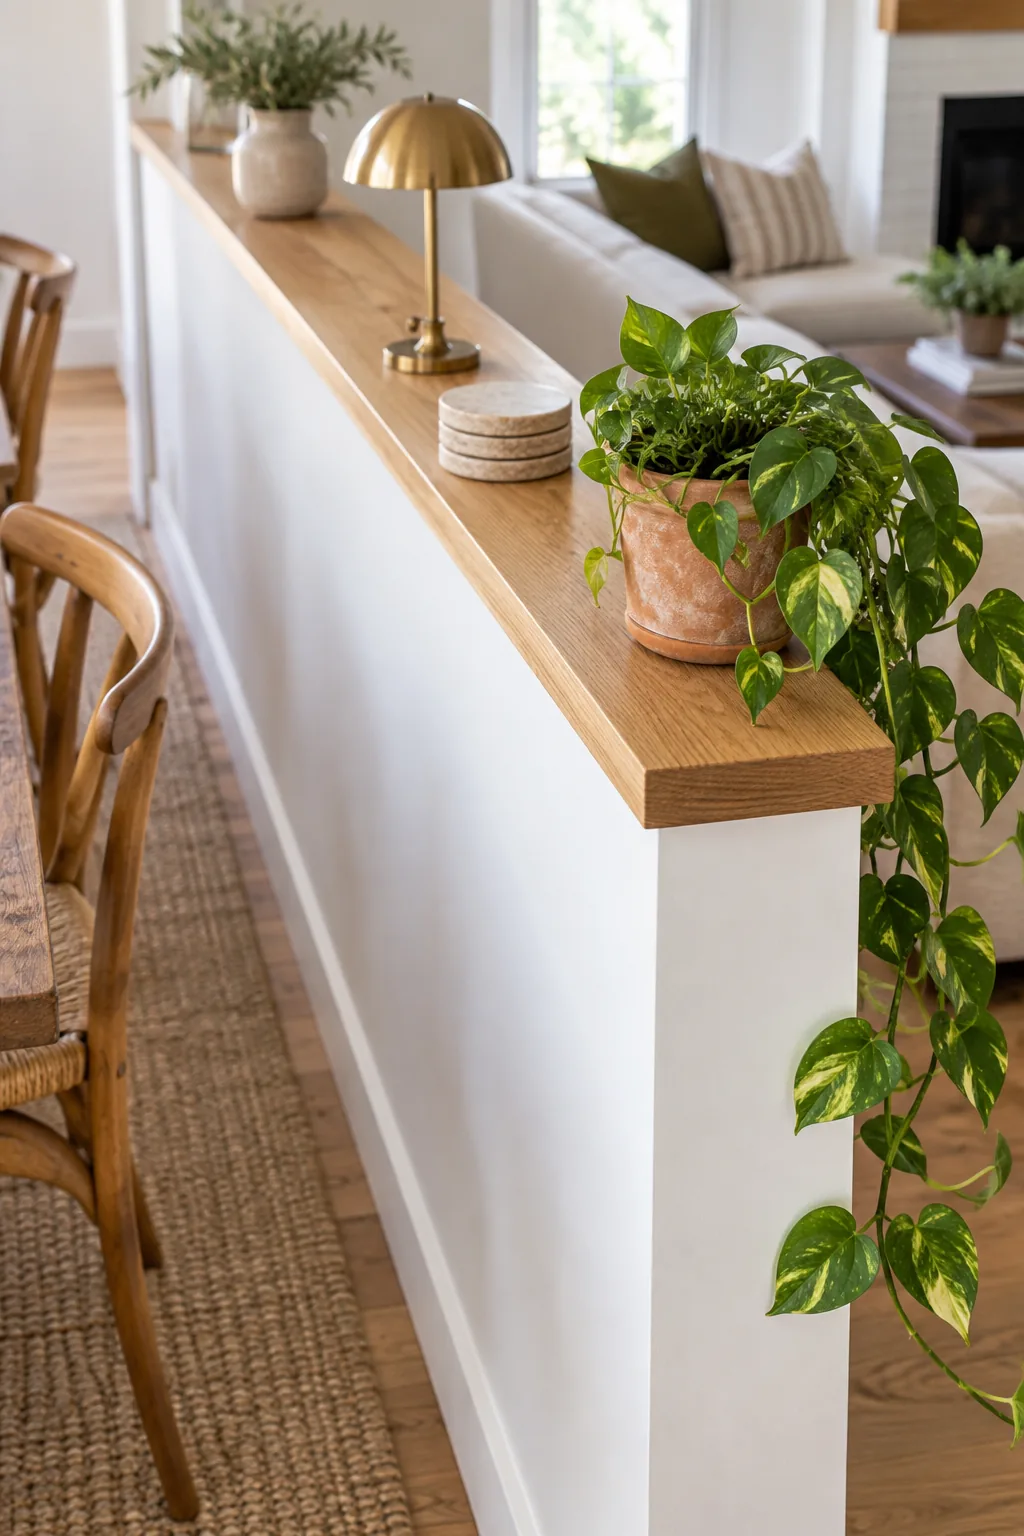
Embedding this metal armor in joint compound guarantees the high-traffic corner will resist dents and keep its sharp architectural line. Applying three thin coats of mud over the bead ensures a perfectly smooth transition that becomes completely invisible once painted.
Styling the Finished Wood Cap
Your new oak cap serves as a perfect display ledge for trailing plants or decorative ceramics to beautifully blend the two spaces. Keeping the styling minimal with a few curated accent pieces ensures the surface remains functional for setting down drinks.
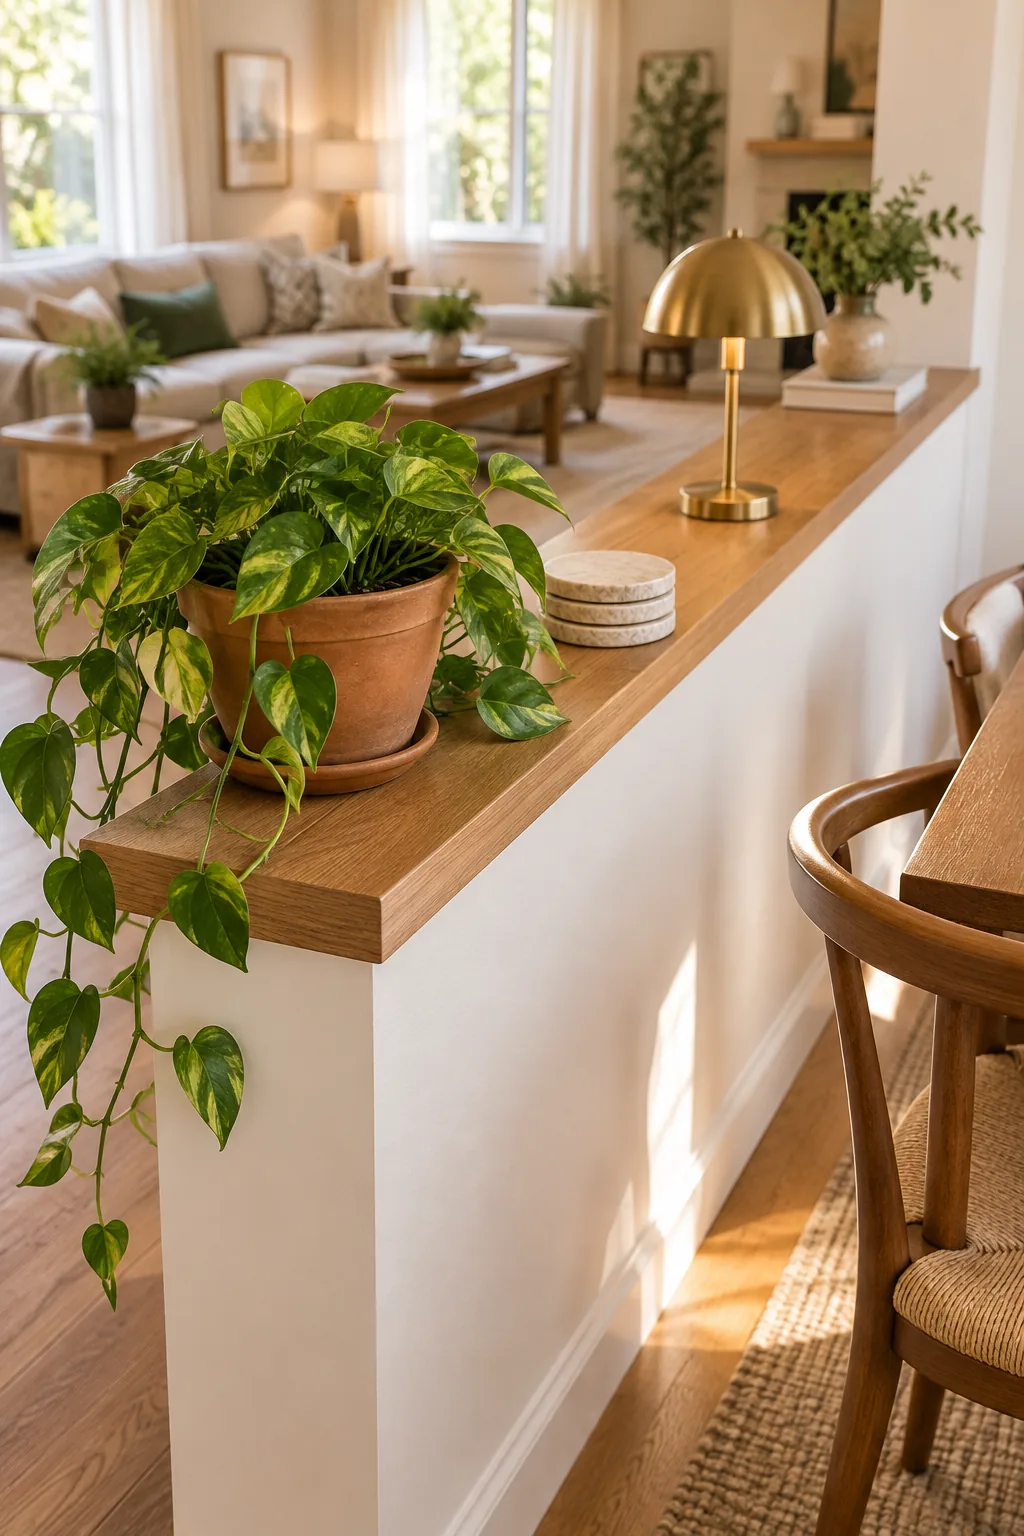
Hanging a small pendant light directly above this wooden ledge beautifully highlights the natural grain and visually anchors the room divider. This thoughtful lighting choice draws the eye upward and makes the half wall feel like an intentional design destination.
Your Framing Cut List and Measurements
To build a standard 42-inch frame, cut your 2×4 studs to exactly 37.5 inches and space them 16 inches on-center. Combine these vertical pieces with a single bottom plate and a double top plate to reach your exact target structural height.
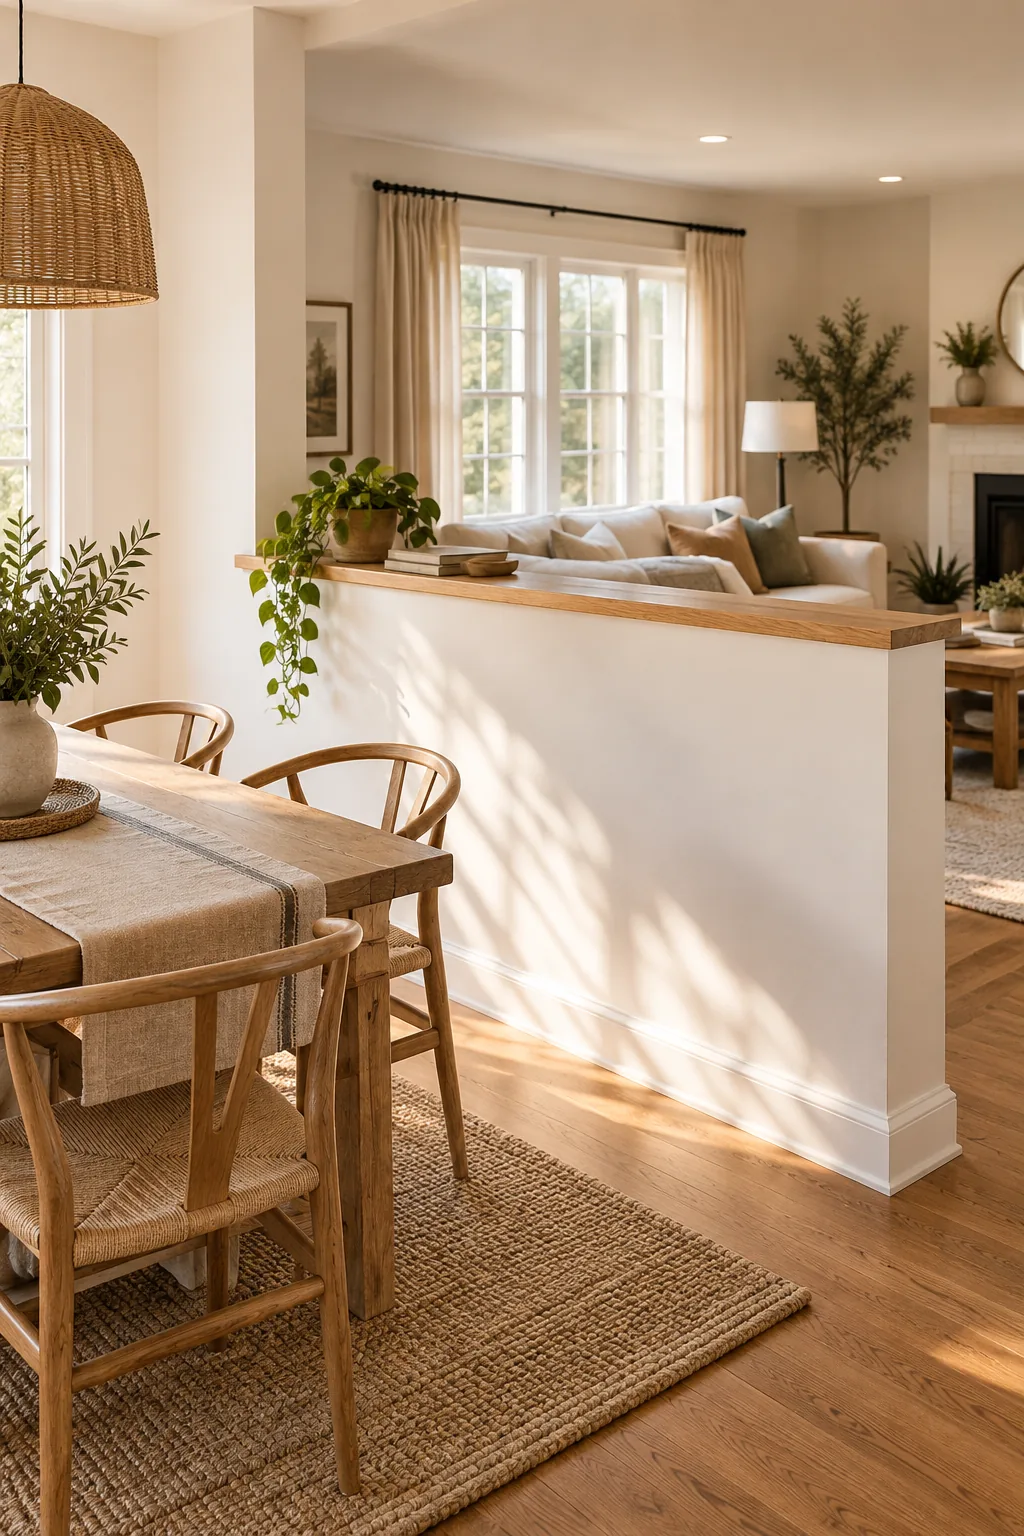
Before you fire up the miter saw, run through this final measurement check to ensure your frame goes together perfectly. Double-checking these crucial dimensions against your actual room layout guarantees a level, plumb, and structurally sound room divider every single time.
5 Half Wall Styles to Inspire Your Space
Find the perfect material and color combination to match your home's unique aesthetic.
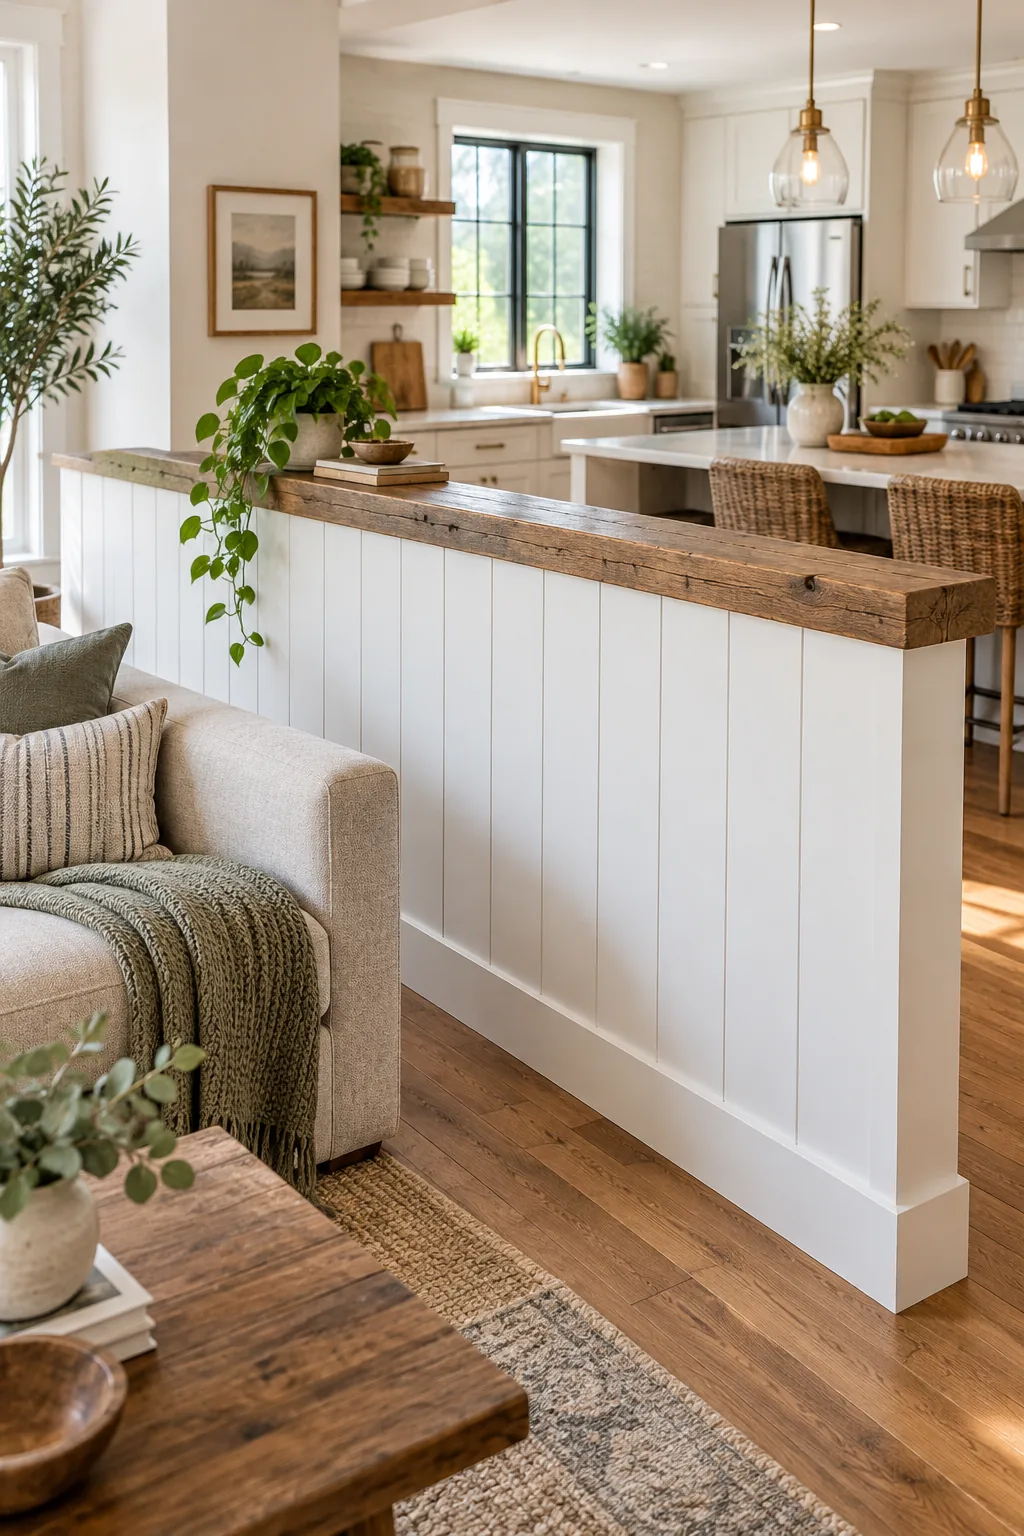
Modern Farmhouse Shiplap: Vertical shiplap adds subtle texture while a chunky reclaimed beam cap brings rustic warmth to this open kitchen.
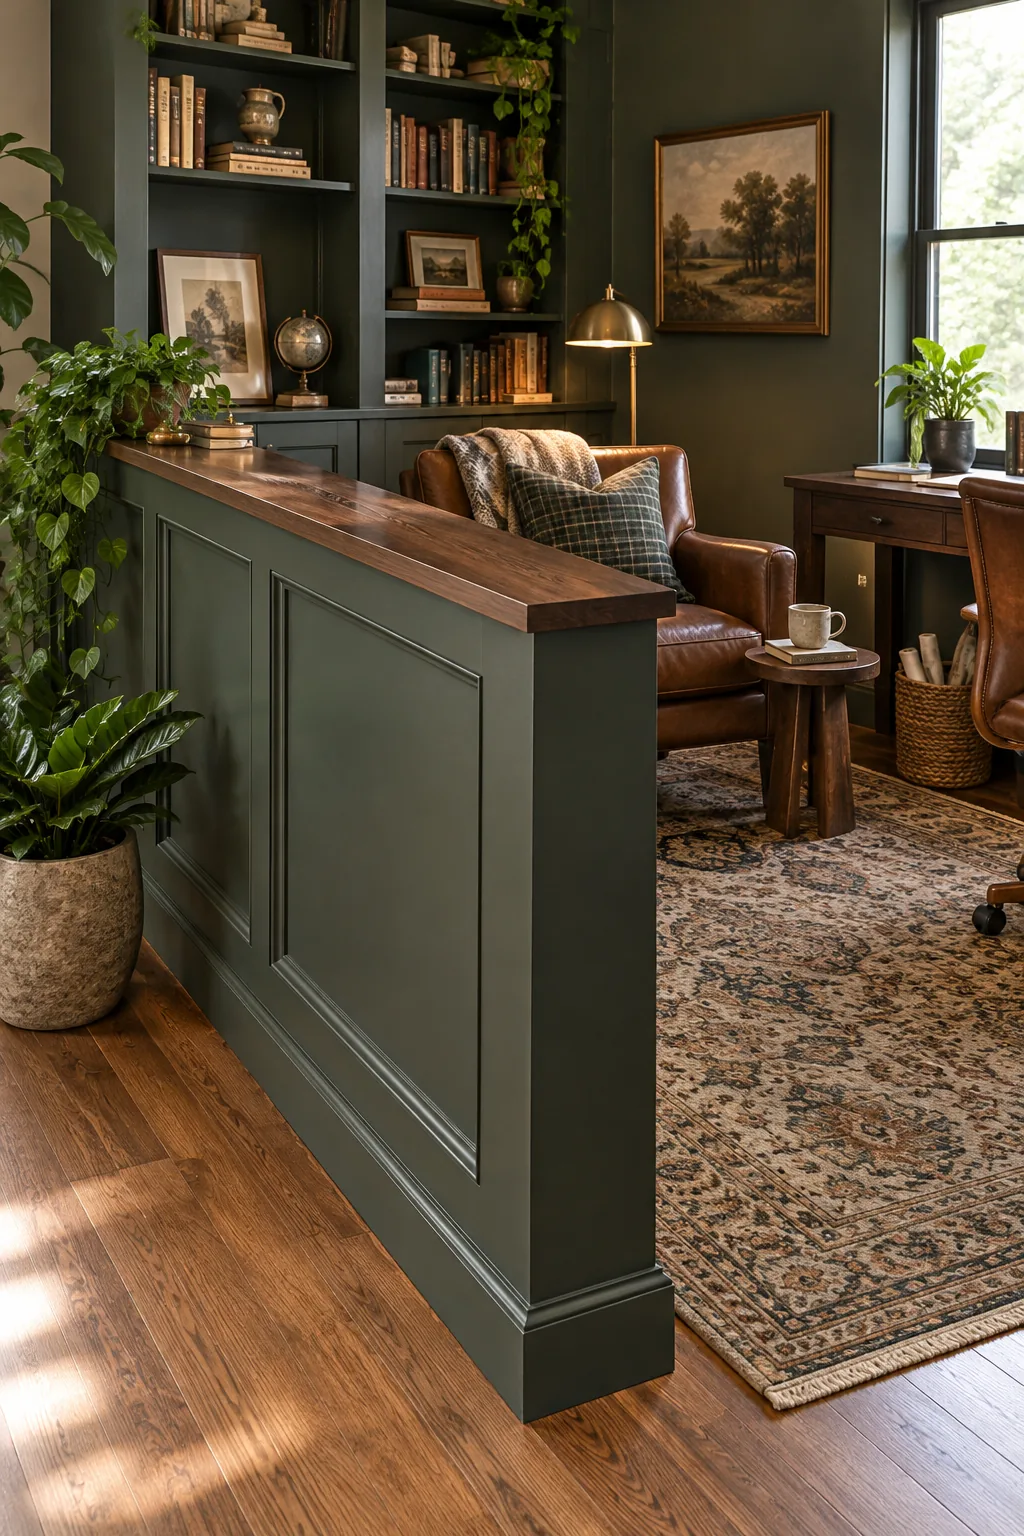
Moody Library Elegance: Rich forest green paint and traditional wainscoting instantly elevate a simple divider into a sophisticated architectural feature.
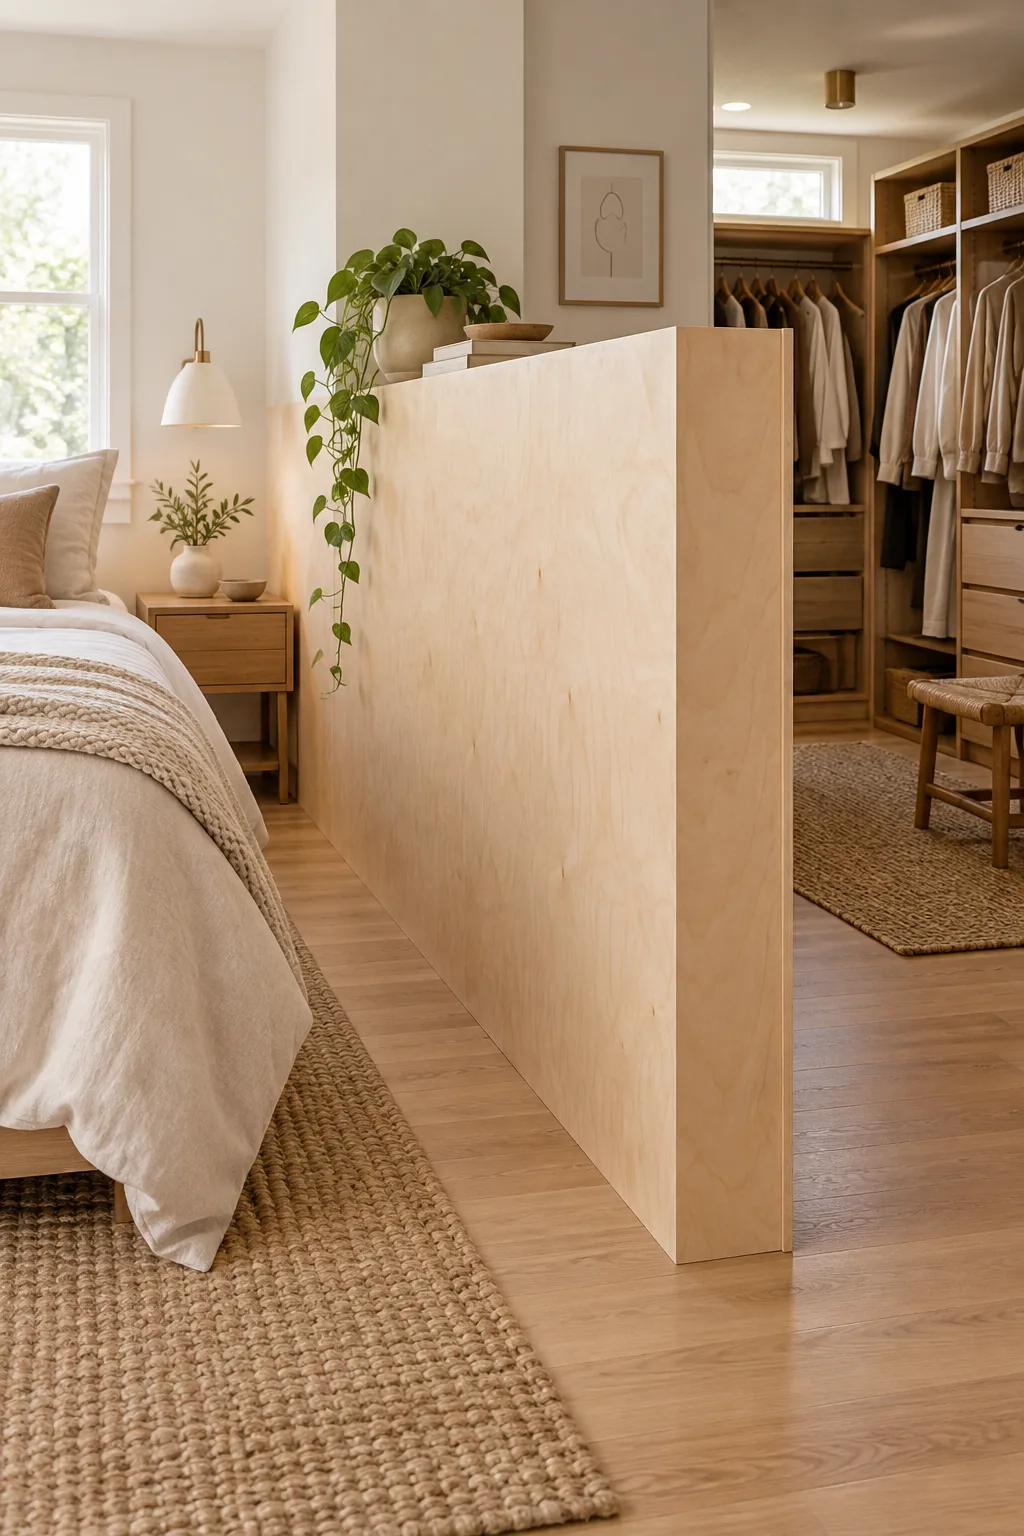
Minimalist Birch Plywood: Wrapping the entire structure in pale birch plywood creates a seamless, ultra-modern barrier that feels incredibly light.
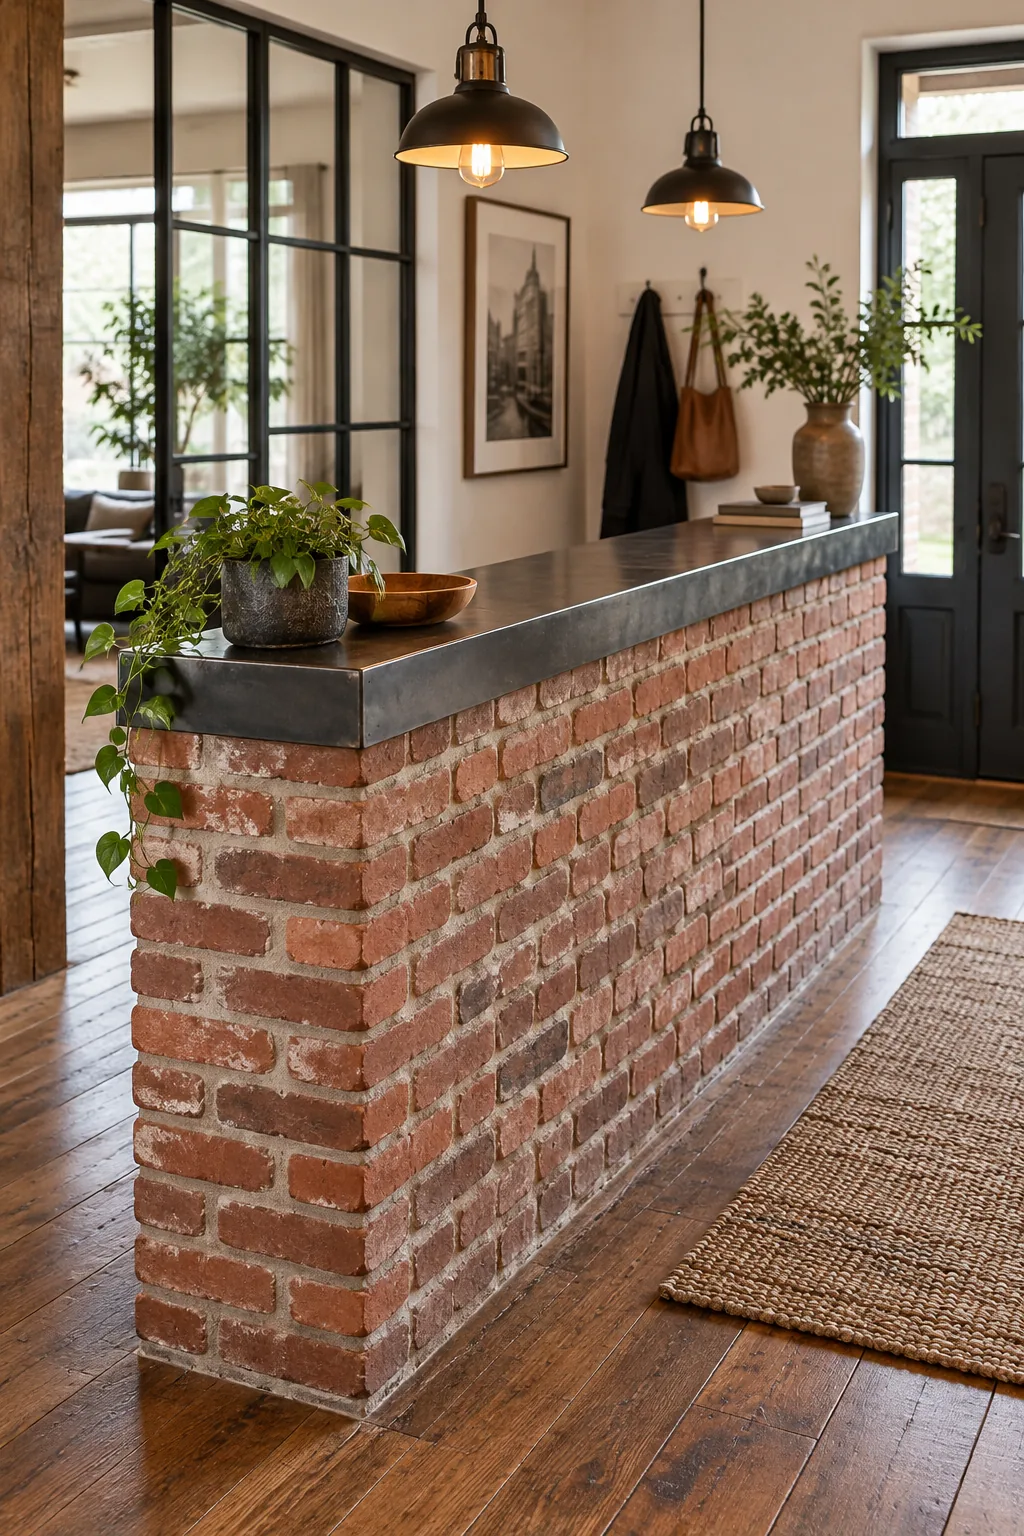
Industrial Brick and Steel: An exposed brick base paired with a slim blackened steel cap gives this entryway divider a rugged, urban edge.
Coastal Cottage Beadboard: Classic beadboard wainscoting painted in crisp white delivers a breezy, timeless coastal feel to this sunroom transition.