
How to Decorate a Grapevine Wreath with Fresh Spring Flowers
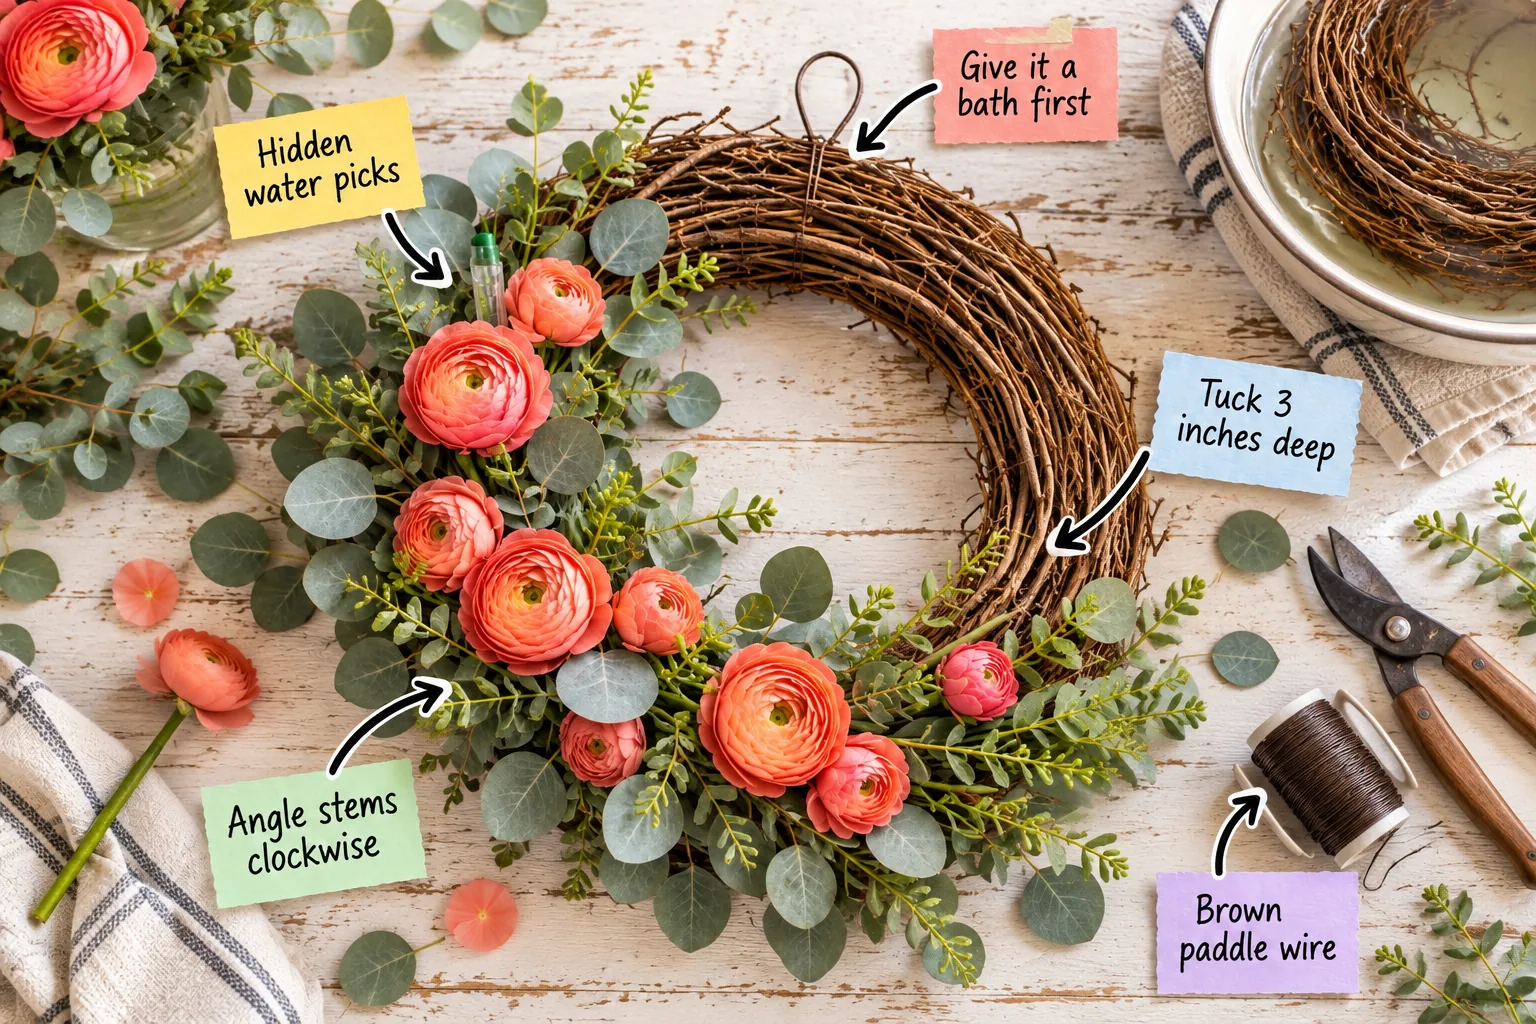
You will be able to securely wire fresh floral bundles into a grapevine wreath using florist techniques that keep delicate blooms hydrated. Master the weave with our Grapevine Wreath Stem & Wiring Checklist for a secure, fresh-looking floral crescent.
Prep the Vine With a Warm Bath
Dry grapevine is incredibly brittle and will snap when thick stems are forced into the weave, as I learned when a beautiful frame shattered on my patio. Soaking the wreath in warm water makes the vines supple enough to receive bundles without breaking.
While you can mist the wreath with a spray bottle, a full submersion is the only way to ensure the inner core becomes flexible enough for heavy floral work.
Drain the Wreath Properly
Never wire fresh flowers into a dripping wet frame, because trapped moisture against your front door can quickly cause mold. Prop the soaked wreath upright in an empty sink for at least ten minutes of drainage time before bringing it to your design table.
Measure the Wreath Diameter
Before buying your floral supplies, measure your grapevine base straight across the center to confirm its true size. Standard craft store wreaths are often labeled as eighteen inches but actually measure closer to sixteen inches once you account for the loose outer twigs.
Gather Your Floristry Tools
Having the right tools on your workbench prevents you from scrambling while your soaked vine starts to dry out. You will need sharp floral snips, a spool of brown paddle wire, clear water picks, and a clean measuring tape for accurate stem cuts.
Condition the Fresh Flowers
Never use fresh flowers straight from the grocery store wrapper without letting them drink a deep draft first. Give every stem a fresh diagonal cut and let them rest in a bucket of cool water for at least two full hours before designing.
The Stem and Wiring Checklist
Using a precise three-stem bundle recipe and exact counts for your wreath size ensures even fullness without overloading the wooden frame. You need one focal flower and two foliage stems per bundle to achieve a lush, balanced look that feels naturally asymmetrical.
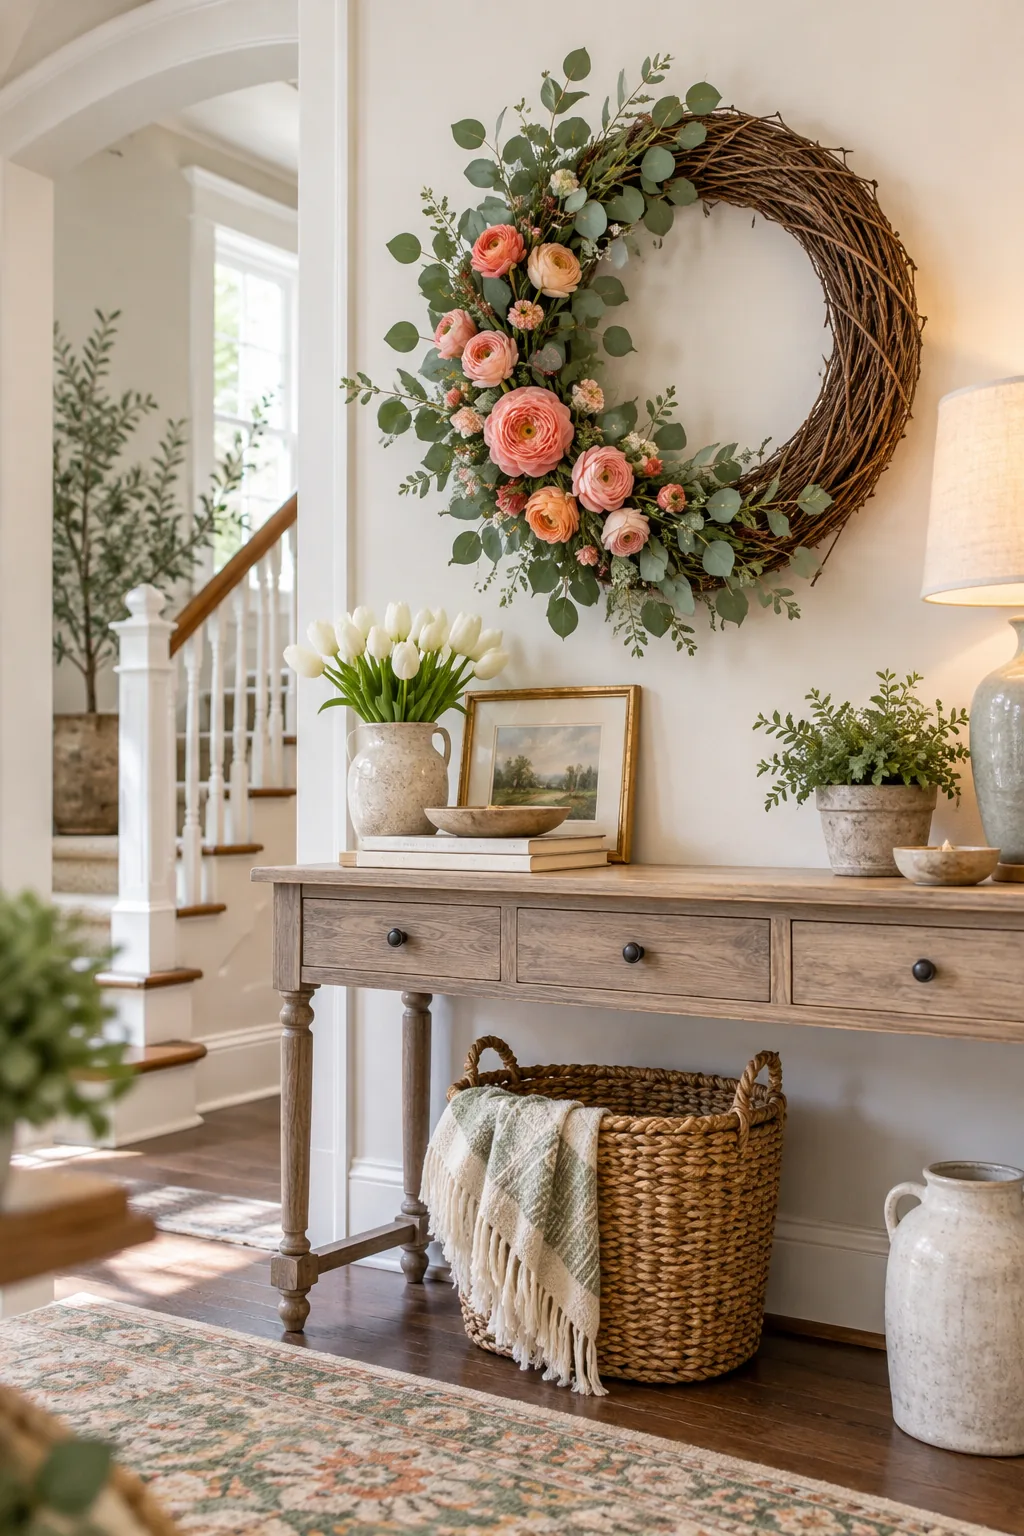
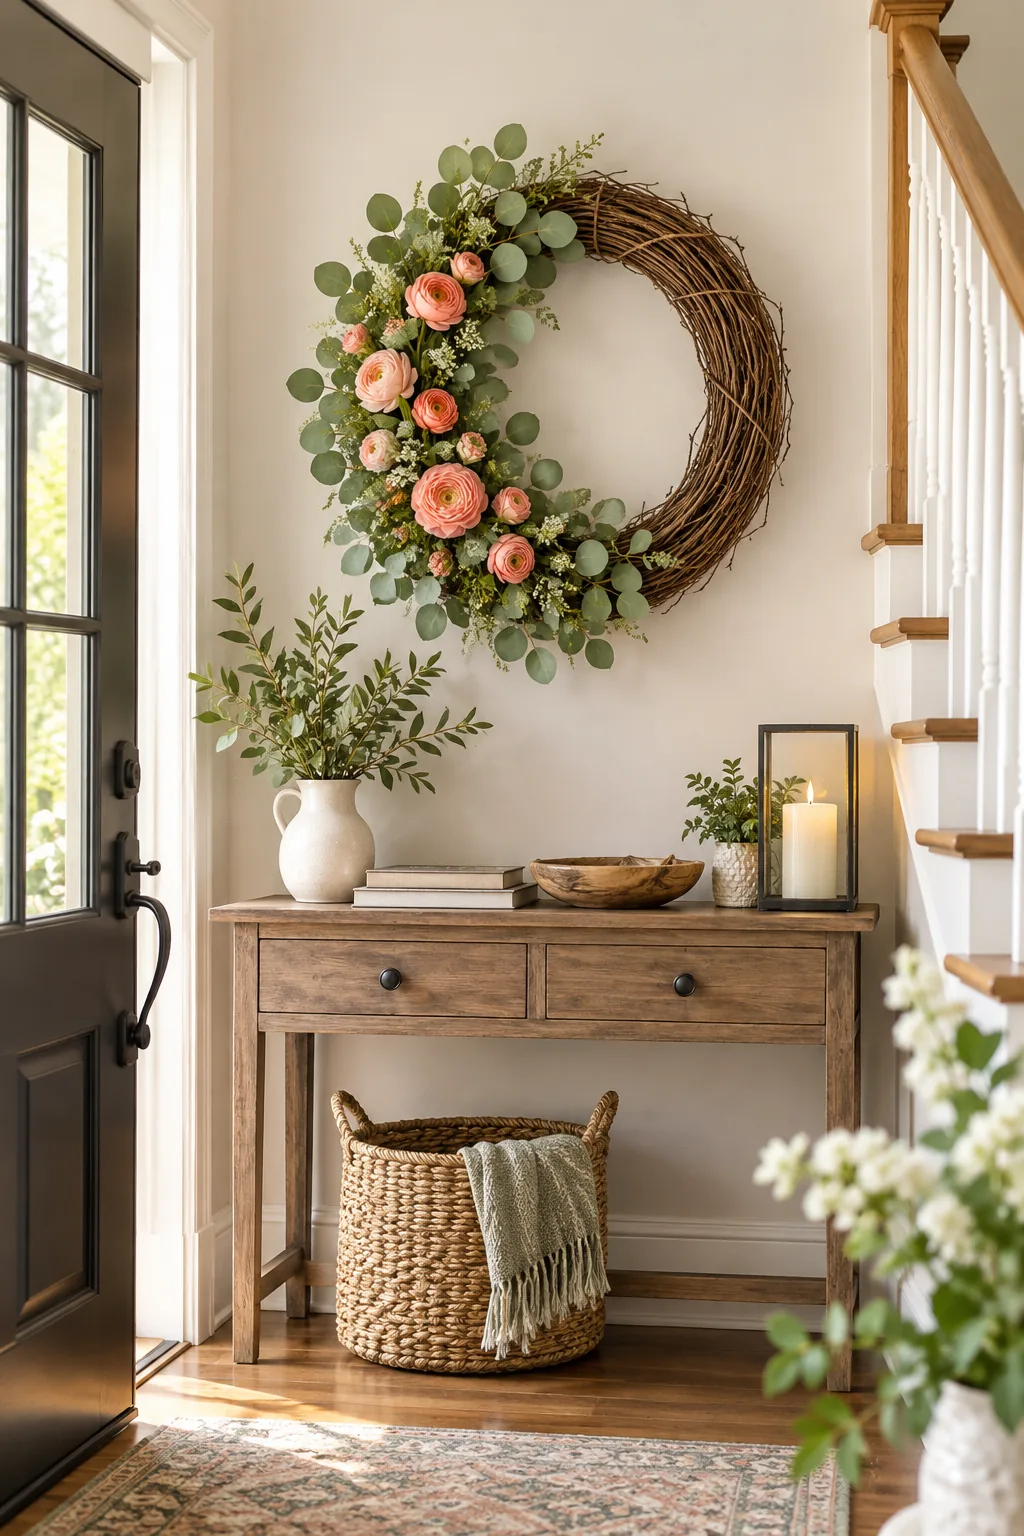
Keep this printable sizing guide handy at your workbench so you always know exactly how many bundles to build before you start wiring.
| Wreath Size | Total Bundles | Focal Blooms | Foliage Stems |
|---|---|---|---|
| 12-inch | 8 bundles | 8 stems | 16 stems |
| 18-inch | 12 bundles | 12 stems | 24 stems |
| 24-inch | 16 bundles | 16 stems | 32 stems |
Select Your Focal Flowers
Delicate spring blooms require careful handling but offer the most stunning visual impact against the rustic wood. You want resilient varieties that can survive a few days in small water reserves without wilting the moment they face a warm afternoon breeze.
- Coral ranunculus: Features dense, layered petals that hold their shape beautifully outdoors.
- Spray roses: Offer multiple small blooms per single stem for excellent, efficient coverage.
- Freesia: Adds a beautiful trailing element and a sweet spring fragrance to the entryway.
Prepare the Foliage Base
Silver dollar eucalyptus is my absolute favorite choice for the two foliage stems in each floral bundle. The broad, flat leaves create a beautiful silver-green backdrop that makes bright spring flowers pop while completely covering the wire mechanics underneath.
Strip the Lower Foliage
Any stray leaves trapped inside the binding wire will rot and cause the entire bundle to loosen over time. Strip all foliage from the bottom four inches of every stem so your wire wrap grips only solid, clean stalks.
Build the Three-Stem Bundles
Lay your two foliage stems flat on the table, then place one focal flower slightly lower so its face remains clearly visible. Staggering the bloom heights prevents the finished crescent from looking like a solid, unnatural block of color.
Camouflage With Brown Paddle Wire
Binding your bundles before attaching them is crucial, but standard green florist wire will glare brightly against the dark wood. Brown paddle wire blends seamlessly into the woody background of the vine, keeping your mechanics completely invisible to guests.
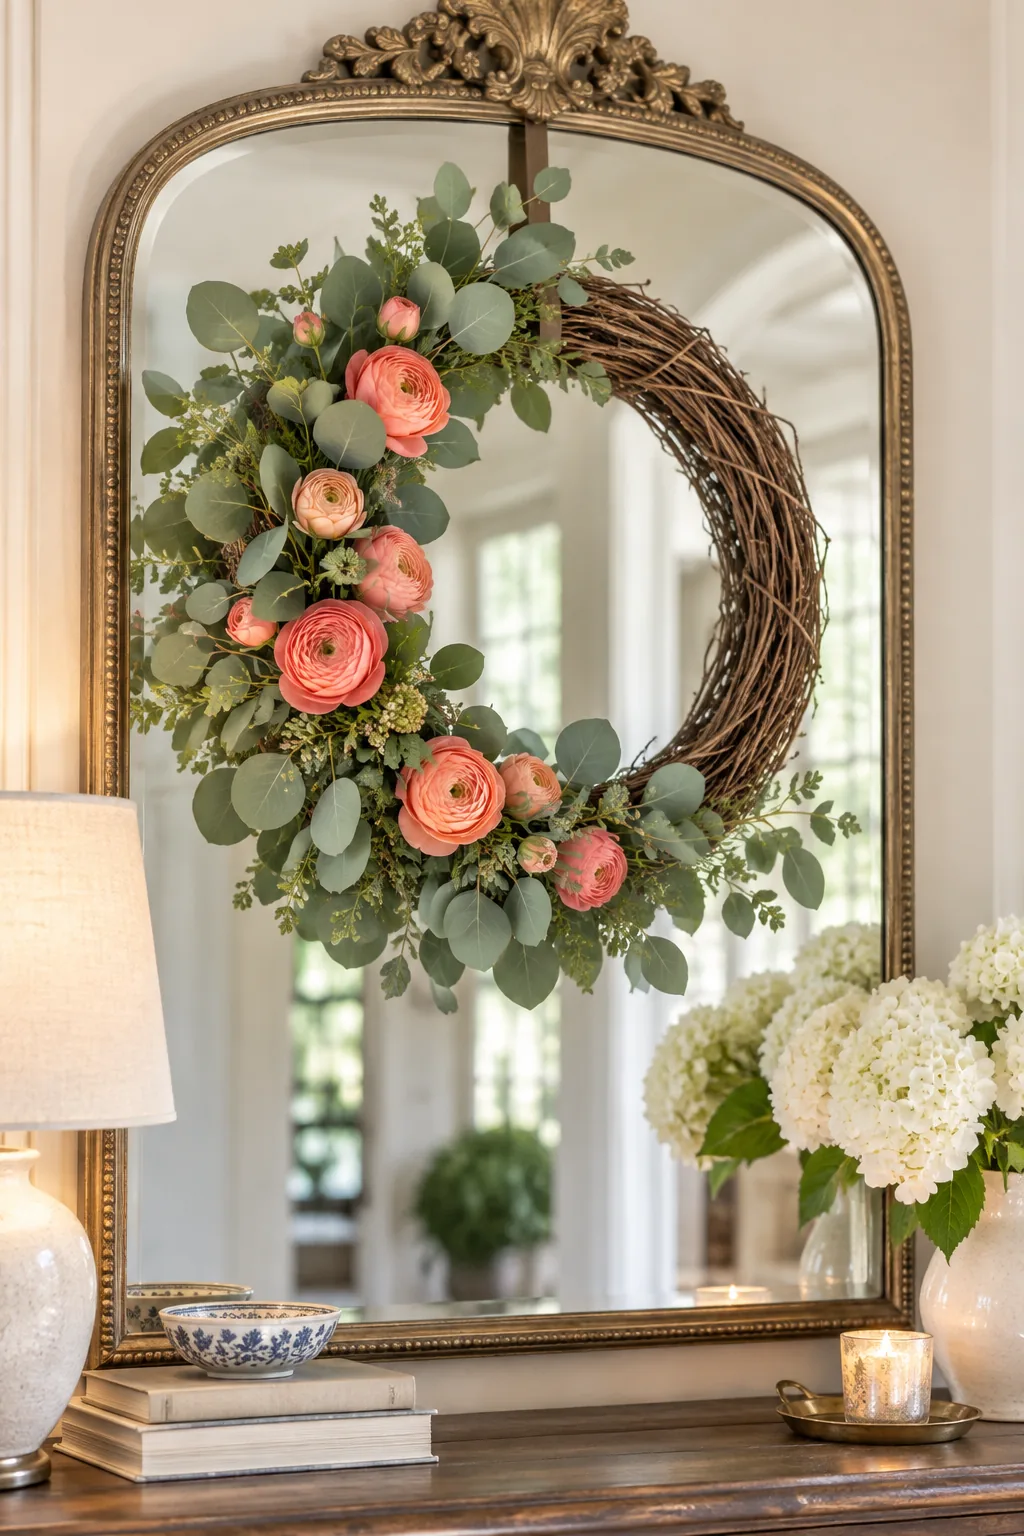
Matte finishes reflect significantly less light than shiny metallic bindings. Wrapping your stems with this specific wire ensures the structural work disappears entirely into the natural shadows of the woven branches.
Bind the Stems Securely
Wrapping the bundles correctly ensures your flowers will not slip out when the wreath swings on a moving front door.
- Pinch the stems: Hold the three stems tightly together about four inches below the bloom heads.
- Wrap the wire: Loop the brown paddle wire around the pinch point three times, pulling tightly.
- Leave a tail: Cut the wire, leaving a two-inch tail to help anchor the bundle securely later.
Position the First Bundle
Start your design at the exact bottom center of the wreath, which will become the lowest point of your crescent. Establishing this anchor point first gives you a clear visual guide for layering the rest of your bundles smoothly upward.
Follow the Clockwise Sweep
When I first started designing, I placed flowers randomly, which left my wreaths looking chaotic and messy. Angling all stems clockwise mimics the natural wrapping pattern of the grapevine base and creates a beautifully cohesive visual flow around the ring.
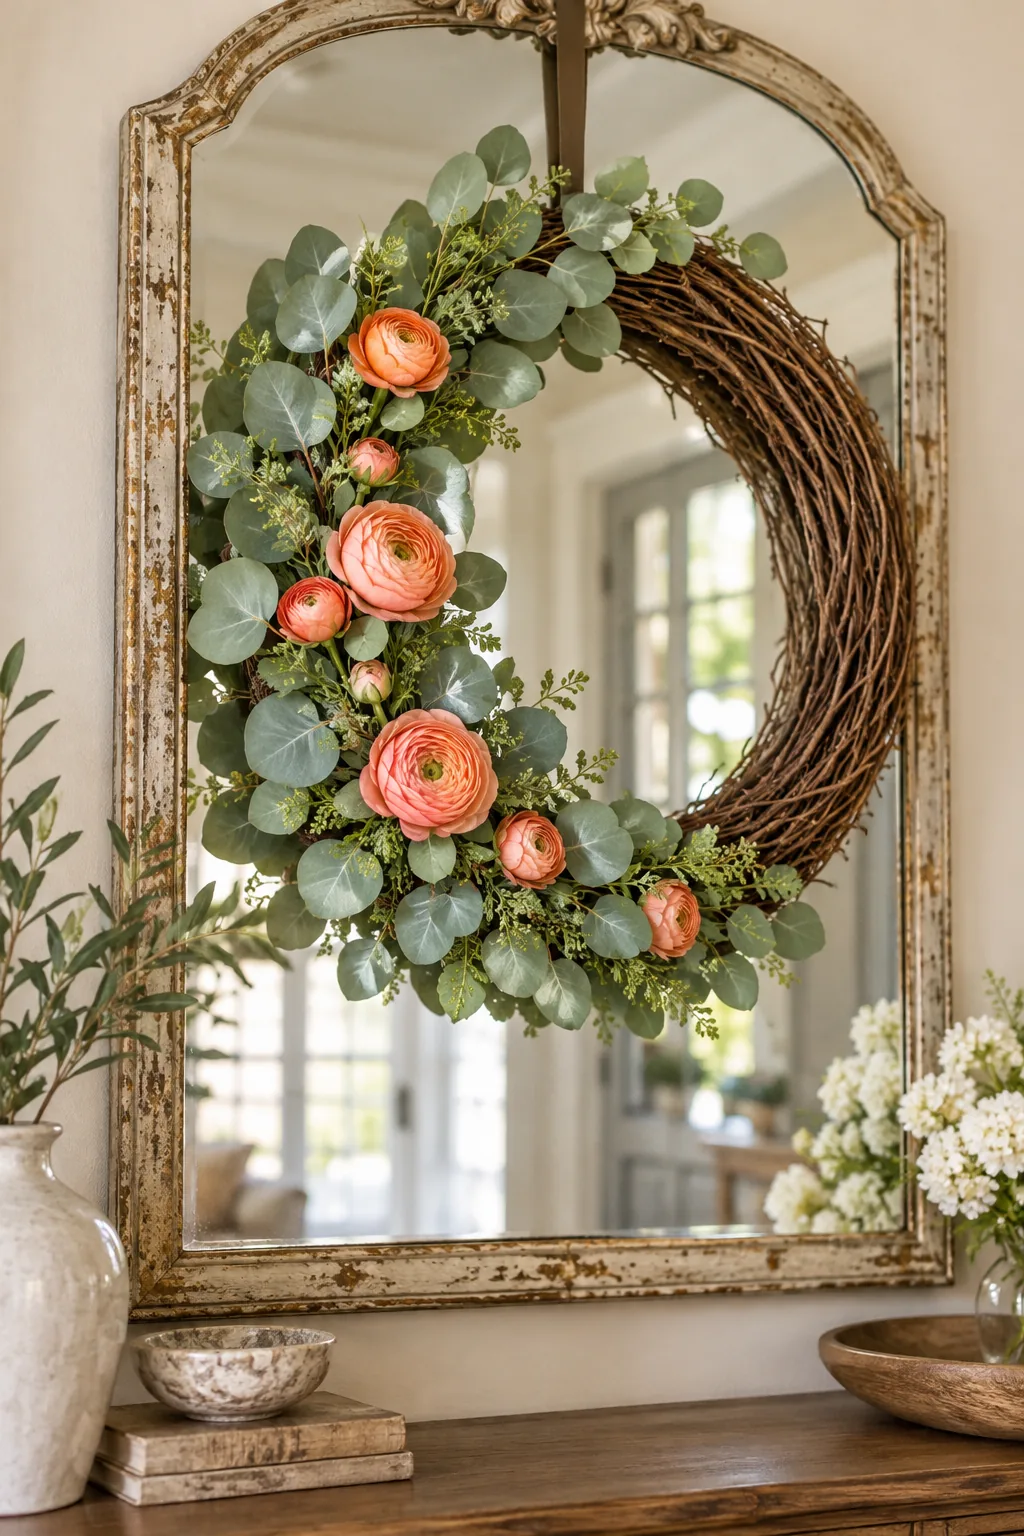
Following the vine’s natural growth direction prevents broken stems as you push the bundles into the frame. Working with the grain of the wood makes insertion smoother and guarantees a professional, unified shape.
Layer for a Seamless Crescent
Place your second bundle so its leaves just cover the wire binding of the very first bundle. Overlapping the bundles by about two inches hides all the structural work while building a thick, luxurious floral crescent that feels incredibly full.
Shape the Crescent Taper
A professional floral crescent is thickest in the middle and tapers elegantly at both the top and bottom ends. Use slightly smaller blooms and fewer foliage stems for the very first and very last bundles to create a natural, fading edge.
Trim Stems for Insertion
Long, unruly stems will poke right through the back of the wreath and badly scratch your painted door. Trim the bottom of every bound bundle so the stems are exactly four inches long, measuring straight down from the wire wrap.
Anchor Bundles Three Inches Deep
Pushing the stems too far will crush your delicate blooms against the rough wood of the frame. Tucking the bundles exactly three inches deep into the softened vine guarantees a secure hold while leaving just enough room for the flowers to breathe.
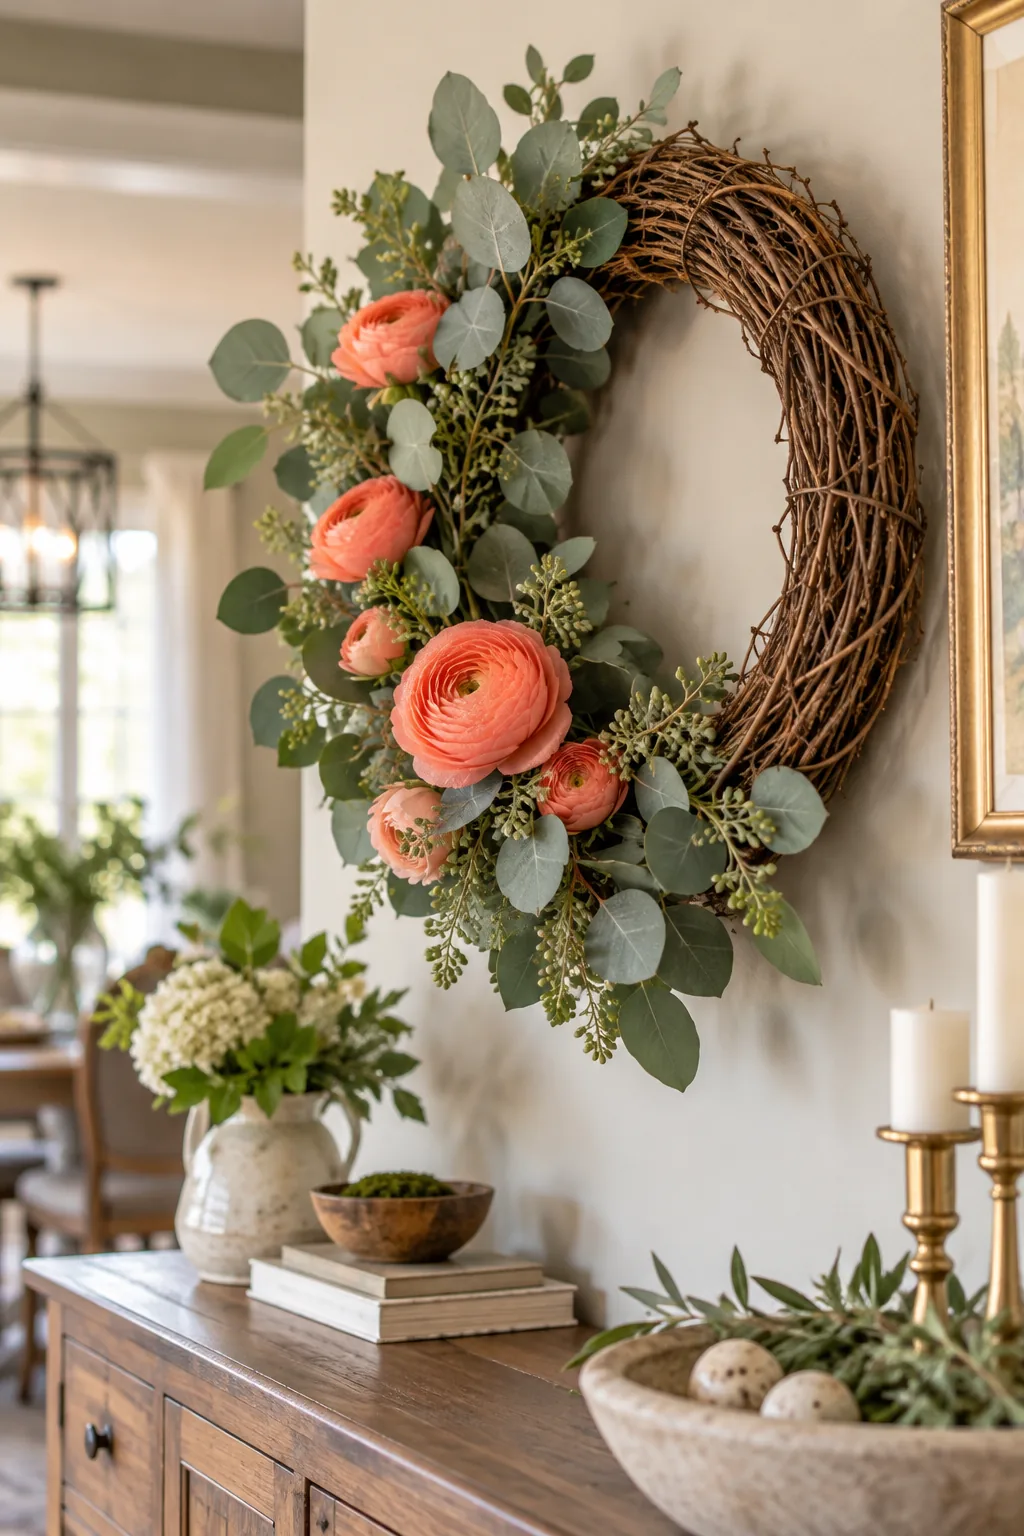
A deep, solid anchor prevents the heavy floral elements from shifting when doors open and close repeatedly. Measuring your insertion depth ensures the crescent remains perfectly intact through weeks of daily use.
Test the Anchor Strength
After inserting each bundle, give the blooms a very gentle tug to ensure the vine has firmly gripped the stems. If the bundle shifts easily, remove it and find a slightly tighter gap in the woven grapevine core.
Prepare the Water Picks
Fresh spring flowers simply cannot survive in dry wood without a dedicated, reliable water source to keep them hydrated. Fill small, clear florist water picks to the brim with fresh water and snap on their green rubber caps to prevent leaks.
Hydrate Blooms With Hidden Picks
Keeping thirsty blooms alive on a dry structure used to frustrate me until I discovered this simple floristry secret. Inserting the delicate ranunculus stems into these hidden water picks allows them to drink continuously while mounted safely on the door.
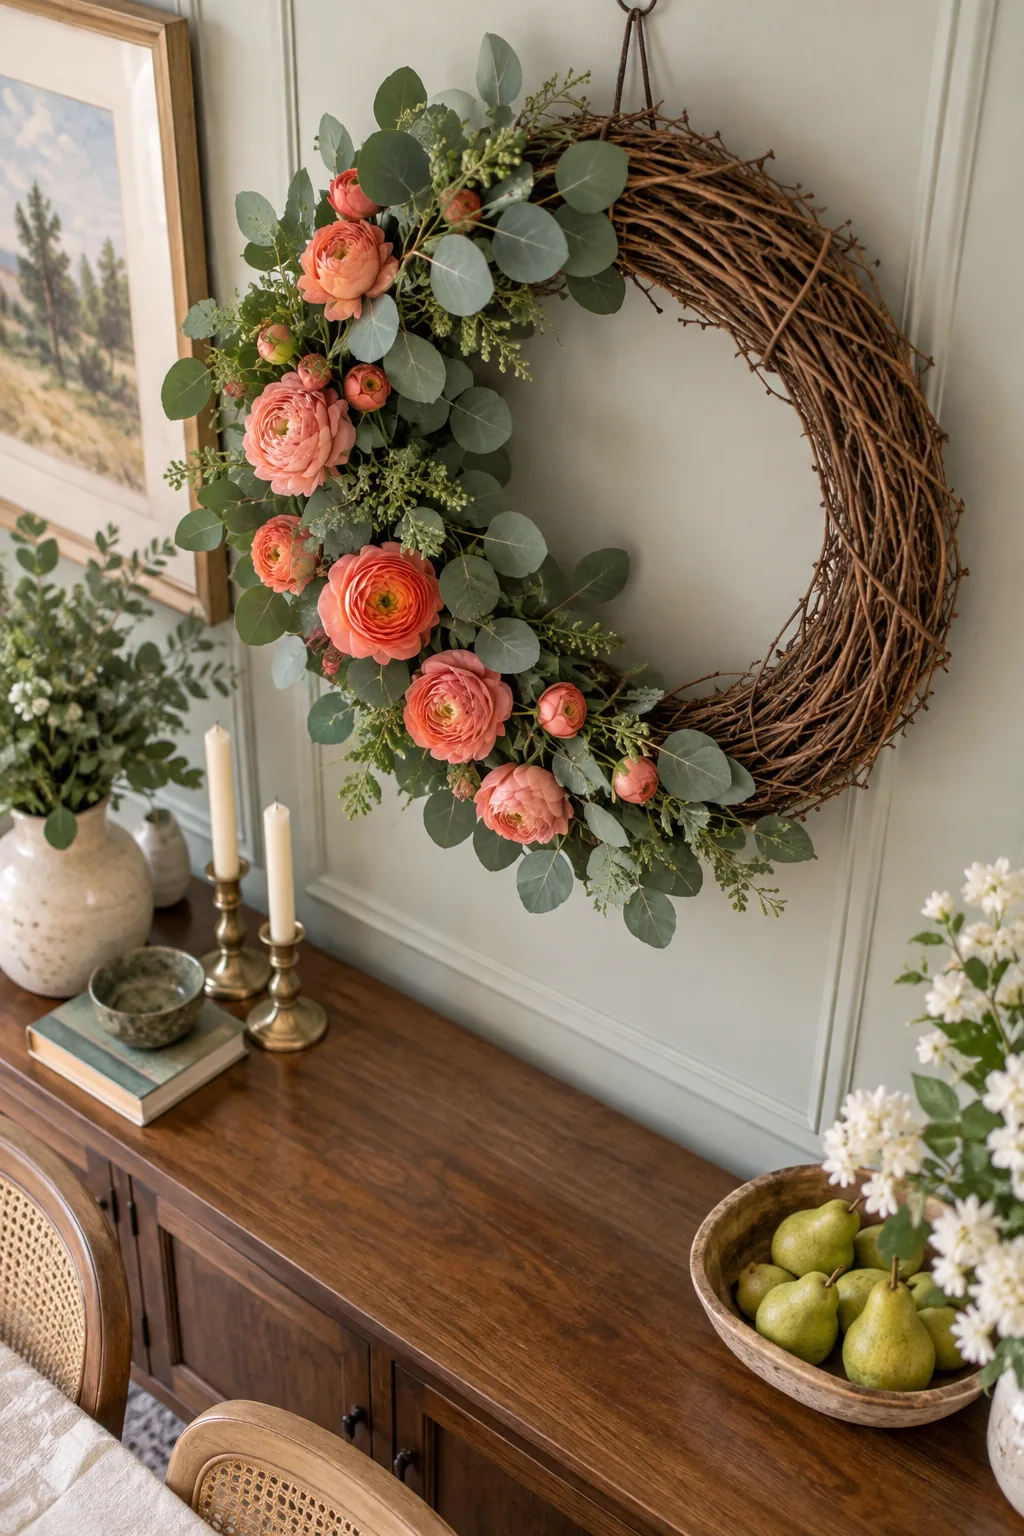
The green rubber caps grip the thin flower stems tightly and prevent any water from dripping out. This secure seal ensures your delicate spring blooms stay perfectly hydrated regardless of the hanging angle.
Tuck the Picks Out of Sight
A visible plastic tube instantly ruins the natural, organic magic of a fresh floral wreath display. Slide the filled picks deeply into the thickest part of the vine coil so only the bright blooms show against the rustic wood.
Assess the Weight Distribution
An asymmetrical floral crescent shifts the entire center of gravity far to one side of the circular wooden frame. You must account for the heavy cluster of wet floral foam, water picks, and fresh blooms before hanging the piece permanently.
Find the True Balance Point
Placing the hanger loop slightly off-center is the only way to counteract the weight of the floral crescent. You have to find the new balance point so the wreath hangs perfectly level rather than sagging dramatically to the heavy side.
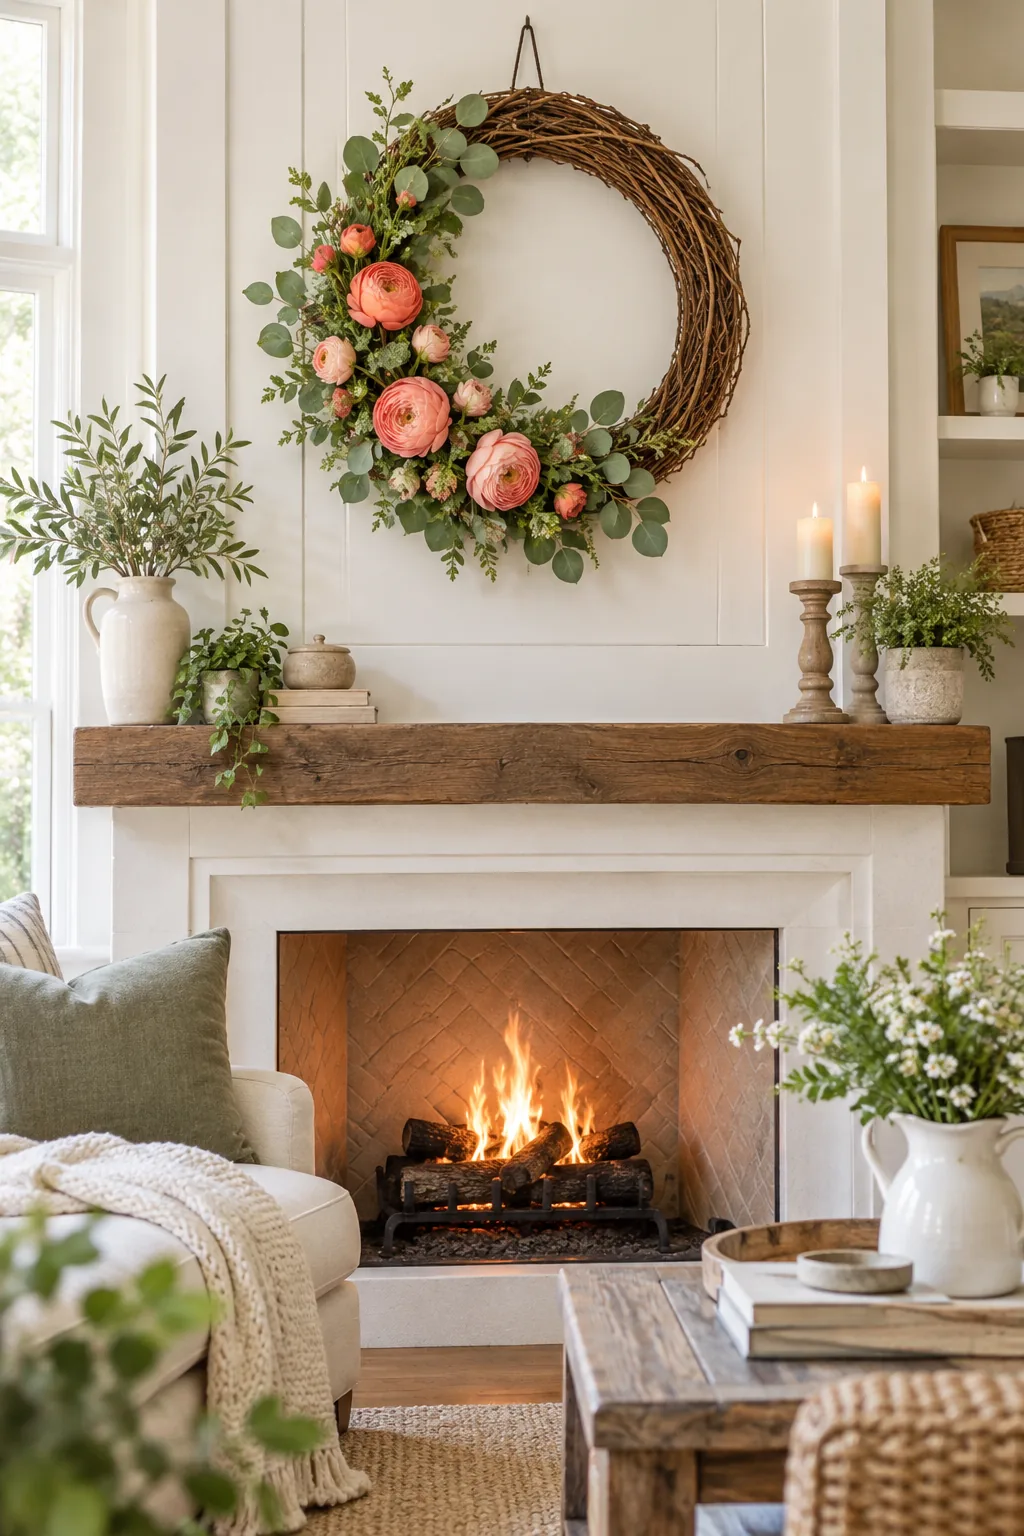
Because the dense cluster of wet floral foam, water picks, and fresh blooms adds significant weight to one side, you cannot rely on the wreath’s physical top center.
Secure the Hanger Loop
Once you find the spot where the wreath balances perfectly on your index finger, mark it with a small piece of tape. Thread a thick piece of brown wire through the vines at this exact mark and twist it into a sturdy hanging loop.
Choose the Perfect Display Spot
Fresh cut flowers are highly sensitive to sudden temperature changes and harsh environmental conditions outside. Hanging your creation on a deeply shaded porch or an interior door will significantly extend the life of your delicate spring blooms.
Monitor the Water Levels
Thirsty spring blooms will drink a surprising amount of water during their first twenty-four hours on display. Check the clear picks daily and use a small squeeze bottle to carefully top them off without removing them from the tight vine.
Three Ways to Style the Crescent
Once you master the basic wiring technique, you can adapt the floral recipe to suit any season or room.
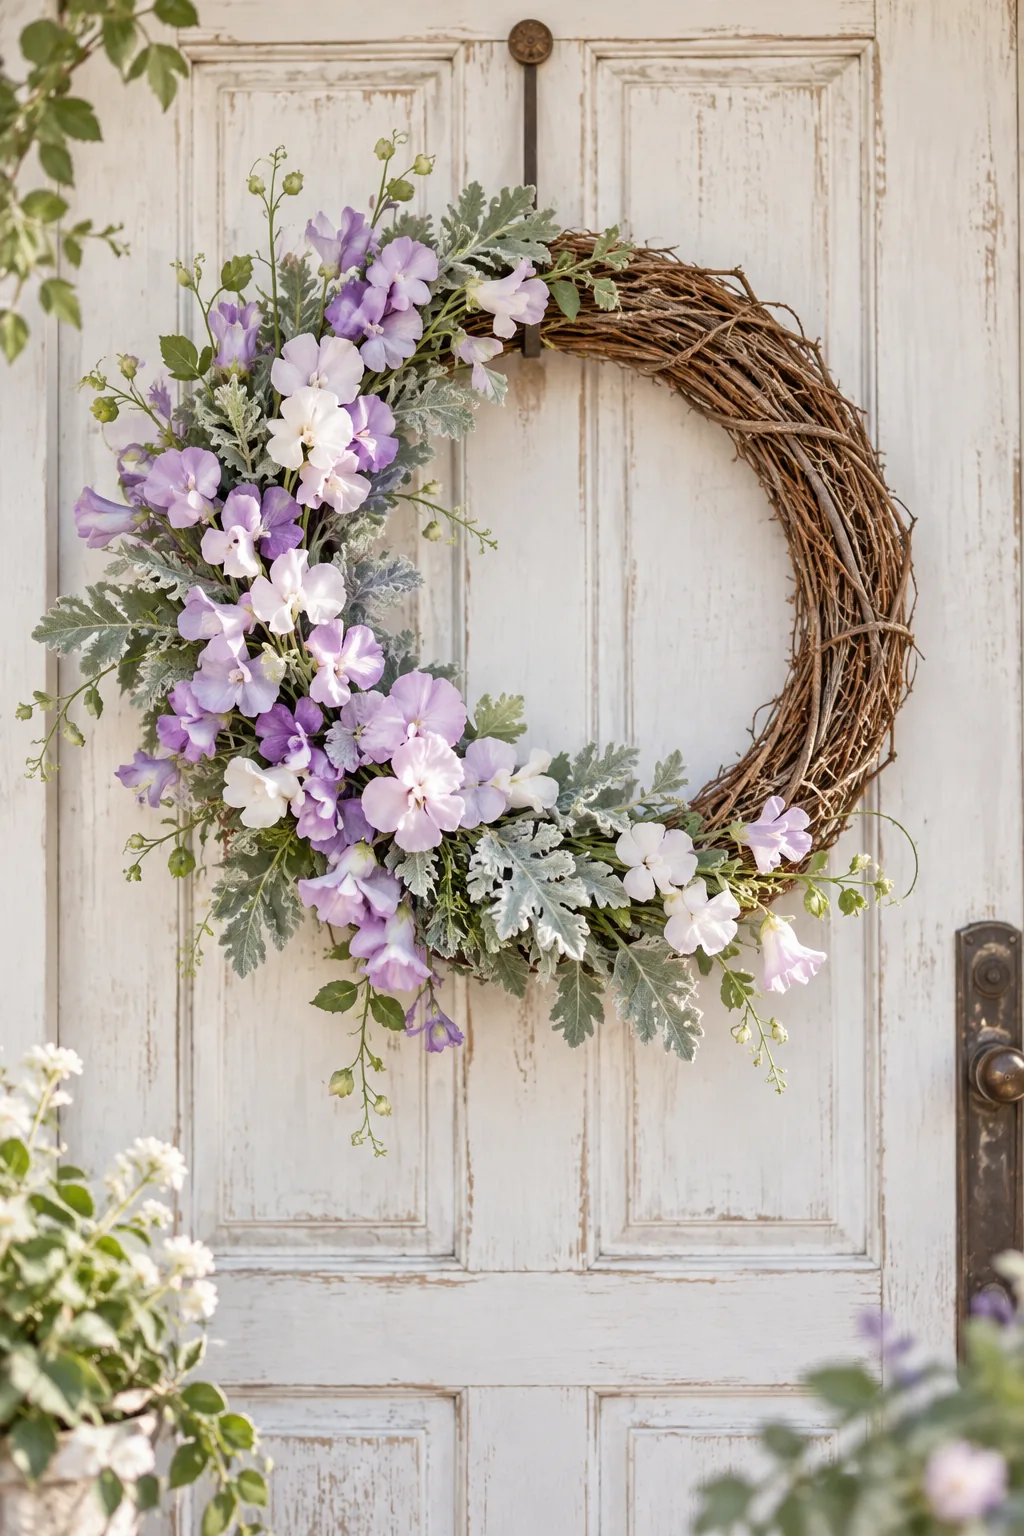
Pastel Spring Sweet Pea Crescent: Swap the bold coral for soft lavender sweet peas and dusty miller to create a romantic, cottage-inspired look.
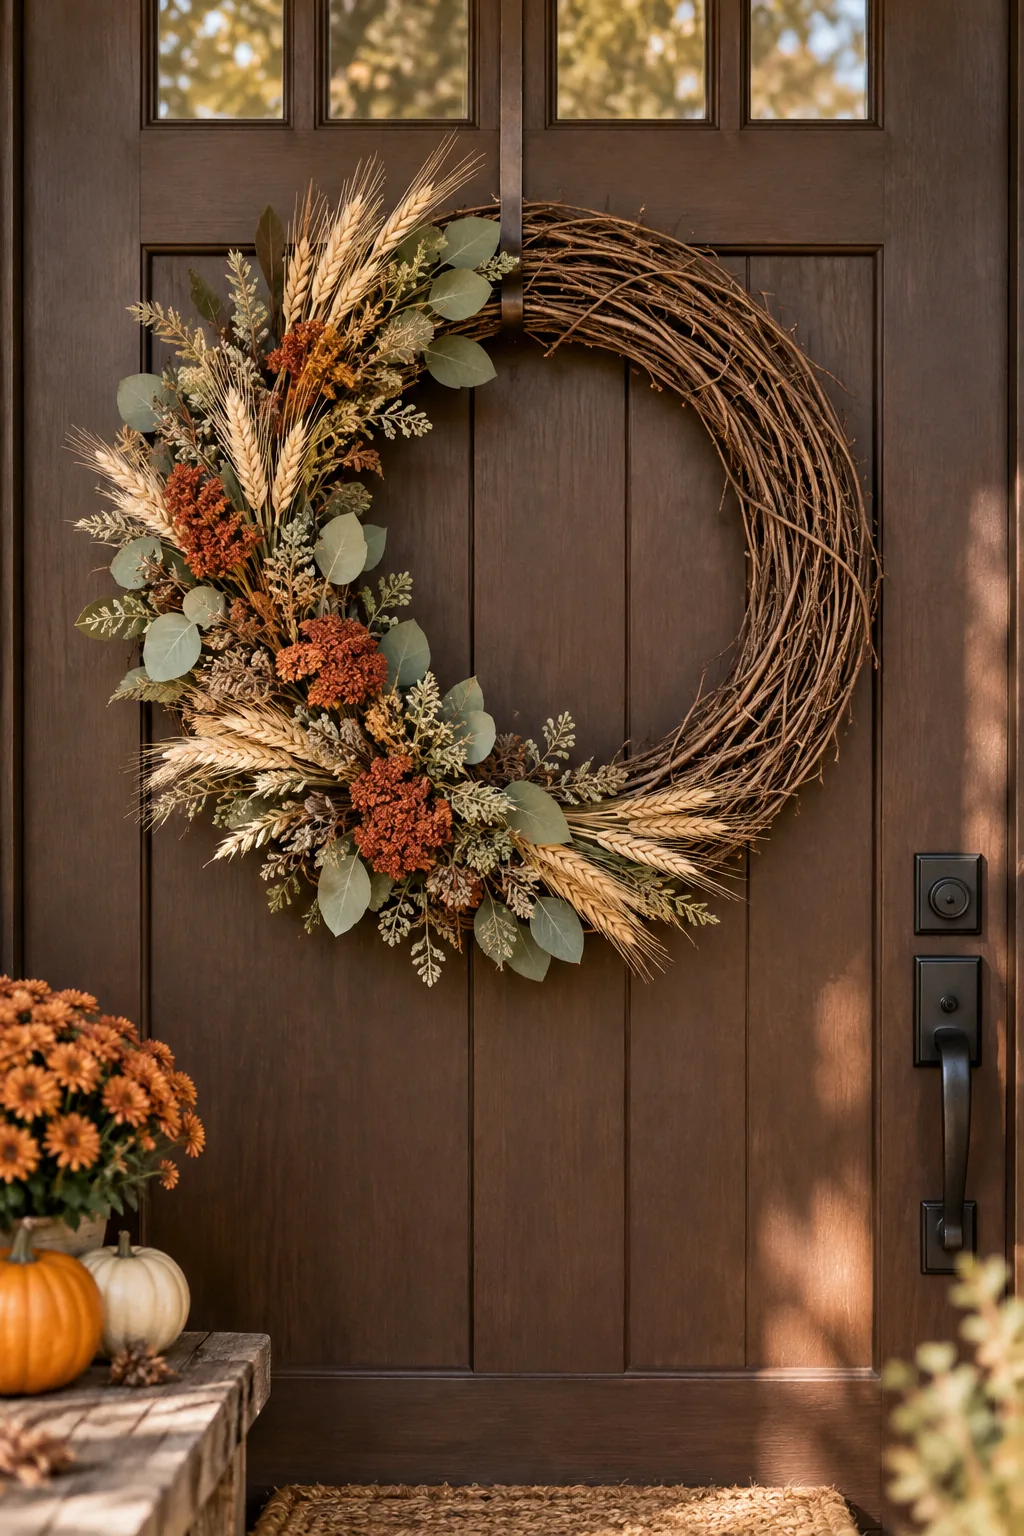
Earthy Autumn Harvest Crescent: Use dried wheat and rust-colored yarrow for a completely water-free design that celebrates the warmth of the fall season.
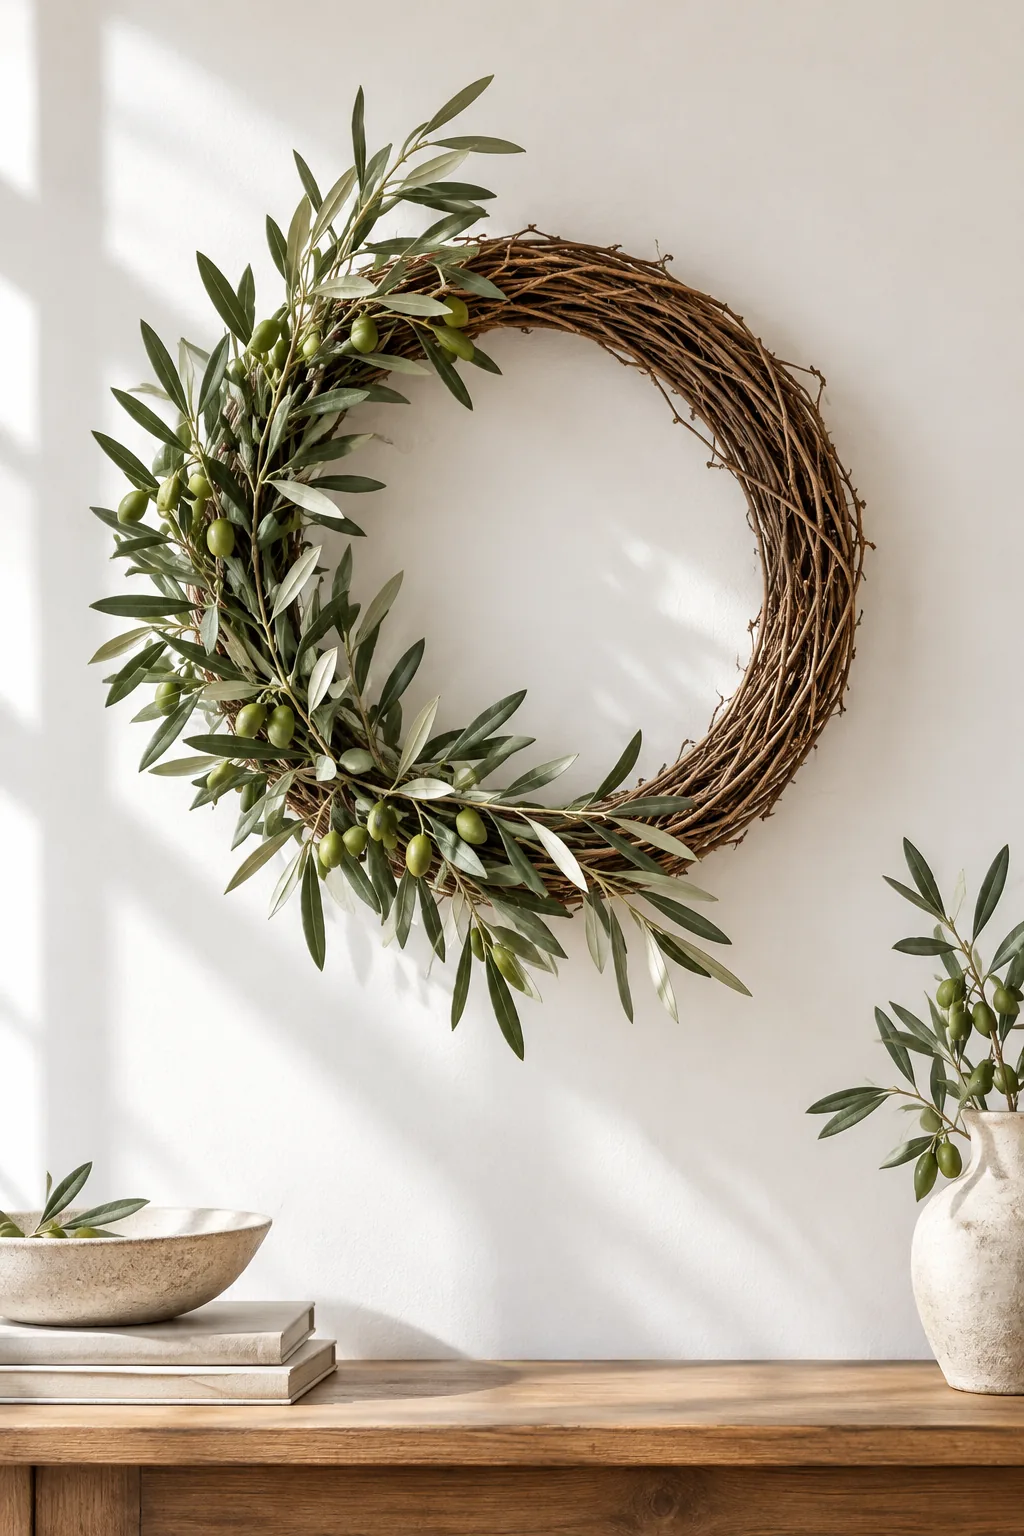
Minimalist Modern Olive Branch: Skip the focal flowers entirely and bundle fresh olive branches for a clean, architectural statement piece.
Display Your Fresh Floral Crescent
Maximizing the lifespan of your fresh blooms comes down to choosing the right display location for the finished piece. Fresh ranunculus in water picks will last three to five days if kept out of direct afternoon sunlight and away from harsh heating vents.

Keep the arrangement away from direct afternoon heat sources to prevent the water picks from evaporating too quickly. Checking the moisture levels daily allows you to enjoy your beautiful handmade spring wreath for as long as possible.