
How to Build a Modern Half Wall (with Cut List & Chart)
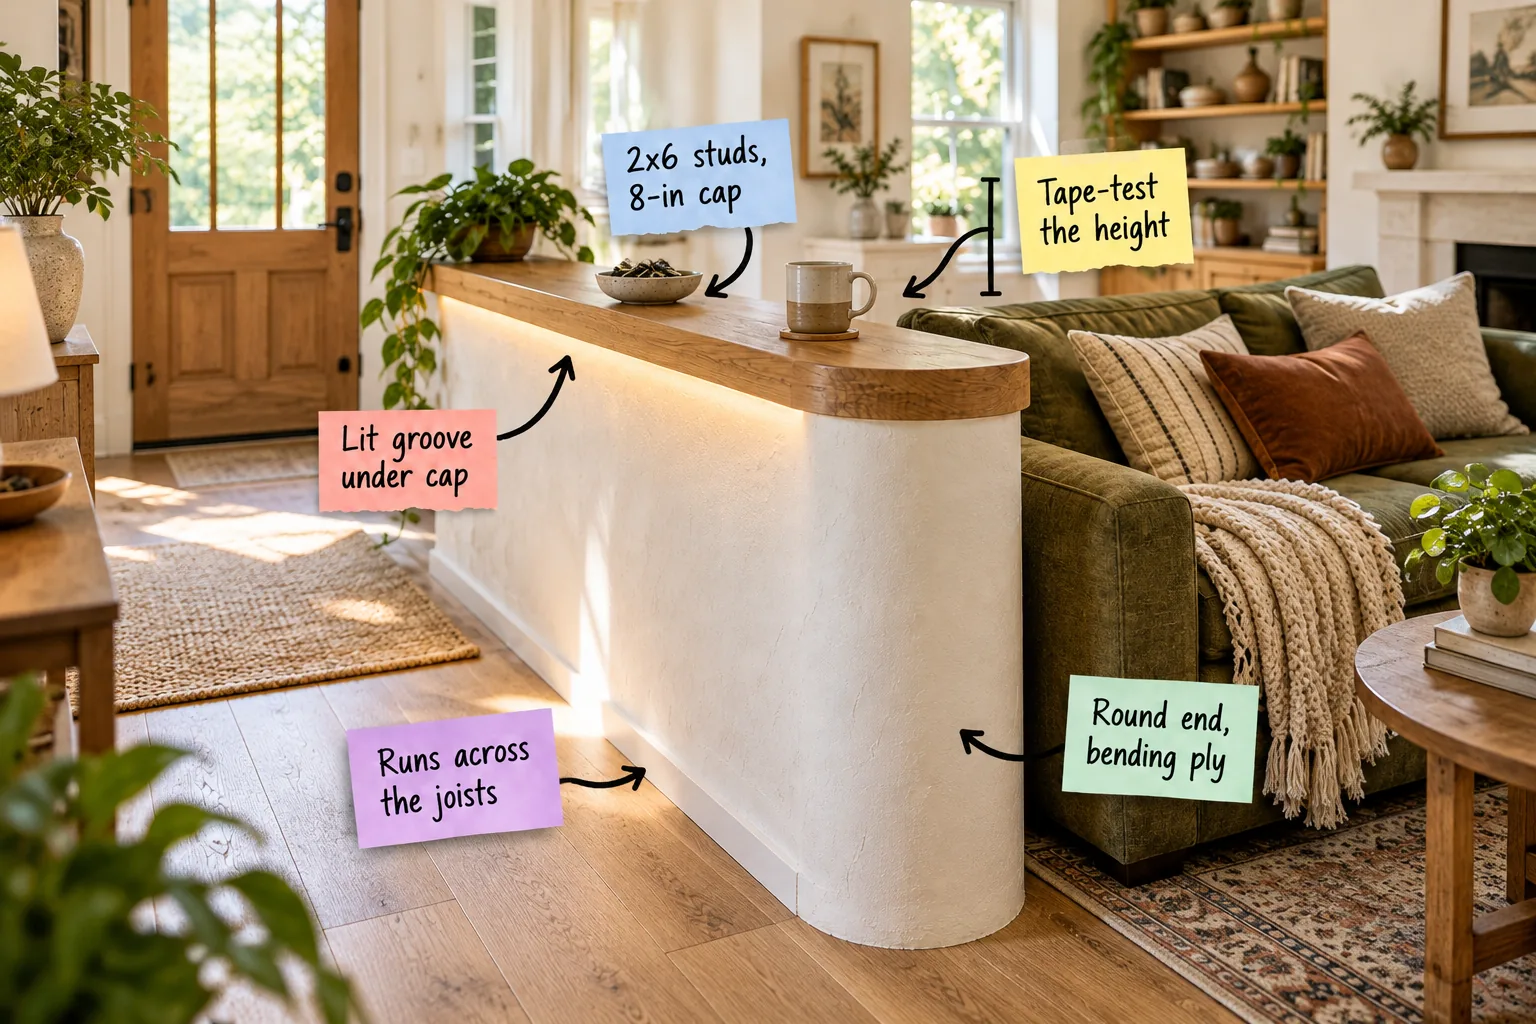
You can build a modern half wall that doubles as a functional entryway drop zone using this exact room divider plan. Grab the printable 2×6 cut list, sofa height chart, and step-by-step framing guide below to start your build today.
Finding the Perfect Height Behind Your Sofa
When I built my first room divider in my Austin living room, I used painter’s tape to find the ideal height relative to the sofa back. You should always tape-test the height against the rigid sofa frame to ensure it doesn’t awkwardly loom over your seating.
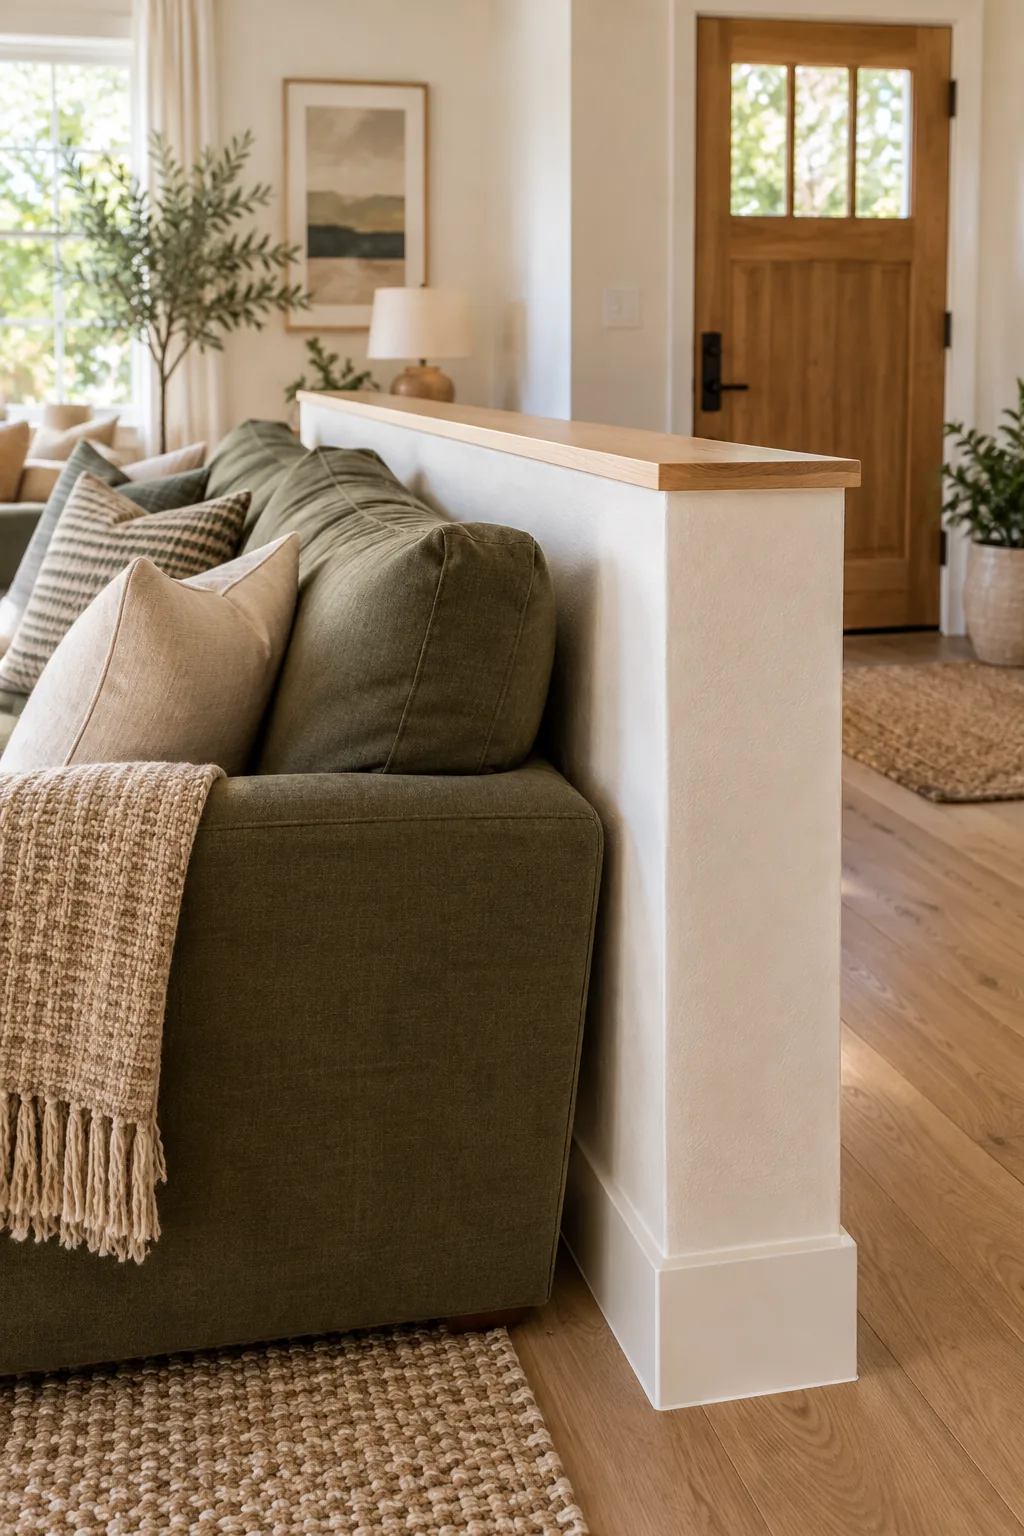
Before you cut a single stud, remember that your final framed stud height must account for the 1.5-inch thickness of the oak cap and the half-inch drywall layer.
Framing the Base Across the Floor Joists
Because a half wall lacks ceiling anchors to stabilize it, structural rigidity comes entirely from how you secure the base. The bottom plate must run perpendicular to the floor joists below to prevent the entire structure from wobbling when leaned against.
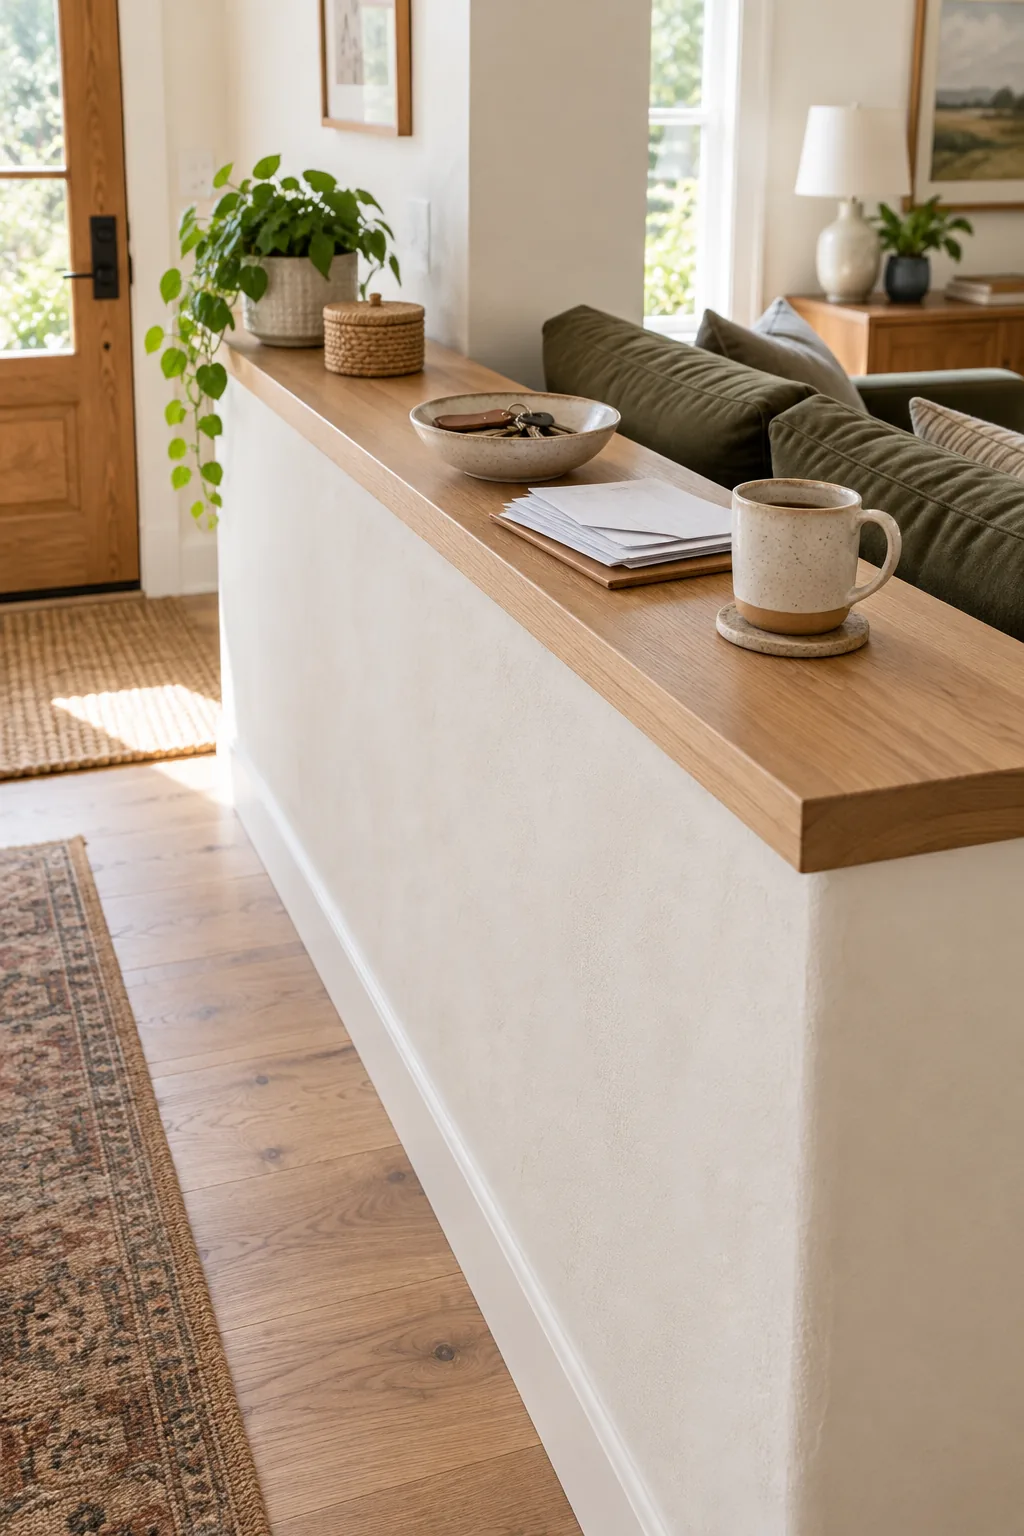
To achieve maximum stability in your open floor plan, follow a precise anchoring sequence for that critical bottom plate.
- Locate the floor joists using a magnetic stud finder and mark their centers with painter’s tape.
- Cut your 2×6 bottom plate to length and pre-drill pilot holes every 16 inches.
- Drive 3.5-inch structural screws through the plate directly into the intersecting joists below.
Building Depth With 2×6 Studs
Standard framing uses 2x4s, but upgrading to 2×6 lumber creates a wider, more substantial base that won’t flex under pressure. This extra framing depth comfortably supports an 8-inch drop-zone cap for your keys, mail, and morning coffee.
If you are debating which lumber size to purchase, comparing the finished footprint helps clarify why the thicker studs are worth the investment.
| Lumber Size | Finished Wall Depth | Max Cap Width | Best Use |
|---|---|---|---|
| Standard 2×4 | 4.5 inches | 5.5 inches | Visual partition only |
| Upgraded 2×6 | 6.5 inches | 8 inches | Functional drop zone |
Shaping the Rounded End With Bending Ply
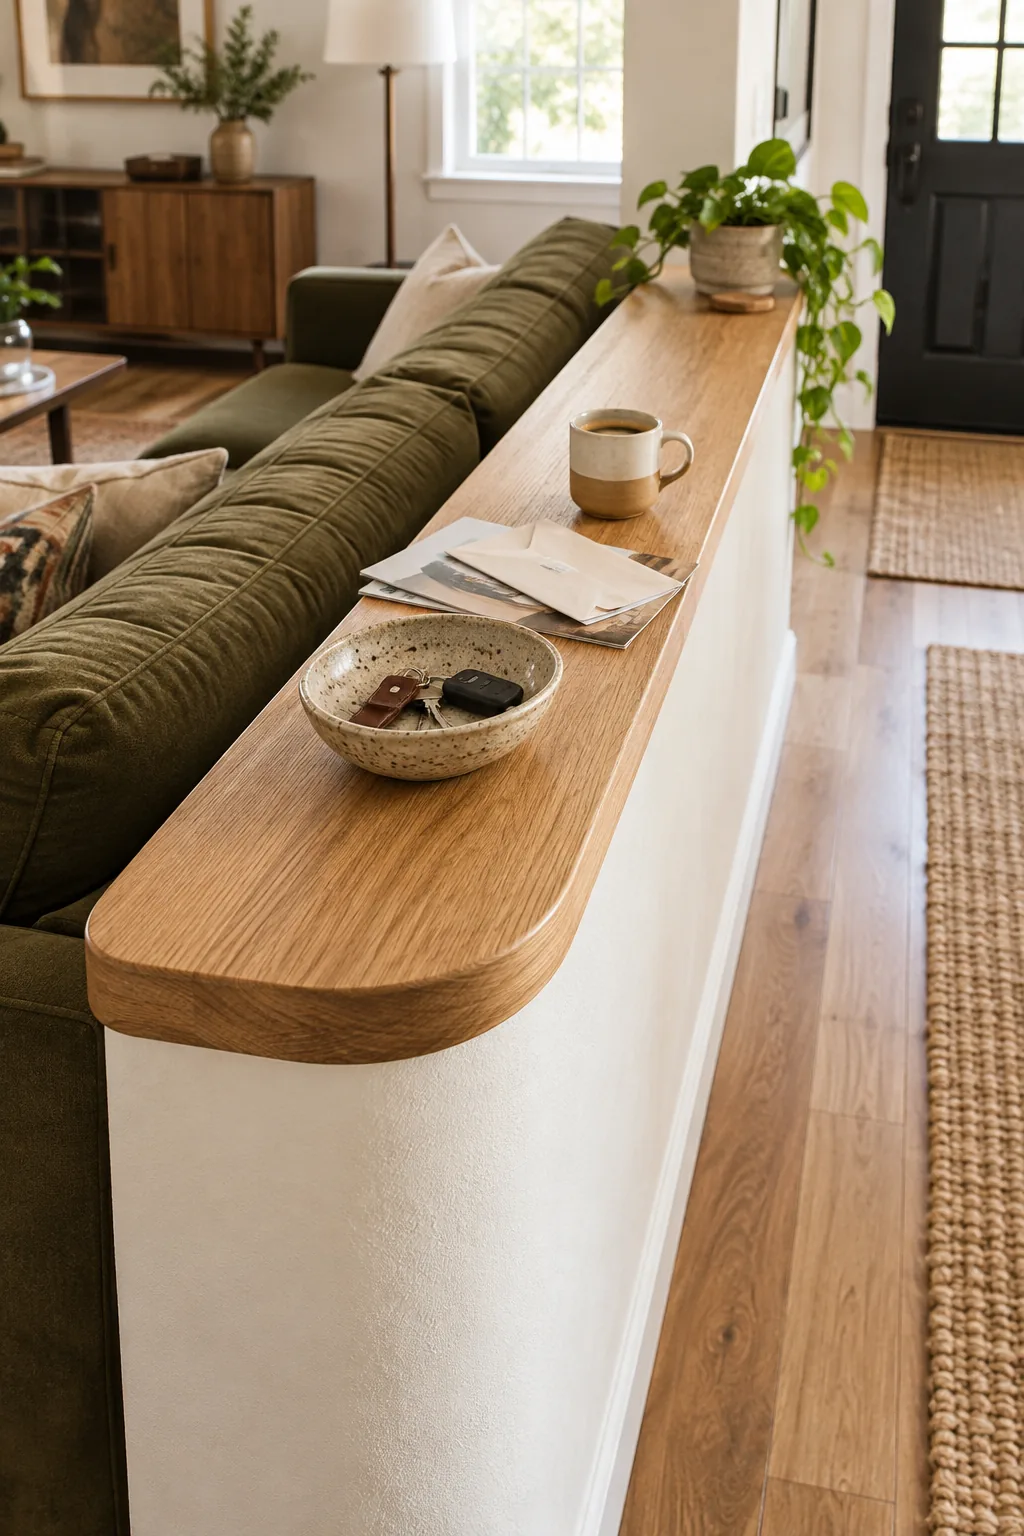
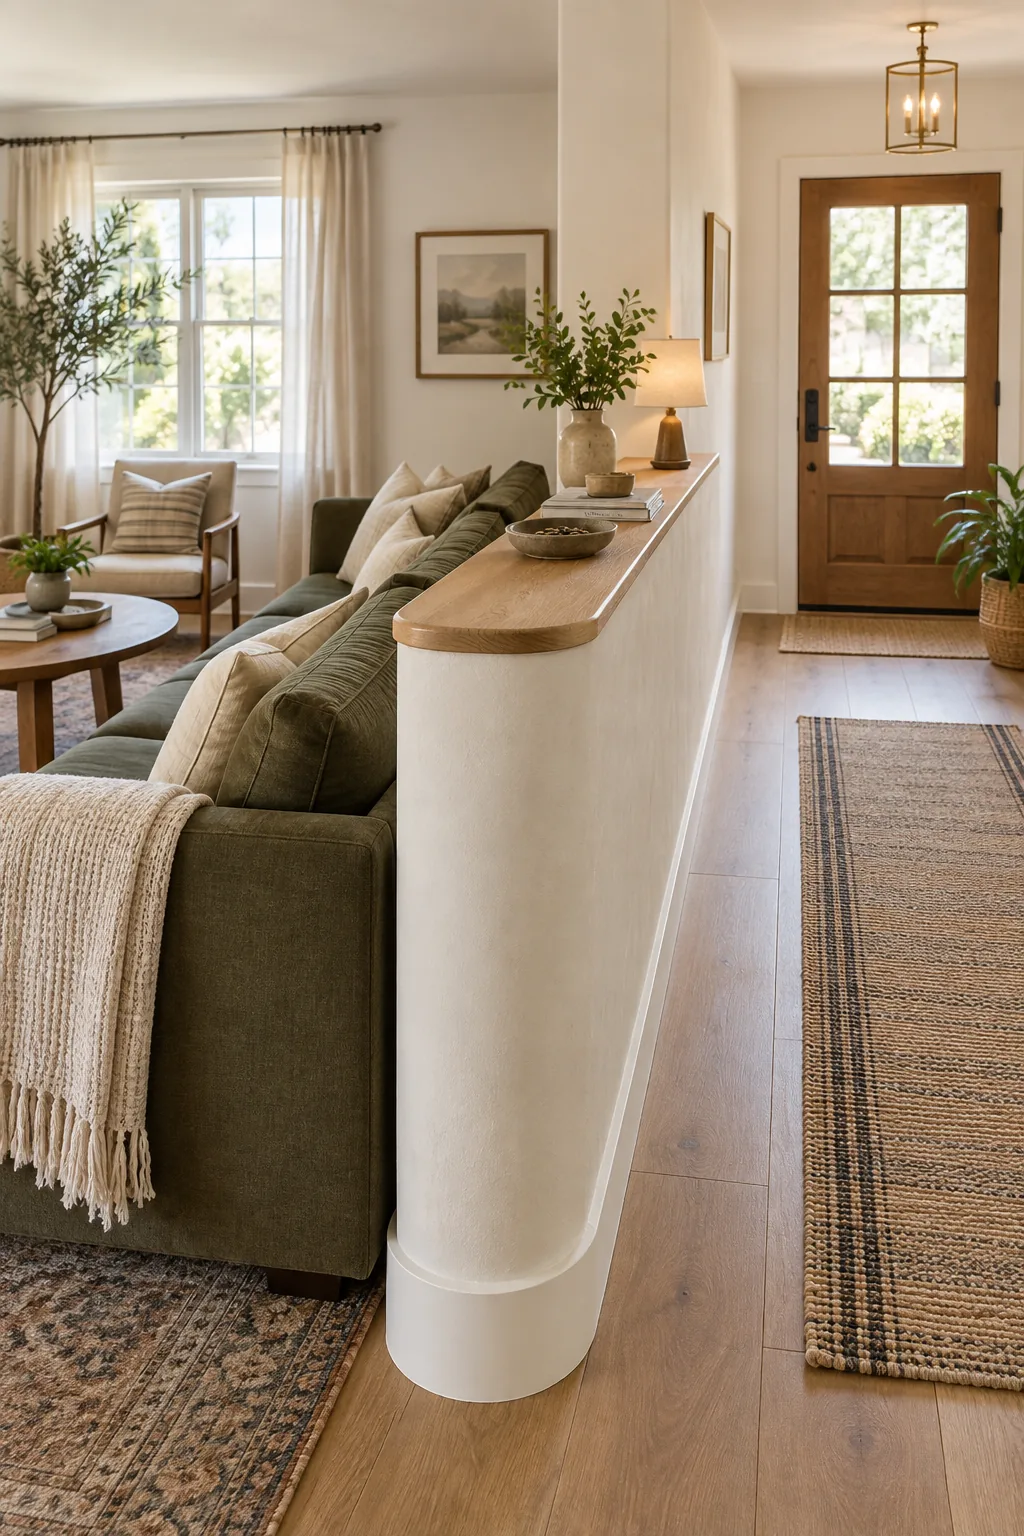
Wrapping the exposed end with flexible bending plywood creates a smooth, curved transition that softens the walkway and eliminates sharp corners in high-traffic zones. This curved profile makes the room divider feel like a deliberate architectural feature rather than an abrupt afterthought.
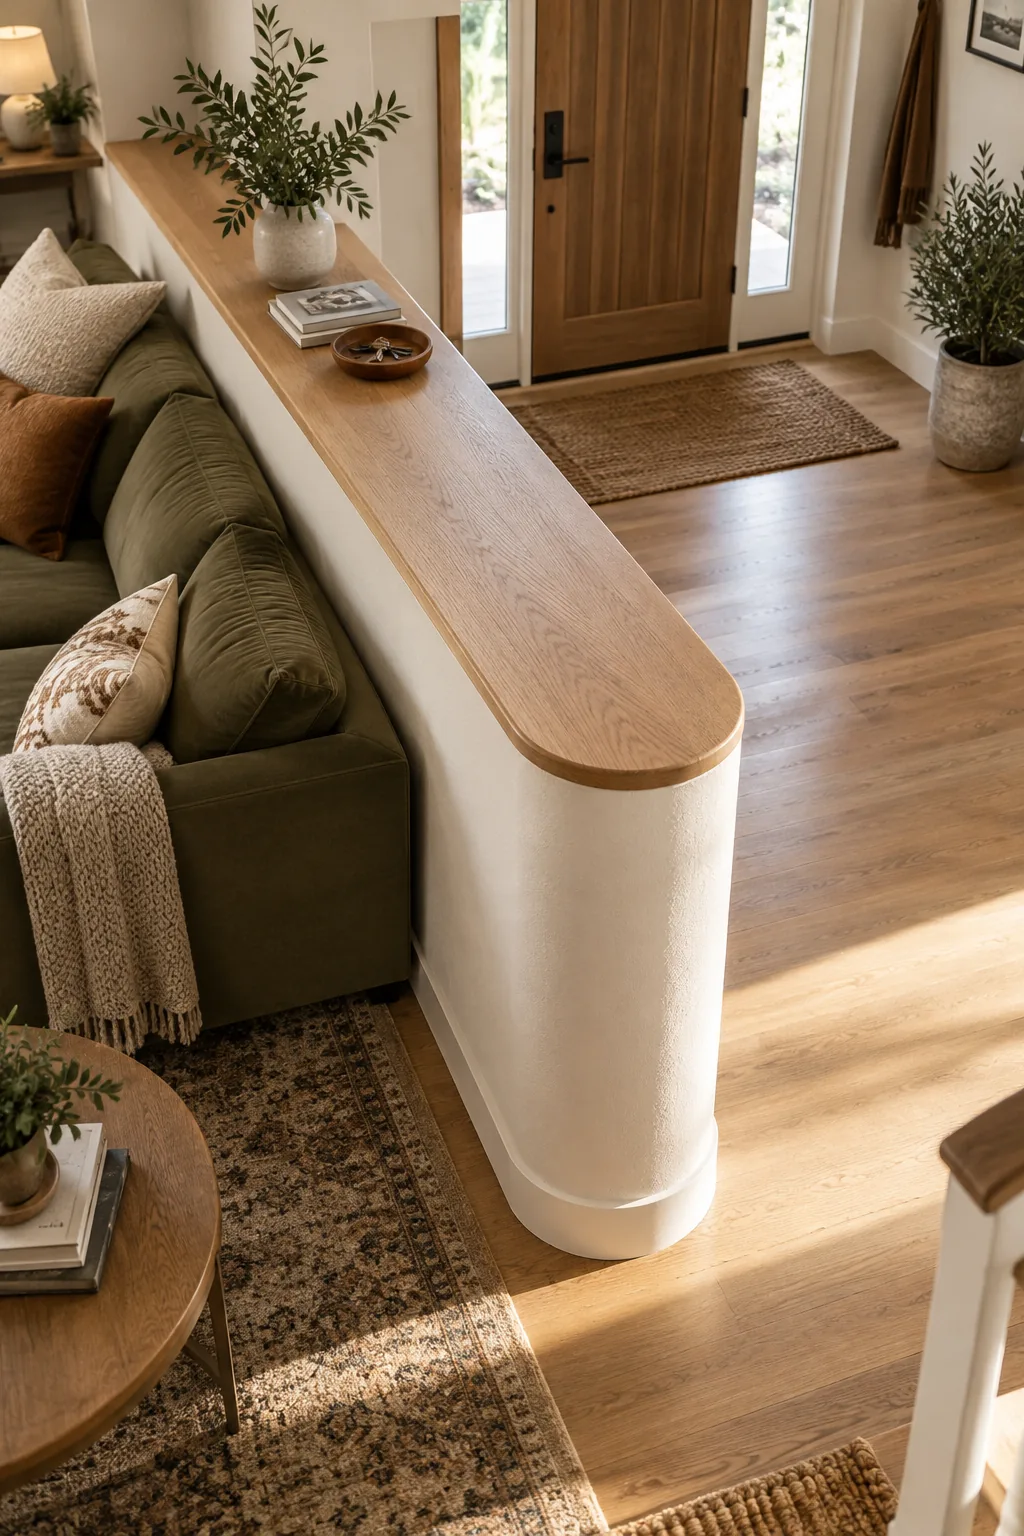
Getting a perfectly smooth curve requires more than just flexible material; the attachment method must handle constant outward tension.
Routing the Oak Cap for Hidden Lighting
To highlight the beautiful plaster texture, a slim 0.5-inch channel is routed into the underside of the oak cap’s front overhang on the entry side. This recessed groove conceals an LED strip, casting a warm line of light down the wall without exposing the hardware.
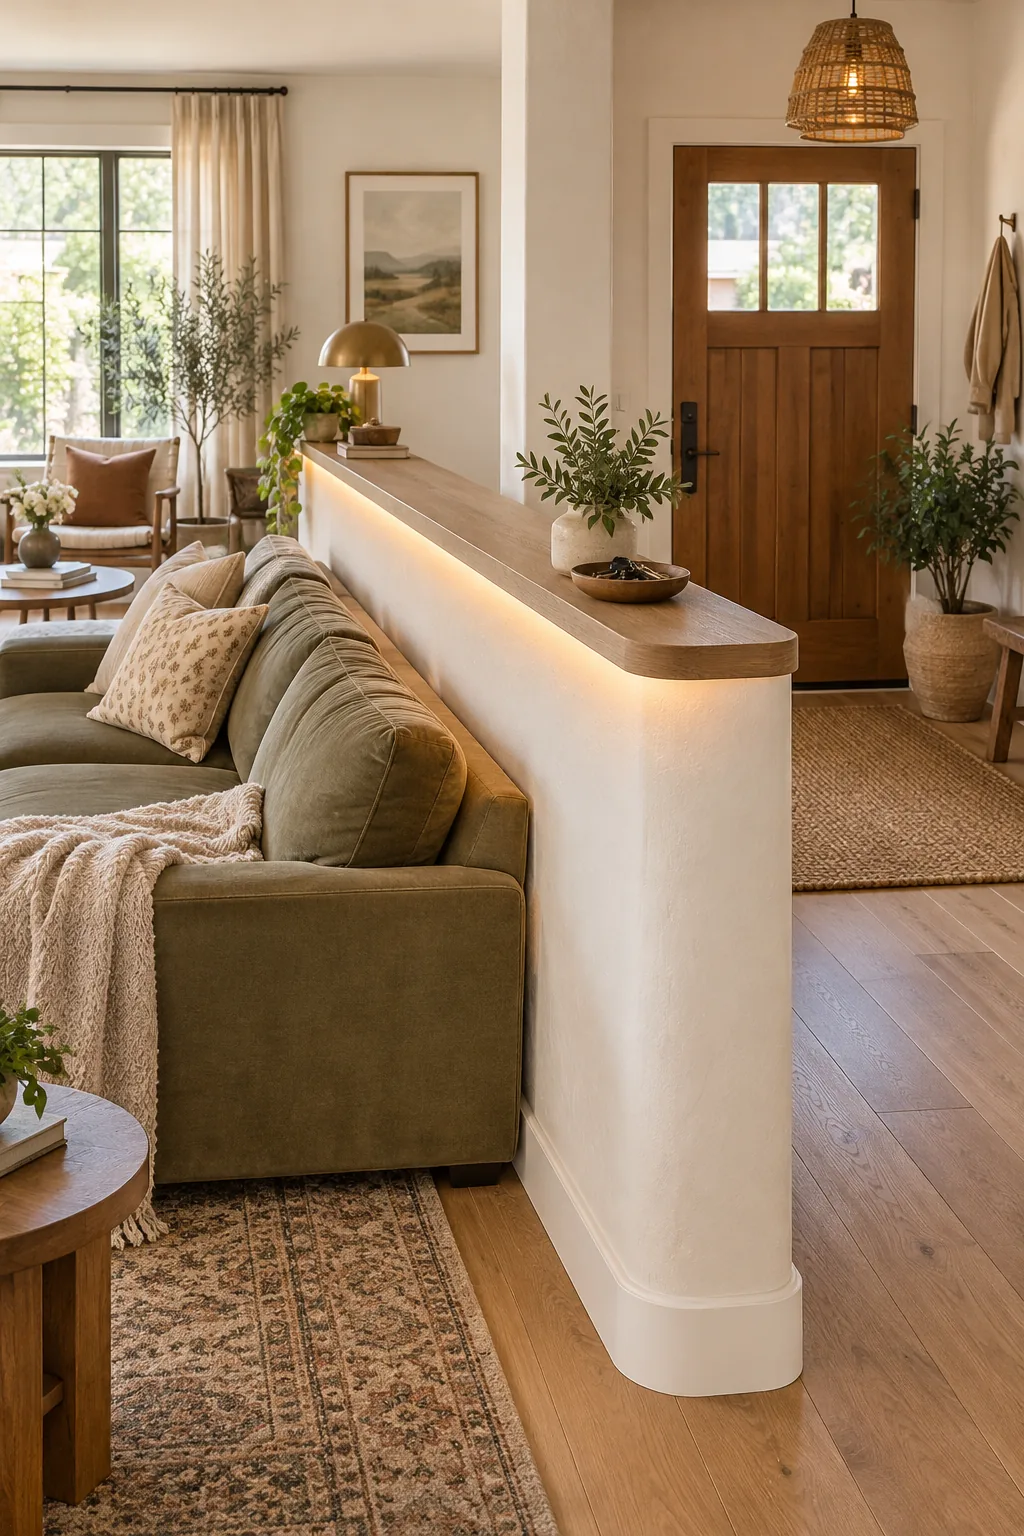
Planning your lighting integration early ensures the wiring stays completely hidden within the wall cavity before the drywall goes up.
- Route the groove exactly 3/4-inch from the front edge of the oak overhang.
- Drill a small exit hole through the cap to feed the LED wires down into the stud bay.
- Leave a pull string inside the wall during framing to easily fish the low-voltage wires later.
4 Ways to Style a Room-Dividing Half Wall
See how changing the materials and cap profile adapts this structural divider to entirely different rooms and aesthetics.
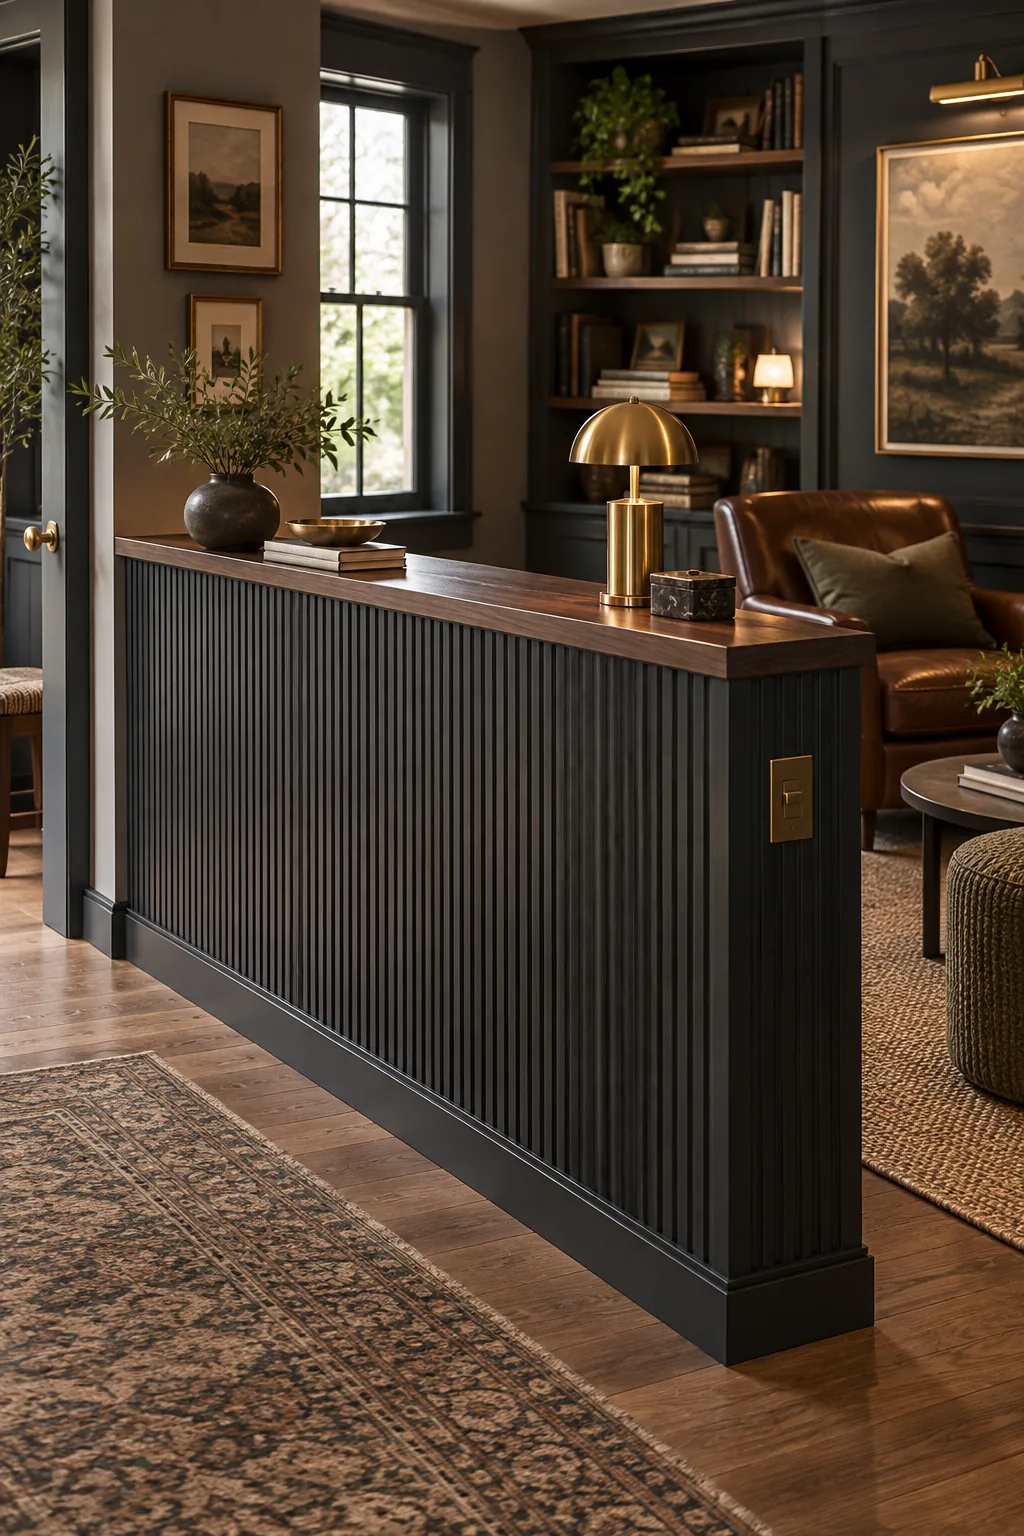
Moody Fluted Wood Paneling: Vertical fluted trim painted in a deep charcoal adds architectural rhythm to a cozy den.
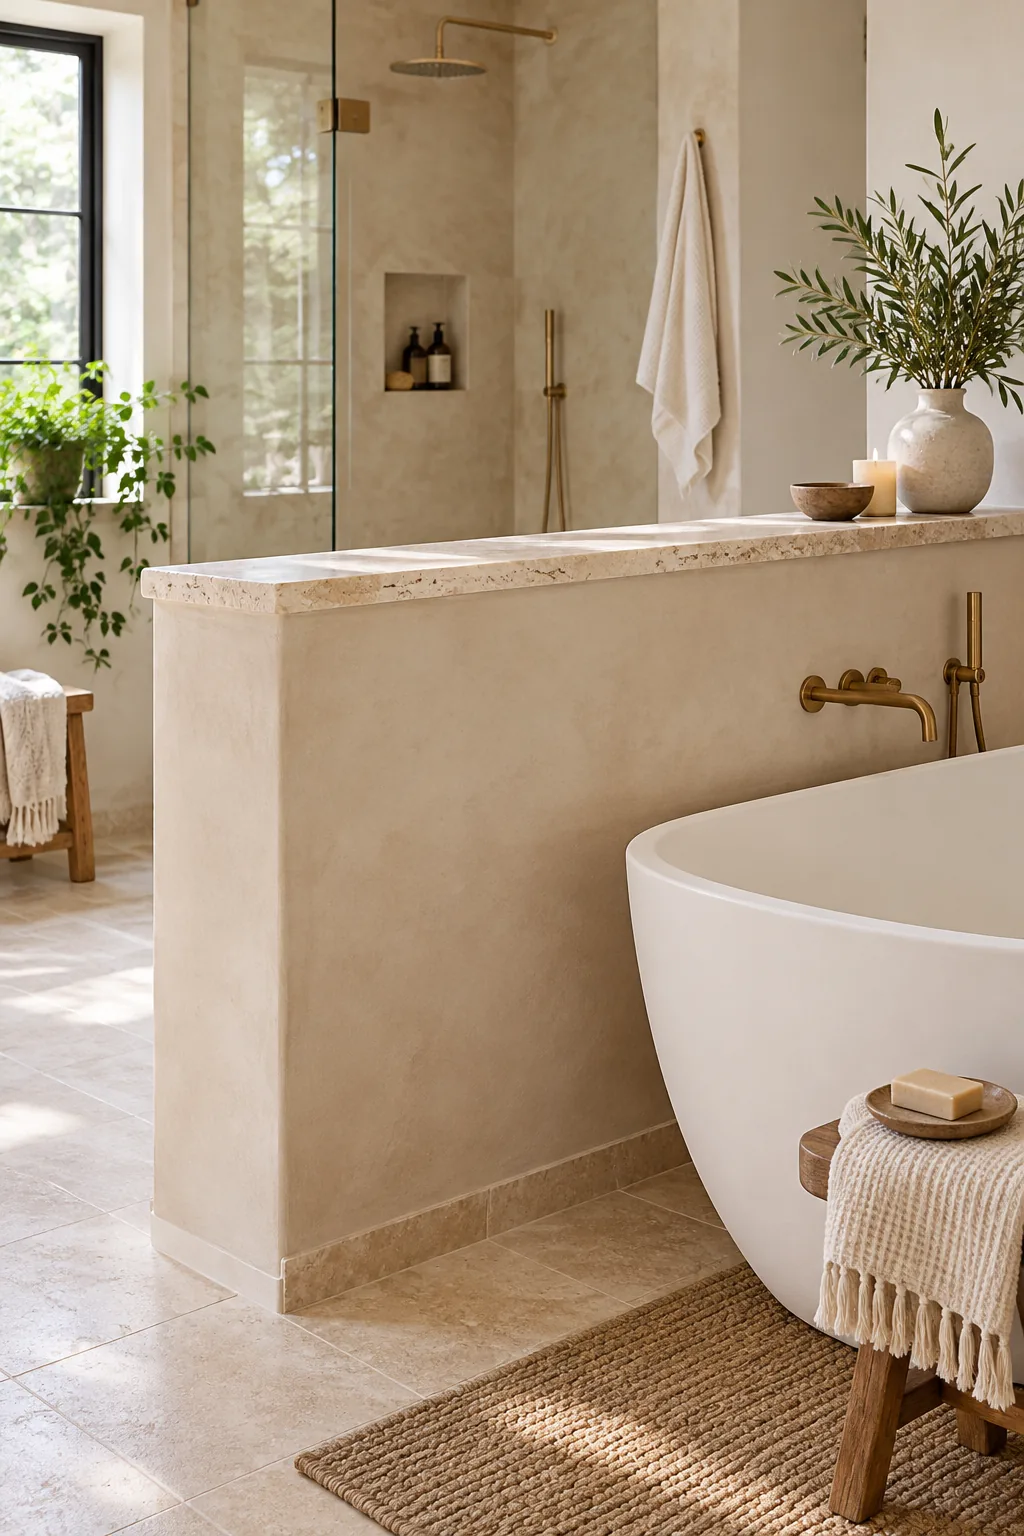
Seamless Waterproof Tadelakt Plaster: A honed travertine cap and waterproof plaster turn a structural divider into a spa-like bathroom feature.
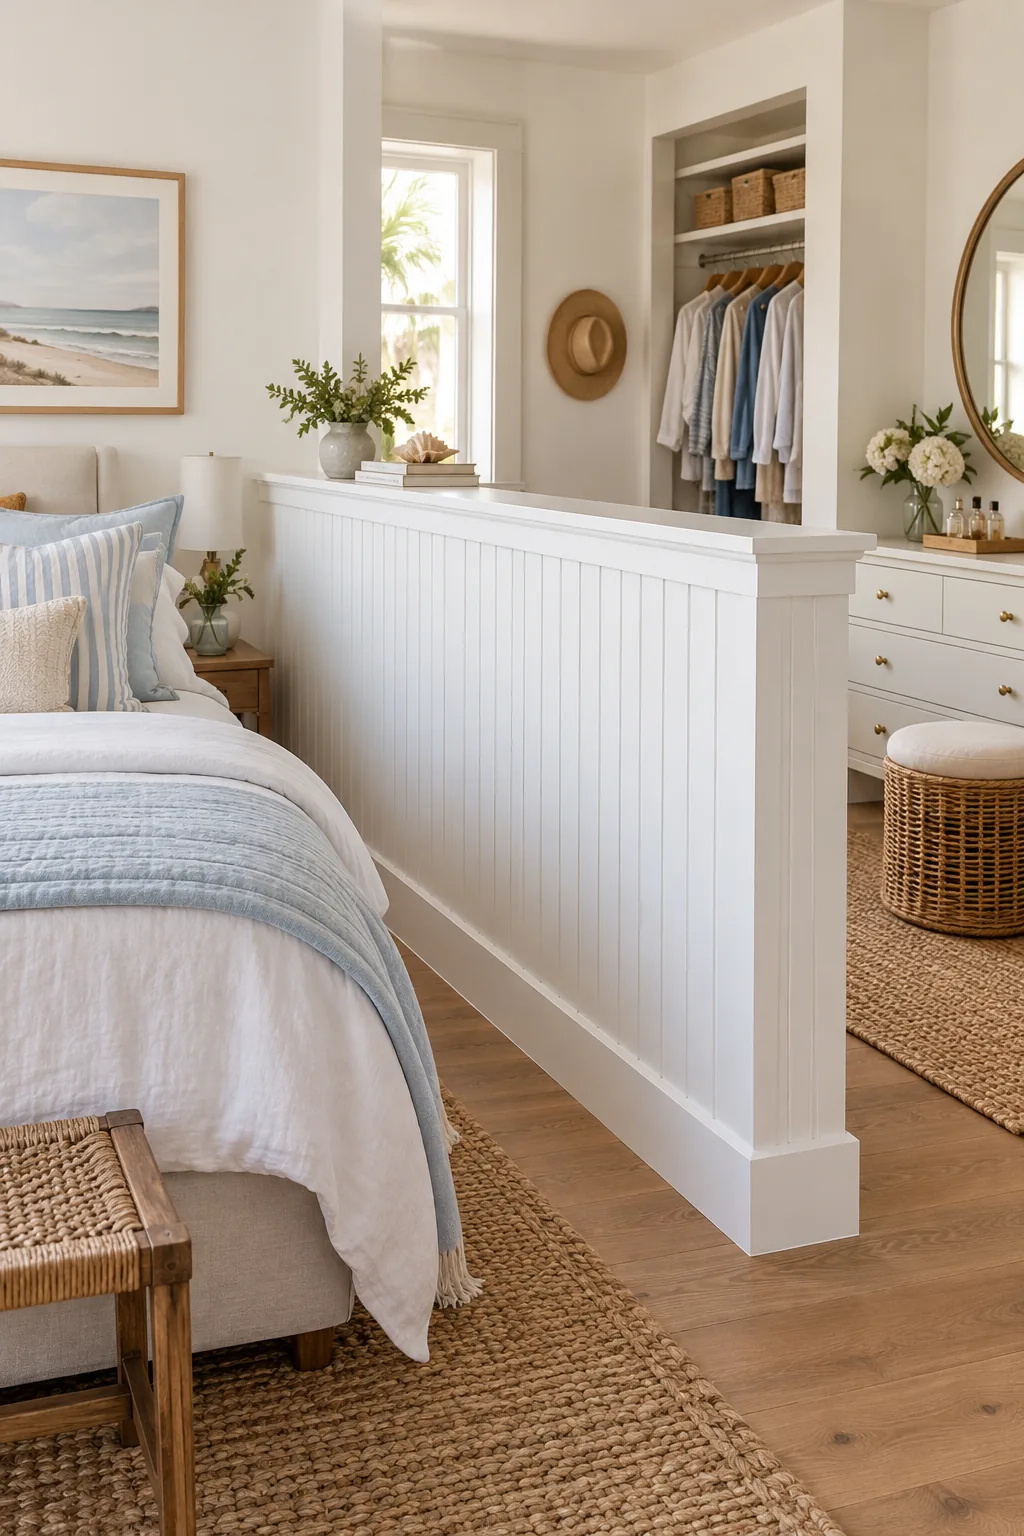
Classic Coastal White Beadboard: Crisp white beadboard brings a traditional, breezy texture that perfectly suits a coastal bedroom layout.
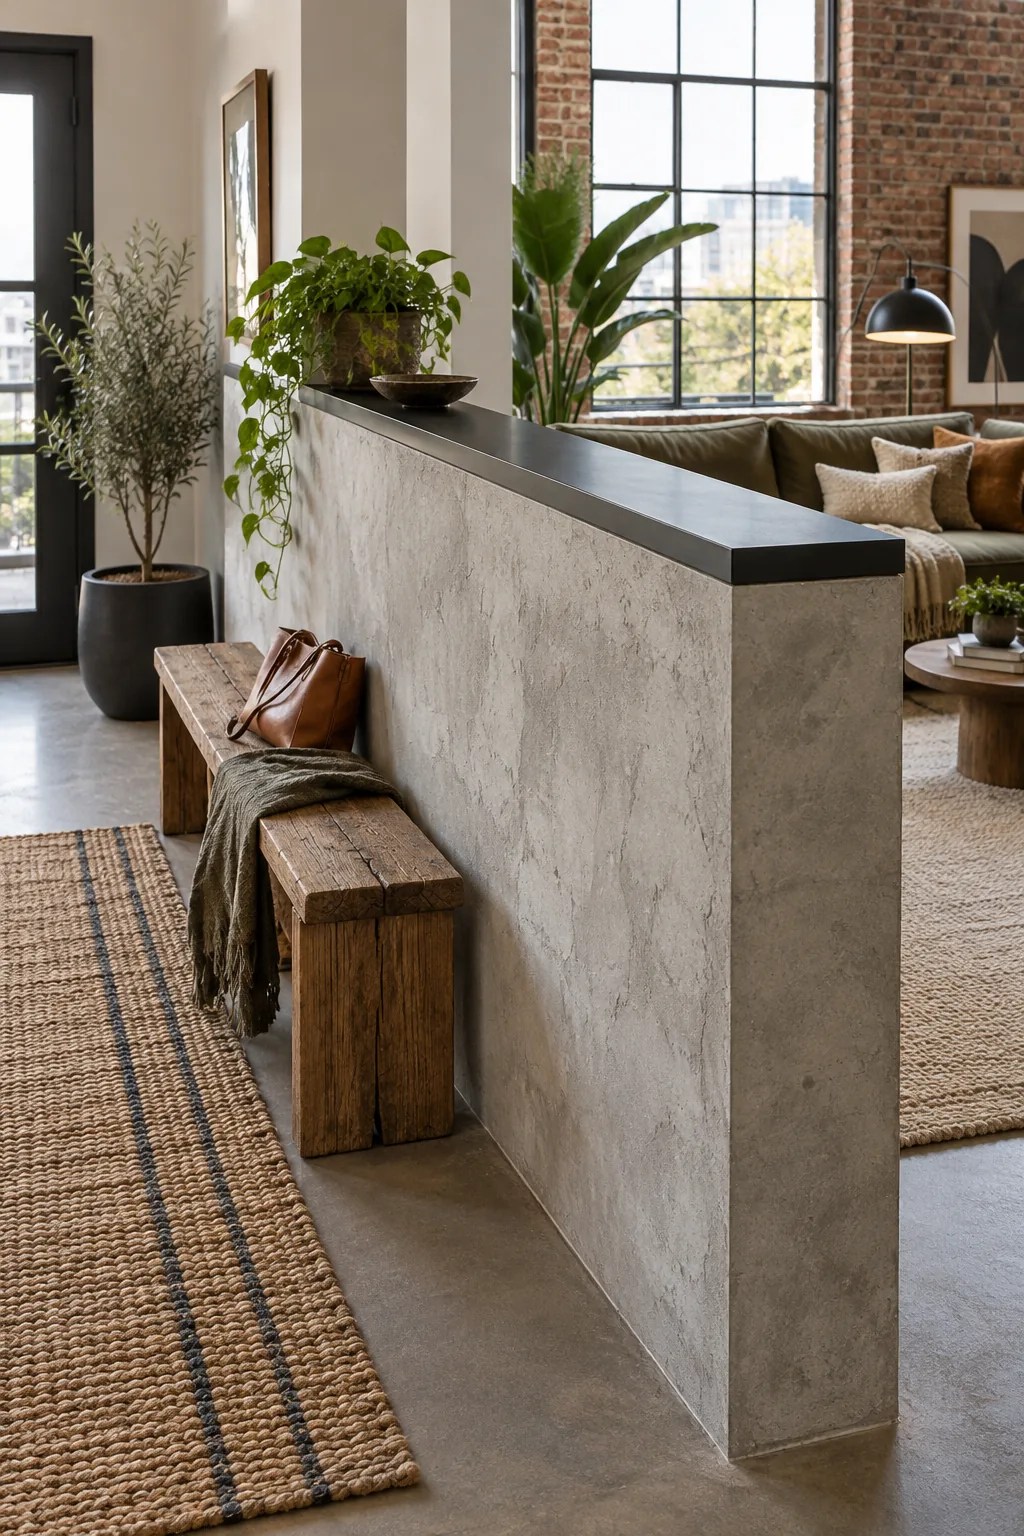
Industrial Concrete and Steel: A concrete skim coat paired with a custom matte black steel cap delivers an edgy, urban aesthetic.
Print the Half Wall Build Sheet
I still keep the original sketched plans from my build tucked in my workshop, but I’ve digitized everything so you can skip the guesswork. You can now download the complete 2-page printable guide containing the 2×6 stud cut list, the wall-height-by-sofa-back chart, and the 6-step end-post anchoring sequence.
Print out these detailed reference sheets and take them straight to the lumber yard to gather your exact materials.