Pro Cookie Display Tricks (Plus the Platter Layout Map)
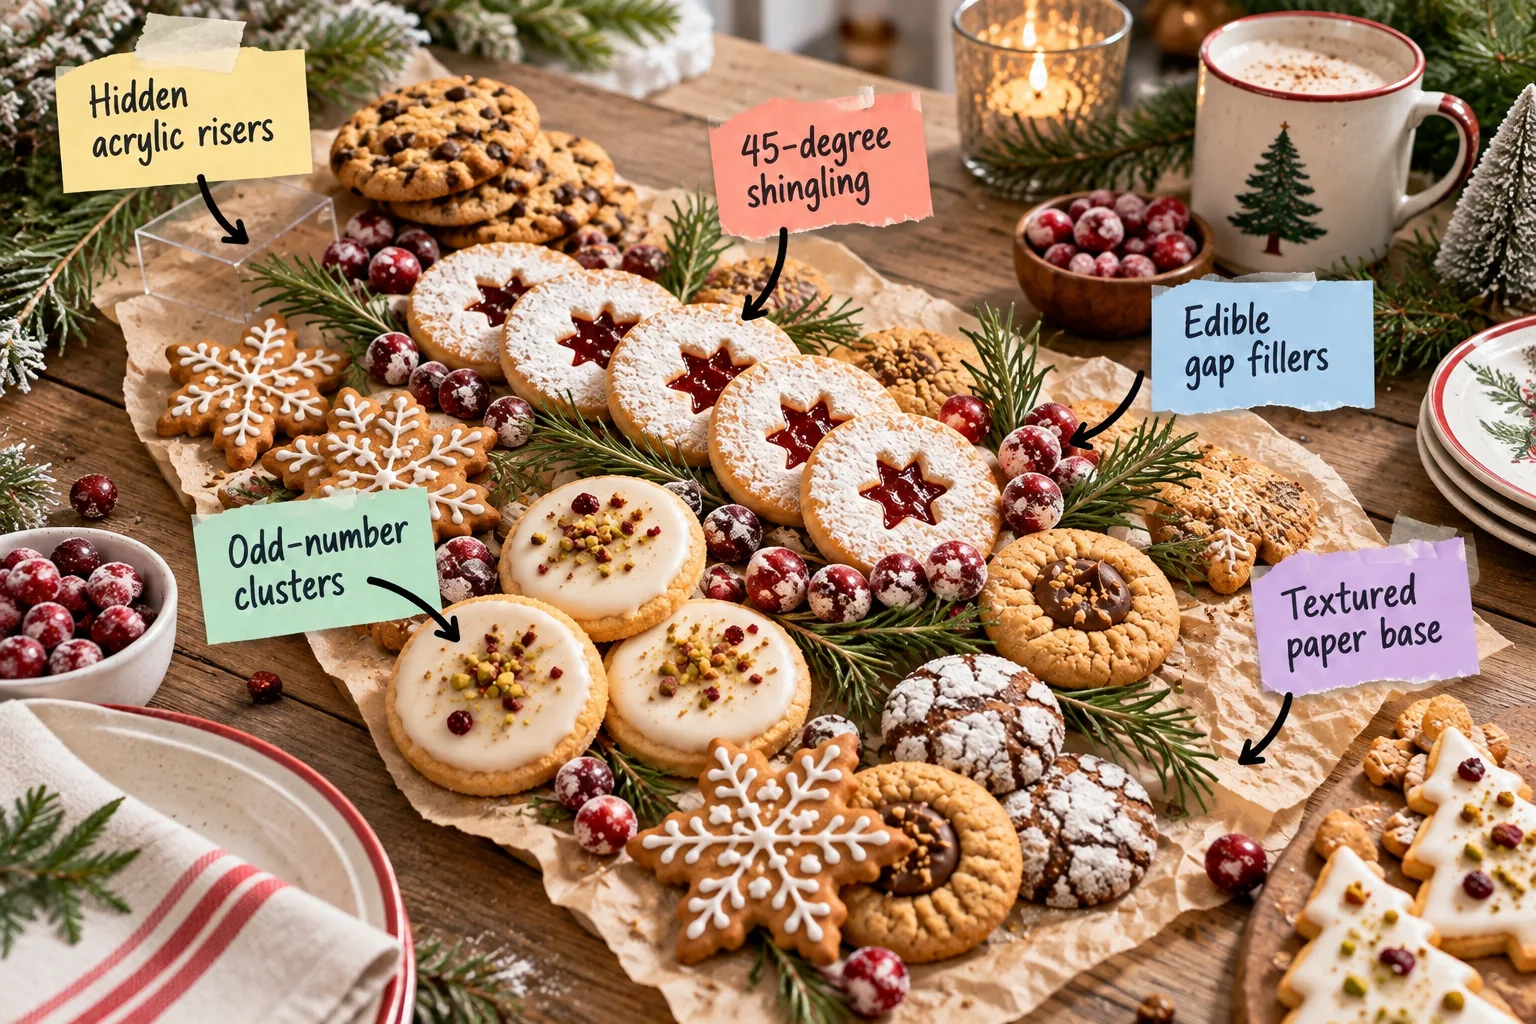
Let’s build a professional-looking holiday cookie spread using my step-by-step layout map and styling techniques. You will walk away with the exact platter layout map and prop checklist you need to recreate this abundant dessert table.
Anchoring with a Textured Paper Base
Every great display starts with a foundation that adds warmth and catches crumbs, which is why I always anchor my boards with unbleached parchment paper that has been fully crumpled and smoothed flat to create a textured grip.

In my own Boston apartment, I rely on this deliberate, rustic texture to keep round cookies from sliding off the table during busy holiday parties.
Selecting the Right Foundation Material
Choosing an unbleached matte paper over glossy wax paper ensures that your base absorbs excess butter rather than letting it pool underneath the treats.
Building Elevation with Hidden Risers
Once your paper is down, slip 2-inch and 4-inch risers underneath the parchment to create gentle rolling hills that eliminate flat, lifeless displays.

These hidden acrylic blocks naturally highlight your hero cookies at varying heights, drawing the eye effortlessly across the entire dessert spread.
Positioning Your Acrylic Blocks
Place your tallest 4-inch blocks near the back center of the table and taper down to the 2-inch blocks at the front edges to guarantee that smaller, delicate treats remain completely visible behind larger statement pieces.
The Cookie Platter Layout Map and Checklist
With your hills in place, follow this specific zoning strategy for a standard 3-foot table runner display to keep the board beautifully organized.

Before you begin placing the first cookie into these designated zones, gather these essential styling tools to ensure a smooth assembly process.
Mapping the Three Primary Zones
Divide your 3-foot runner into a central focal zone for your most intricate cookies, flanked by two supporting zones for simpler, bulkier treats, ensuring every flavor profile gets dedicated space.
Angling Rows with 45-Degree Shingling
Now we start placing the treats by leaning uniform cookies against each other at a tight 45-degree angle to save space and display intricate fillings.
I use this exact shingling method at home because it exposes the beautiful jam centers of my linzer cookies while maximizing every inch of the board.
Maintaining Structural Integrity in Rows
To keep your shingled rows from collapsing, place a slightly thicker anchor cookie flat at the base of the line before leaning the rest against it, pressing the row gently together so it acts as a single structural unit.
Anchoring Corners with Odd-Number Clusters
To break up those long linear rows, group your distinctively iced focal-point cookies in sets of three to create natural visual triangles at the corners.

These odd-number clusters feel much more organic than perfectly mirrored stacks, successfully anchoring the arrangement without looking overly stiff.
Balancing Shapes within Clusters
When building your trio, combine one tall cookie, one wide cookie, and one highly textured piece to create a beautifully balanced micro-arrangement that keeps the eye engaged.
Weaving in Edible Gap Fillers
Once the cookies are set, eliminate dead space by tucking 2 to 3-inch sprigs of fresh greenery and sugared cranberries right under the cookie edges.
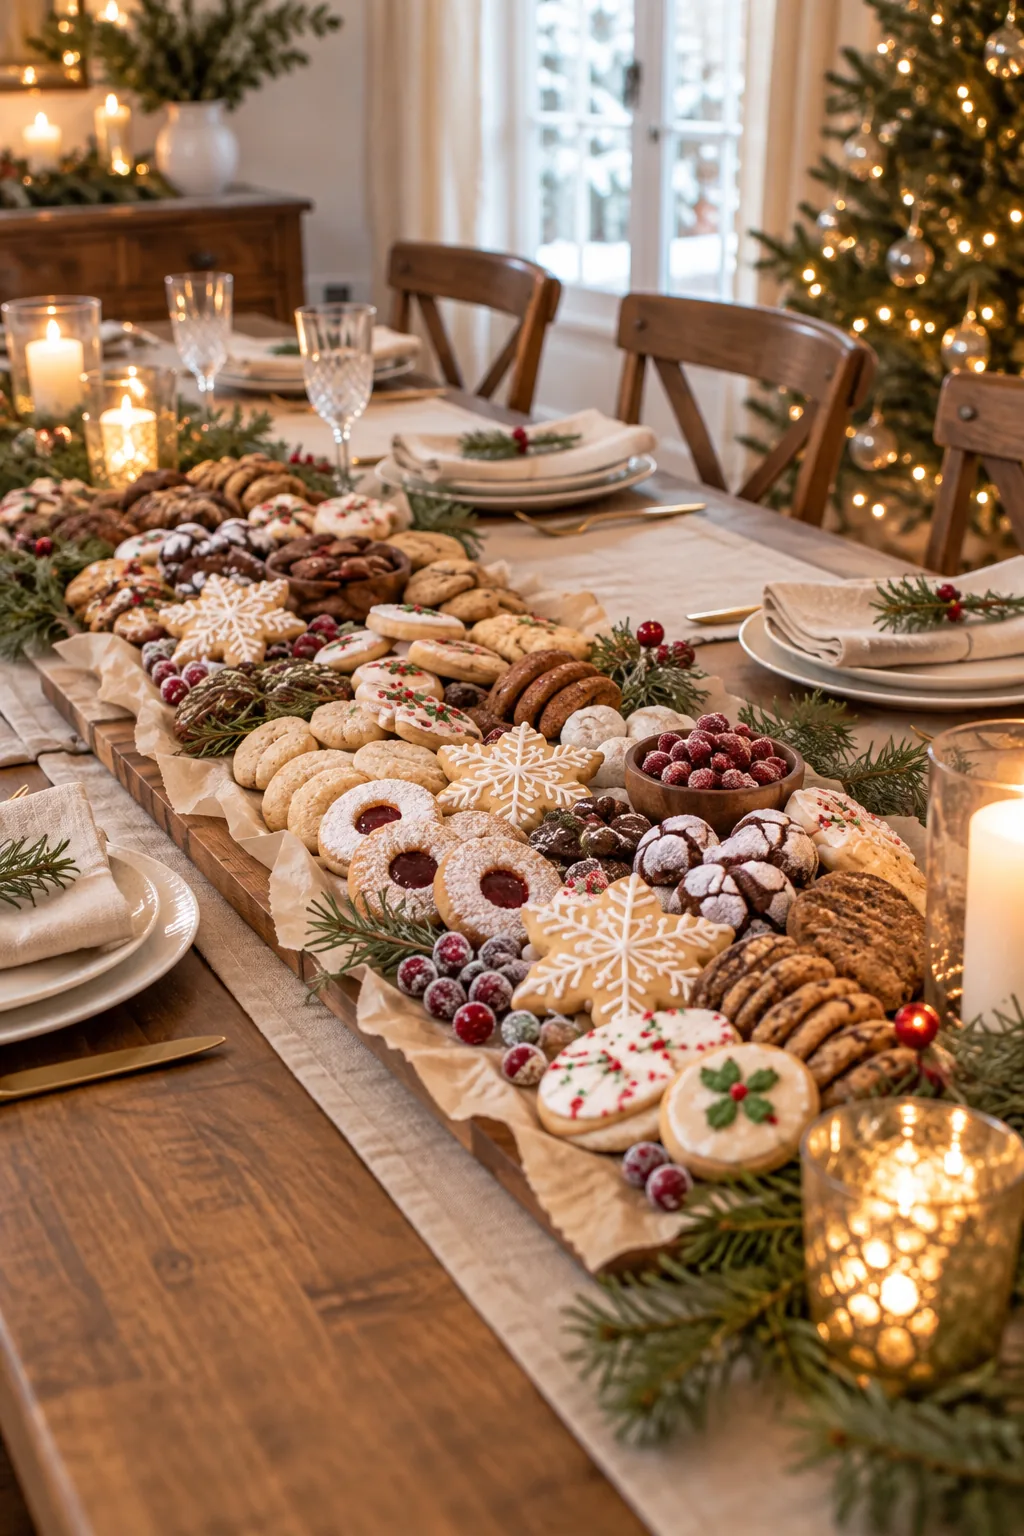
I always add these edible gap fillers to my holiday spreads to frame the clusters, but improper placement can quickly ruin the texture of your carefully baked treats.
Sizing Your Greenery Sprigs
Keeping your rosemary sprigs under three inches ensures they act as a subtle frame rather than overpowering the baked goods with heavy, distracting foliage.
Managing Moisture and Flavor Transfer
To preserve the perfect bite, maintain a strict 1-inch buffer between heavily spiced cookies like gingerbread and delicate sugar cookies.

| Cookie Type | Moisture Level | Storage Rule | Buffer Distance |
|---|---|---|---|
| Gingerbread | Moderate | Keep away from delicate icing | 1 inch |
| Linzer | High (Jam) | Isolate from crisp wafers | 1 inch |
| Shortbread | Low | Safe near most dry items | 0.5 inches |
| Meringue | Very Low | Keep far from any fresh fruit | 2 inches |
Preventing Textural Damage
Keeping crisp items physically separated from moist treats prevents unwanted flavor mingling and soggy textures as the party goes on.
Scaling the Display for Larger Tables
If you are styling a long kitchen island, extend the display by repeating the core layout map in mirrored sections every 24 inches.
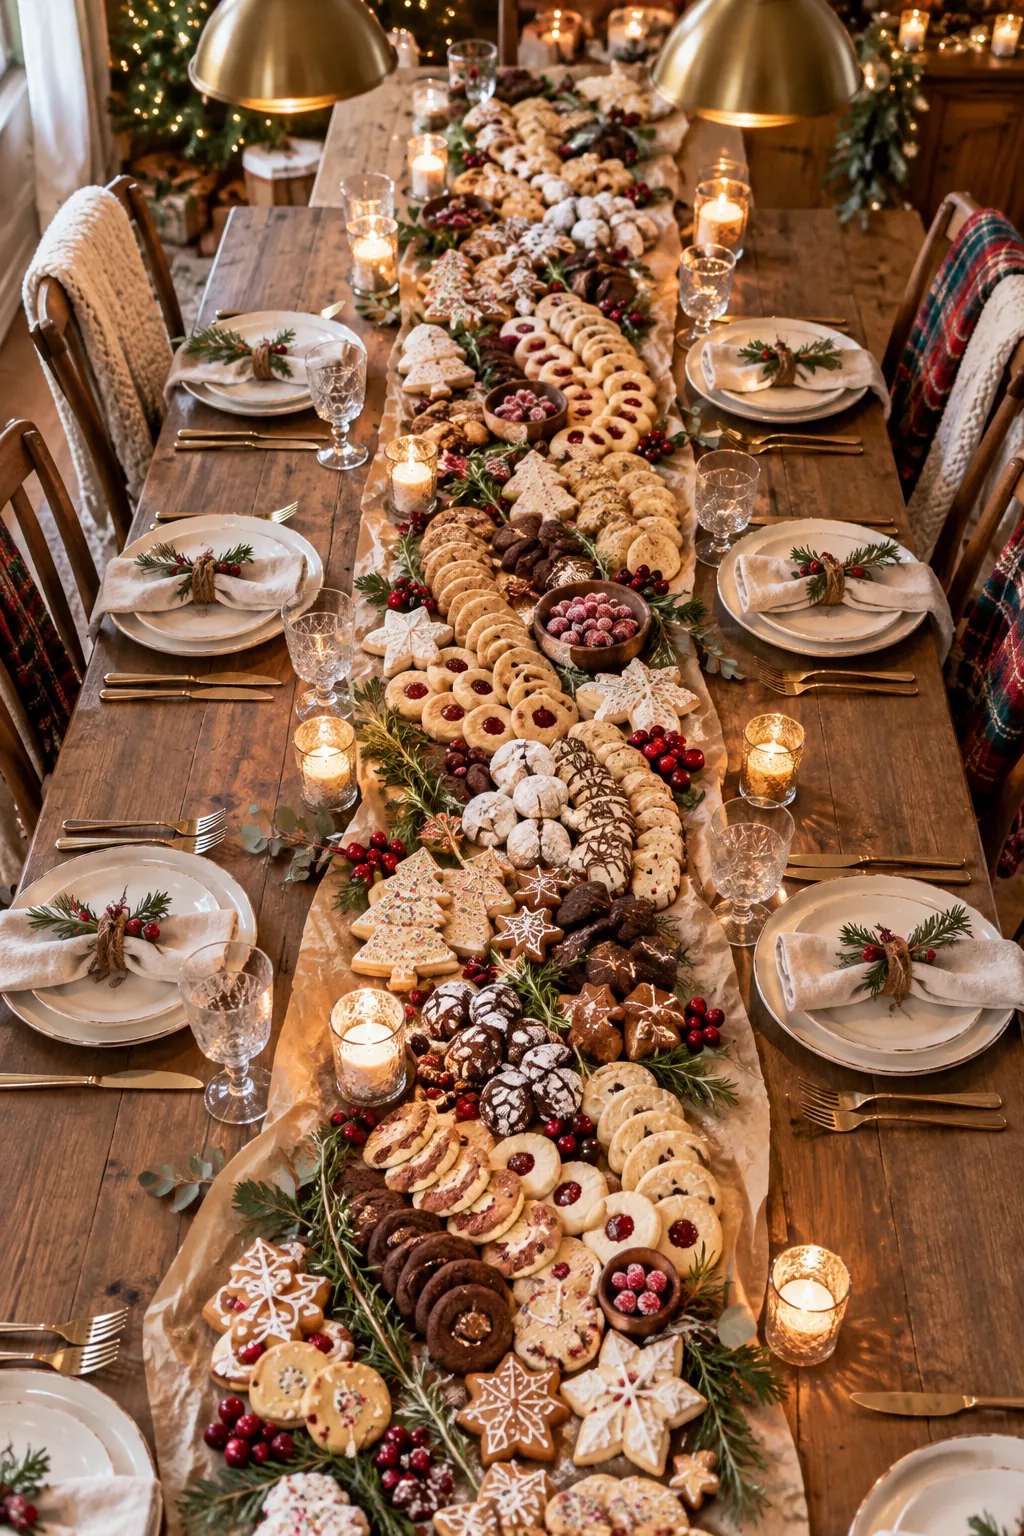
I rely on this repeating pattern for my own large dinner parties to maintain an abundant look without having to invent entirely new designs.
Connecting the Mirrored Sections
Bridge the gap between your repeating 24-inch zones by placing a low, continuous row of neutral shortbread cookies or a trailing vine of fresh rosemary to unify the separate sections into one cohesive holiday runner.
More Ways to Style Your Cookie Spread
Explore these distinct seasonal palettes to find the perfect match for your next holiday gathering.
Moody slate and dark chocolate: Rich espresso cookies pop against a dark slate board, using dark chocolate truffles instead of fruit for an elegant evening look.

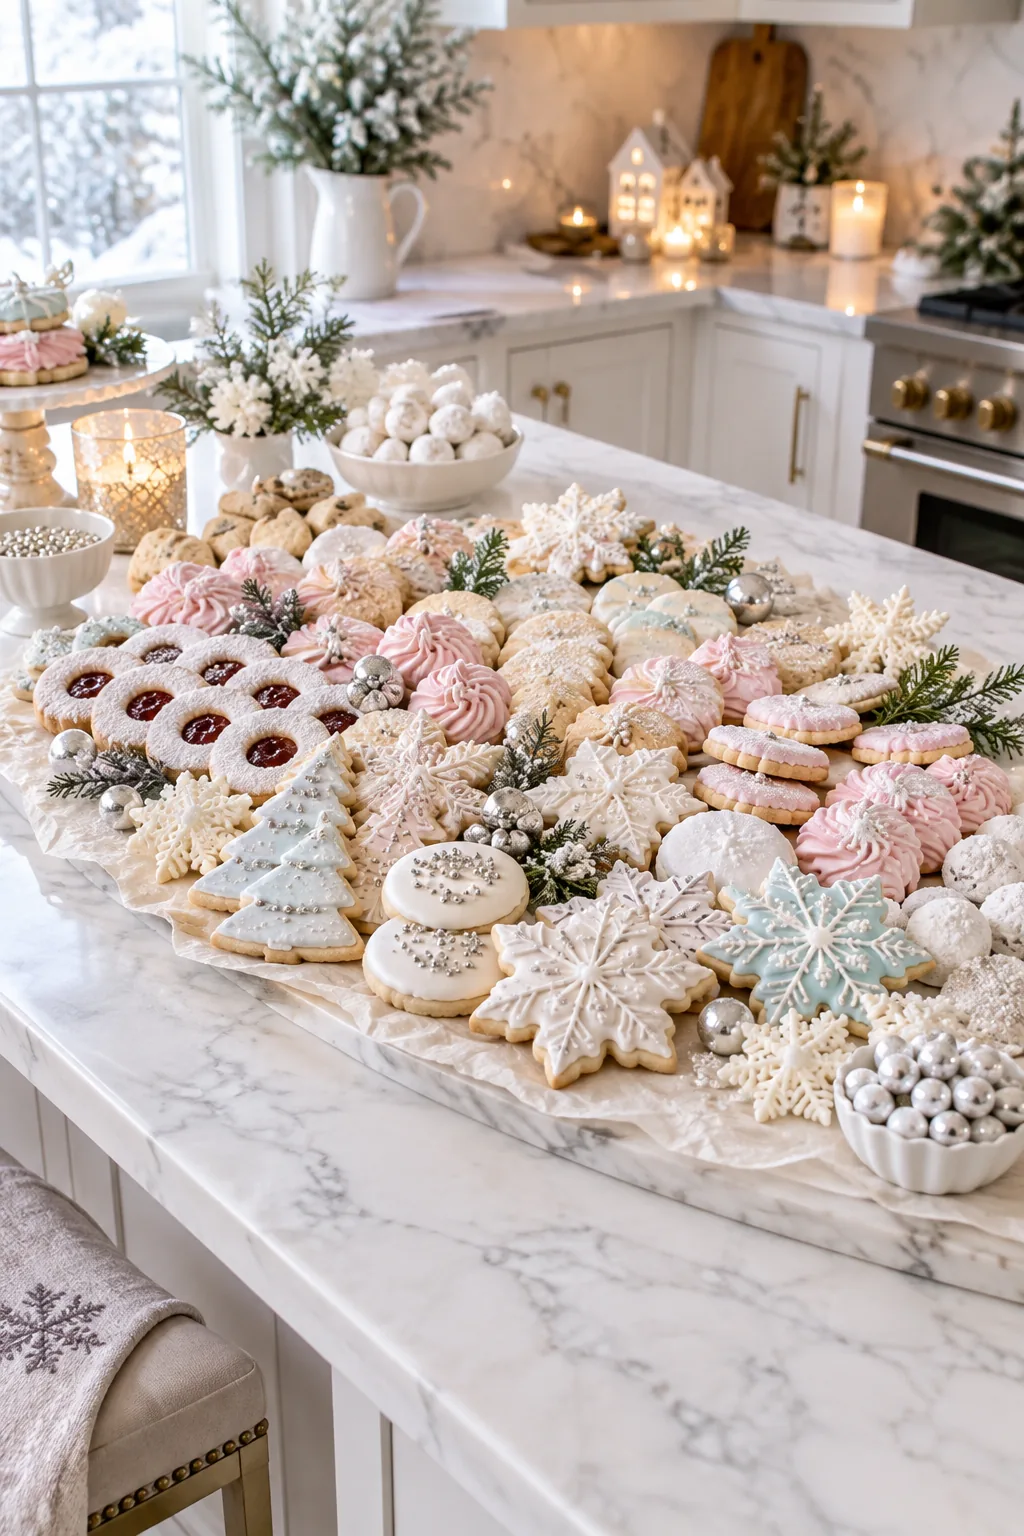
Modern pastel winter wonderland: A white marble base lets soft pastel frostings shine, accented beautifully by silver dragees and white chocolate snowflakes.
Rustic farmhouse gingerbread spread: Warm up a wooden tray with classic gingerbread, using dried orange slices and cinnamon sticks as highly fragrant, thematic gap fillers.

Minimalist brass and matcha: A sleek brass tray provides the perfect structured backdrop for sharp geometric shortbread and vibrant green matcha crinkles.
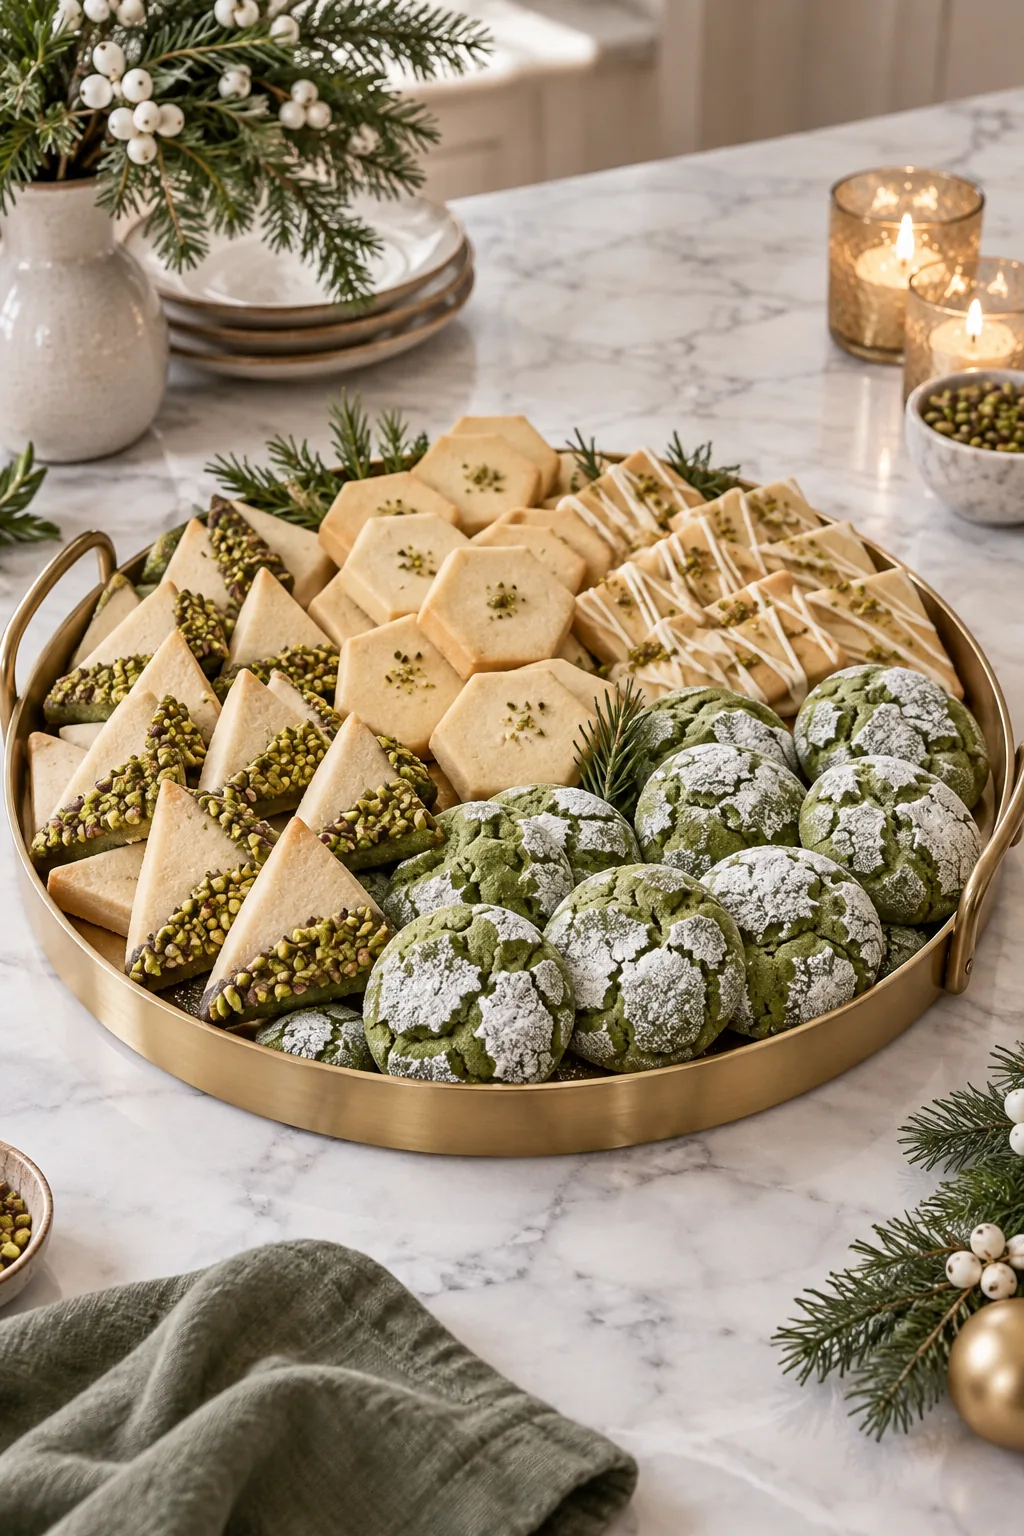
Playful peppermint and bright sprinkles: A red gingham base sets a joyful tone for vibrant sprinkle cookies, using peppermint candies and marshmallows to fill the gaps.