
Glow Party Secrets: The Ultimate UV-Reactive Supply List
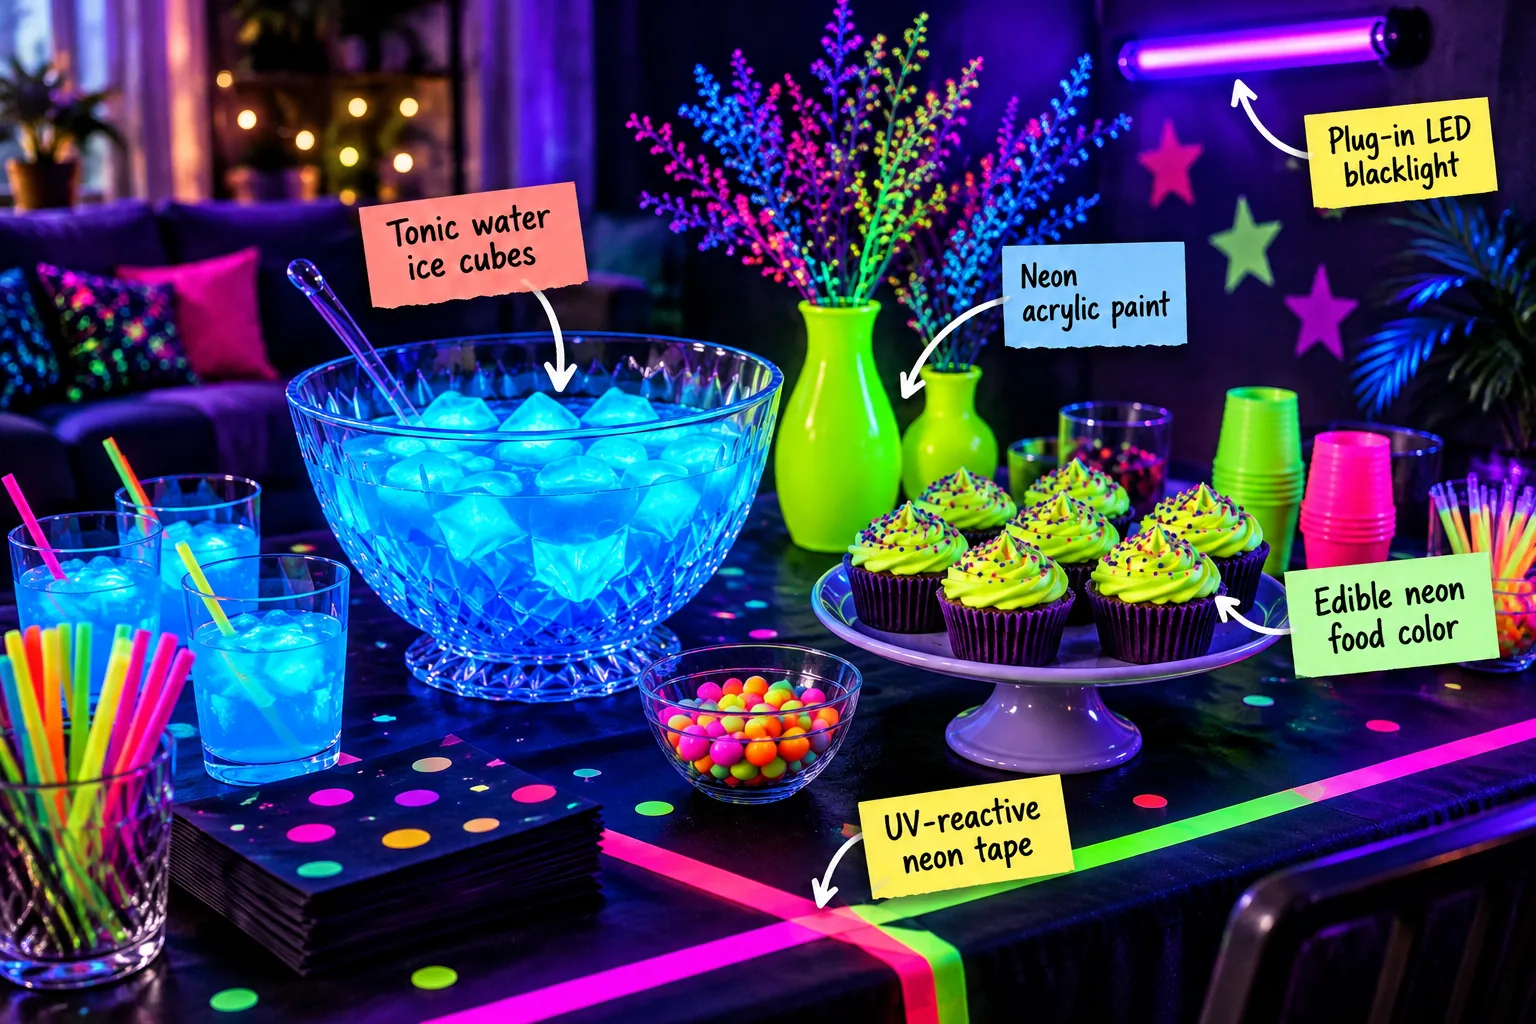
Planning a neon bash can feel overwhelming, but I am going to share the exact UV-reactive master supply list you need to build a brilliantly glowing dessert and drink station. You will be able to source the specific lights, tapes, and edible ingredients that actually light up the room, transforming your everyday dining space into an immersive fluorescent experience.
Setting Up Your Plug-In LED Blacklight
A true glow party requires specific UV-A lighting, not just those dim purple bulbs I mistakenly bought for my very first Halloween bash in my Boston apartment. Mount a 365nm to 395nm plug-in LED blacklight bar directly above the table to ensure intense, even coverage across the entire station.
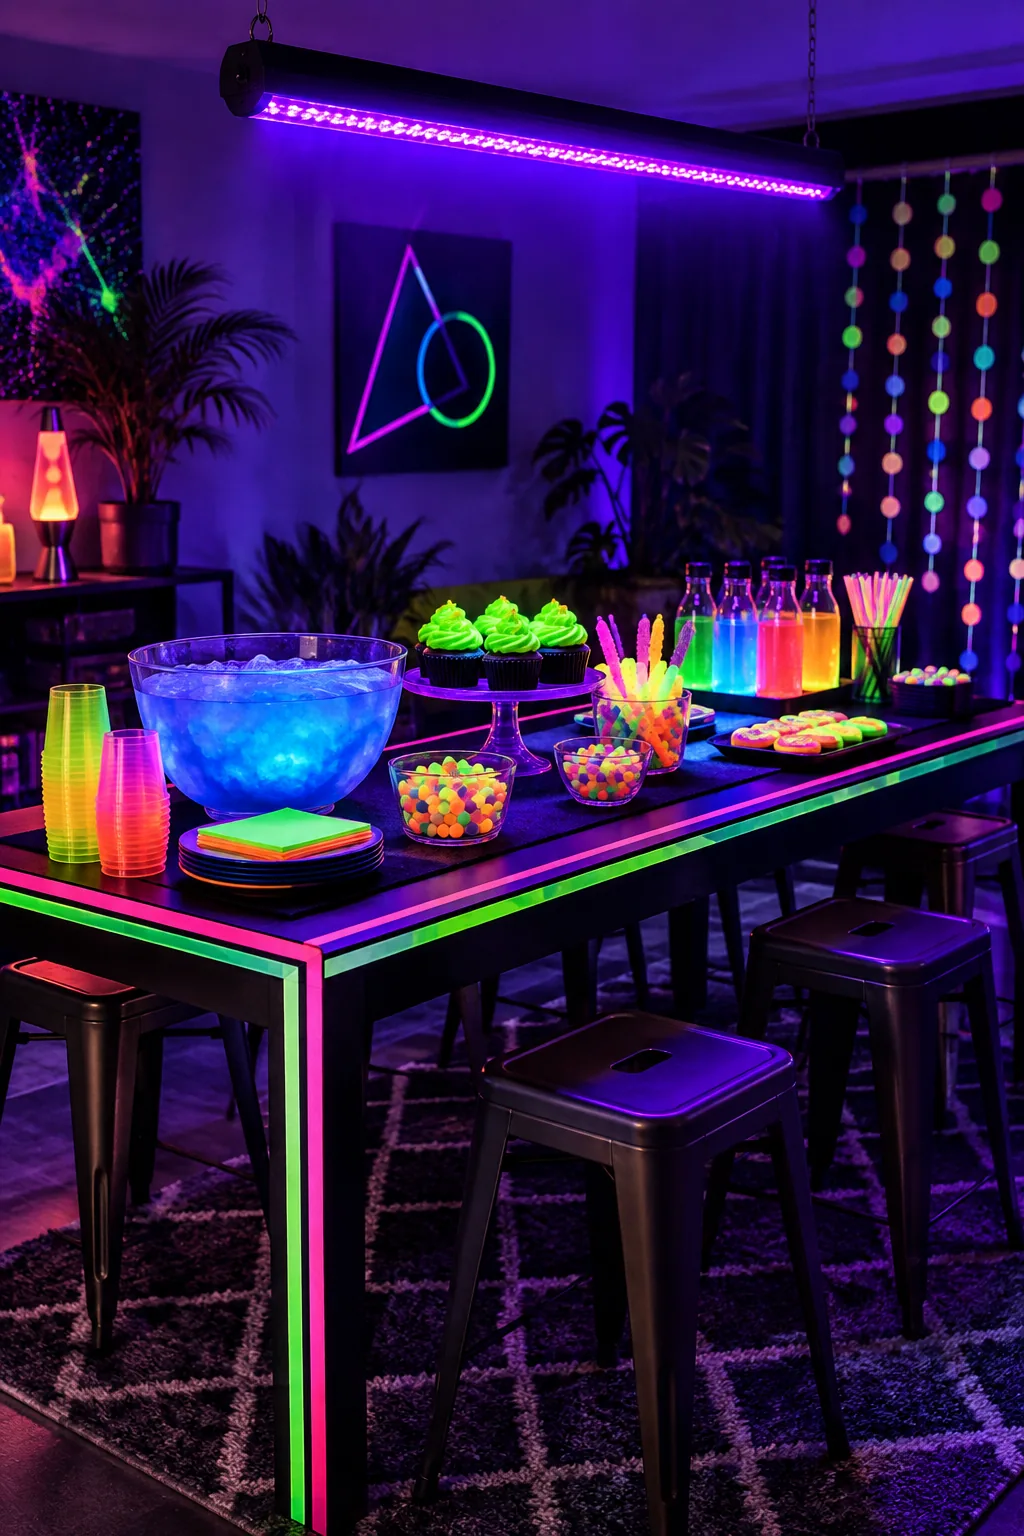
These dedicated fixtures emit the precise wavelength required to excite fluorescent phosphors, transforming dull materials into brilliant light sources. Angle the light slightly toward the wall to bounce the UV rays, creating a softer, more ambient glow that eliminates harsh shadows on your carefully styled dessert spread.
Your UV-Reactive Master Supply List
Not everything neon glows under a blacklight, so you need specific materials formulated with fluorescent phosphors to achieve that intense effect. Before you start decorating, gather these essential glowing materials to ensure your setup actually reacts to the UV light rather than fading into the darkness.
Testing your supplies in a dark closet with a handheld flashlight before the party saves you from discovering that your expensive neon decor is invisible. Always verify the fluorescence of your paints, tapes, and edible ingredients prior to setting up the room to guarantee a spectacular result.
Controlling the Room Environment
A successful glow party requires absolute darkness to allow the UV-reactive materials to shine their brightest. Block out all ambient light from windows by hanging thick blackout curtains or taping inexpensive black plastic sheeting securely over the glass frames to prevent light pollution from washing out your neon colors.
Choosing the Right Backdrop
Position your dessert station against a blank, dark-colored wall to prevent busy wallpaper patterns from distracting from the glowing focal points. If your room features light or patterned walls, temporarily hang a seamless black paper backdrop behind the table to create an infinite, void-like canvas for your neon decorations.
Framing the Space with UV-Reactive Neon Tape
Define your party zone by applying bright pink and green UV-reactive neon tape directly to the table edges. Use 1-inch thick tape to create sharp, intersecting geometric lines that anchor the visual space and guide your guests toward the treats glowing in the center.

This physical framing draws the eye inward, establishing a clear boundary where the standard room ends and the glowing experience begins. Press the tape down firmly along the corners to prevent peeling, ensuring your geometric patterns remain crisp throughout the entire evening of celebrating.
Selecting the Right Table Linens
A successful glow party requires a dark backdrop to make the fluorescent colors pop vividly. Cover your serving station with a heavy, matte black tablecloth to absorb the excess UV light and prevent distracting reflections from the wooden or glass furniture surface hidden beneath.
- Matte velvet absorbs light beautifully and provides a luxurious texture for elegant setups.
- Heavy cotton canvas offers a crisp, opaque drop that stays firmly in place.
- Disposable black paper cloths work perfectly for messy paint or sticky drink stations.
Avoid white linens entirely, as laundry detergents often contain optical brighteners that will glow aggressively under the blacklight. This accidental fluorescence will easily overpower your carefully planned neon decorations, turning the tablecloth into a blinding distraction rather than a supportive canvas.
Painting Vases with Neon Acrylic Paint
Elevate basic glass vases by coating them in intensely glowing neon-yellow acrylic paint. Apply two to three thin coats to ensure a solid, opaque finish that reflects the UV light without streaking, transforming cheap thrifted glassware into custom party decor that commands attention.
- Wash the glass surface thoroughly with rubbing alcohol to remove oils and fingerprints.
- Brush on a thin base coat of matte white acrylic paint to make the neon colors pop.
- Apply two layers of the fluorescent color, letting each coat dry completely.
- Seal the exterior with a clear matte spray to protect the fragile painted finish.
Once completely dry, these painted vessels become radiant focal points that hold branches or floral arrangements perfectly. Group vases of varying heights together at the back of your table to build a glowing backdrop that draws attention to the dessert spread positioned in front.
Positioning Reflective Serving Trays
To amplify the glow of your painted vases and neon treats, incorporate clear acrylic or mirrored serving trays. Placing your vibrant desserts on reflective surfaces bounces the UV light back up, doubling the visual impact of your carefully chosen fluorescent materials without requiring extra lighting fixtures.
Spacing Your Glowing Elements
Avoid clustering all your fluorescent items in the center of the table, which can create a blinding hotspot that overwhelms the eye. Leave negative space between your painted vases, neon cupcakes, and glowing punch bowl to allow each piece to stand out individually against the dark background.
Mixing Tonic Water Ice Cubes
The secret to glowing cyan-blue drinks is the quinine found in tonic water ice cubes. Freeze tonic water into large diamond or standard ice cubes to float in a clear glass punch bowl for a dramatic, edible centerpiece that instantly captivates your guests.
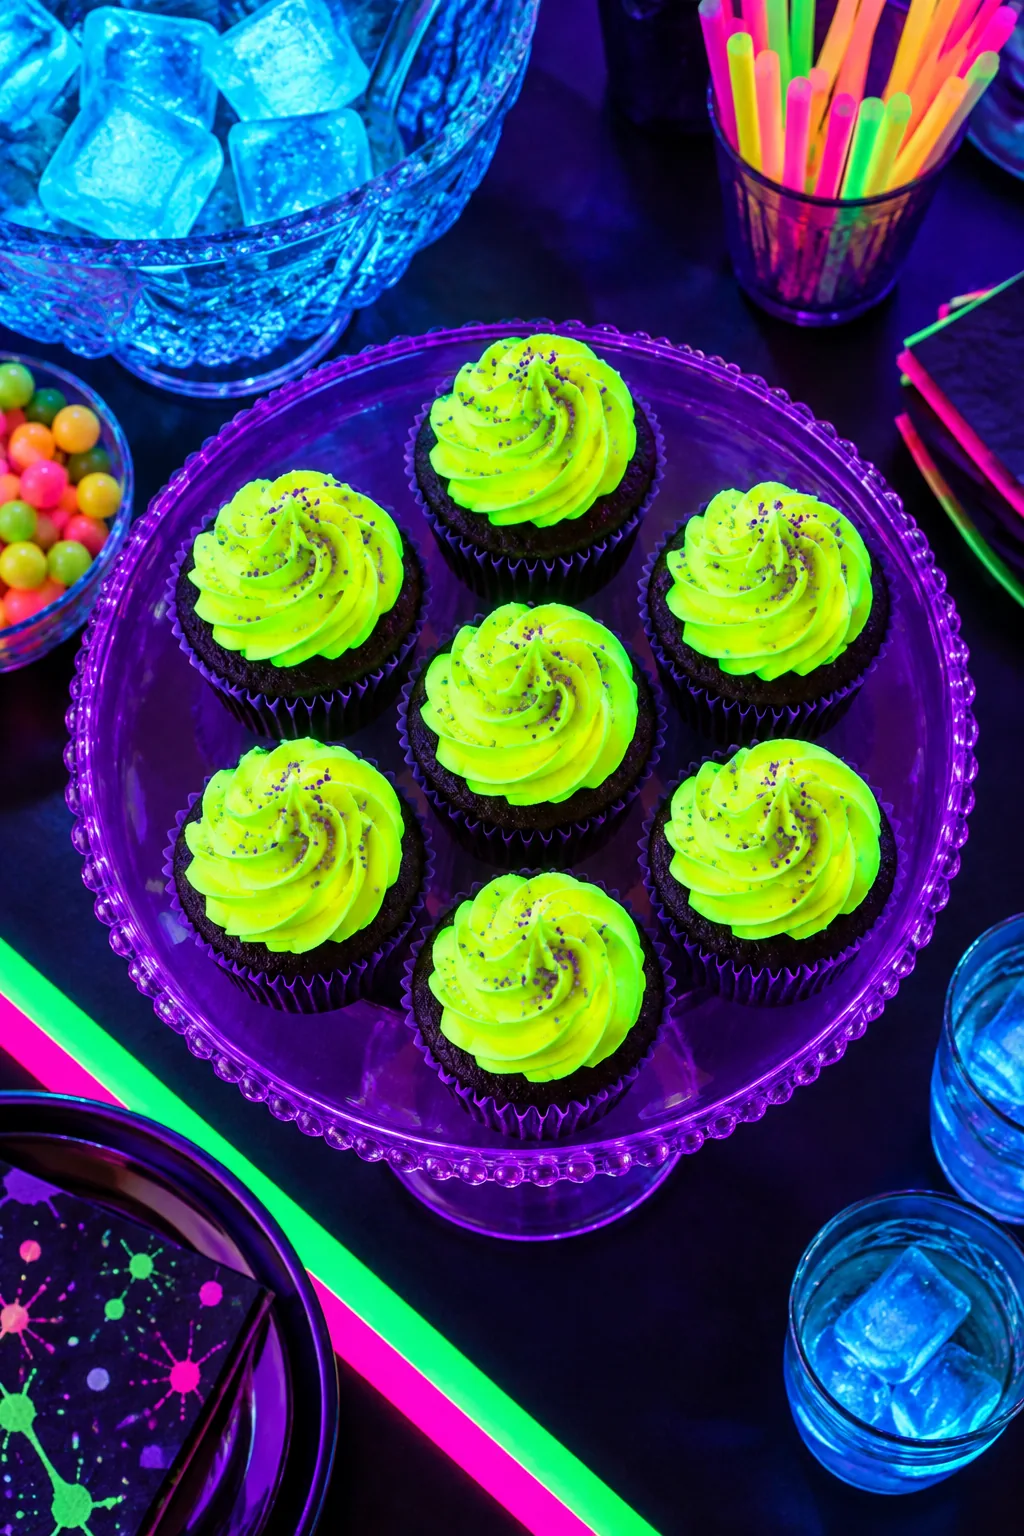
Because the quinine reacts so strongly to the 395nm light, the ice itself appears to generate light from within the bowl. You can mix the tonic with clear sodas or light-colored juices to dilute the bitter flavor while maintaining the impressive visual effect.
Creating Glowing Beverage Garnishes
Beyond the tonic water ice cubes, you can enhance your drinks with UV-reactive garnishes. Slicing fresh citrus fruits like lemons and grapefruits exposes their natural pith, which emits a subtle, organic glow when placed directly under the intense 395nm blacklight fixture.
Rest these glowing skewers across the rims of your punch cups to add vertical interest and introduce another layer of bright, reactive color to the beverage station. This simple styling trick makes even standard clear sodas look like custom glowing cocktails.
Decorating with Edible Neon Food Color
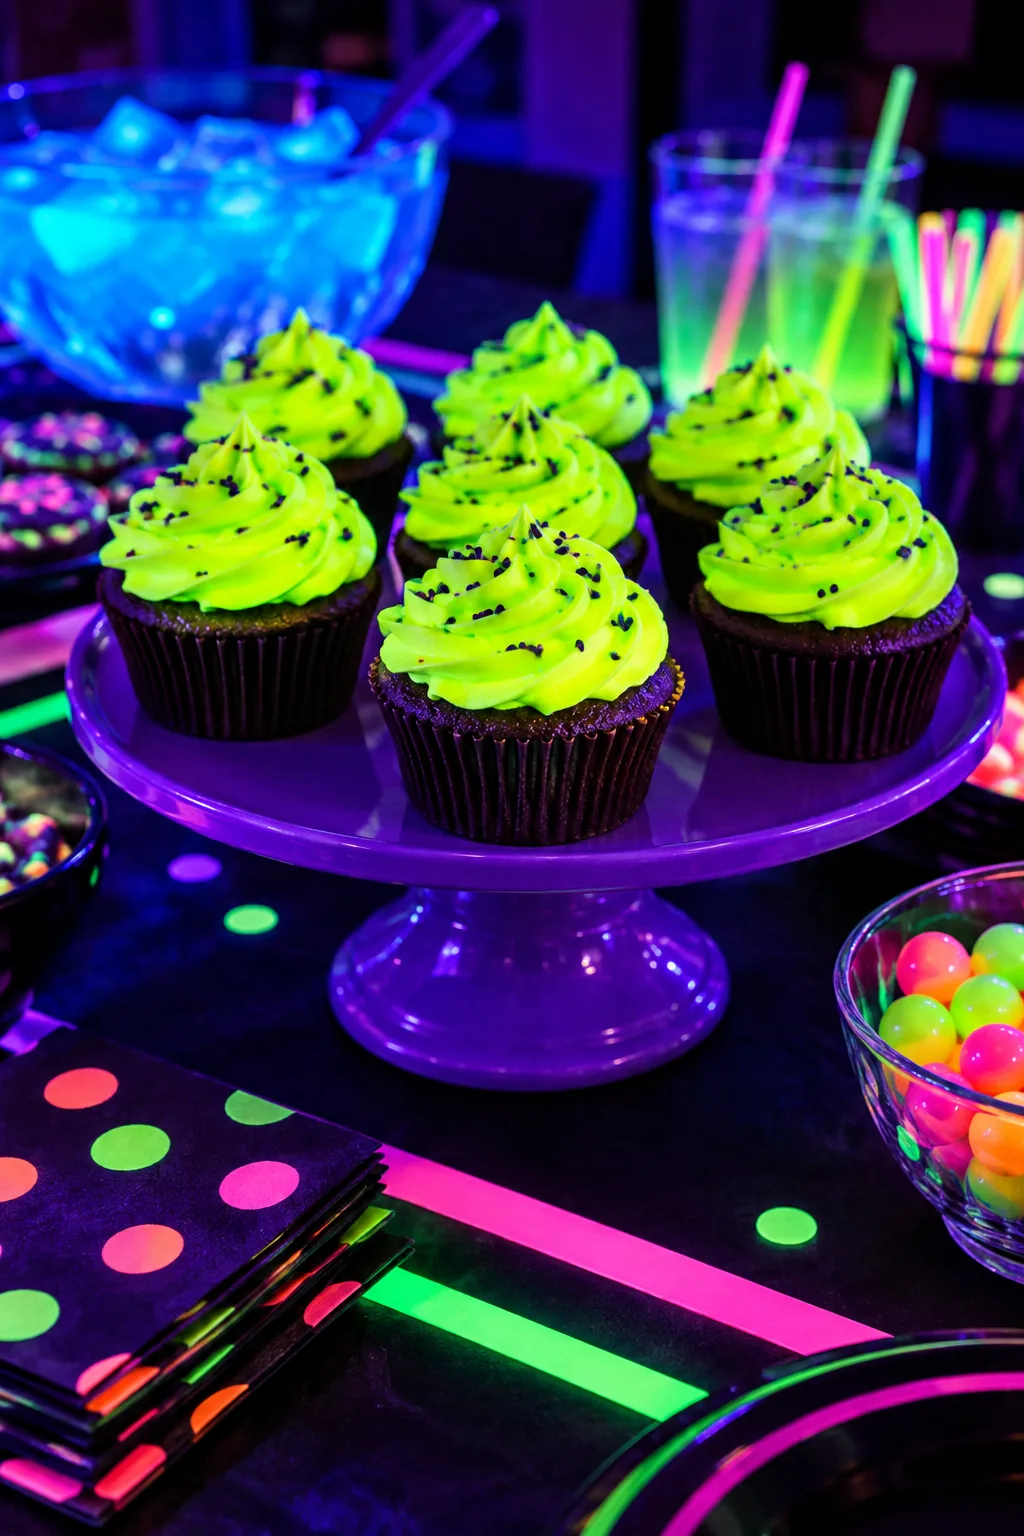
Standard food coloring disappears in the dark, so you must use specialized edible neon food color. I learned this the hard way when my beautifully piped pink cupcakes vanished into the shadows at a friend’s birthday party, leaving the dessert table looking completely bare.
| Color Type | UV Reaction | Best Base |
|---|---|---|
| Standard Gel | None (appears dark) | Any frosting |
| Neon Gel | Intense glow | White vanilla |
Tint your vanilla frosting to a bright yellow-green shade to make your cupcakes reflect the UV light brilliantly. Using a pure white butter and powdered sugar base guarantees the fluorescent dyes remain vibrant, as yellow-tinted buttercreams can muddy the final neon hue.
Displaying Your Fluorescent Desserts
Arranging these glowing treats on a dark or purple cake stand maximizes the contrast, making the desserts look truly radioactive. Keep the frosting chilled until right before serving so the piped designs hold their sharp edges under the warm party lights.
Elevating the cupcakes above the table surface ensures they catch the direct rays from the overhead blacklight bar. This tiered approach prevents the desserts from being shadowed by taller decorations like the painted vases or the large punch bowl.
Adding Neon Signage and Paper Goods
Bridge the gap between your glowing treats and the dark room with neon-printed paper goods. A vibrant letterboard and brightly colored cocktail napkins add necessary texture and messaging to the dark tablecloth, ensuring the station feels fully decorated rather than empty.
Whenever I host, I write the drink menu on a neon letterboard so guests can easily read their options without breaking the moody atmosphere. This simple addition keeps everyone informed while reinforcing the glowing theme across every functional element on the table.
Selecting the Right Serving Bowls
To ensure your glowing treats stand out, serve them in transparent glass or clear acrylic bowls rather than opaque ceramic dishes. Clear vessels allow the UV light to penetrate from all angles, illuminating the fluorescent candies and ice cubes completely instead of casting dark, unappetizing shadows.
5 More Ways to Style a Glow Party
Pick a distinctive theme to give your blacklight setup a completely different mood.
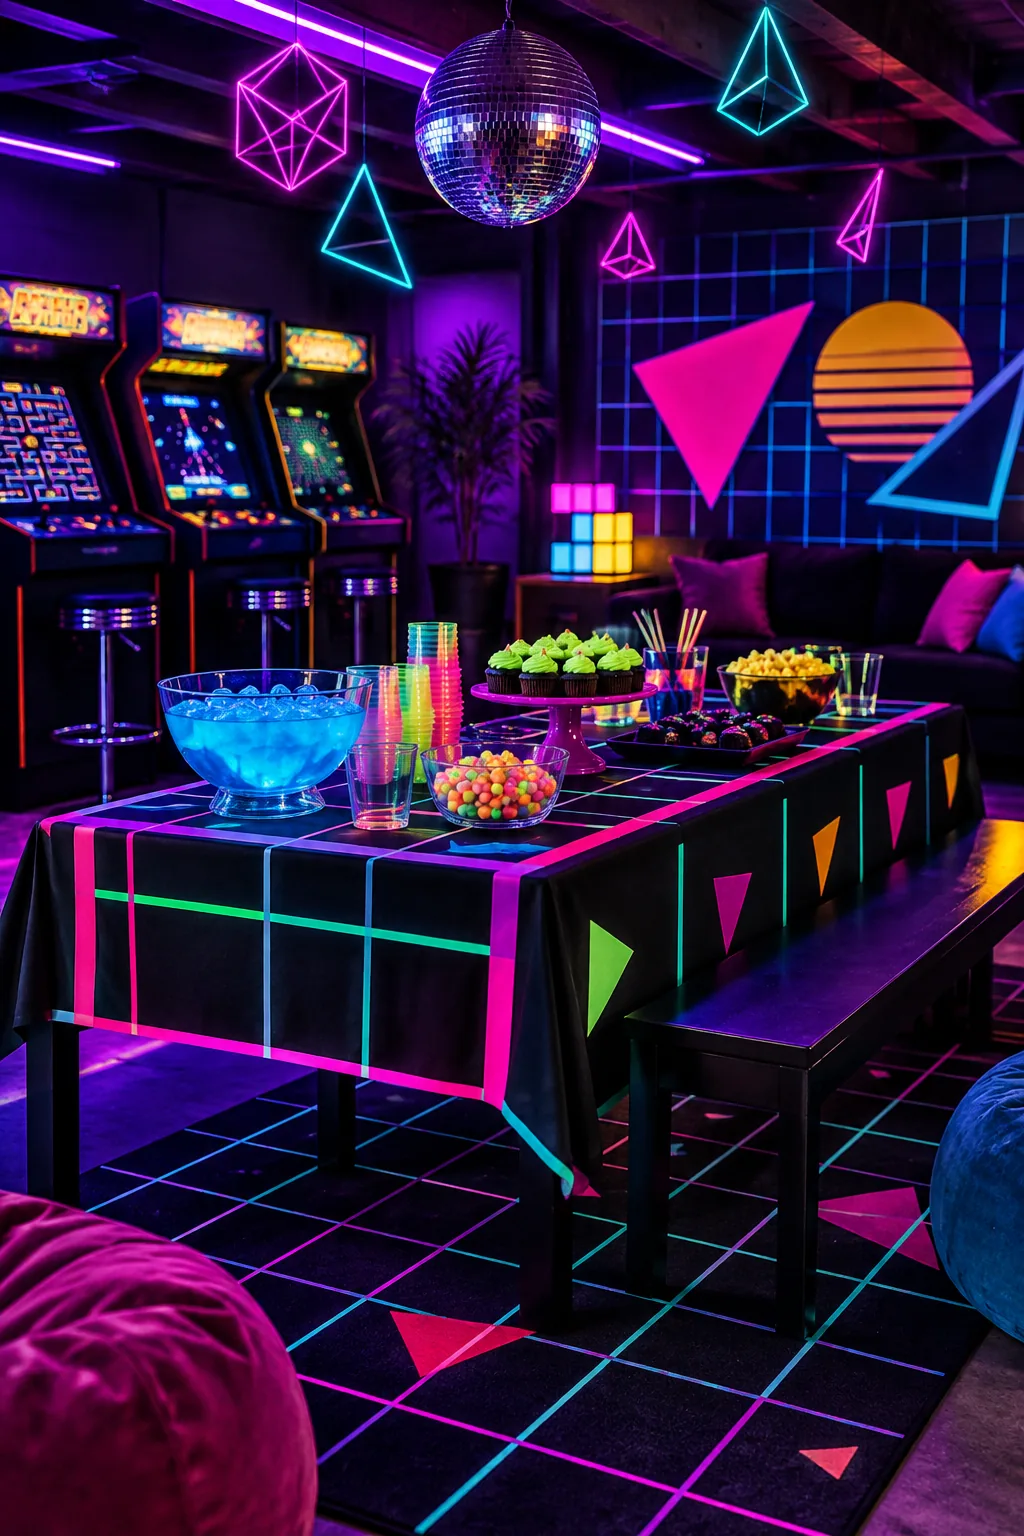
Retro 80s Arcade: Embrace a vintage vibe with neon grid patterns and retro geometric shapes that pop against dark basement walls.
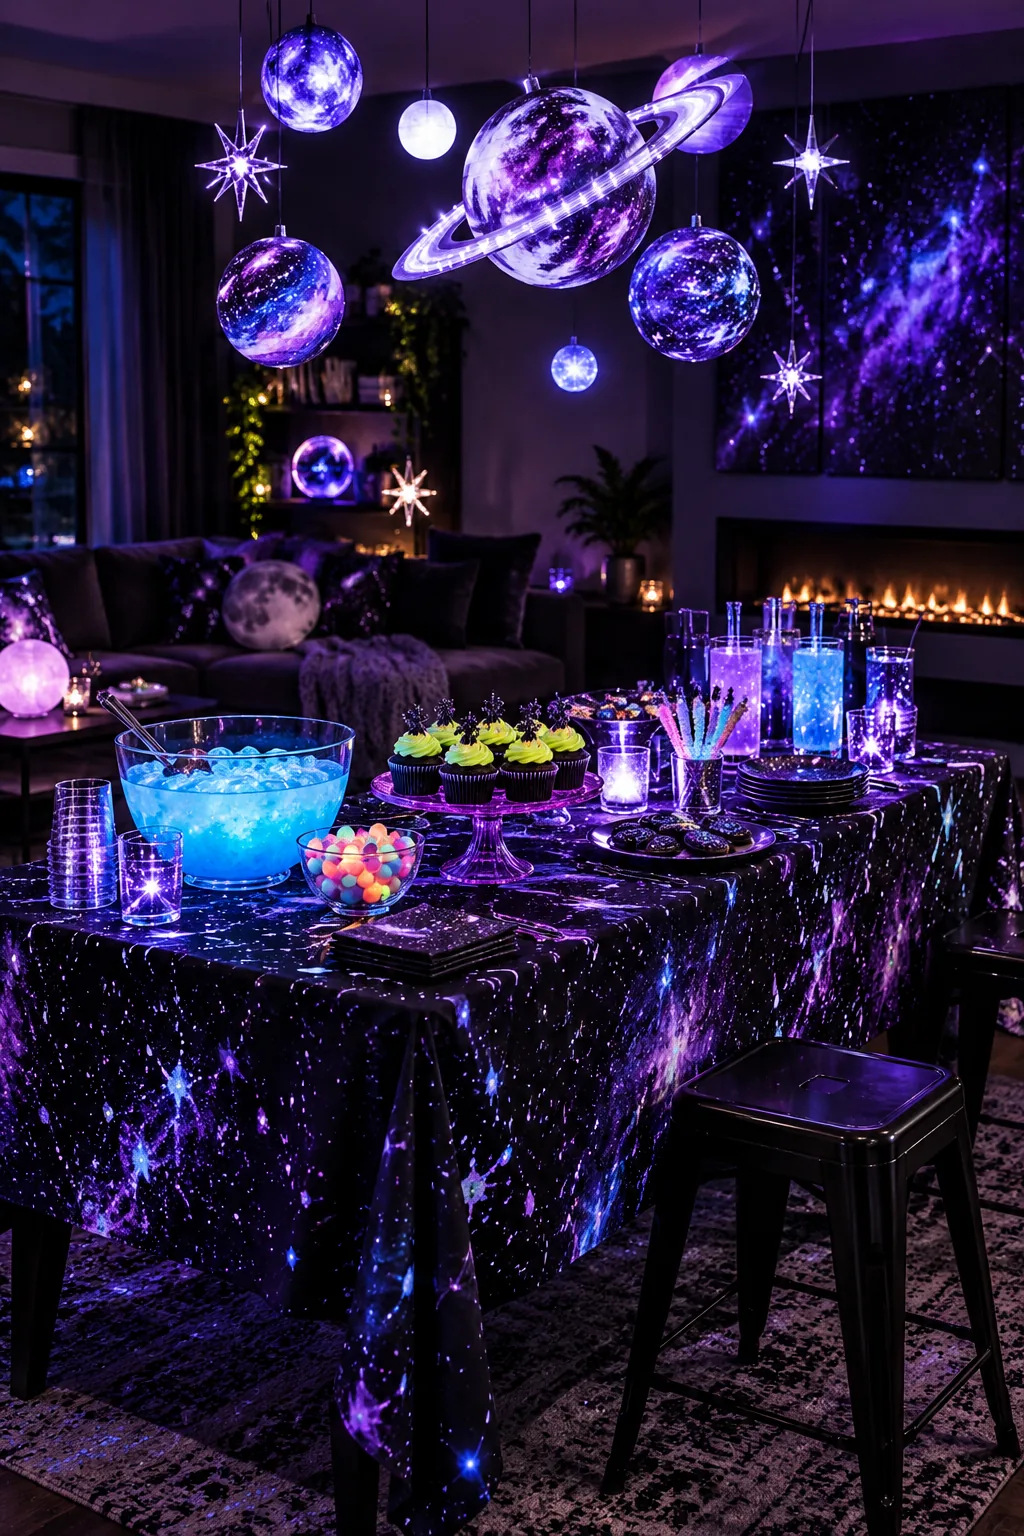
Cosmic Galaxy: Create an out-of-this-world atmosphere by flicking UV-reactive white paint onto black backdrops to mimic starry skies.
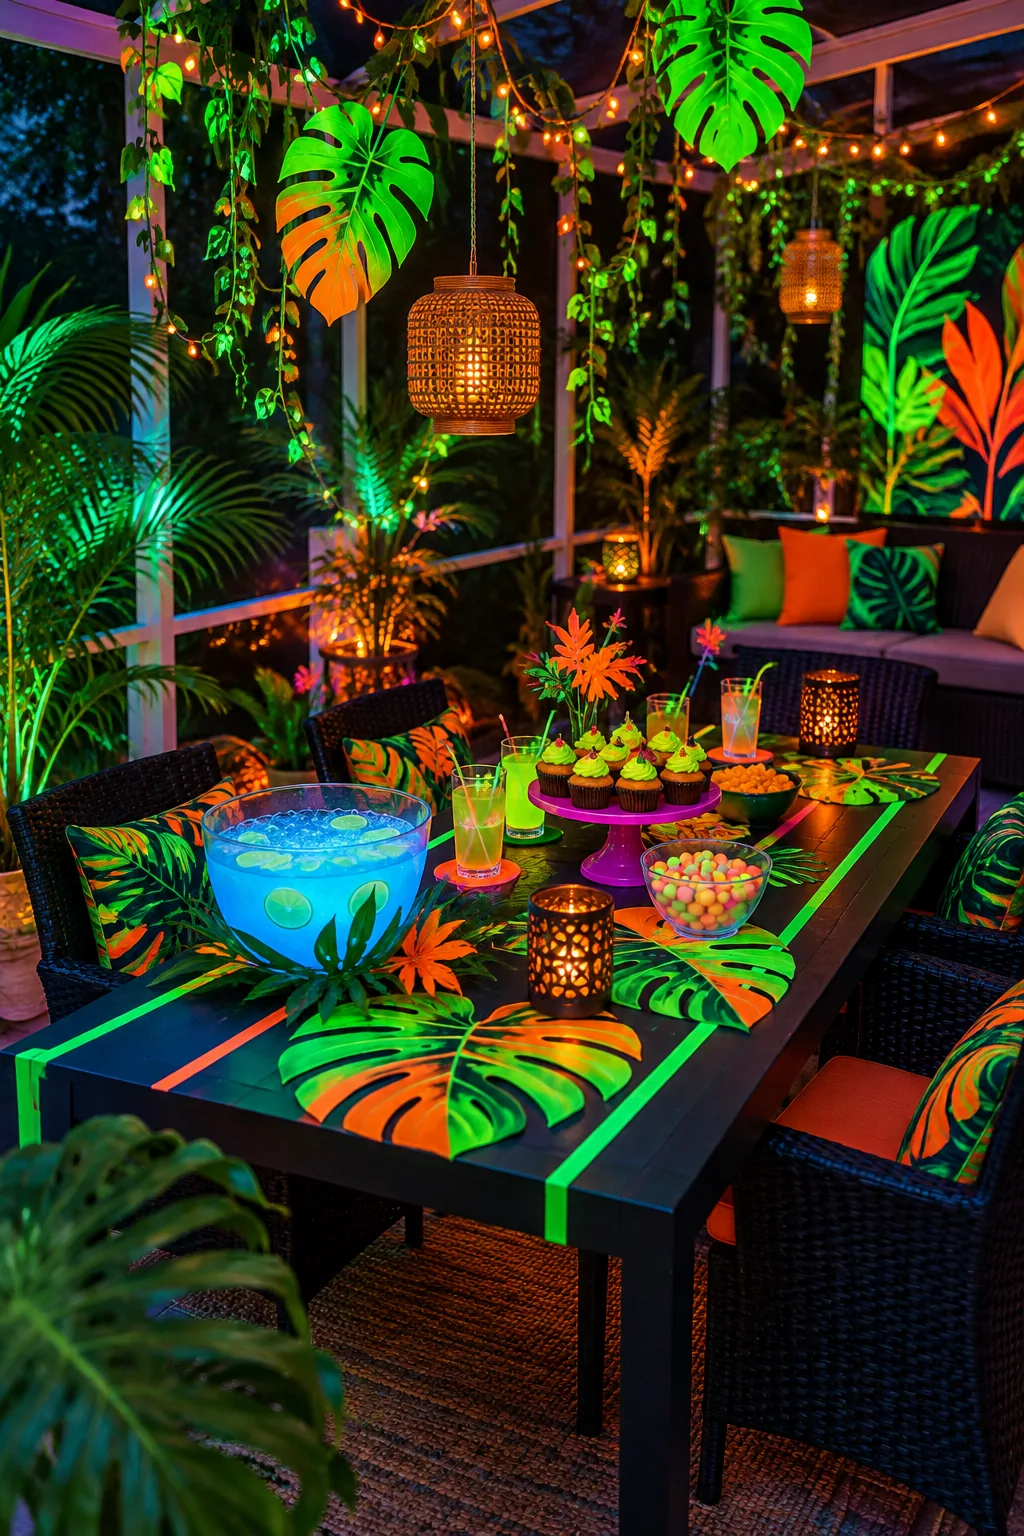
Vibrant Neon Jungle: Bring the outdoors inside by painting large faux tropical leaves with intense green and orange fluorescent acrylics.
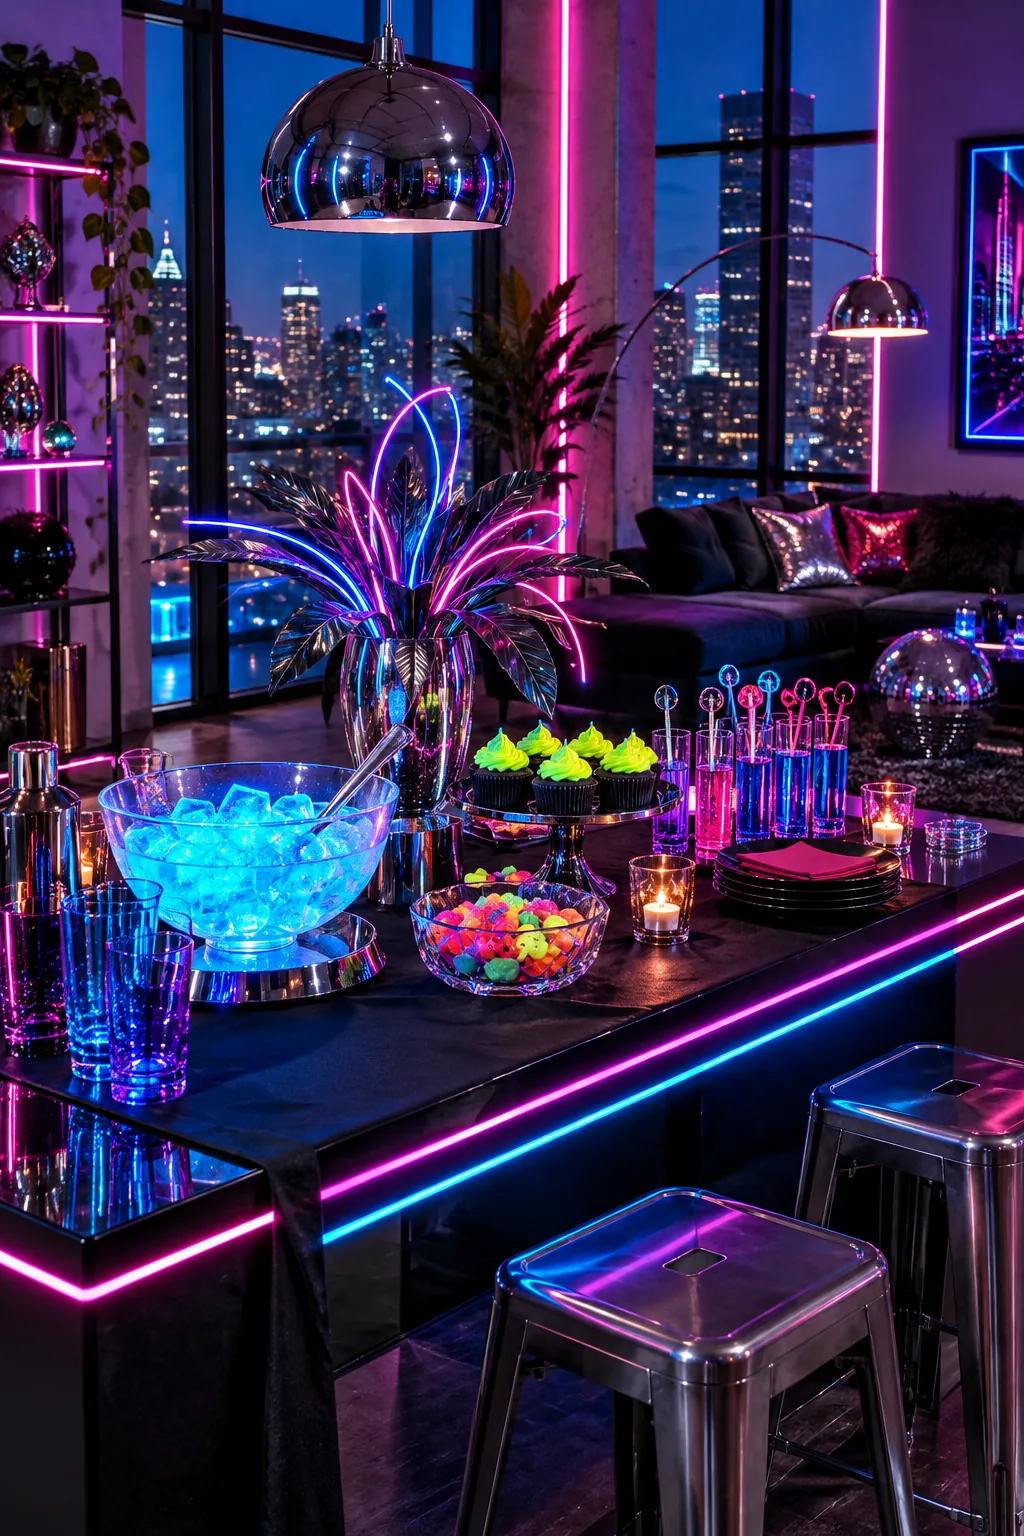
Cyberpunk Lounge: Weave flexible glowing neon wire through sleek metallic serving trays for a futuristic, high-tech lounge aesthetic.
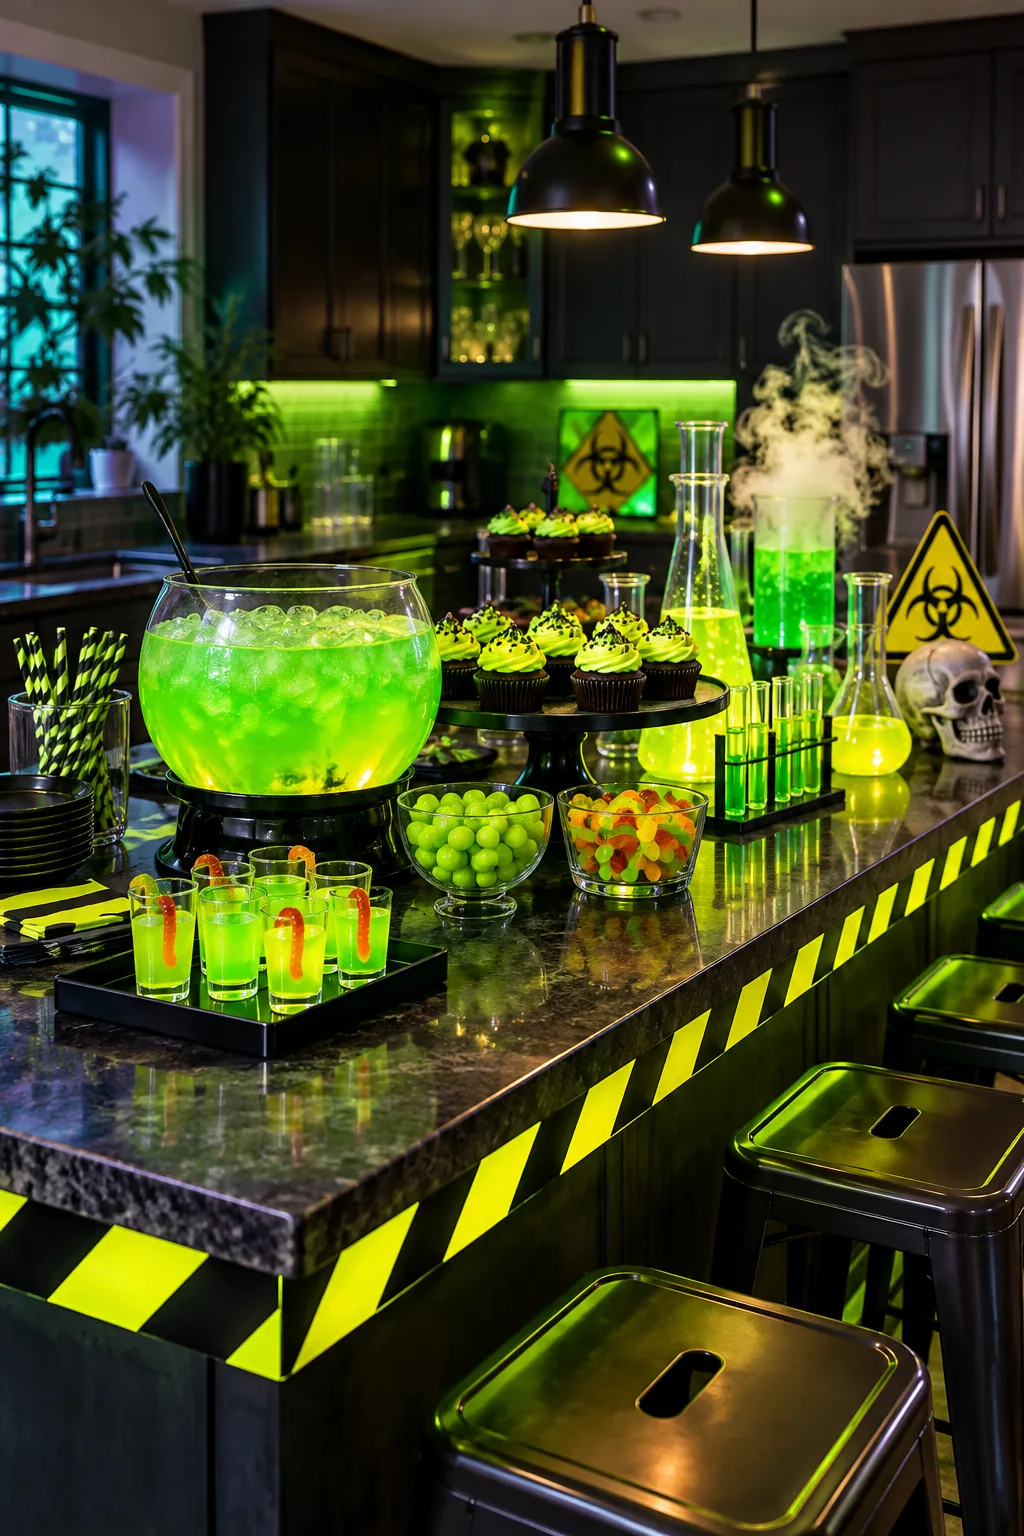
Spooky Toxic Lab: Serve your glowing tonic water drinks directly from scientific glass beakers alongside playful neon hazard warning signs.
Scattering Fluorescent Candy Accents
Finish the dessert station by filling small, clear glass bowls with neon-colored hard candies. This final layer adds glowing texture and gives guests an easy, grab-and-go treat that perfectly matches the theme without requiring any additional baking or complex preparation.
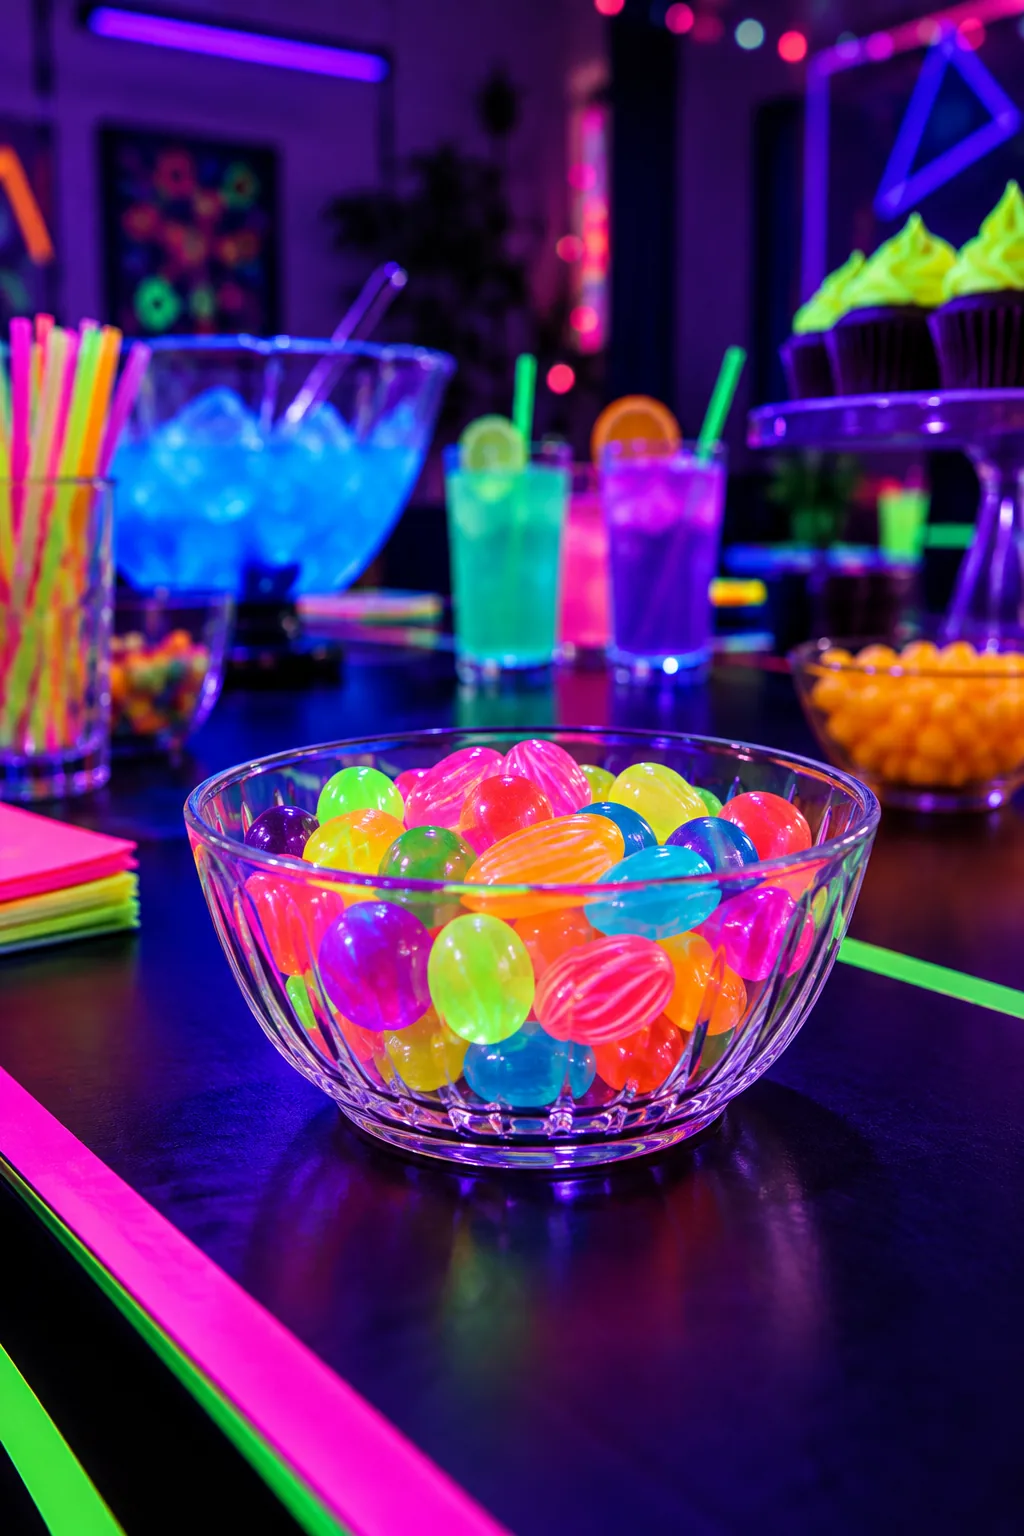
Distribute these small candy bowls evenly across the table to ensure the fluorescent effect reaches every corner of your setup. The scattered points of light tie the entire visual arrangement together, completing your ultimate blacklight party experience beautifully.