Shed Gable Decoration Patterns: Your Weekend Cut Plan
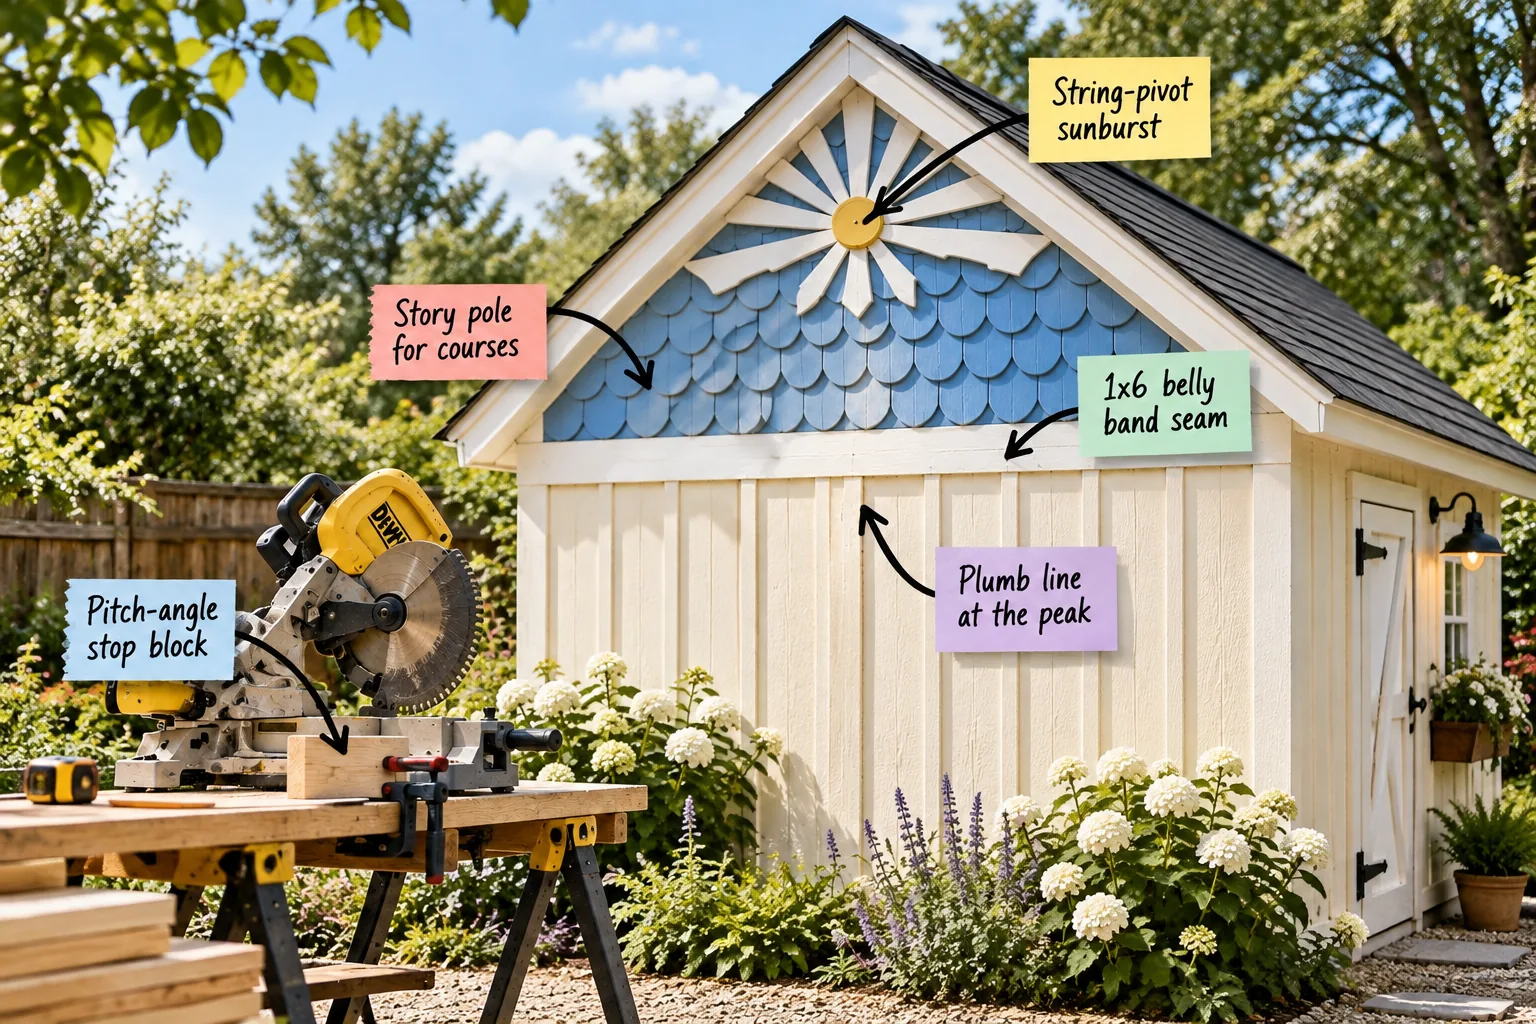
You will be able to set up your miter saw, mark your centerlines, and cut every decorative piece using our step-by-step shed-gable weekend cut plan and printable sequence. Download the complete layout guide today to transform your basic backyard building by Sunday afternoon.
The Shed-Gable Weekend Cut Plan
When I tackled my own backyard studio, printing out a complete cut list and layout order saved me from making three separate frustrating hardware store runs. Visualizing the entire geometry before making a single cut guarantees perfect symmetry across the finished exterior facade.
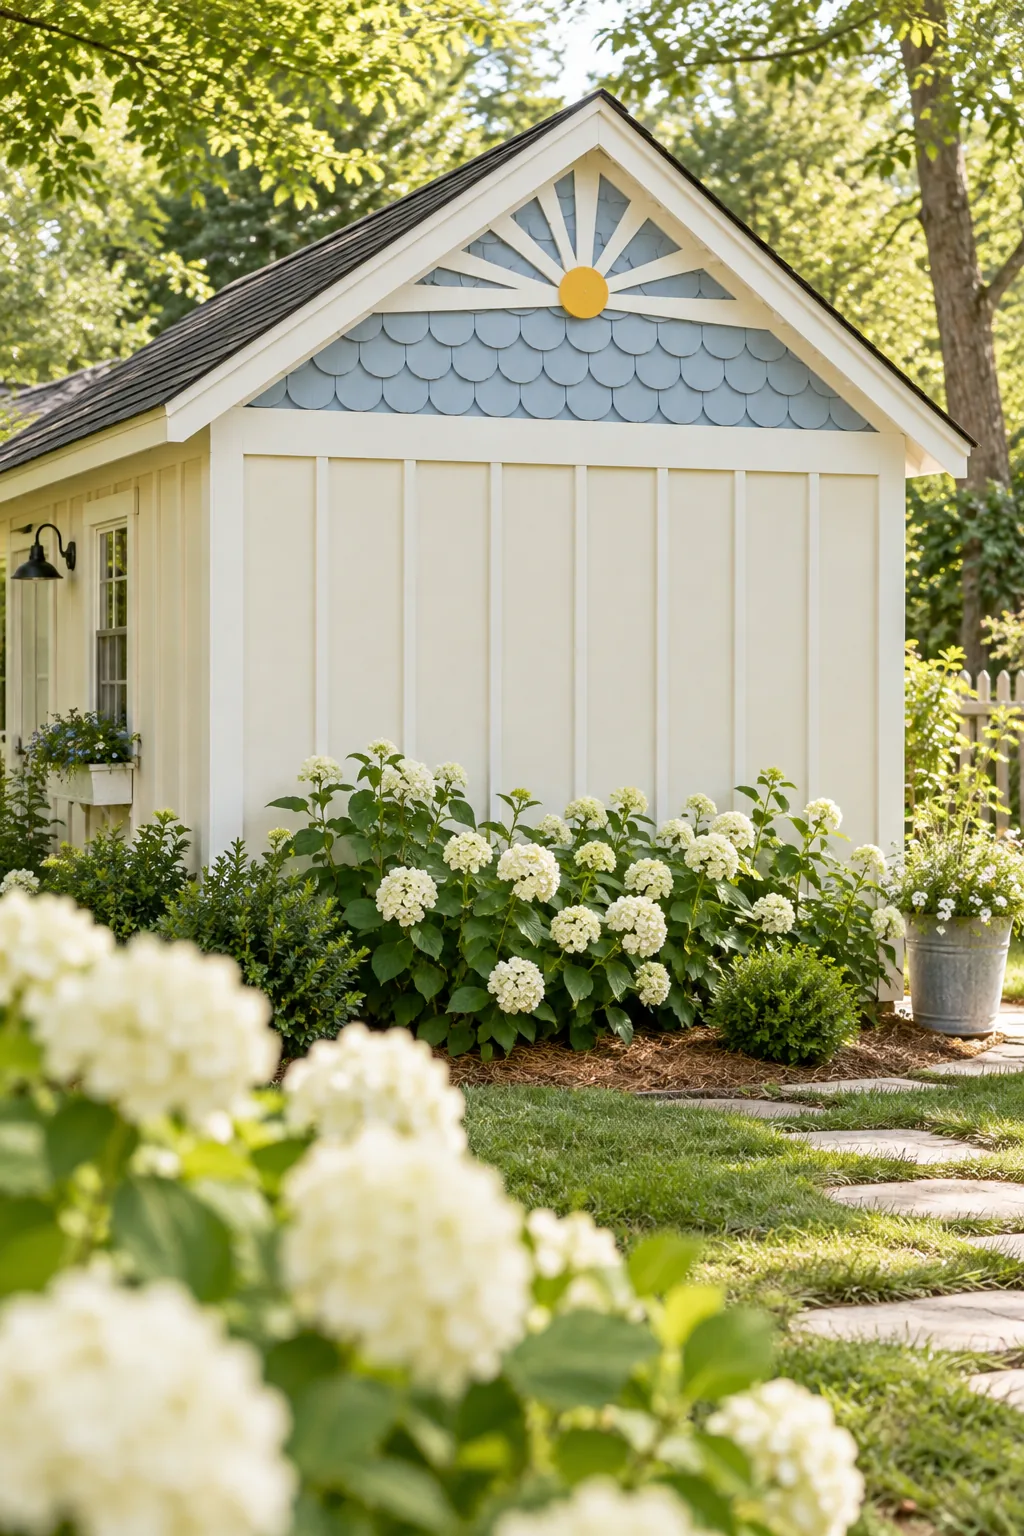
Download the two-page printable Saturday-to-Sunday step sequence for your sunburst rays, fish-scale courses, belly band, and battens. This comprehensive guide details the complete layout order, starting directly from the peak centerline and working outward to ensure every decorative element aligns flawlessly.
Sourcing Your Gable Materials
Choosing the correct exterior-grade lumber ensures your decorative elements survive harsh seasonal weather without warping, splitting, or rotting prematurely over the years. Matching the material thickness to its specific structural role keeps the layered facade looking incredibly crisp, intentional, and professionally built.
| Material | Best Application | Ideal Thickness |
|---|---|---|
| Western Red Cedar | Fish-scale shingles | 3/8 inch |
| PVC Composite Trim | Horizontal belly band | 3/4 inch |
| Exterior Rated Plywood | Sunburst center hub | 1/2 inch |
I always recommend naturally rot-resistant cedar for the intricate shingles, while modern PVC composite boards work beautifully for the horizontal trim sections that bear the brunt of heavy rain. Combining these materials guarantees a stunning, low-maintenance finish that lasts for decades.
Setting the Pitch-Angle Stop Block
Before turning on the saw, clamp a wooden stop block to your miter saw fence to lock in the exact roof pitch angle for safe, repetitive cuts. I learned the hard way that manually resetting the saw angle for every piece leads to messy gaps.
This reliable pitch-angle stop block setup guarantees that every angled cut for the battens and sunburst rays matches perfectly without requiring you to measure each piece individually. It is the absolute best way to save time while maintaining strict, professional-level accuracy.
Dropping a Plumb Line at the Peak
Begin the board-and-batten siding layout by finding the exact dead center of the gable to prevent awkward, asymmetrical slivers of wood at the outer edges. Establishing this absolute midpoint is the most critical measurement of the entire weekend project for achieving visual balance.
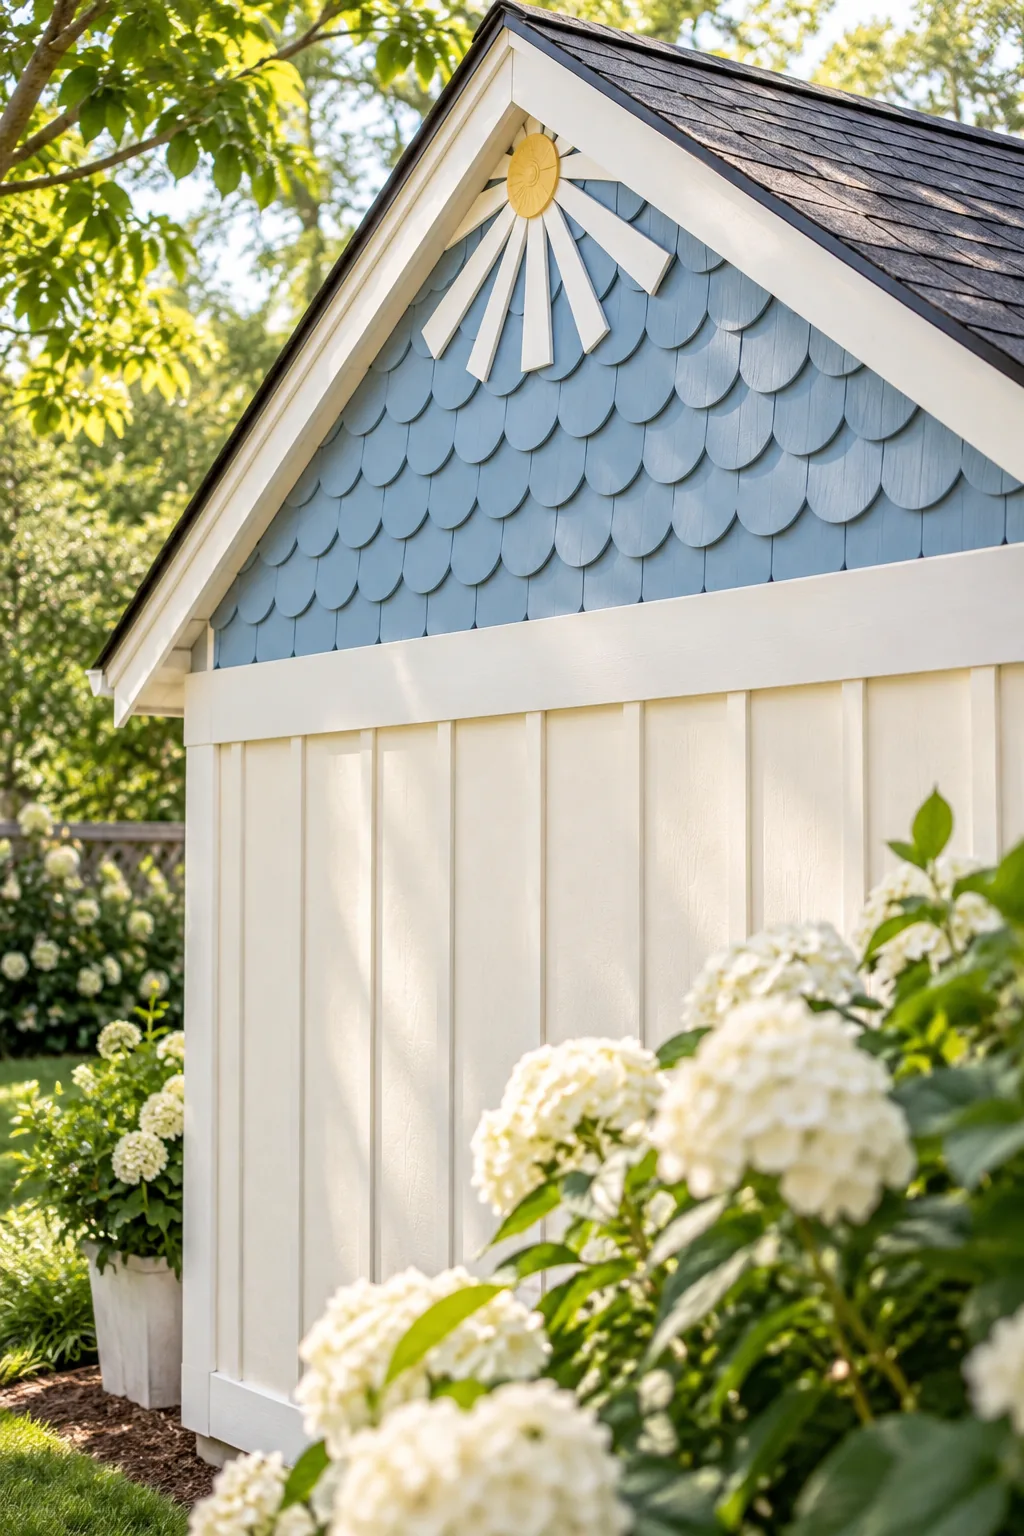
Drop a plumb line at the peak to position the first center batten, which dictates the perfectly mirrored spacing for the rest of the wall. Working outward from this central anchor point guarantees that both sides of the shed look completely identical.
Spacing the Vertical Battens
Once your center batten is secured perfectly plumb, calculate the exact gap between the remaining boards to maintain a consistent visual rhythm across the lower wall. Standard batten spacing typically leaves a ten-inch reveal, providing enough flat surface to highlight the underlying board texture.
Priming the Wood Edges
Always apply a thick coat of exterior primer to the freshly cut ends of your battens before nailing them permanently to the shed wall. Sealing these vulnerable end grains prevents moisture from wicking up into the wood and causing premature peeling paint over time.
Installing the 1×6 Belly Band Seam
Cap the vertical board-and-batten siding with a horizontal 1×6 belly band seam right at the eave line to create a crisp visual transition. Adding this solid white trim board on my own shed finally made the exterior look intentionally designed rather than pieced together.
- Measure the total width of the gable base from corner to corner.
- Cut the heavy 1×6 trim board to the exact measured length.
- Level and nail it directly above the vertical siding battens.
This bright white dividing line provides a perfectly level, solid base for stacking the intricate decorative shingle courses on the upper half of the gable. Establishing a perfectly horizontal foundation here prevents the subsequent rows from developing a noticeable, sloppy tilt.
Marking Courses With a Story Pole
Create a story pole for courses from a scrap piece of straight lumber to mark the exact vertical reveal of each overlapping shingle row. This simple physical template ensures your fish-scale texture remains perfectly consistent without measuring every single course with a tape measure.
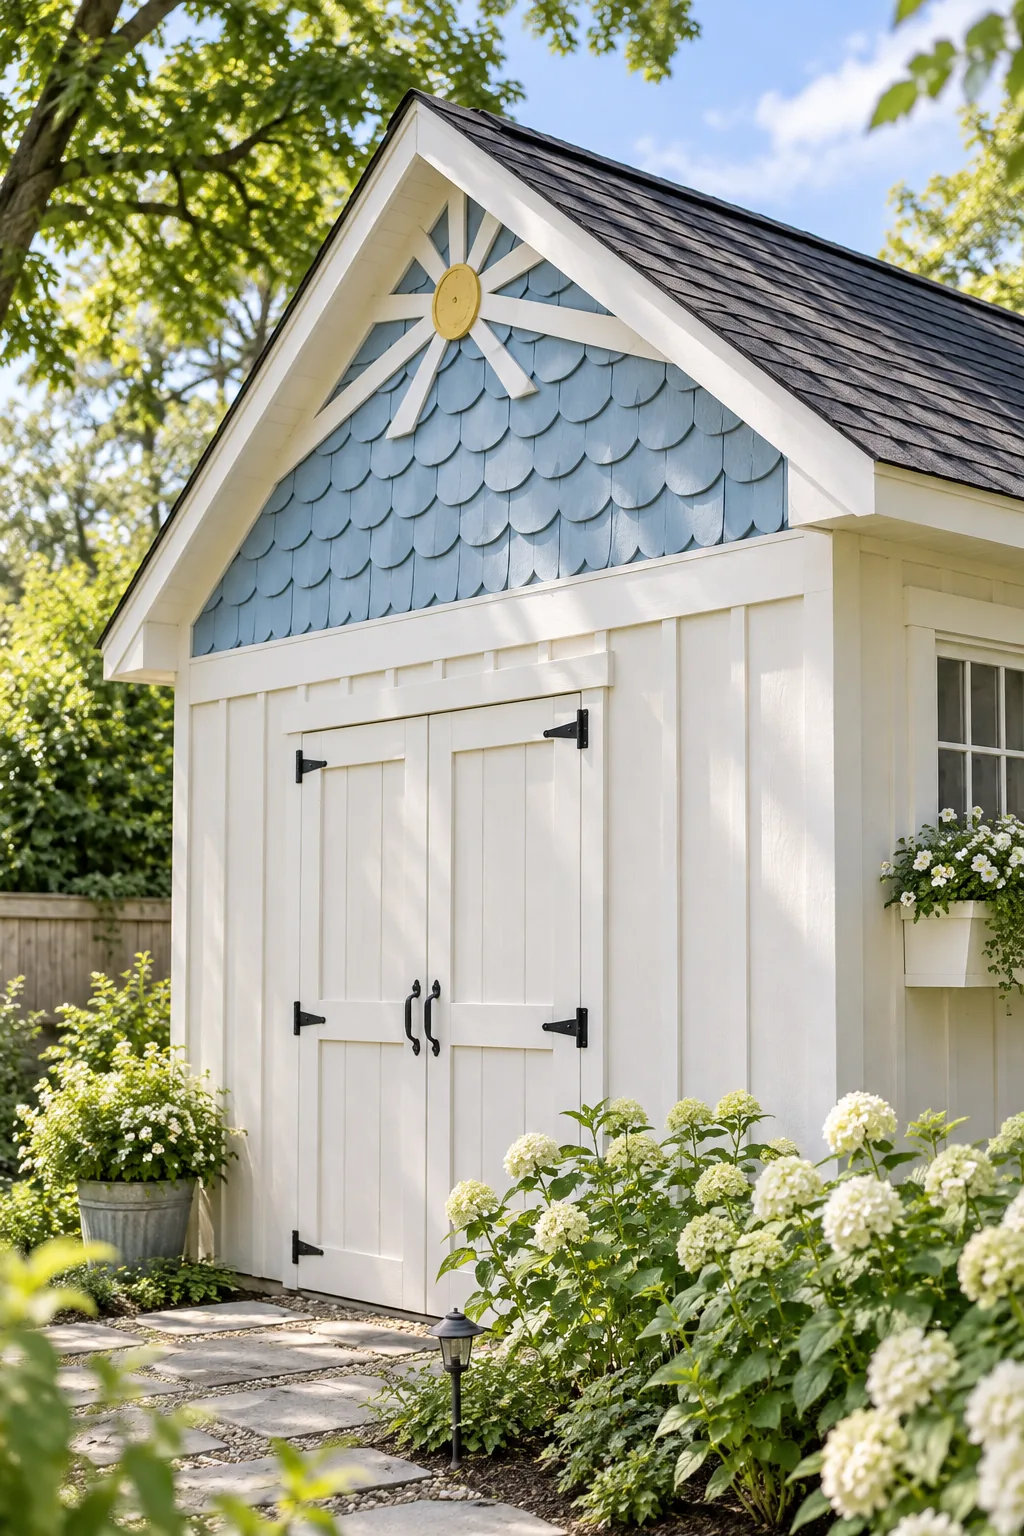
Transfer these evenly spaced marks directly to the gable sheathing to keep the blue fish-scale pattern perfectly level as it rises toward the roof peak. Checking your horizontal alignment every three rows prevents the shingles from slowly drifting off-kilter as you climb.
Cutting the Shingle Curves
If you are crafting the fish-scale shingles from scratch, use a bandsaw to cut a uniform five-inch radius on the bottom edge of each cedar blank. Sanding the curved profiles smooth before installation ensures the final cornflower-blue paint job looks professionally finished and flawless.
Choosing the Shingle Paint Color
Choosing a vibrant, contrasting paint color for the shingles emphasizes their unique texture against the stark white trim. Applying two coats of premium exterior paint before nailing them to the wall prevents messy drips on your freshly installed white belly band below.
Laying the Fish-Scale Shingles
Nail the cornflower-blue fish-scale shingles starting directly from the belly band, overlapping them carefully to establish the geometry of the radiating sunburst rays that will sit on top. Working systematically upward ensures water sheds effectively over the intricately curved wooden profiles.
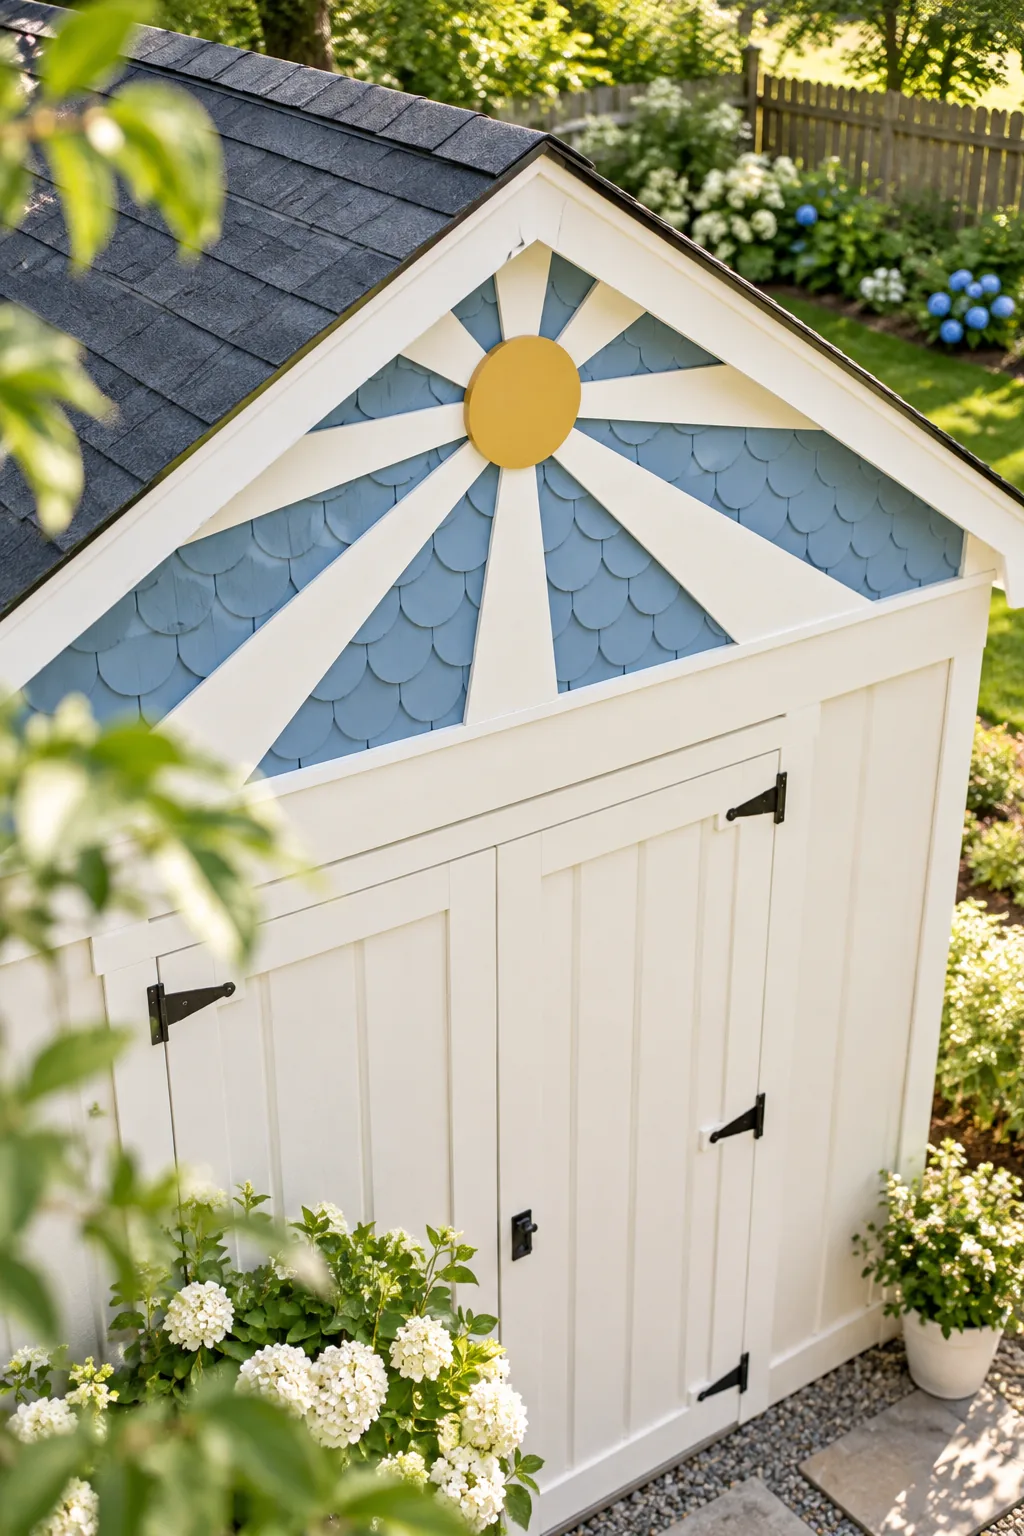
Decorative shingles require careful overlapping using a standard half-shingle overlap measurement to shed water effectively while maintaining their beautiful, traditional curved reveal. Paying attention to this spacing creates the classic scalloped shadow lines that define vintage architectural styling.
Nailing Techniques for Shingles
Using a pneumatic brad nailer makes installing the hundreds of individual shingles significantly faster, but you must calibrate the depth to avoid shooting completely through the thin wood. Proper fastener placement is absolutely crucial for long-term weather resistance and overall visual appeal.
Always place your galvanized nails about one inch above the exposure line so the next overlapping course completely hides the fastener heads from rain and view. Concealing the hardware guarantees a pristine, historically accurate facade that withstands severe seasonal storms effortlessly.
Plumbing the Sunburst Centerline
Before starting the upper trim, drop a second plumb line from the peak to establish the exact vertical placement of the central sunburst ray. Aligning this top piece perfectly with the bottom center batten unifies the entire gable into one cohesive, symmetrical design.
Scribing the String-Pivot Sunburst
Tap a small finishing nail at the base of the peak triangle to act as the temporary hub for your string-pivot sunburst layout. Tie a pencil to a high-visibility mason’s line and loop it tightly around the nail at your desired radius.
Cutting the Sunburst Rays
Use this simple string-pivot method to mark the precise curve where the white sunburst rays will eventually meet the center medallion. Carefully trace this sweeping arc across the temporarily positioned trim boards before taking them down to make the final jigsaw cuts.
Pre-Drilling the Trim Boards
Always pre-drill the nail holes in your delicate white sunburst rays before attaching them to the upper gable section. Taking a few extra minutes at the workbench prevents the narrow, angled tips from splitting wide open when you drive the final fasteners home.
Caulking the Sunburst Joints
Before final assembly, run a thin bead of exterior-grade silicone caulk along the back edges of the sunburst rays where they contact the blue shingles. This hidden seal prevents wind-driven rain from sneaking behind the heavy trim boards and rotting the underlying sheathing.
Selecting the Marigold Hub
Choose a solid wooden medallion for the center hub that is at least one inch thicker than your sunburst rays. This extra depth creates a prominent shadow line that makes the architectural detail pop while ensuring all the intersecting ray tips are fully covered.
Mounting the Sunburst Hub and Rays
Fasten the pre-cut white rays into the peak triangle, spacing them evenly based on your centerline layout before adding the final decorative cap. Secure each ray with galvanized finish nails, ensuring the curved bottom edges align perfectly with your scribed pencil marks.
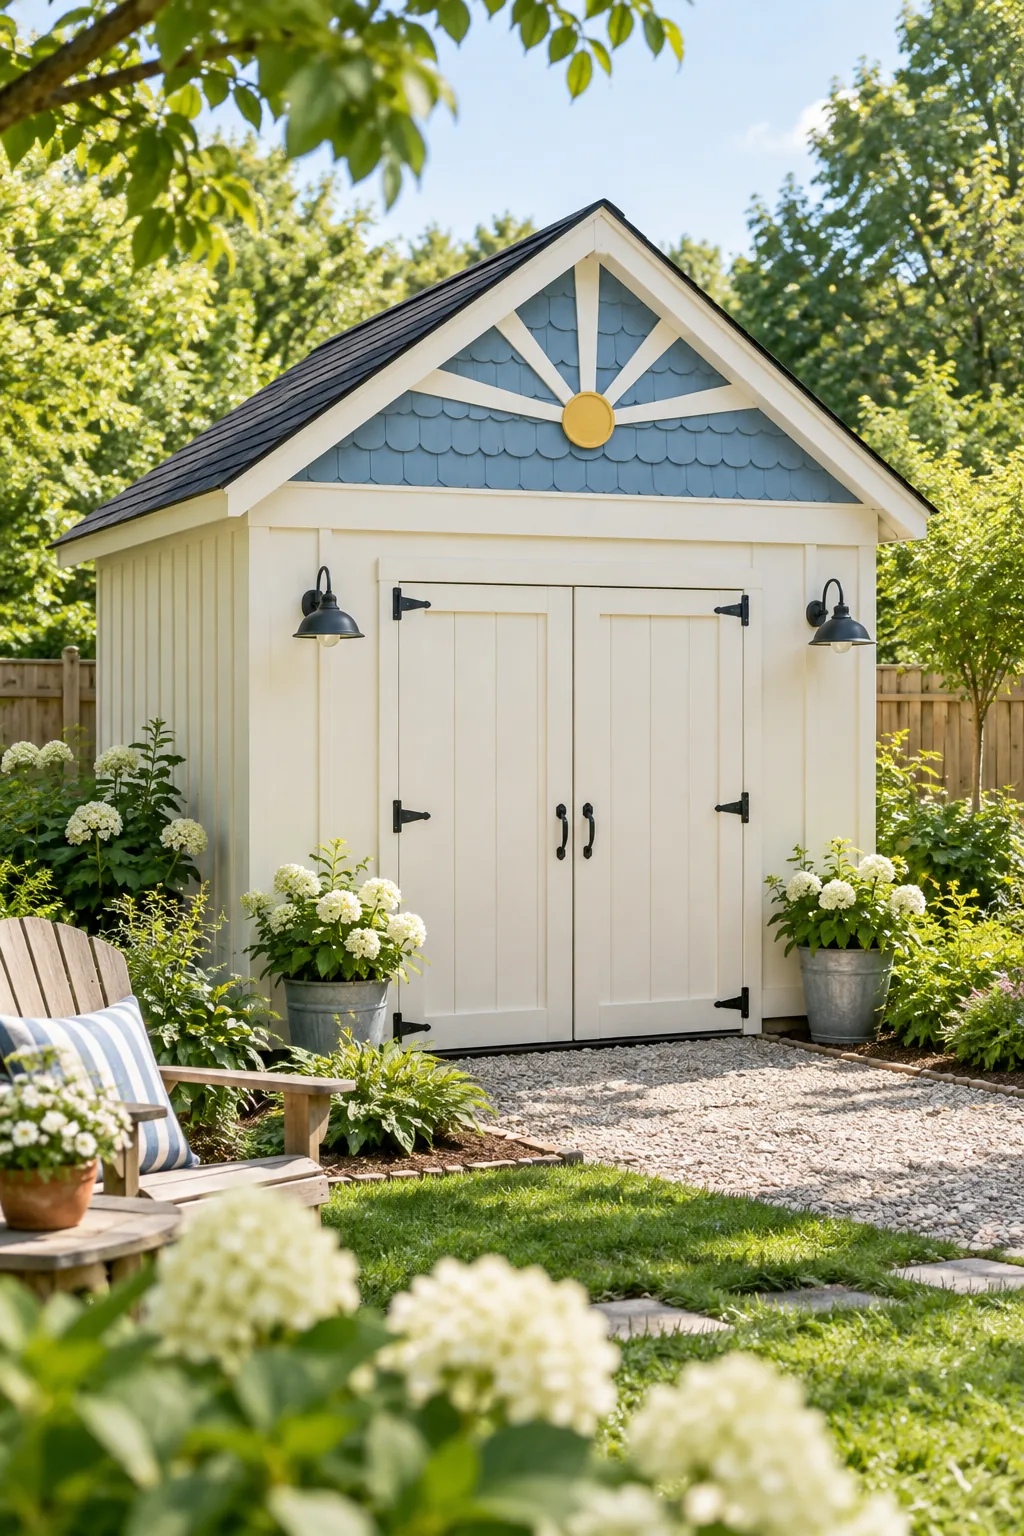
Finally, cap the converging points with the round marigold hub to completely conceal the complex intersecting angled cuts and finish the gable design. This vibrant center medallion anchors the entire architectural composition and gives your weekend shed project a polished, custom-built appearance.
More Shed Gable Inspiration
Explore these distinct gable styling ideas to find the perfect match for your backyard architecture.
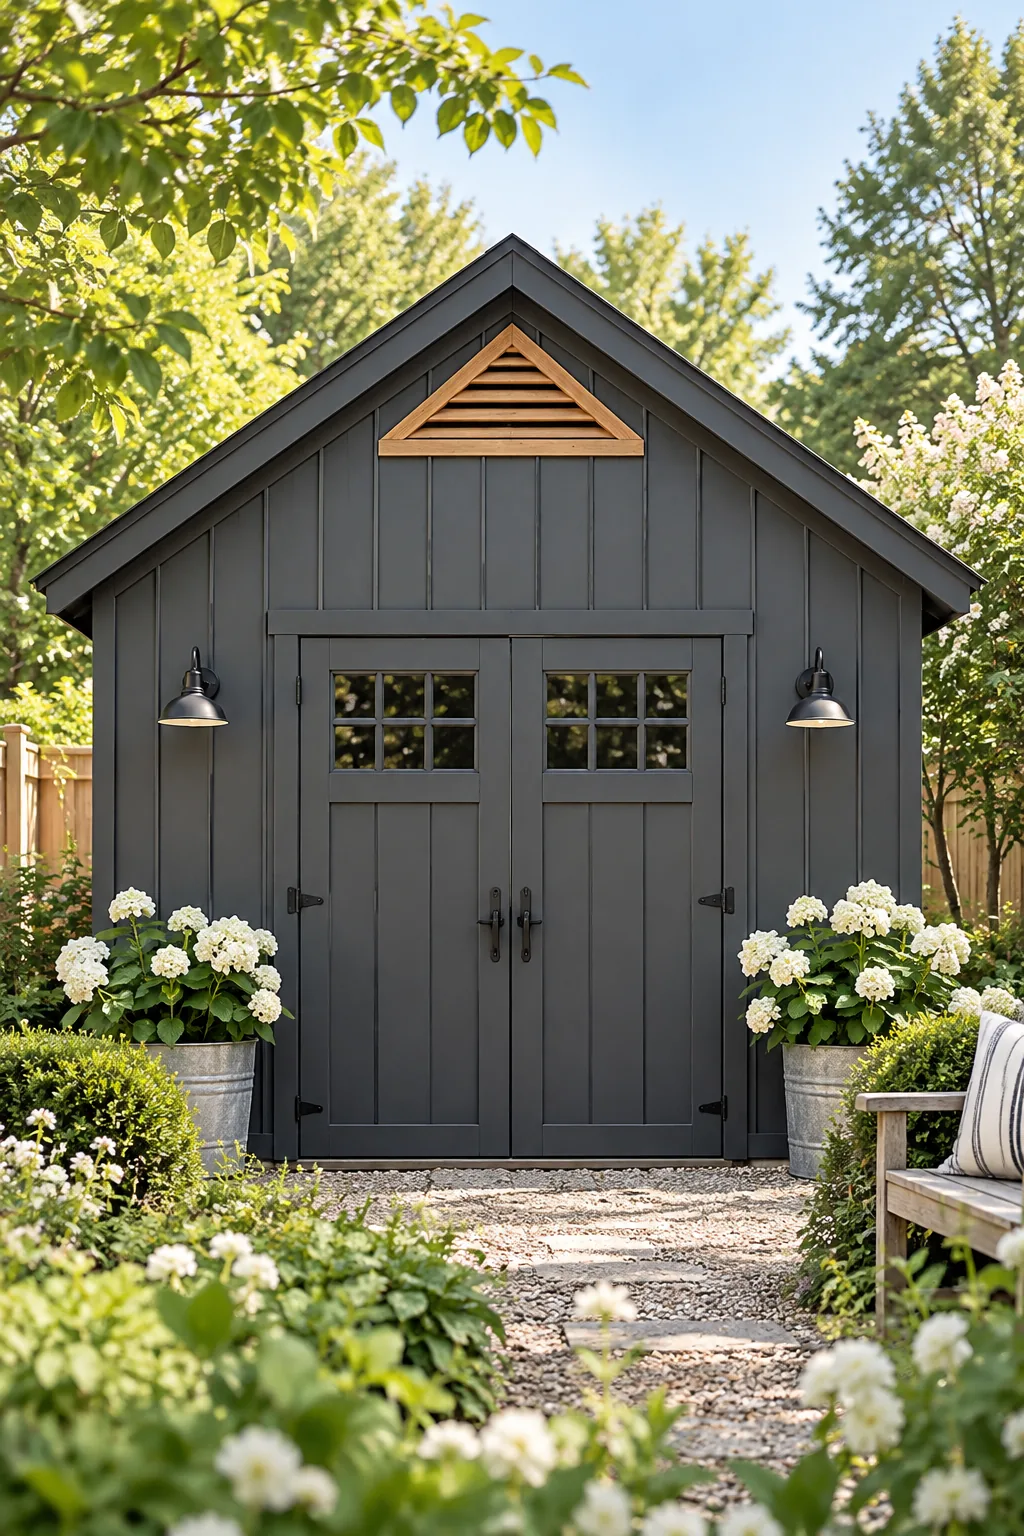
Sleek Modern Farmhouse Charcoal: Dark vertical channel siding creates a moody, contemporary backdrop that makes a simple natural wood vent pop.
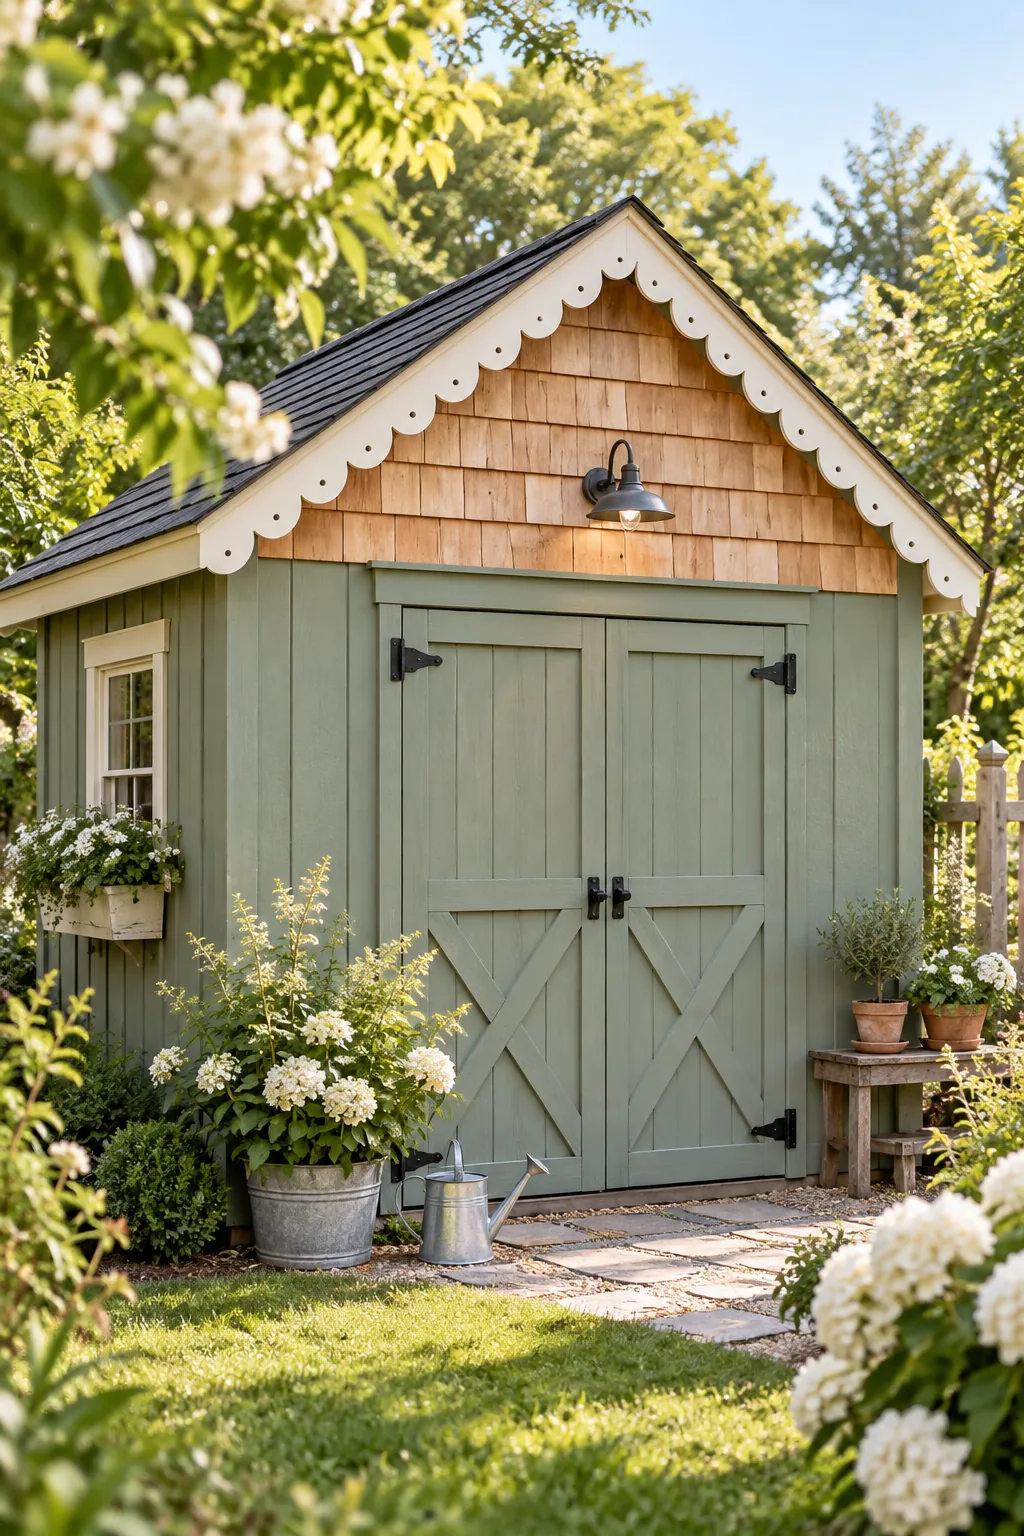
Rustic Cottagecore Cedar Shakes: Staggered natural cedar shakes paired with a scalloped fascia board bring instant storybook charm to a garden outbuilding.
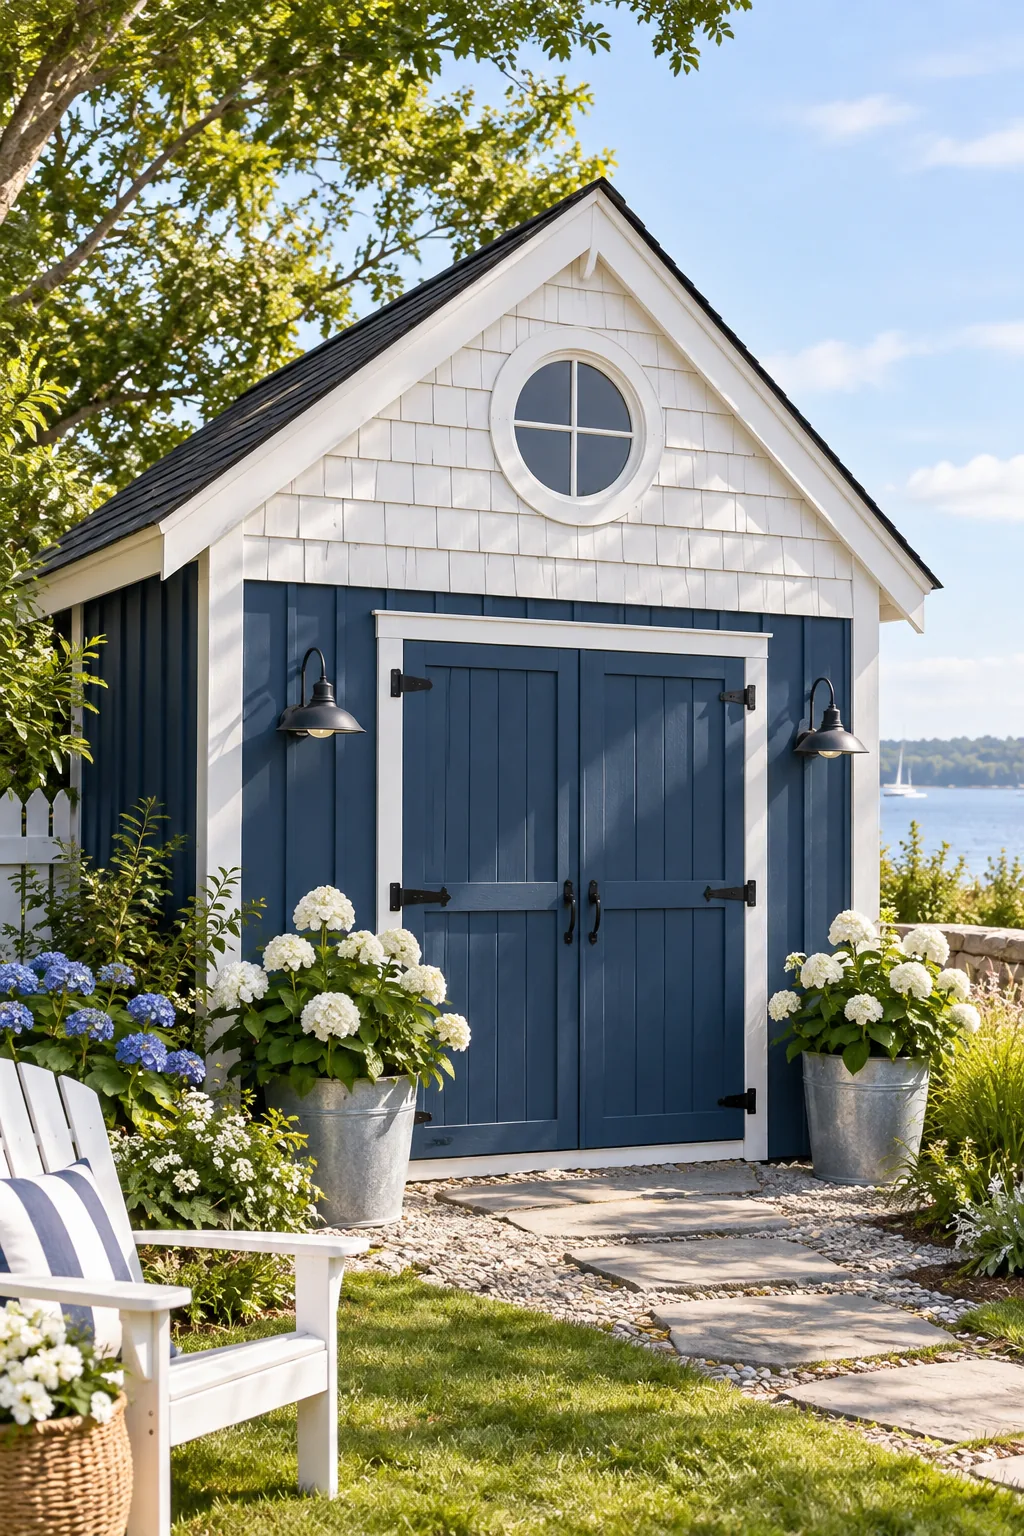
Crisp Coastal Nautical Window: Classic white cedar shingles surrounding a round porthole-style window give this shed a breezy, beach-inspired aesthetic.
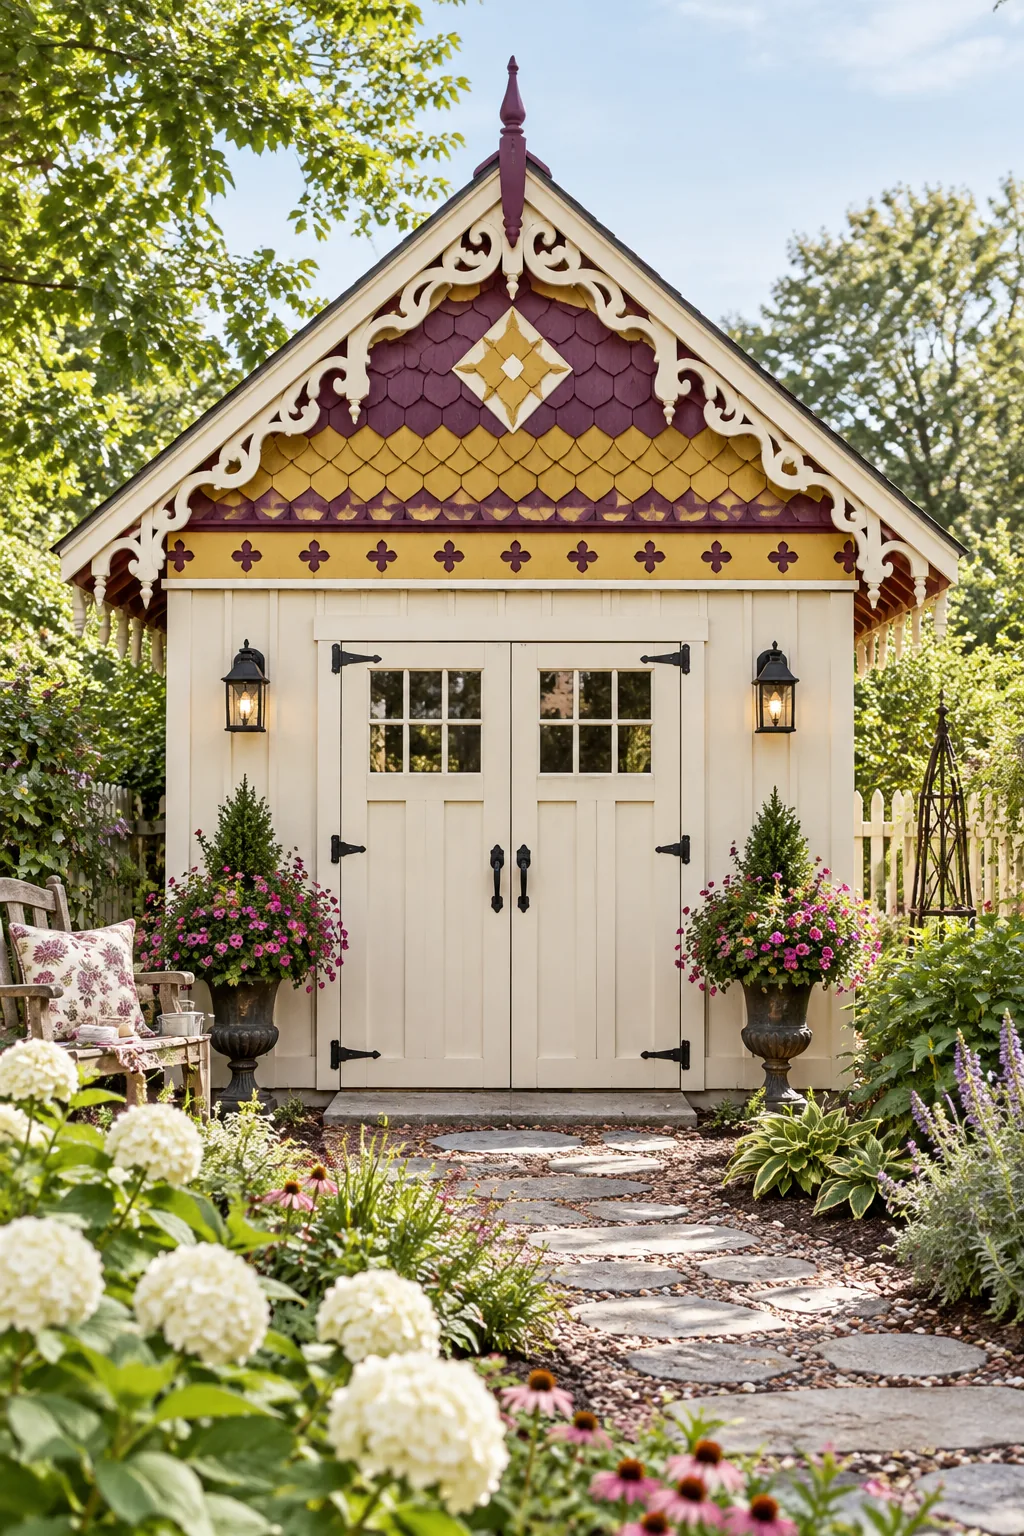
Ornate Victorian Painted Patterns: Mixing multiple shingle shapes in a rich plum and mustard palette turns a basic shed into an ornate Victorian focal point.