Small Restaurant Bar Design: Under-Bar Measurement Sheet
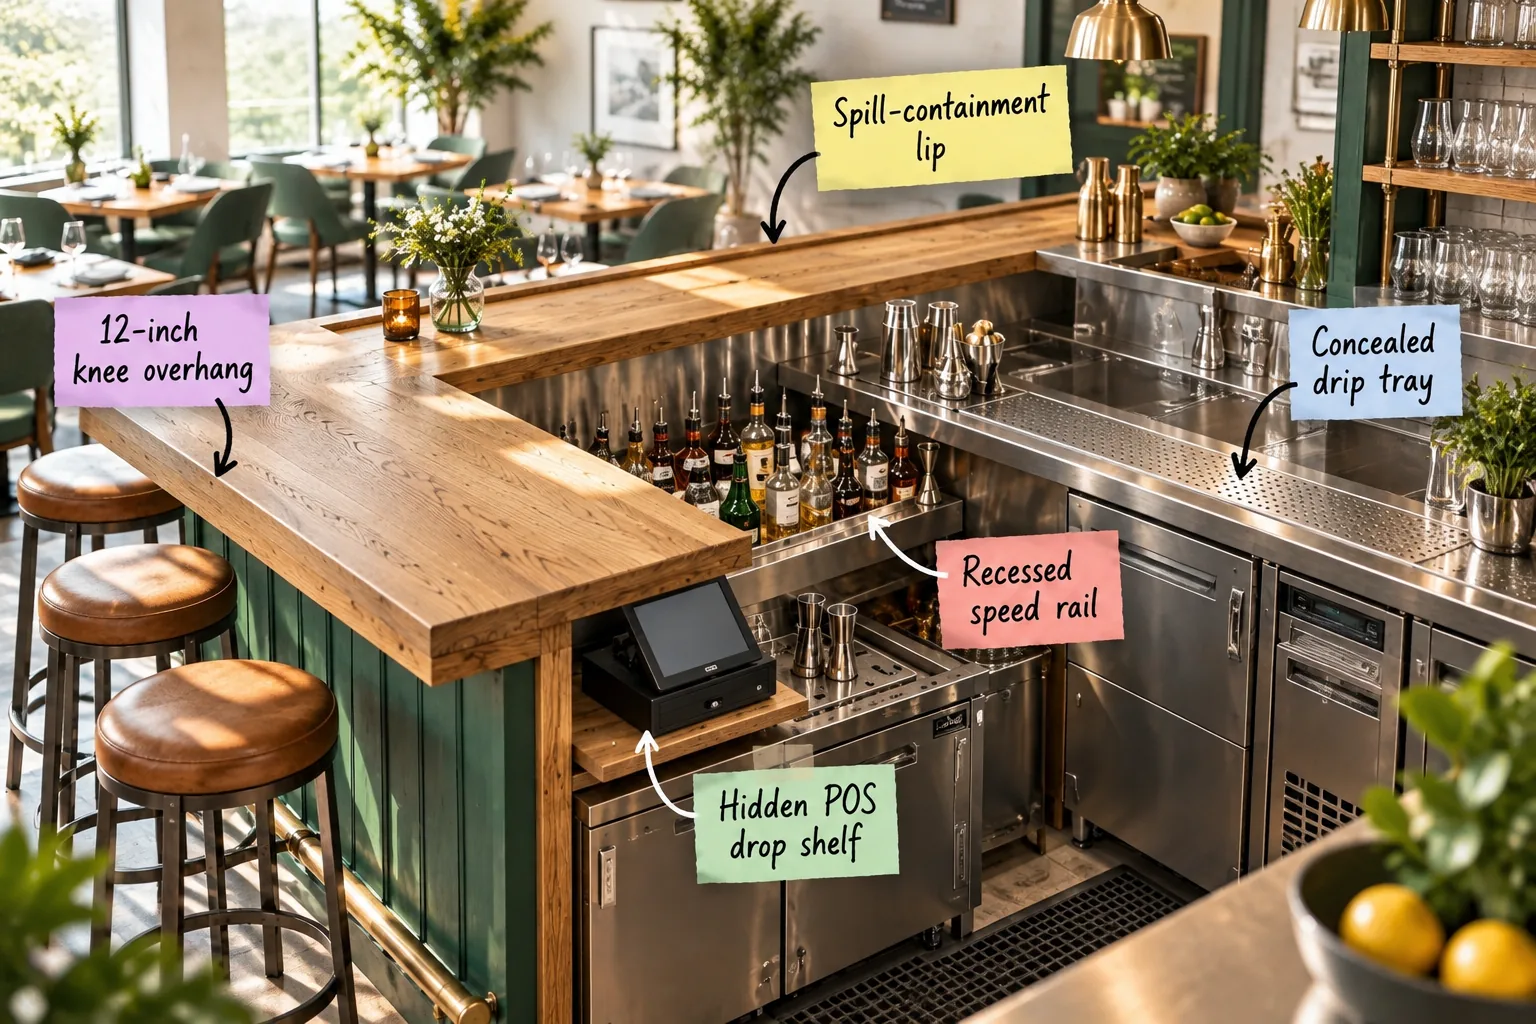
Design a highly efficient small restaurant bar with our complete under-bar measurement sheet to map out your exact hidden dimensions. You will be able to plan everything from guest seating to bartender walkways using these tested industry clearances.
Guest Seating & The 12-Inch Knee Overhang
I always start bar design on the dining room side, ensuring the 12-inch knee overhang provides necessary ergonomic space for seated guests. In my own Denver dining room, extending our counter exactly this much finally stopped guests from awkwardly angling their knees.
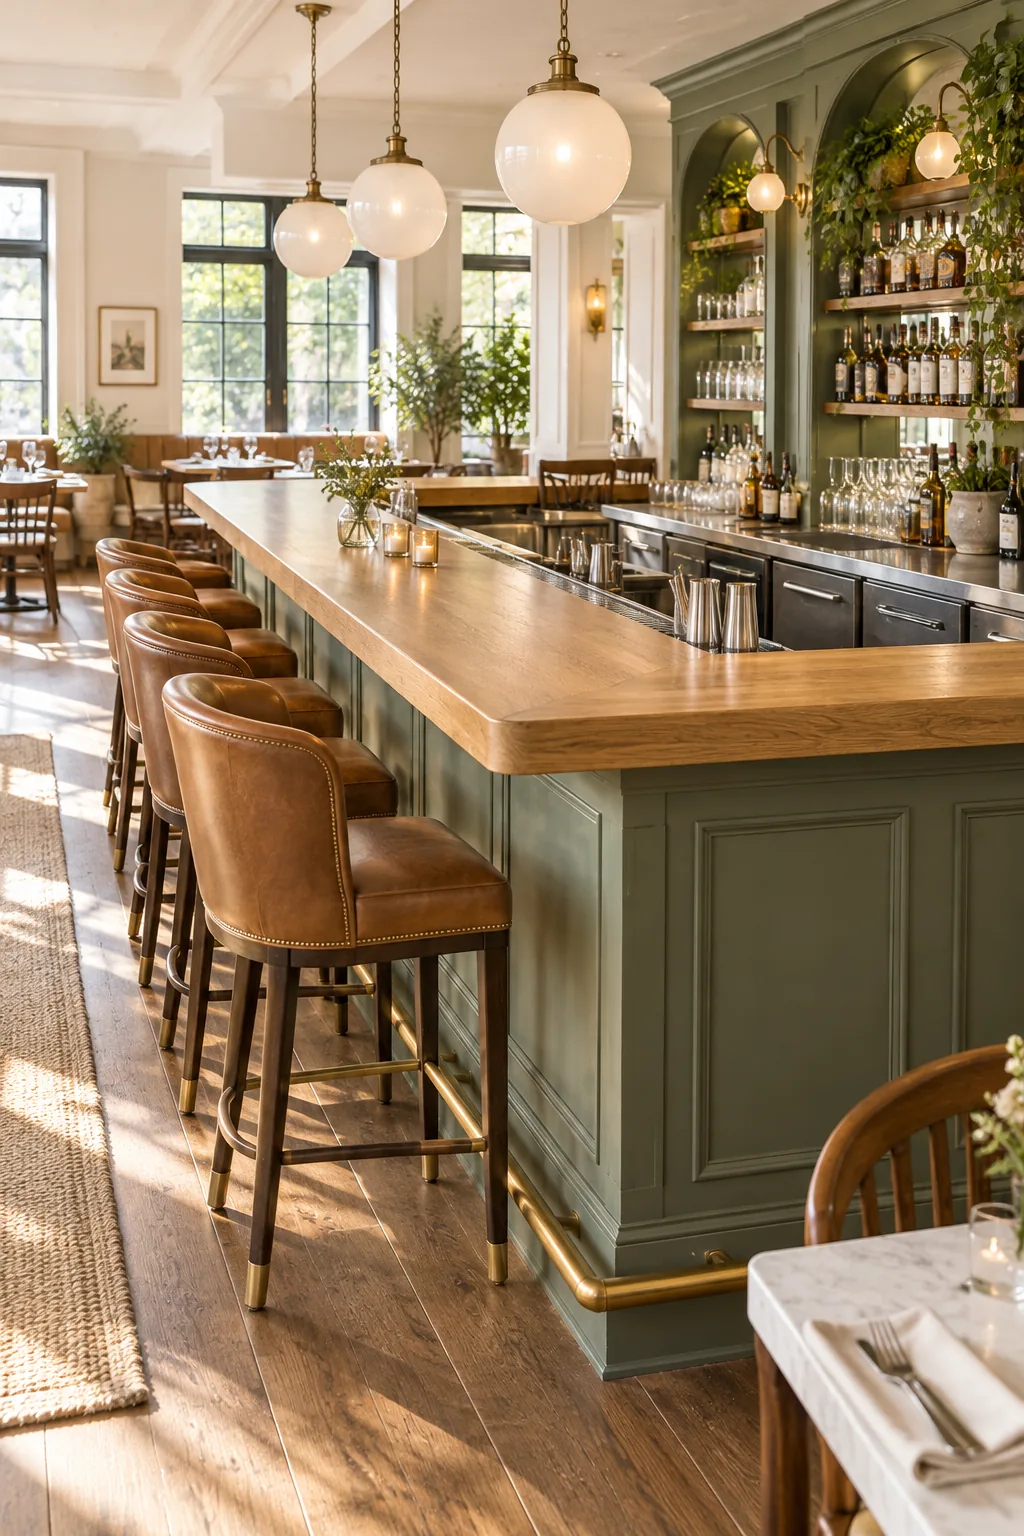
This specific measurement guarantees knees do not bump the bar front while keeping the guest close enough to the counter for comfortable dining. You create a natural posture that encourages patrons to linger over their meals.
Selecting the Ideal Bar Stool Height
Pairing that generous overhang with a standard 30-inch seat height ensures perfect ergonomic alignment with a classic 42-inch high commercial bar top. This precise 12-inch vertical drop from the counter to the seat allows patrons to rest their arms naturally without hunching.
Purse Hooks and Personal Storage
Mounting heavy-duty brass purse hooks exactly 8 inches below the counter edge keeps guest belongings safely off the floor without bruising knees. Spacing these hooks every 24 inches guarantees that every seated patron has immediate, dedicated storage for their personal items.
Acoustic Dampening Under the Counter
Stapling thick acoustic foam panels to the concealed underside of the bar top absorbs the harsh clatter of cocktail shakers and loud dining room conversations. This invisible acoustic treatment dramatically softens the ambient noise level, making the seating area feel much more intimate.
Material Choices for the Oak Bar Top
Before routing any edges, sealing the raw wood with a commercial-grade polyurethane prevents water rings from ruining your expensive investment.
- Sand the raw oak to 220 grit for a perfectly smooth base.
- Apply a sanding sealer to lock the open wood grain completely.
- Brush on three coats of marine-grade polyurethane for maximum durability.
This layered finishing technique flexes slightly with temperature changes, maintaining a waterproof barrier even when hot plates sit directly on the surface.
The Spill-Containment Lip
Moving to the bartender’s side, the slightly raised inner edge of the oak counter serves as a critical spill-containment lip. I always specify a raised profile on the working side to establish a firm physical barrier against liquids.
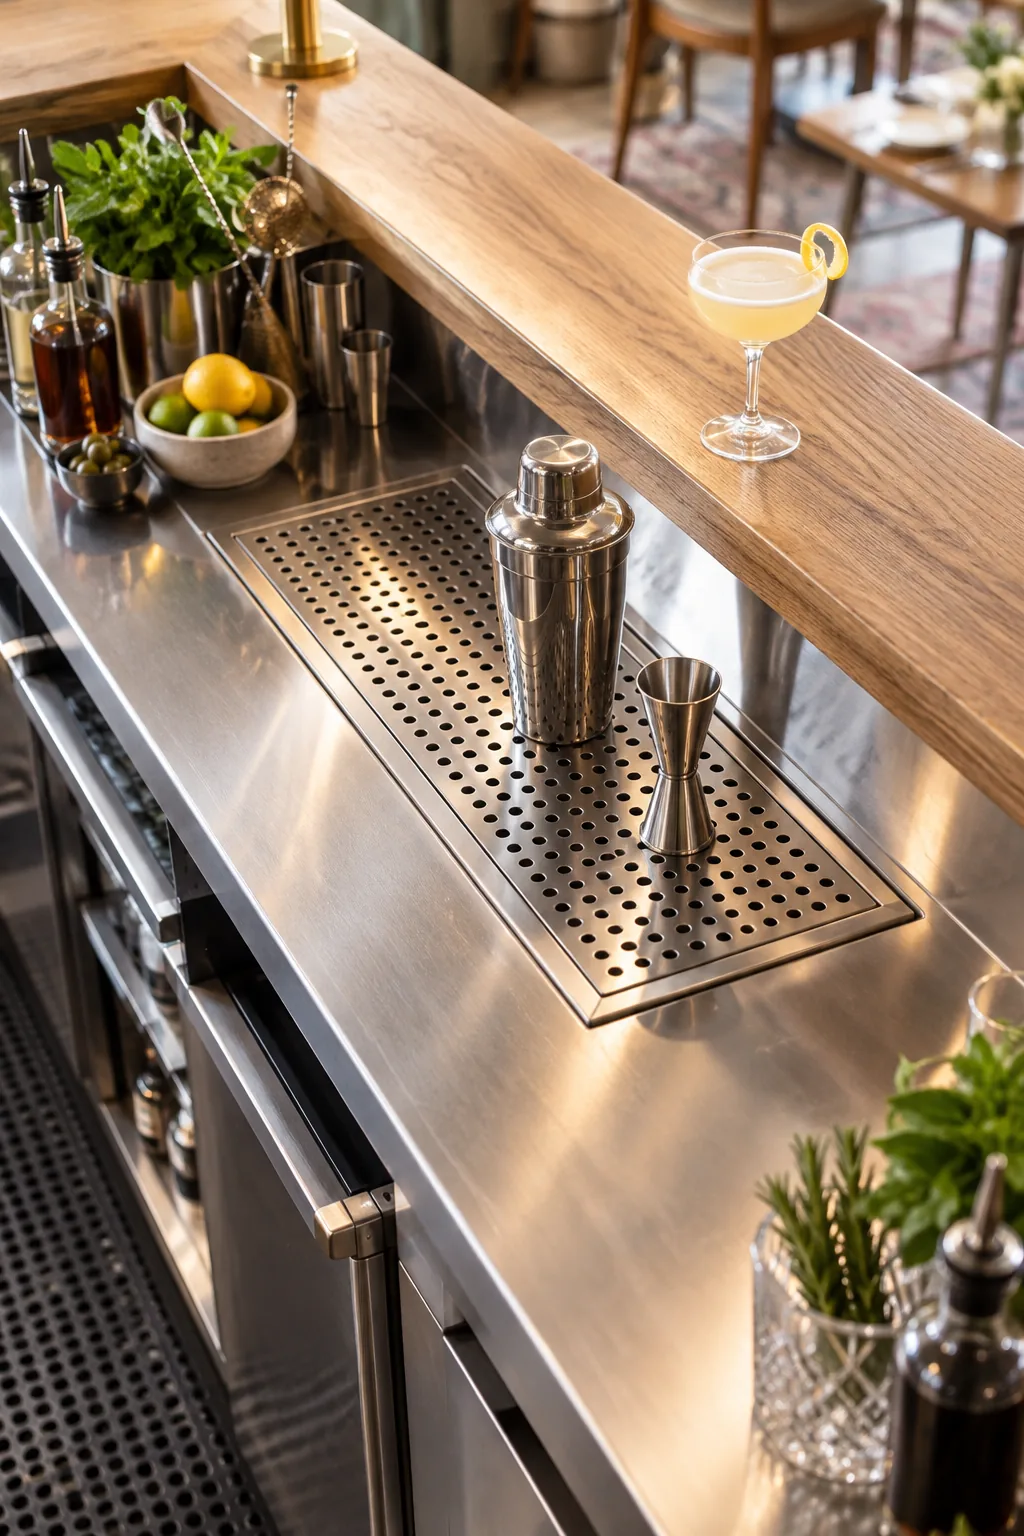
This tiny wooden dam prevents condensation and spilled drinks from dripping down onto the delicate POS system or the prep stations below. Containing liquids at the top level saves you from costly electronic replacements and sticky floors.
The Concealed Drip Tray
Just below that wooden edge, integrating a flush metal grate directly into the stainless serving surface creates a seamless concealed drip tray. Building the tray flush into the counter completely eliminates the need for bulky top-mounted catchers.
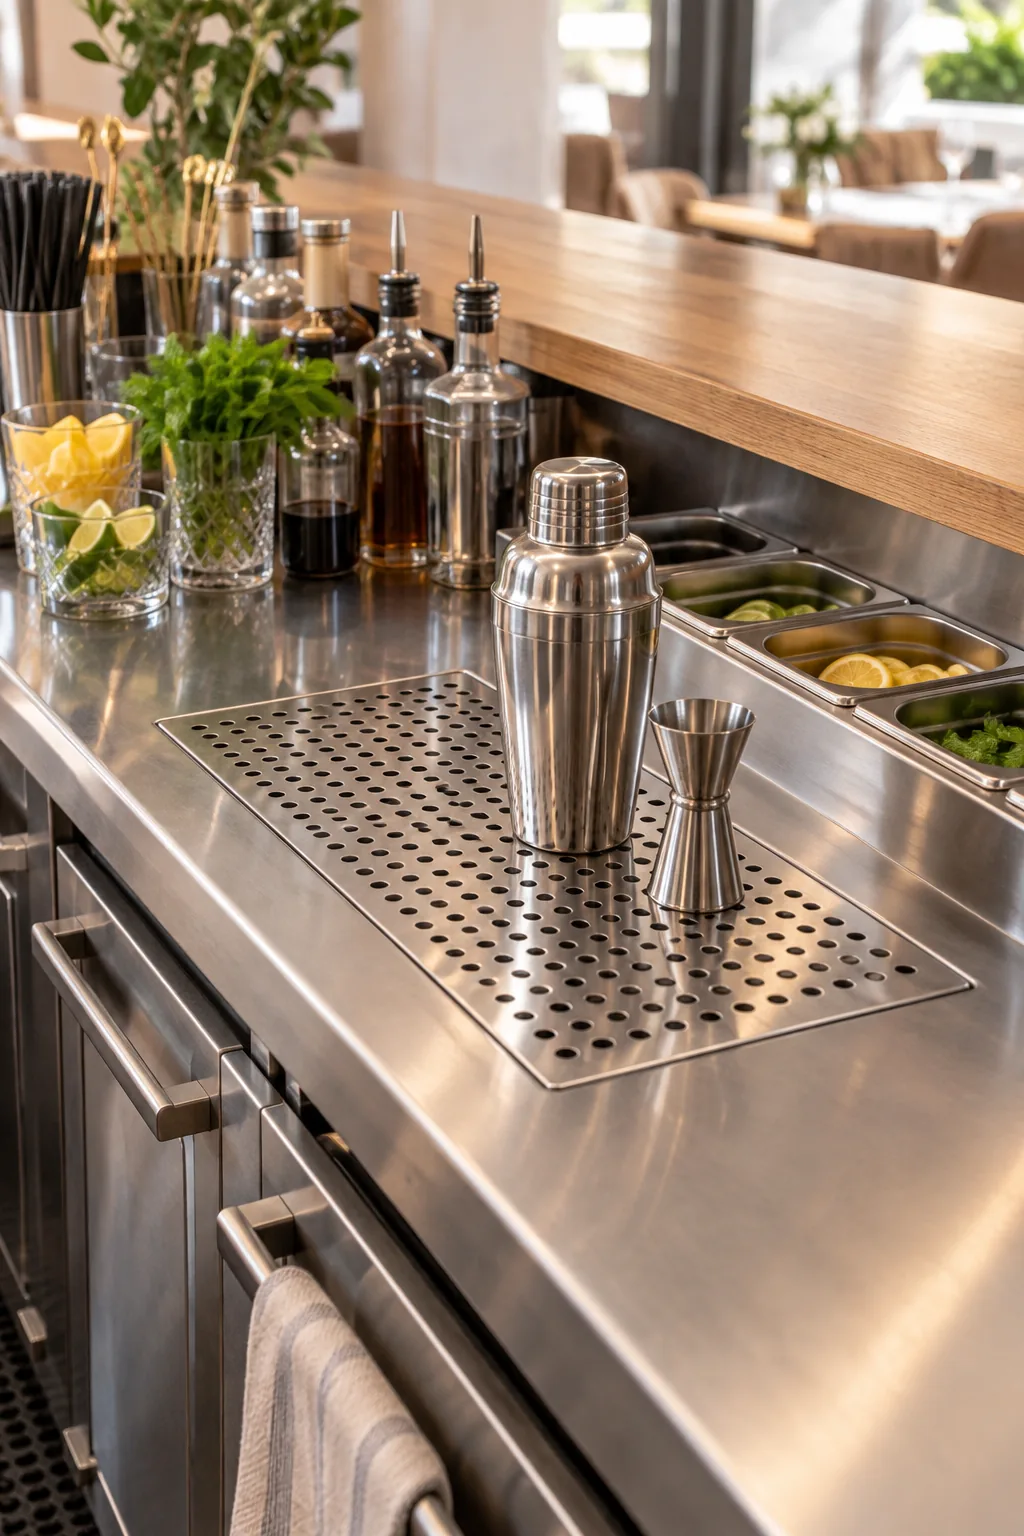
A perfectly level grate provides a smooth, continuous surface for sliding heavy glassware during a busy service rush. Your bartenders can mix, pour, and stage multiple drinks without navigating awkward metal bumps.
Draft Beer Tower Placement
Positioning the heavy draft beer tower directly over the center of the drip tray ensures every inevitable foam overflow drains immediately away. Securing the tower through the stainless steel deck into solid blocking below prevents the taps from wobbling during heavy pulls.
Glass Rinser Integration
Plumbing a pressurized star rinser into the far corner of the drip tray allows bartenders to blast away sticky residue in seconds. Connecting this rinser to the cold water line ensures glasses are instantly chilled before receiving a fresh cocktail pour.
The Stainless Steel Prep Surface
Fabricating the entire under-bar deck from 16-gauge, 304-grade stainless steel guarantees a hygienic and virtually indestructible mixing zone. This heavy-duty material resists acidic citrus juices and abrasive cleaning chemicals while bouncing back from dropped cocktail shakers.
Ice Bin Placement and Insulation
Centering a double-walled, foam-insulated ice bin directly below the primary mixing station dramatically reduces the bartender’s required steps per drink. Proper insulation stops the ice from melting mid-shift, ensuring every cocktail gets perfectly solid cubes rather than diluted slush.
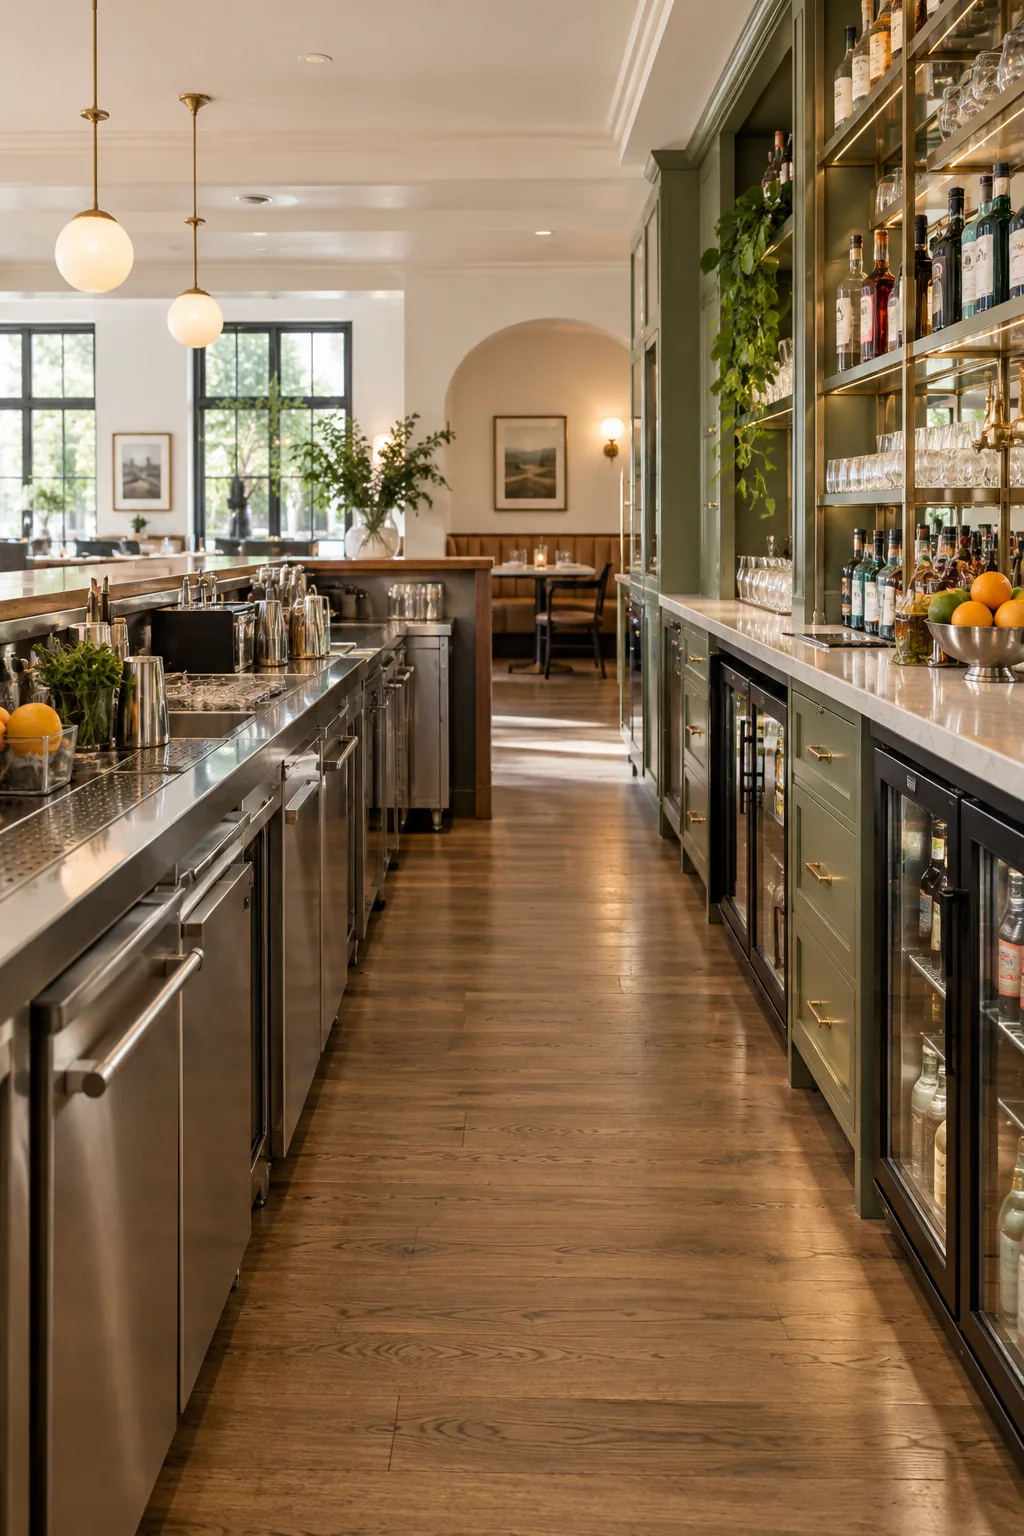
The Recessed Speed Rail
Building the bottle rail flush into the under-counter space brilliantly optimizes a small footprint. I used a recessed speed rail in my own kitchen’s wet bar, completely hiding the messy liquor labels from the adjoining living space.
While standard rails accommodate most commercial bottles, custom craft spirits often require extra vertical clearance. Verify your specific inventory before finalizing the drop height.
Dedicated Trash Drop Chutes
Cutting a 6-inch circular drop chute directly into the prep deck lets bartenders sweep away fruit garnishes and napkins instantly. Placing a slim commercial trash can directly beneath this chute keeps the unsightly garbage completely hidden from the dining room.
Power Outlets for Blenders
Mounting quad GFCI outlets horizontally just beneath the lip of the bar top keeps blender cords safely elevated above the wet zone. Positioning these outlets every four feet guarantees that essential mixing equipment can be plugged in exactly where it is needed.
The Hidden POS Drop Shelf
Right next to the pouring station, lowering the wooden shelf behind the counter to hold the register creates a hidden POS drop shelf. This strategic drop lowers the screen entirely below the main bar top level.
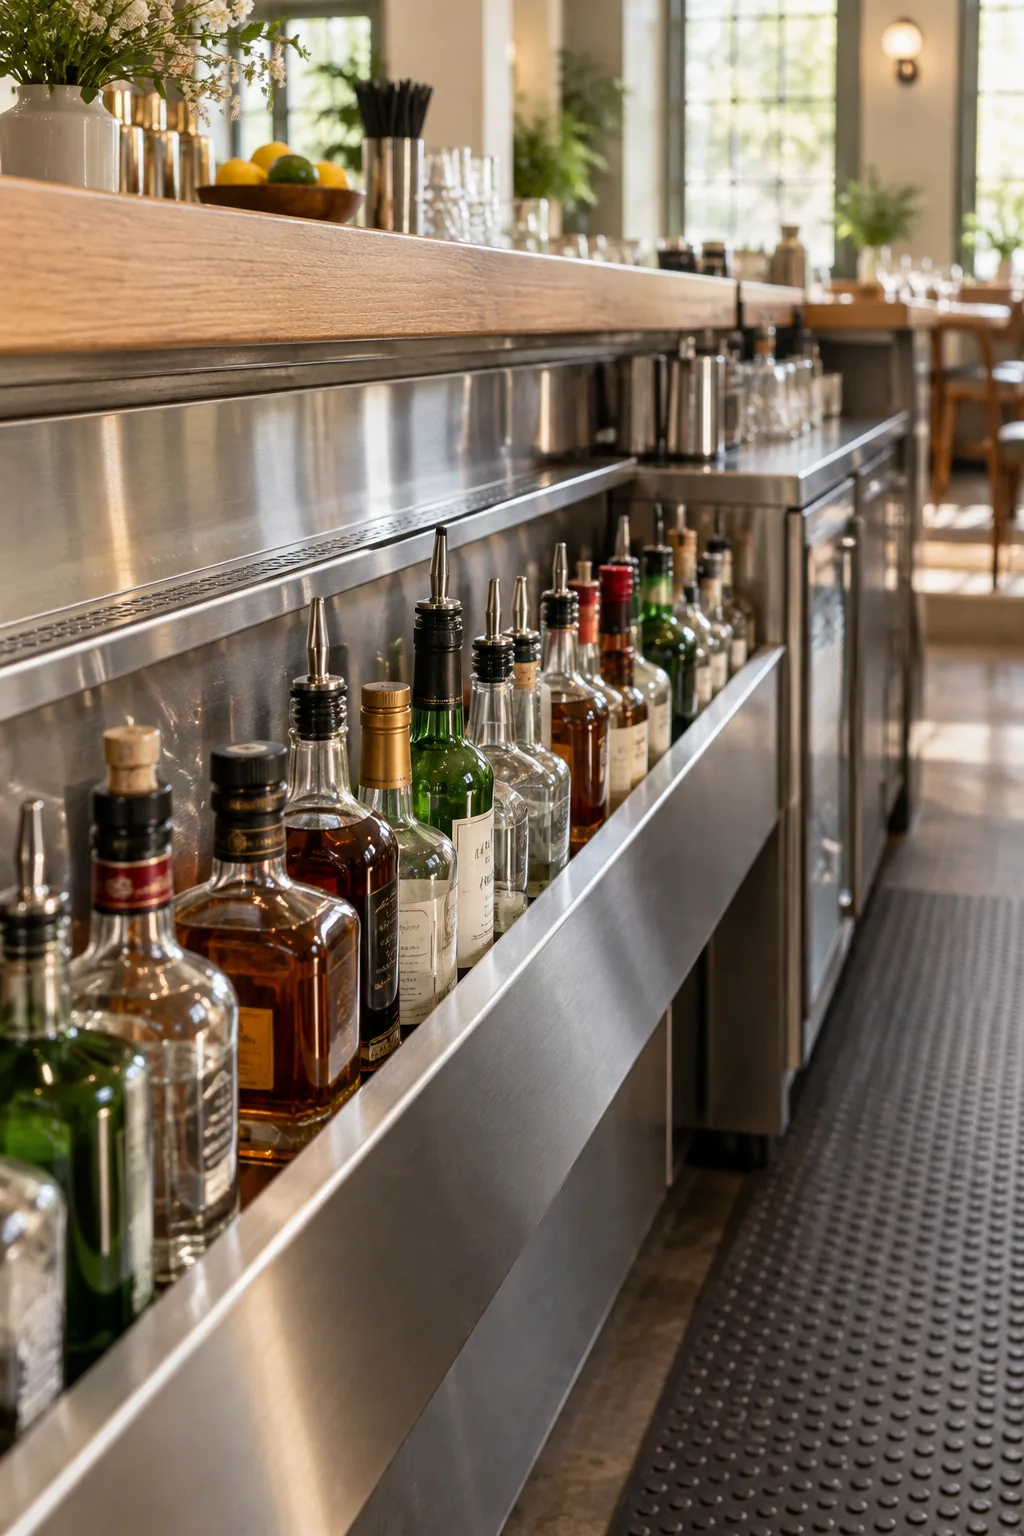
Tucking the terminal away hides messy cables and glowing monitors from your guests’ direct sightline. You preserve an intimate, unplugged atmosphere in the dining room while keeping essential technology within immediate reach.
Under-Bar Plumbing Rough-Ins
Grouping your hot and cold water lines tightly against the back wall of the under-bar keeps the primary legroom completely clear for the bartender.
Task Lighting for the Prep Zone
Mounting waterproof LED strip lights directly beneath the bar top lip illuminates the prep deck without blinding the dining room. Selecting a warm 2700K color temperature ensures the bartender can clearly read order tickets while maintaining the room’s moody ambiance.
Bartender Walkway Clearance
Turning around to the backbar, the critical floor space required behind the counter dictates your daily operational flow. In my early hospitality projects, I quickly learned that skimping on this aisle creates a miserable, cramped working environment.
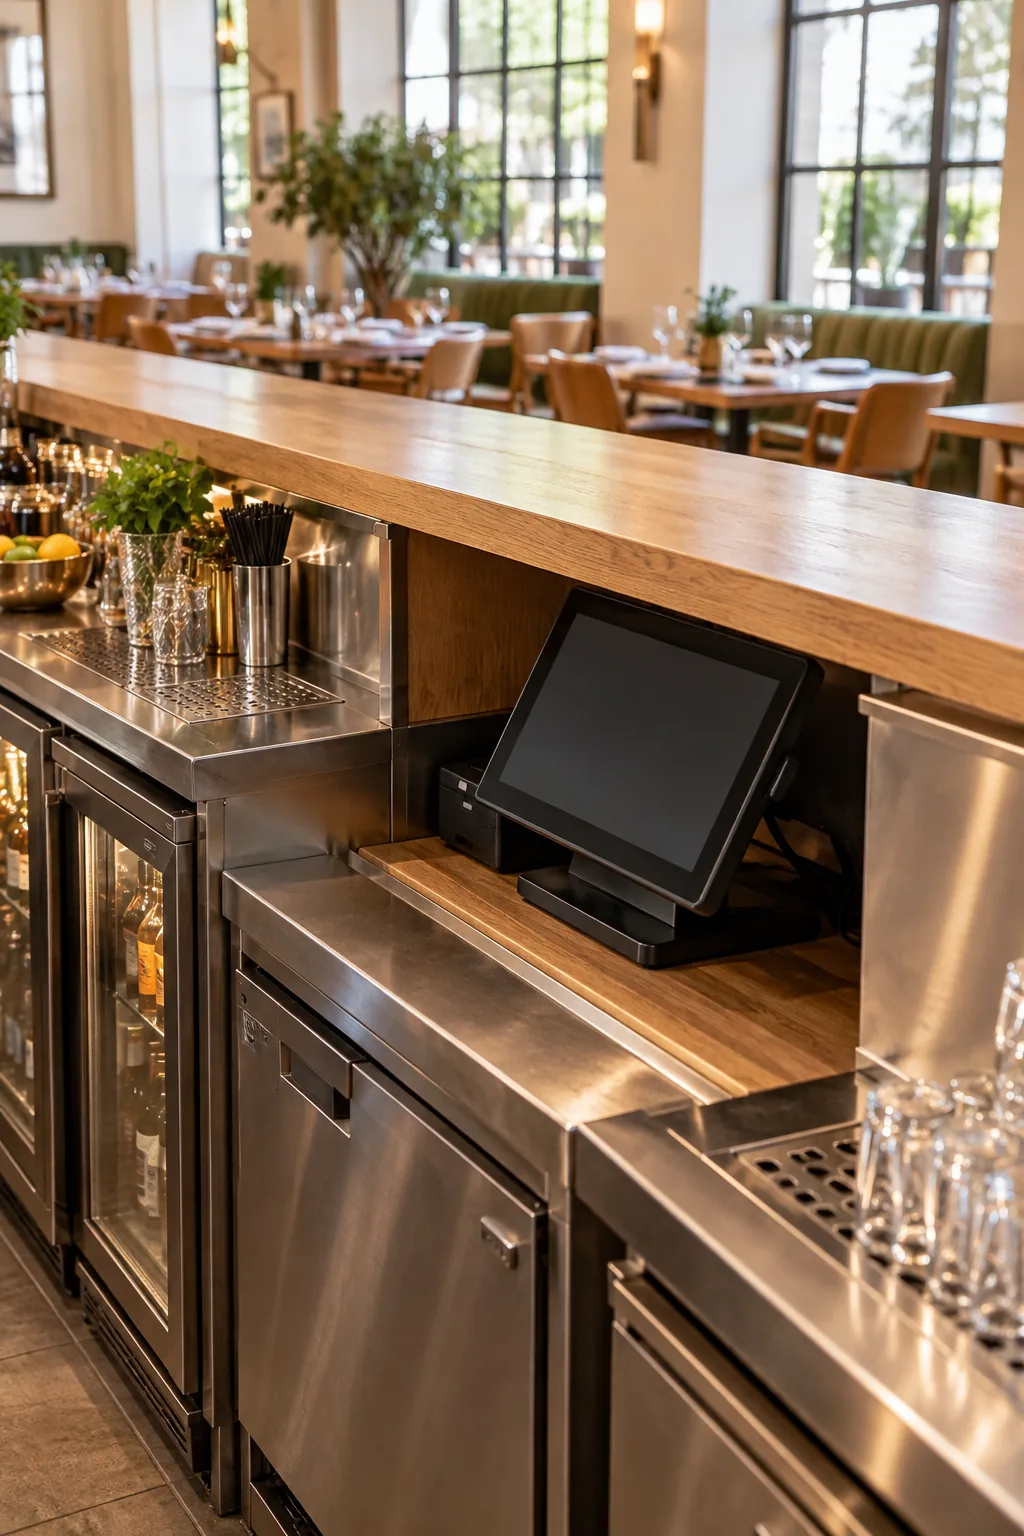
A minimum 36-inch aisle width is absolutely necessary for a single bartender to safely pivot between under-bar stations. This clearance prevents collisions when carrying heavy ice buckets or maneuvering during peak hours.
Backbar Display Shelf Spacing
Setting the primary backbar display shelves at least 14 inches apart vertically accommodates exceptionally tall specialty liquor bottles. Installing adjustable glass shelving allows you to easily reconfigure the display when seasonal menus introduce unusually shaped glassware.
Non-Slip Flooring Solutions
Pouring a seamless epoxy floor with a heavy grit aggregate behind the bar prevents dangerous slips on wet nights. Unlike thick rubber mats that trap bacteria and require nightly scrubbing, a pitched epoxy floor simply hoses right down into the central drain.
The Under-Bar Measurement Sheet
To replicate this highly optimized corner layout, I have compiled the exact dimensions into a comprehensive under-bar measurement sheet. Use these tested clearances to guide your custom fabrication.
| Feature | Depth | Height | Clearance Notes |
|---|---|---|---|
| Knee Overhang | 12 inches | 42 inches (top) | Clears standard bar stool heights |
| Speed Rail | 5 inches | 18 inches (drop) | Fits standard 1-liter bottles |
| POS Drop Shelf | 14 inches | 8 inches (drop) | Conceals 10-inch screens |
| Walkway Aisle | 36 inches | Floor level | Minimum for single bartender pivot |
Before handing these measurements over to your fabricator, run through this final verification to ensure the layout matches your specific equipment.
Integrating the Foot Rail
Returning to the seating side, mounting a polished brass foot rail provides the final touch for guest comfort. I added a heavy foot rail to my own home bar, and it instantly made the tall seating feel incredibly grounded.
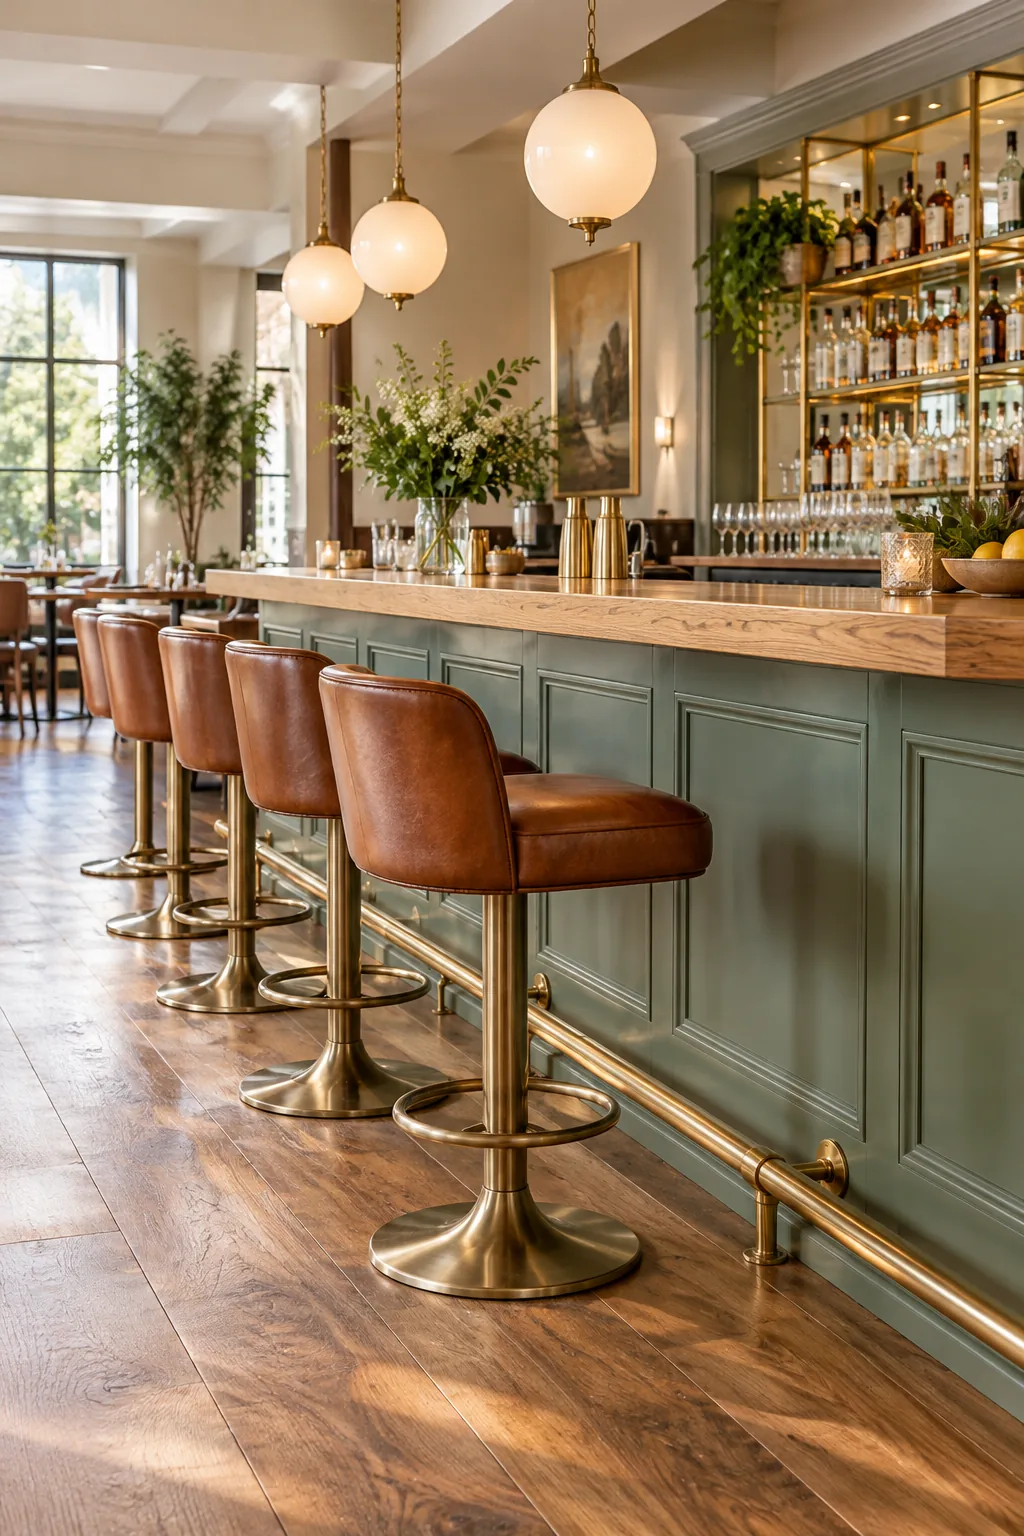
Positioning the rail 7 to 9 inches off the floor provides essential ergonomic support for guests sitting on tall stools. Proper foot support significantly increases the time patrons spend comfortably seated at your counter.
5 Ways to Style a Compact Corner Bar
Explore how different materials and palettes can completely transform the exact same highly efficient bar layout.
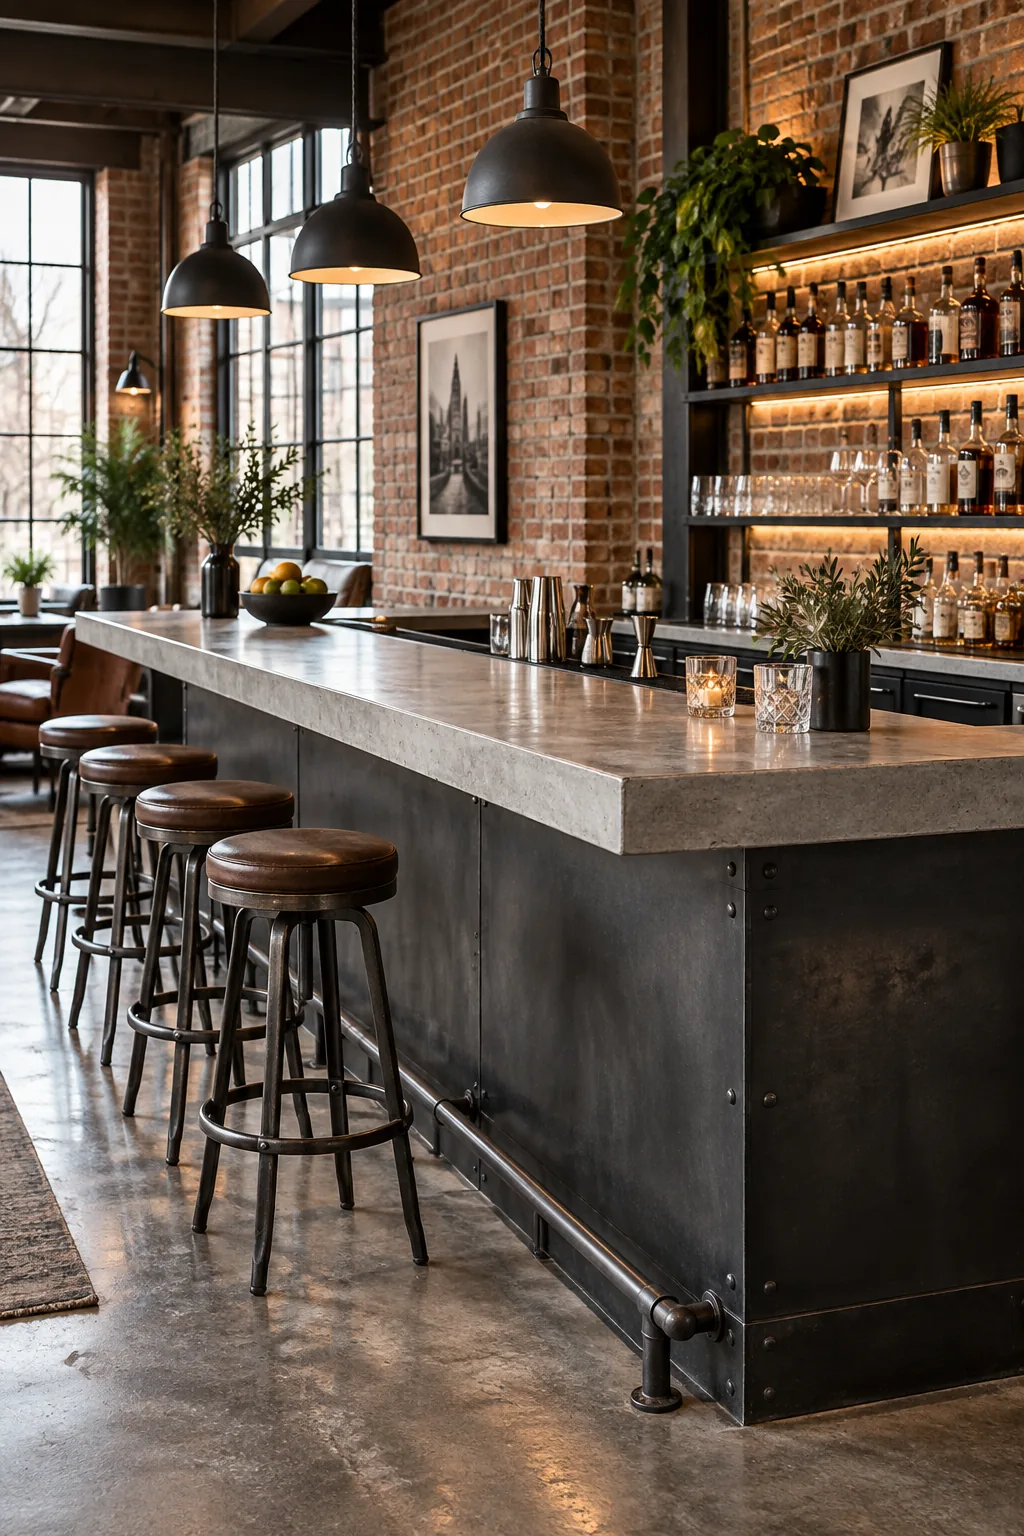
Industrial Loft Bar: Matte black fixtures and exposed brick give this compact bar an industrial edge, while you can easily copy the raw concrete pouring technique for the main countertop.
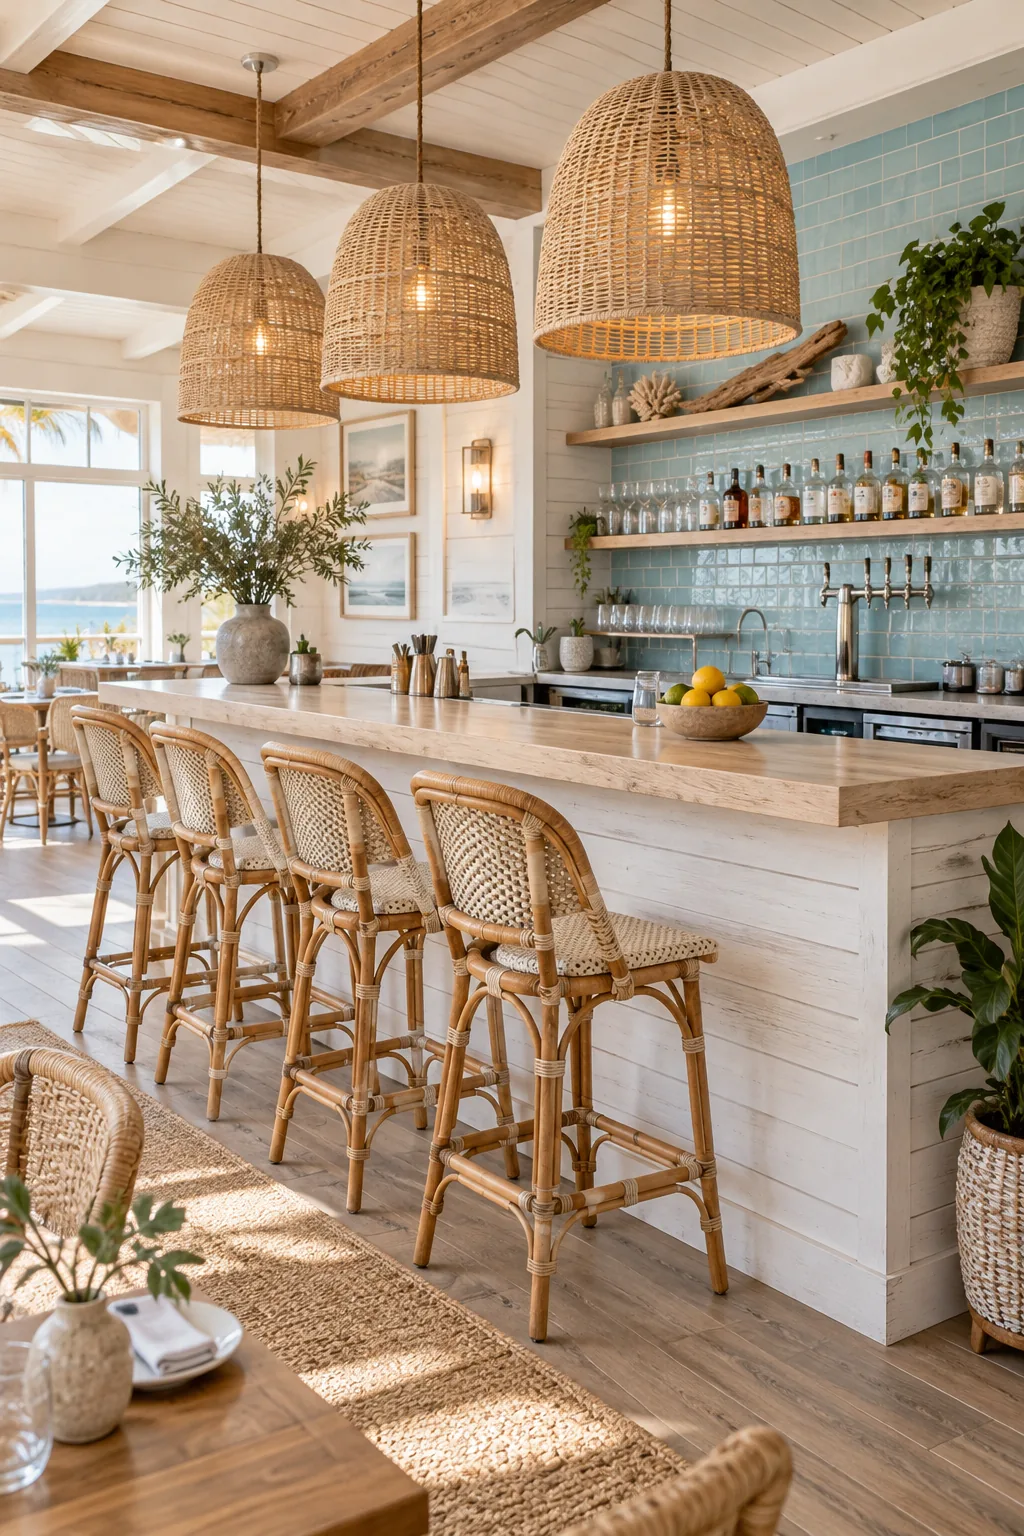
Coastal Cafe Bar: Whitewashed shiplap and pale blue accents create a breezy coastal feel, perfect for adapting the rattan pendant lighting above your own seating area.
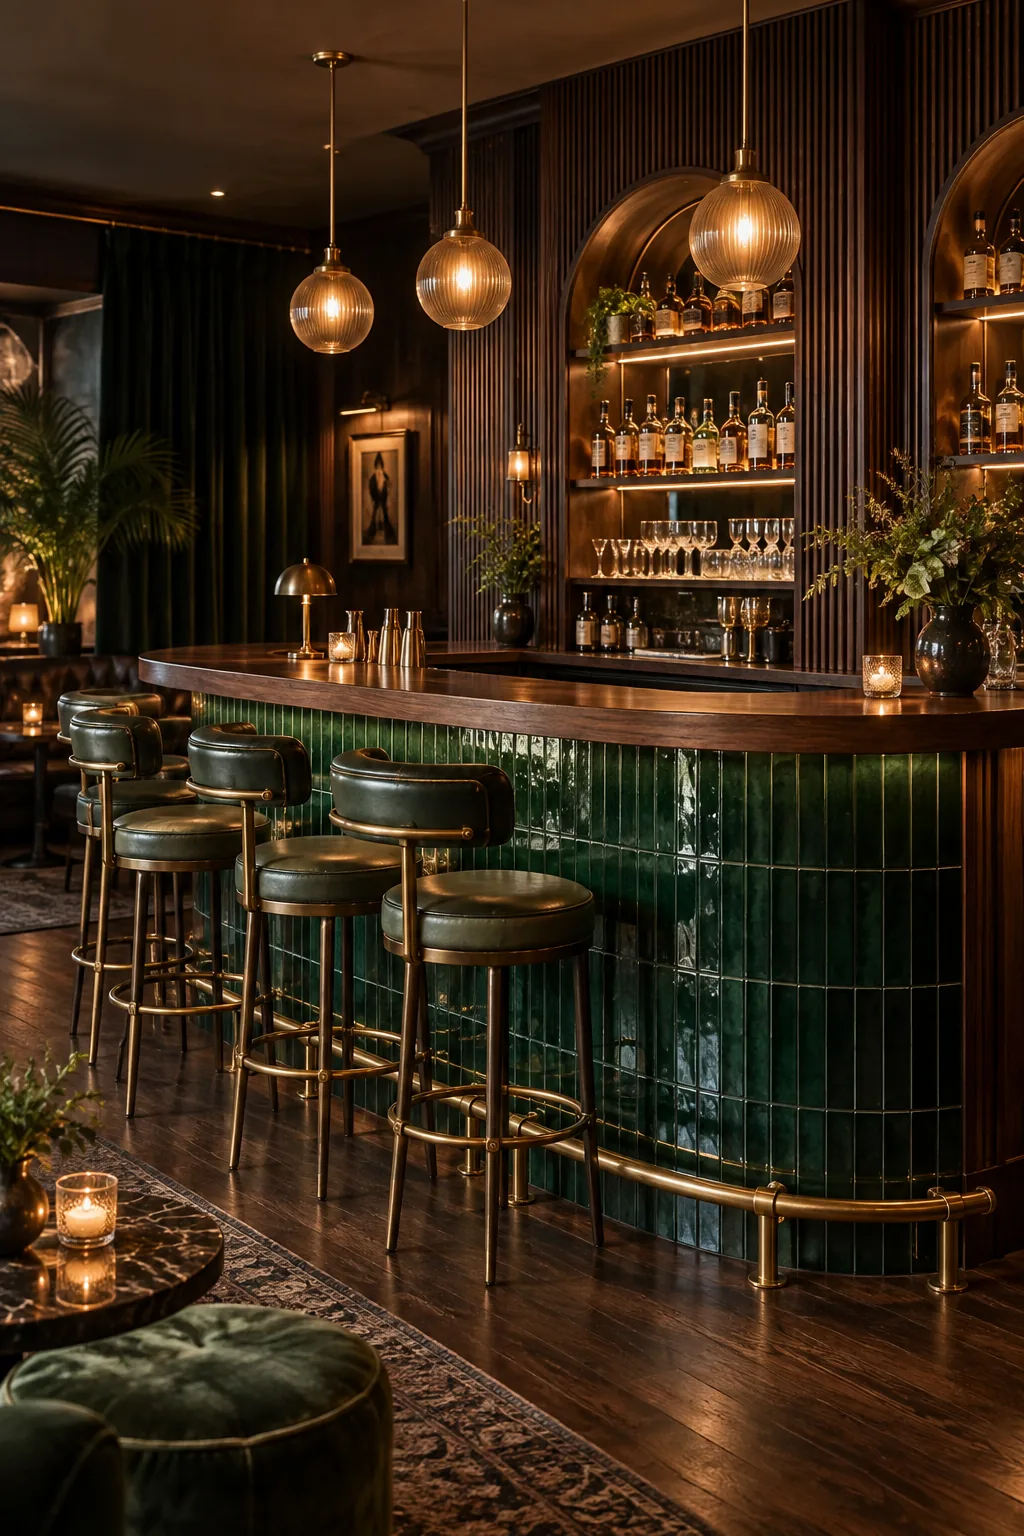
Moody Speakeasy: Dark walnut panels and brass hardware establish a moody speakeasy vibe, featuring an emerald green glazed tile front that you can recreate in any small space.
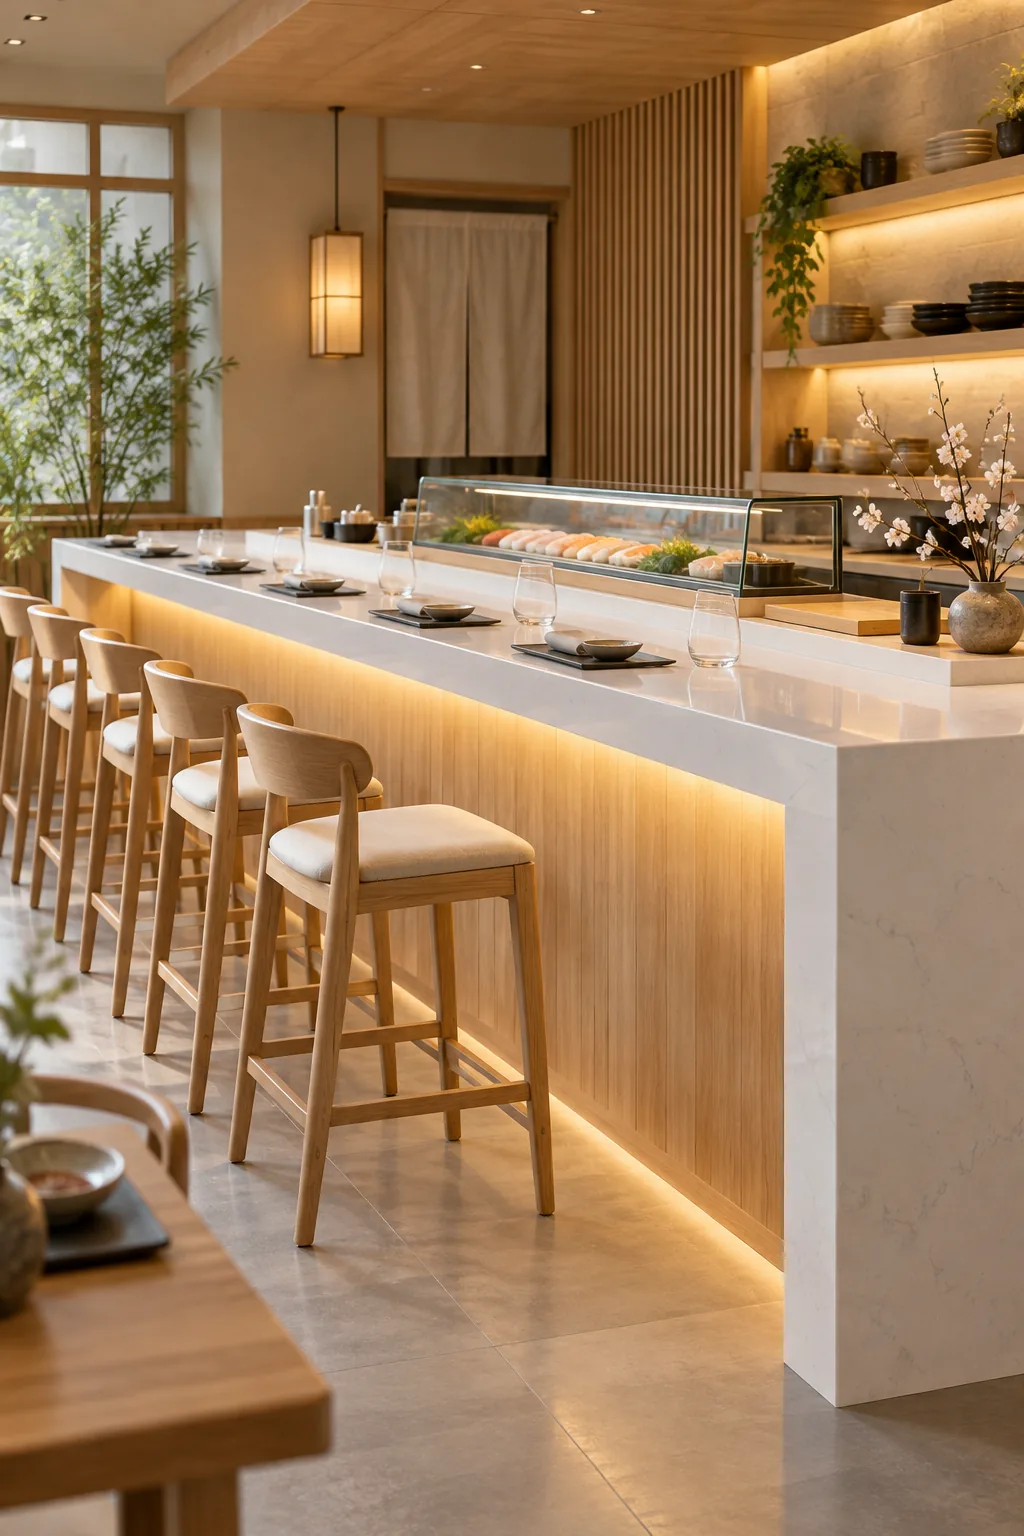
Minimalist Sushi Bar: Light ash wood and white quartz define this minimalist sushi bar, utilizing hidden warm LED strip lighting under the overhang that is simple to install anywhere.
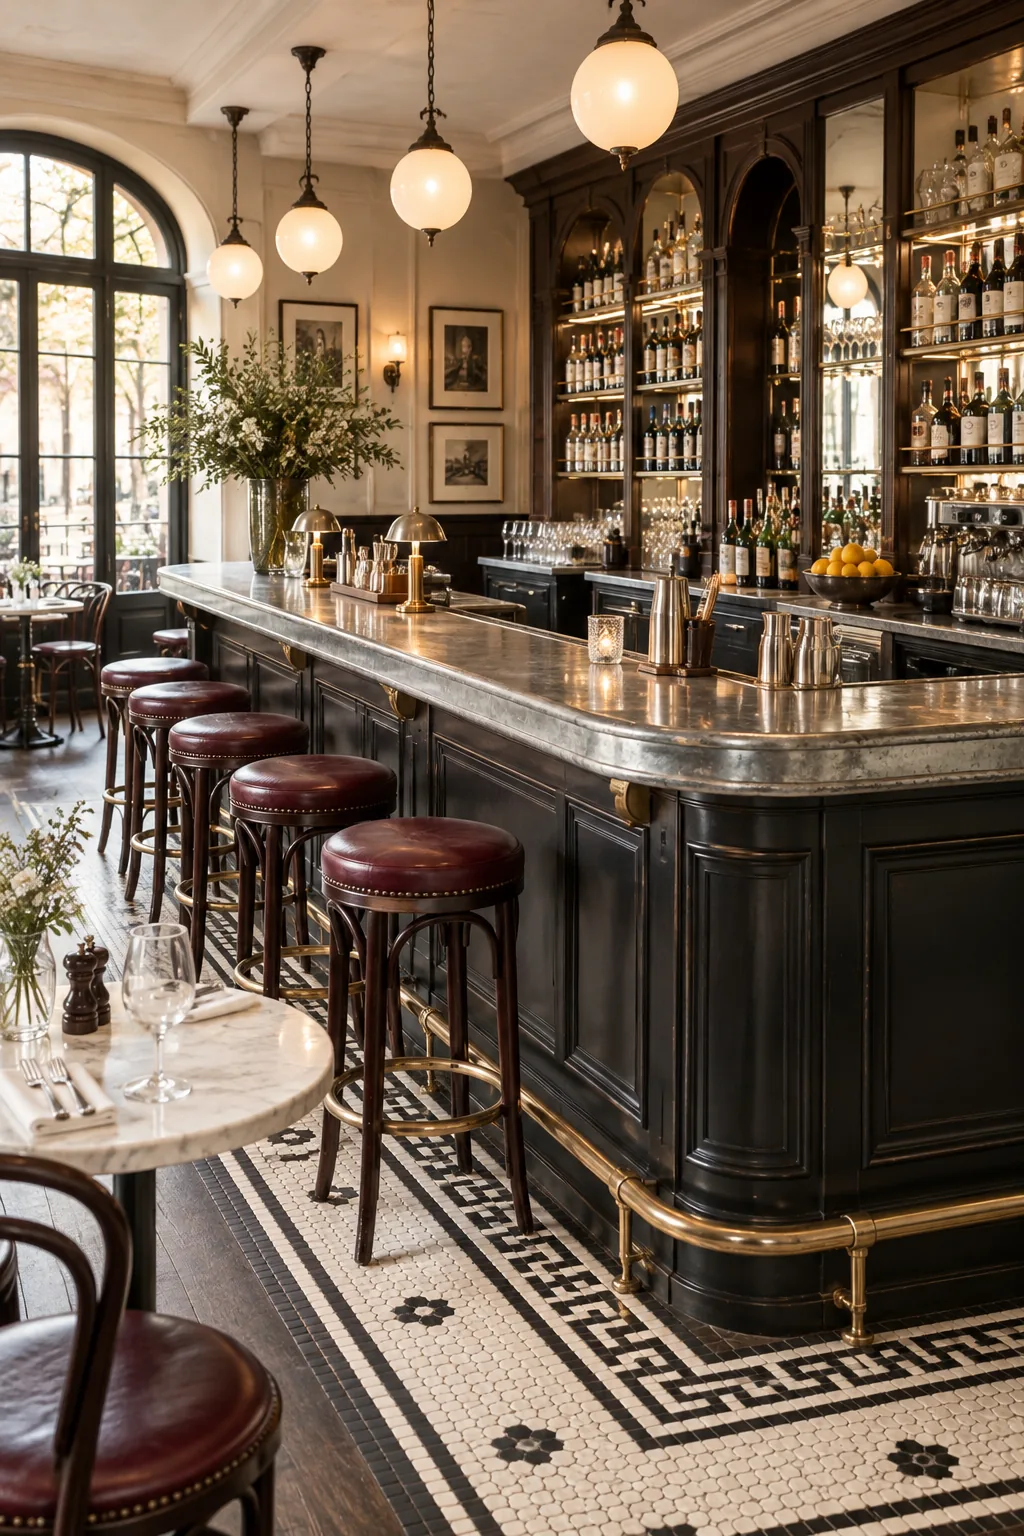
Classic French Bistro: A classic zinc bar top and oxblood leather stools deliver French bistro charm, complete with a marble mosaic floor border that beautifully defines the guest seating zone.