
DIY Baby Halloween Costumes: The No-Sew Base Layer Trick
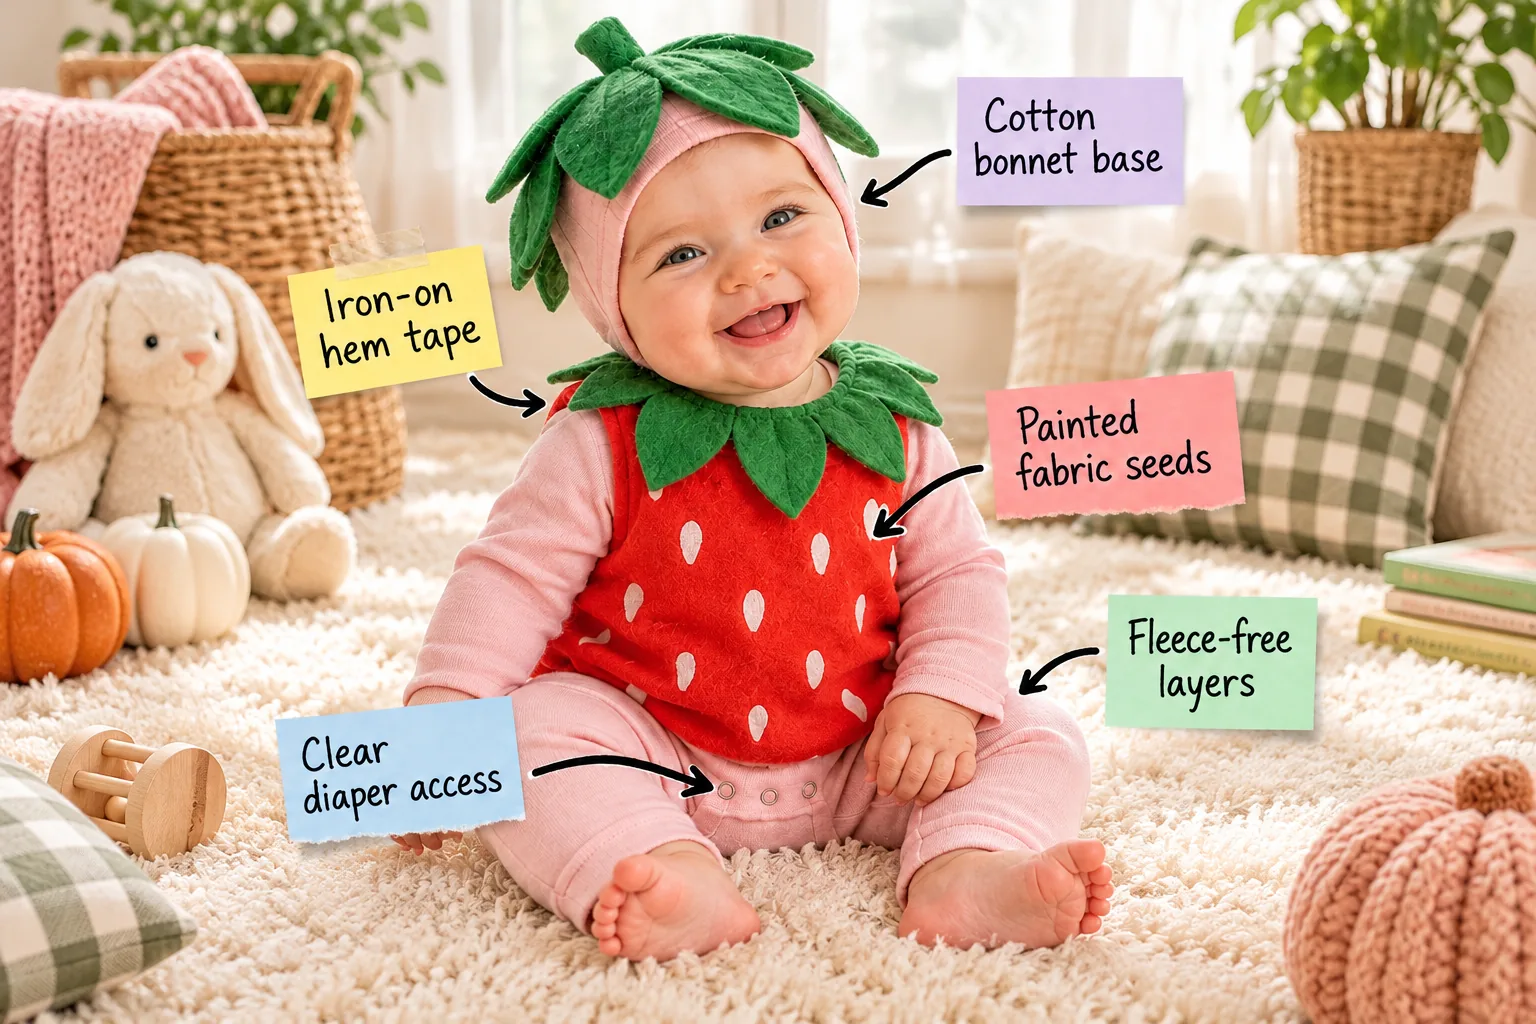
You will easily master the pro base layer trick with our complete no-sew assembly guide, allowing you to build a comfortable, fuss-free infant outfit. Starting with a familiar foundation guarantees your baby stays happy while you skip the sewing machine entirely.
The Breathable Base Layer Philosophy
Starting with a familiar, comfortable sleeper is the absolute secret to a happy infant on Halloween night. I always recommend using a 95% bamboo and 5% spandex blend or pure cotton to ensure the costume remains completely breathable indoors and outside.
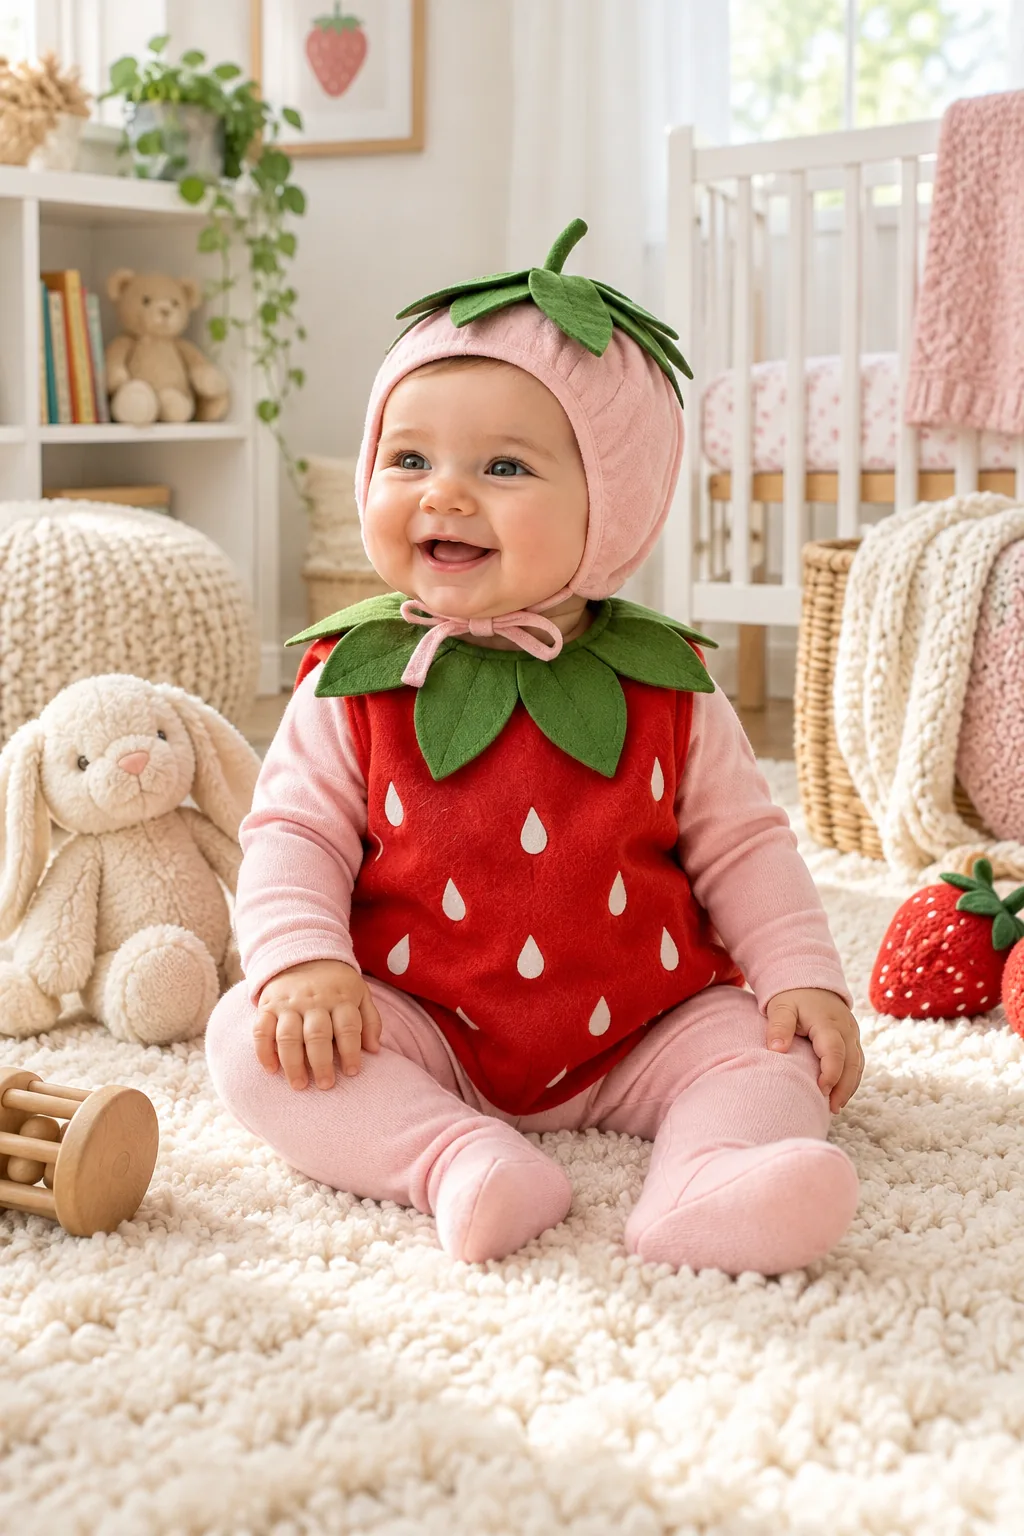
Using these fleece-free layers prevents your little one from overheating when heavy felt or batting is added on top. A lightweight foundation keeps their body temperature regulated, meaning fewer tears and a much longer window for those adorable evening photos.
Choosing the Right Base Color
Matching the foundational sleeper to your costume’s theme creates a cohesive, high-end look without extra effort. Select a vibrant pink for strawberries, a deep orange for pumpkins, or a rich earthy brown for woodland creatures to blend the layers seamlessly.
Sizing Up for Outer Shells
When adding rigid outer materials, you must choose the right base layer size to accommodate the extra bulk. Always advise sizing up exactly one clothing size if your costume design requires thick felt tunics, ensuring the baby maintains full mobility.
- Chest width: Measure the baby’s chest and add two inches of ease for the stiff felt overlay.
- Armhole depth: Drop the armscye an extra inch so the thick costume shell never pinches their shoulders.
- Torso length: Ensure the larger size does not bunch up excessively around the waist or hips.
Before you begin bonding fabrics or cutting armholes, always test the foundation garment’s fit by layering it over a standard onesie. This quick check ensures you have left enough extra room for the stiff costume shell to sit comfortably.
Preparing the Felt Yardage
Cutting your stiff outer materials precisely is crucial for a clean, professional finish without frayed edges. Use sharp fabric shears to slice through heavy craft felt, keeping your cuts smooth and continuous to avoid jagged lines on the final tunic.
Preserving the Diaper Zone
Keeping the outfit practical for a long evening requires careful planning around the crotch and inner legs. You must leave a minimum 3-inch clearance around the snap area so the clear diaper access remains completely unobstructed by stiff costume materials.
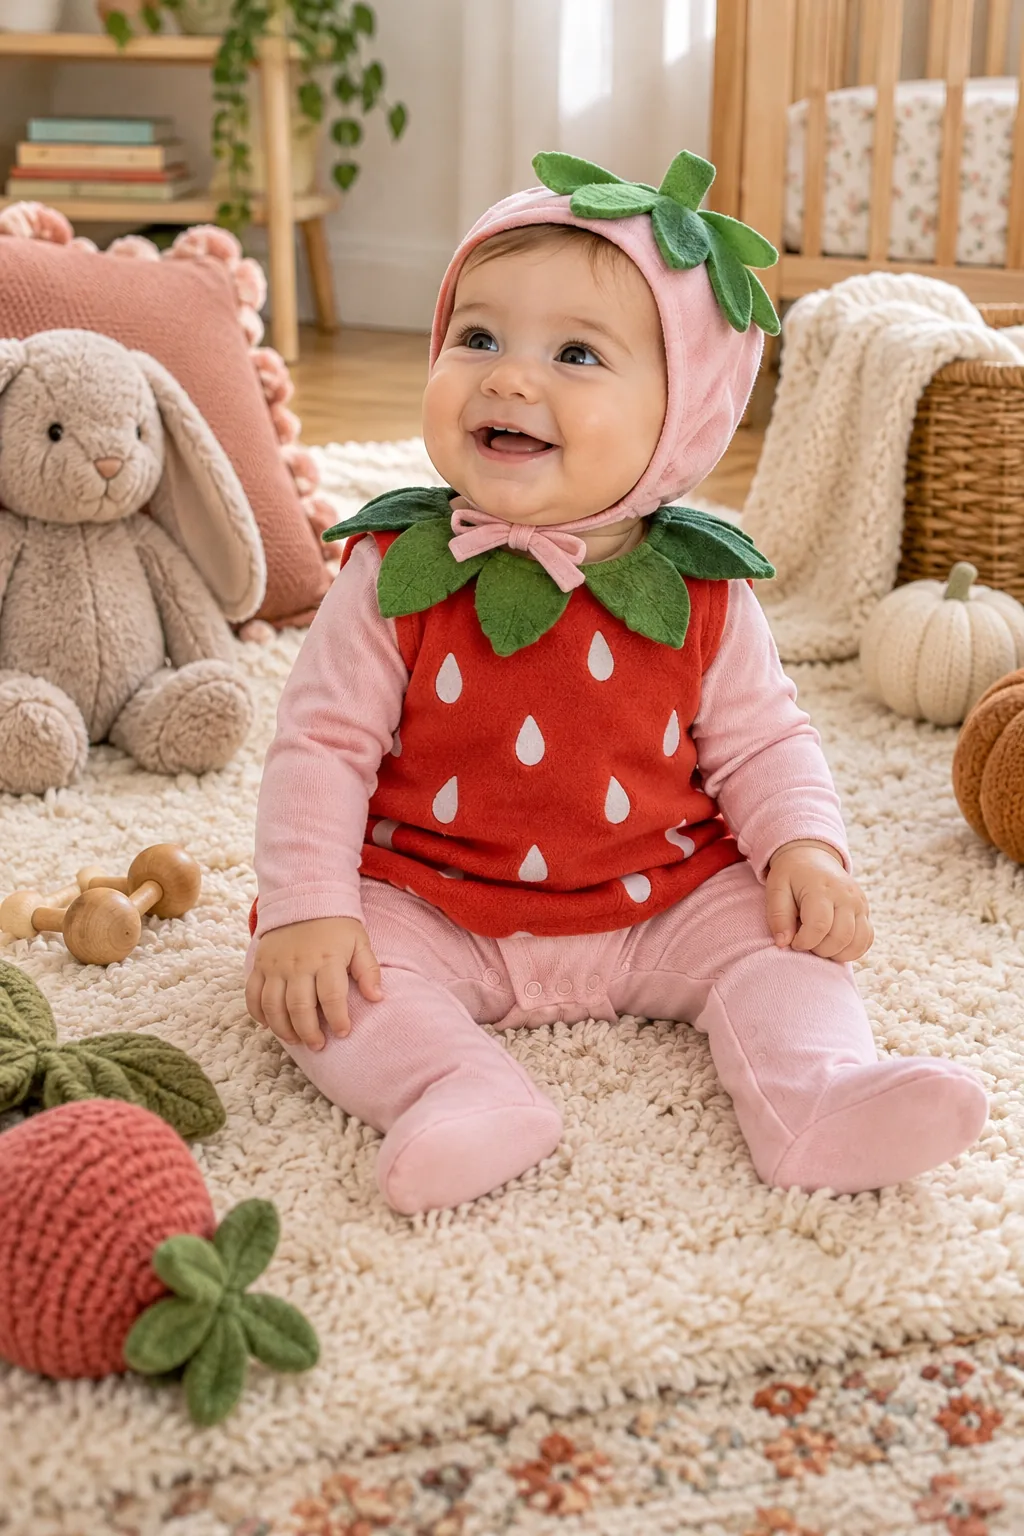
By stopping the felt shell well above the leg crease, you guarantee that late-night changes happen swiftly. This smart spacing prevents the rigid outer fabric from digging into their delicate thighs while they are seated in a stroller or car seat.
The Secure Bonnet Foundation
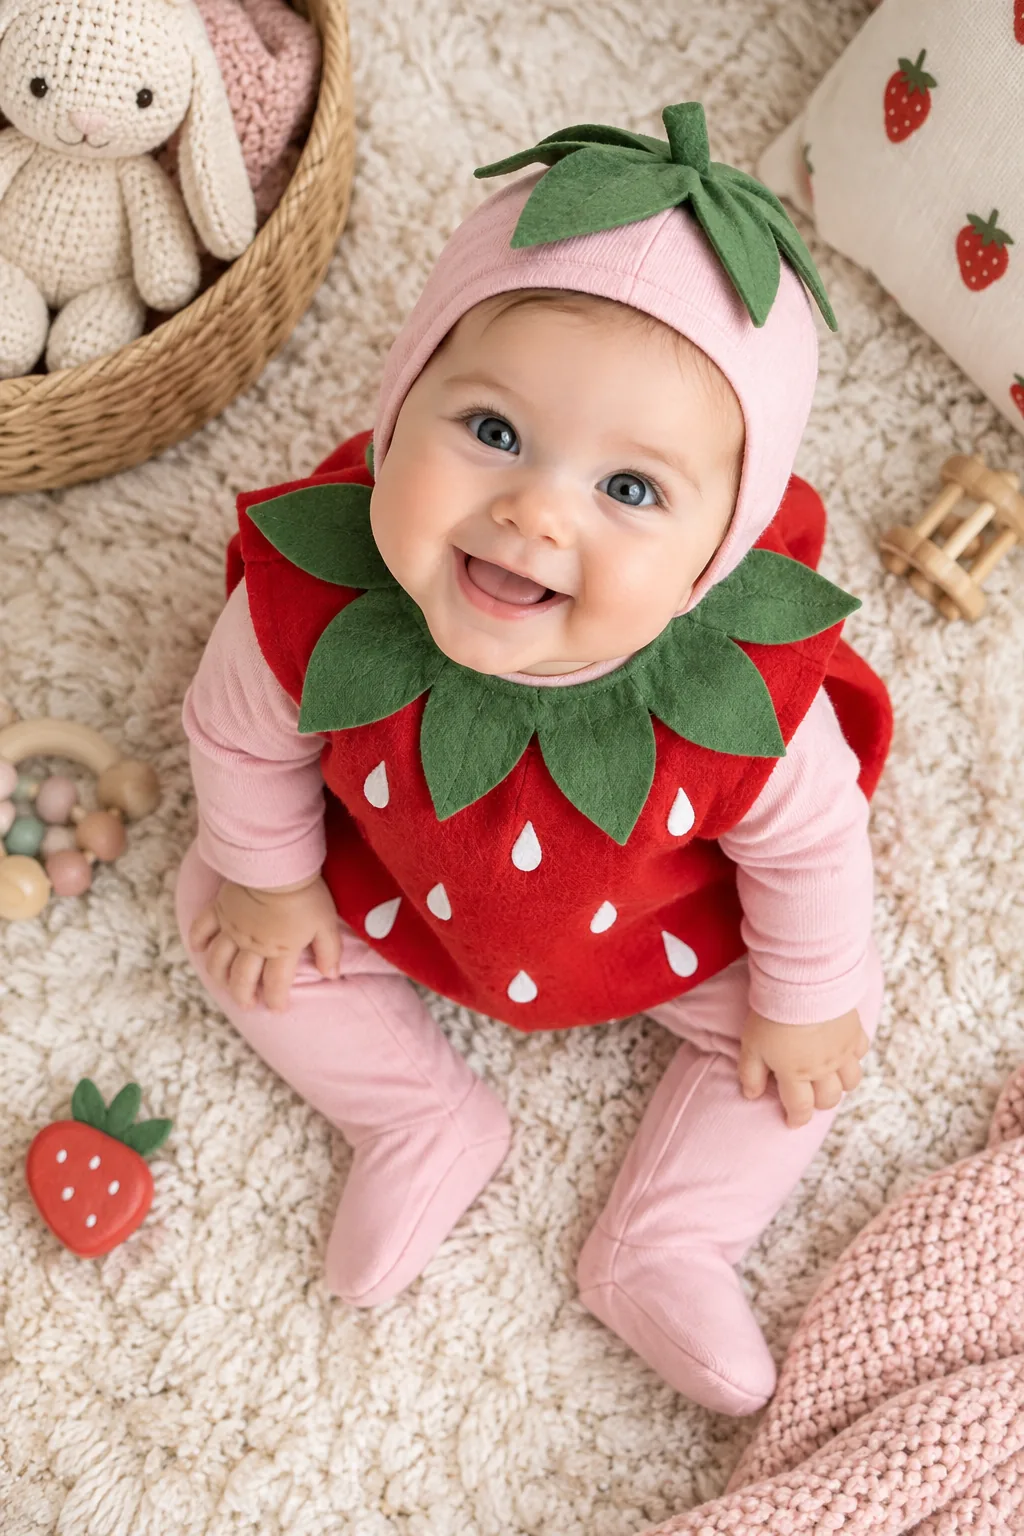
Building comfortable headpieces that babies will actually tolerate requires a soft, familiar starting point. Anchoring scratchy felt leaves or heavy stems to a soft cotton bonnet base protects sensitive skin and utilizes the existing chin ties for reliable, fuss-free stability.
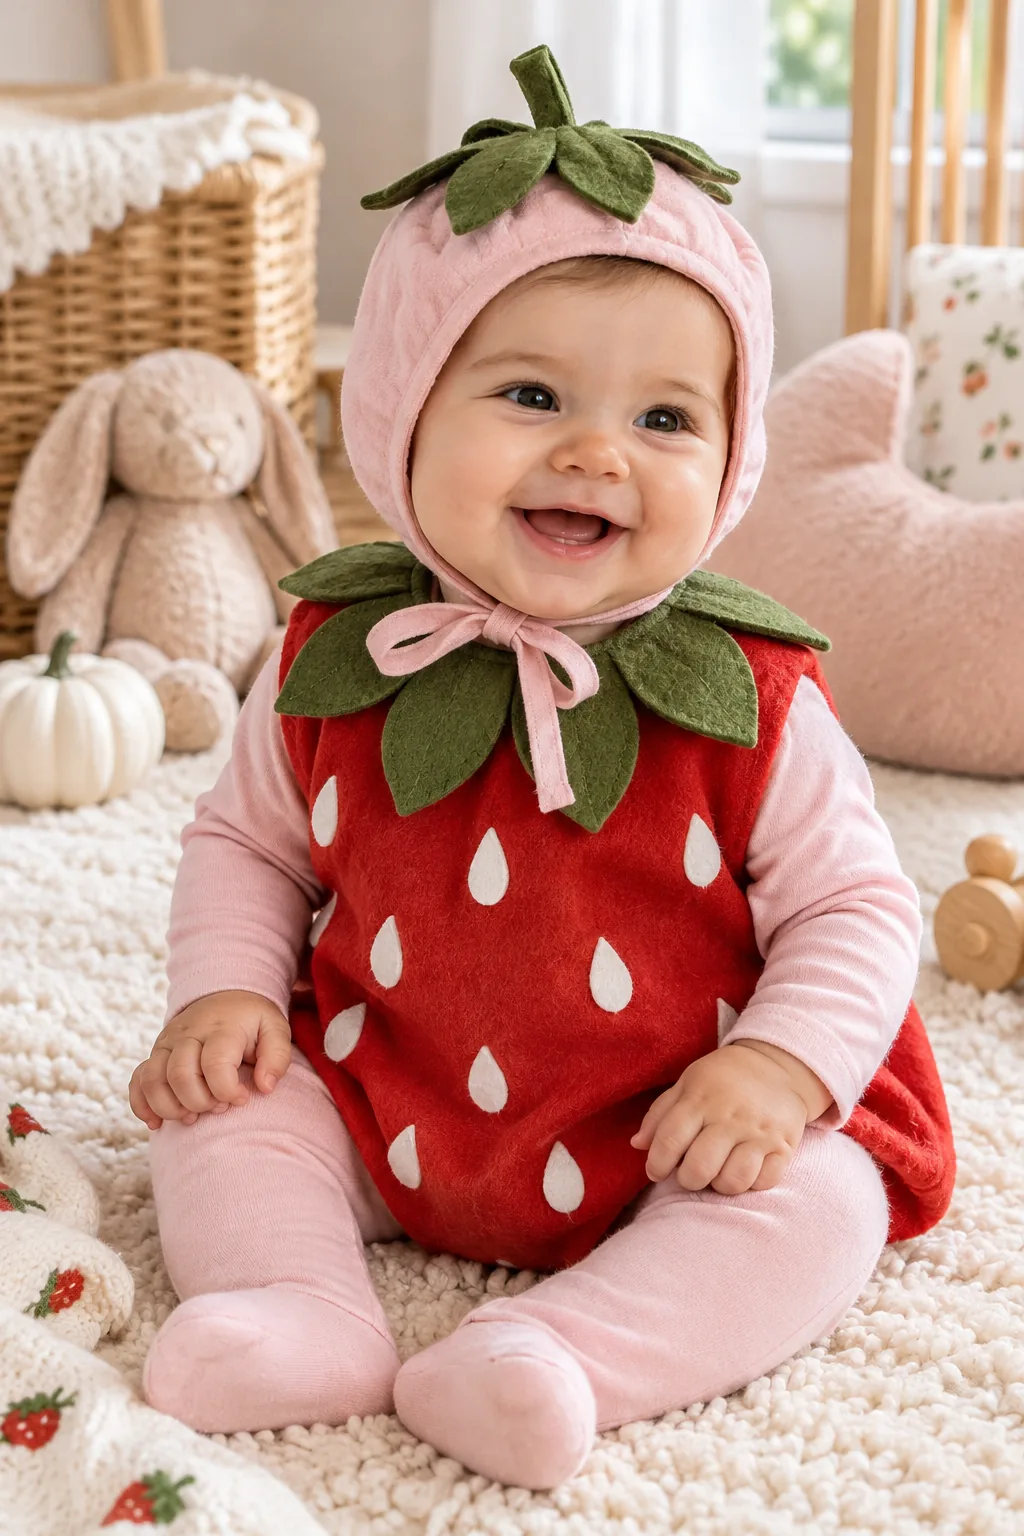
This protective barrier stops rough craft materials from rubbing against their forehead or neck during movement. The built-in straps keep top-heavy designs from slipping over their eyes, ensuring your little pumpkin or strawberry stays perfectly visible and completely content.
Adding Flexible Embellishments
Adding distinctive costume details without creating stiff, uncomfortable spots requires the right application technique. I recommend spacing painted fabric seeds roughly 2 inches apart across the bodice, using non-toxic, flexible fabric paint that moves naturally with the active child.
Because infants spend so much time sitting or being carried, hard plastic beads or thick embroidery can cause immediate pressure points. Using dimensional paint instead ensures the surface remains entirely flush, allowing them to roll and play without any irritation.
Selecting Safe Fabric Paints
Choosing the right medium for those painted details prevents the stiff tunic from cracking over time. Always verify that your dimensional fabric paint is rated as non-toxic and machine washable, ensuring it remains perfectly safe if the baby chews on it.
Selecting the Right Adhesives
Comparing different no-sew bonding methods is essential based on your costume’s overall weight and specific fabric type. Standard hot glue dries into hard, scratchy ridges that ruin the drape of baby clothing and often snap under active, repetitive movement.
| Adhesive Type | Flexibility | Best For | Dry Time |
|---|---|---|---|
| Hot Glue | Rigid | Props only | Instant |
| Fabric Glue | Medium | Small details | 24 hours |
| Hem Tape | High | Main seams | 8 seconds |
| Double-Sided Tape | Low | Quick photos | Instant |
Heat-activated tapes provide a softer, more durable hold that flexes effortlessly with crawling infants. This invisible bond keeps the outfit looking seamless while surviving the inevitable tugging and pulling that happens during a busy holiday event with family.
Seamless Construction Secrets
Joining the costume shell to the base layer requires exact timing and the correct materials. You need to use 5/8-inch heavy-duty iron-on hem tape, pressing firmly with a medium-high iron for exactly 8 seconds to create a permanent, flush seam.
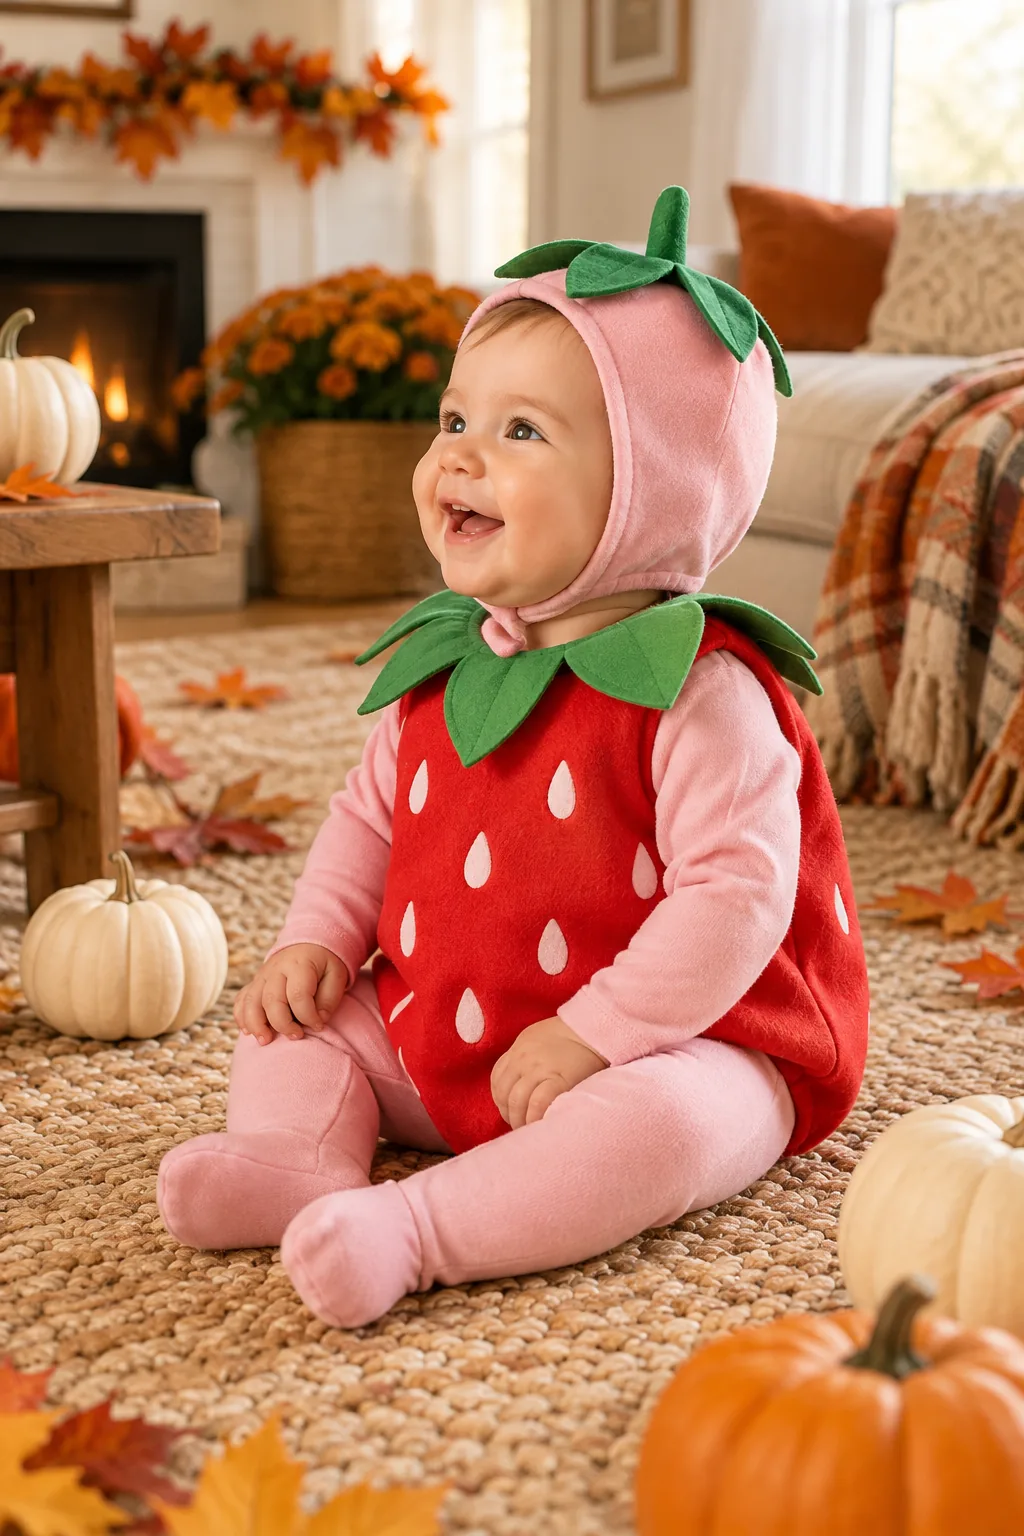
When I made my son’s woodland creature outfit last year, this exact pressing method kept the heavy felt collar perfectly flush all night. The continuous heat bond prevents the edges from curling up, giving your DIY project a polished appearance.
Reinforcing High-Stress Areas
Areas around the shoulders and waist endure the most strain as you lift the baby in and out of carriers. Applying a second, shorter strip of hem tape directly at the armpit seams prevents the rigid felt from pulling away from the stretchy sleeper.
Designing for Stroller Comfort
Costumes that look amazing from the front often fail when you place the baby on their back. Eliminate any bulky felt layers, hard stems, or thick bonded seams running down the spine so they can recline peacefully during neighborhood walks.
Testing the Costume’s Mobility
Before the big night, let your baby crawl around the living room in the finished outfit for at least twenty minutes. This trial run reveals any tight spots around the knees or shoulders, giving you plenty of time to trim away restrictive felt sections.
The Complete No-Sew Assembly Guide
Delivering on the promise of a stress-free project, this comprehensive step-by-step assembly process yields a fully finished, photo-ready outfit. Following these exact phases ensures your layers align perfectly without ever threading a needle or fighting with a jammed sewing machine bobbin.
- Prep the base: Pre-wash the bamboo sleeper and map out the 3-inch diaper clearance zone with tailor’s chalk.
- Bond the tunic: Apply the 5/8-inch hem tape to attach the felt shell, pressing for exactly 8 seconds per section.
- Paint details: Space the flexible fabric seeds roughly 2 inches apart and allow them to cure completely flat overnight.
- Assemble headpiece: Anchor the decorative felt leaves directly onto the soft cotton bonnet using a flexible fabric glue.
Working in this specific inside-out order prevents accidental glue smudges on the delicate foundation layer. You can easily complete the entire assembly during a single afternoon nap time, leaving the outfit fully cured and ready for immediate wear.
Managing Indoor Temperatures
Transitioning from chilly outdoor trick-or-treating to a warm indoor party requires adaptable clothing strategies. Because the felt tunic is permanently bonded to the sleeper, keep a lightweight cotton blanket handy rather than trying to wrestle the entire costume off.
More Base Layer Costume Ideas
Use the exact same no-sew technique to build these adorable alternative looks.
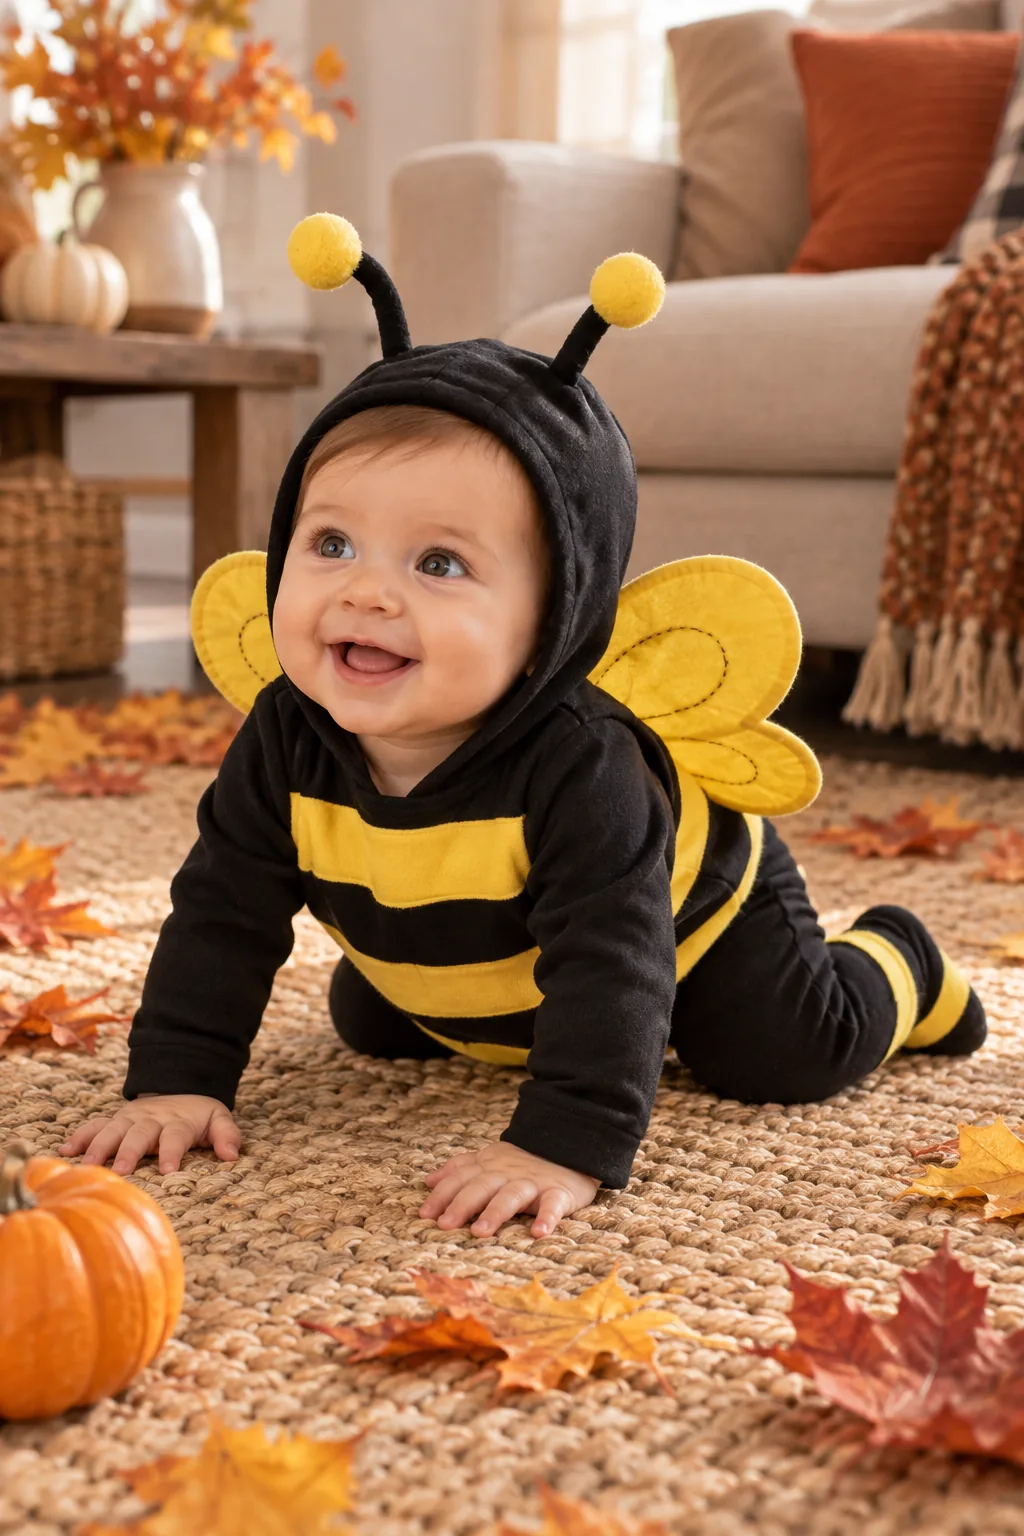
The Bumblebee: Black sleepers make the perfect foundation for high-contrast yellow felt stripes bonded directly to the torso.
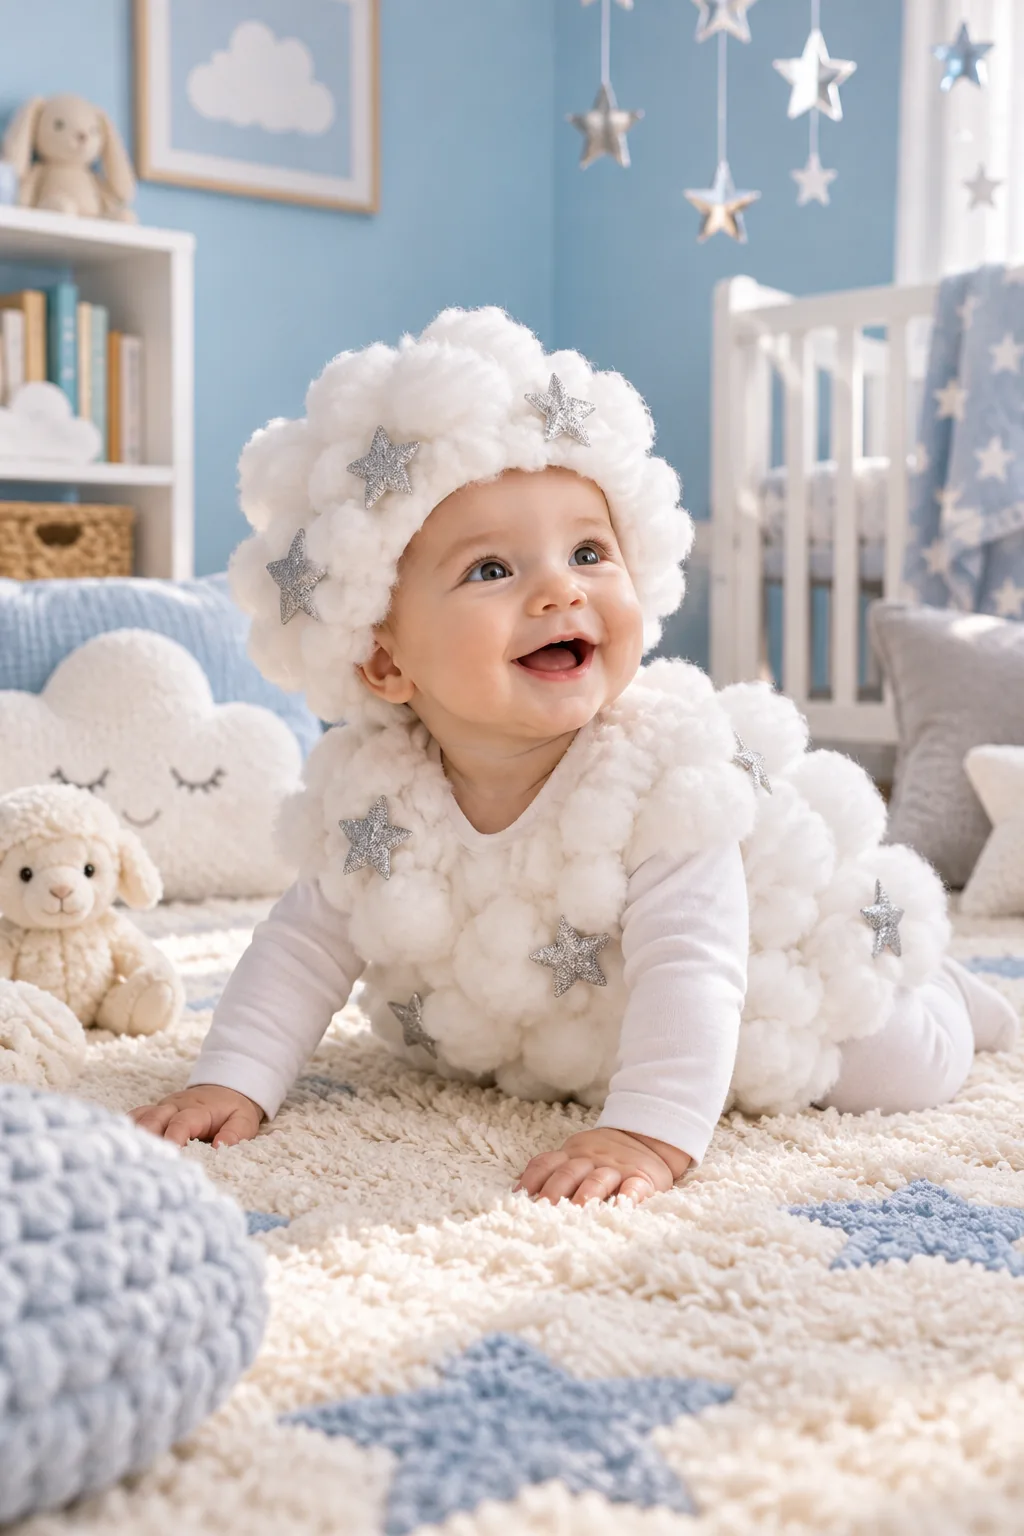
The Little Cloud: Attach lightweight polyester batting to a white base layer for a soft, pillowy cloud costume that stays out of the baby's face.
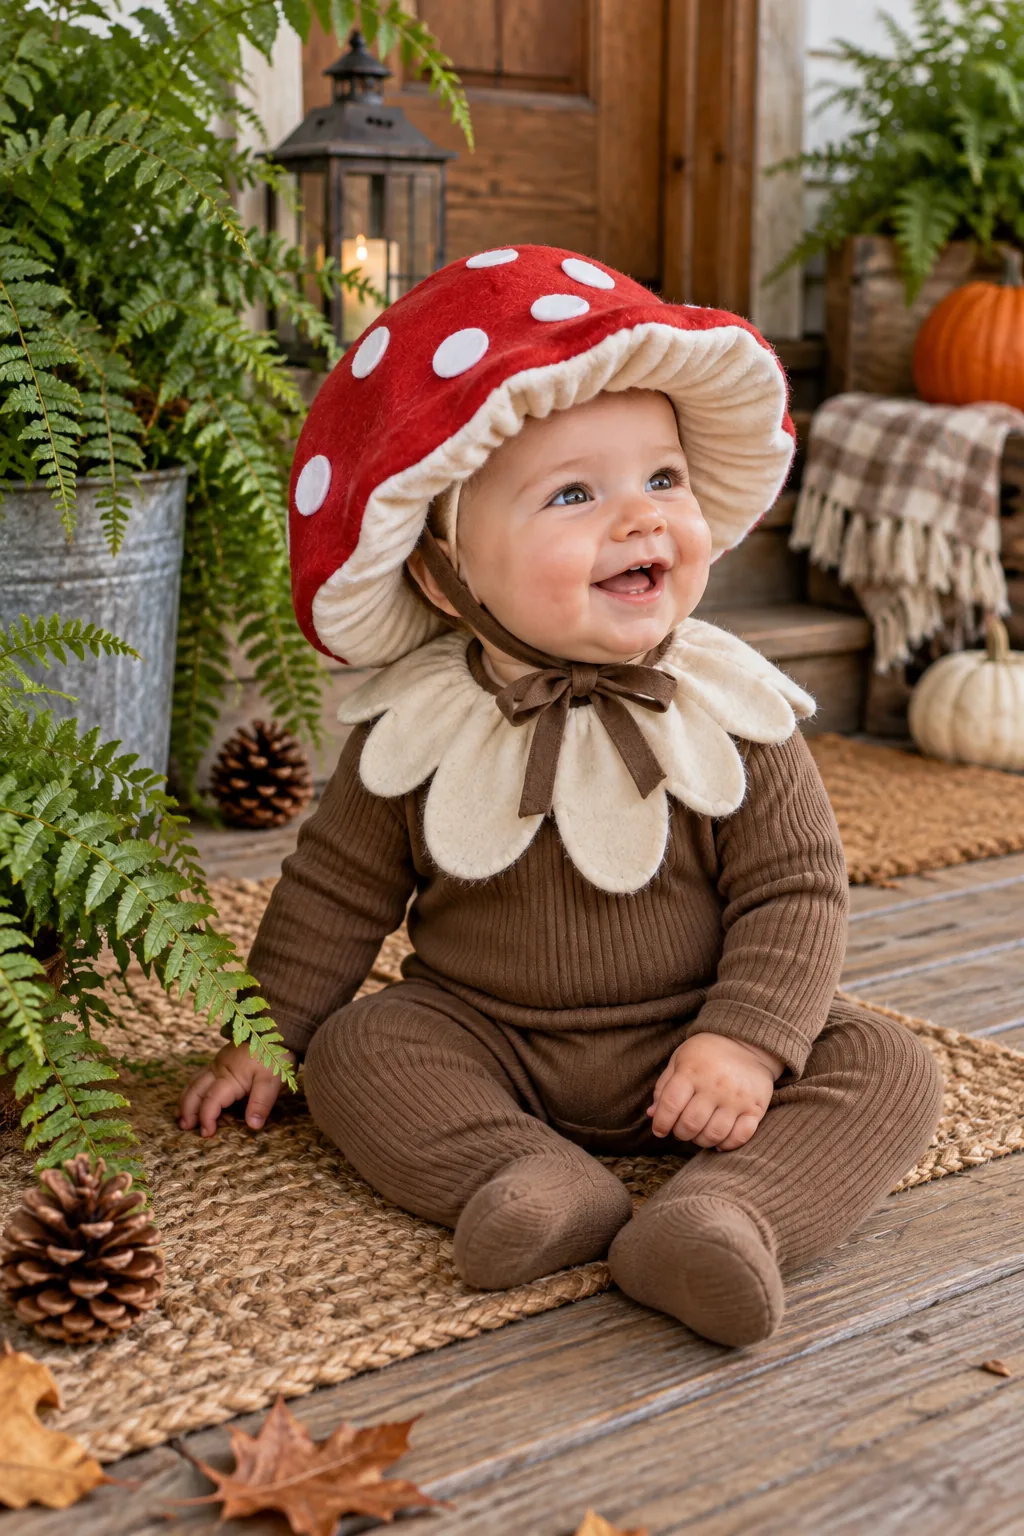
The Forest Toadstool: Pair an earthy brown ribbed sleeper with an oversized red bonnet painted with white fabric dots for a woodland theme.
Post-Halloween Care
Seeing the final, fully assembled costume completely validates this inside-out method. Combining the soft sleeper base, the securely bonded tunic, the flexible painted details, and the anchored bonnet creates one cohesive, photo-ready look that survives the entire evening.
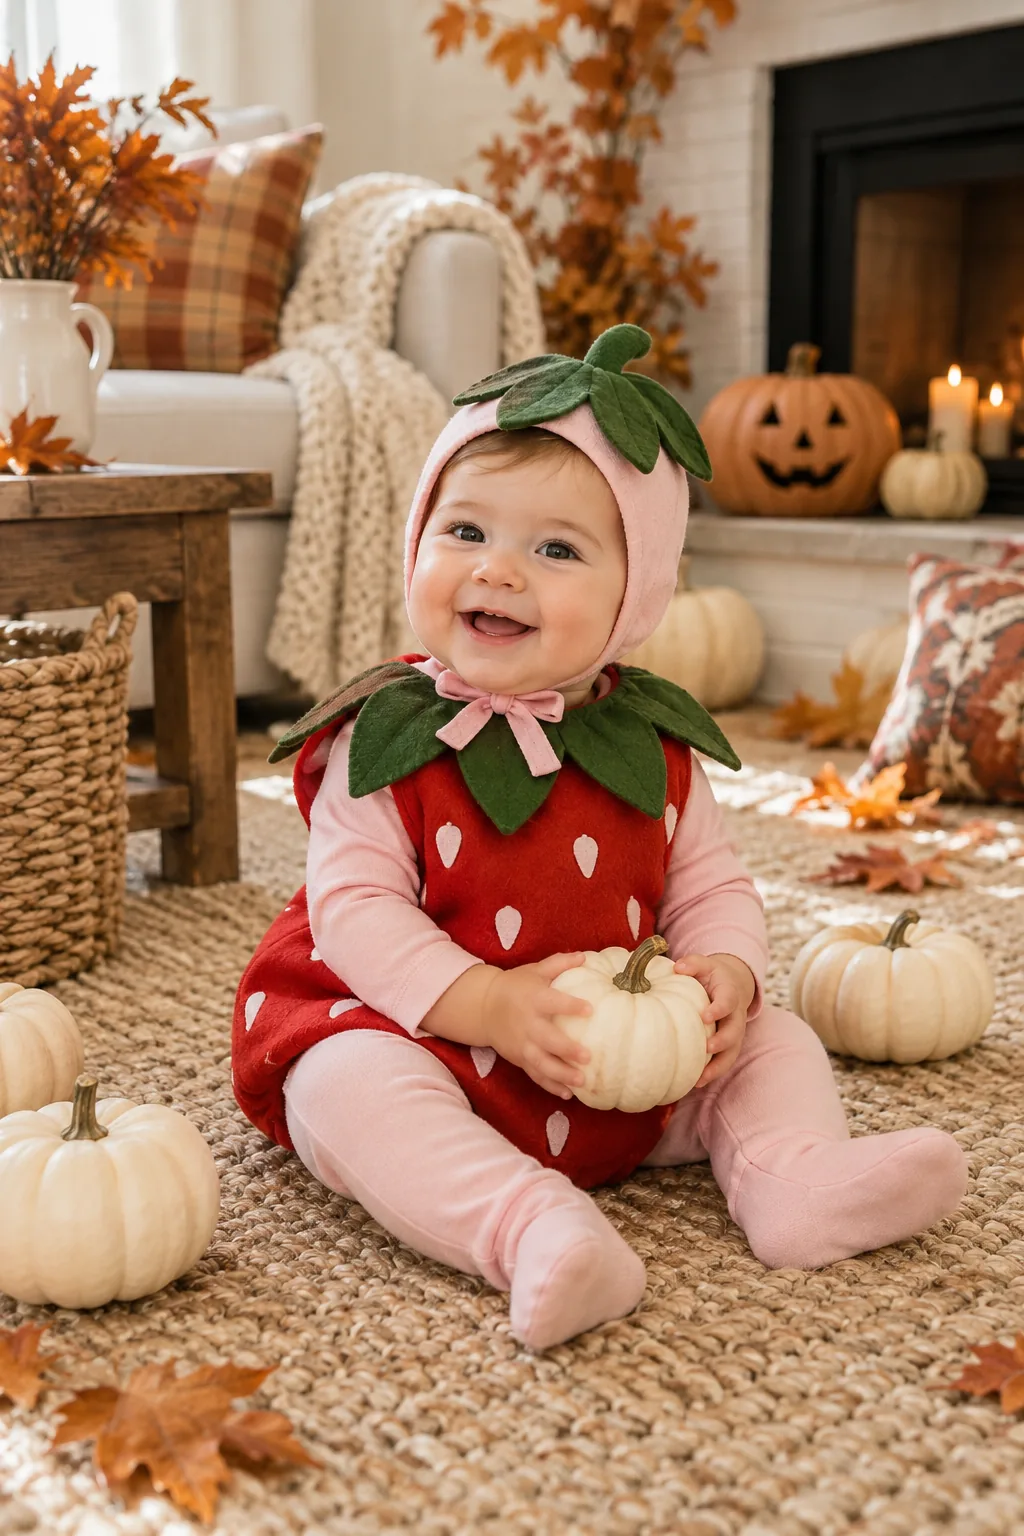
Cleaning the outfit after the festivities ensures it survives for future dress-up sessions. I actually managed to save our strawberry costume for my niece just by carefully dabbing away a minor chocolate smudge immediately before storing it.