
Fall Birch Canvas: Download the 9-Step Painting Sequence
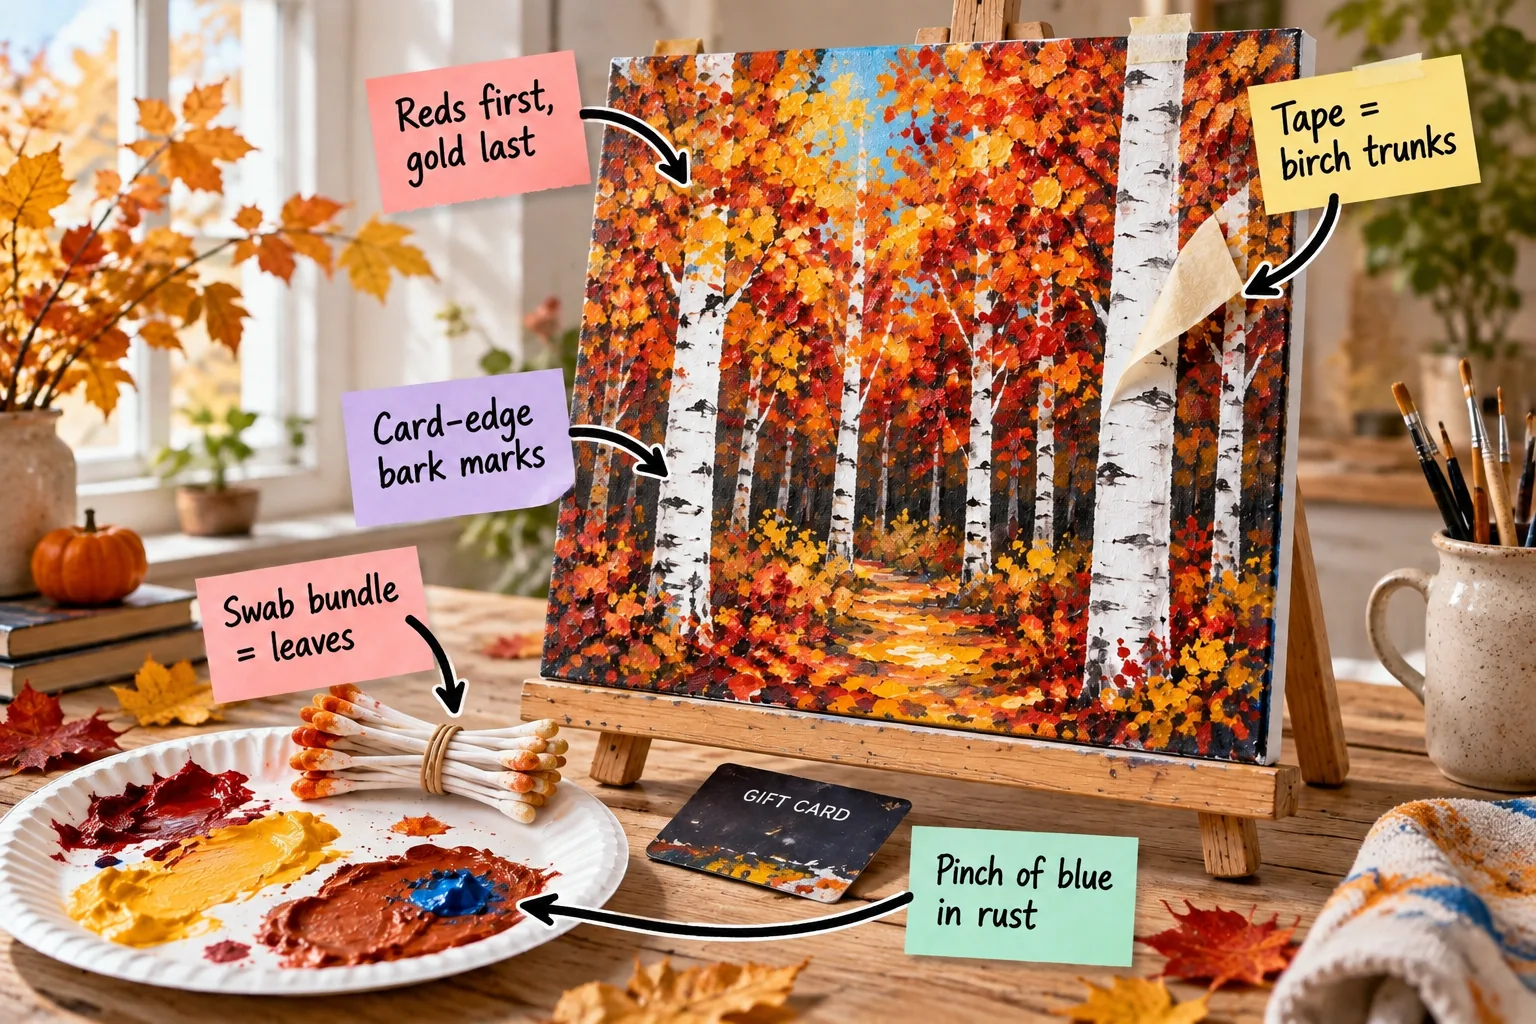
Grab this printable 9-step tutorial and 5-color mixing chart to create a textured 11×14 autumn birch forest using tape and cotton swabs. You will be able to paint a stunning seasonal canvas using simple household items as your primary tools, achieving professional depth effortlessly.
The Complete Birch Canvas Sequence
Download the printable 9-step sequence and the companion 5-color fall paint-mix chart to start your textured 11×14 acrylic canvas. This visual guide covers everything you need, from the initial tape placement to the final protective seal, ensuring you never miss a crucial drying phase.
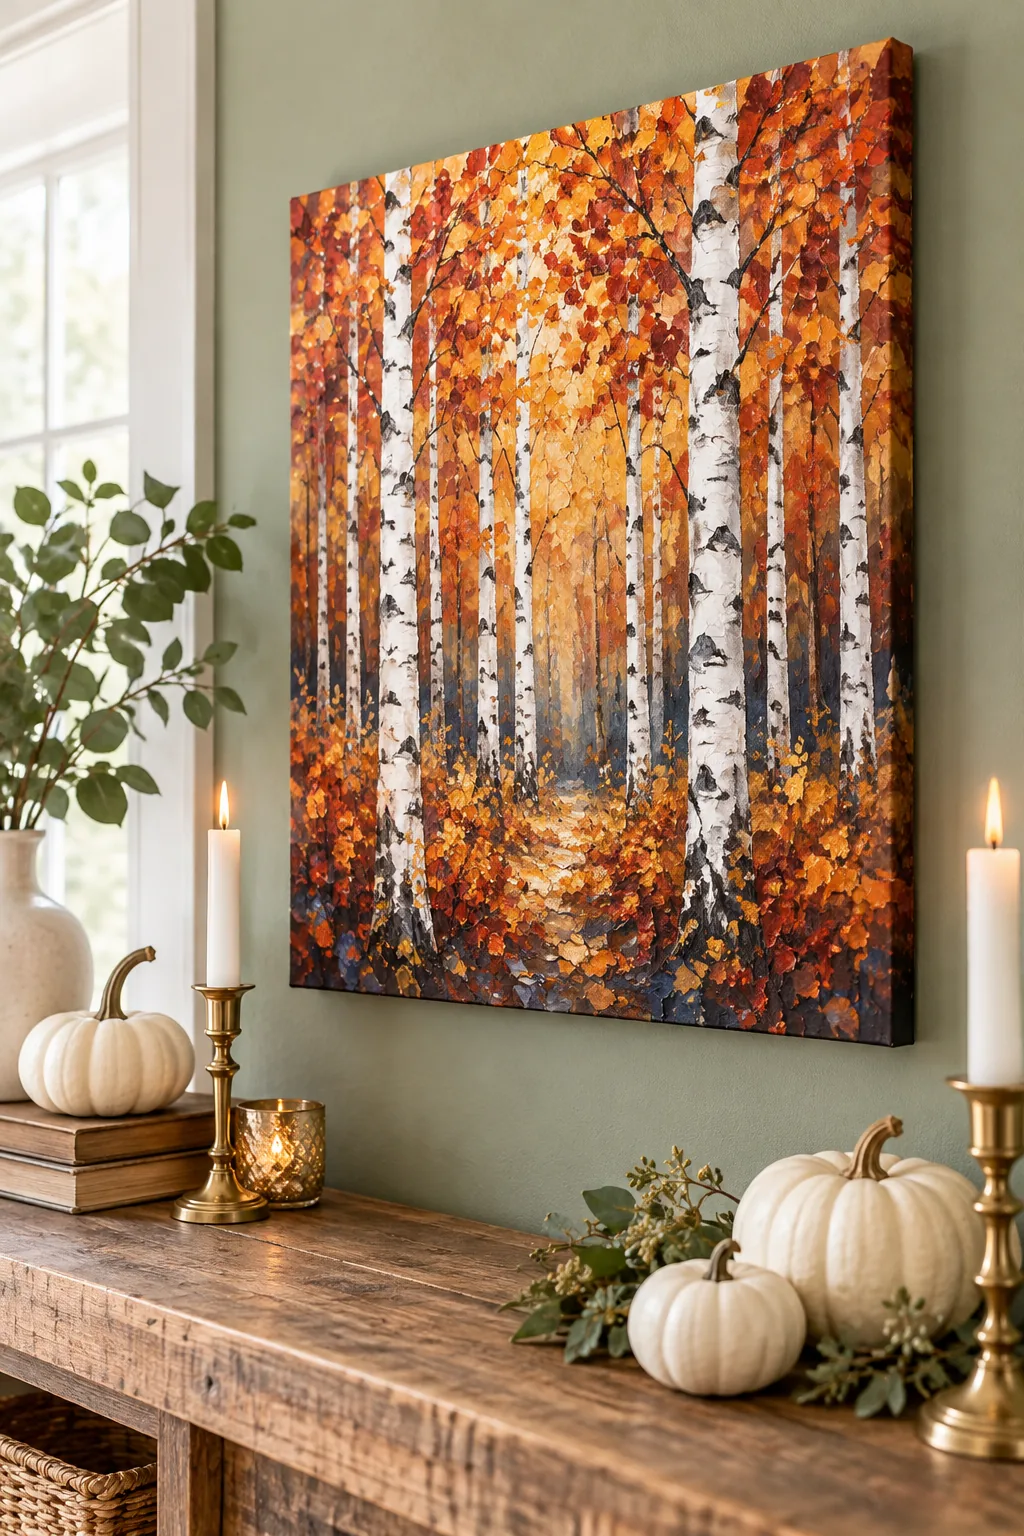
Following these steps sequentially guarantees your colorful autumn foliage sits perfectly behind the crisp foreground trunks. You can easily complete this entire beginner-friendly project in a single weekend afternoon, transforming a blank canvas into a vibrant woodland scene ready for your seasonal mantel display.
Masking the Birch Trunks
Apply 5 to 7 vertical strips of masking tape directly to the blank canvas to reserve the crisp white background for the trees. Press the edges down firmly to prevent the acrylic background colors from bleeding underneath and ruining the sharp trunk outlines.
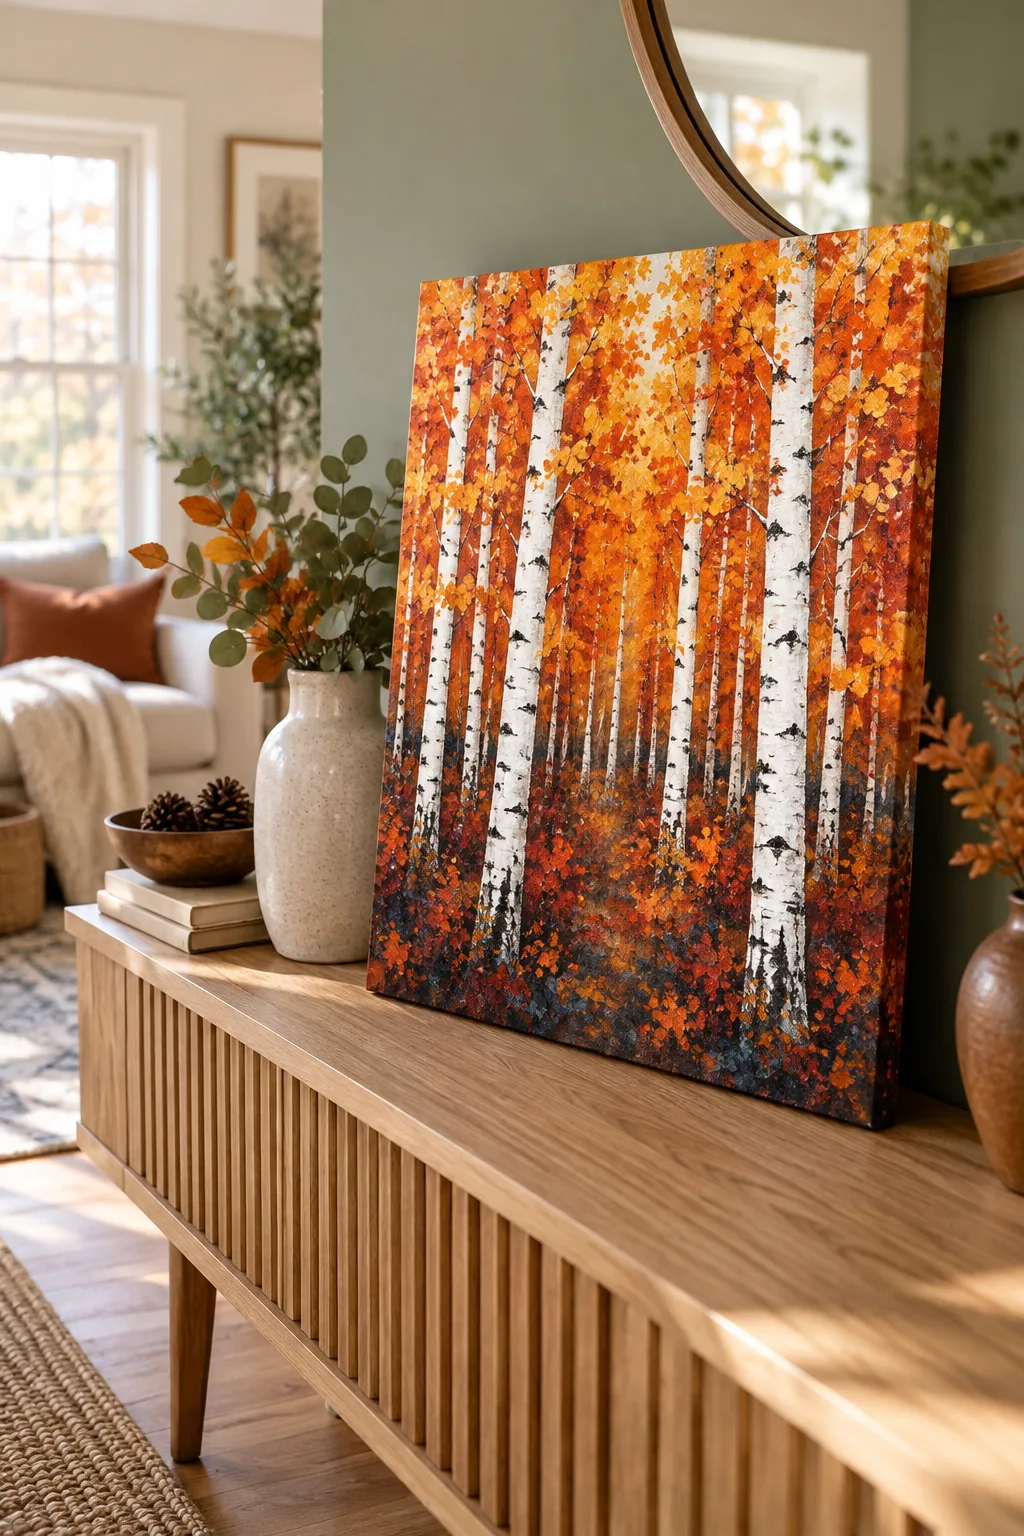
Standard masking tape creates a clean edge, but real birch trees are rarely perfectly straight. I actually use this exact tearing trick for my workshop canvases because it makes the forest look incredibly natural, mimicking the organic growth patterns found in real woodlands.
Mixing the Fall Paint Palette
Follow the downloaded chart to mix your five core autumn shades directly on a simple paper plate. Keep your paint puddles thick and generous so they easily coat the cotton swabs later, ensuring your stamped leaves maintain that signature heavy, textured acrylic peak.
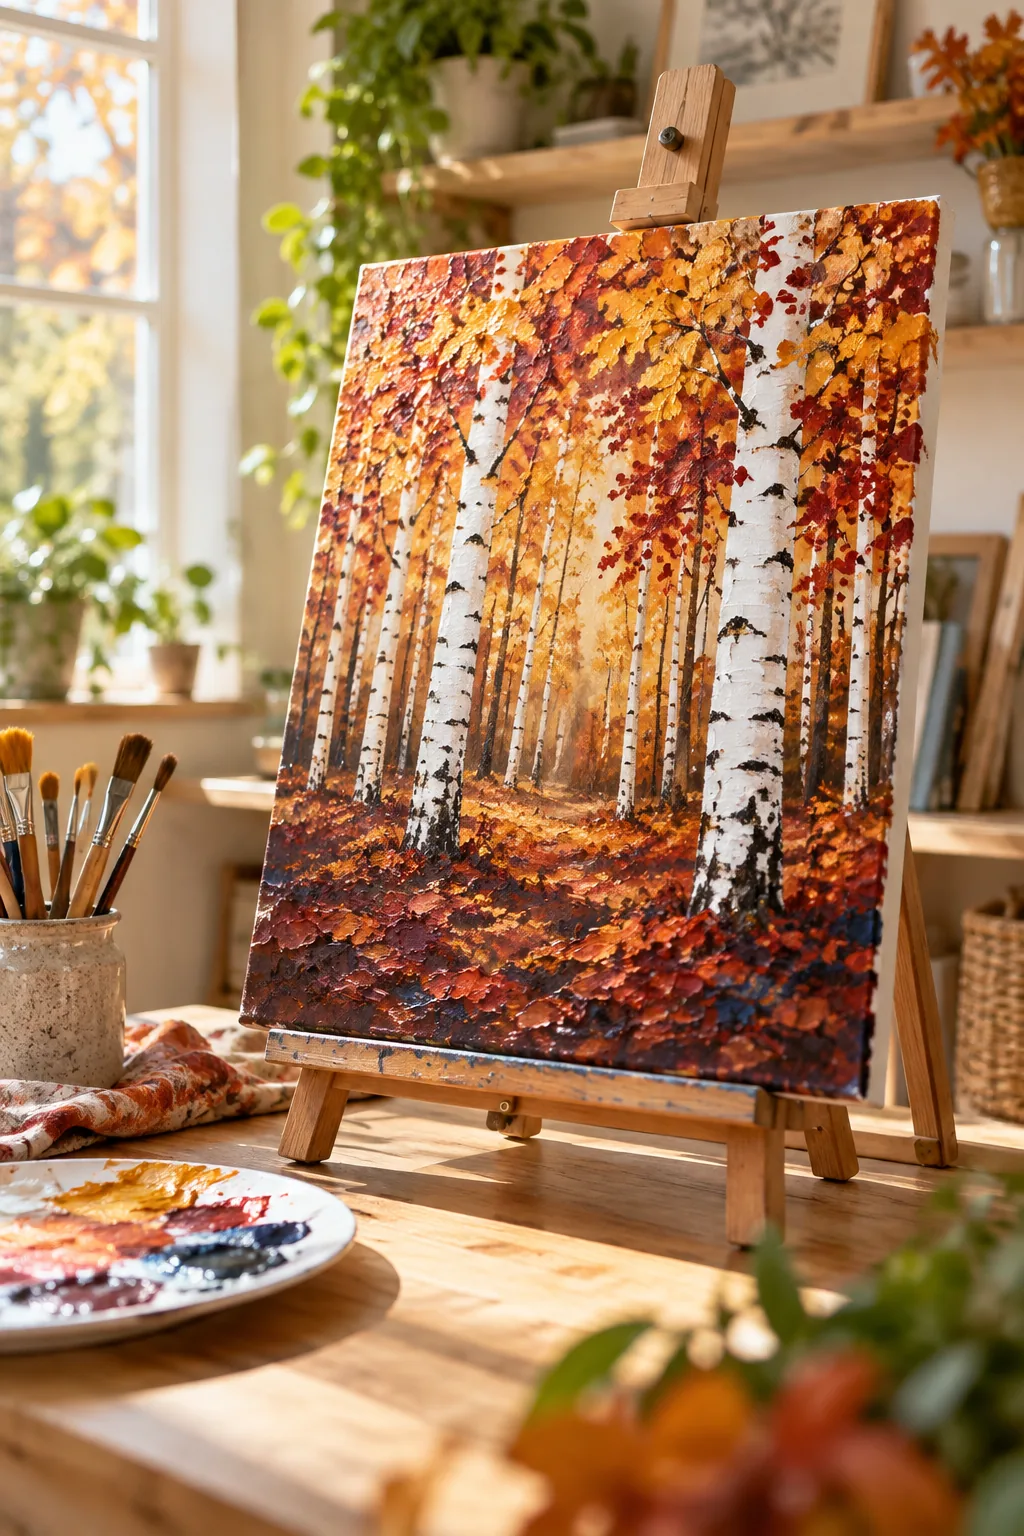
To create the deep shadow tone for the forest floor, fold a tiny pinch of blue into the rich rust-brown puddle. This unexpected color combination creates a moody, realistic anchor for the bright leaves above, pushing the vibrant canopy forward in the composition.
- Squeeze equal parts cadmium red and yellow for the base orange.
- Add a single drop of ultramarine blue to the rust puddle for deep shadows.
- Keep pure golden yellow and crimson separate for the final top highlights.
Bundling Swabs for Leaves
Gather exactly 15 cotton swabs and secure them tightly with a rubber band to create a textured stippling tool. Ensure all the cotton tips are perfectly level before tightening the band so the tool stamps evenly across the canvas without leaving empty gaps.
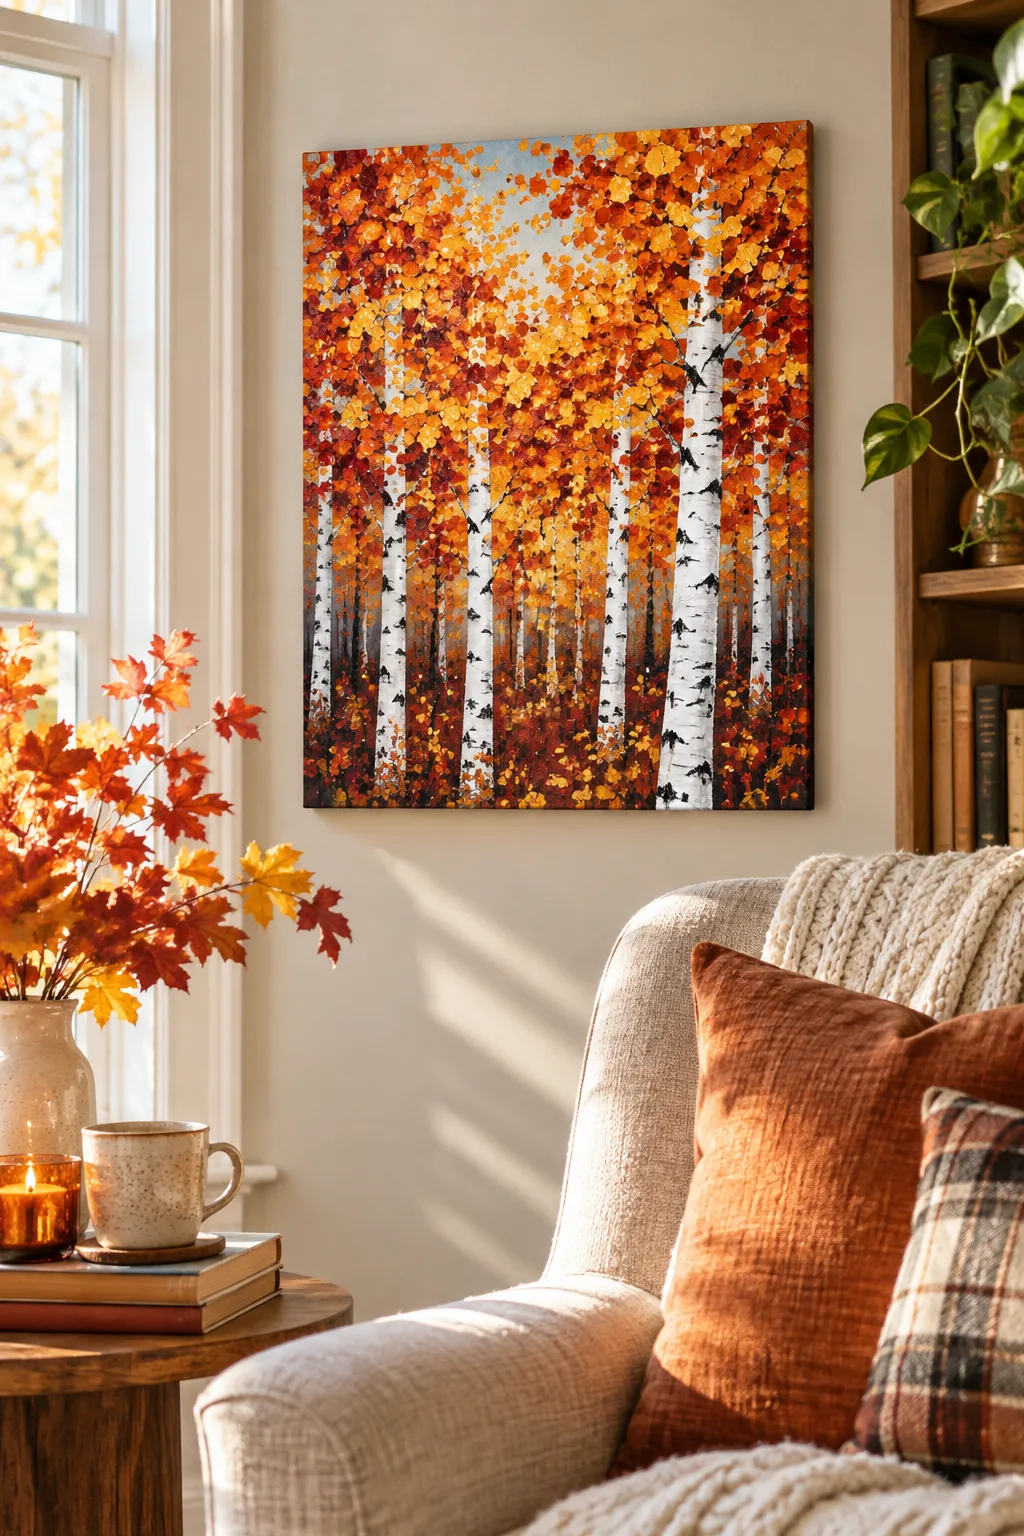
This dense bundle picks up multiple colors at once and stamps perfectly sized leaf clusters directly onto the canvas. Pressing straight down deposits thick, satisfying peaks of acrylic paint that mimic real foliage, adding incredible three-dimensional volume to your flat background.
| Tool | Action | Result |
|---|---|---|
| Swab bundle | Stippling straight down | Thick, clustered foliage |
| Gift card edge | Horizontal scraping | Sharp, realistic bark |
| Masking tape | Reserving canvas | Crisp white trunks |
Layering the Fall Canopy
Build the foliage canopy by stippling the darkest colors first to establish deep, natural shadows. Apply the deep crimson dots as your dense base layer across the upper half of the canvas, leaving small gaps where the lighter colors will eventually shine through.
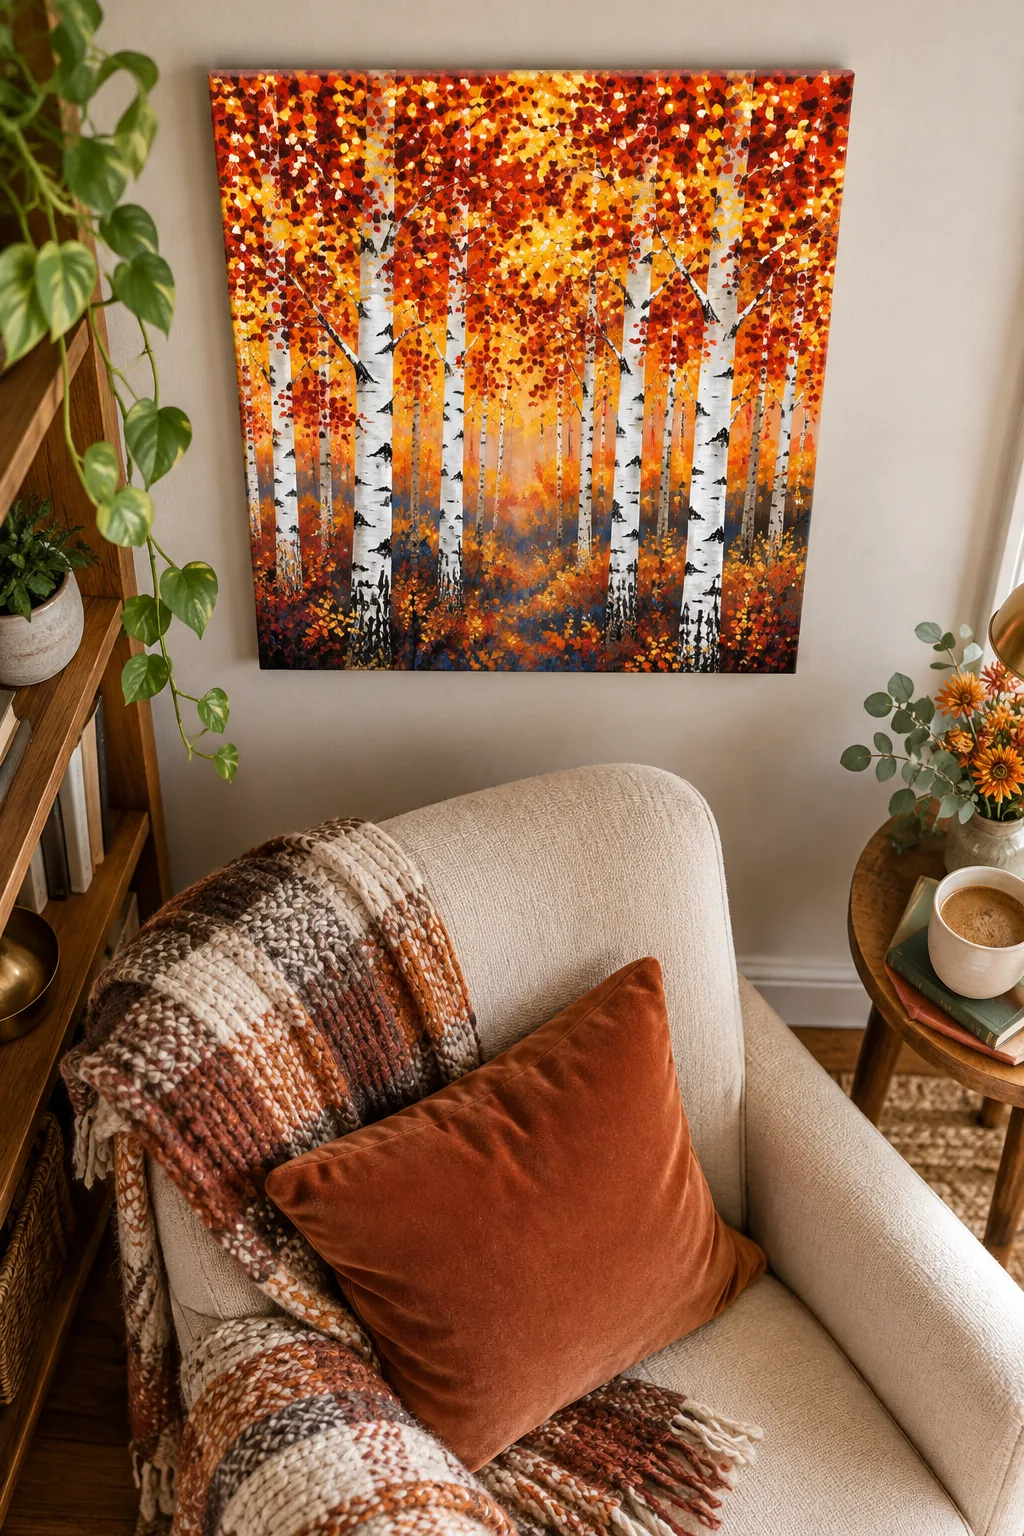
Next, stamp the bright saffron-gold dots on top so the lighter leaves appear to catch the sunlight. I always hang my favorite autumn hikes in my living room, and this specific layering technique perfectly captures that glowing October canopy I love so much.
Stamping Bark Texture
Dip the long edge of an old plastic gift card lightly into pure black acrylic paint. Tap off any excess paint on your paper plate so the card edge is merely coated, preventing heavy black blobs from ruining your pristine white birch trunks.
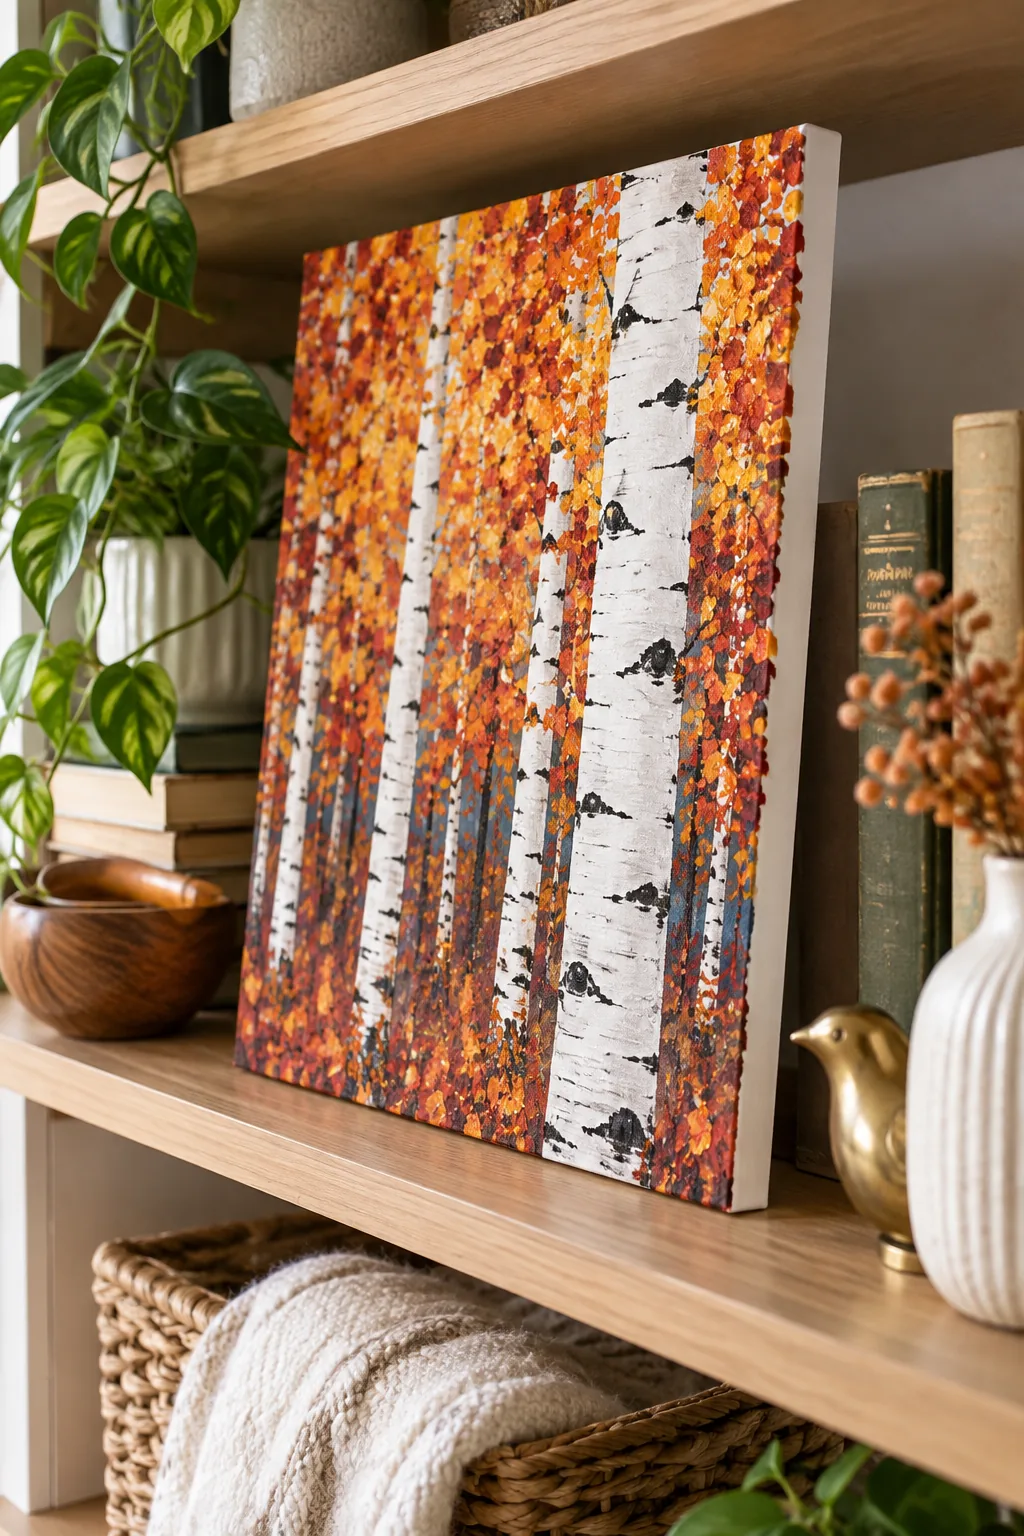
Press the painted edge horizontally against the white trunks and scrape slightly inward to transfer sharp, realistic bark marks. Varying the pressure and length of these horizontal scrapes gives each individual tree distinct character and authentic woodland texture.
The Final Tape Reveal
Wait approximately 20 minutes for the heavy acrylic foliage layers to become touch-dry before removing the tape. Peeling the strips away reveals the stark white canvas underneath, instantly pushing the colorful forest into the background and bringing the trunks sharply forward.
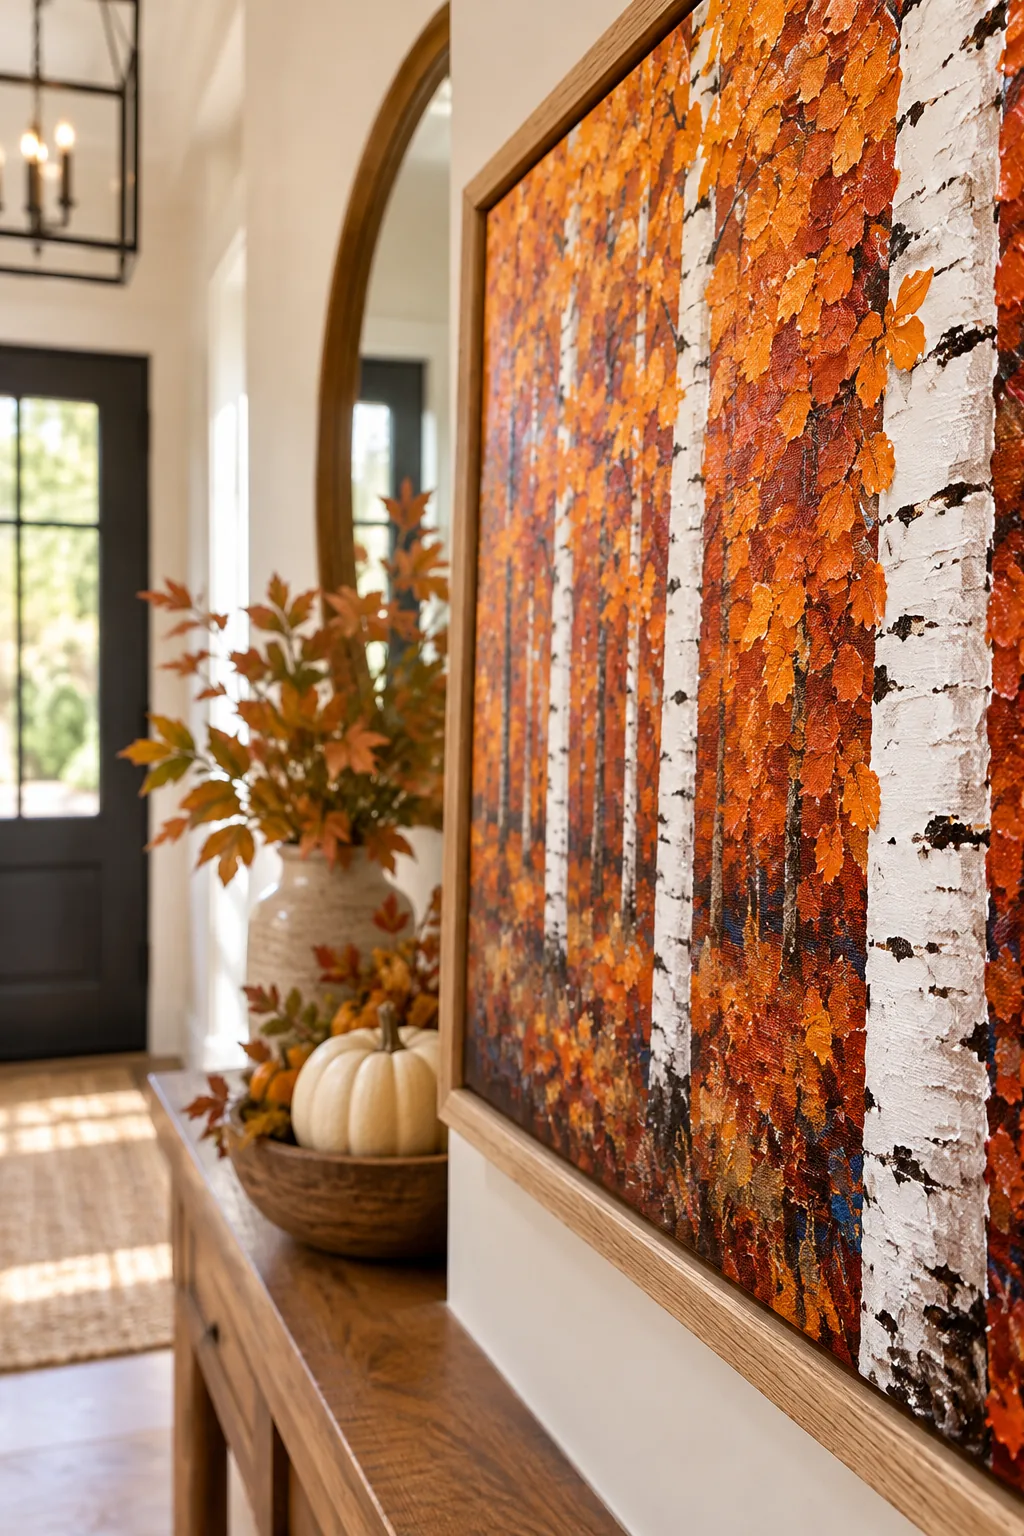
The tape reveal is the most satisfying step, but poor peeling technique can ruin the crisp lines you worked hard to protect. Pulling the tape at a sharp angle ensures the thick acrylic paint breaks cleanly at the designated line.
5 Ways to Style Your Birch Painting
See how different color palettes and framing choices can adapt this simple technique to any room.
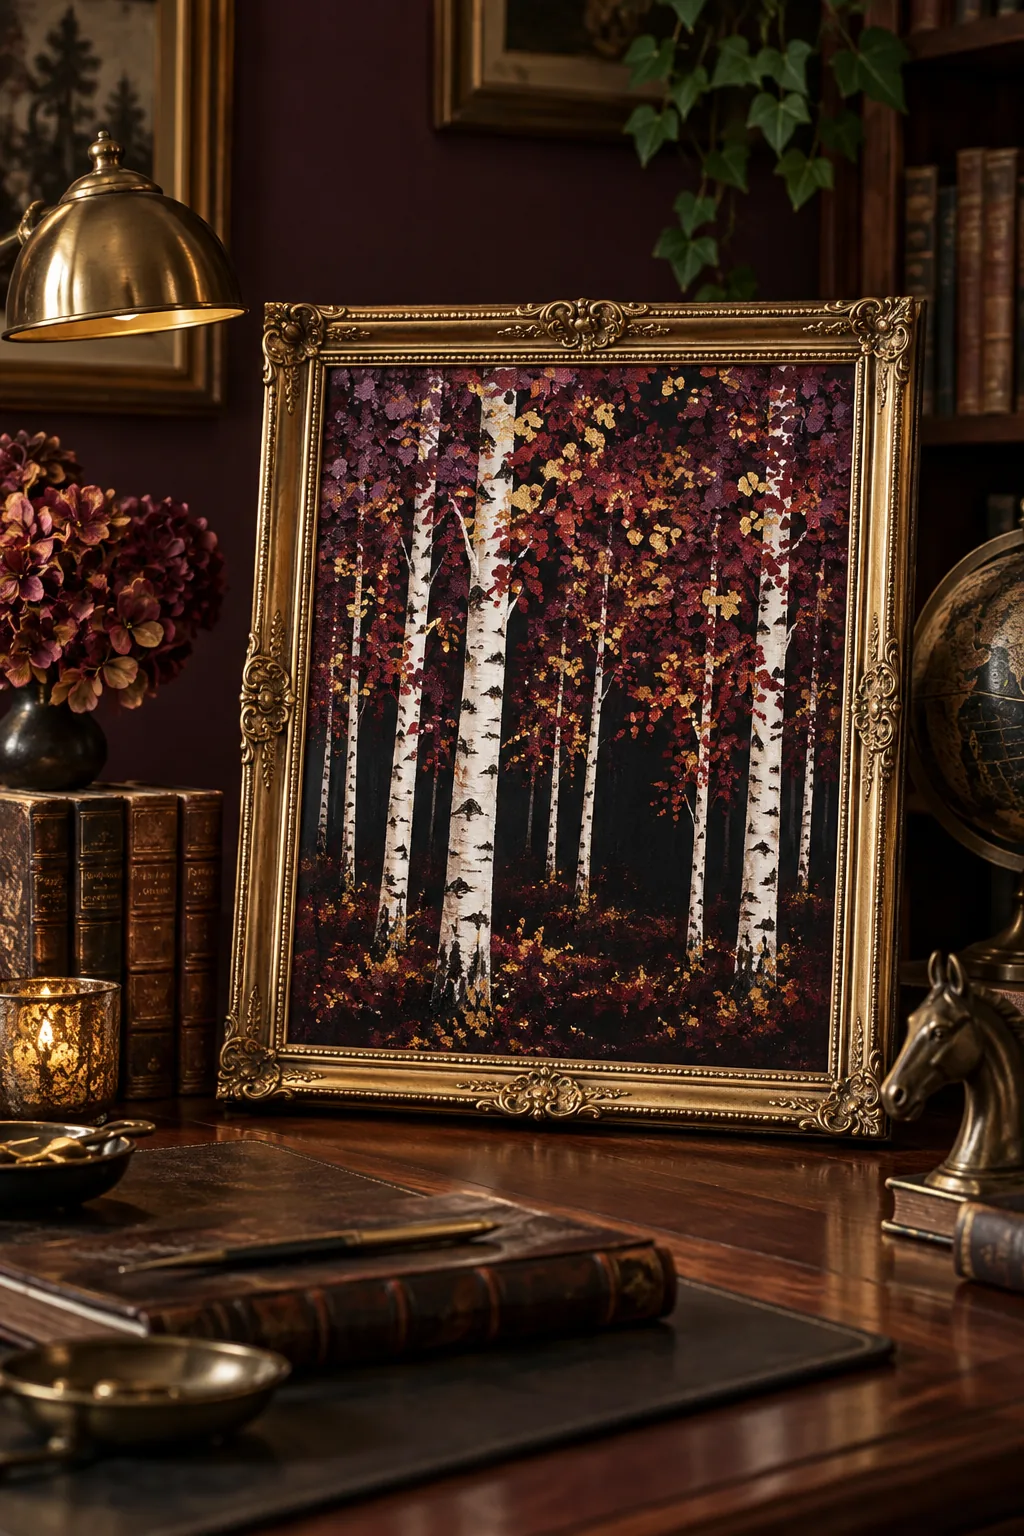
Moody Dark Academia: Swap the bright orange for deep plum and burgundy to create a sophisticated, dramatic forest perfect for a study.
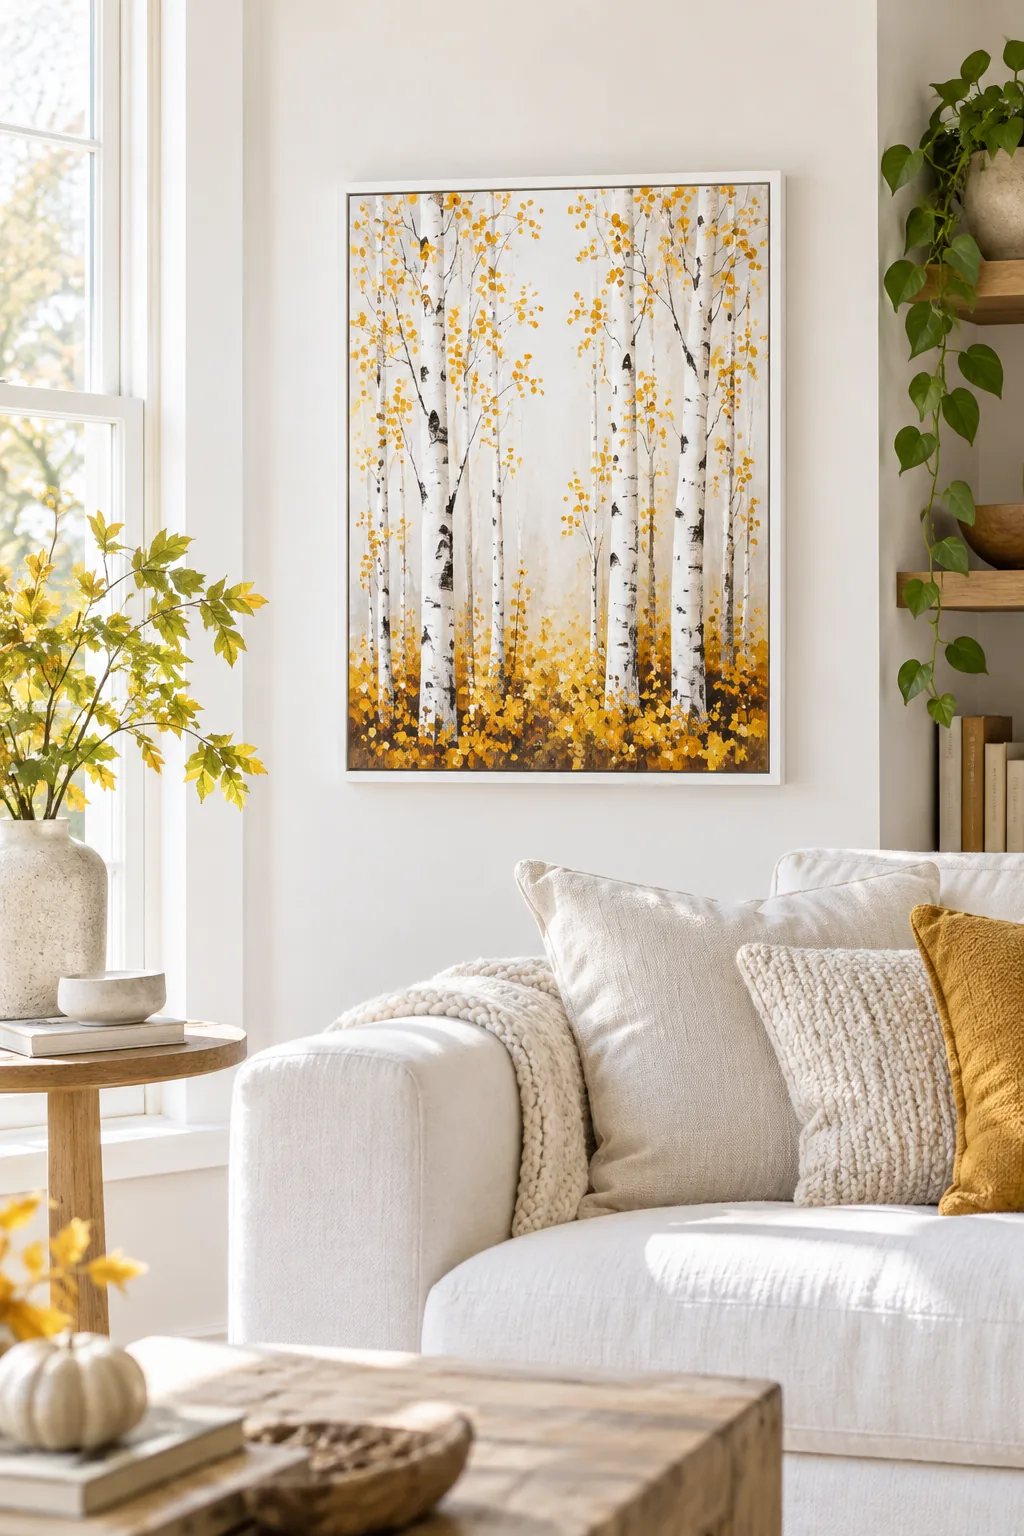
Bright Minimalist: Leave plenty of white space and use only a single shade of mustard yellow for a clean, modern aesthetic.
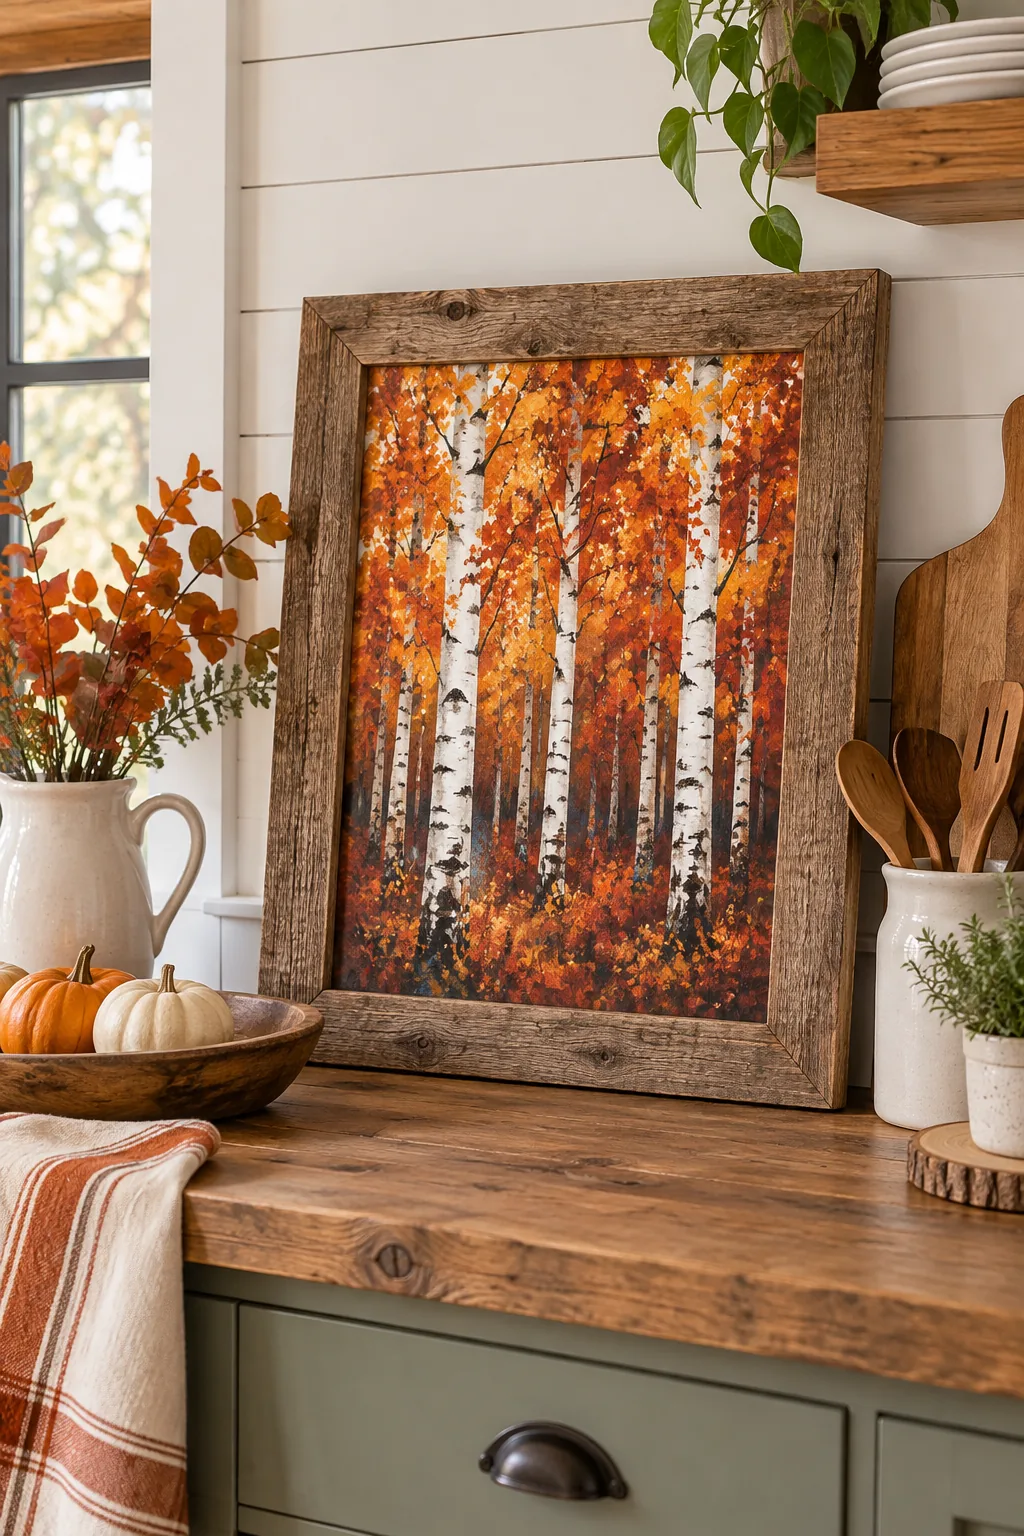
Rustic Farmhouse: Lean heavily into burnt orange and frame the finished canvas in chunky reclaimed wood to complement a cozy farmhouse space.
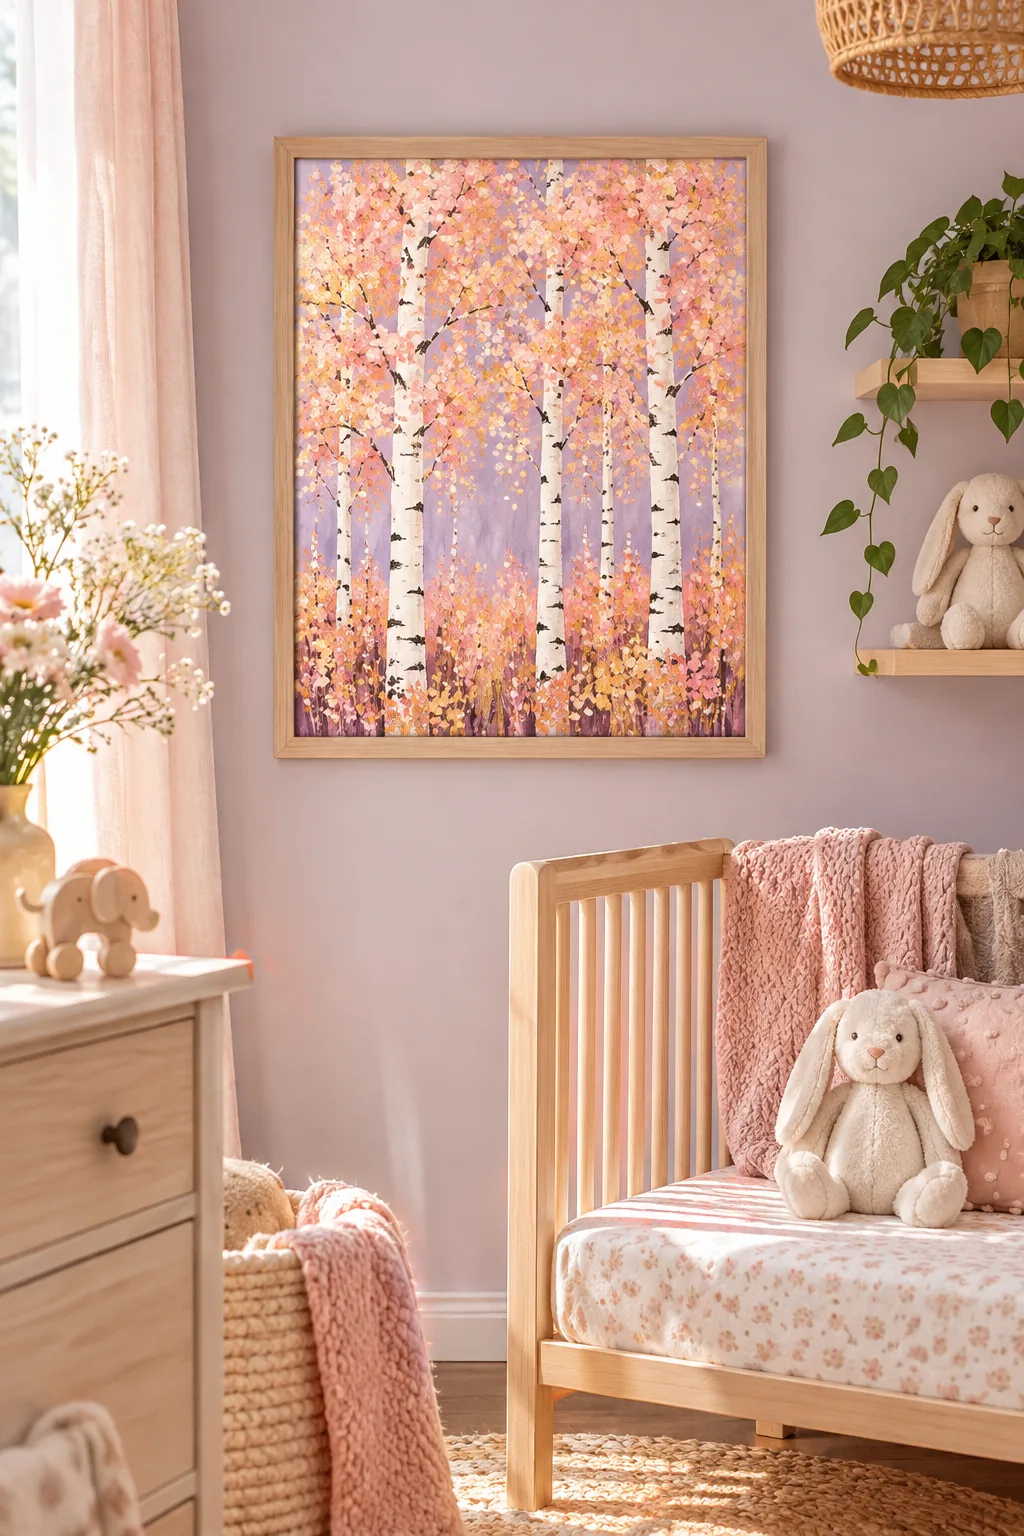
Pastel Sunset: Paint the background lilac and use soft blush and peach for the leaves to create a dreamy, gentle landscape.
Winter Transition: Reduce the foliage drastically and introduce cool ice-blue tones to capture the chilling beauty of late November.
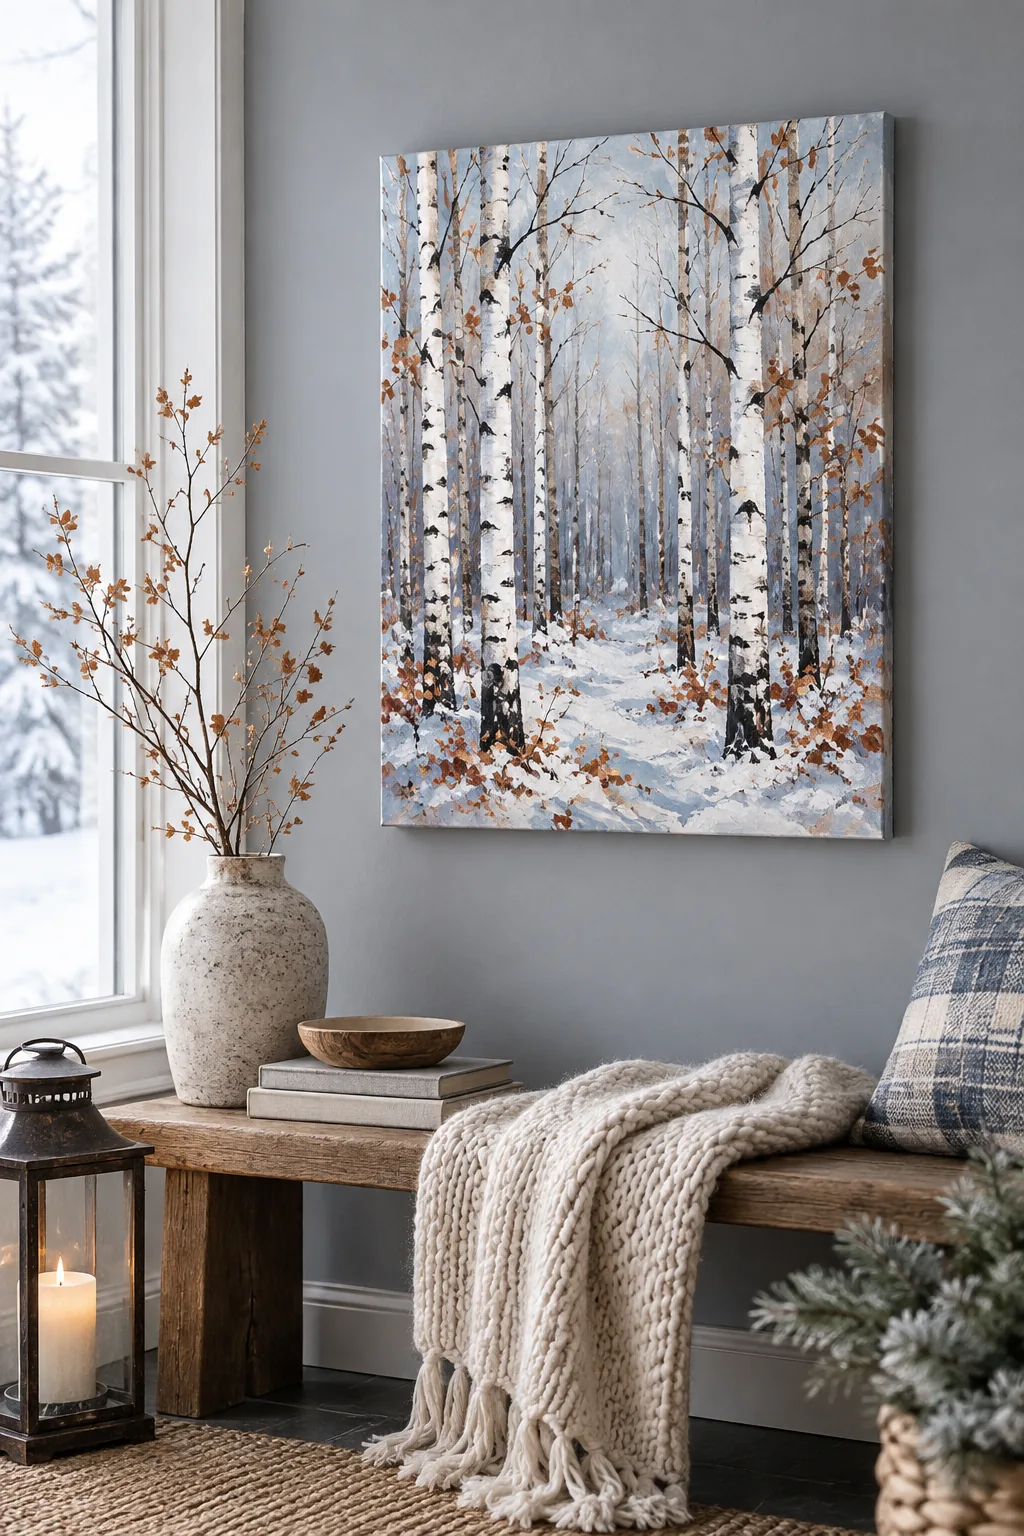
Sealing and Displaying
Allow the thick, stippled acrylic texture to cure completely for a full 24 hours in a well-ventilated room. Applying sealer too early can trap moisture under the heavy paint peaks, causing an unwanted cloudy finish that dulls your vibrant autumn colors.
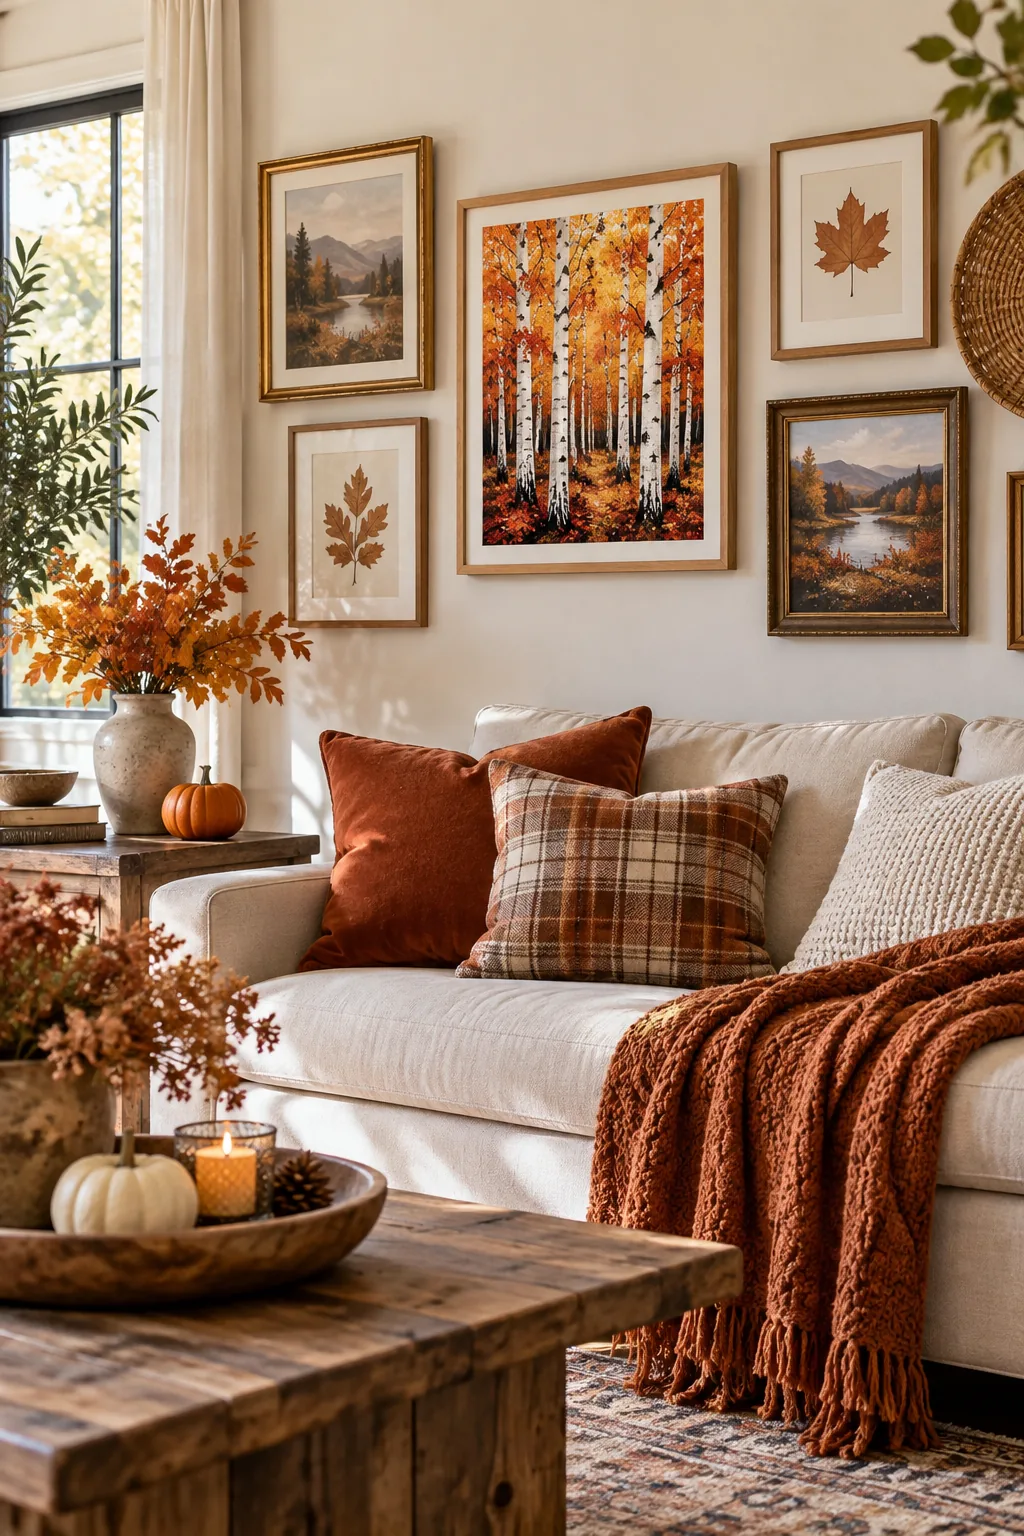
Apply two light coats of a matte spray sealer to protect the vibrant autumn colors without adding an artificial glossy glare. I sealed my own studio canvas this way, and it perfectly preserves that rustic, natural woodland feel for seasonal display.