
DIY Surprise Birthday Party Table & 3-Day Prep Timeline
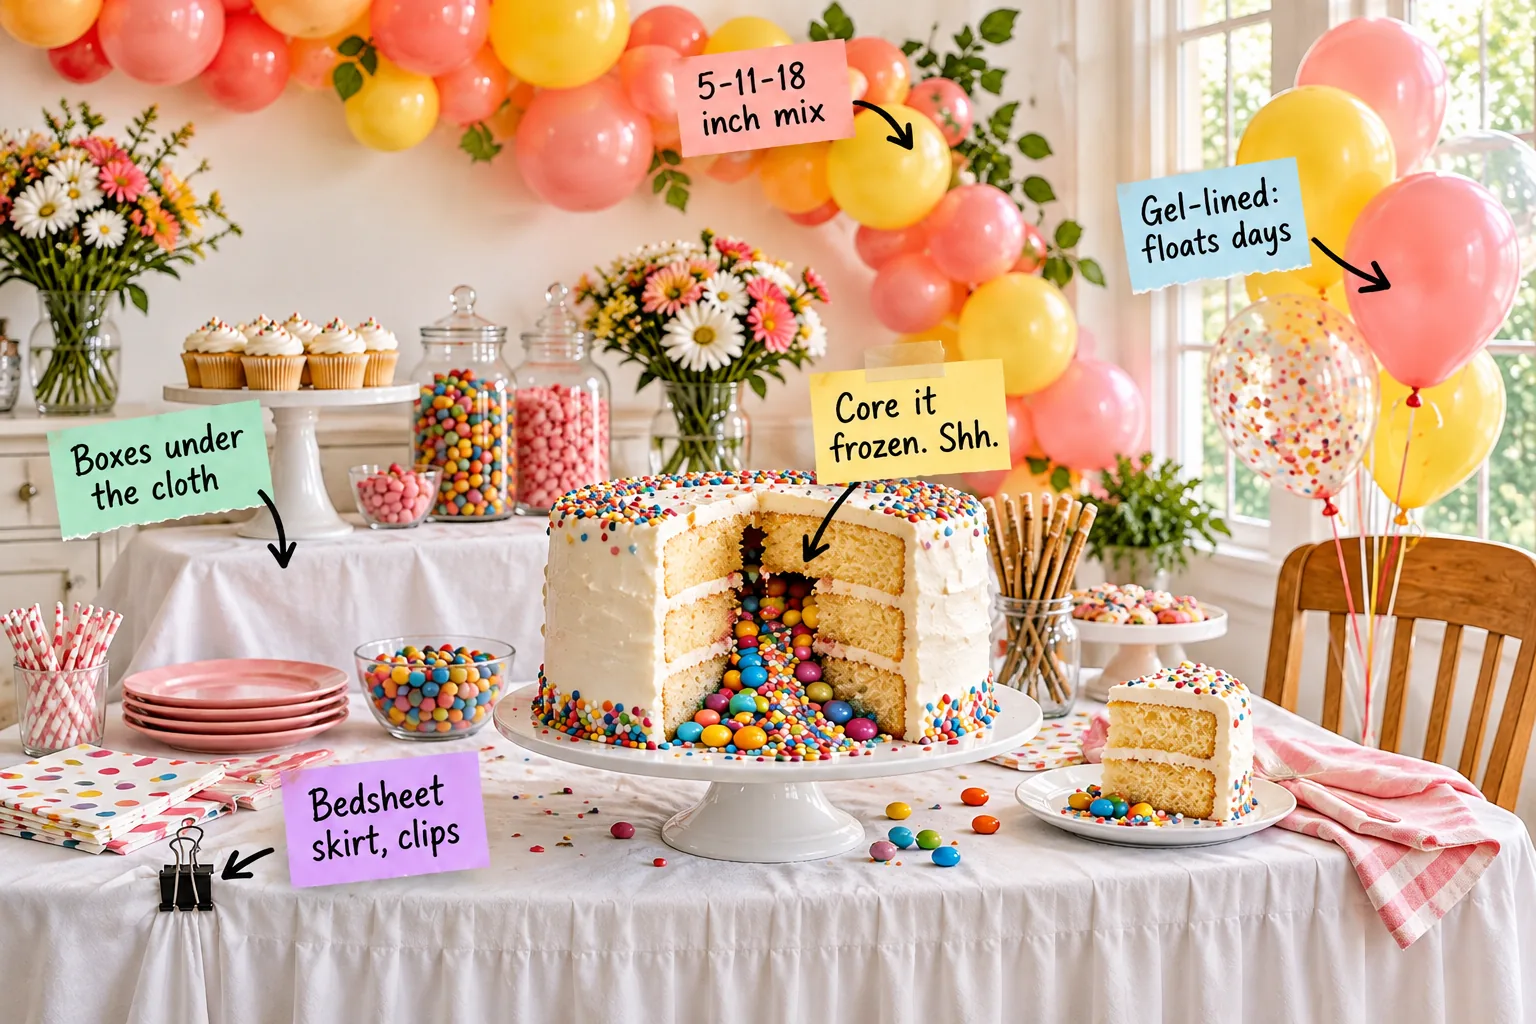
Planning a stunning kids’ birthday party with a secret candy cake, balloon arches, and tiered tables is entirely manageable when you download our printable 3-day prep timeline. You will be able to build a professional dessert table and assemble a spill-cake using this stress-free schedule.
Choosing the Color Palette
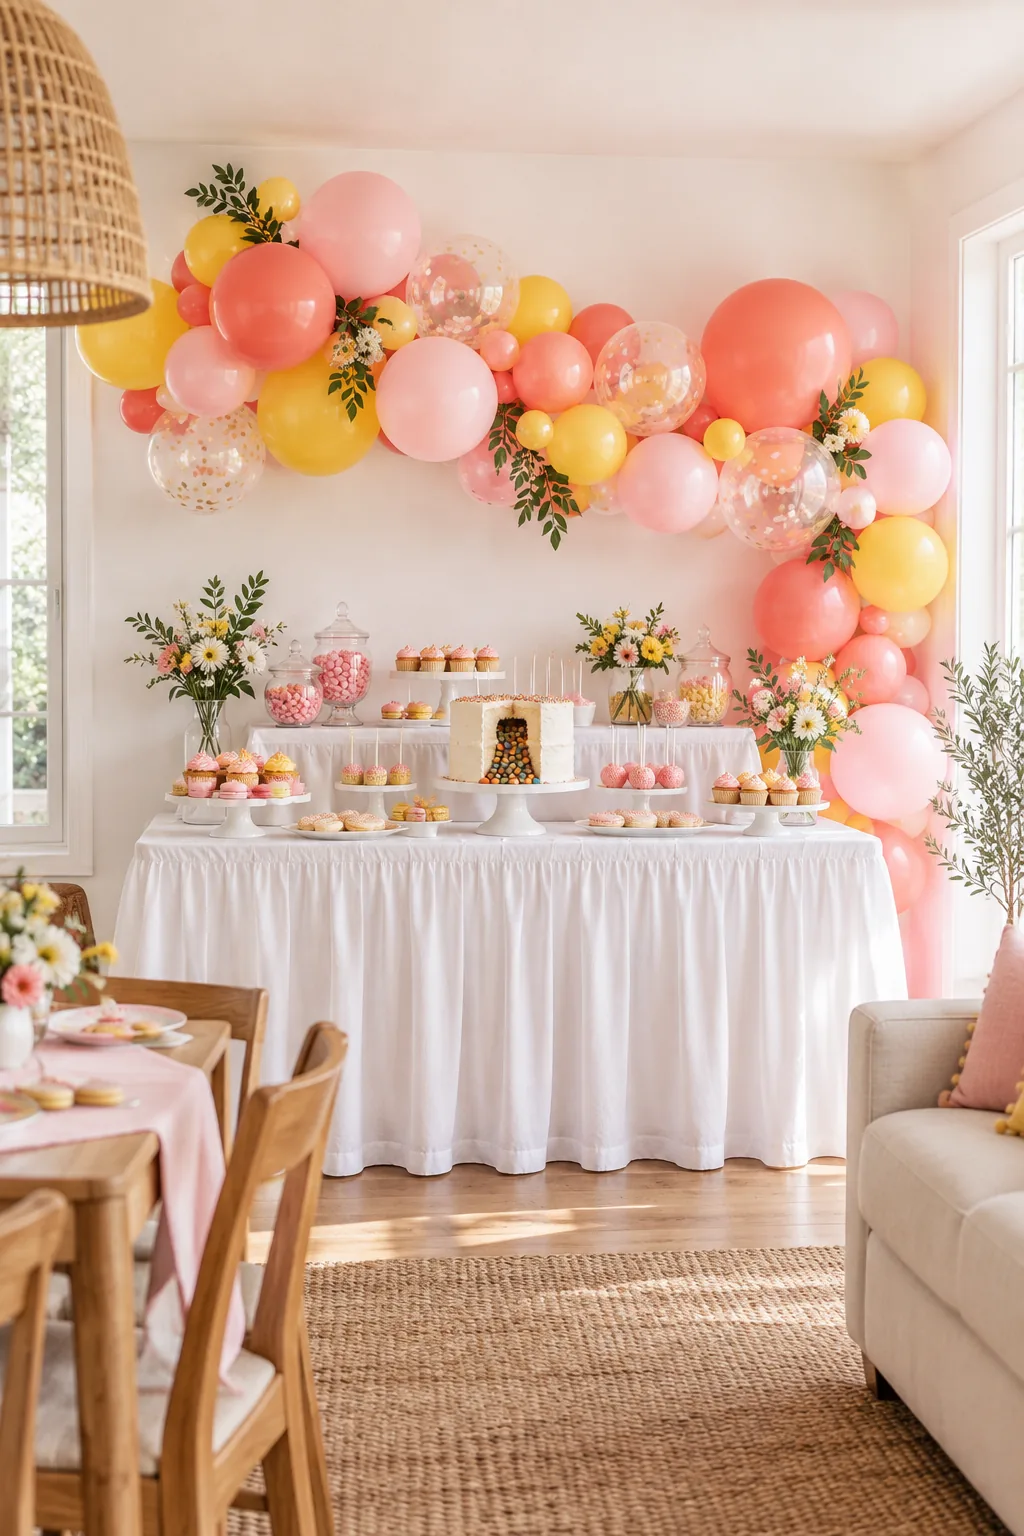
A cohesive dessert table relies on a tightly controlled color scheme to tie the balloons, linens, and treats together. Selecting three primary hues, like coral, yellow, and soft pink, ensures the entire display looks intentionally designed rather than chaotic and overwhelming.
Sizing the Balloon Garland
An organic balloon garland requires a specific 5-11-18 inch mix of latex balloons to build natural, sweeping volume. Inflating the standard 11-inch balloons to slightly different capacities creates essential visual variation and prevents your finished arch from looking like a rigid, uniform pearl necklace.
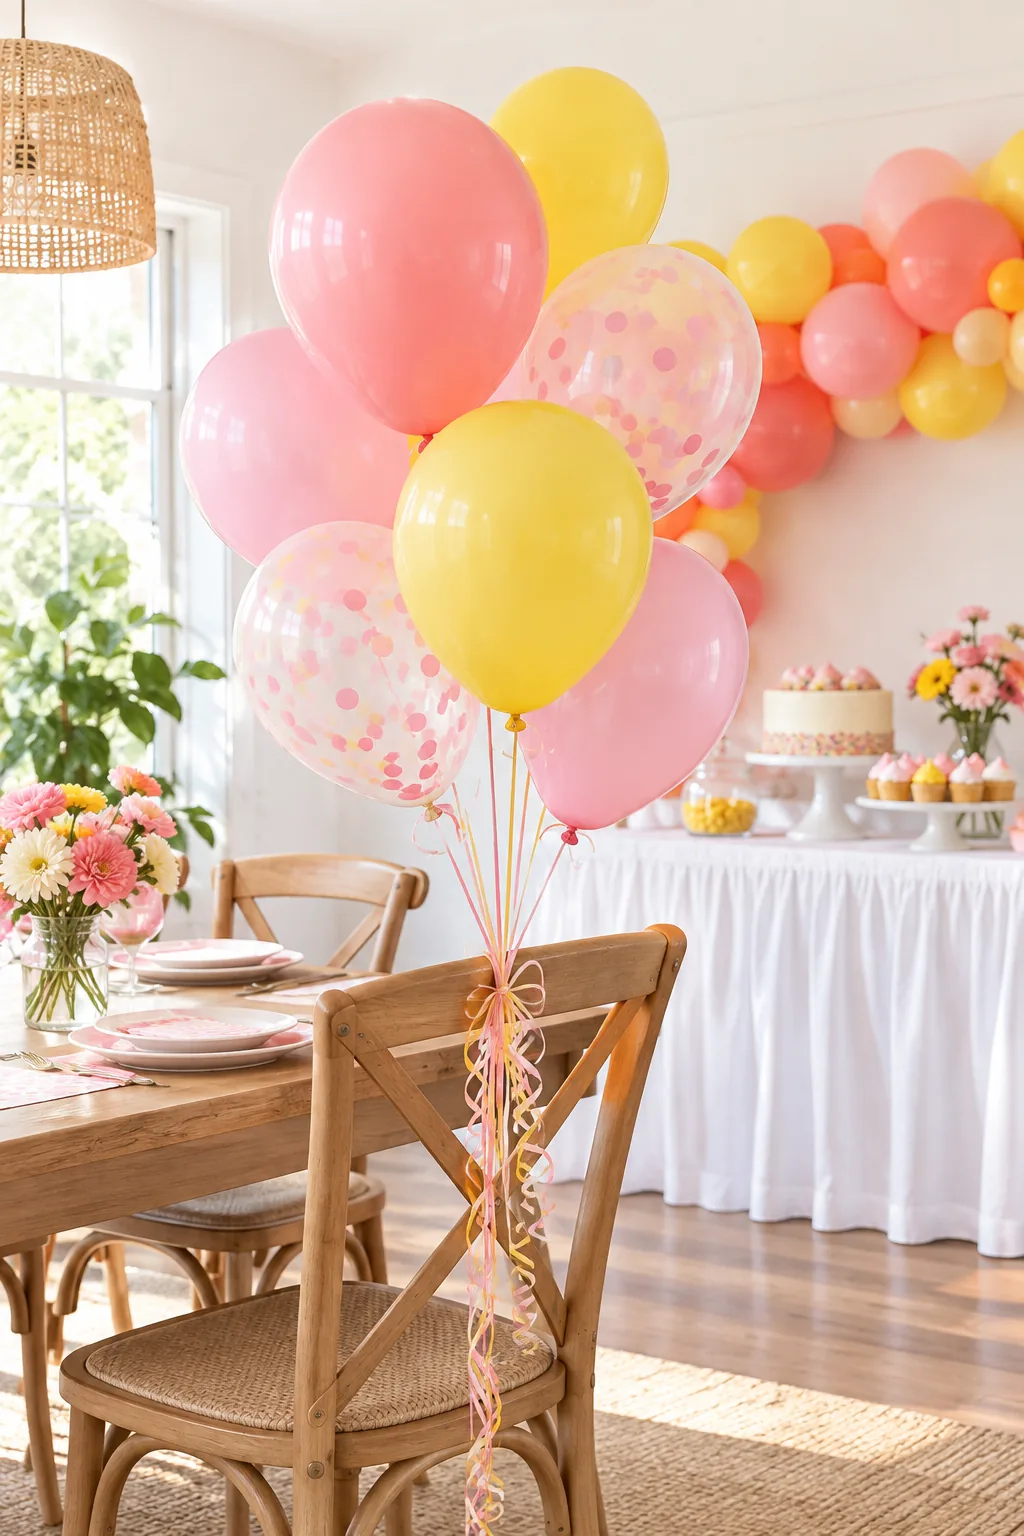
To achieve that professional organic shape, you must distribute the three distinct balloon sizes intentionally along your decorating strip. Grouping smaller balloons in tight clusters fills the awkward gaps left between your primary 11-inch bases and your massive 18-inch focal anchors perfectly.
| Balloon Size | Best Placement | Inflation Level |
|---|---|---|
| 5-inch | Gap fillers and clusters | Full capacity |
| 11-inch | Main garland body | 80 to 90 percent |
| 18-inch | Focal anchor points | Full capacity |
Tying these varied sizes together with clear monofilament line allows you to shift the clusters gently. You can adjust the overall silhouette until the piece looks perfectly balanced against your living room wall without exposing any ugly plastic structural strips.
Assembling the Garland Structure
Pushing the knotted balloon necks through a clear plastic decorating strip creates a sturdy, flexible spine for your garland. Alternating sides as you attach each balloon ensures the structure remains round and full from every visible viewing angle in the room.
Securing the Backdrop Arch
Hanging a heavy latex garland safely requires reliable anchor points that will not damage your drywall or peel your paint. Standard adhesive wall hooks rated for at least three pounds provide the perfect temporary grip for wrapping your clear monofilament structural ties.
Positioning your highest anchor point slightly off-center creates a dynamic, sweeping curve. This asymmetrical placement naturally draws the eye down toward the elaborate dessert table below, grounding the entire party setup within the room.
Treating Helium Balloons
Standard latex balloons only float for about eight hours with pure helium, but ensuring they are gel-lined: floats days instead of hours changes everything. Coating the inside with a float-extending gel before inflation seals the porous latex to trap the lighter-than-air gas.
I always treat my helium bouquets the night before a party, gently massaging the gel into the uninflated latex while watching television on the couch. This simple prep step guarantees the balloons remain perfectly buoyant throughout the entire weekend celebration.
Tying the finished helium bouquet securely to a heavy wooden dining chair keeps the balloons perfectly positioned beside your dessert table. This prevents them from drifting away or risking a sudden, frustrating escape to the living room ceiling.
Transporting the Helium Balloons
If you choose to have your gel-treated balloons inflated at a local party store, bring large plastic transport bags to protect them during the drive home. Shielding the latex from direct sunlight and sharp car interiors prevents premature popping and preserves their glossy finish.
Prepping the Room Layout
Clear away everyday living room furniture to create a wide, accessible walkway around your planned dessert station. Pushing the main display table flush against a blank wall provides the necessary structural support for your heavy cake and a clean canvas for the balloon arch.
Draping the Table Skirt
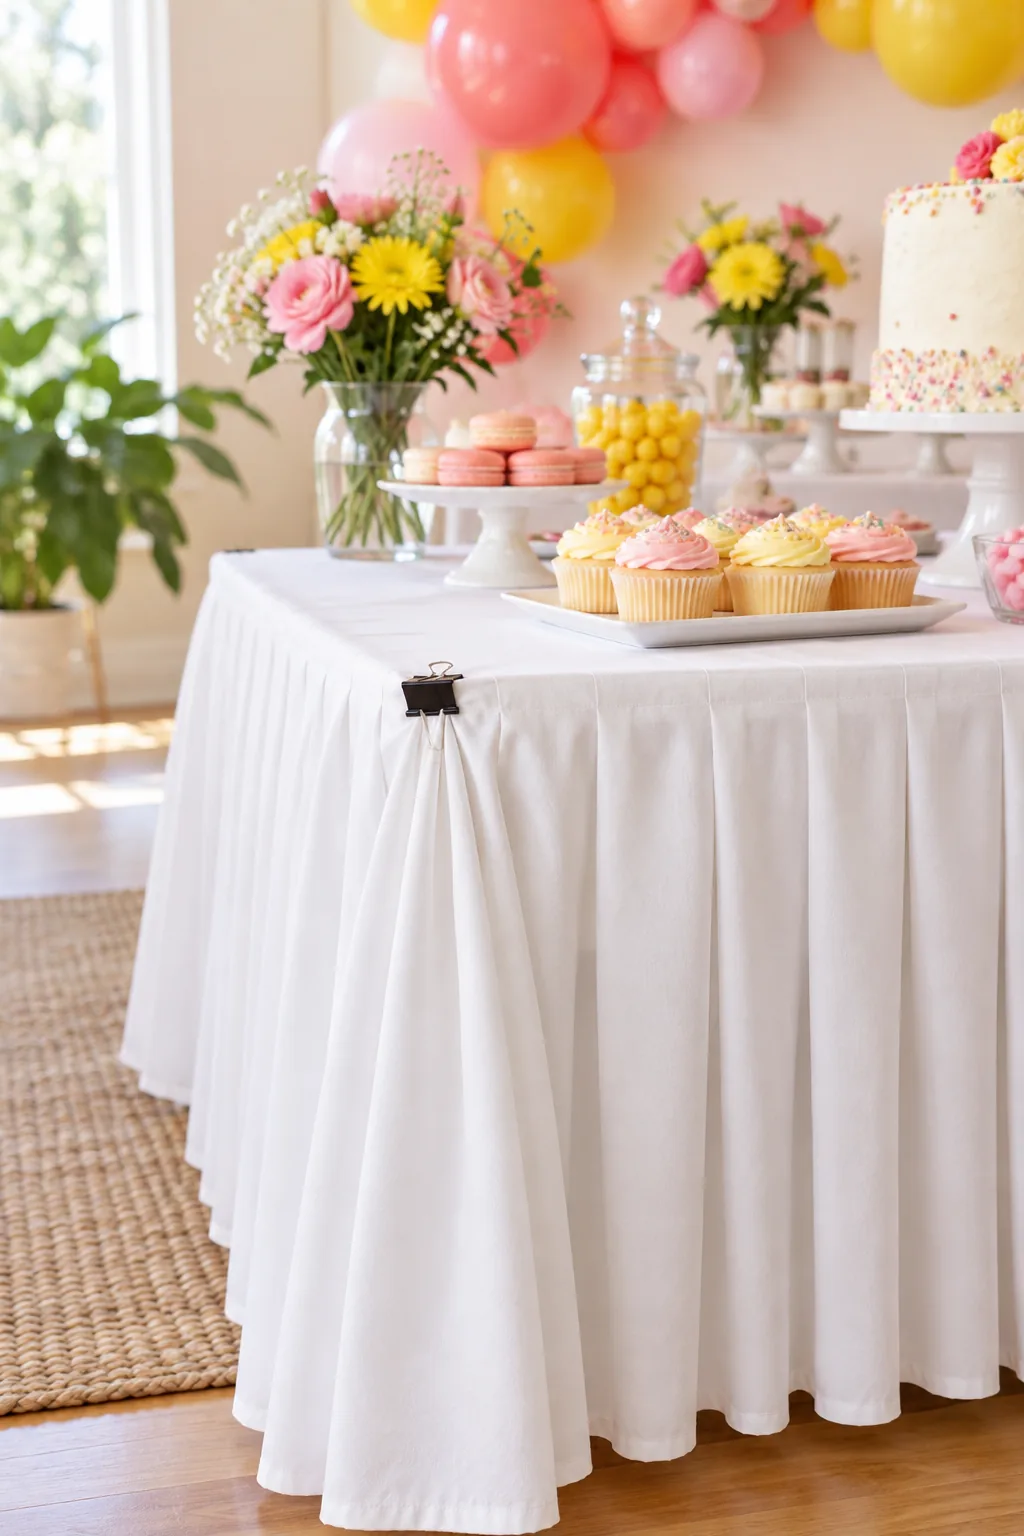
A standard white flat bedsheet provides excellent, opaque floor-length coverage for a dessert table. Gathering the top edge into neat pleats and securing it to the table lip with a bedsheet skirt, clips technique creates a tailored, secure foundation that withstands brushing guests.
Lifting the Back Tier
A completely flat table layout visually hides any small treats placed in the back row behind larger centerpieces. Stacking sturdy boxes under the cloth on the rear half of the table before draping your linens creates a hidden, elevated tier for candy jars.
Planning the Dessert Menu
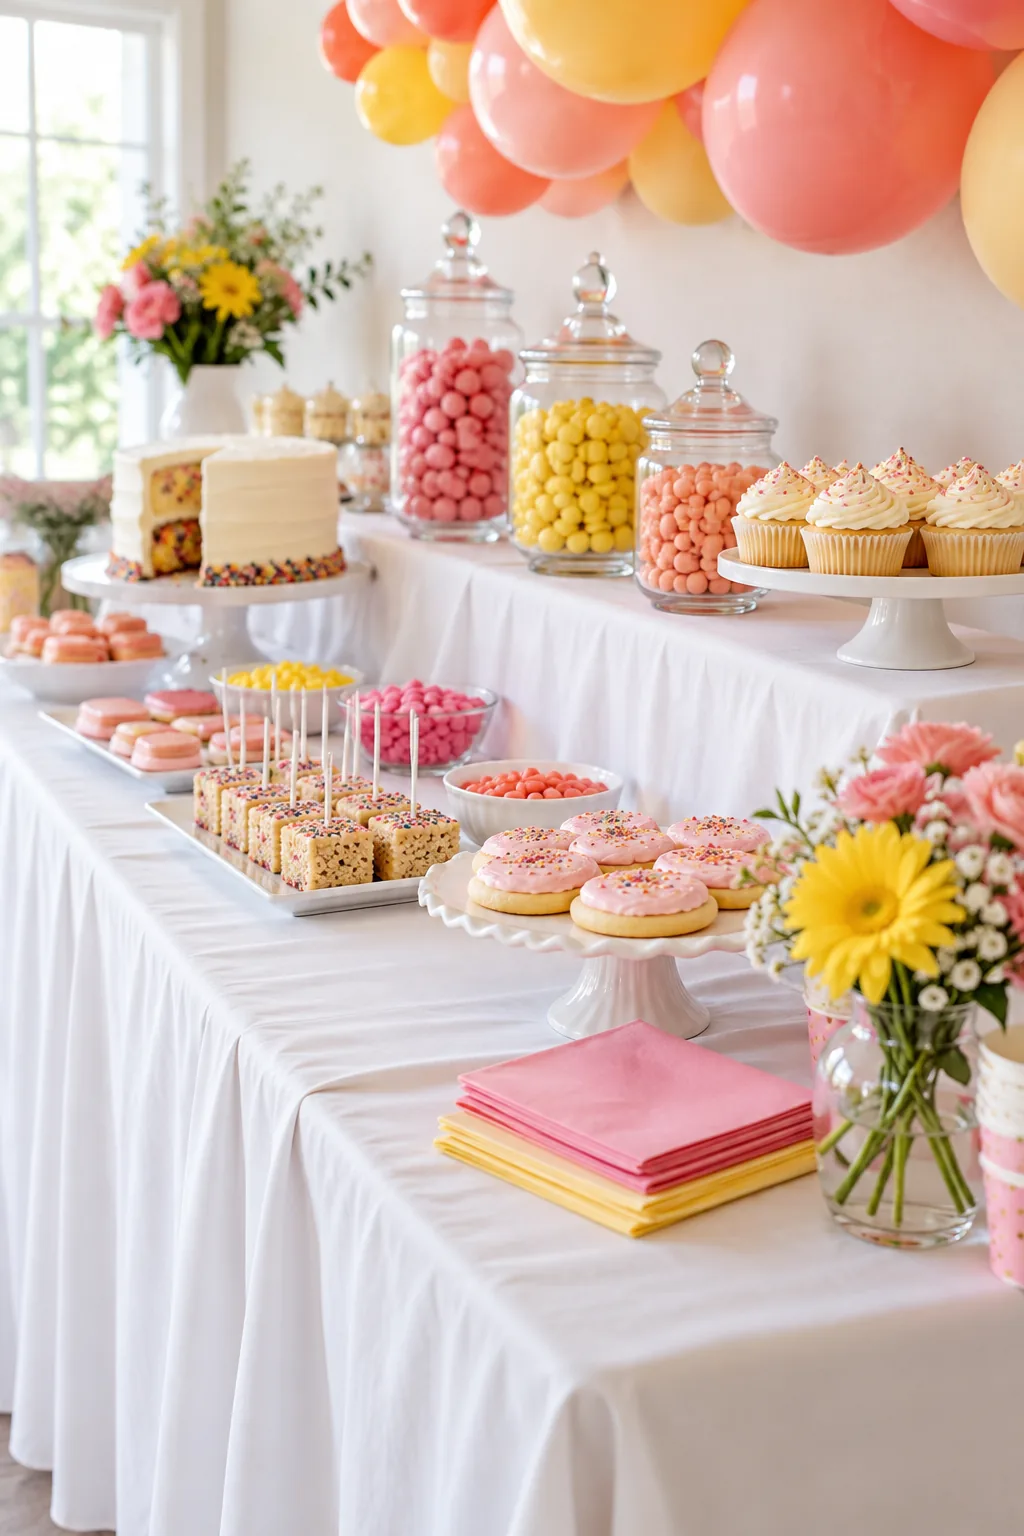
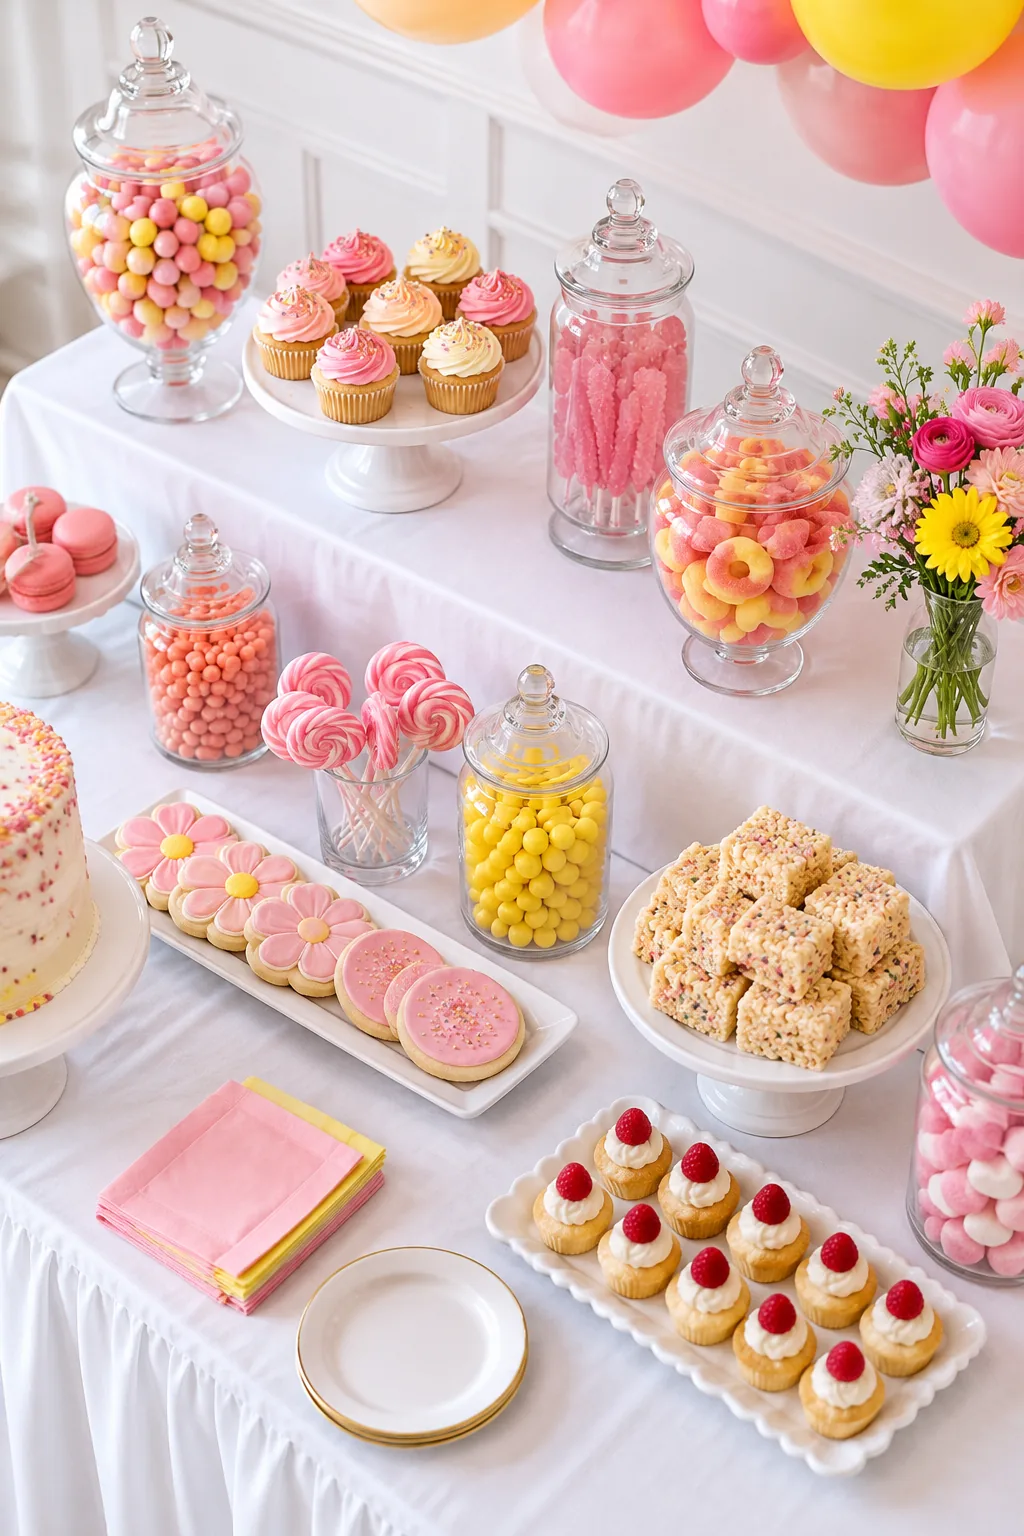
Beyond the spectacular centerpiece cake, a balanced dessert table offers smaller, easy-to-grab treats for mingling guests. Incorporating brightly frosted cupcakes, custom sugar cookies, and vibrant chocolate candies ensures everyone finds a sweet option they love without requiring formal slicing and plating.
Selecting the Cake Batter
A surprise-inside cake requires absolute structural stability to hold the heavy candy payload without collapsing under its own weight. You must choose a dense vanilla pound cake or a tight-crumbed butter cake rather than a light, airy sponge that lacks internal strength.
Baking the Cake Layers
Divide your dense batter evenly between four identical eight-inch round cake pans to ensure consistent baking times. Leveling the baked layers with a serrated knife once they cool completely provides the flat, stable surfaces necessary for stacking a towering centerpiece dessert.
Coring the Surprise Center
The absolute secret to a clean candy spill is making sure you core it frozen. Shh. Use a three-inch round biscuit cutter to stamp out the centers of the middle two layers while the crumb is completely rock solid.
The first time I attempted a surprise cake, I carved warm layers and ended up with a crumbly mess mixed into the candy. Freezing the layers overnight guarantees the hollow core remains perfectly intact and leaves the rainbow filling pristine.
Filling the Candy Core
Once your frozen, cored layers are securely stacked and frosted onto the solid base layer, pour your candy filling directly into the center hollow. Pack the chocolate candies and sprinkles tightly to the top edge before sealing the chamber with the final solid cake layer.
Frosting the Cake Exterior
Applying a thin crumb coat of buttercream locks in any loose cake particles before you add the final decorative frosting layer. Chilling the fully stacked cake for thirty minutes after this initial coat guarantees a perfectly smooth, professional exterior finish that photographs beautifully.
Styling the Treat Layout
Frame your spectacular centerpiece cake by flanking it with varied heights of secondary treats and colorful candies. Filling clear glass apothecary jars with bright chocolates draws the eye inward and perfectly balances the visual weight of the elaborate dessert spread.
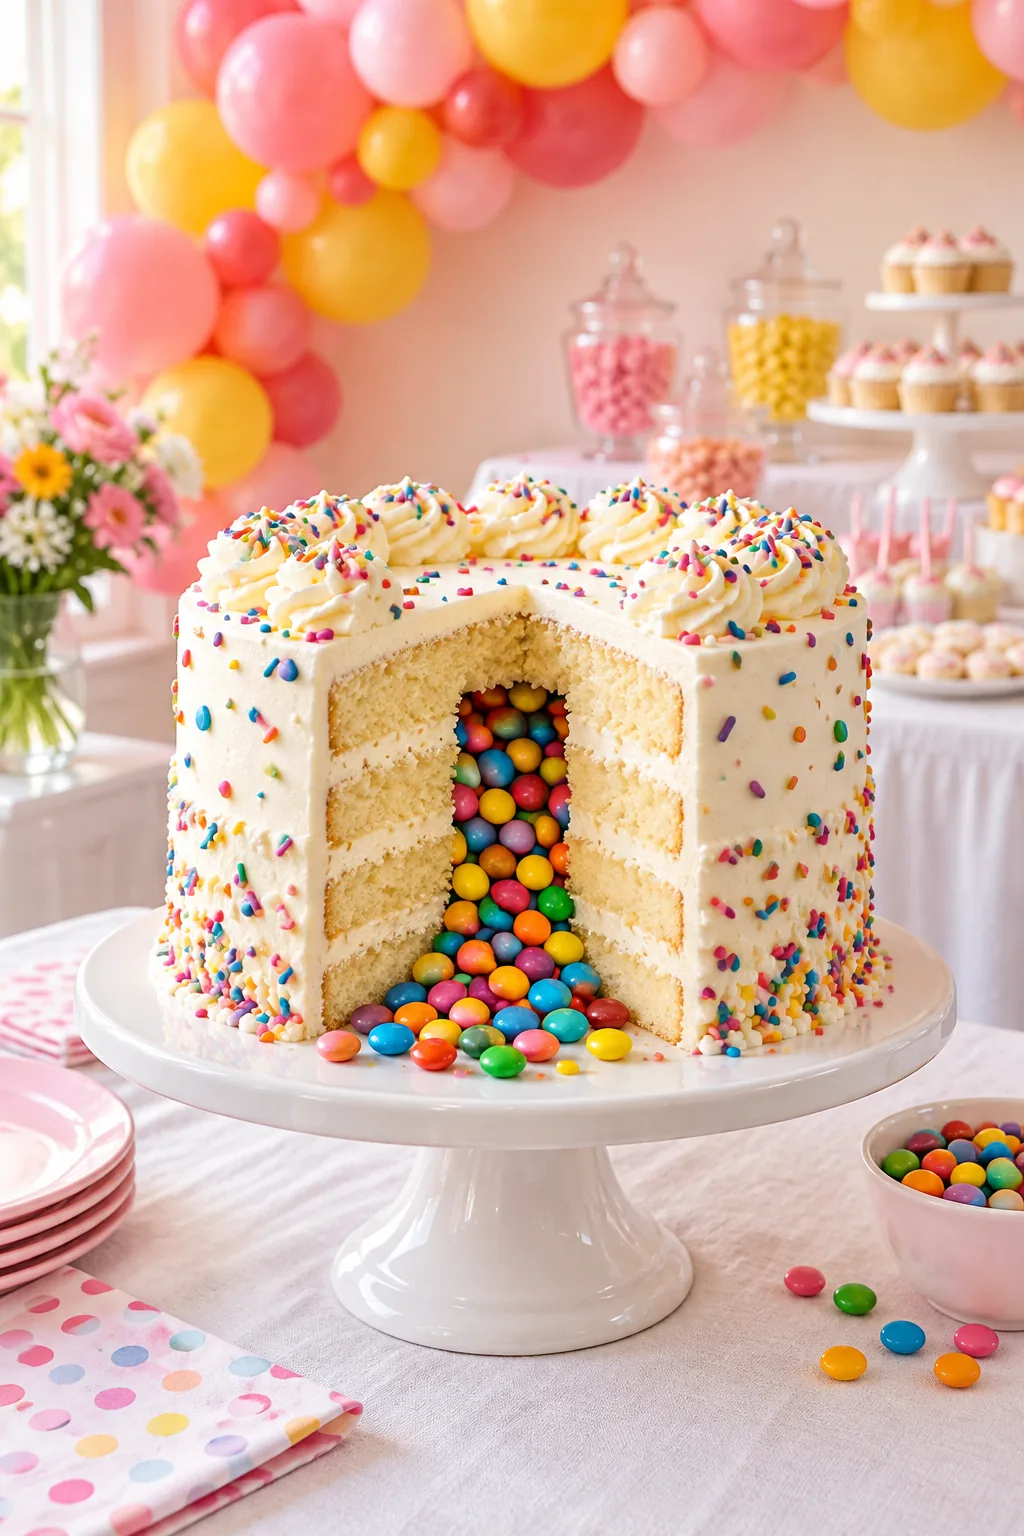
- Place the main surprise cake directly in the center of the front tier.
- Set tall glass candy jars on the elevated back corners for framing.
- Arrange frosted cupcakes on white pedestal stands between the jars and the cake.
More Surprise Dessert Table Themes
Adapt the hidden-tier and surprise-cake techniques to fit any party aesthetic.
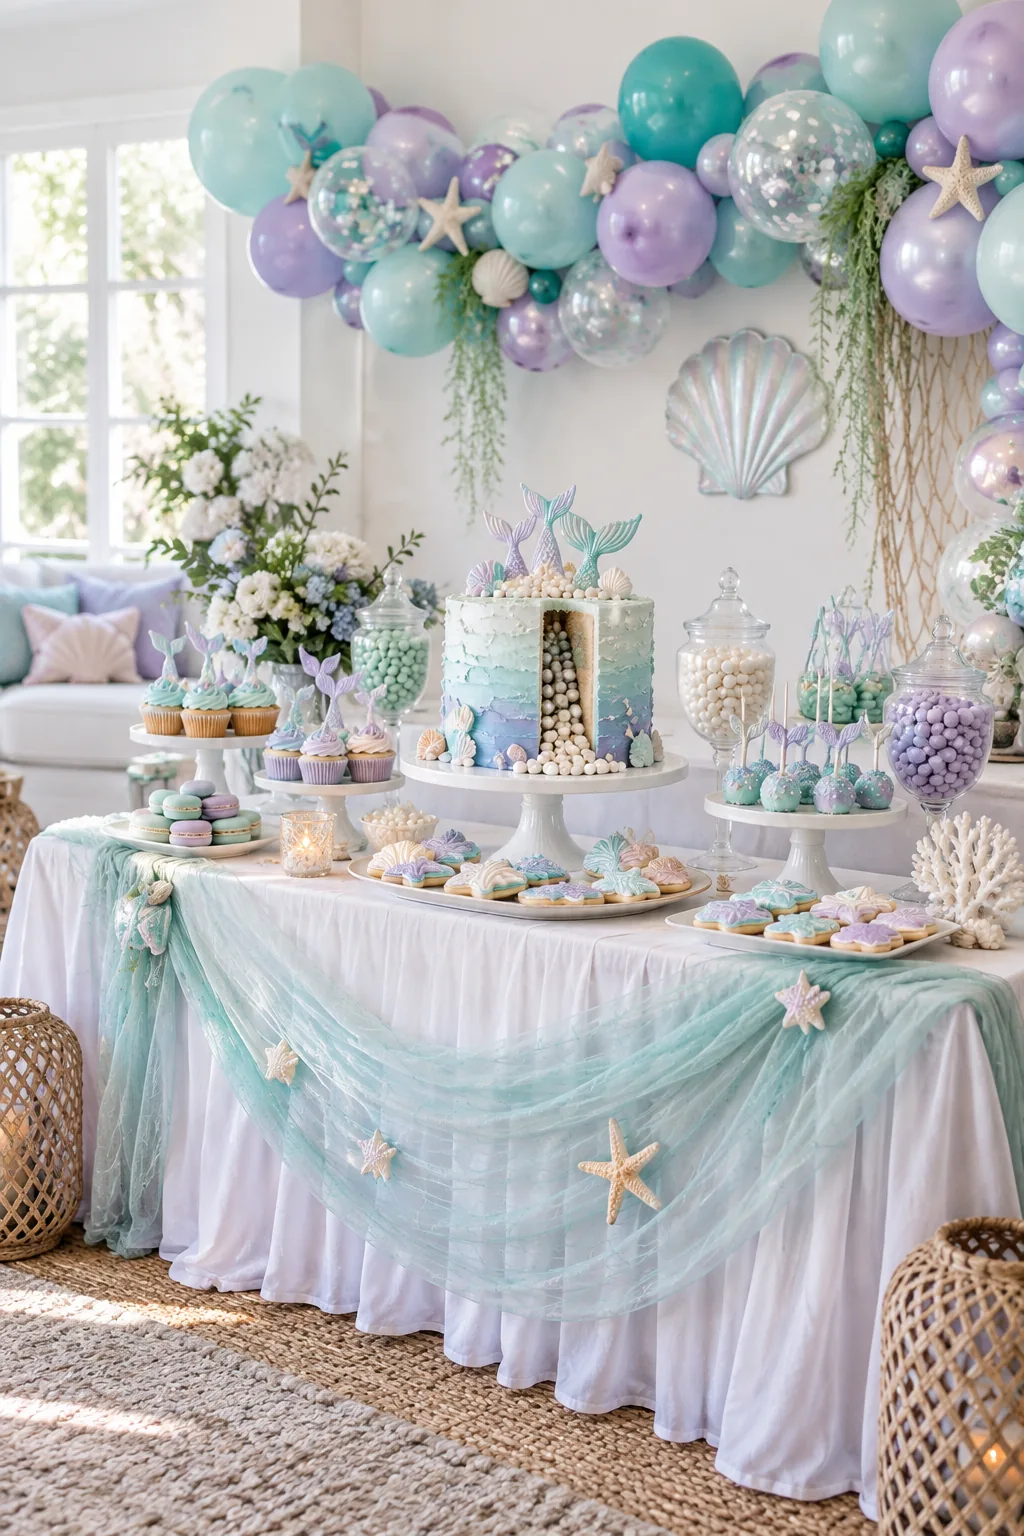
Pastel Mermaid Theme: Swap rainbow candies for shimmering edible pearls and use aqua and lavender balloons for an underwater aesthetic.
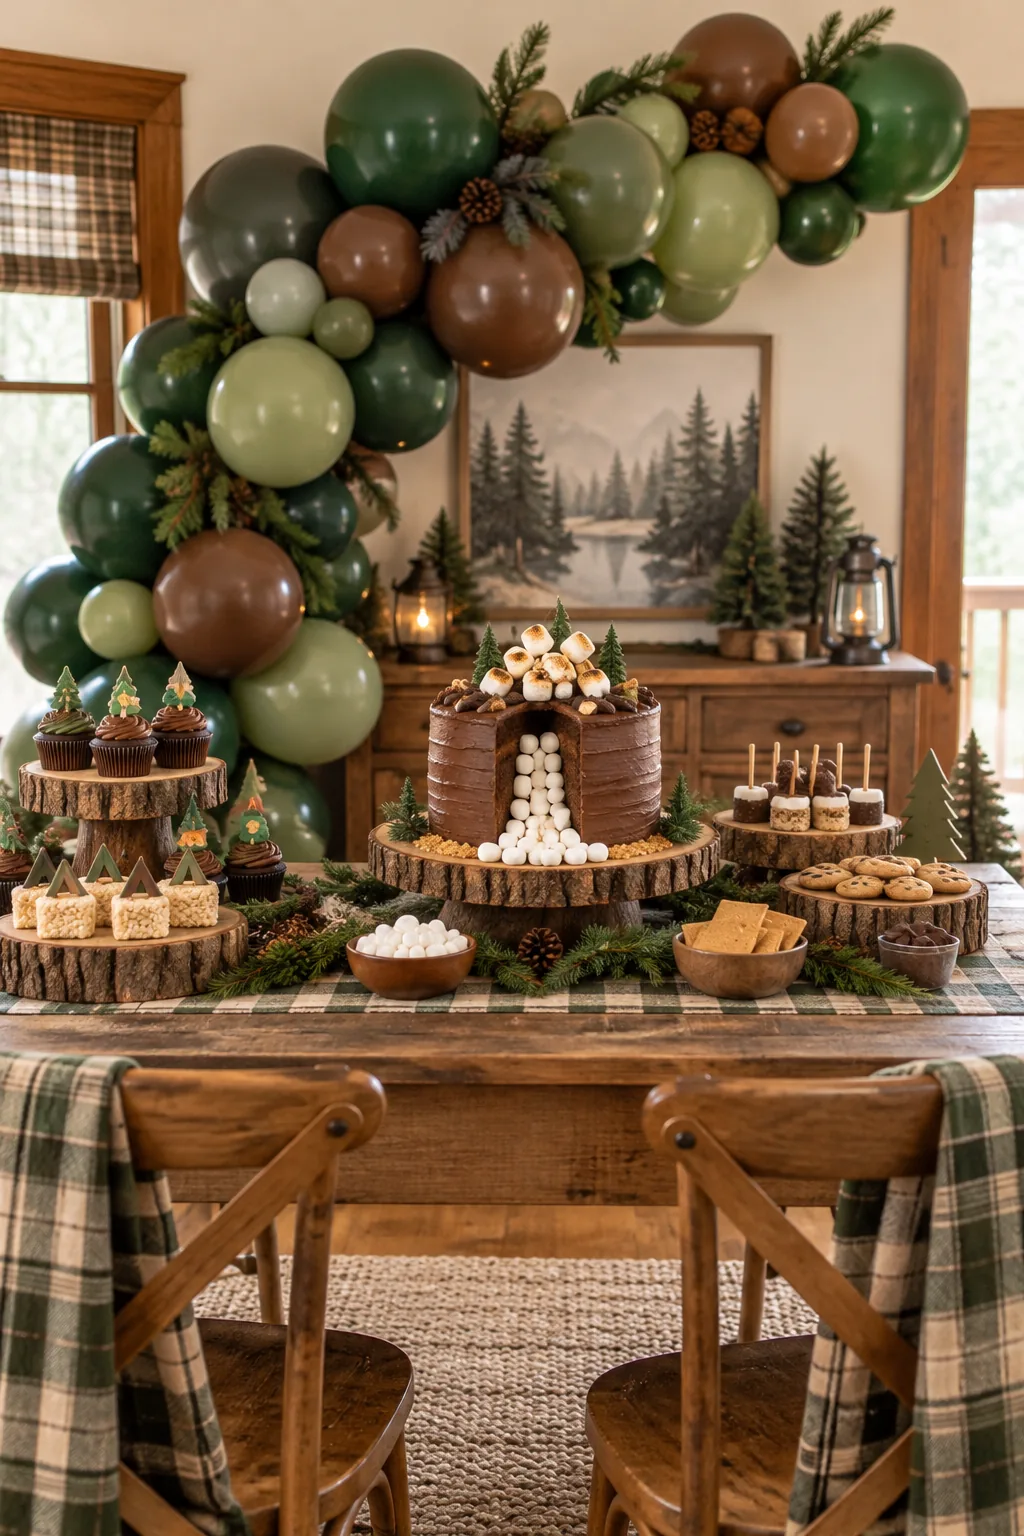
Woodland Campout: Incorporate natural wood-slice risers instead of hidden boxes and fill a chocolate cake with mini marshmallows.
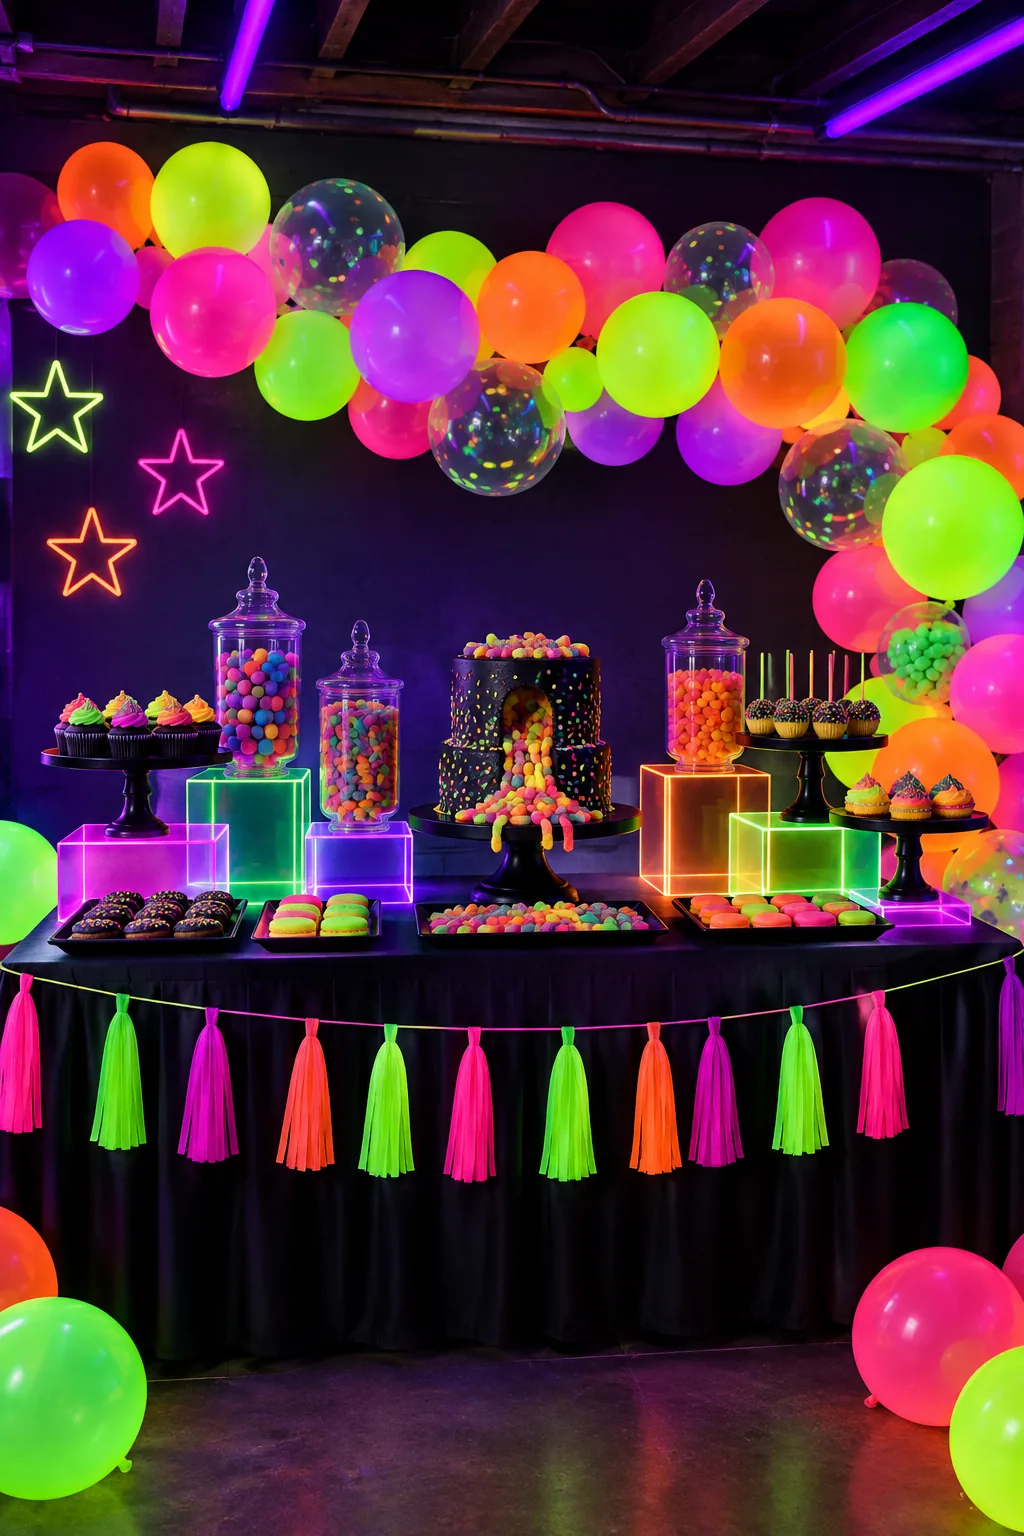
Neon Glow Party: Illuminate the room with blacklights to make neon sour candies and reactive latex balloons pop against a dark backdrop.
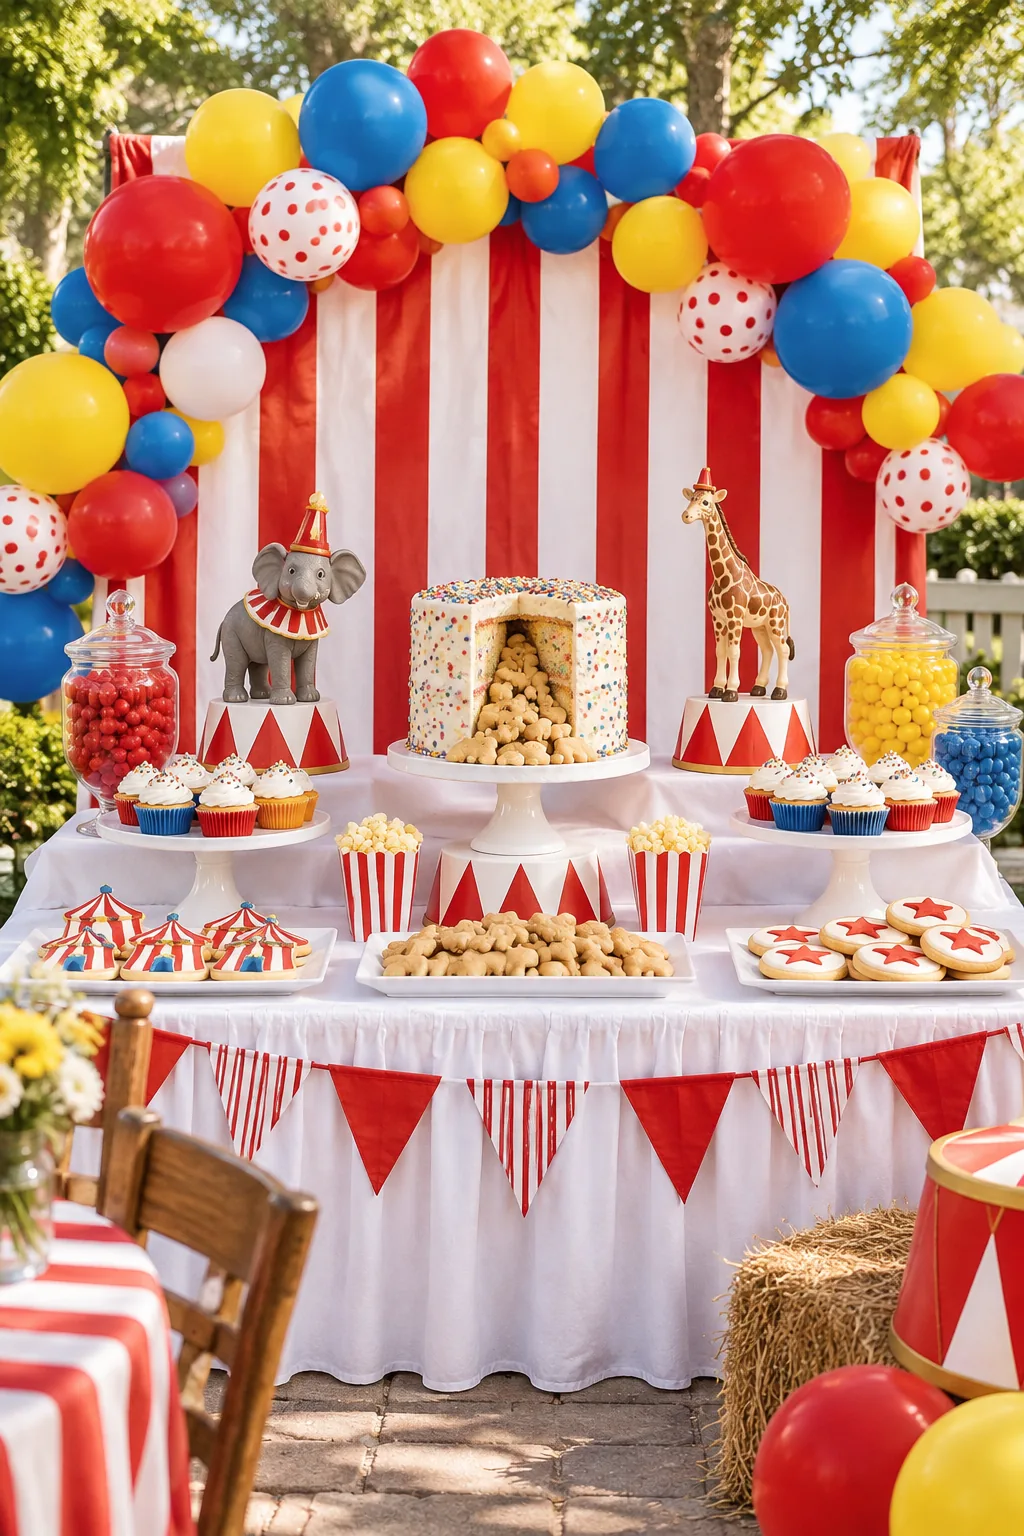
Vintage Circus: Use a red and white striped fabric skirt and fill the surprise centerpiece cake with frosted animal crackers.
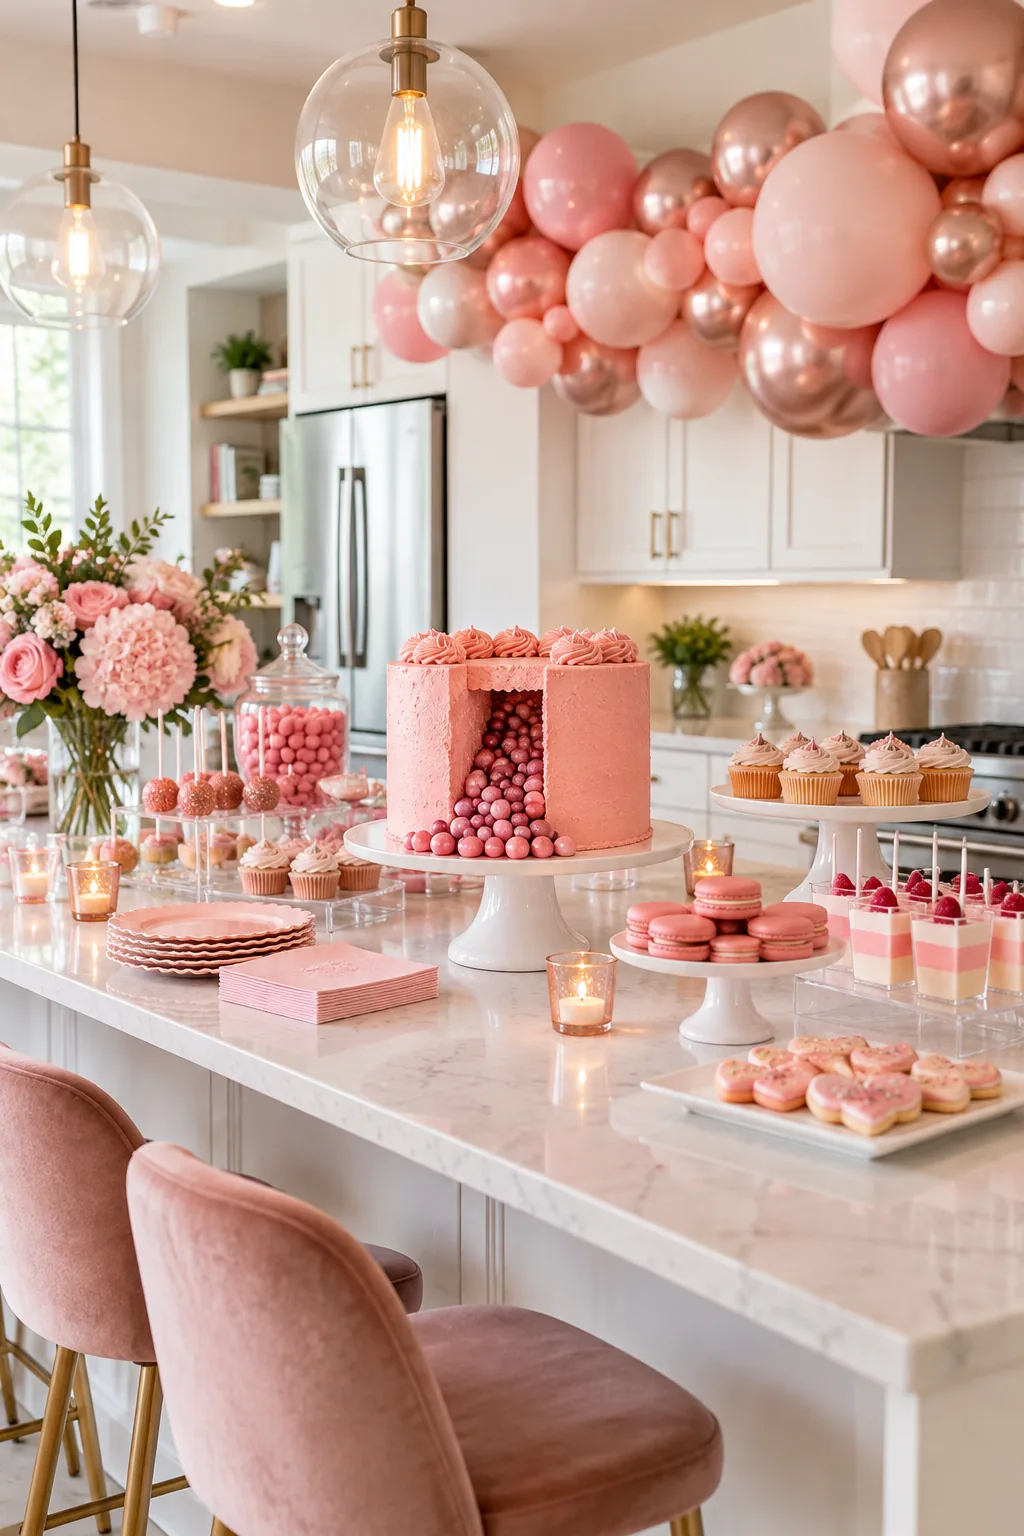
Monochromatic Pink: Stick to a strict blush and rose gold palette using sleek acrylic risers for a highly modern, sophisticated look.
Your 3-Day Prep Timeline
Print our complete day-by-day schedule to eliminate party-day panic and execute this flawless setup. On Day 3, bake your dense cake layers, freeze them overnight, and build the hidden cardboard table risers so your basic foundation is ready.
Following this exact timeline for my daughter’s birthday allowed me to actually enjoy my morning coffee before her friends arrived. On Day 2, gel-treat and inflate all balloons, then core and frost the frozen cake layers to lock in the candy center.
Finally, on Day 1, clip your gathered bedsheet skirt into place, attach the balloon garland to the wall hooks, and arrange your secondary treats on the elevated back tier.