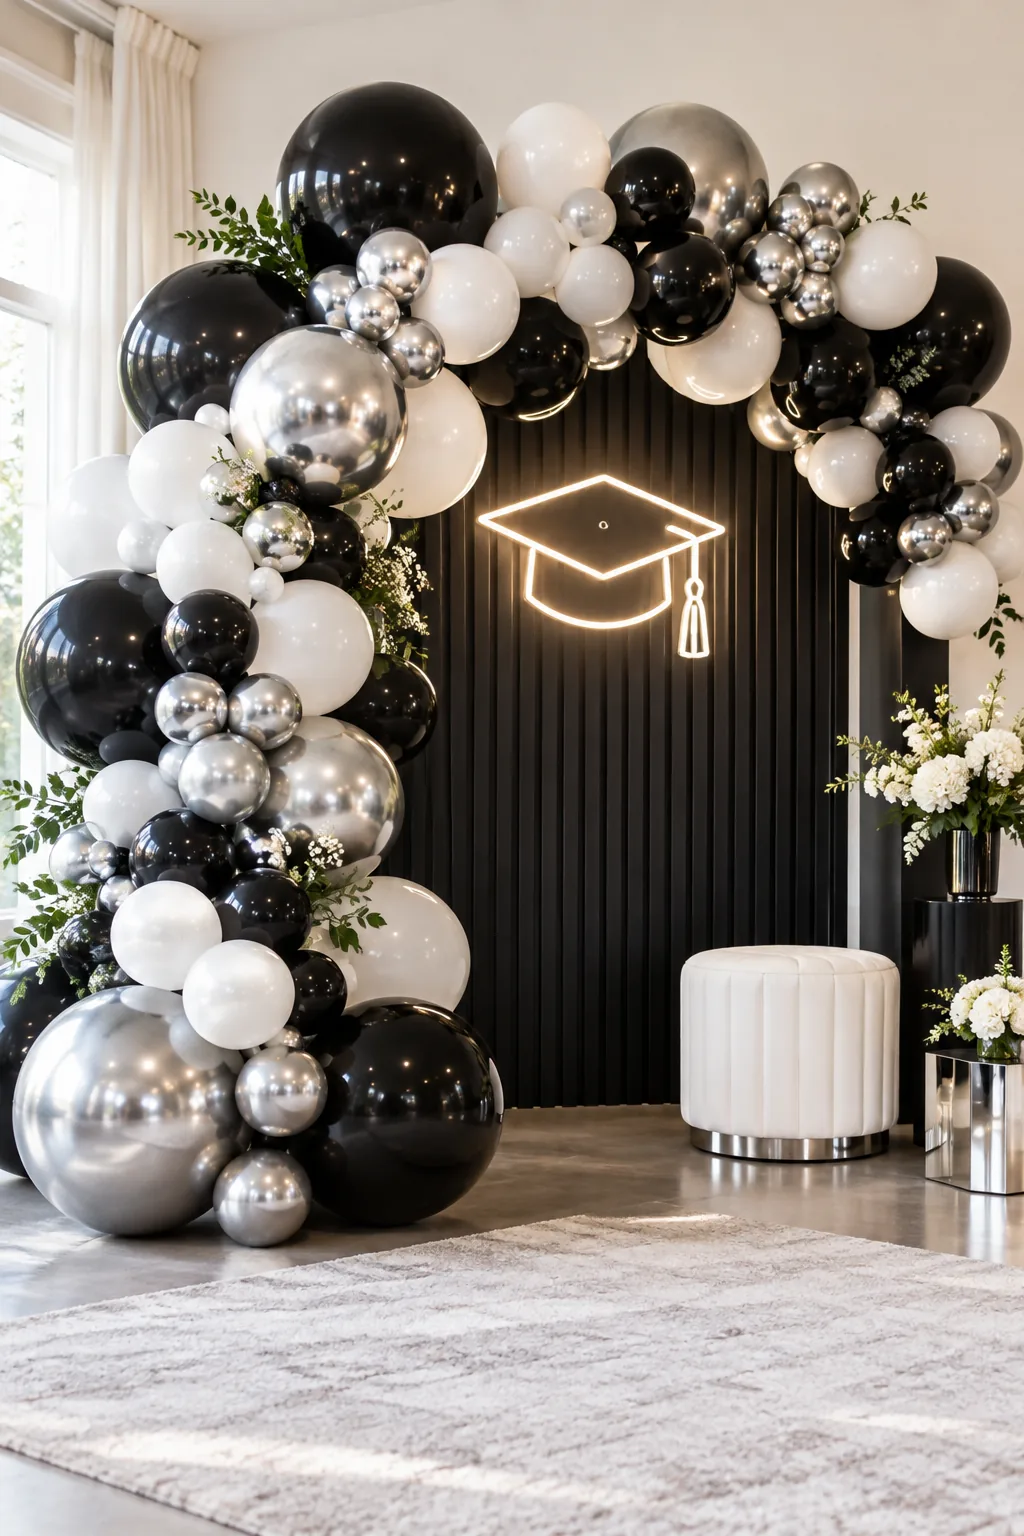
Graduation Balloon Garland: Exact Counts & Quad Assembly
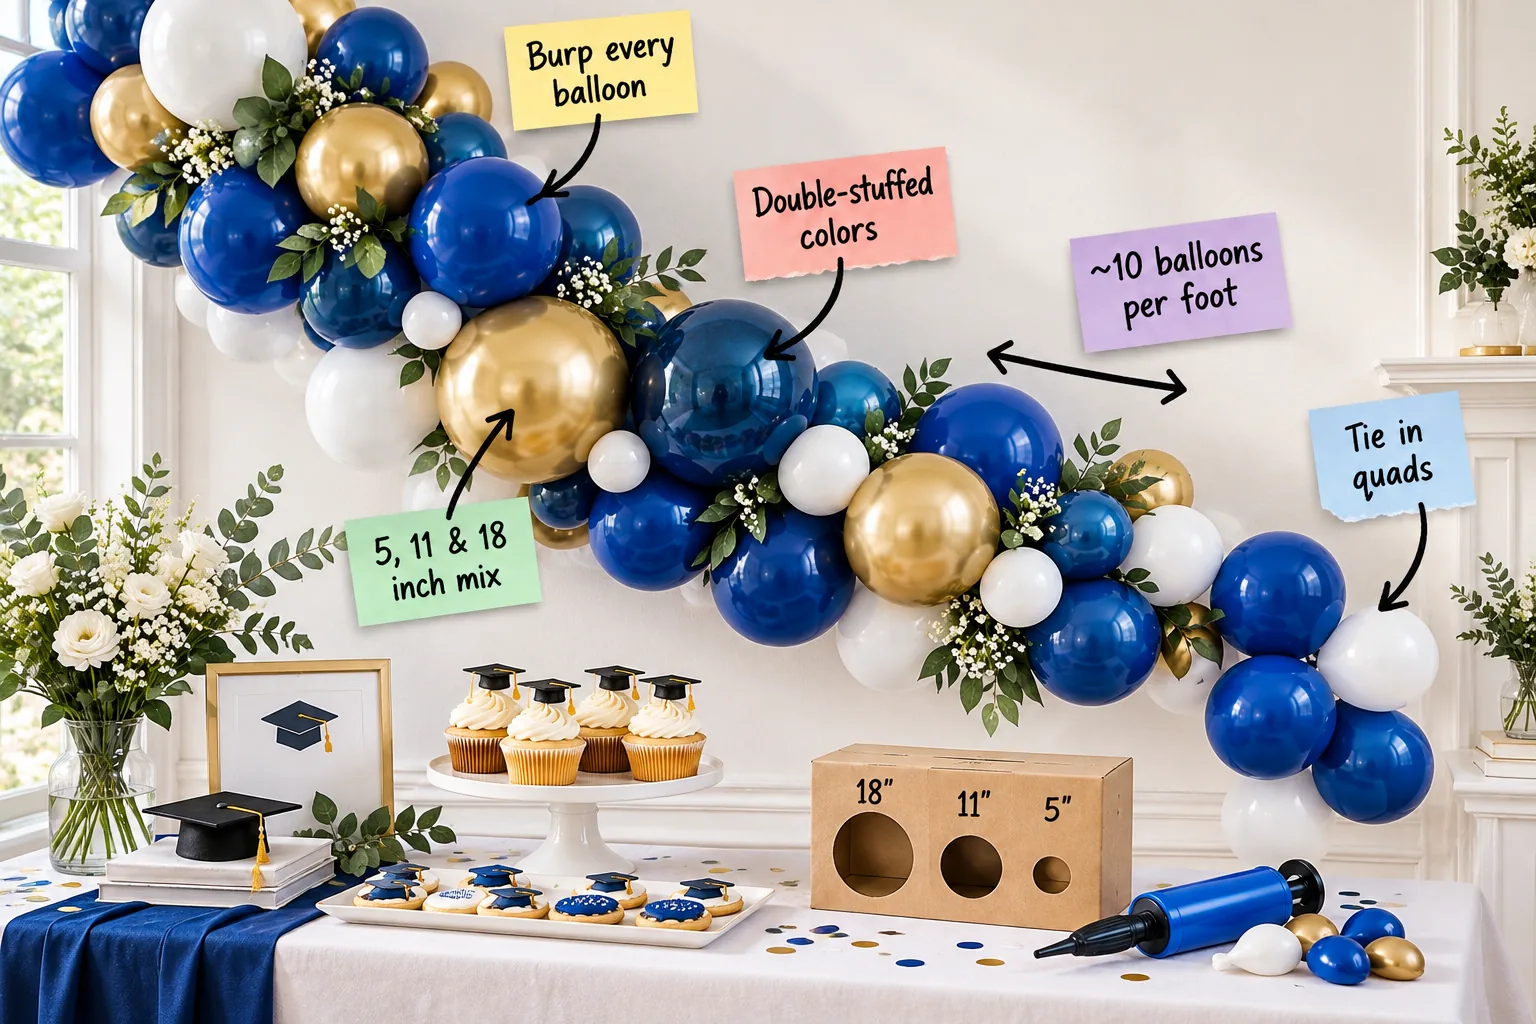
Grab our printable graduation garland quantity chart to get the exact 5-, 11-, and 18-inch balloon counts per school color for 6 to 12-foot designs, plus the essential quad-building order. You will be able to calculate precisely how many balloons to buy and confidently assemble a professional organic garland for the celebration.
Choosing the Right Inflation Equipment
Inflating hundreds of balloons by mouth is physically impossible for a large installation, so investing in a dual-nozzle electric balloon pump is non-negotiable. This tool cuts your prep time in half and keeps the inflation speed consistent across all your chosen school colors.
Organizing Your Assembly Station
Clear a large floor space and group your uninflated balloons by size and hue into separate bins before turning on the pump. Keeping your workspace tidy prevents the layers from getting mixed up and ensures a perfectly smooth workflow once you begin twisting.
The 10-Balloons-Per-Foot Rule
A lush, professional-looking organic garland requires an average of ~10 balloons per foot to achieve that rich, overflowing aesthetic. Section 1: visualizing the density of 10 balloons per linear foot shows exactly why this ratio matters for maintaining a full, continuous profile without sparse gaps.
Using a cardboard sizing box with precisely measured 18-inch, 11-inch, and 5-inch cutouts ensures you maintain consistent volume throughout the entire structure. Passing each inflated sphere through its corresponding hole guarantees your final shape remains uniform rather than lumpy and haphazard.
Your Graduation Garland Quantity Chart
Use this sizing table to buy the exact mix of balloons for 6, 8, 10, and 12-foot garlands without guessing. The chart breaks down the total count needed per color to achieve a beautifully balanced, organic look.
| Garland Length | 5-Inch Fillers | 11-Inch Base | 18-Inch Anchors |
|---|---|---|---|
| 6 Feet | 24 balloons | 36 balloons | 2 balloons |
| 8 Feet | 32 balloons | 48 balloons | 3 balloons |
| 10 Feet | 40 balloons | 60 balloons | 4 balloons |
| 12 Feet | 48 balloons | 72 balloons | 5 balloons |
Having your exact counts ready prevents mid-assembly store runs, so keep this breakdown handy when ordering your specific school color supplies. Planning ahead ensures you never run out of crucial filler sizes right before guests are scheduled to arrive.
Double-Stuffing for Custom School Colors
Achieve rich, opaque shades like deep royal blue by double-stuffing your balloons before inflation. Section 2: the rich, opaque finish achieved by double-stuffing balloons demonstrates how slipping a dark balloon inside a metallic color creates a custom hue that catches the light beautifully.
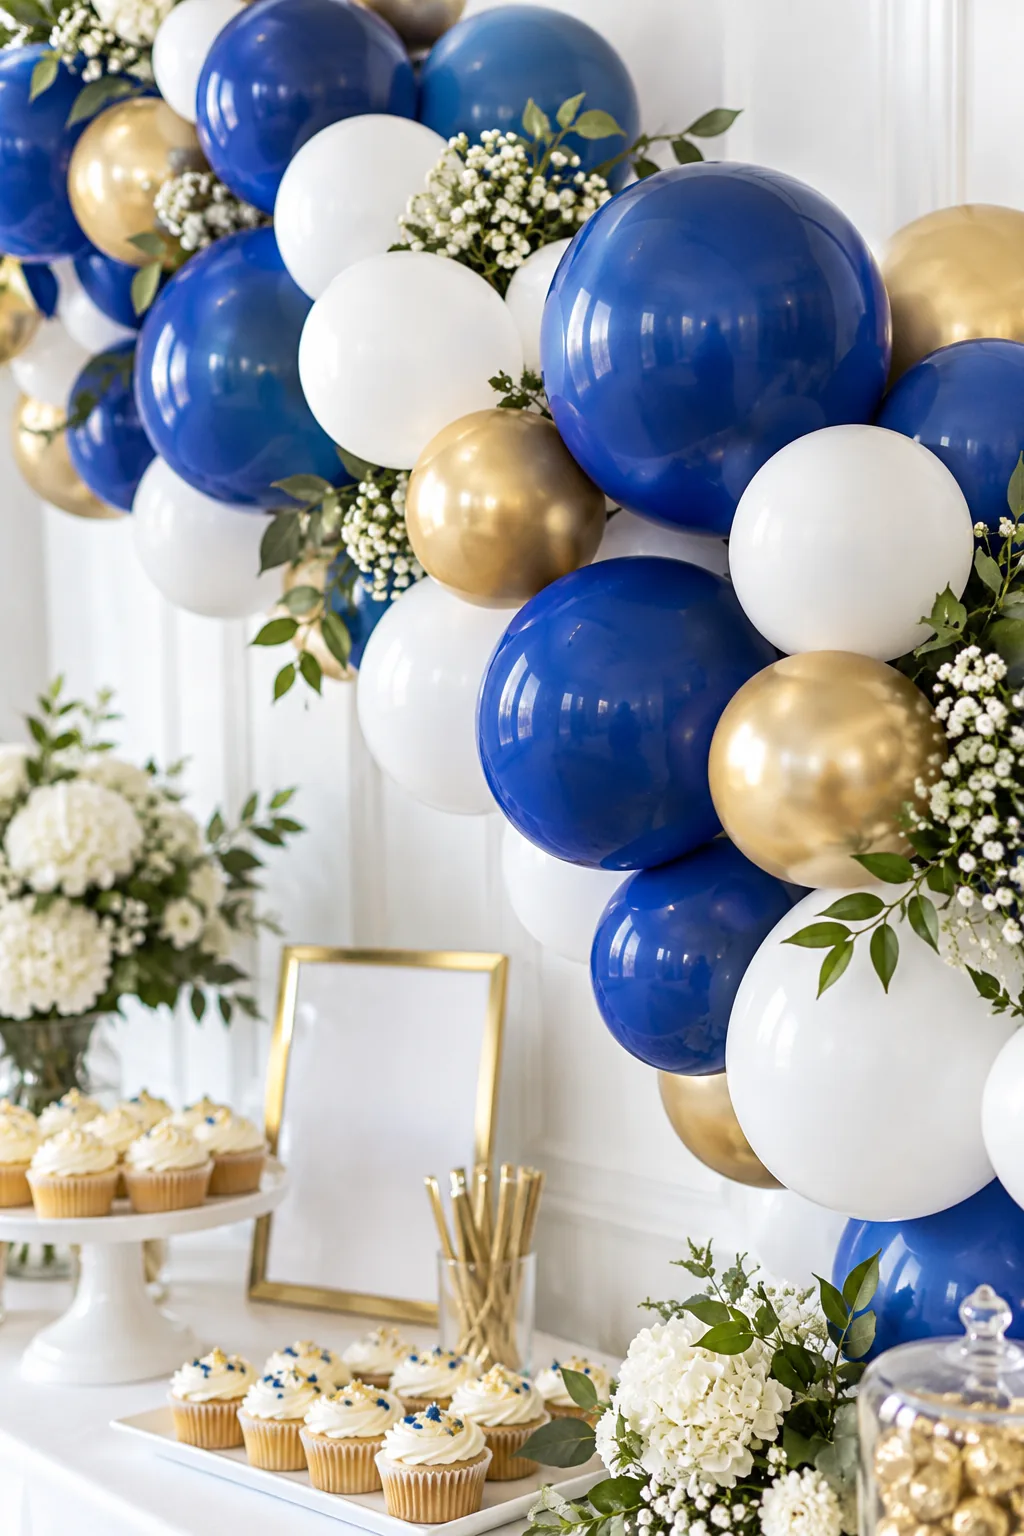
This layering technique completely blocks background light, giving your installation a high-end, matte appearance that standard single balloons cannot match. Use a smooth wooden dowel to gently push the inner balloon down into the neck of the outer one.
Pre-Stretching for Easier Inflation
Before inflating, give each balloon a gentle tug to warm up the latex and prevent uneven, lopsided expansion. This quick preparation step saves your fingers during the tying process and helps the balloons reach their maximum intended diameter without unexpectedly popping.
Sizing and Burping for Perfect Spheres
To avoid a cheap, pear-shaped look, slightly over-inflate each 11-inch balloon and then prepare to release a quick burst of air. This crucial technique requires a specific sequence of steps to master the tension release properly.
- Inflate the balloon until the neck looks stretched and the latex feels tense.
- Press the balloon gently against your chest while releasing a short burst of air.
- Tie the neck high up near the lip to leave plenty of stretchy room for twisting.
This essential burp every balloon technique relaxes the neck, leaving you with a perfectly round, professional sphere. The reduced internal pressure makes it significantly easier to bind the balloons together without causing friction tears.
Tying the Base in Four-Balloon Quads
Instead of stringing balloons one by one, tie them into pairs first. Section 3: the perfectly round shape achieved by burping the balloons is crucial here, as these relaxed spheres nestle tightly together when twisted into a loose four-balloon cluster.
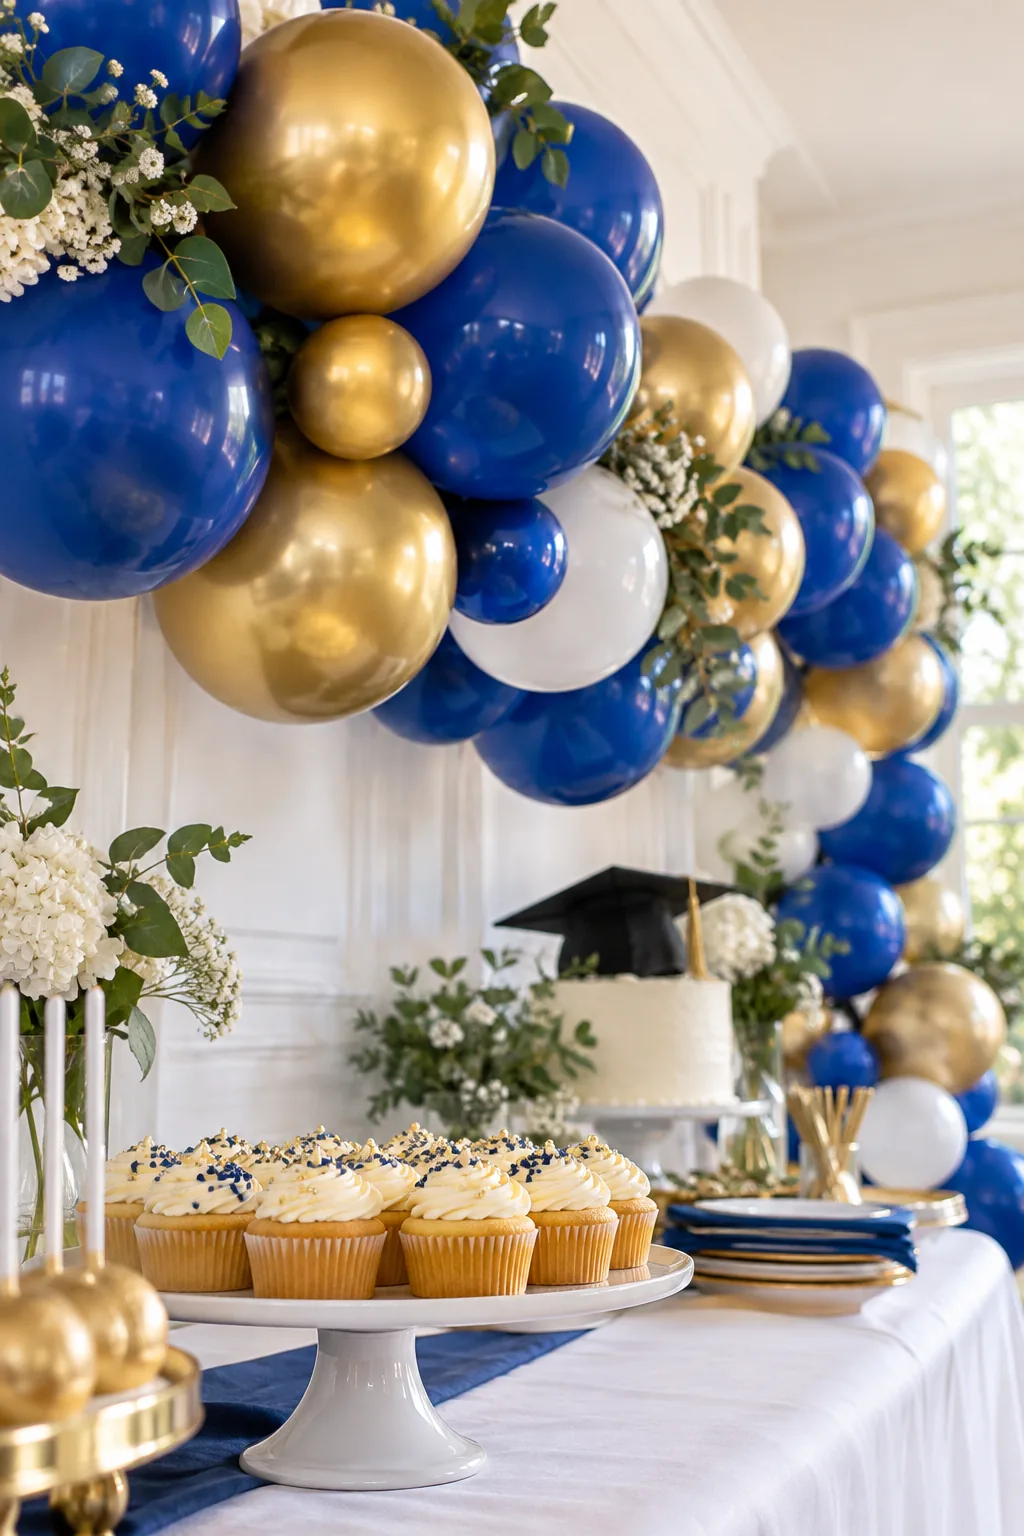
These clusters act as the stable, thick building blocks for the entire garland base, ensuring a uniform thickness from end to end. Simply tie in quads by crossing two pairs at their centers and twisting them around each other twice to lock.
Securing the Base Mechanics
Use thick 260Q twisting balloons to bind your heavy quads together, creating a flexible but incredibly strong central spine. Wrapping the uninflated 260Q tightly in a figure-eight pattern around the center of each quad locks the structure in place.
Mixing the 5, 11, and 18-Inch Sizes
Build the main structure with 11-inch quads, then integrate large 18-inch gold balloons as visual anchors. Section 4: the visual rhythm and stability of four-balloon quads allows you to easily tuck tiny 5-inch white balloons into the gaps using rubber bands.
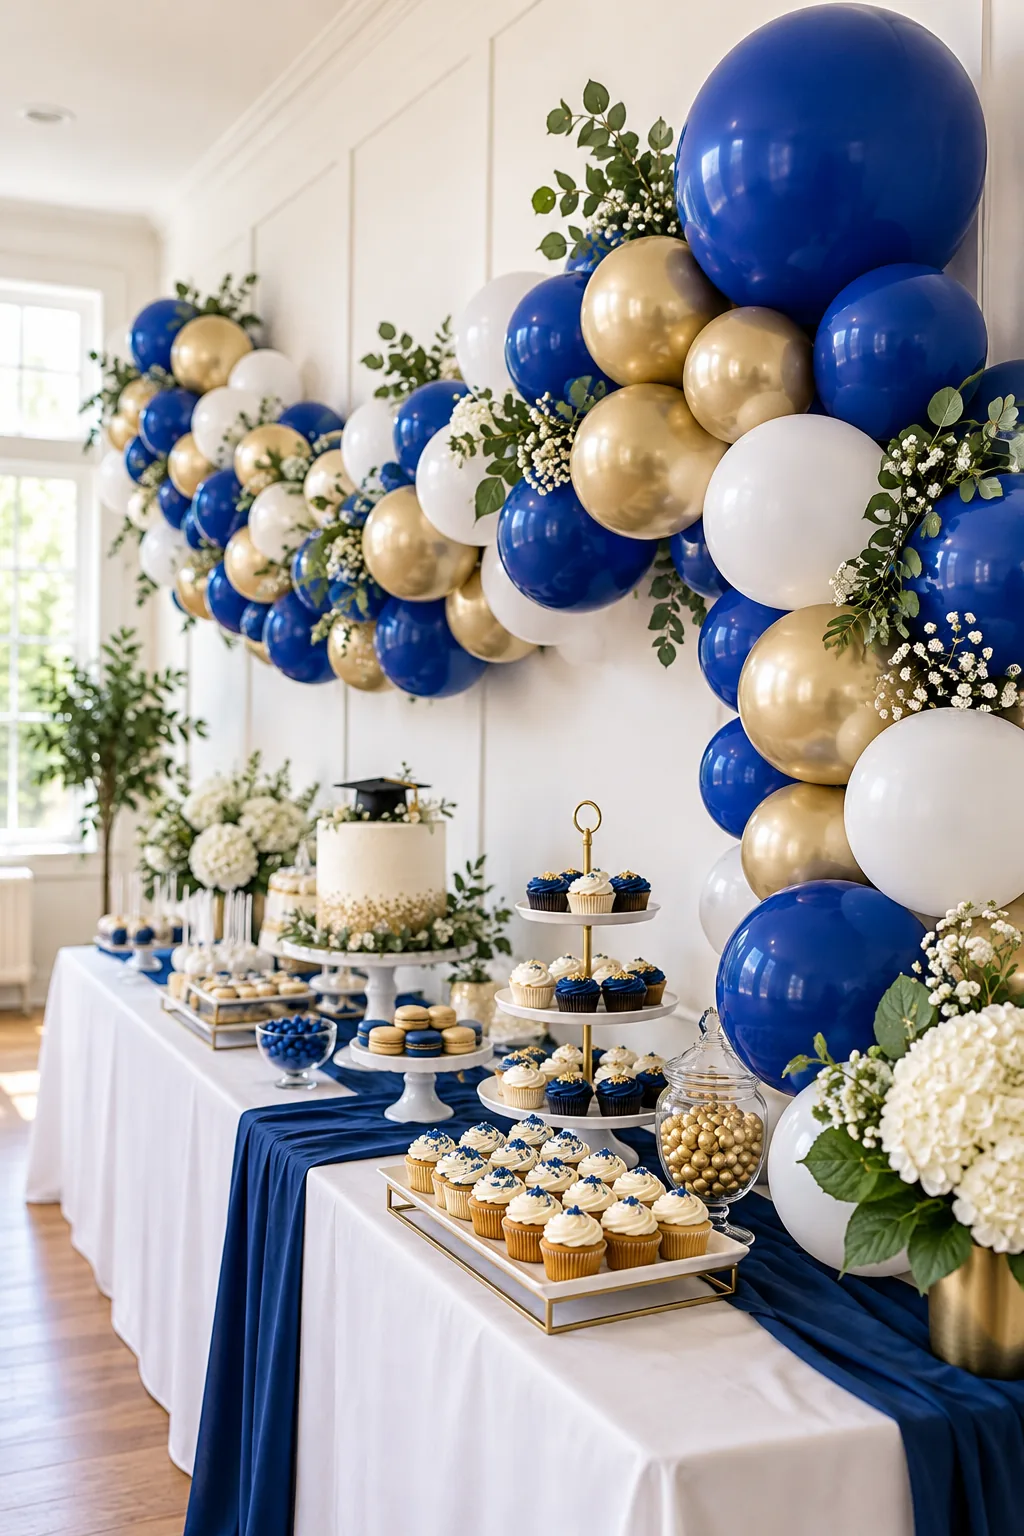
Properly distributing your 5, 11 & 18 inch mix separates a basic arch from a high-end organic installation. When I built a massive blue and gold garland for my own living room last spring, scattering the 18-inch anchors asymmetrically completely transformed the room’s scale.
Creating the Sweeping Tail
To achieve a dramatic taper at the bottom of your installation, switch from four-balloon quads to smaller clusters of three. Tying these reduced clusters together creates a natural point that draws the eye downward toward your beautifully styled dessert spread or gift table.
Transporting the Finished Garland
If you are building the garland off-site, transport the finished base in large, clean contractor bags to prevent static and dust buildup. Leave the tiny filler clusters unattached until you arrive at the venue to prevent them from snagging and popping in transit.
Testing Your Wall Surface
Before committing to a layout, test a single adhesive hook in an inconspicuous corner of your venue to ensure it removes cleanly. Plaster walls in older homes often require specialized delicate-surface strips to avoid pulling down paint when the party ends.
Incorporating Foil Specialty Balloons
Foil balloons shaped like graduation years add fantastic metallic shine, but they require a completely different inflation technique than latex. Use the narrow straw nozzle on your pump and stop filling the moment the foil seams feel firm to the touch.
Adding Florals and Graduation Accents
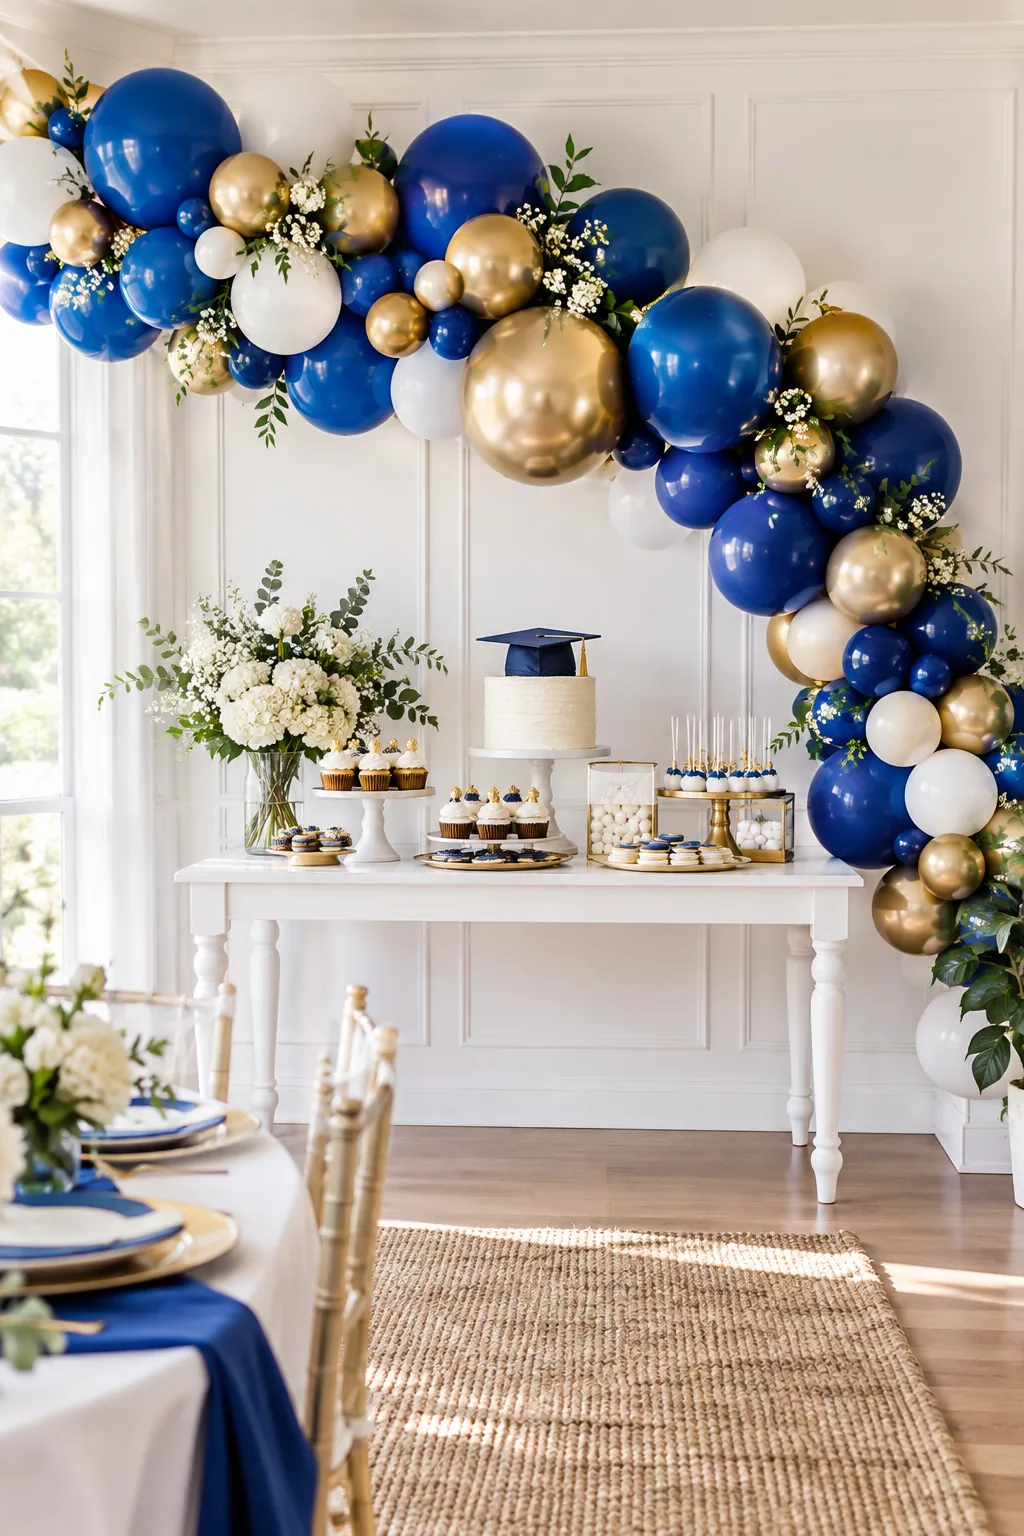
Soften the balloon edges by tucking fresh floral sprigs directly into the tightest crevices of the quads. Complement the setup by styling your dessert table with graduation cap cookies and a framed class sign; adding these small touches elevated my last Boston brownstone party immensely.
Hanging the Sweeping Diagonal Shape
Mount the finished garland so it sweeps asymmetrically over the dessert table. Section 5: the sweeping asymmetrical shape of the installed garland is achieved by securing the heaviest central quads to the wall first, allowing the tapered ends to trail naturally.
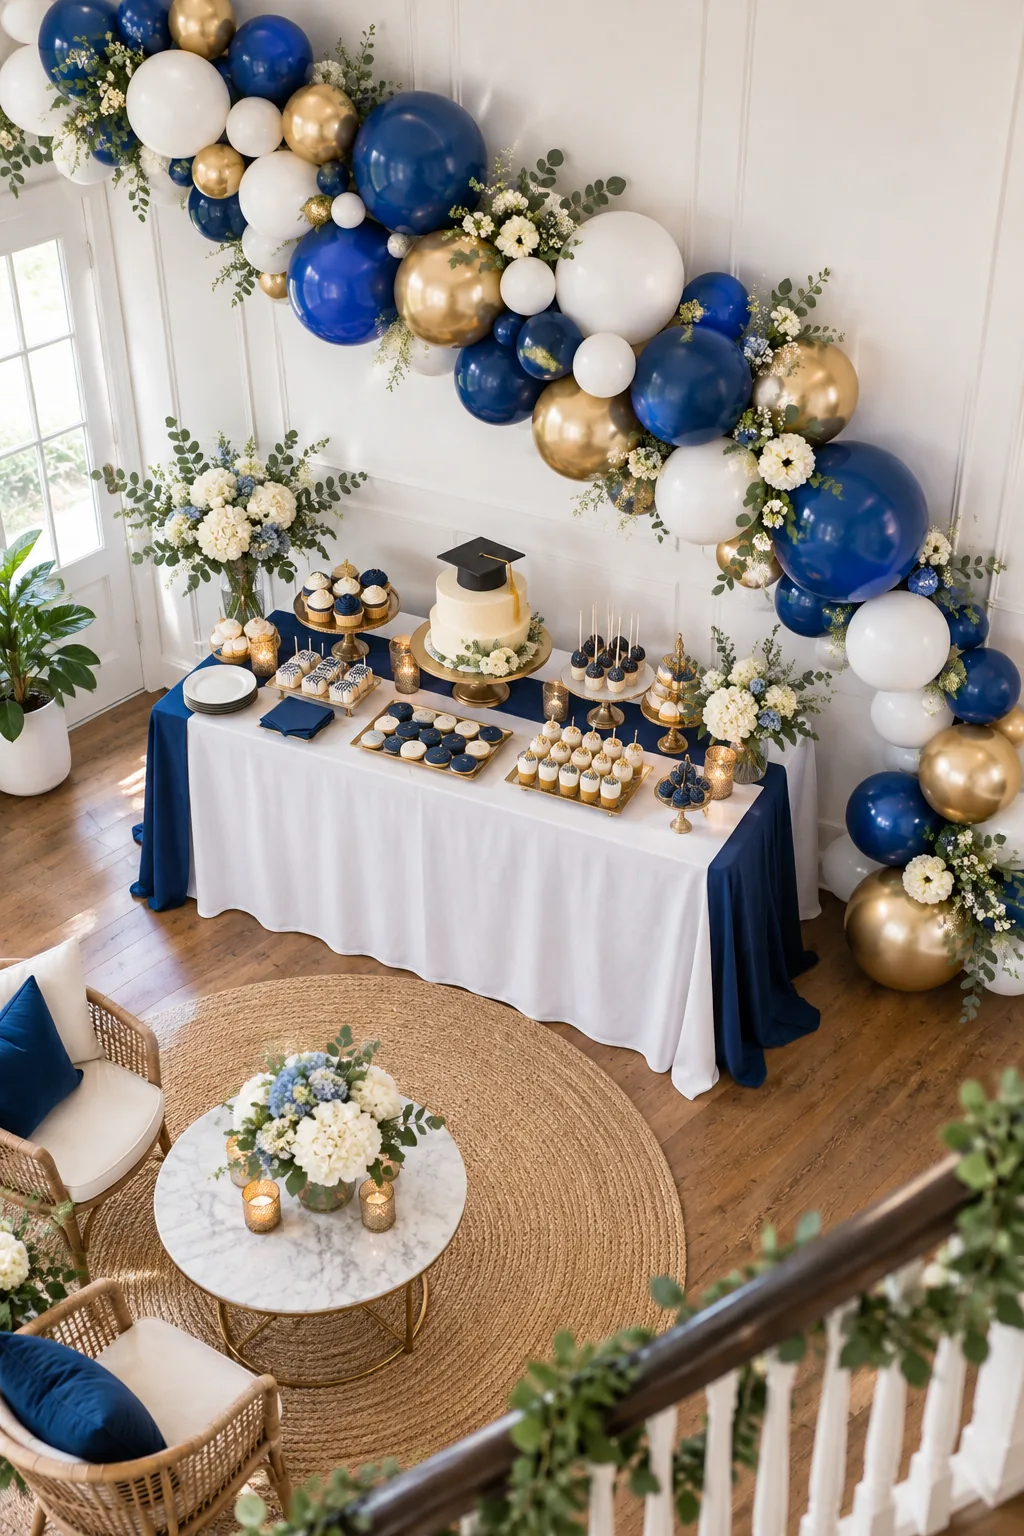
A secure installation ensures your garland stays perfectly positioned throughout the entire graduation party. Tying the central spine directly to your wall hooks prevents the heavy latex from sagging as the temperature shifts throughout the afternoon.
More Graduation Garland Color Palettes
Explore how different school colors completely transform the look of the same quad-built garland.
Maroon and Silver Doorway: Welcome guests immediately by framing your front entry with deep maroon and chrome silver balloons.
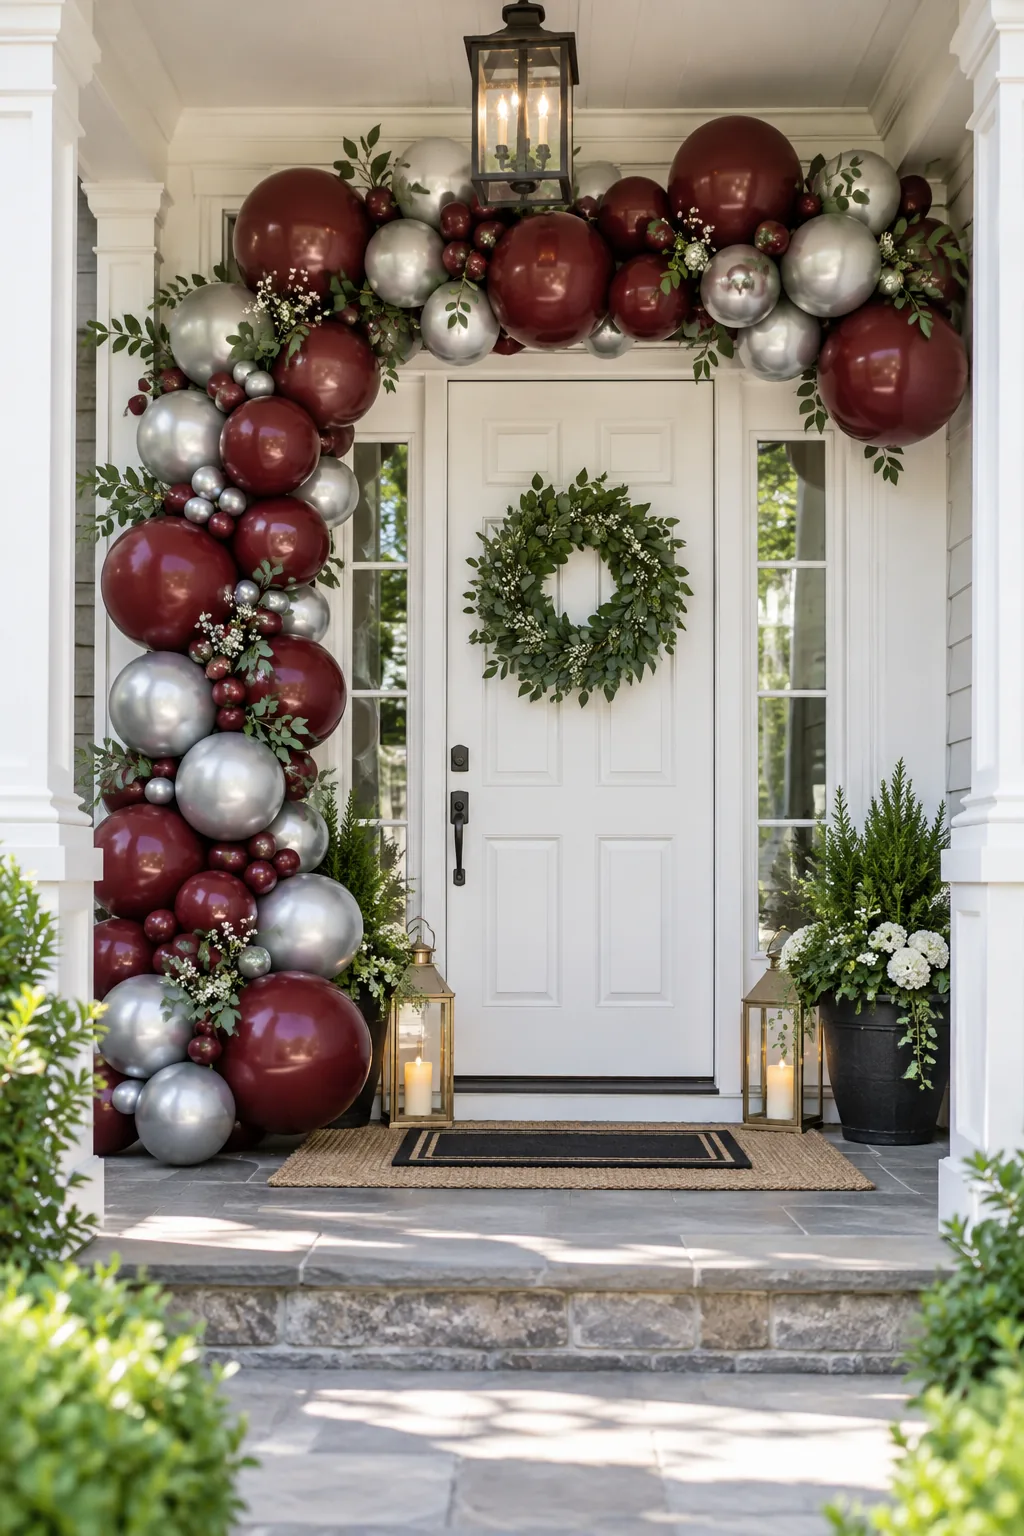
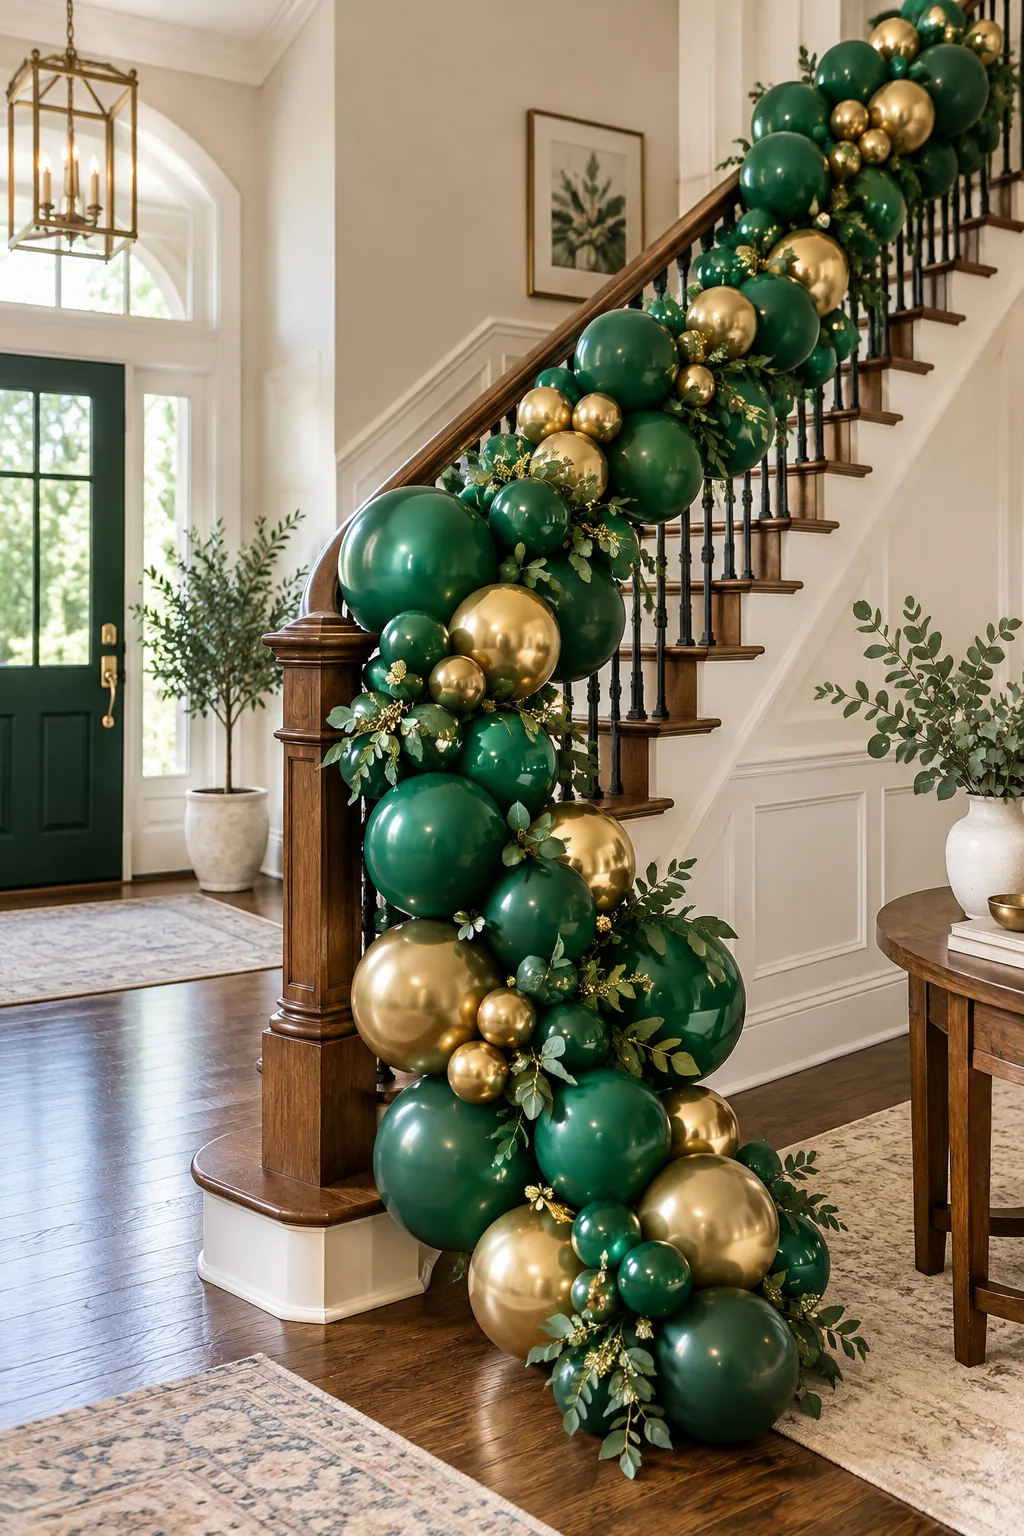
Emerald and Gold Staircase: Utilize your home's architecture by sweeping an emerald green and gold garland down the main staircase.
Black and Chrome Backdrop: Create a modern photo station using high-contrast black and white balloons accented with reflective chrome silver.