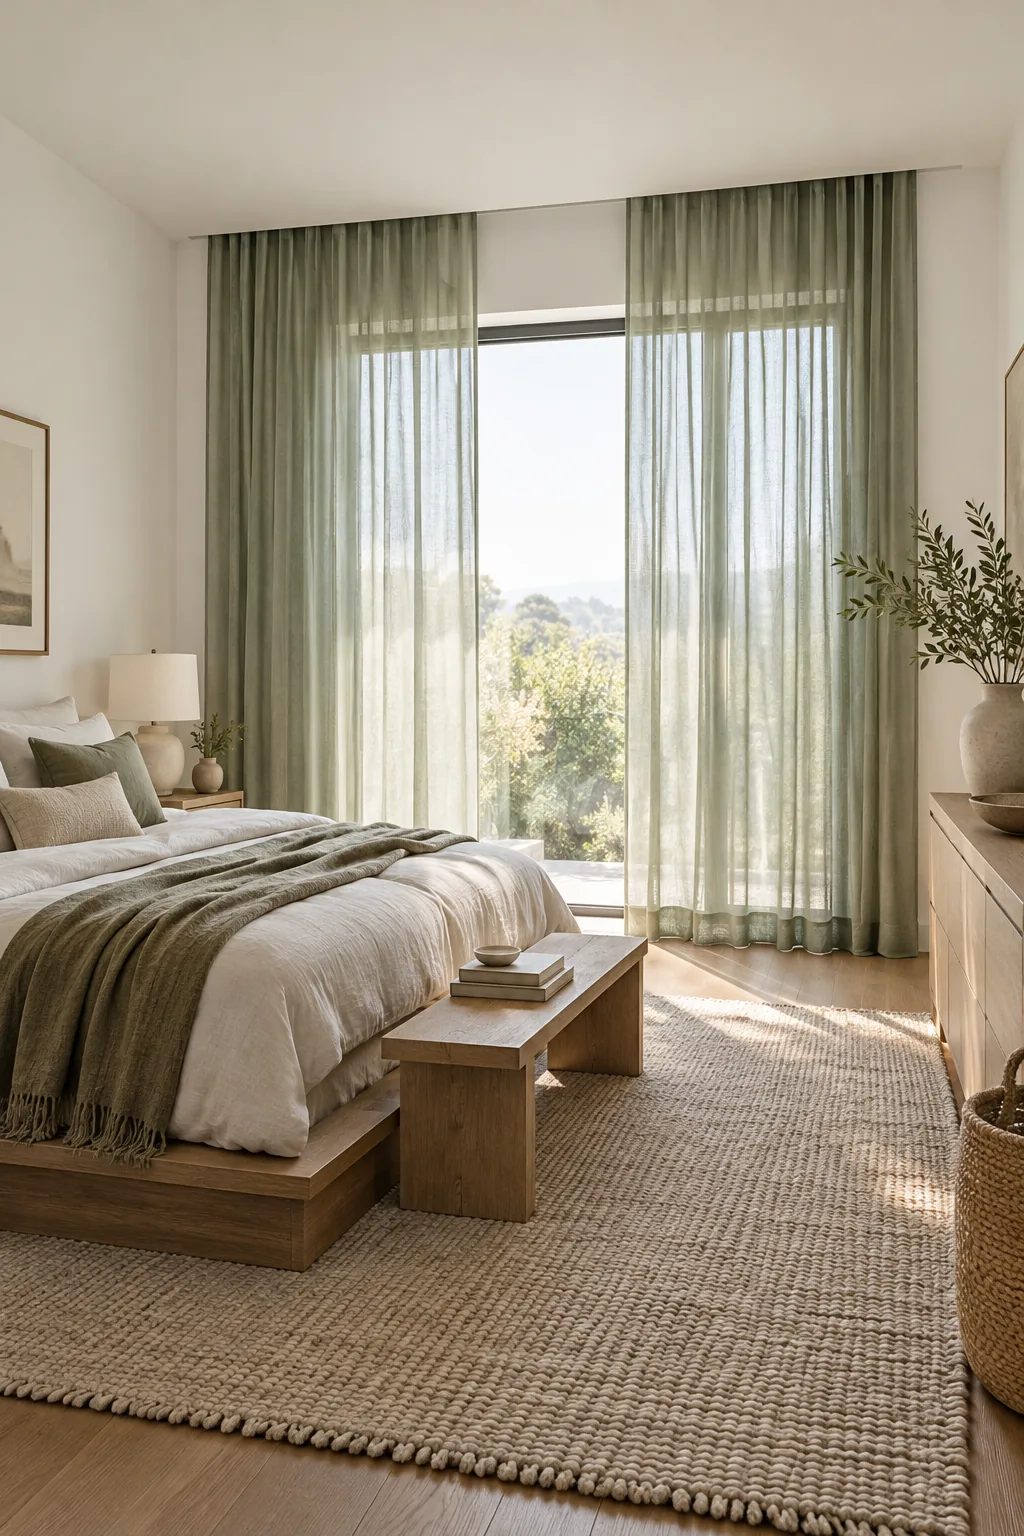
How to Hang Window Panels Tall (Plus Measure-and-Hang Sheet)
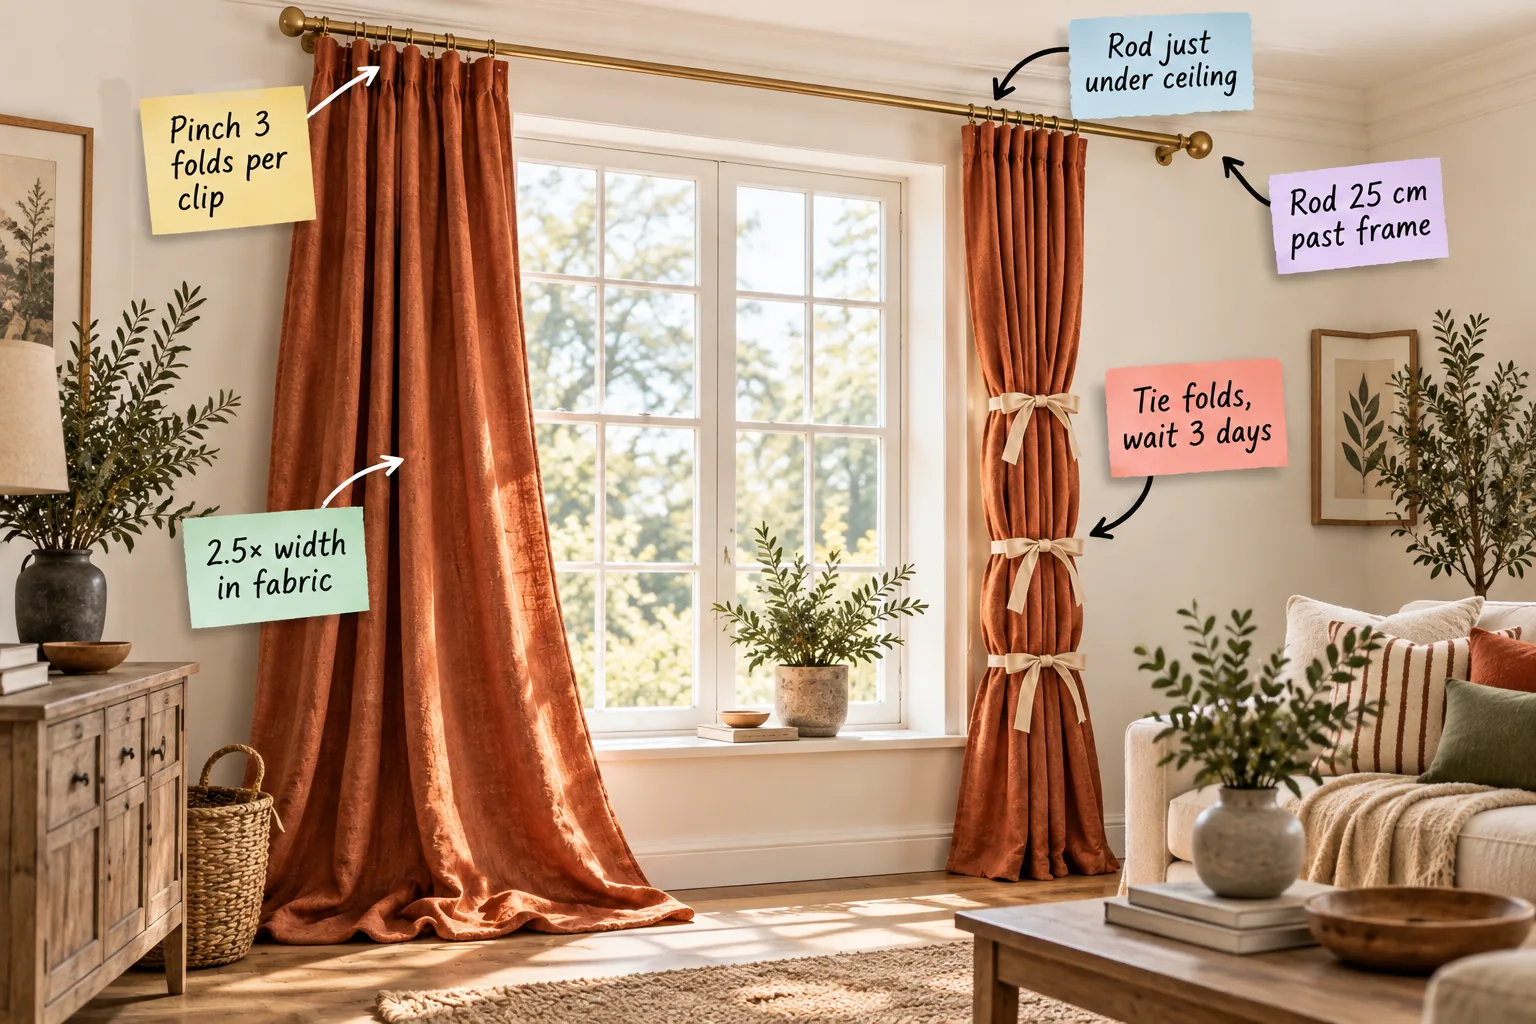
Make your modest windows look floor-to-ceiling grand with our printable Window Measure-and-Hang Sheet. You will get the exact rod measurements, fabric ratios, and faux-pleating spacing needed to achieve a high-end, custom look in a single afternoon.
Mount the Rod Just Under the Ceiling
Start by mounting the brass curtain rod a hand’s width below the ceiling line, rather than right above the window trim. This simple placement trick draws the eye upward, instantly making a standard room feel taller and more architectural.
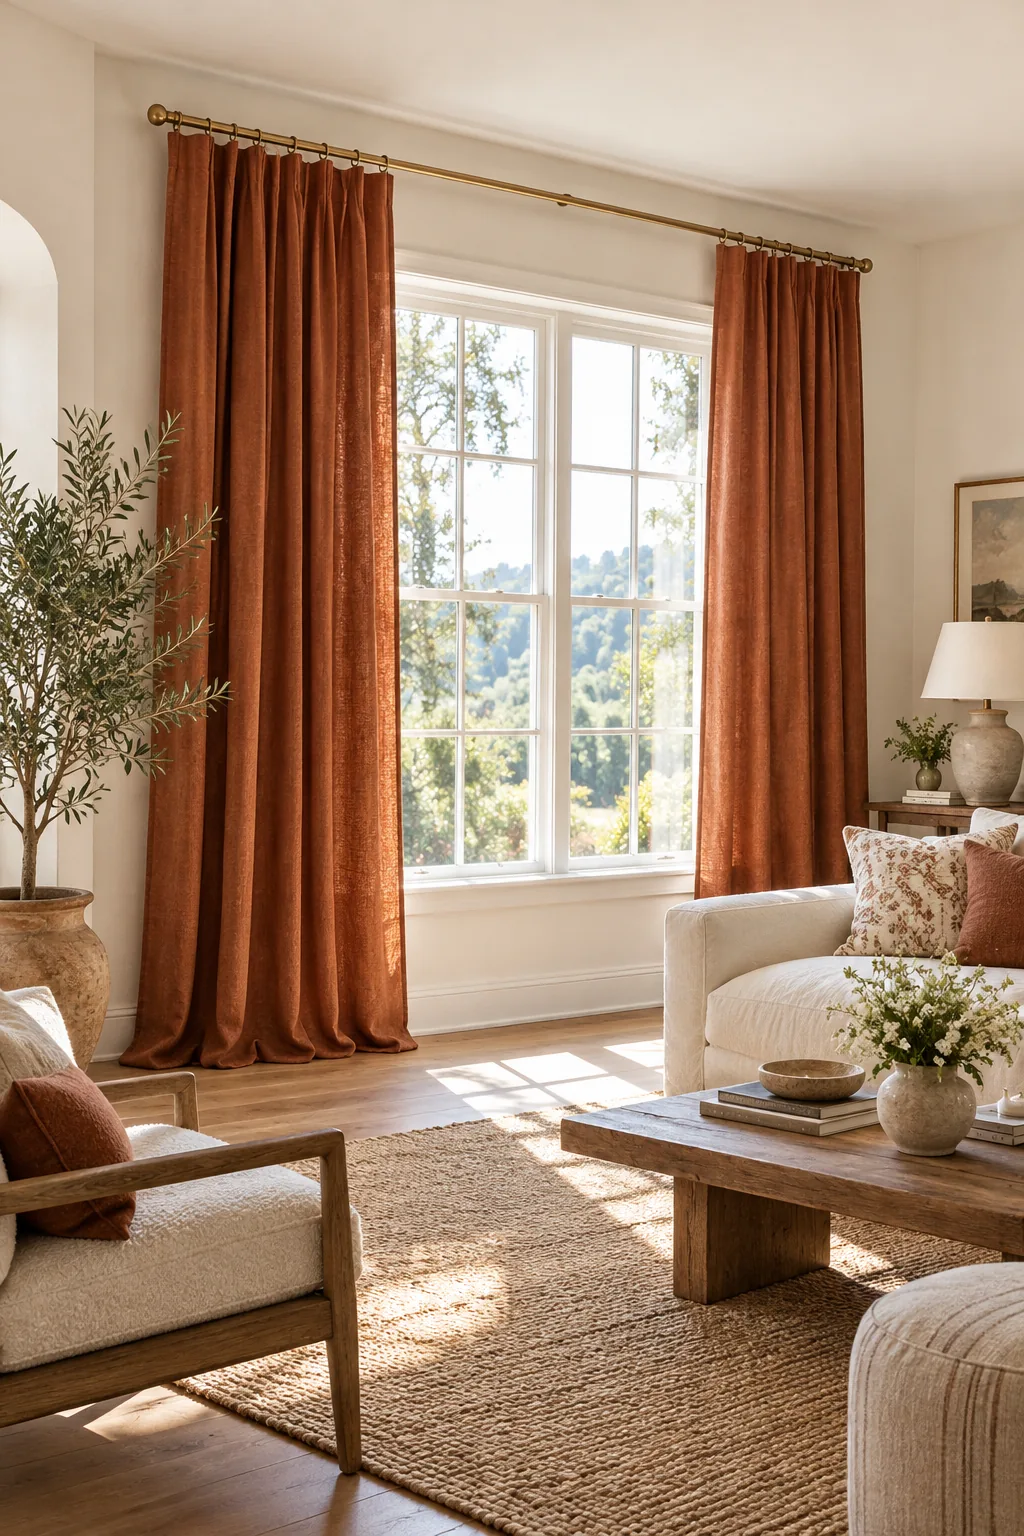
Lifting the hardware high above the natural casing creates an optical illusion that stretches the wall. The extra height allows the fabric to cascade gracefully, setting the foundation for a truly custom drapery installation.
Extend the Rod 25 cm Past the Frame
To maximize natural light, extend the rod 25 cm beyond the window frame on each side. In my own Denver living room, pushing the brackets out this far transformed our narrow windows; placing them too close is exactly why curtains often feel cramped. Avoid these frequent mounting errors to keep the look generous.
Choose the Right Curtain Ring Size
Ensure the inner diameter of your brass rings is at least 1.5 cm larger than the rod itself to guarantee smooth gliding. Rings that fit too snugly will catch on the center splice, ruining the effortless operation of your heavy tailored panels.
Calculate for 2.5× Fabric Width
Achieving a luxurious, custom look requires deep, generous waves, which means using a 2.5× fabric fullness ratio. I learned this the hard way on an early client project; skimping on yardage leaves the panels looking flat and inexpensive when closed.
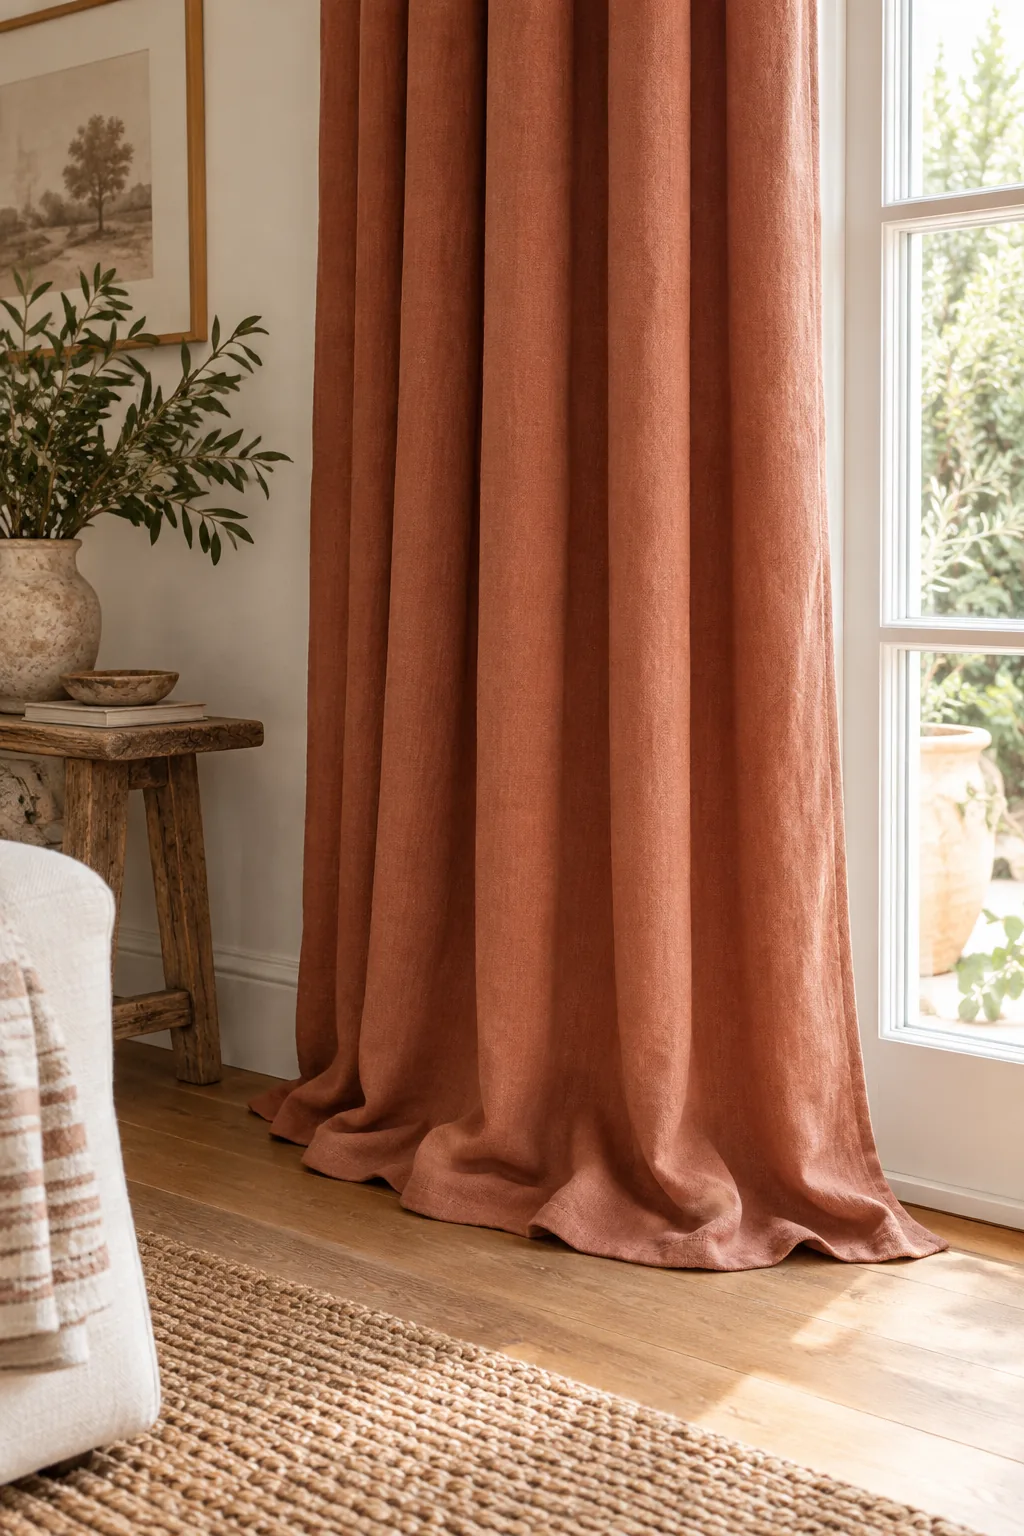
Multiply your total rod width, including the overhangs, by 2.5 to find the exact panel width needed before pleating. This generous measurement ensures the fabric retains its rich, tailored volume whether the curtains are drawn shut or pushed open.
Your Window Measure-and-Hang Sheet
Print the one-page Window Measure-and-Hang Sheet to guide your installation seamlessly from start to finish. It covers your exact rod height, overhang marks, the panel-count chart for fullness, clip-pleat spacing, and the training schedule.
| Window Width | Rod Length | Panels Needed |
|---|---|---|
| Up to 80 cm | 130 cm | 2 panels |
| 81 – 120 cm | 170 cm | 3 panels |
| 121 – 180 cm | 230 cm | 4 panels |
| 181 – 240 cm | 290 cm | 6 panels |
Prepare the Top Hem for Clips
Before applying any hardware, press the entire top hem of your panels with a hot iron to create a stiff, reliable foundation. A crisp upper edge makes it significantly easier to pinch the fabric evenly and helps the faux pleats stand sharply at attention.
- Lay the panel flat on your ironing board.
- Apply heavy steam across the top hem.
- Let the fabric cool completely before lifting.
Pinch 3 Folds Per Ring Clip
Create a tailored triple pinch-pleat without sewing by pinching three small, tight fabric folds together at the top hem. Whenever I style a bedroom, I simply grip all three folds tightly with a single ring clip, spacing them evenly across the panel width.
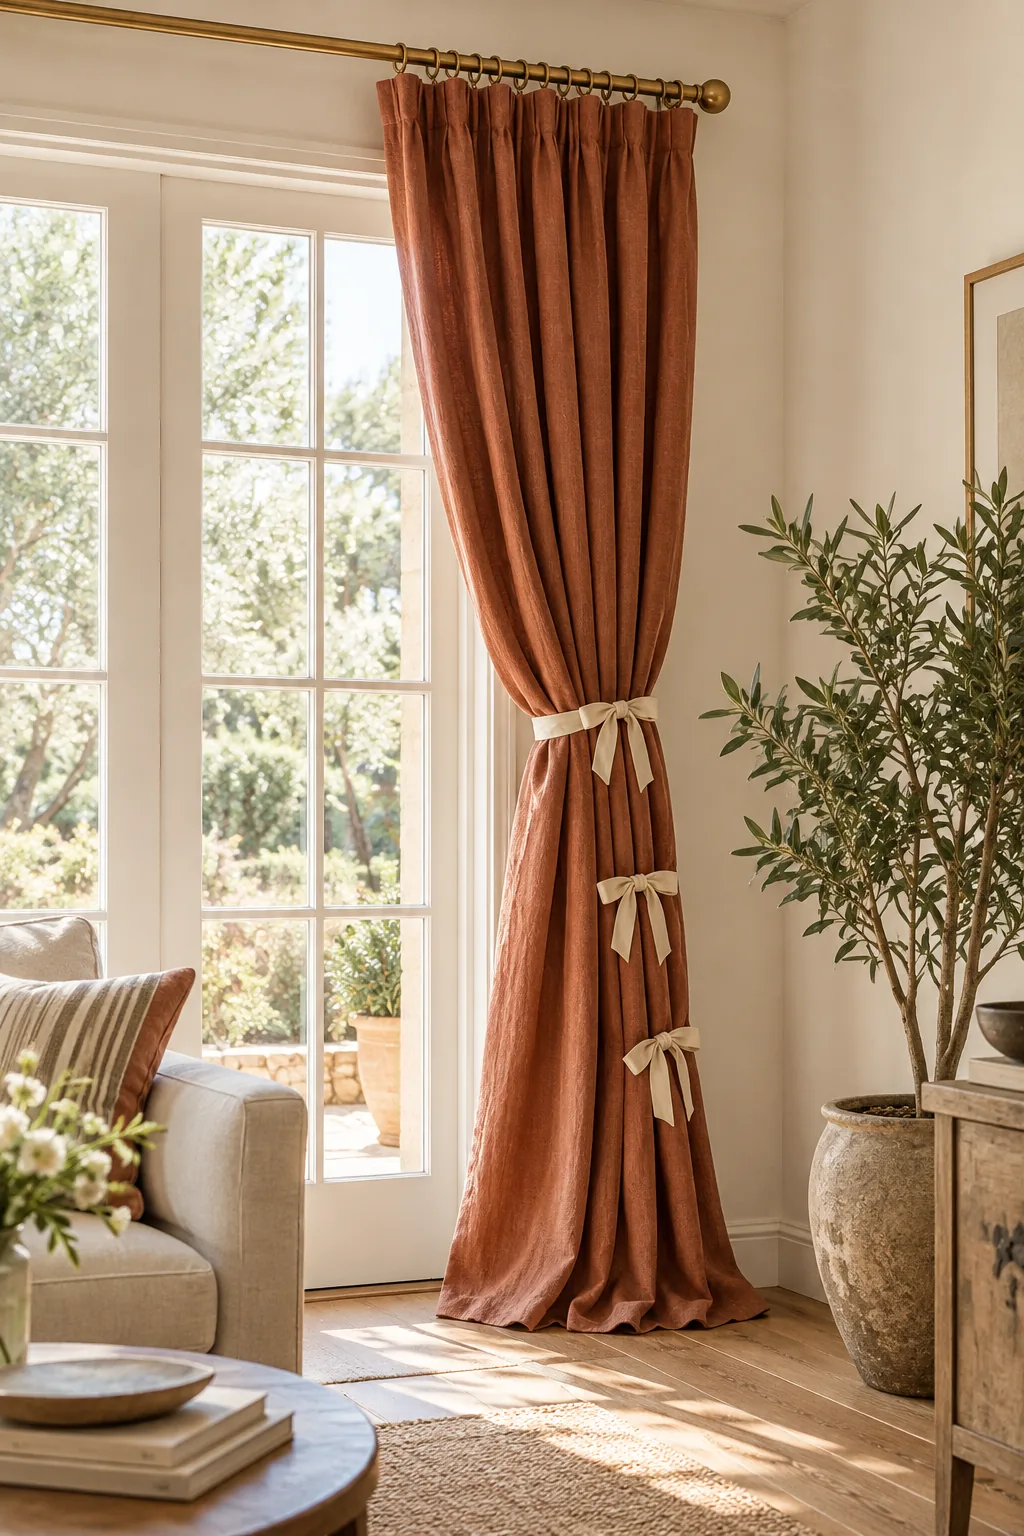
This quick faux-pleating method structures the heading beautifully while saving the cost of custom tailoring. Ensure the clips grip the fabric securely so the folds remain crisp and upright as you move the panels along the rod.
Steam the Fabric Before Training
Run a handheld garment steamer vertically down the gathered panels just before tying them to relax stubborn shipping wrinkles. The gentle heat softens the linen fibers, making them much more receptive to the memory training process over the next three days.
Tie the Folds and Wait 3 Days
Once hung, gather the panel into even, vertical folds from top to bottom and loosely tie it with soft cotton ribbons in three places. I always leave these ribbons in place for exactly three days in my own home to set the fabric’s memory perfectly.
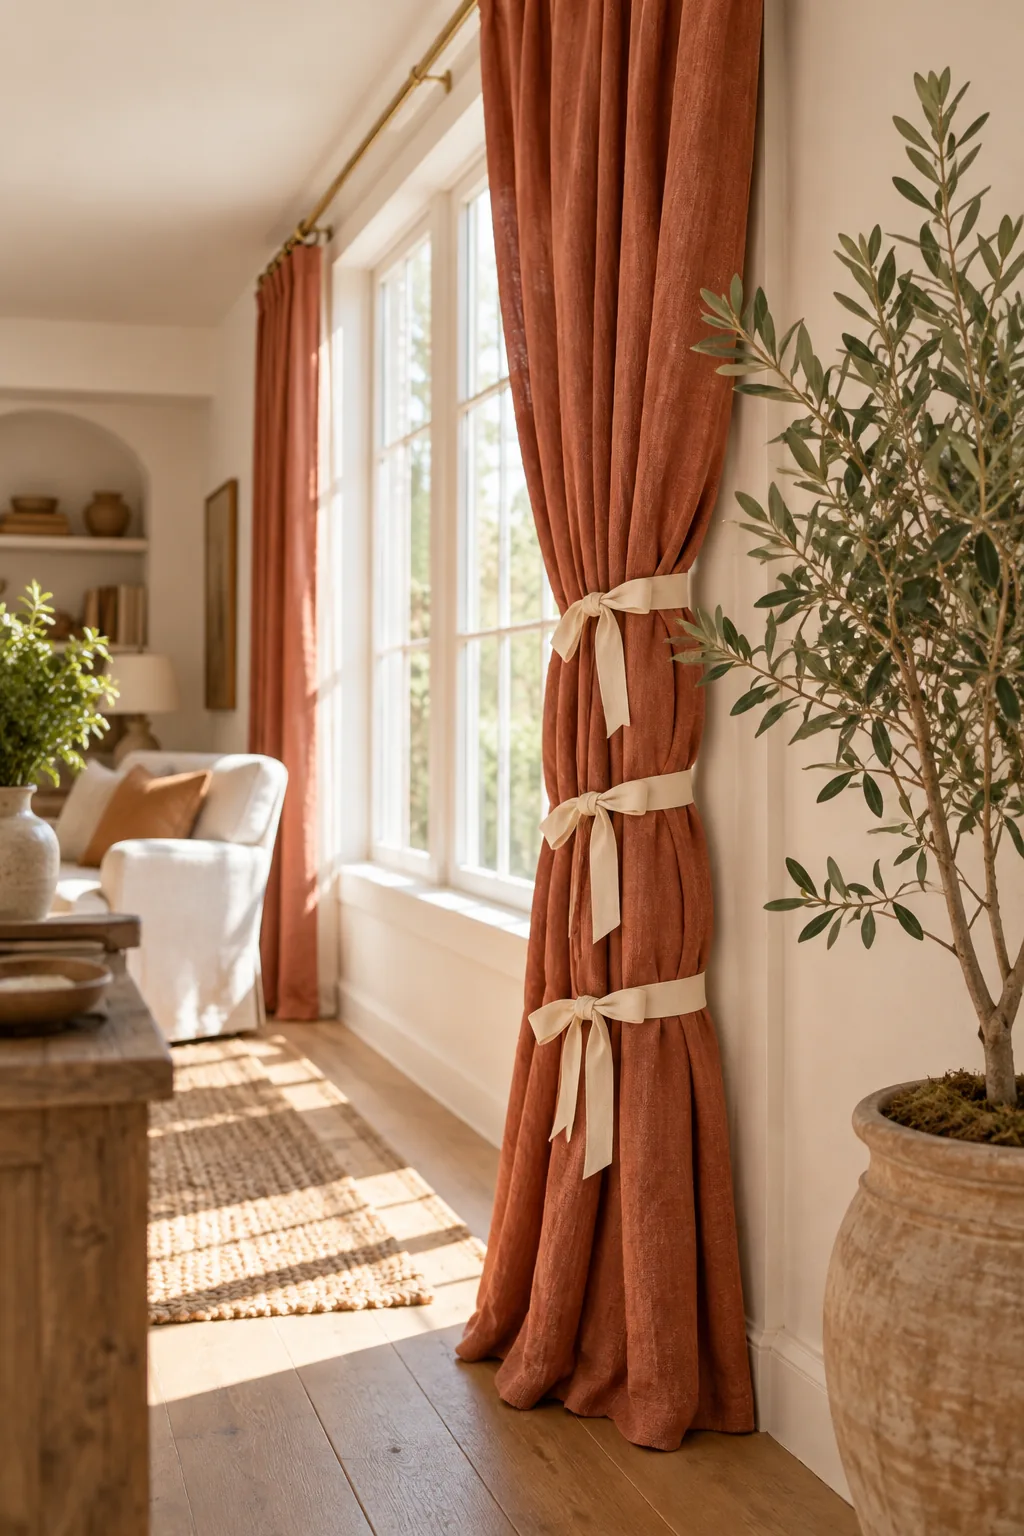
Using cotton ribbon prevents any harsh bruising or creasing on delicate natural fibers during the training period. This crucial waiting time allows the linen to relax into its new shape, ensuring the pleats fall perfectly straight when finally untied.
Select the Right Hardware Profile
A slim brass rod provides elegant contrast to heavy linen, but it must be strong enough to support the 2.5× fabric weight. Heavy fabric requires reliable support behind the scenes, so run through this quick hardware check before you start drilling into the drywall.
The Final Floor-to-Ceiling Impact
When the ribbons come off, the trained folds and high rod placement work together to completely transform the room’s proportions. The modest window disappears, replaced by a grand, tailored architectural feature that anchors the entire living space.
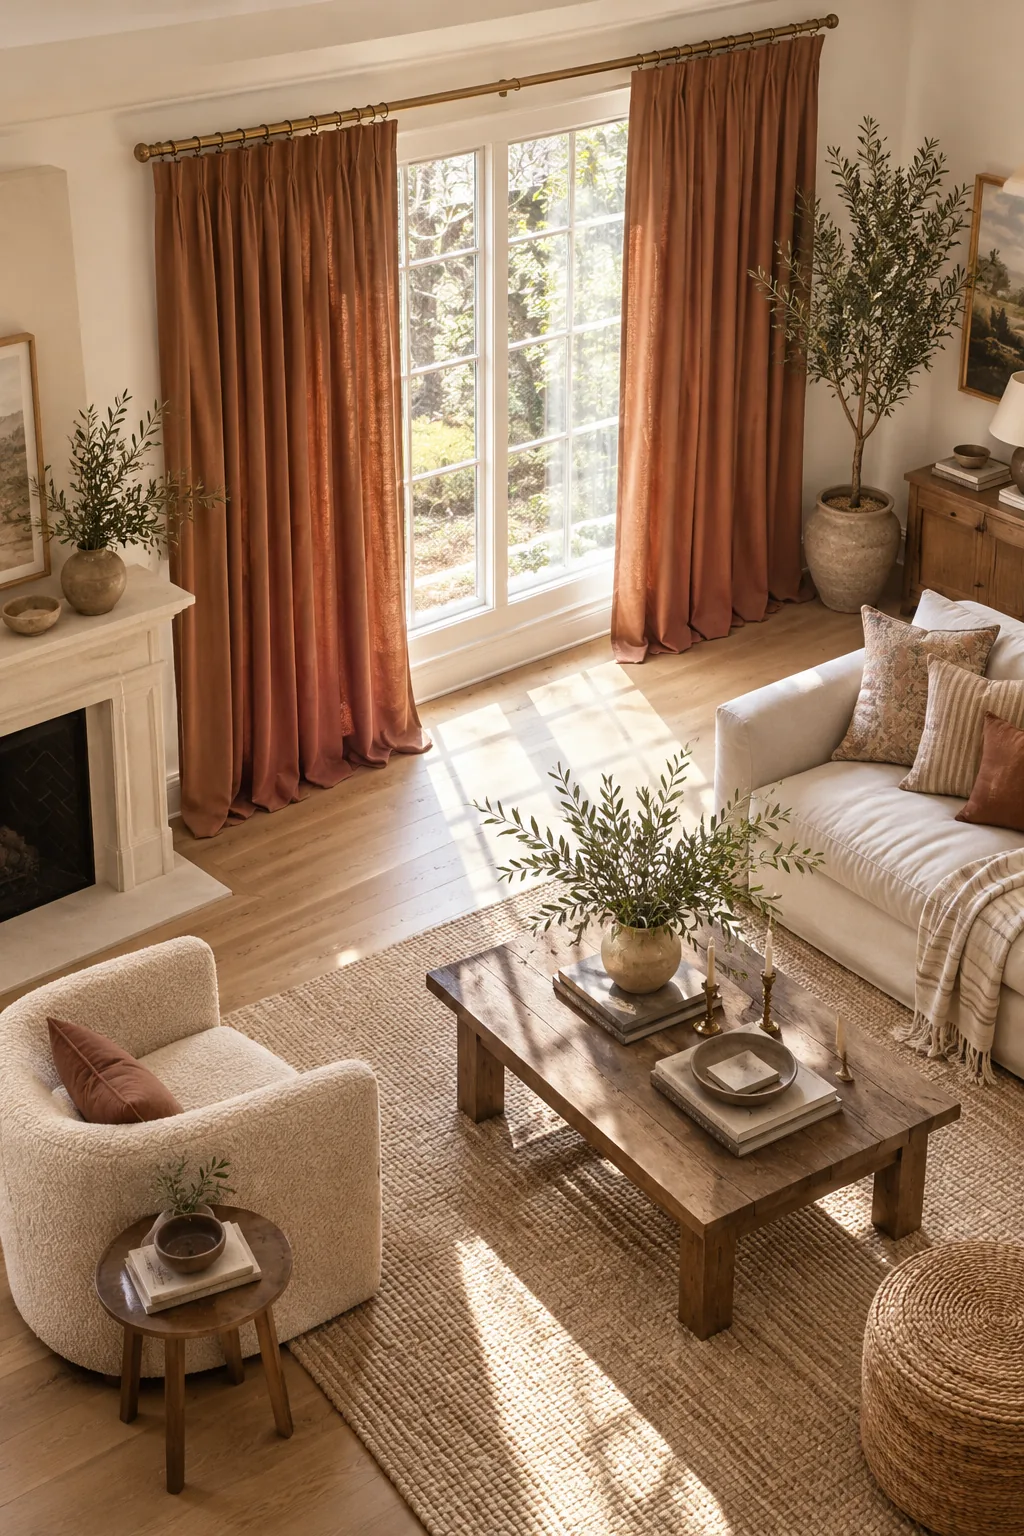
The combination of generous fabric fullness and precise pleat spacing delivers a high-end aesthetic for a fraction of the cost. Enjoy the dramatic shift in scale and light that these carefully planned window treatments bring to your home.
More Ways to Style Tall Panels
See how this high-mounting technique adapts to different room styles and fabric choices.
Relaxed Coastal Sand Linen: Light sand linen panels on matte black hardware bring an airy, relaxed height to a coastal living room without feeling overly formal.
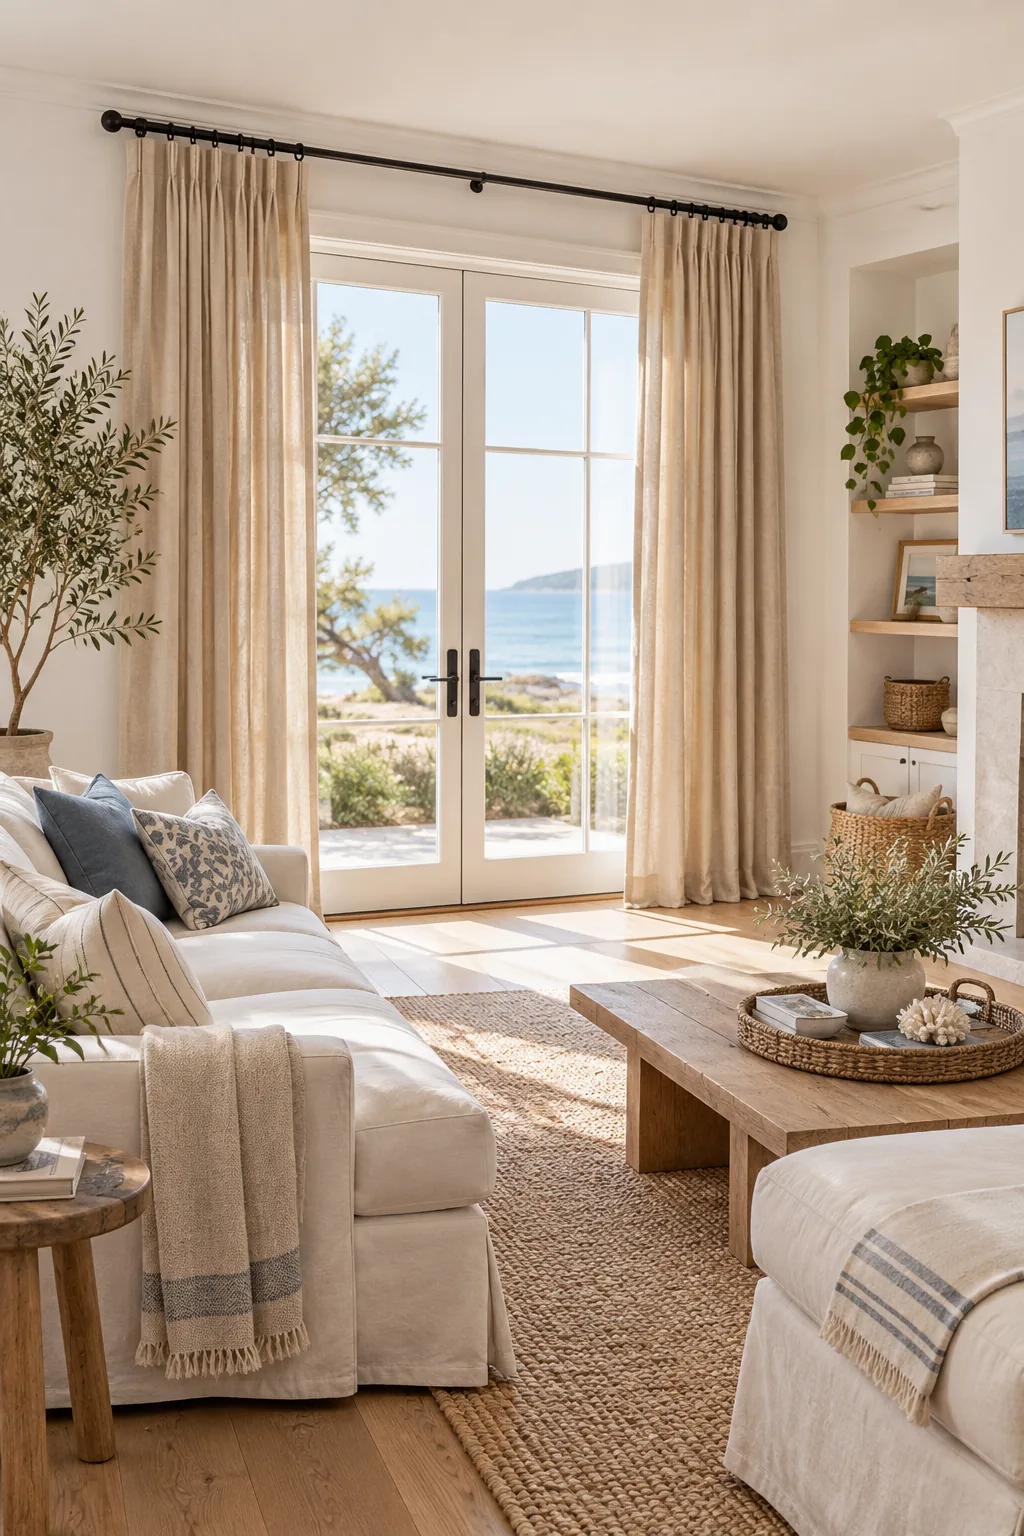
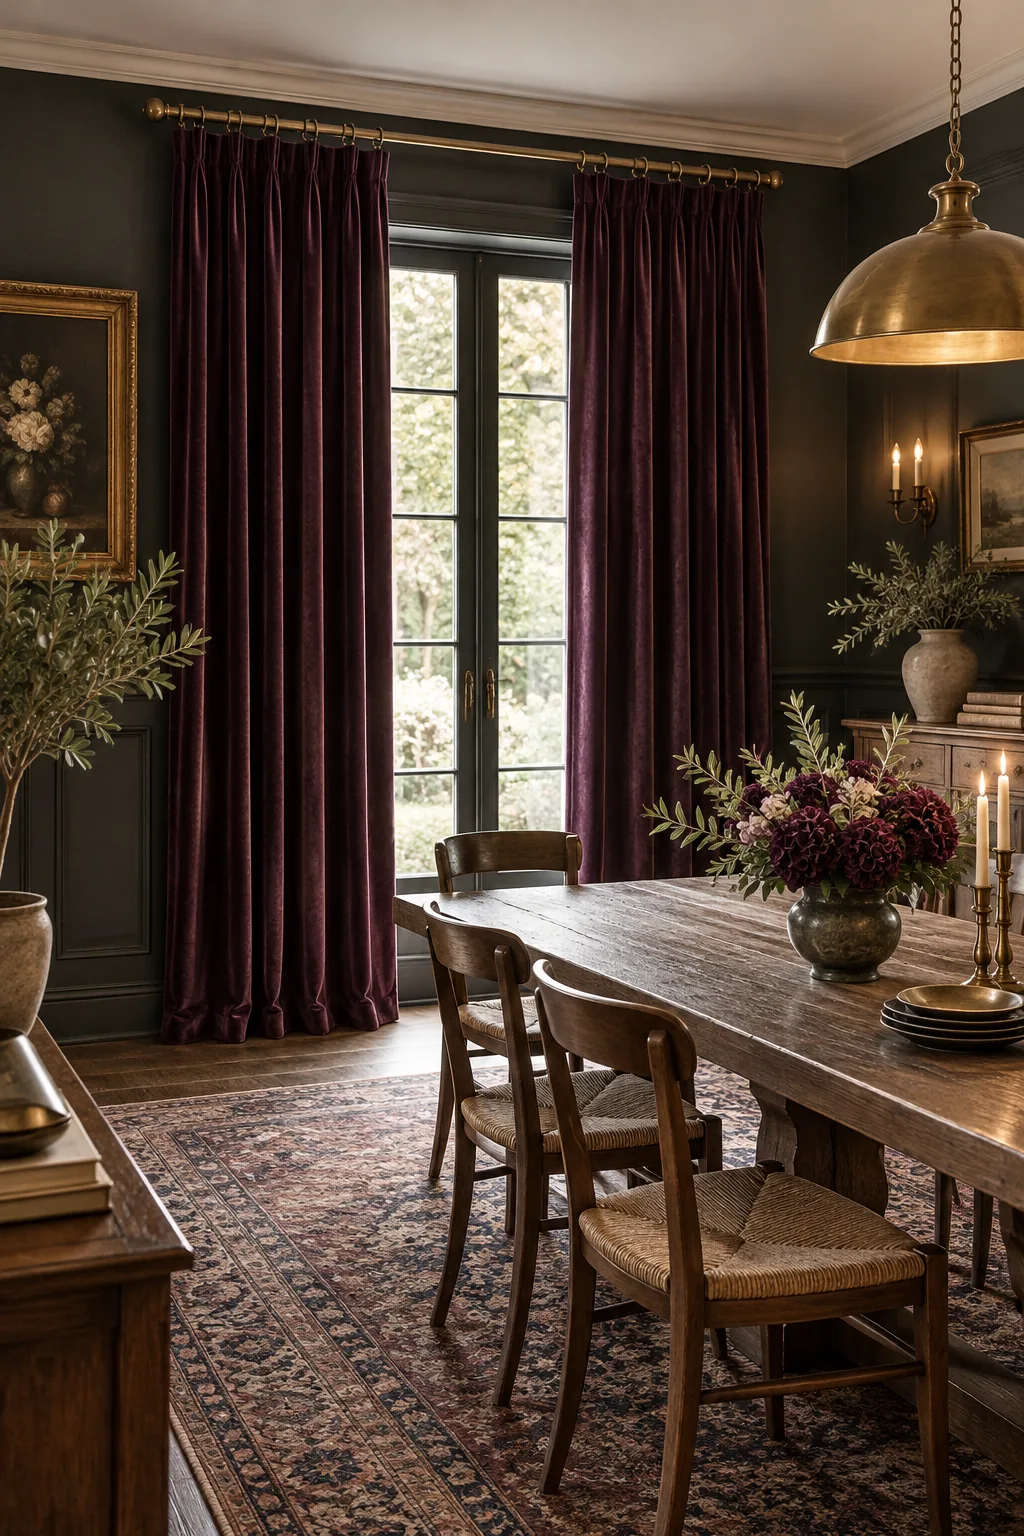
Moody Plum Velvet Dining: Heavy velvet requires sturdy wall anchors, but the deep plum color creates incredible drama against dark wainscoting in a formal dining space.
Minimalist Sheer Sage Track: Swap the rod for a ceiling-mounted track to let sheer sage green panels float seamlessly from the ceiling in a minimalist bedroom.