The Ultimate Park Birthday Party Packing Checklist
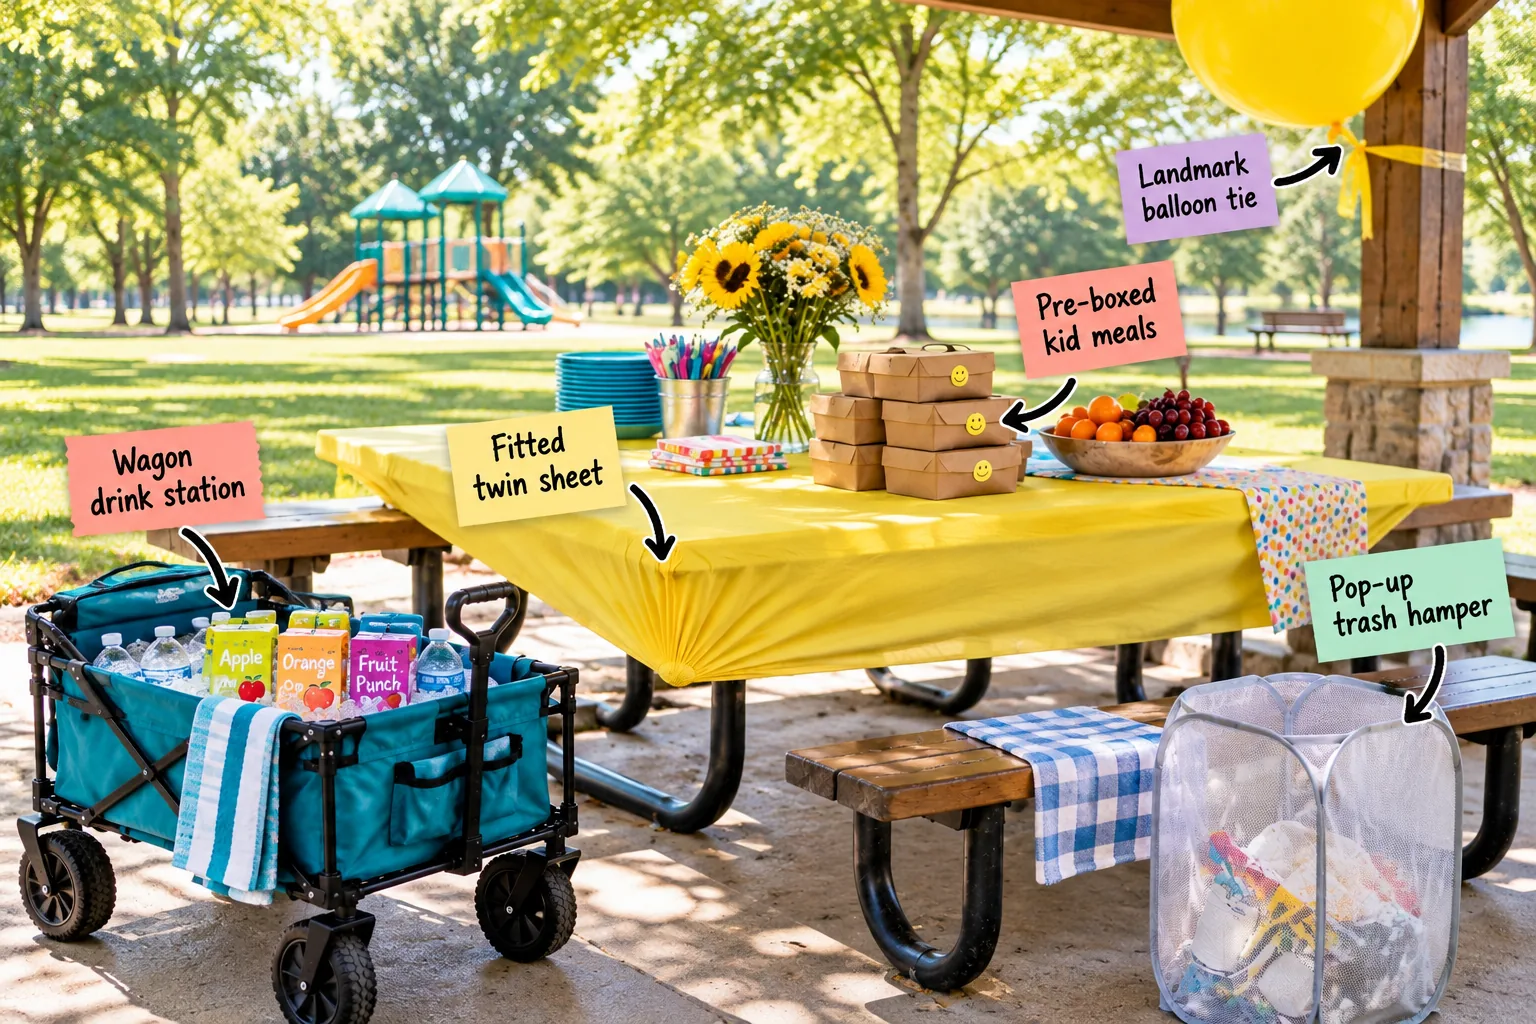
Planning a park birthday party requires smart logistics, so you need our complete park party pack-and-haul checklist to master a wind-proof outdoor basecamp setup. You will be able to pack, transport, and arrange a highly functional party zone in under twenty minutes.
The Complete Pack-and-Haul Checklist
In my Boston brownstone, storage is tight, so I rely on grouping the essential basecamp gear in a specific order for a single-trip setup. Ensure your folding wagon, twin fitted sheet, pop-up hamper, and pre-boxed meals move seamlessly from trunk to pavilion.
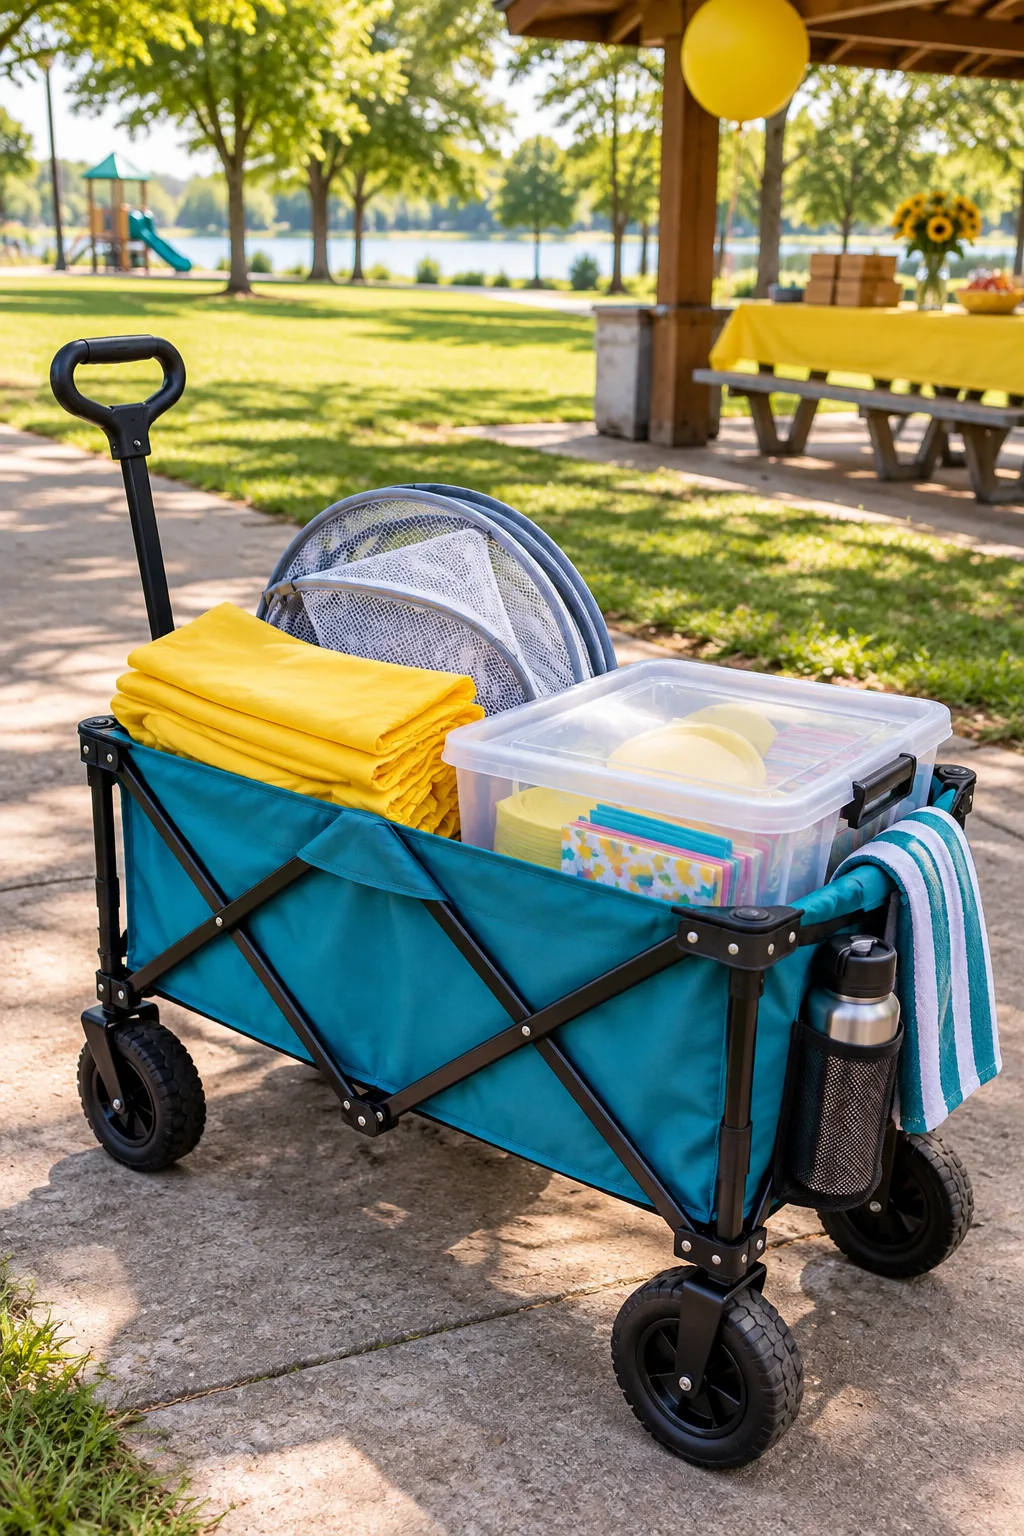
Before you load the car, double-check these essential basecamp items to ensure you have everything needed for a smooth arrival.
Strategic Trunk Loading
To execute a flawless arrival, load your vehicle so the most critical infrastructure pieces emerge first. You never want to leave your delicate food boxes sitting on damp grass while you search for the table cover.
- Pack heavy sealed tubs of serving dishes in the deepest part of the trunk.
- Stack the lightweight pre-boxed meals and decorations safely on top.
- Place the folded wagon and mesh hamper right at the latch for instant access.
This exact sequence allows you to deploy the transport wheels immediately, keeping every subsequent item elevated and clean.
Navigating to the Site
Rolling a fully loaded cart across uneven park terrain demands careful weight distribution to prevent tipping. Keep your heaviest items centered over the rear axle to maintain a stable center of gravity over bumpy roots and cracked pavement.
Anchoring the Party Zone
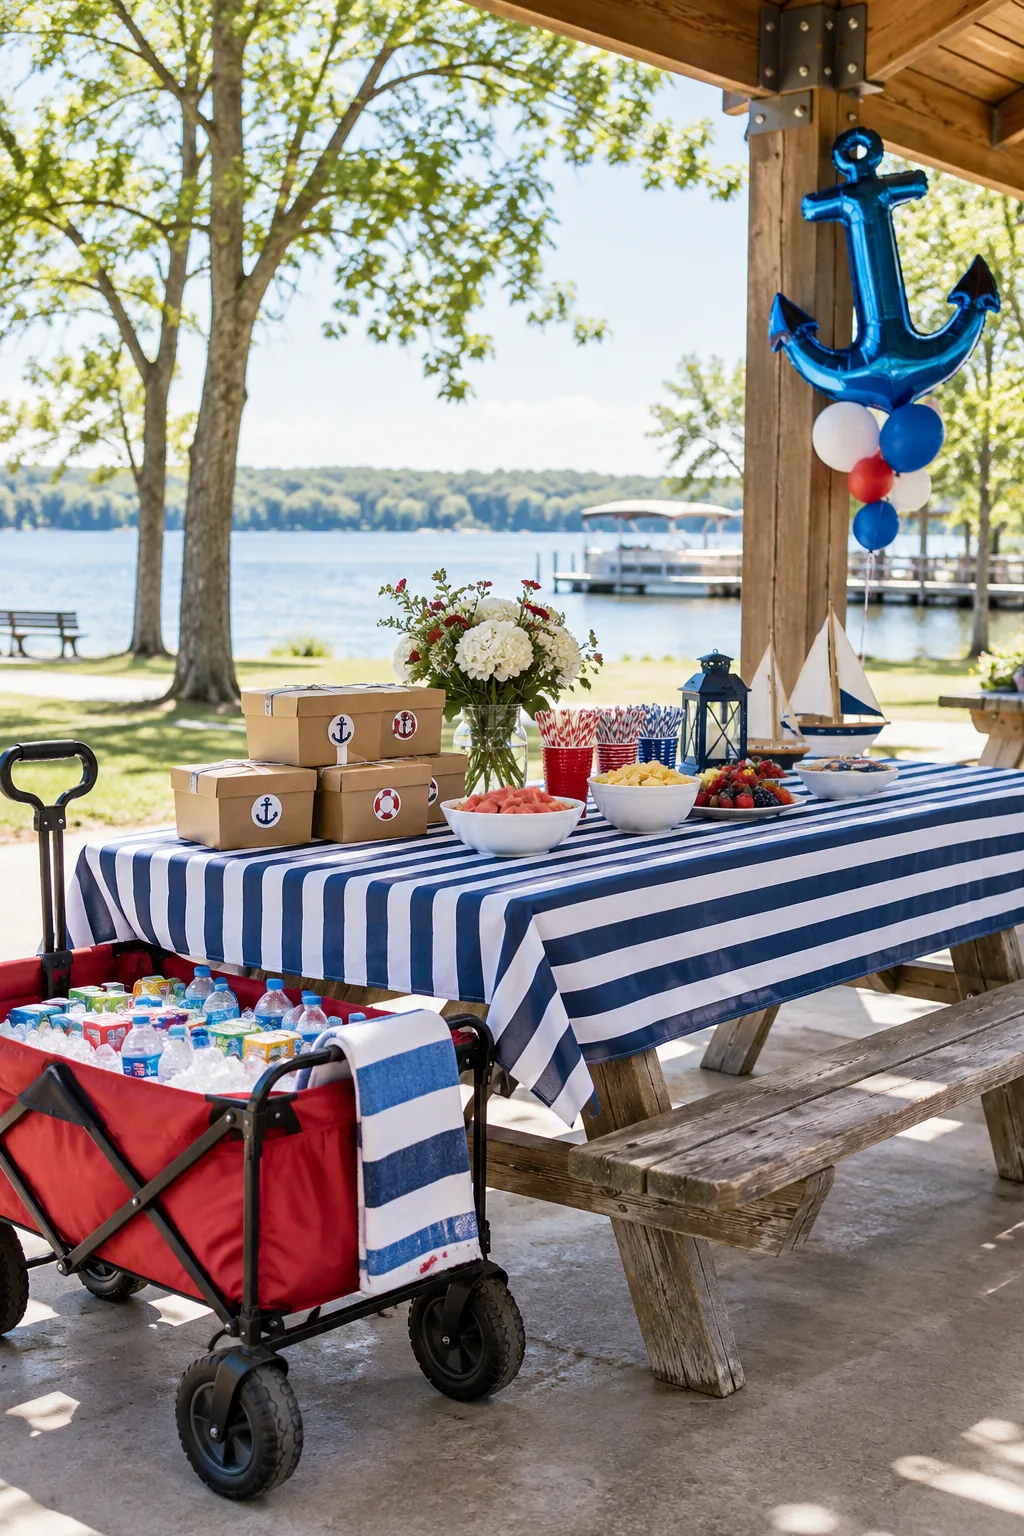
Public parks can be overwhelming for arriving guests, making it crucial to establish a highly visible landmark immediately. Anchor your specific pavilion by tying a giant 36-inch helium balloon high on a structural post.
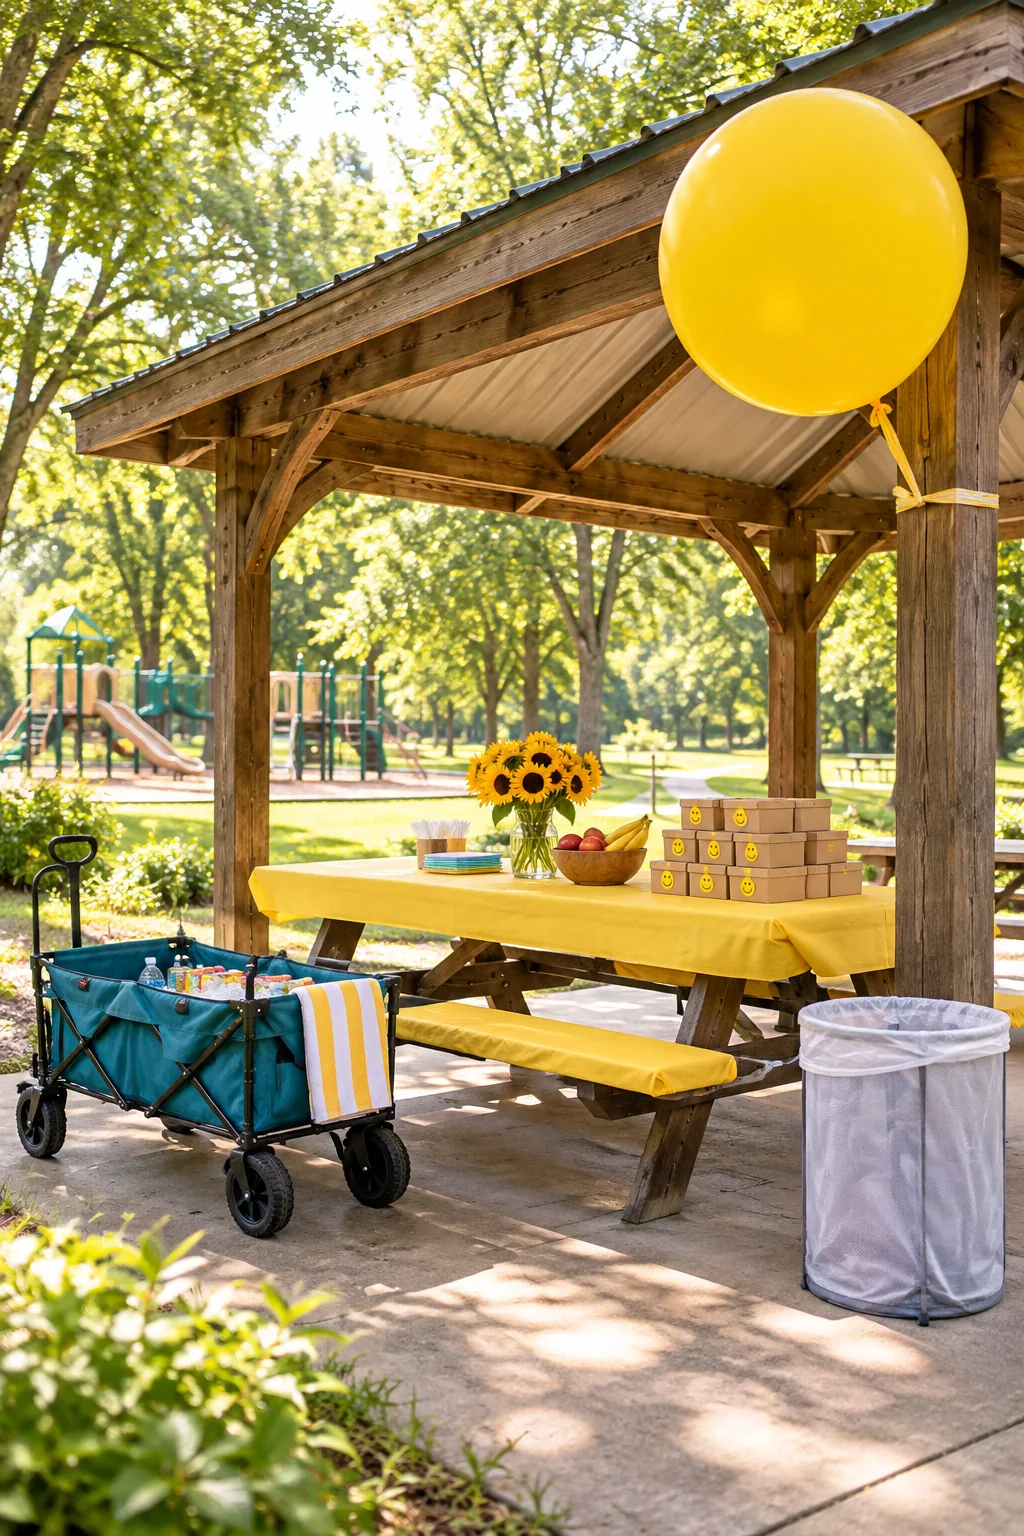
This massive pop of color cuts through the visual clutter of trees and other gatherings, guiding parents right to your exact basecamp.
Choosing the Right Pavilion Post
Not all structural supports offer the same visibility or weather protection for your landmark. Select a primary post that maximizes sightlines from the parking lot while shielding your table from prevailing gusts.
| Post Location | Guest Visibility | Wind Protection |
|---|---|---|
| Windward Corner | High | Excellent |
| Leeward Corner | Low | Poor |
| Center Aisle | Medium | Moderate |
Tying your landmark to the windward corner ensures the balloon remains fully extended and visible rather than tangled in the rafters.
Assessing the Wind Direction
Before unpacking your delicate paper goods, spend one minute observing how the breeze moves through the open pavilion structure. Always position your heaviest serving pieces on the windward edge to create a natural barricade for lighter napkins and cups.
The Wind-Proof Table Cover
Skip the flimsy plastic tablecloths and frustrating clips by stretching a standard twin-size fitted sheet over your main dining surface to create a wind-proof surface.
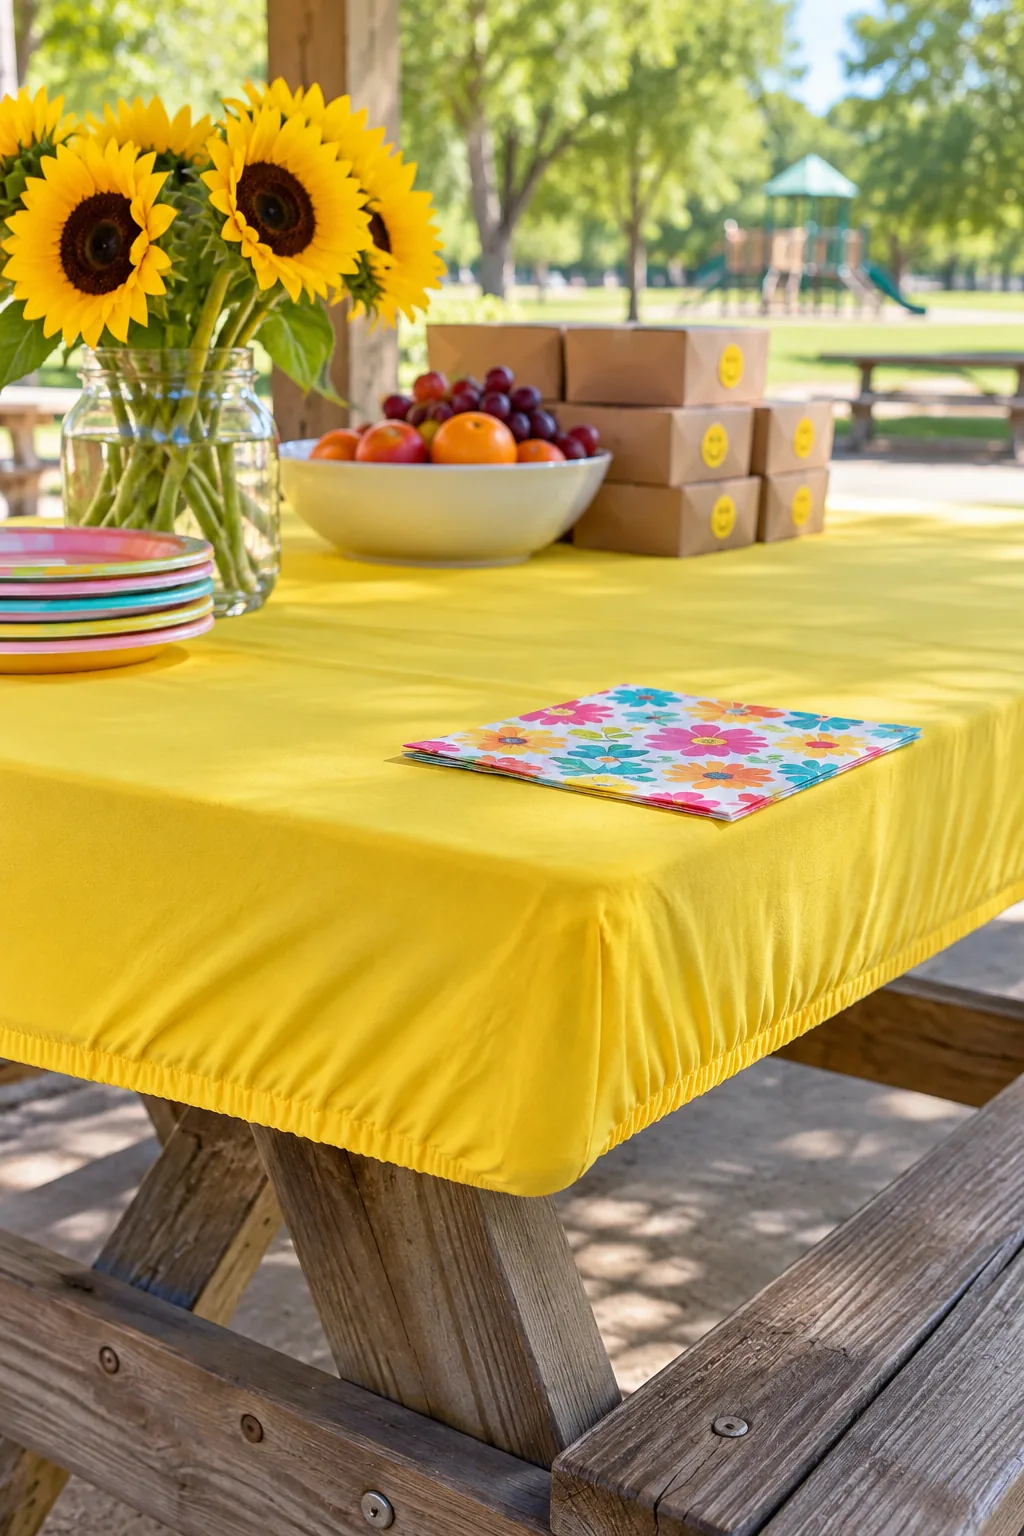
The deep elastic corners grip the thick 72-inch wooden table edges perfectly, creating a taut, smooth foundation that easily withstands heavy gusts.
Prepping the Seating Area
Public picnic benches often harbor hidden debris that can ruin party outfits. Always wipe down the seating surfaces with a damp cloth before letting kids settle in.
The Mobile Drink Station
I learned quickly during my daughter’s birthday that lugging a hard cooler across a field is exhausting, so I repurpose the folding wagon into a high-capacity cooler for accessible kid drinks.
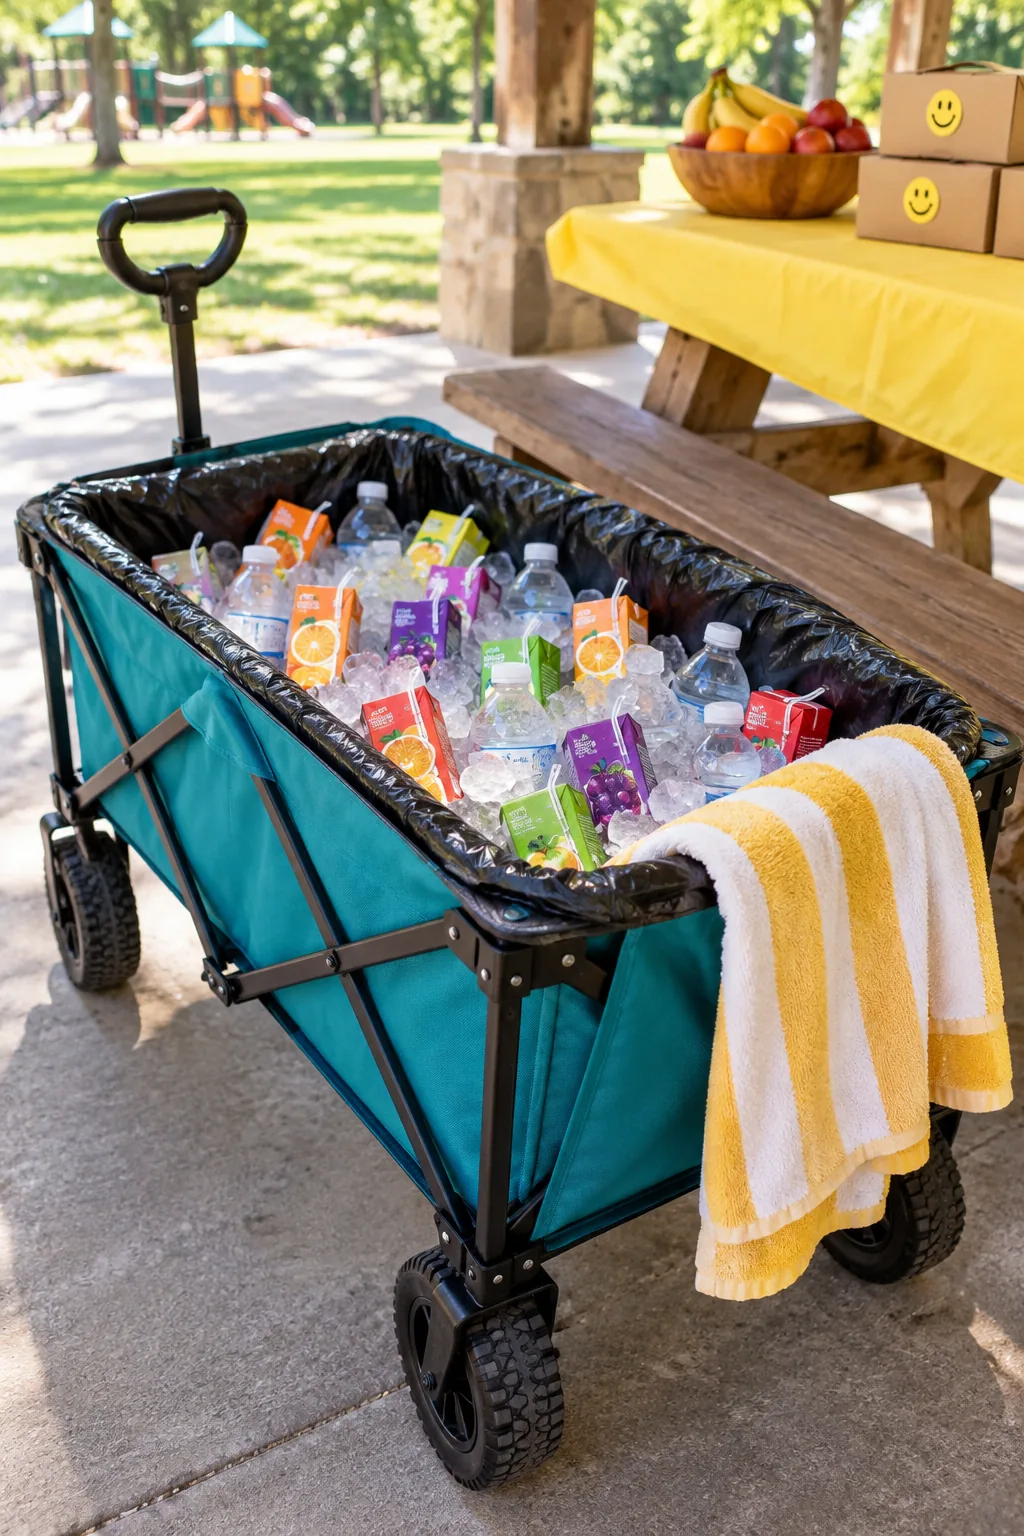
Line the fabric interior with a heavy-duty trash bag, add 20 pounds of ice, and arrange juice boxes at the perfect height for little hands.
Managing Ice Ratios
A successful outdoor beverage station requires a precise two-to-one ratio of solid ice to drinks by volume. This dense packing ensures the bottles chill within ten minutes and stay refreshingly cold for the entire two-hour event.
Pre-Boxed Kid Meals
Ditch the chaotic buffet line and serve food in individual closed kraft paper boxes to protect portions from insects and wind.
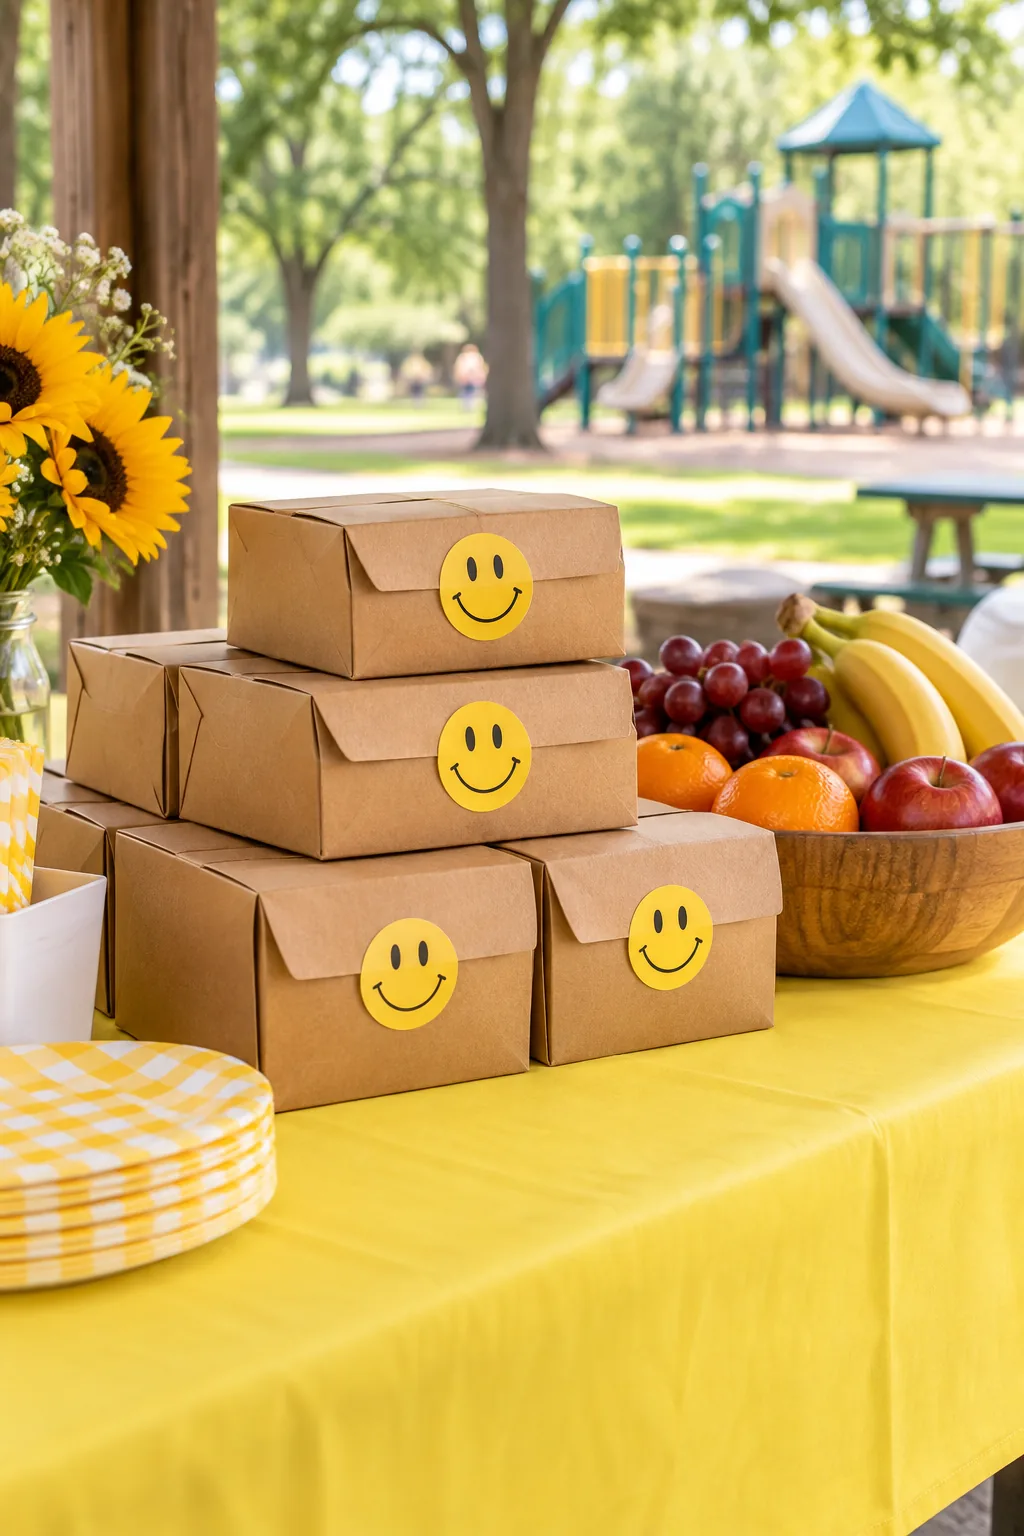
Customizing the outside of the boxes does more than look cute—it solves a major outdoor dining headache when children abandon their half-eaten lunches.
Organizing the Food Flow
Arrange the personalized meal boxes in a neat geometric grid on the windward side of your main dining table. This dense formation prevents individual containers from sliding away and creates a beautiful, highly organized focal point for guests.
The Pop-Up Trash Hamper
Manage waste efficiently by using a collapsible mesh hamper as a lightweight, upright trash can that keeps sticky wrappers contained.
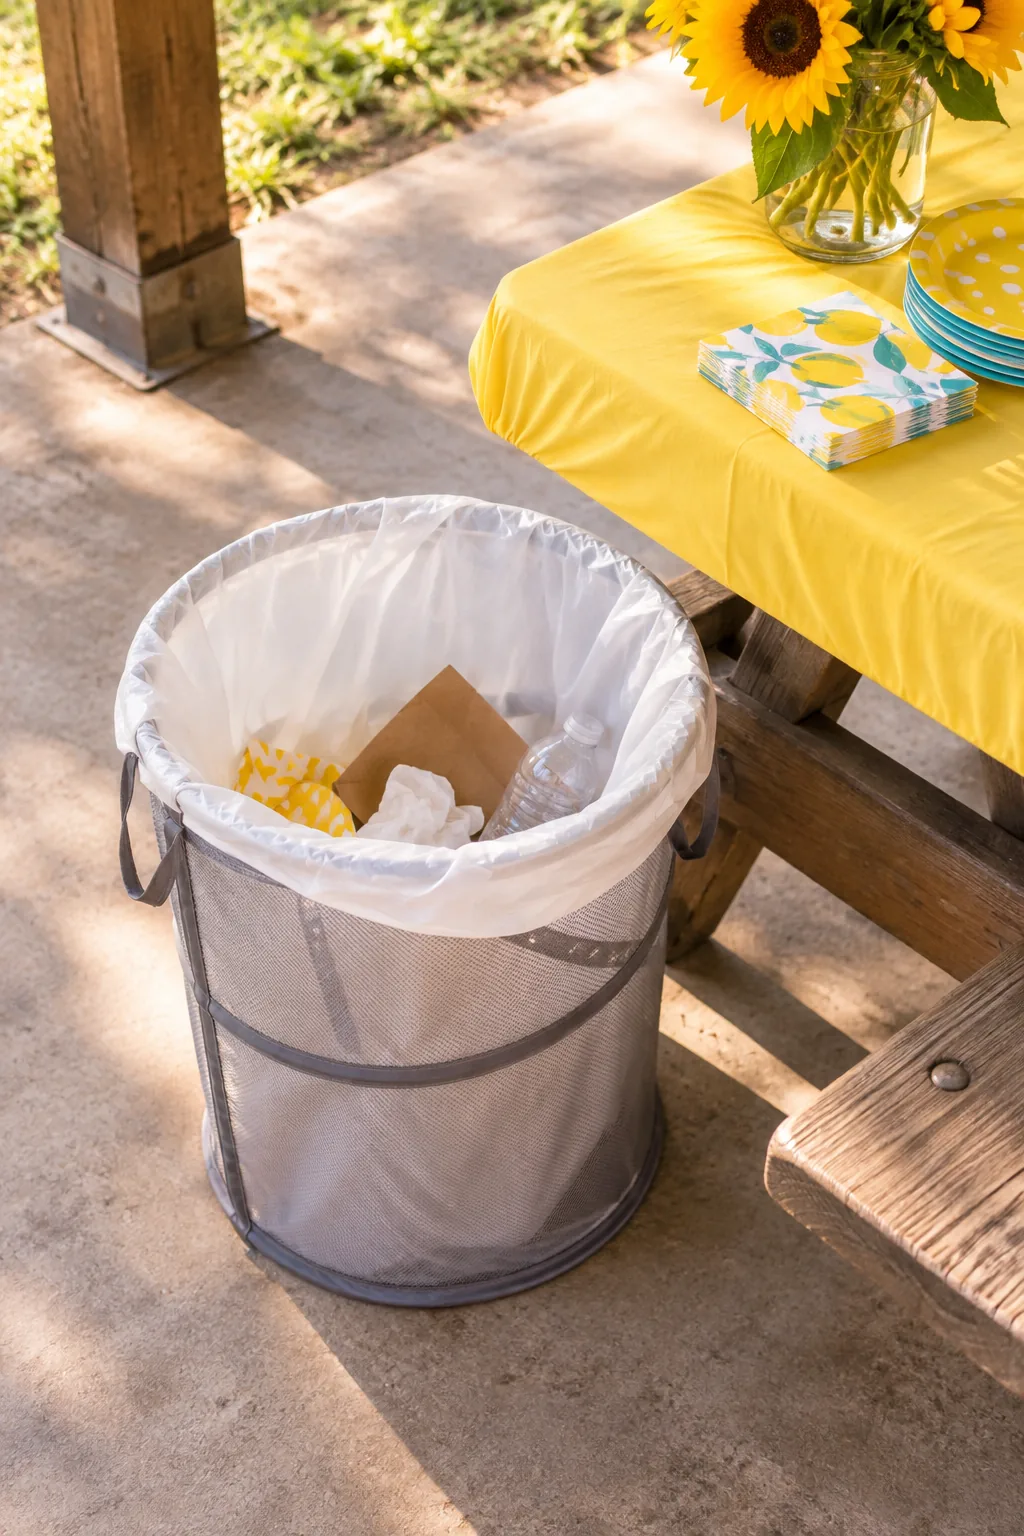
Line the frame with a 30-gallon trash bag so it stands firmly on its own, well away from the main dining table.
Positioning the Disposal Zone
Place your temporary garbage station at least ten feet downwind from the primary food and seating area. This strategic spacing prevents yellow jackets from bothering your guests while keeping the cleanup process highly accessible for small children.
Weighted Centerpieces
Spring winds off the harbor taught me to use heavy glass vases with dense flowers to anchor loose table items.
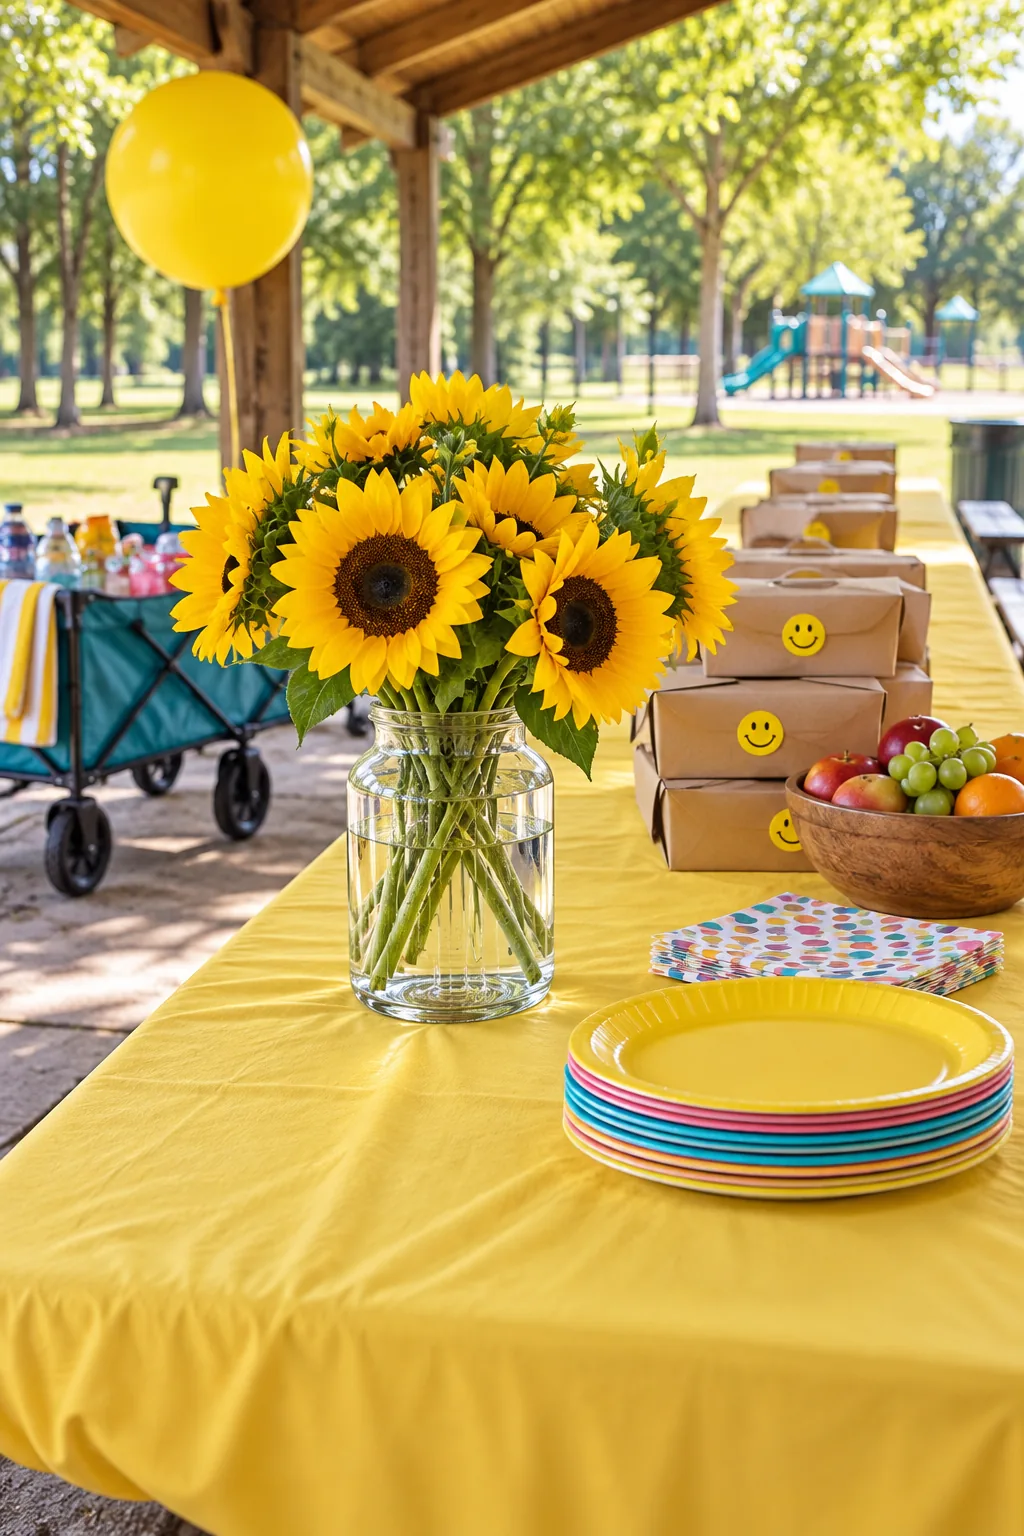
Fill the thick glass bases completely with water and drop in heavy sunflowers to securely pin down extra napkins or lightweight decorative runners.
Managing Extra Supplies
Keep your backup napkins, spare utensils, and extra wet wipes sealed inside a clear plastic tub tucked safely under the table. This simple habit protects your essential reserves from sudden rain showers, blowing dirt, and accidental spills.
Streamlined Tear-Down
When the party ends, pack dirty serving dishes into that same sealed tub, then focus on bundling the fitted sheet to quickly clear crumbs and debris.
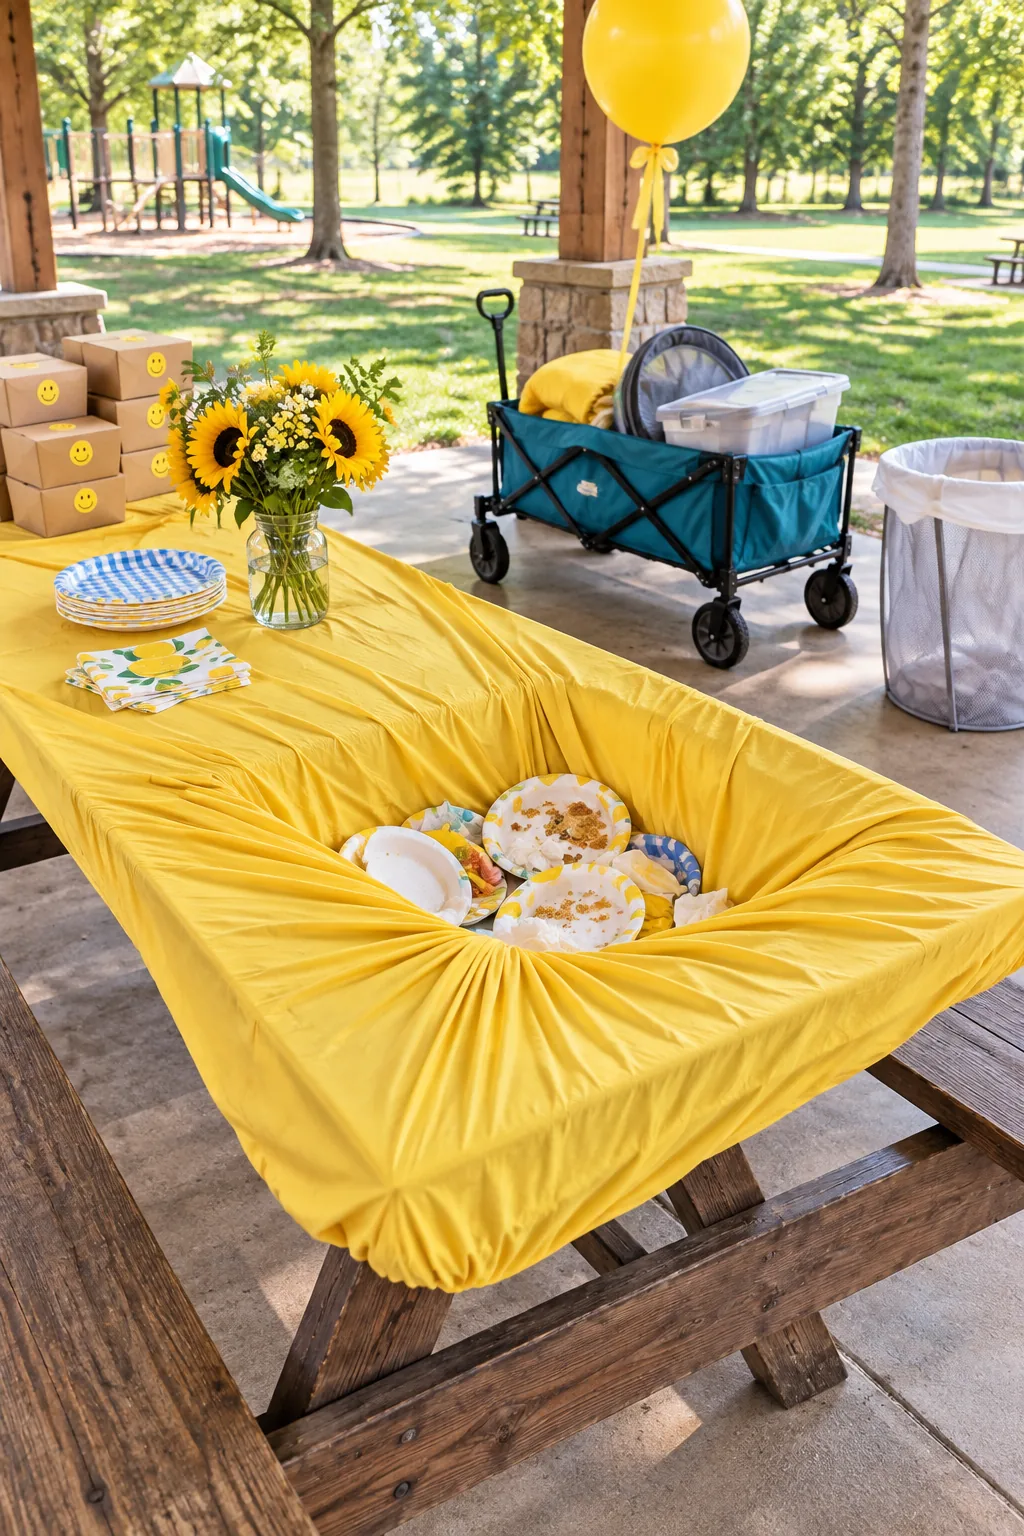
Pull the elastic corners inward to trap all the mess, allowing you to clear the site completely in under ten minutes and head home.
More Park Basecamp Themes
Adapt this functional setup to fit any party theme or color palette.
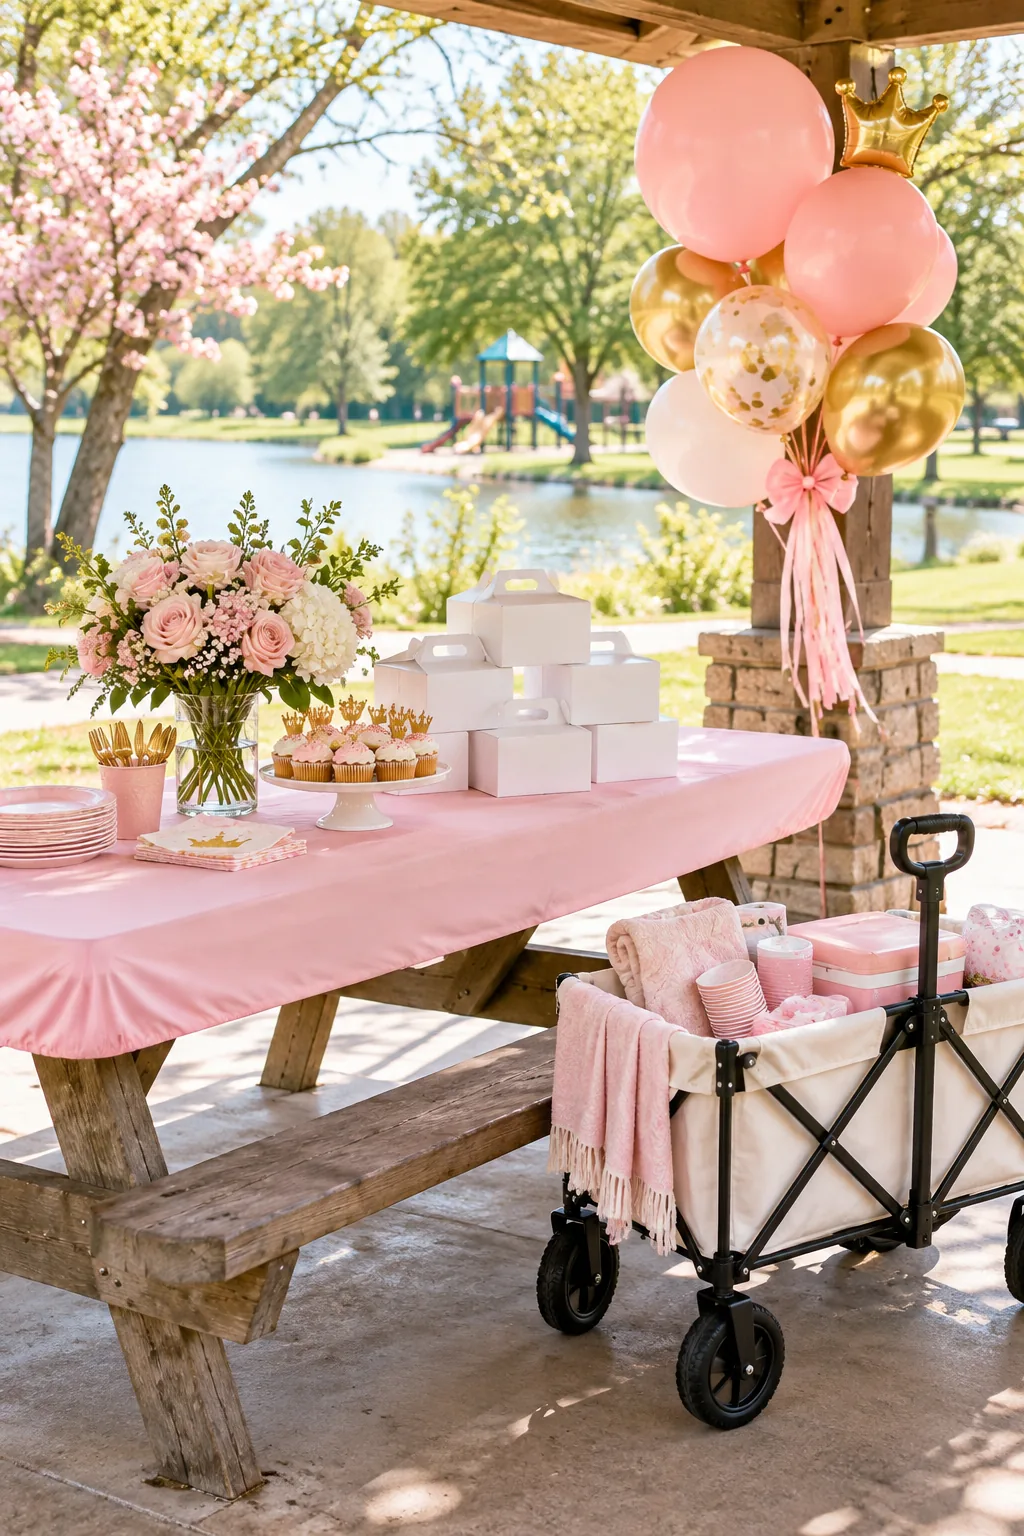
Pastel Princess Park Setup: Swap primary colors for soft pinks and crisp whites to create an elegant outdoor princess theme.
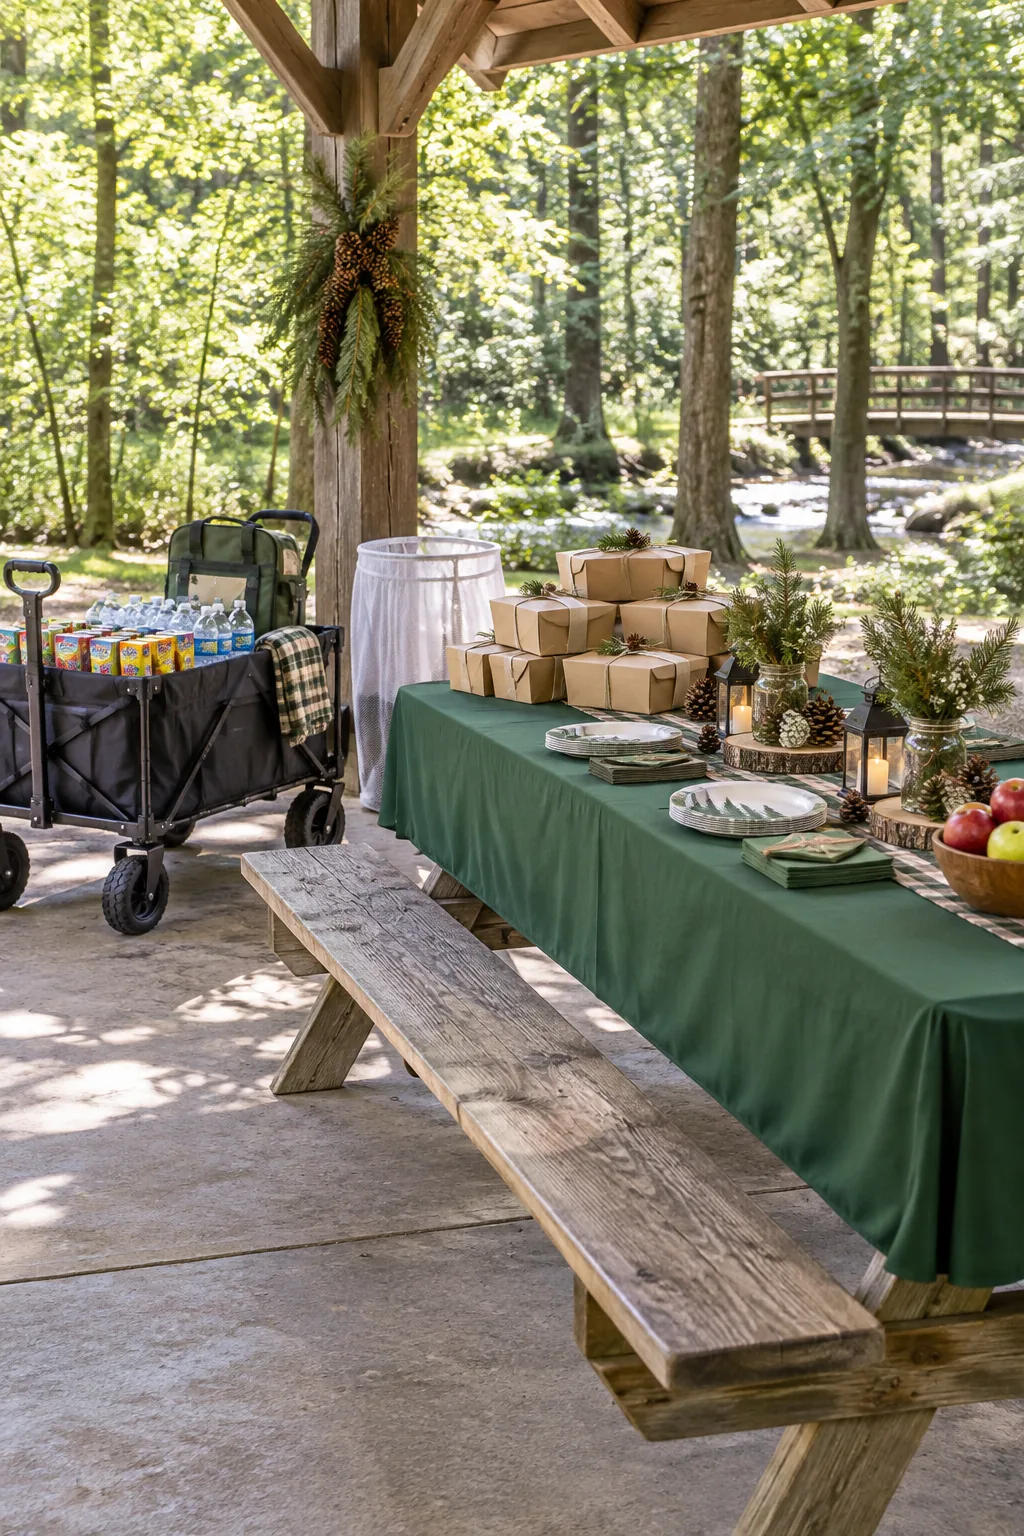
Woodland Explorer Picnic Basecamp: Embrace a nature theme with a forest green table cover, rustic kraft boxes, and foraged pinecones.
Nautical Splash Pad Party: Anchor your lakeside celebration with crisp navy stripes, bright red accents, and nautical balloon shapes.
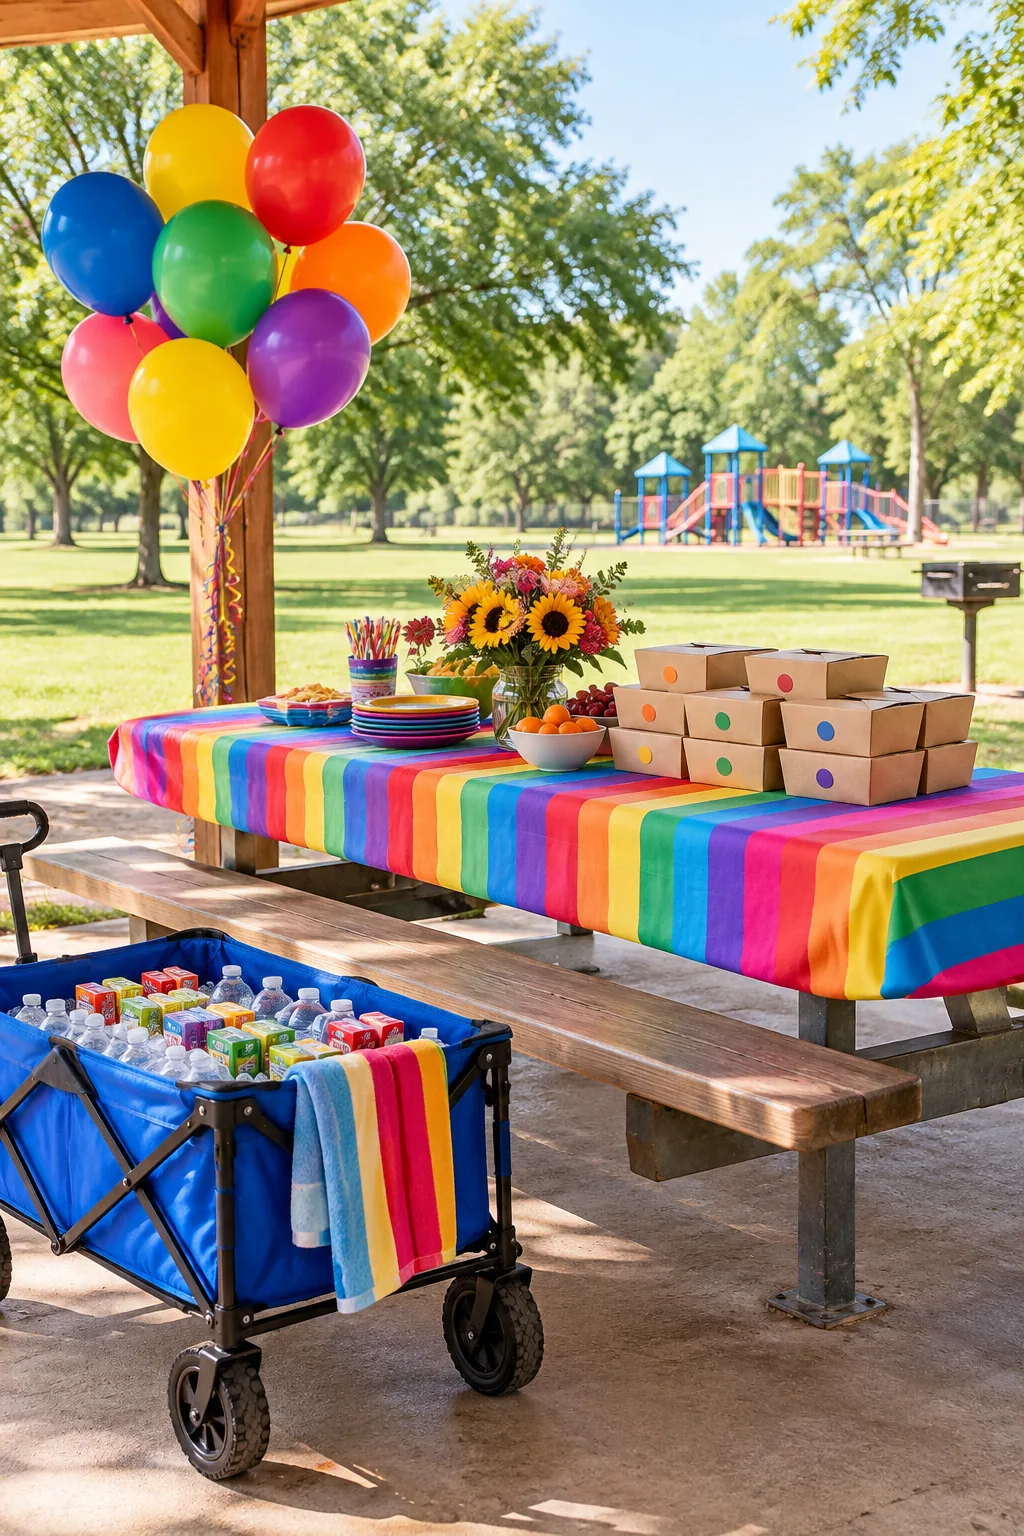
Rainbow Fiesta Pavilion Setup: Go bold with a rainbow striped cover and a vibrant balloon cluster to energize the space.