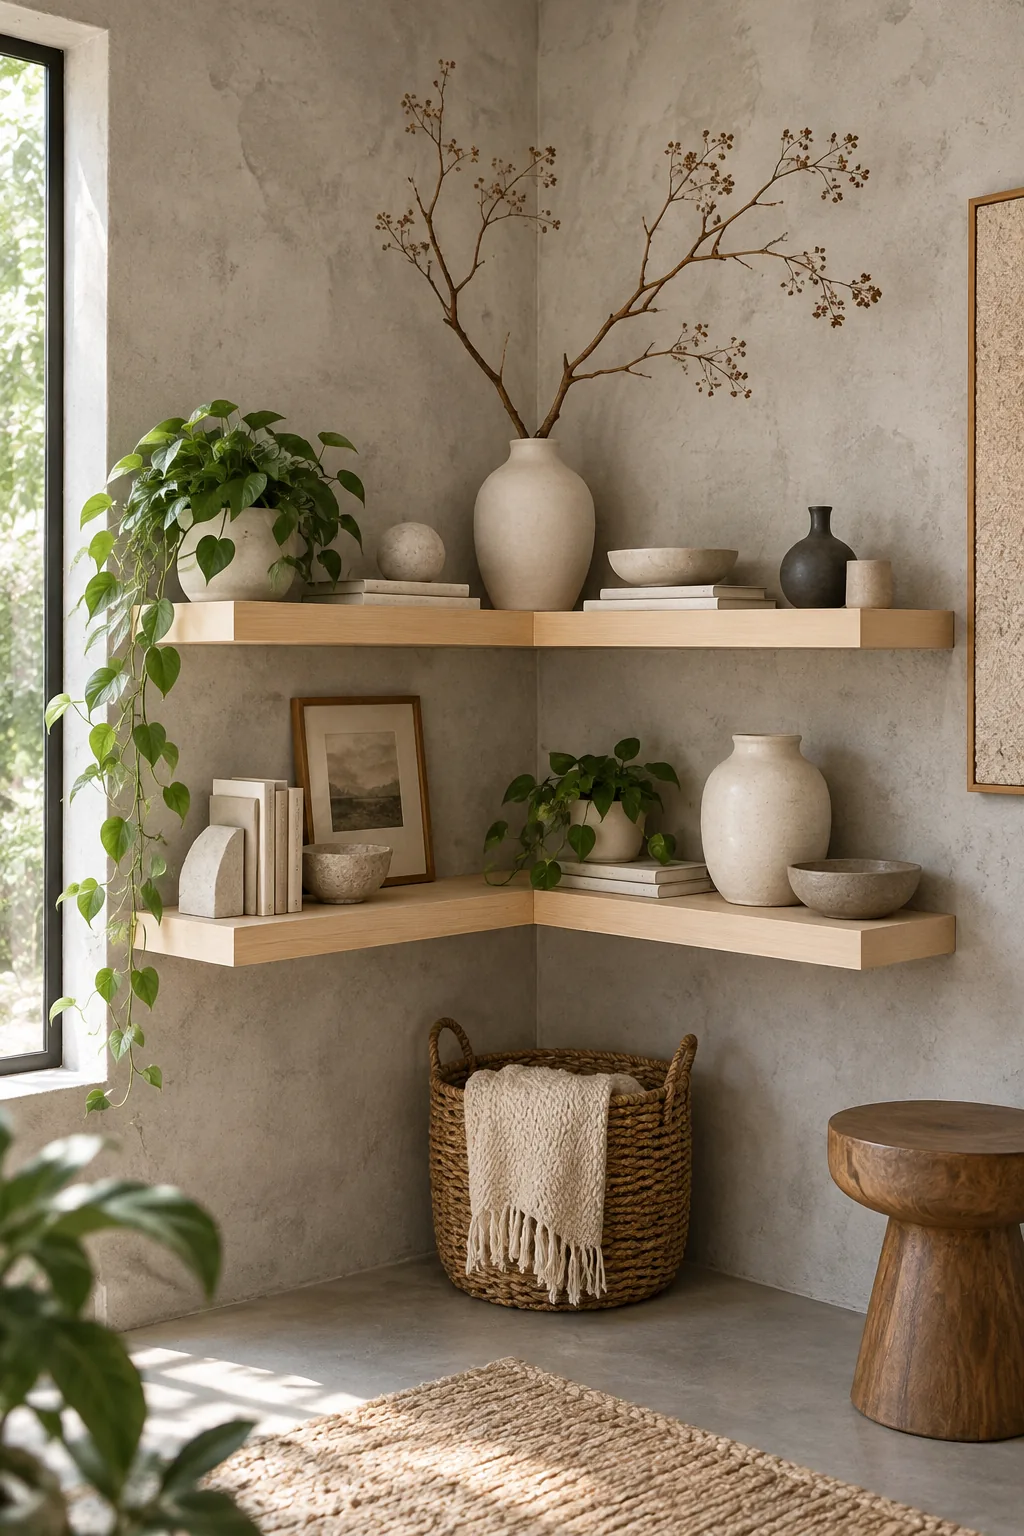
DIY L-Shaped Corner Shelves: The Ultimate Cut & Mount Guide
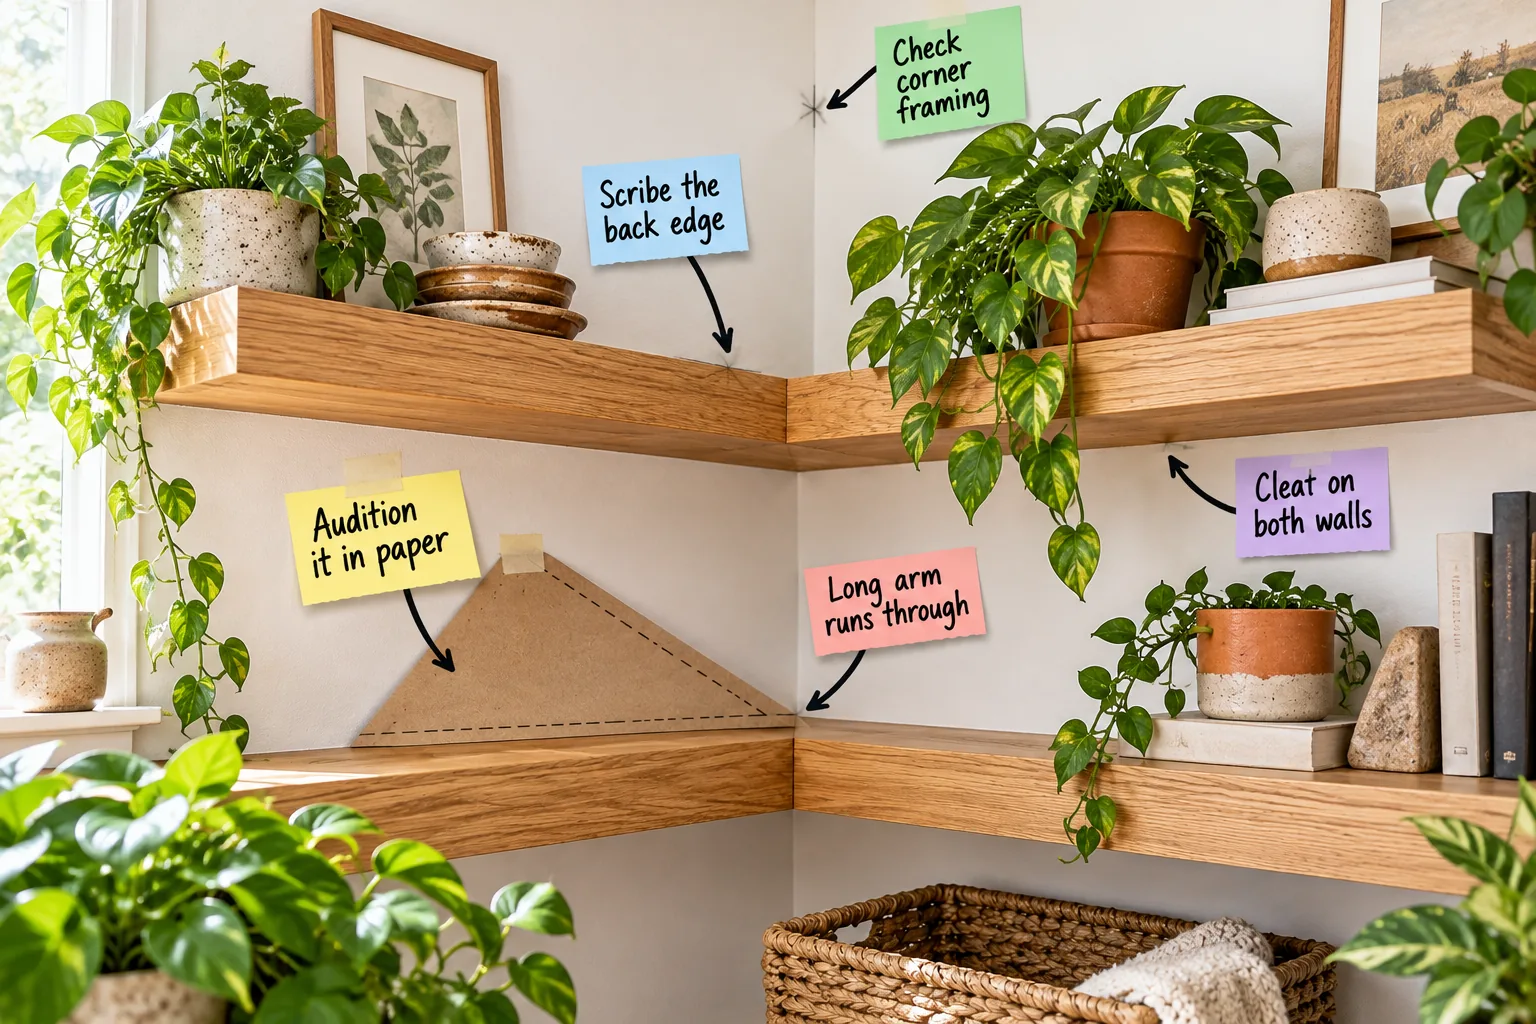
You will be able to measure, cut, and securely mount perfectly flush L-shaped floating shelves in any corner using our L-Corner Shelf Cut & Mount Sheet. Skip the bulky triangle and build sleek, wrap-around floating storage that transforms wasted wall space into a custom feature.
Testing the Triangle vs. L-Shape
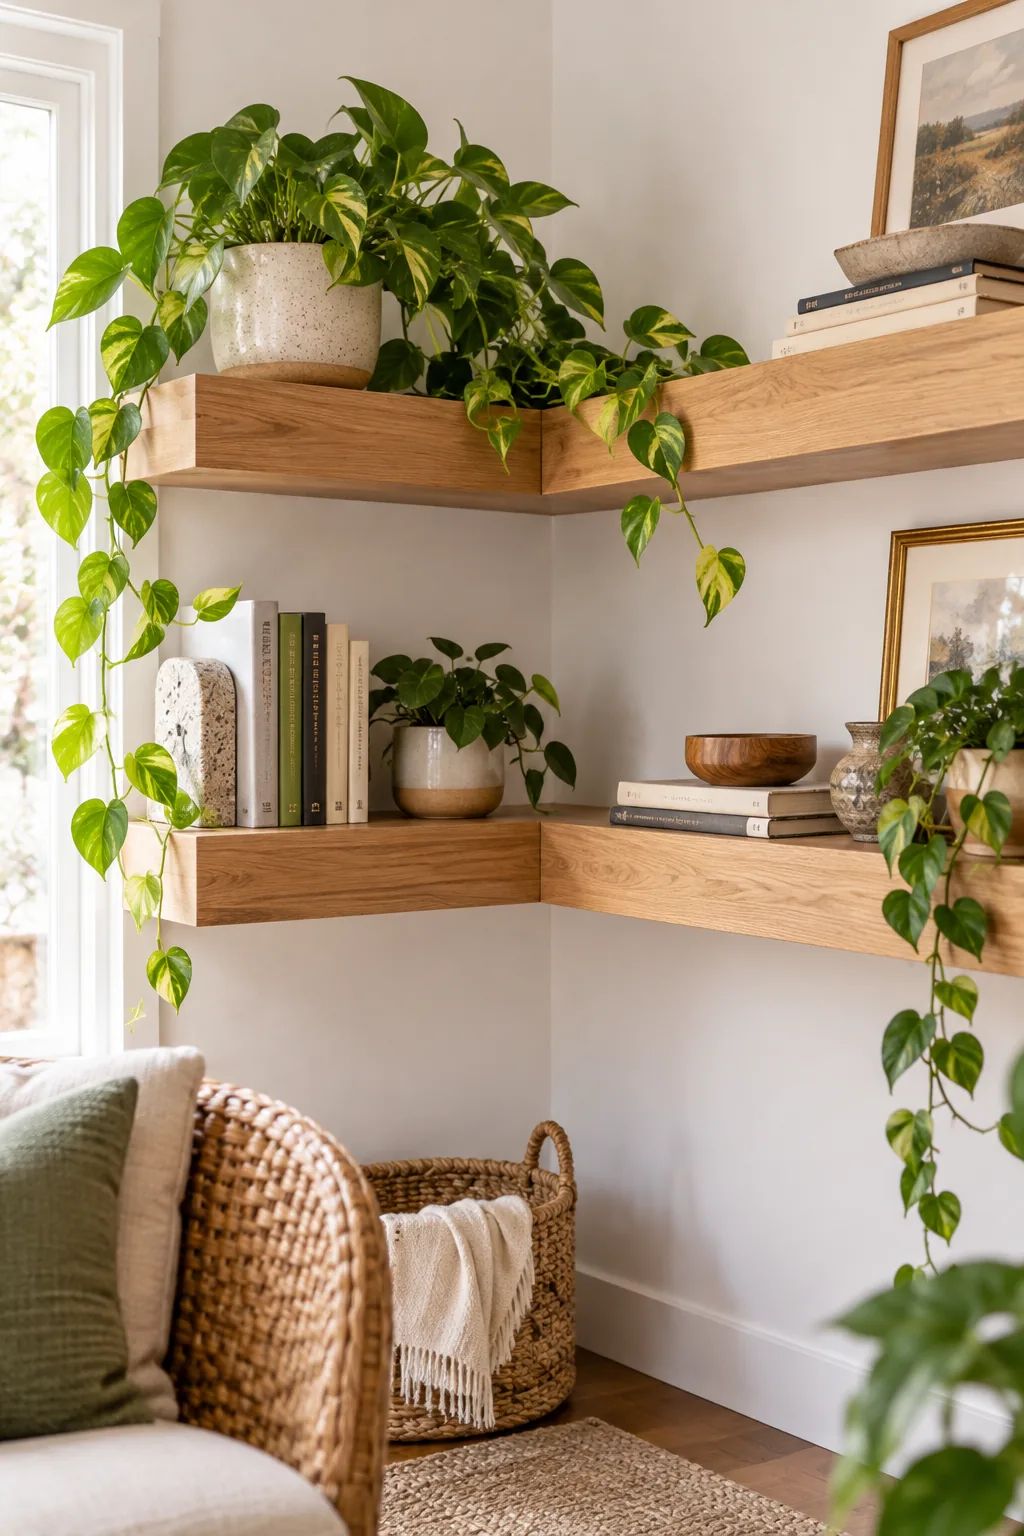
An L-shaped wrap-around profile provides significantly more usable linear storage than a deep, awkward triangle shelf that wastes back-corner space. I always prefer this layout because it keeps your items easily accessible along the edges rather than buried in a dark recess.
Before buying lumber, you should audition it in paper by taping a full-size kraft-paper triangle template flat onto your lower shelf’s corner. Laying this mock-up against the real L-shape instantly reveals exactly how much floor footprint and visual scale you actually save.
Planning the Butt Joint
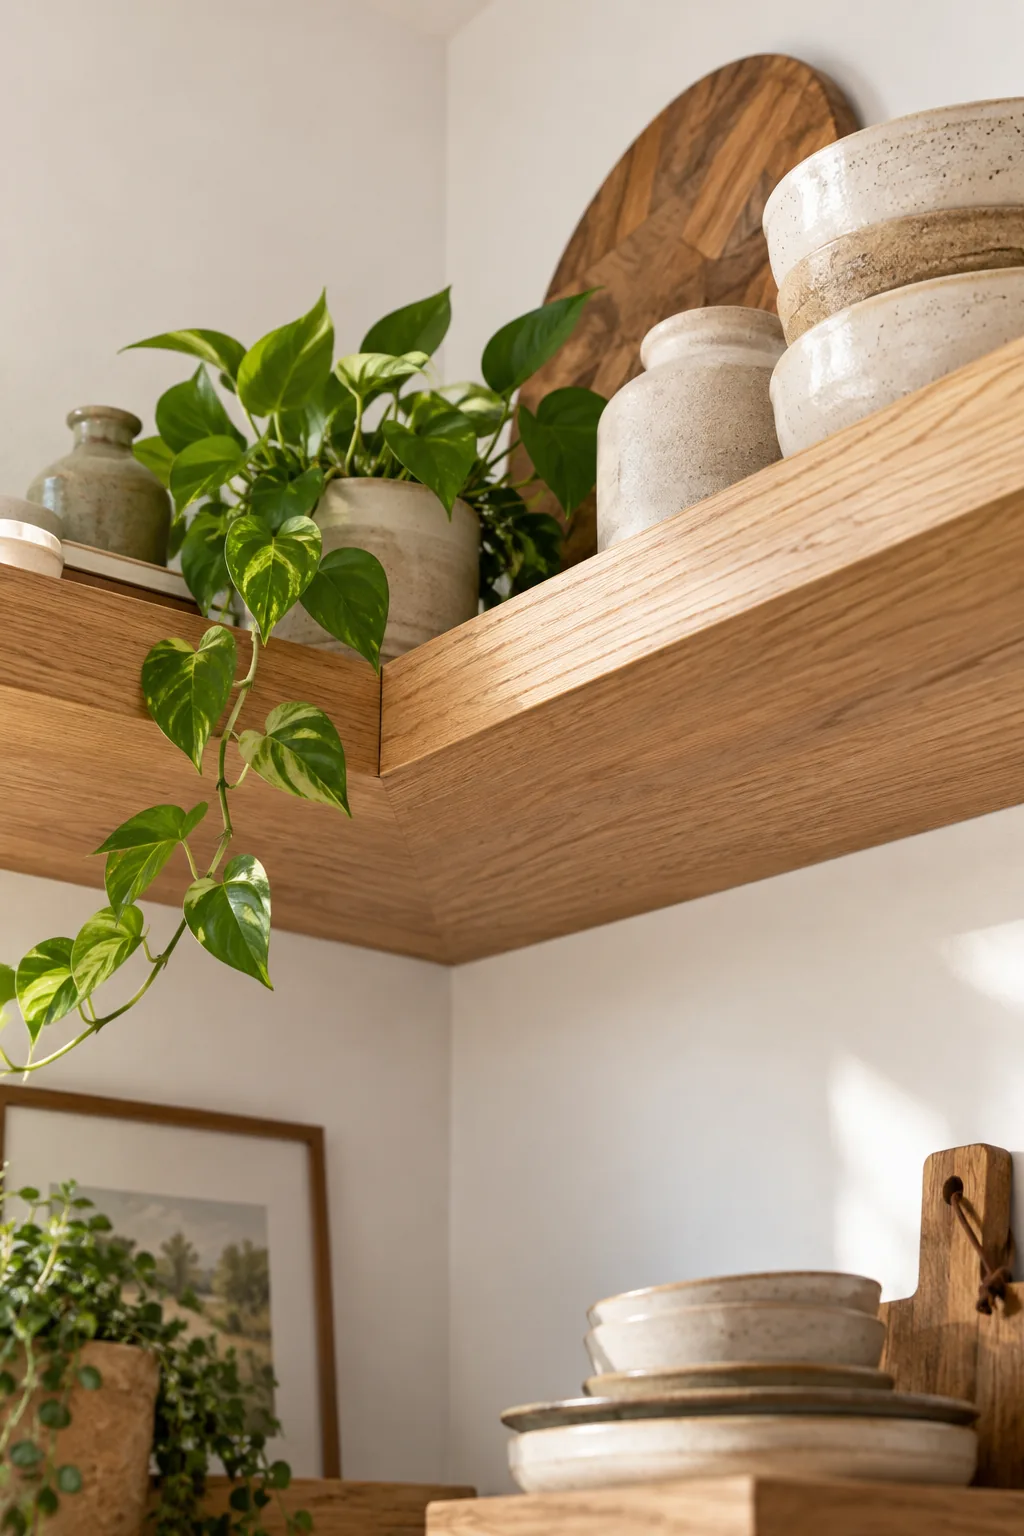
To create a seamless corner seam, the long arm runs through all the way into the drywall corner, while the short arm butts cleanly against its front edge. In my own Austin living room, making the long board continuous gave the shelf incredible rigidity.
| Shelf Span | Long Arm Cut | Short Arm Cut | Overlap Subtraction |
|---|---|---|---|
| 24-inch L | 24 inches | 14.75 inches | 9.25 inches |
| 36-inch L | 36 inches | 26.75 inches | 9.25 inches |
| 48-inch L | 48 inches | 38.75 inches | 9.25 inches |
| 60-inch L | 60 inches | 50.75 inches | 9.25 inches |
You must always subtract the exact depth of the long board from your short board’s cut length to maintain symmetrical outer dimensions. This simple butt joint keeps the wood grain visually continuous and avoids the absolute nightmare of cutting perfect 45-degree miters on wide planks.
Locating the Corner Framing
Running the long arm fully into the corner creates a stronger joint, but only if you anchor it directly into the structural wall framing. When I hung my heavy ceramic collection, I learned the hard way that drywall anchors simply cannot handle the cantilevered weight.
Before drilling any holes, you must meticulously map out the structural supports hidden behind your drywall to check corner framing.
Mounting Cleats on Both Walls
You will install solid 1×2 wooden cleats directly into those marked wall studs using heavy-duty structural screws. Ensuring you have a cleat on both walls provides the continuous hidden ledge that the hollow shelf box requires to resist sagging over time.
- Pre-drill countersunk holes every 16 inches along the center line of your 1×2 pine cleat boards.
- Drive a single 2.5-inch structural screw into the center wall stud to hold the long cleat loosely.
- Tap the cleat perfectly level across the wall, then drive the remaining screws into the adjacent studs.
- Butt the short wall cleat against the long one, level it carefully, and secure it firmly.
- Test the load-bearing capacity by pressing down firmly on the cleats before sliding the shelf on.
The hollow wood shelf box will eventually slide perfectly over these mounted cleats, hiding the rugged hardware completely from view. This sleeve method transfers all the downward force directly into the studs, giving you that magical floating aesthetic without sacrificing load capacity.
Scribing the Back Edge
Because the hollow shelf sleeves tightly over wall-mounted wooden cleats, you gain completely invisible structural strength for holding heavy books or planters. However, this flush mount highlights any waviness in your drywall, making a custom-fitted rear profile absolutely essential for a professional finish.
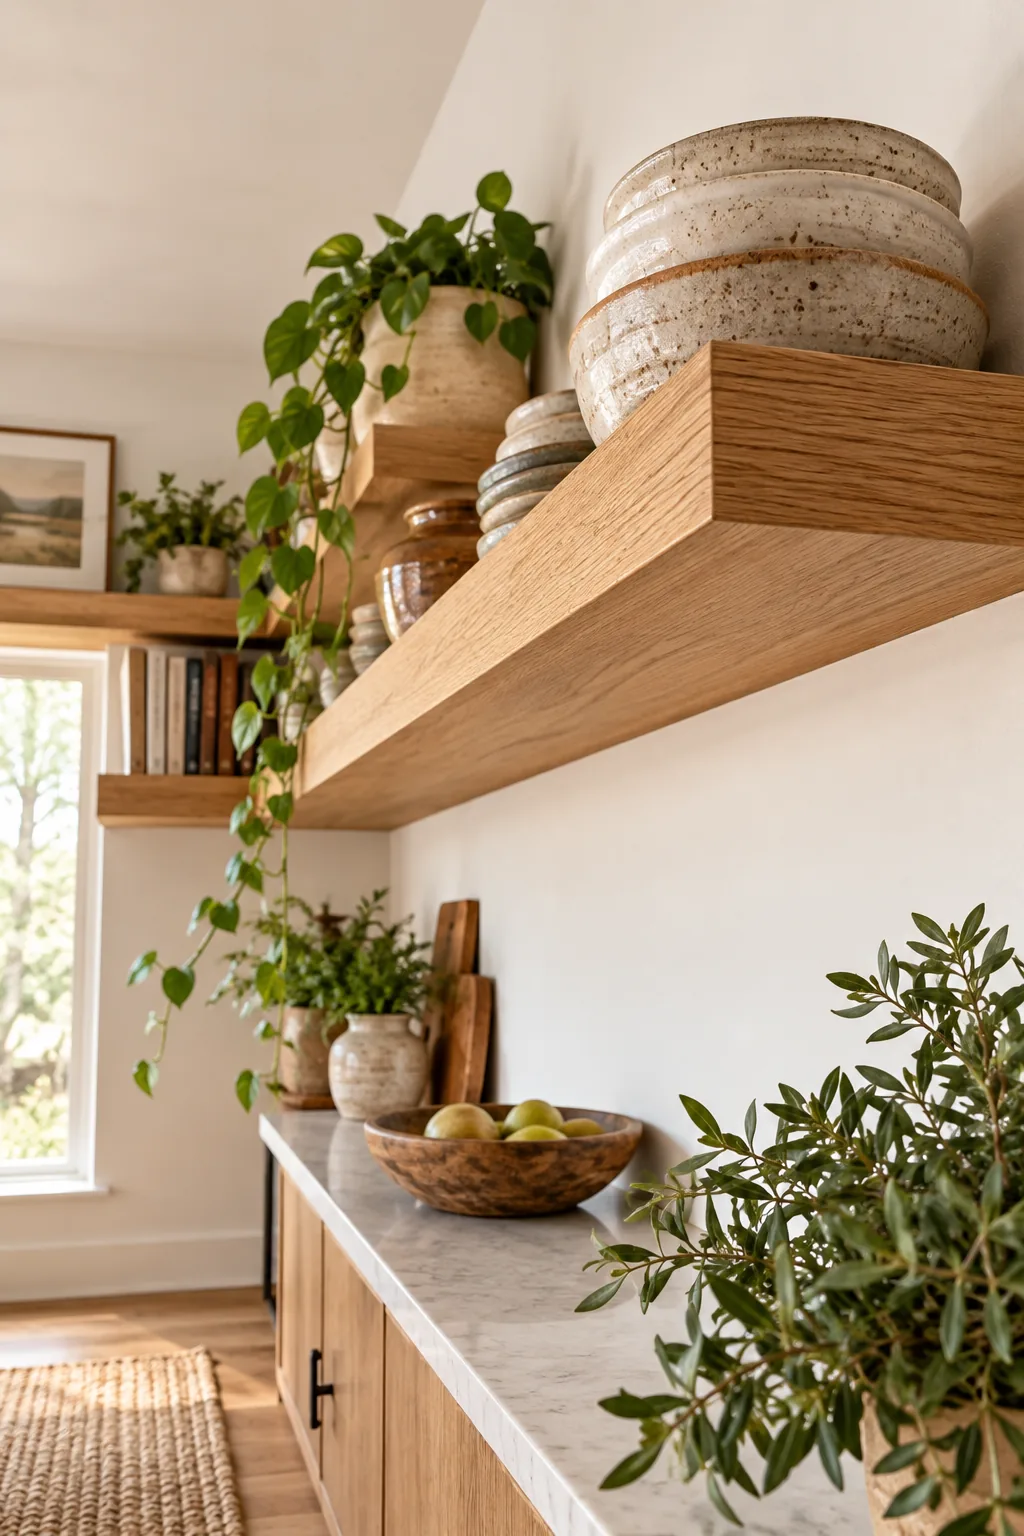
Most room corners are never perfectly 90 degrees, so you must scribe the back edge of the long upper shelf arm. Using a simple compass tool, trace the wall’s exact contour onto the wood, then sand to that faint pencil scribe line.
Securing the Shelves to the Cleats
Transferring the wall’s exact contour to the wood before final installation eliminates unsightly drywall gaps and keeps the assembly perfectly square. Once the fit is seamless, slide the assembled shelf arms firmly over the wall cleats until they bottom out against the paint.
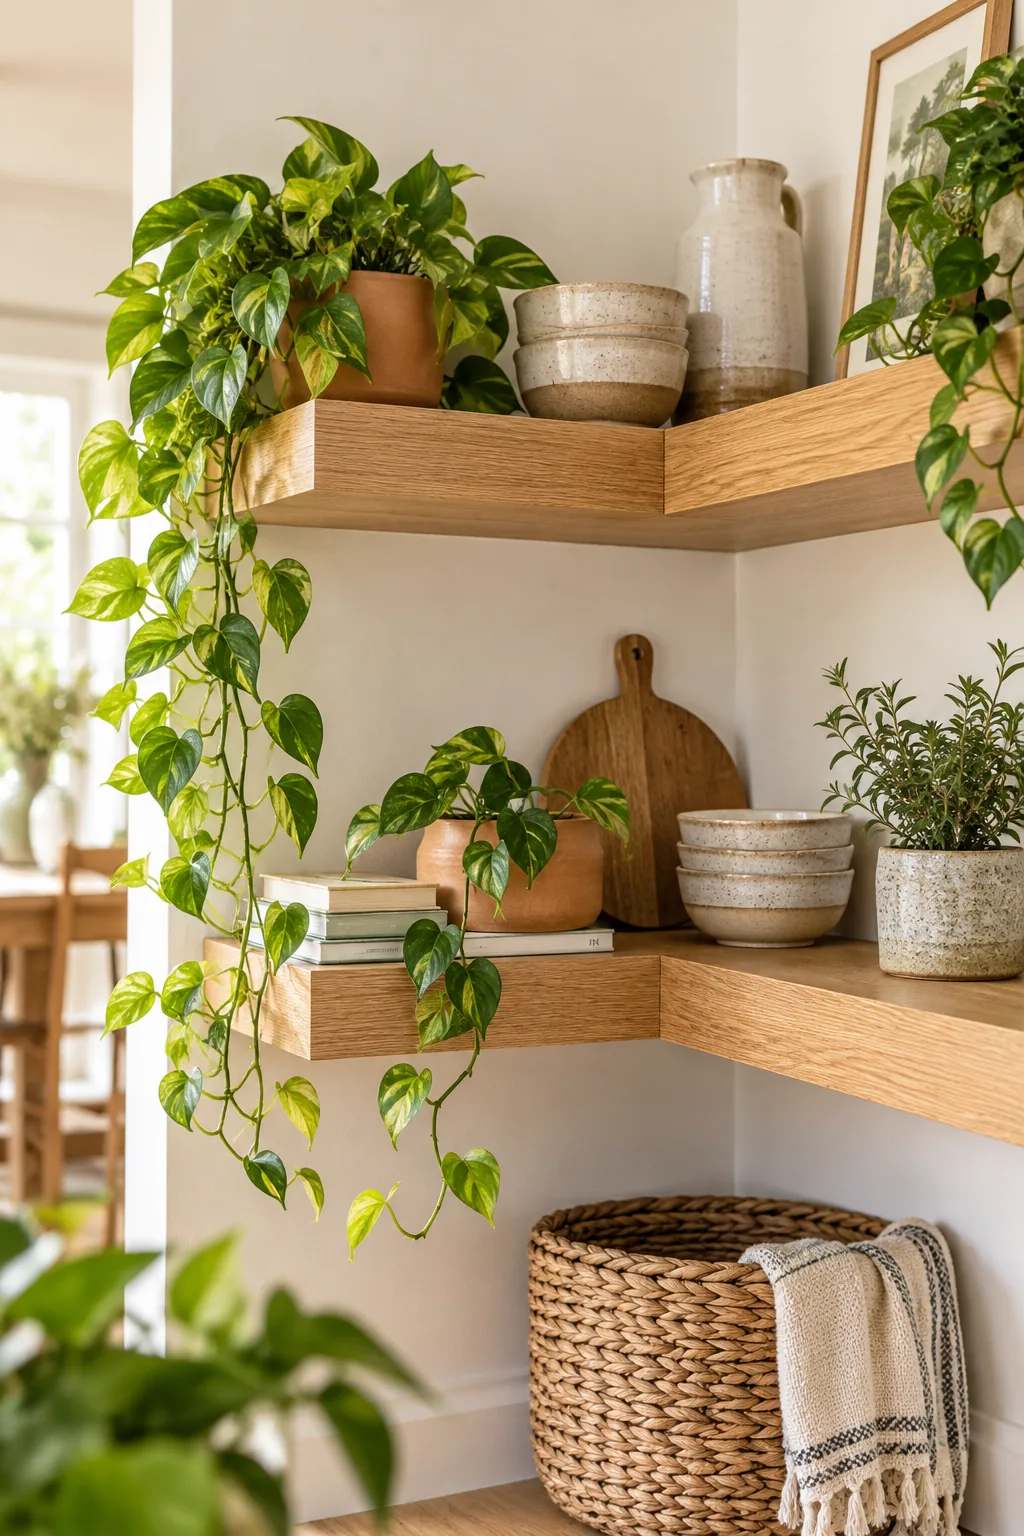
Even with perfect cuts and tight scribing, the final assembly step is where many floating shelf projects lose their long-term rigidity.
Grab Your Cut & Mount Sheet
Taking the guesswork out of your lumber run is easy when you download our complete L-Corner Shelf Cut & Mount Sheet. This one-page printable guide ensures you buy exactly the right amount of material and make every cut with absolute confidence.
- Exact board lengths for standard 24-inch, 36-inch, and 48-inch wrap-around shelf arms.
- The mathematical butt-joint overlap formula for adjusting custom shelf depths without errors.
- A step-by-step scribing sequence for fitting wood into severely out-of-square room corners.
- Precise cleat and screw positioning diagrams that guarantee maximum structural load bearing.
- A complete shopping list detailing the exact lumber grades and heavy-duty fasteners required.
Keep this sheet handy in your workshop so you can quickly reference the exact measurements while running your miter saw. Having the structural map right beside your tools prevents costly miscuts and guarantees your corner framing checks are perfectly aligned.
Styling Your New Corner Shelf
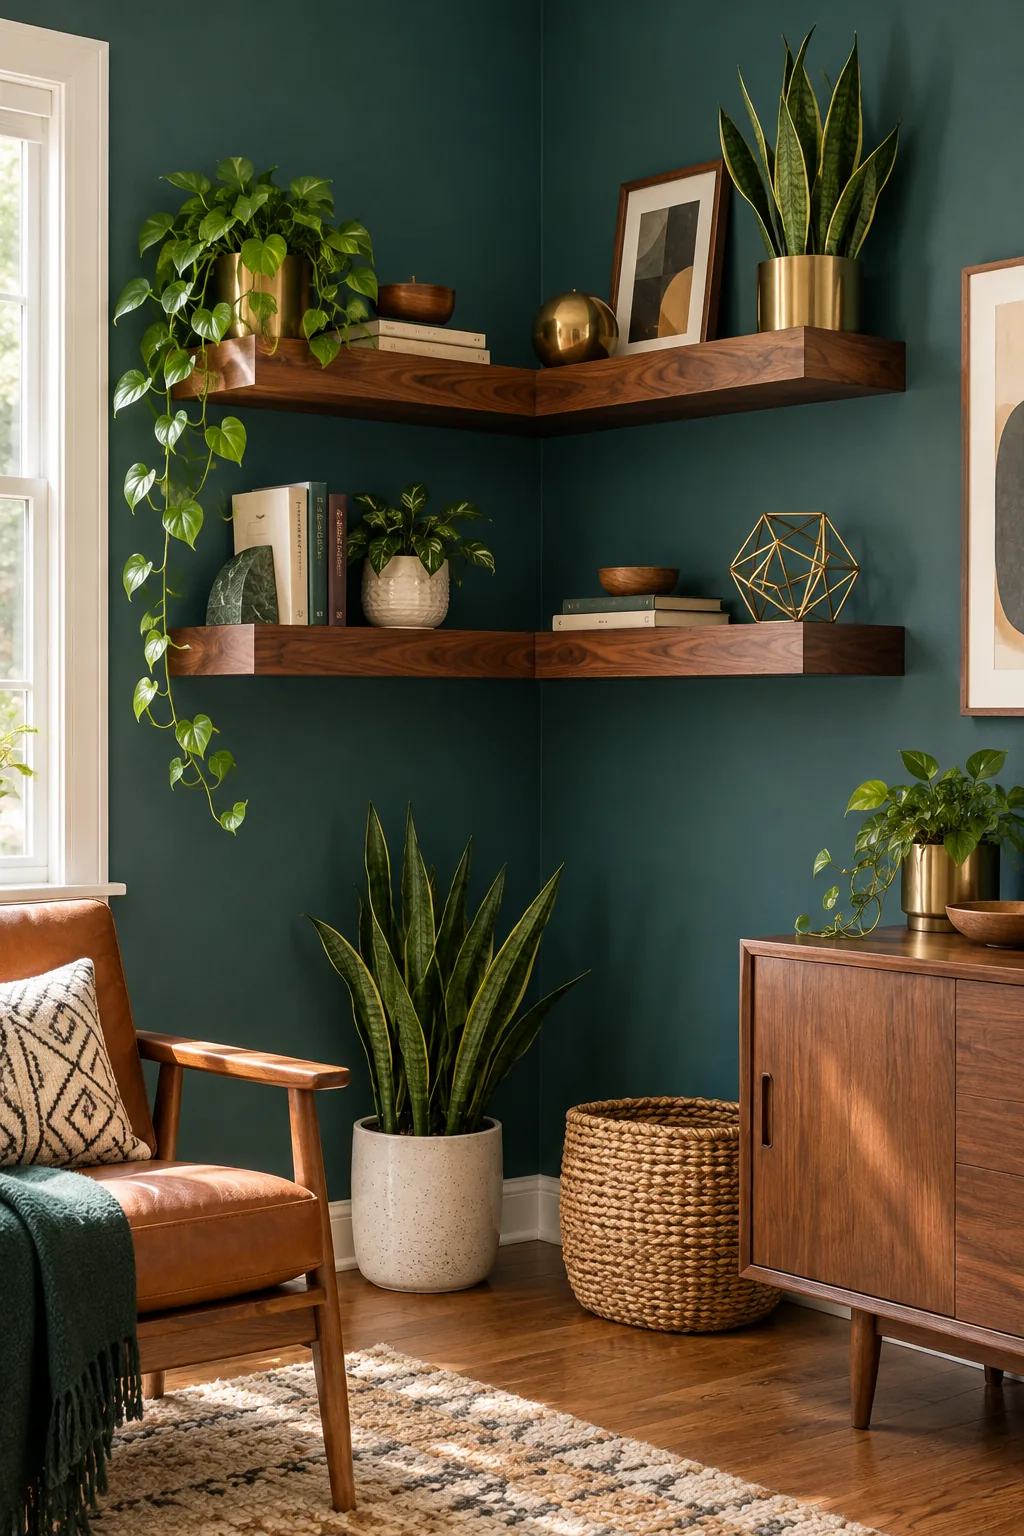
Using organic shapes and cascading greenery is the best way to balance the rigid geometric lines of your new shelving. In my own home, I love letting a vibrant trailing pothos spill over the edge to instantly soften that hard 90-degree inside corner.
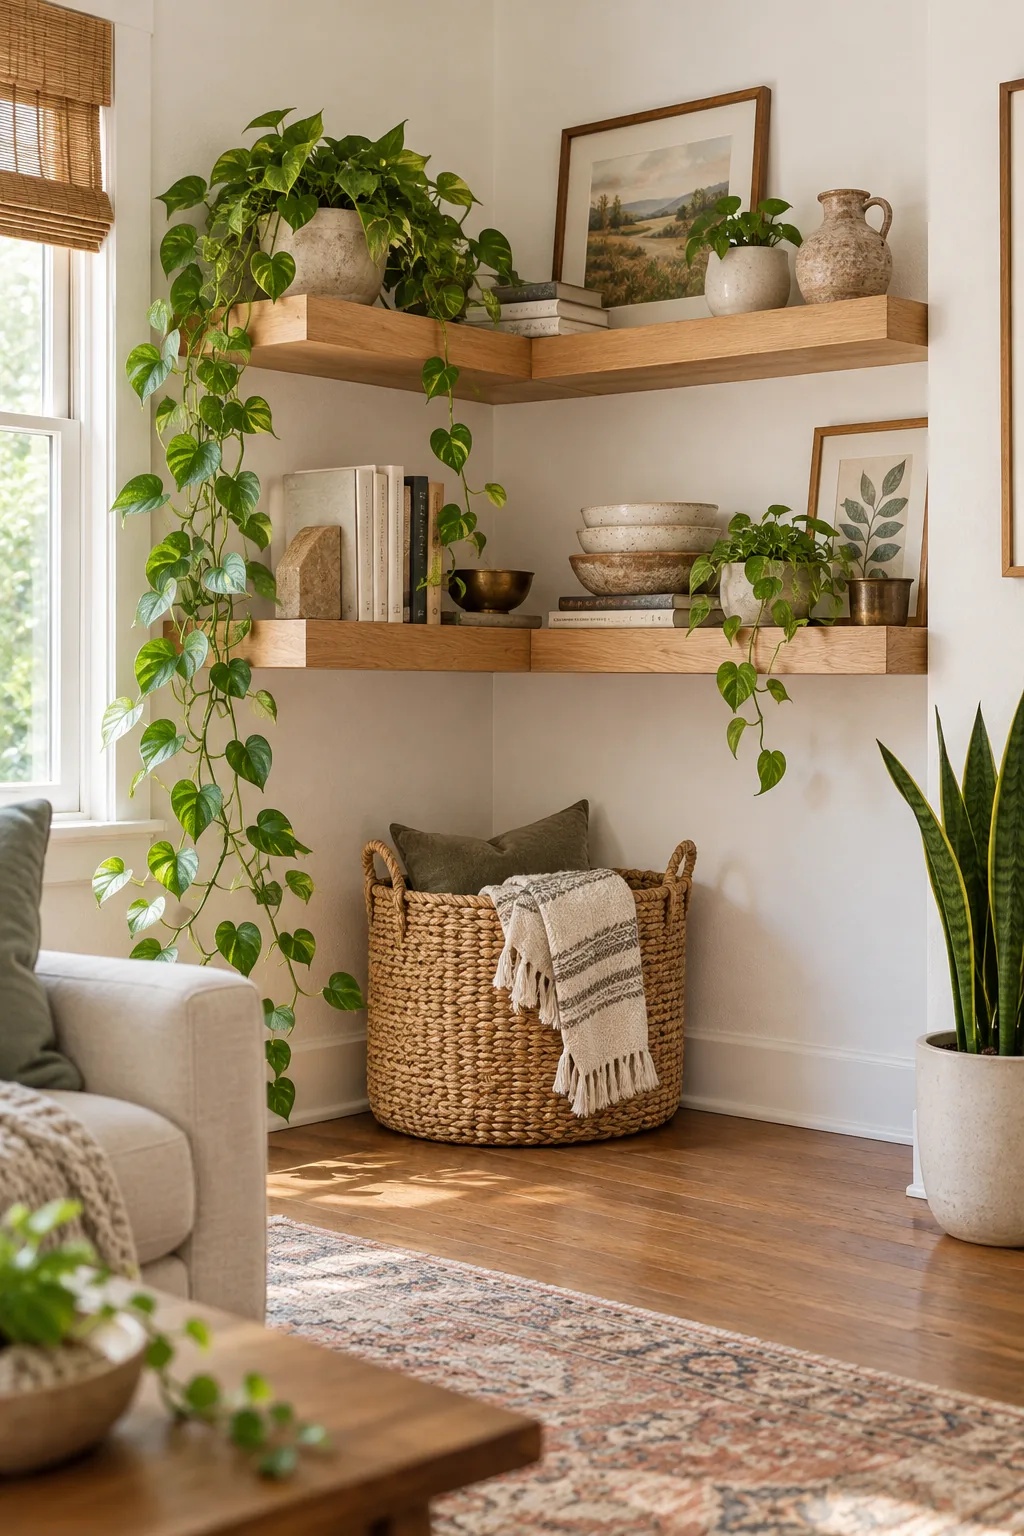
Stacking handmade ceramics or vintage books adds varied, interesting heights that draw the eye upward along the wall. By mixing textures and leaving intentional breathing room between objects, your sturdy DIY build transforms into a beautifully curated focal point.
3 Ways to Style Your Corner Shelves
Once your shelves are securely mounted, pick a styling approach that fits your room's aesthetic.
Modern Farmhouse Reclaimed Wood: Weathered wood and white shiplap create a rustic feel; copy this look by displaying vintage ironstone pitchers to highlight the open shelving.
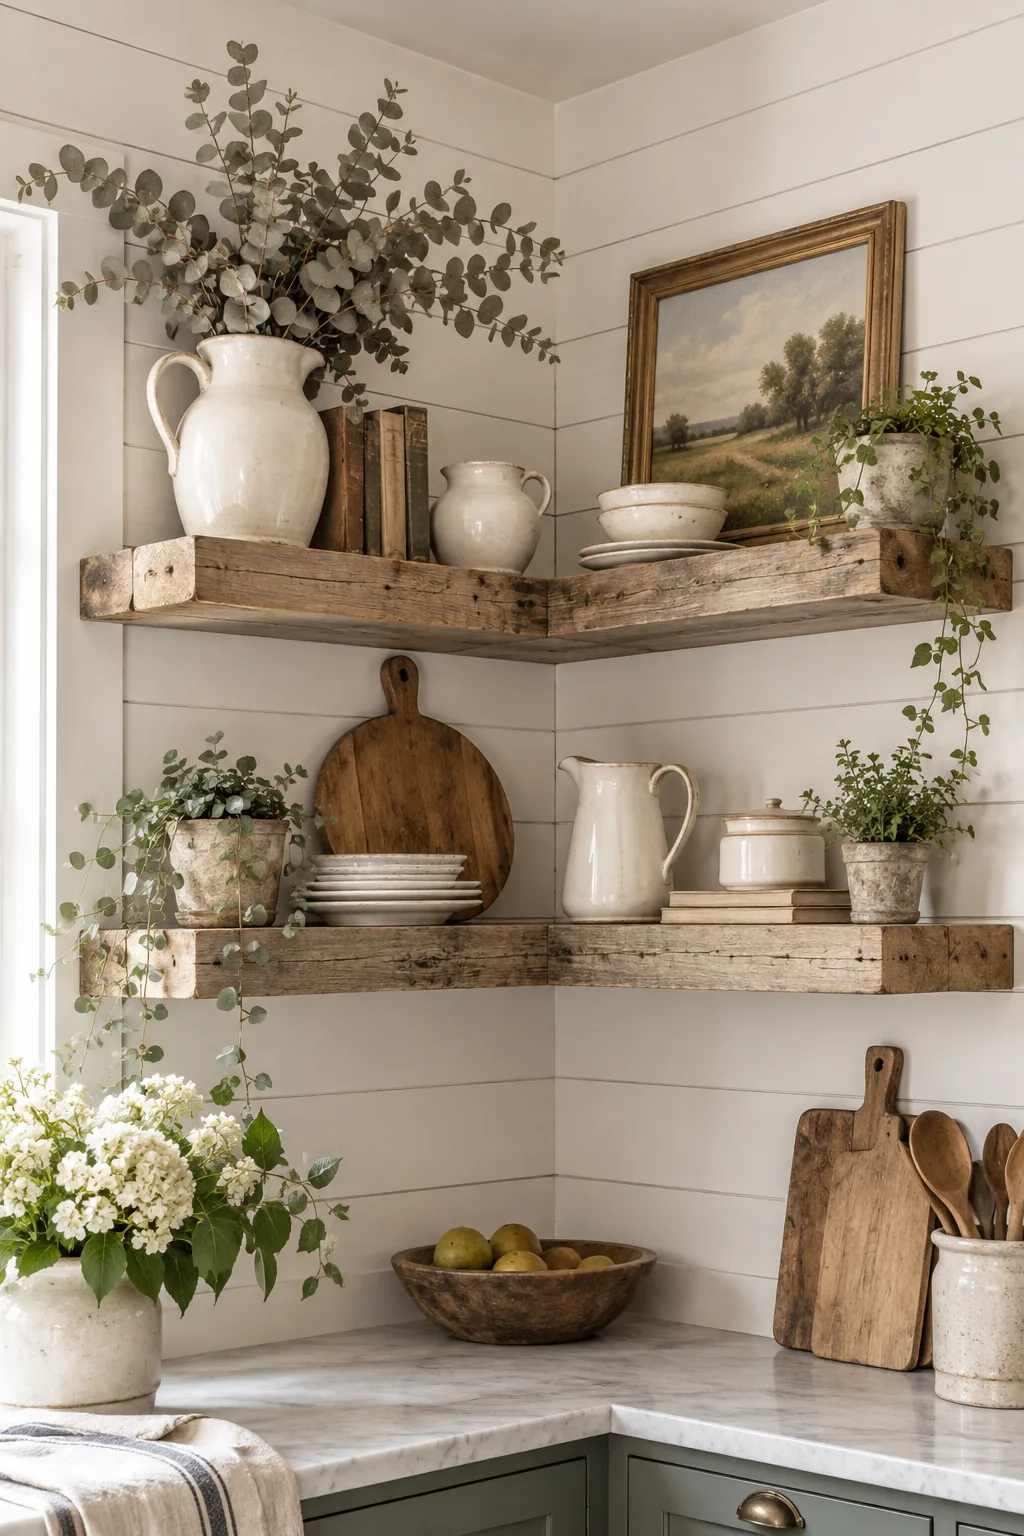
Mid-Century Walnut and Brass: Dark walnut pops against a bold teal wall; adapt this style by incorporating warm brass accents and structured architectural plants.
Minimalist Pale Birch Plywood: Pale birch and concrete offer a serene, stripped-back aesthetic; achieve this mood by grouping matte monochrome ceramics with plenty of negative space.