Anonymous Elementary Data Wall: Setup Checklist & Log
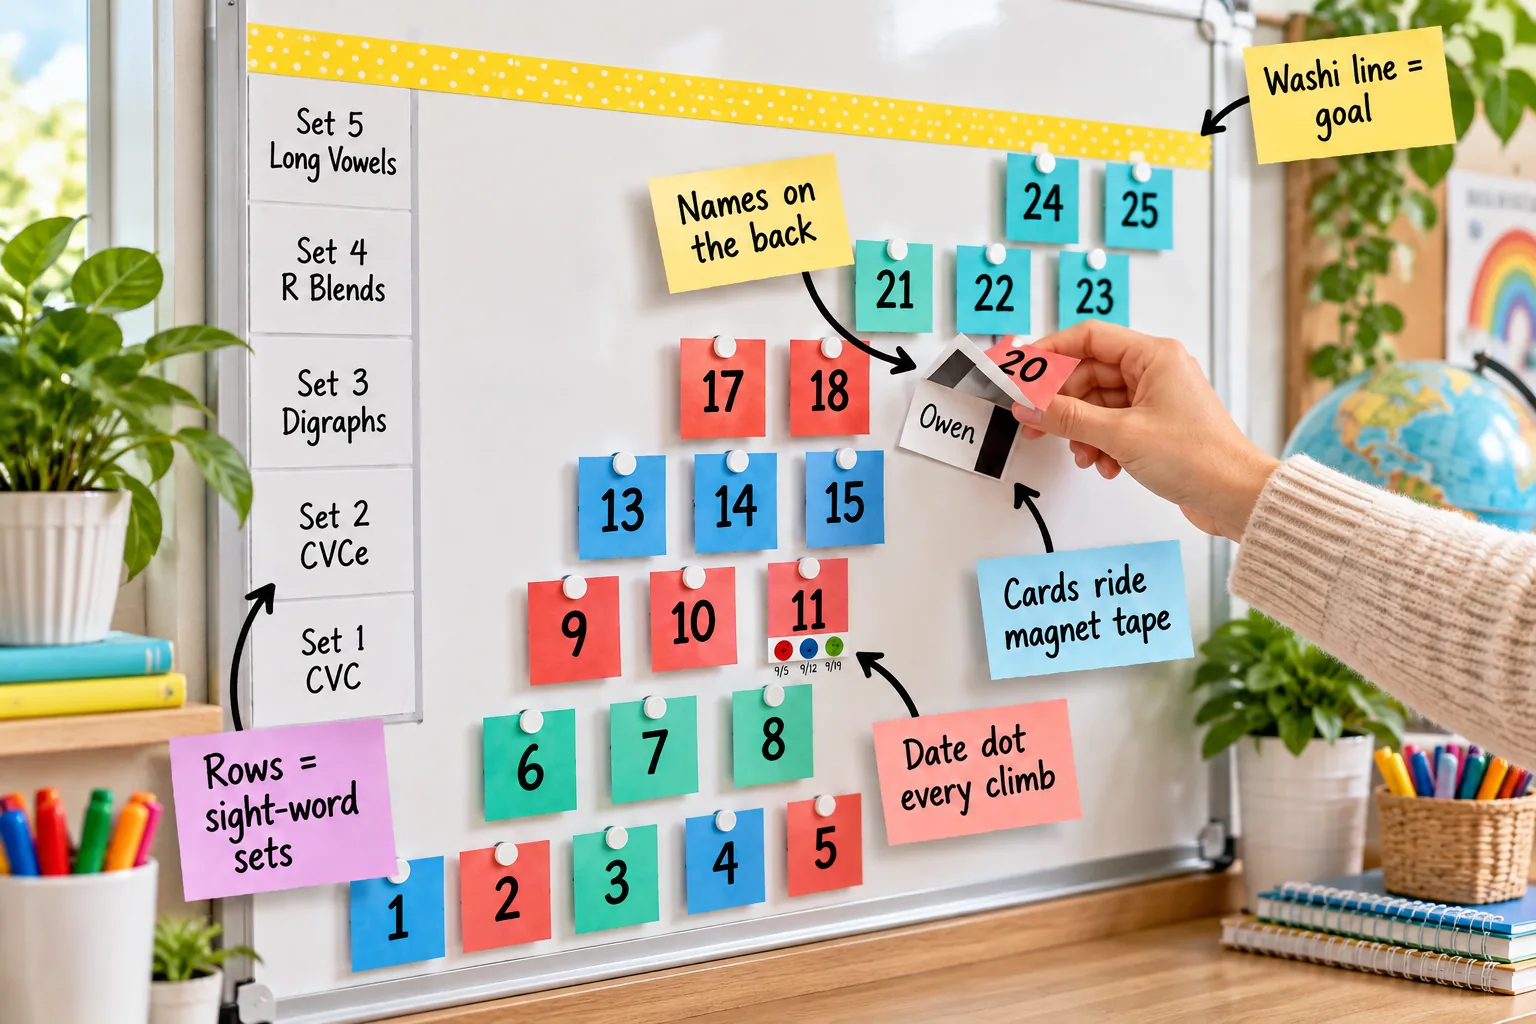
Building a cheerful, privacy-friendly reading progress board is simple when you use our printable Data Wall Setup Checklist and Student Card-Move Log. This complete guide walks you through assembling the board from the structural row grid down to the individual student tracking cards.
Mapping the Sight-Word Rows
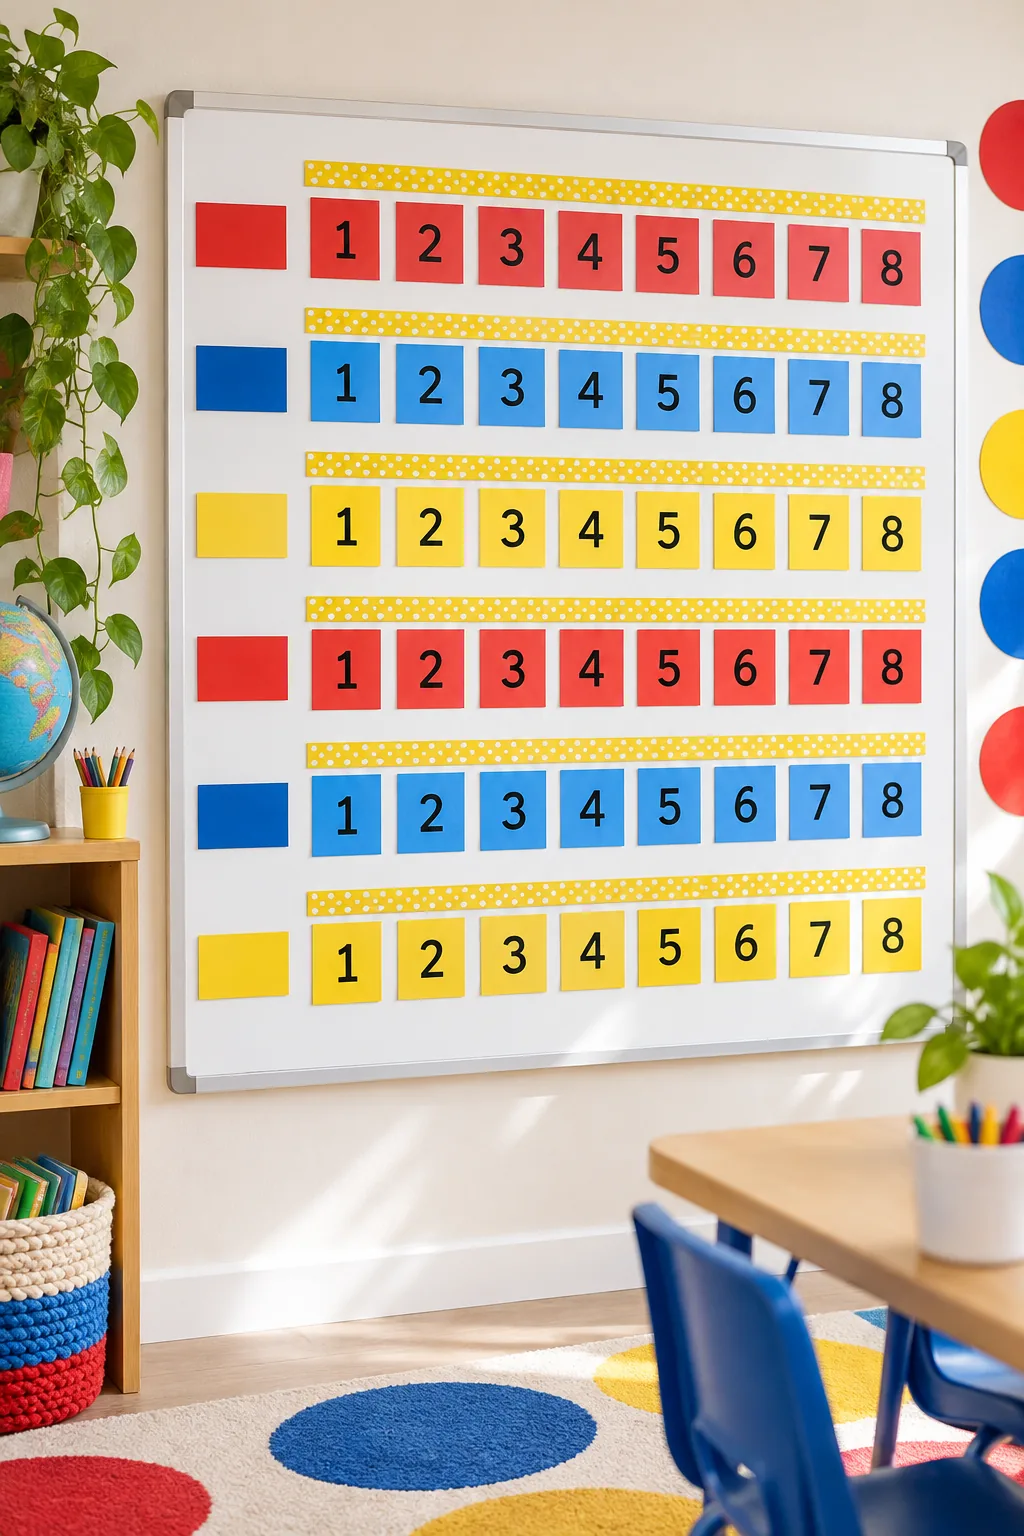
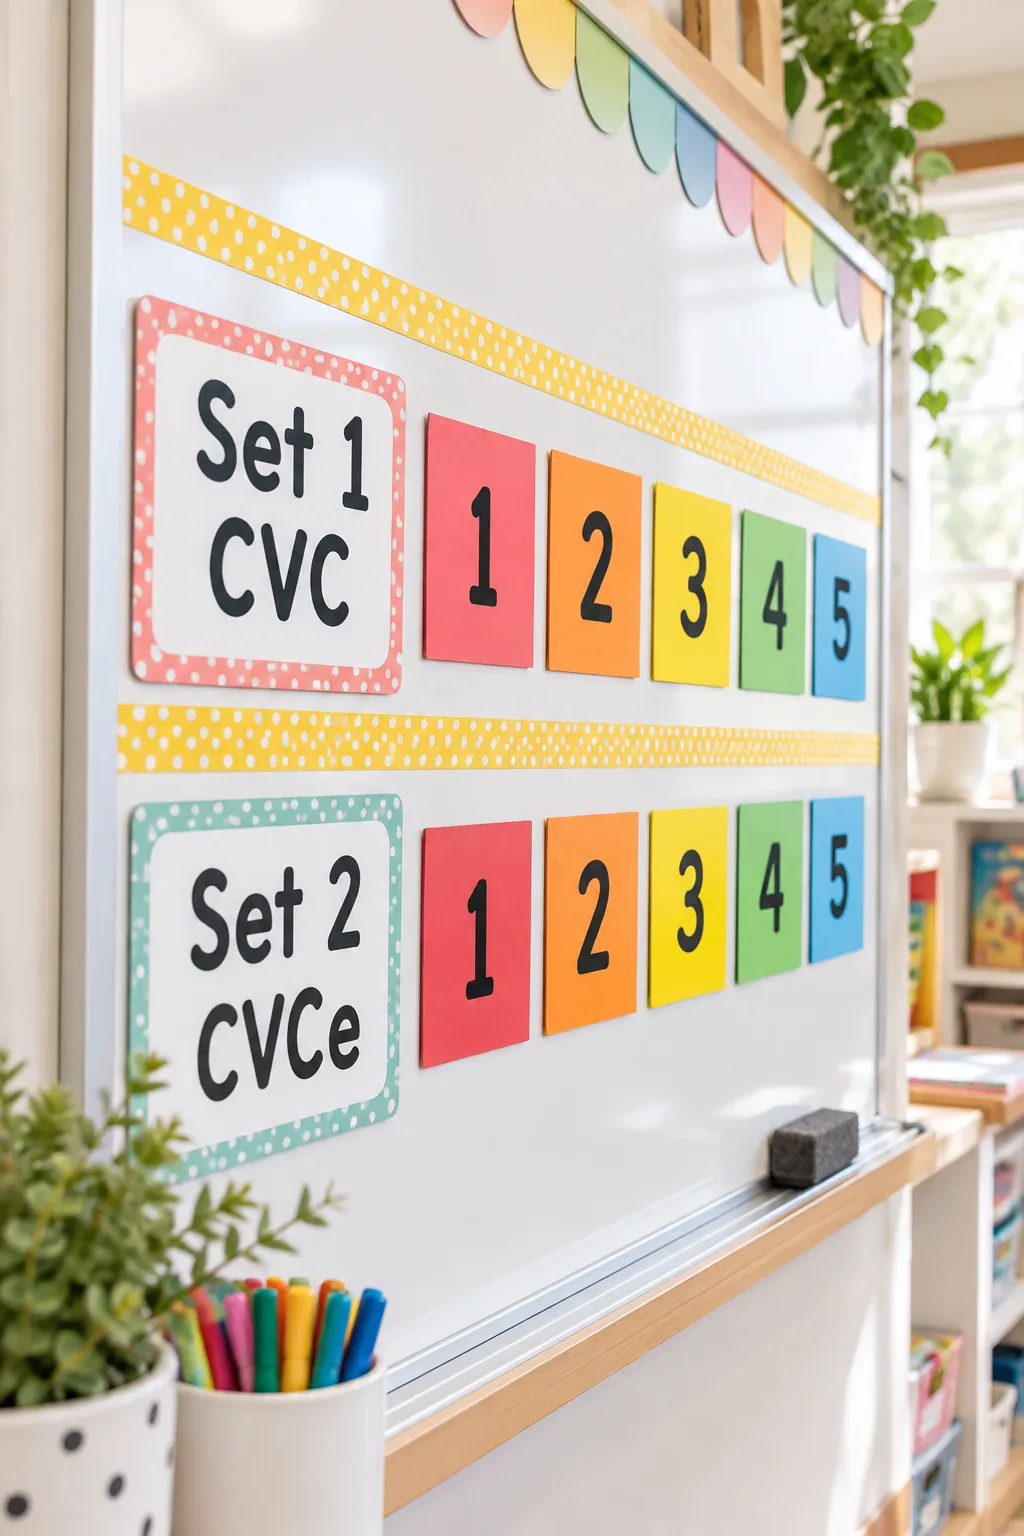
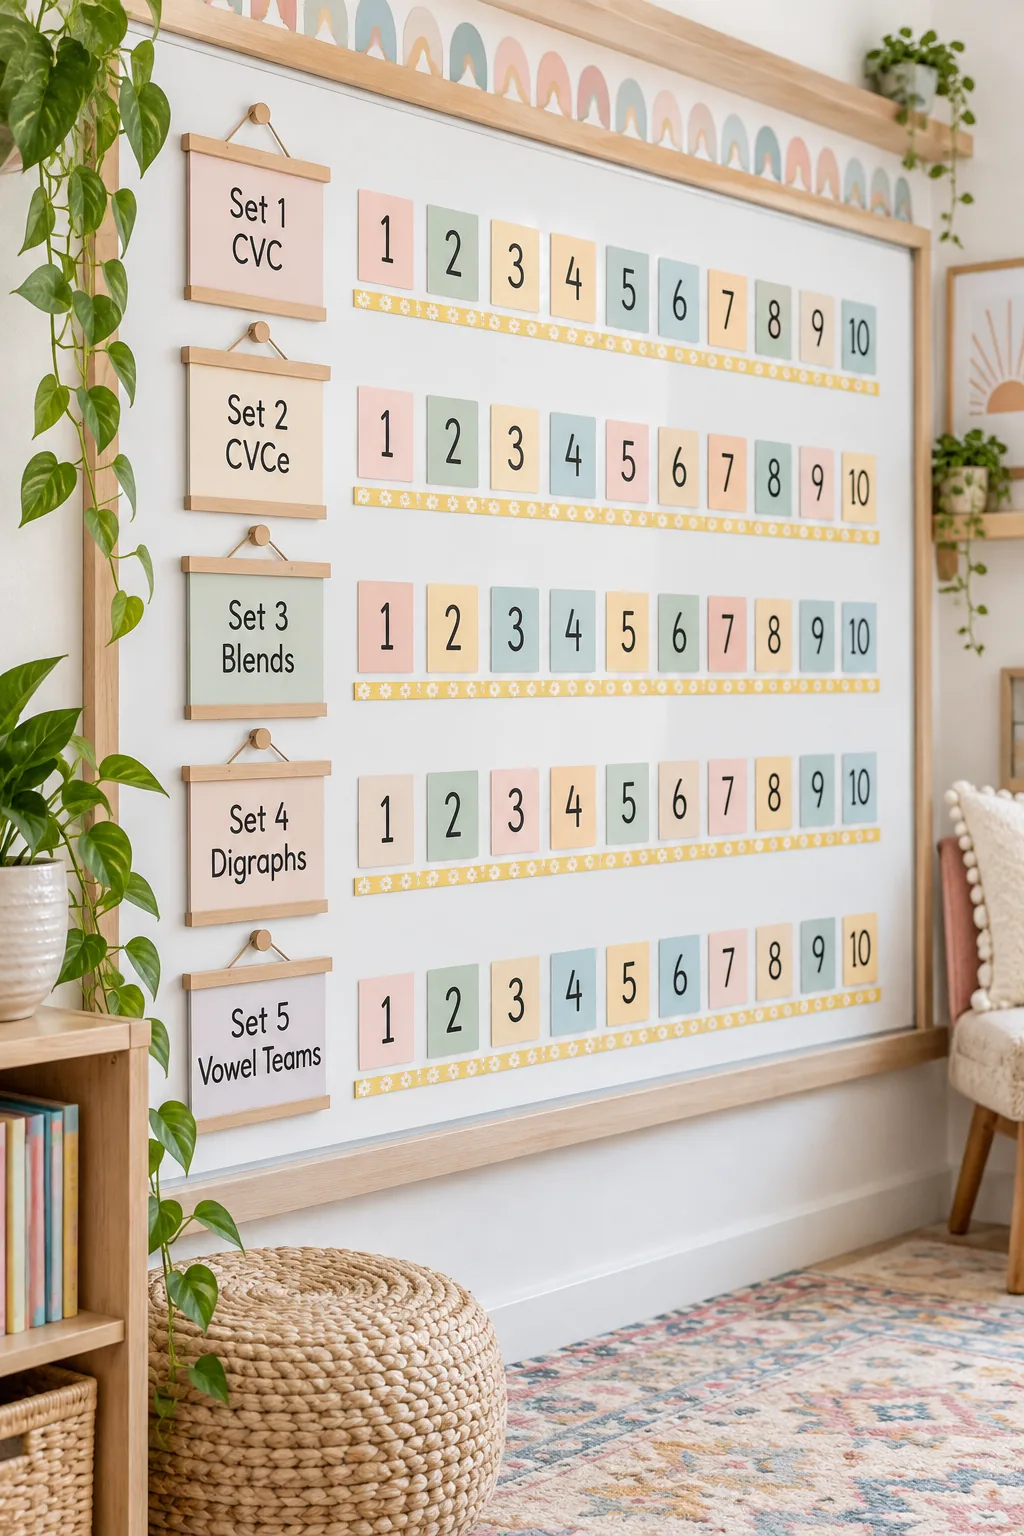
Divide your whiteboard into horizontal rows spaced exactly 6 inches apart to give each square card plenty of room to move without overlapping the headers. This precise grid structure clearly defines each sight-word set so students can visually track their reading journey.
Print Your Setup Checklist & Log
Before printing the checklist and gathering your supplies, verify your classroom whiteboard meets the physical requirements for a magnetic tracking system. I once tried building a beautiful progress board on a cheap composite board, only to watch every card slide straight to the floor.
Once you download the two-page setup checklist, you can easily plan where your benchmark washi tape will go to create a healthy, visible target. The included log grid provides a dedicated space for recording each card’s date-dot climbs throughout the entire semester.
Marking the Benchmark Goal Line
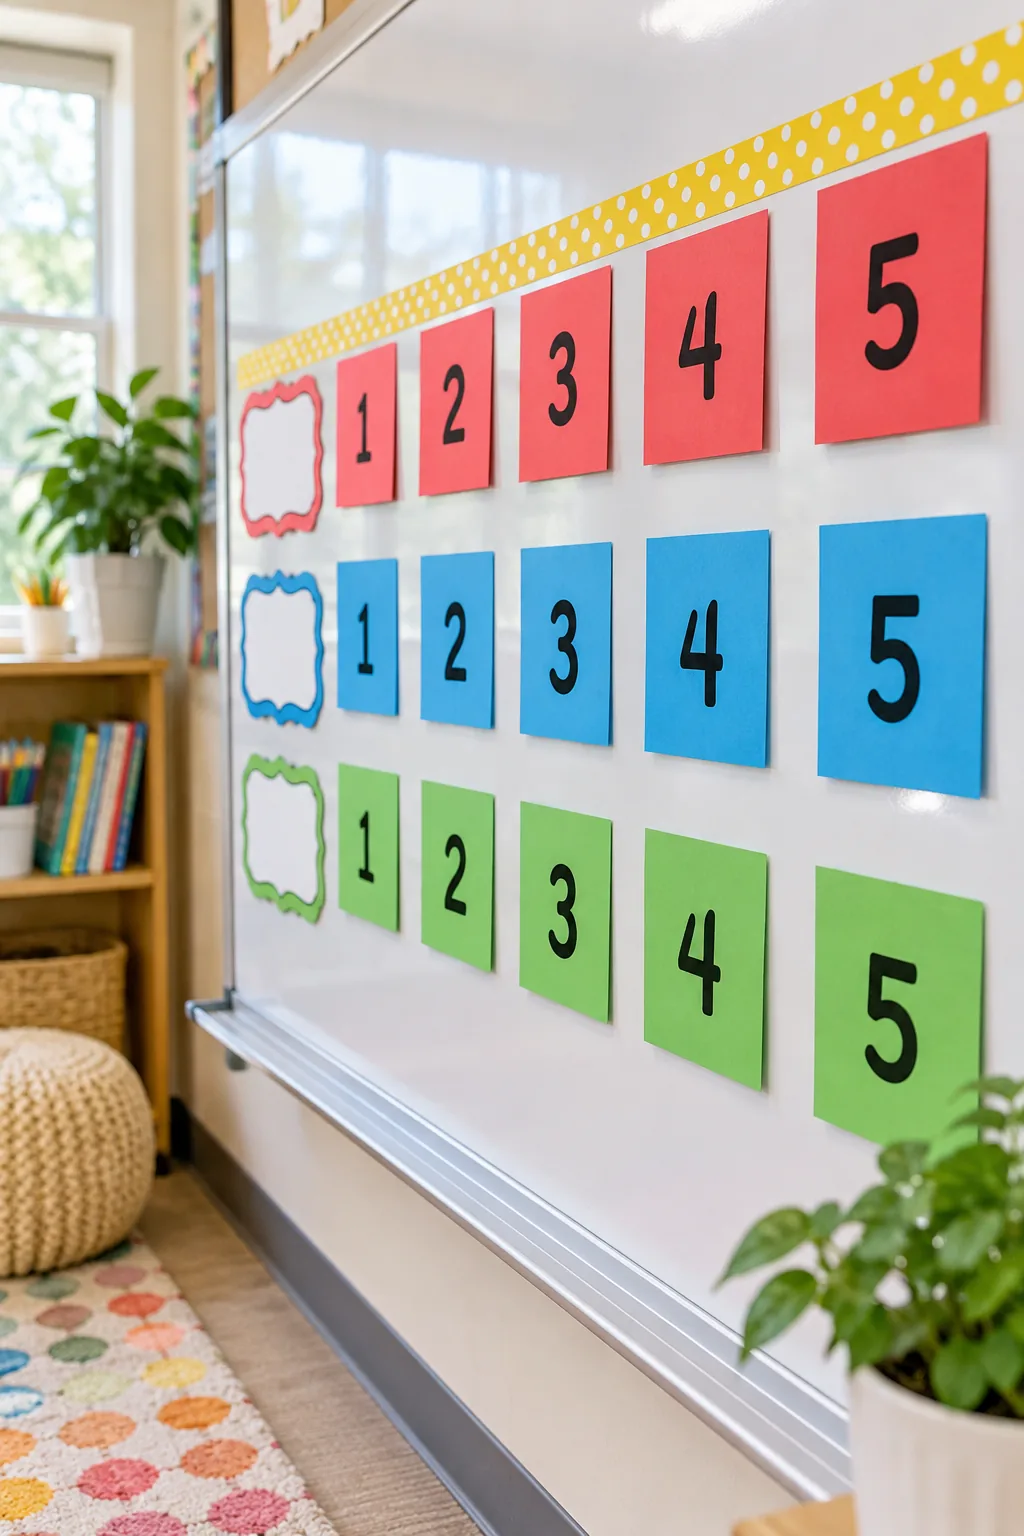
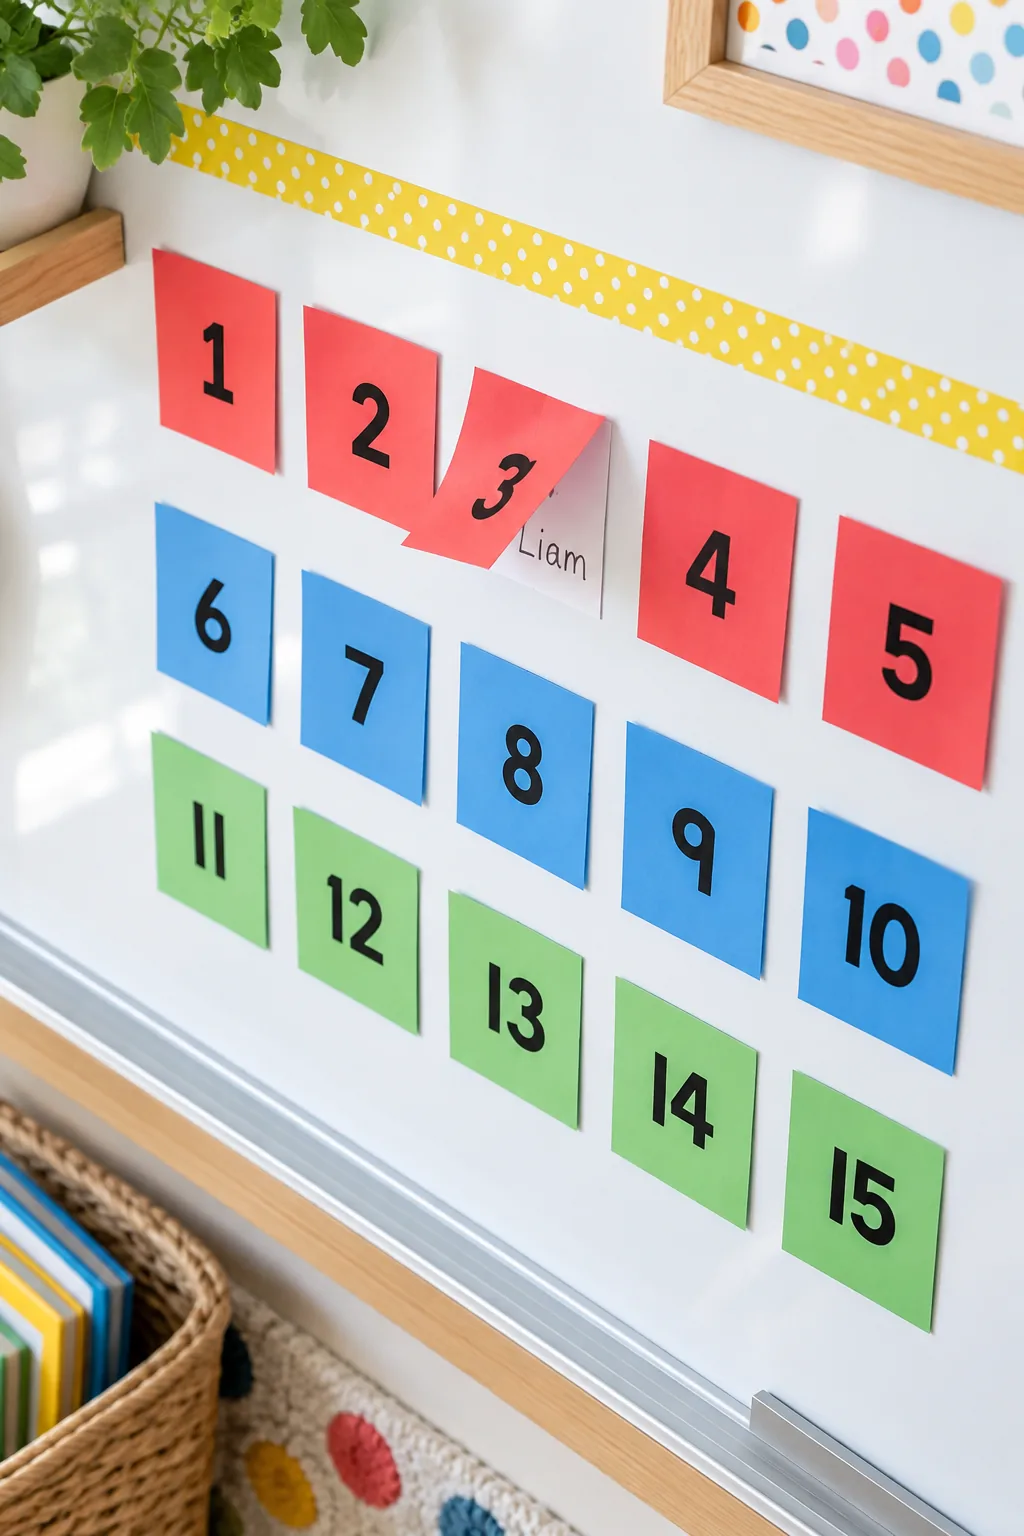
Apply a bright washi tape stripe horizontally across the board to create a tangible benchmark, then pair it with brightly colored square cards featuring bold black numbers. When I added a sunny yellow tape line to my own workshop board, participation spiked because the clear, numbered targets felt completely within reach.
Assigning Anonymous Student Numbers
Give each student a permanent, randomized number for the front of their card to ensure complete anonymity on the public-facing wall. Print or write these identifiers using thick, bold fonts so they remain easily readable from across the classroom.
- Assign a unique number to each child on your roster.
- Print the numbers using a heavy, high-contrast font.
- Laminate the fronts to protect them from daily wear.
Hiding Names on the Reverse
Write the child’s first name on the back of their numbered card so you can quickly flip it to check their identity while maintaining absolute privacy. This simple hidden-name system protects student confidence, especially during open houses or parent-teacher conferences.
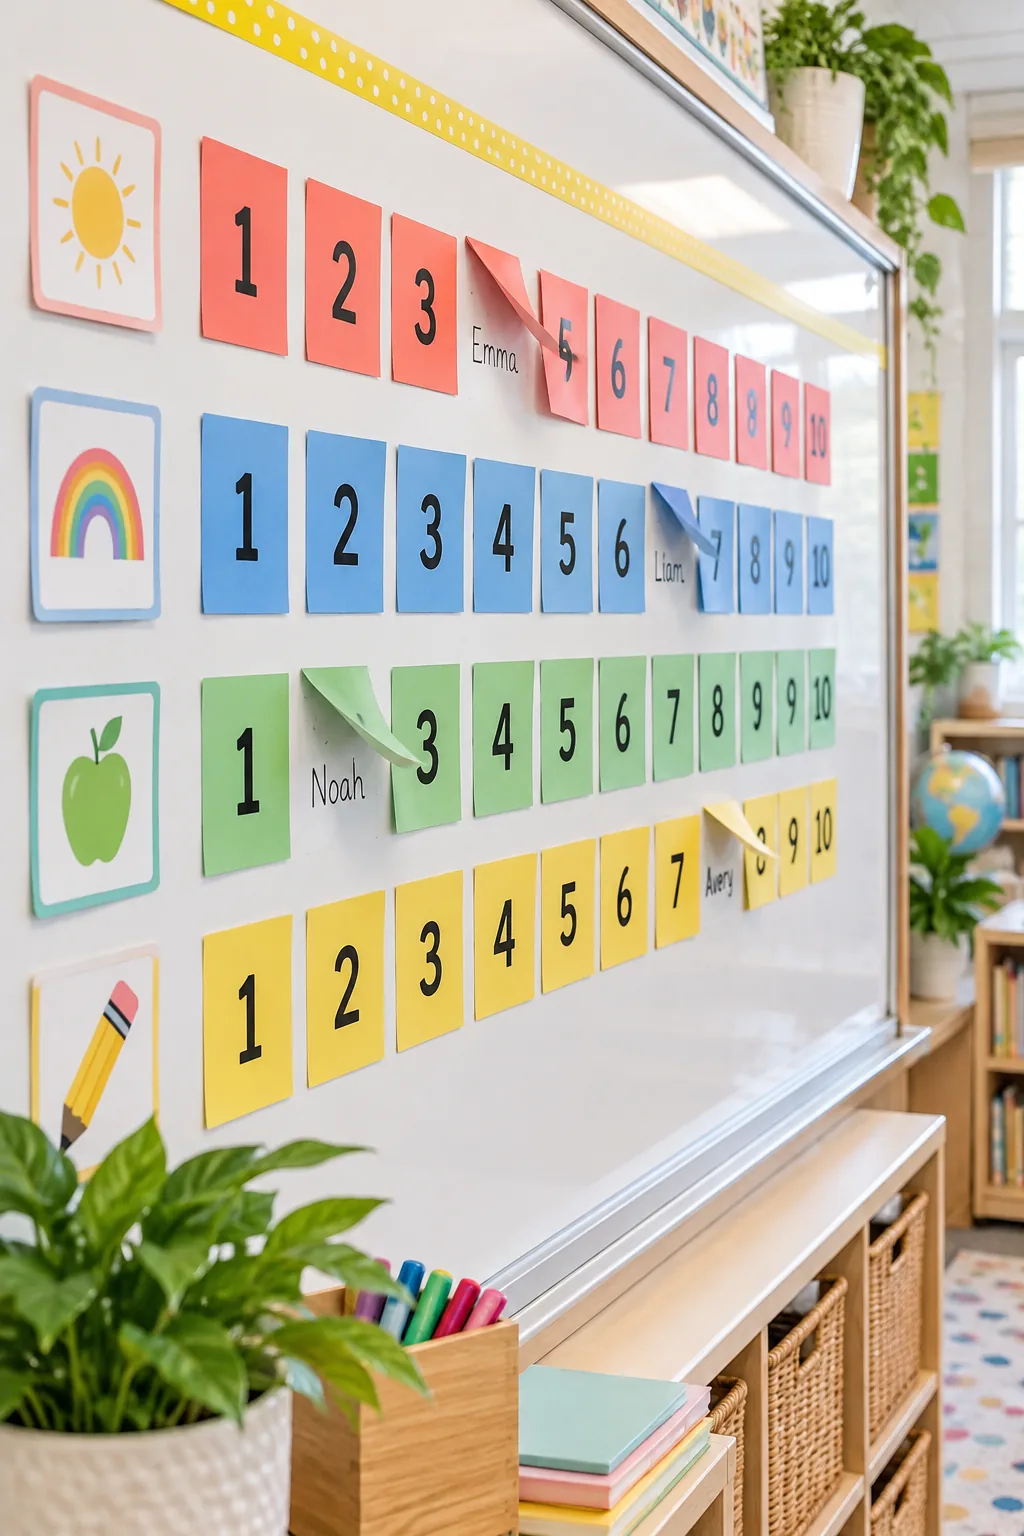
Because you will frequently handle the cards to check identities, the writing on the reverse needs to withstand daily friction.
Mounting Cards with Magnet Tape
Apply a single 2-inch strip of thin magnetic tape to the back of each card for secure mounting that remains effortless to slide. I love using this specific thick adhesive tape for my own craft room labels because it completely prevents the squares from sliding down.
Logging Progress with Date Dots
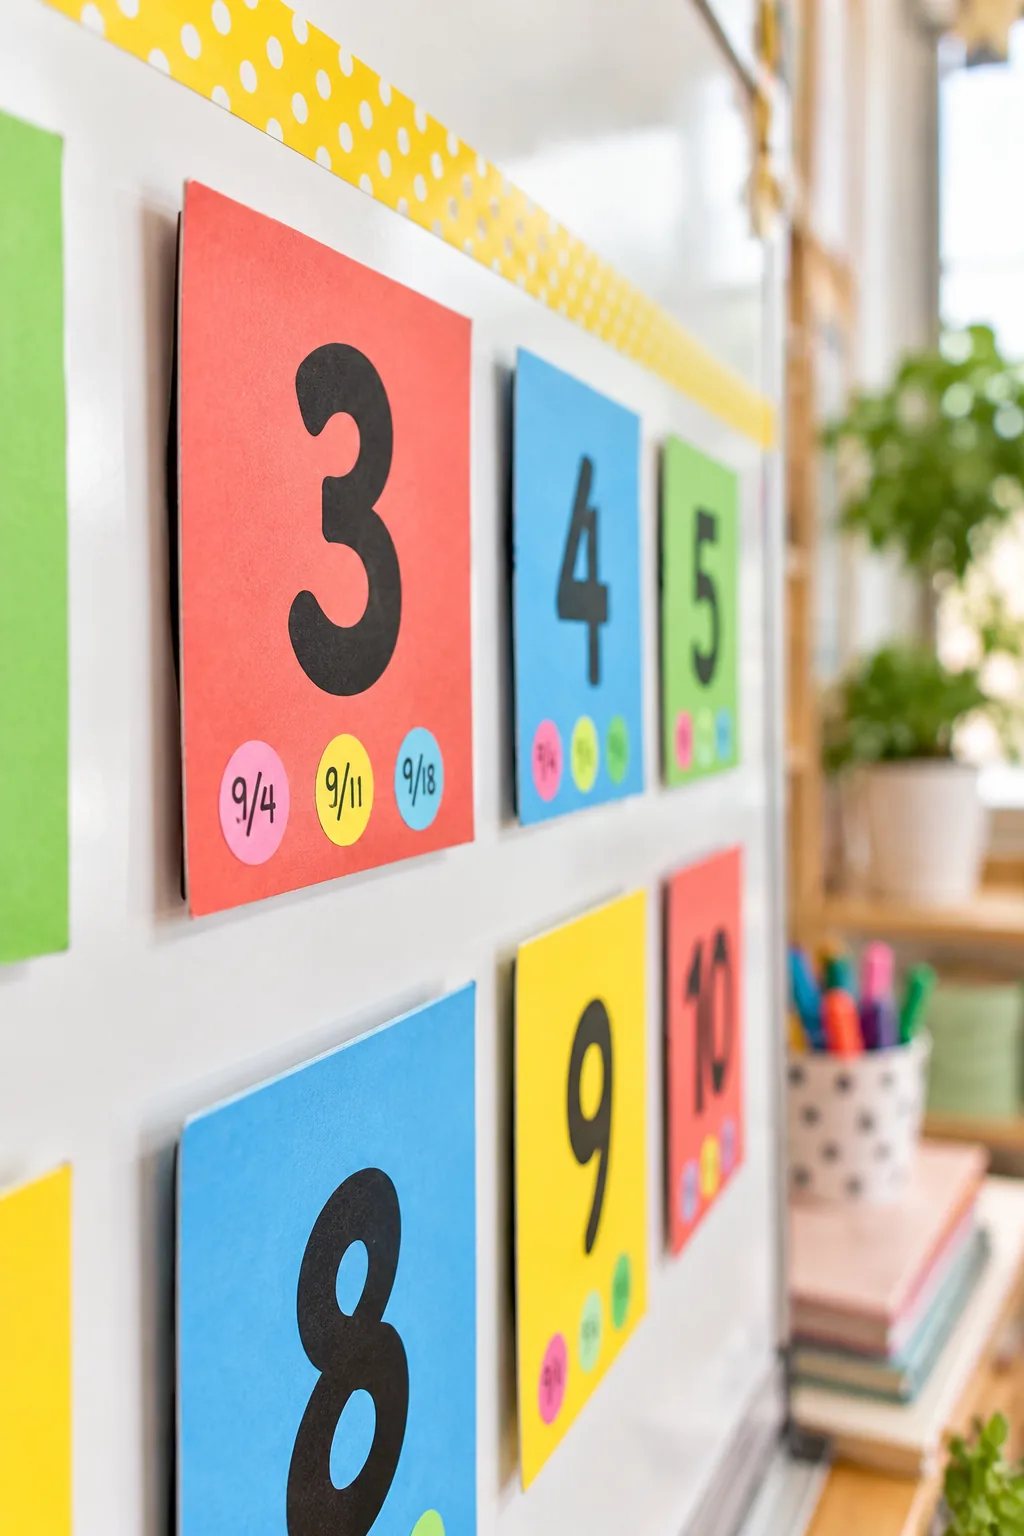
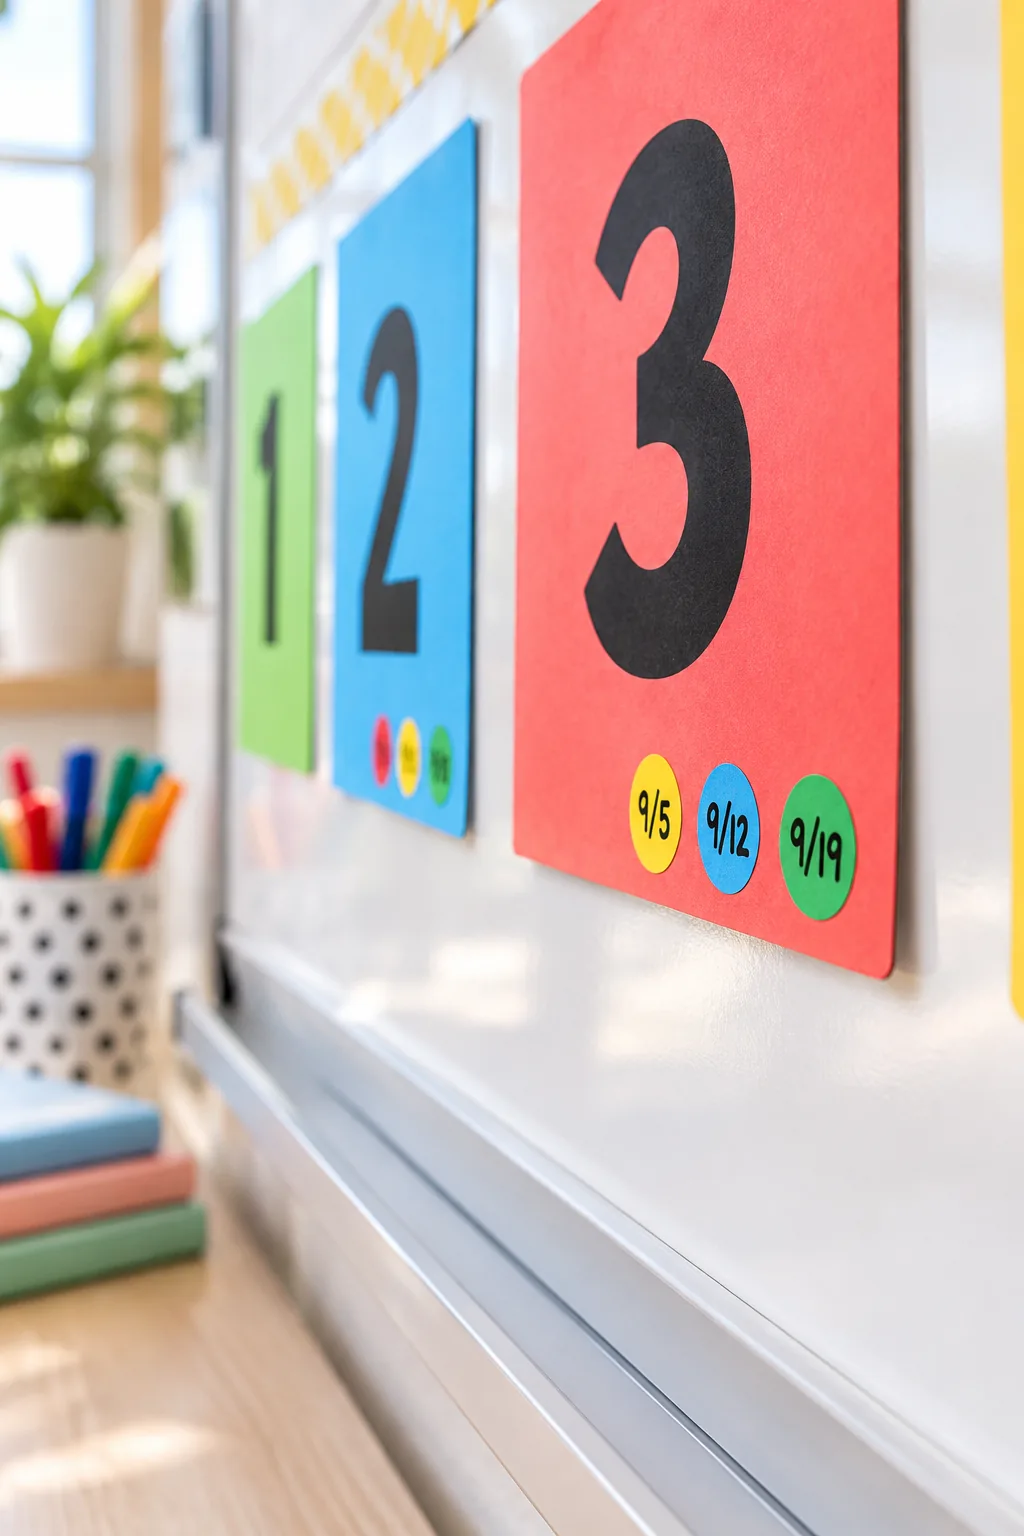
Add a small colored dot sticker to the bottom edge of the card every time a student moves up a row to master a new set. Writing the exact date on these dots reveals the pace of their reading progress and quickly highlights when a child hits a plateau.
4 Ways to Style Your Classroom Data Wall
Choose a color palette and theme that perfectly matches your classroom environment.
Pastel Boho Classroom: Muted pastel cards and soft wood trim define this calming boho aesthetic. Copy this look by choosing low-contrast colors that blend into a quiet classroom environment.
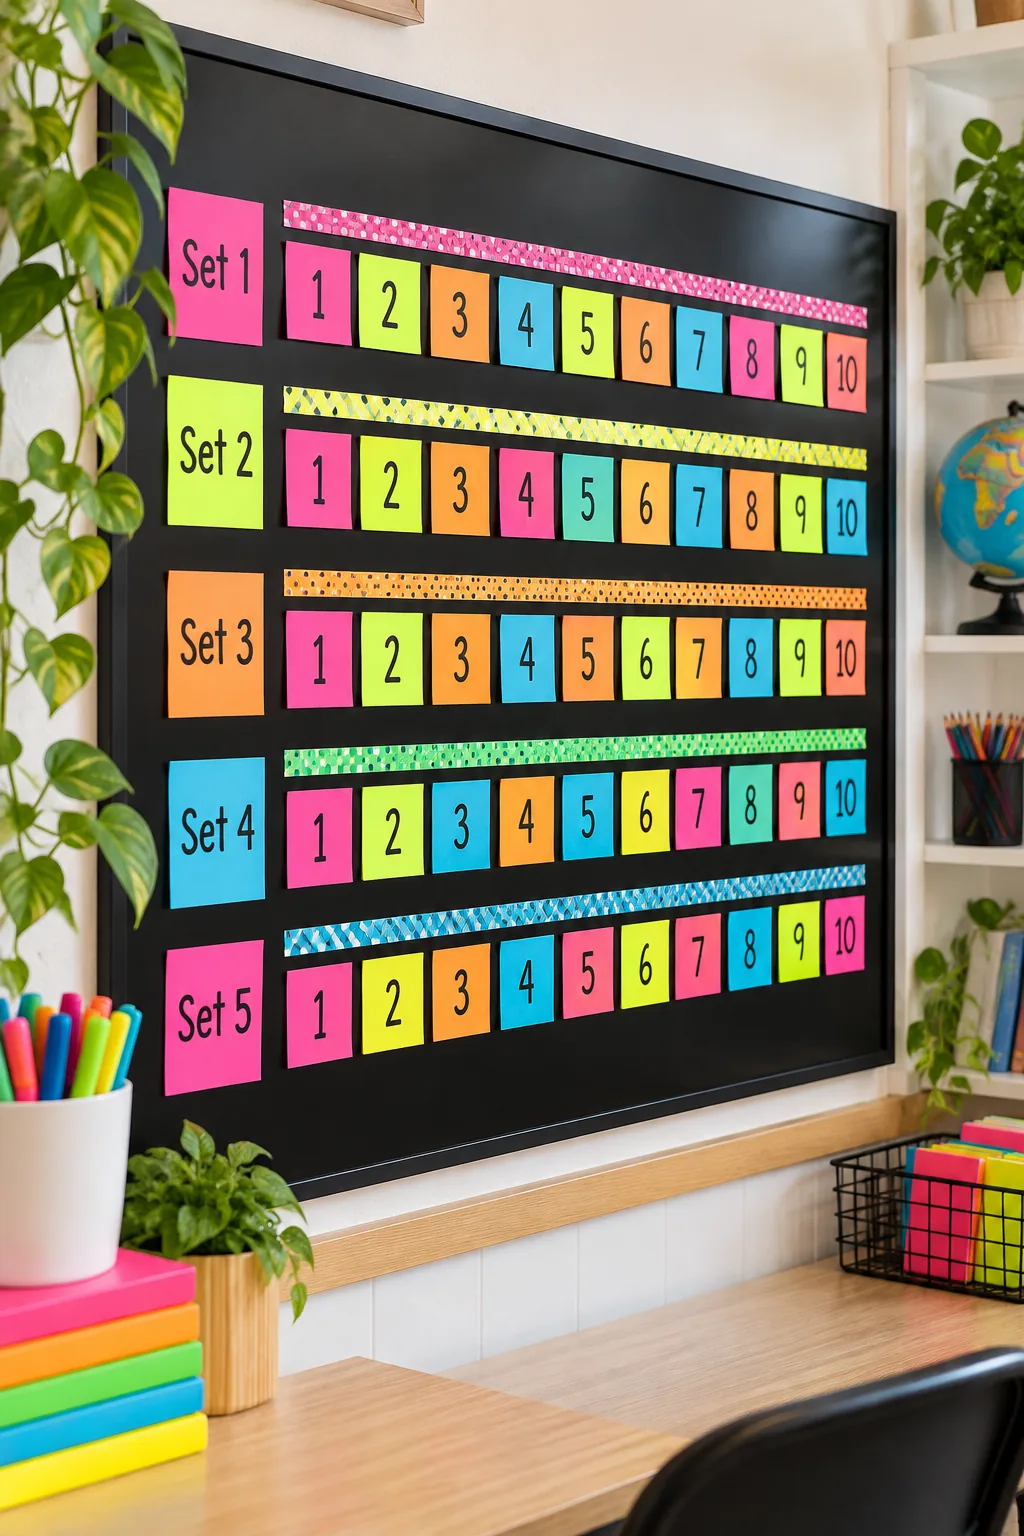
Neon Brights Theme: Fluorescent neon cards pop brilliantly against a solid black background. Recreate this high-energy style using a dark magnetic board and bright fluorescent washi tape.
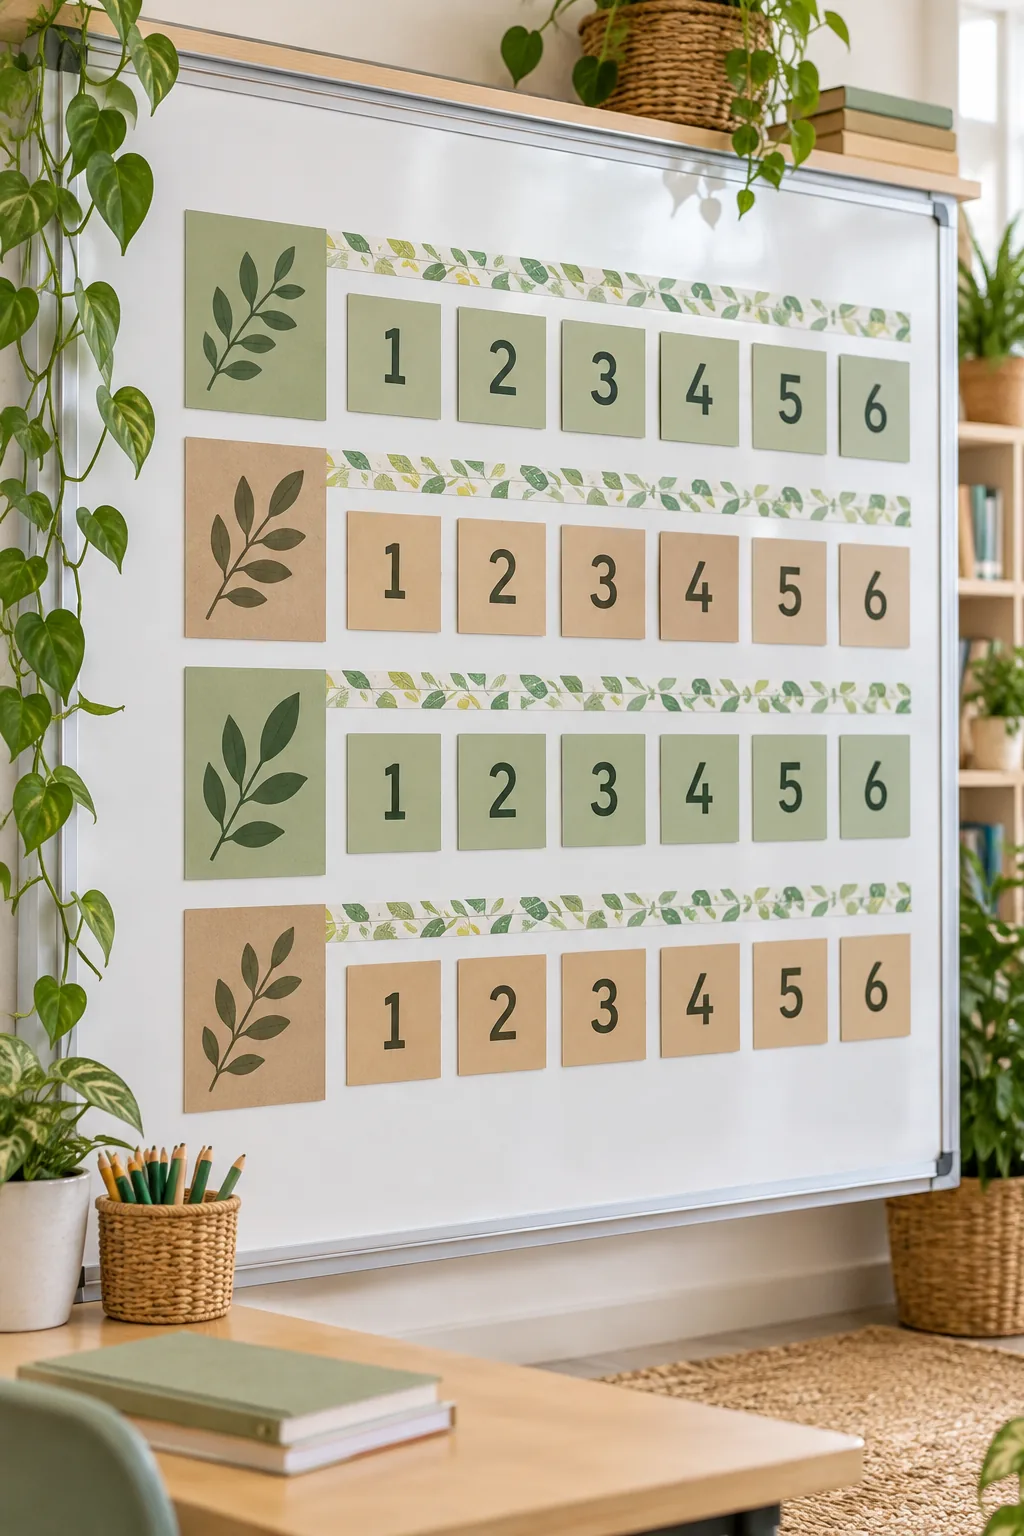
Nature Inspired: Sage green and kraft paper cards bring the outdoors inside. Steal this natural vibe by using leaf-patterned washi tape for your benchmark goal line.
Primary Colors: Classic red, blue, and yellow cards look crisp on a pristine white board. Adopt this traditional primary palette for a bright, universally recognizable classroom staple.