How to Build a Budget Dessert Table (with Quantity Guide)
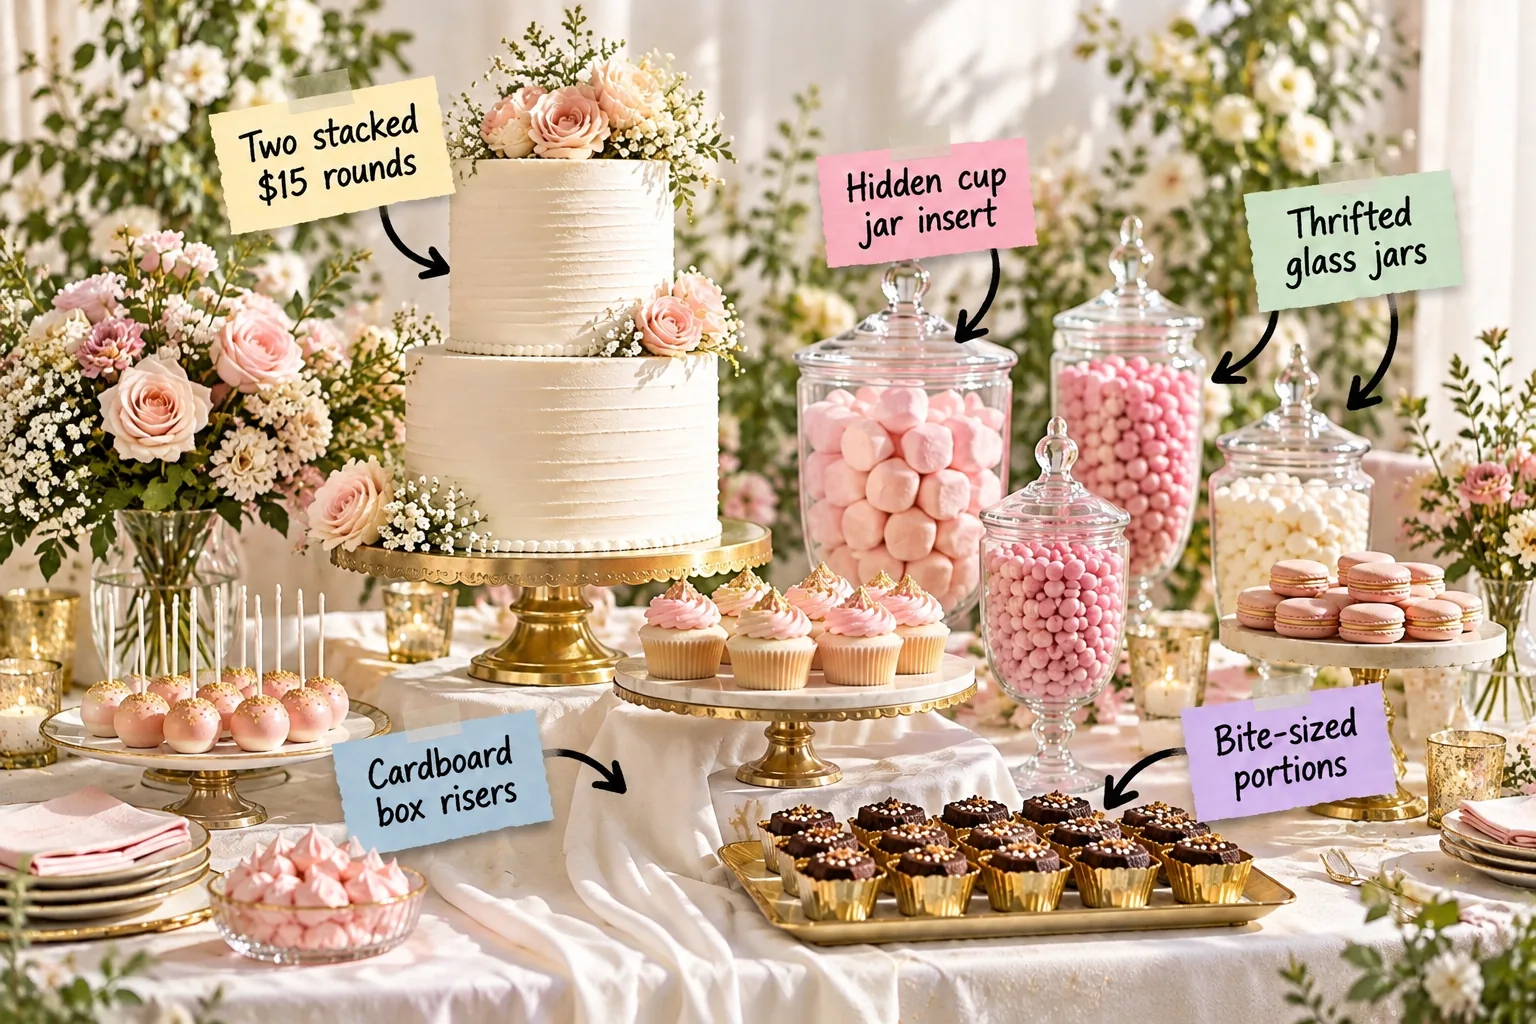
Creating a stunning dessert spread is entirely possible when you use our budget dessert quantity and shopping guide to calculate your exact needs. You will learn exactly how many sweets to buy and how to style cheap grocery store treats with clever elevation tricks for a high-end look.
Build height with hidden cardboard boxes
Draping a simple white cloth over 6-inch and 10-inch cardboard box risers creates a dynamic, architectural landscape for your treats. This foundational trick instantly elevates cheap supermarket bakes into a custom tiered display without requiring expensive acrylic stand rentals.
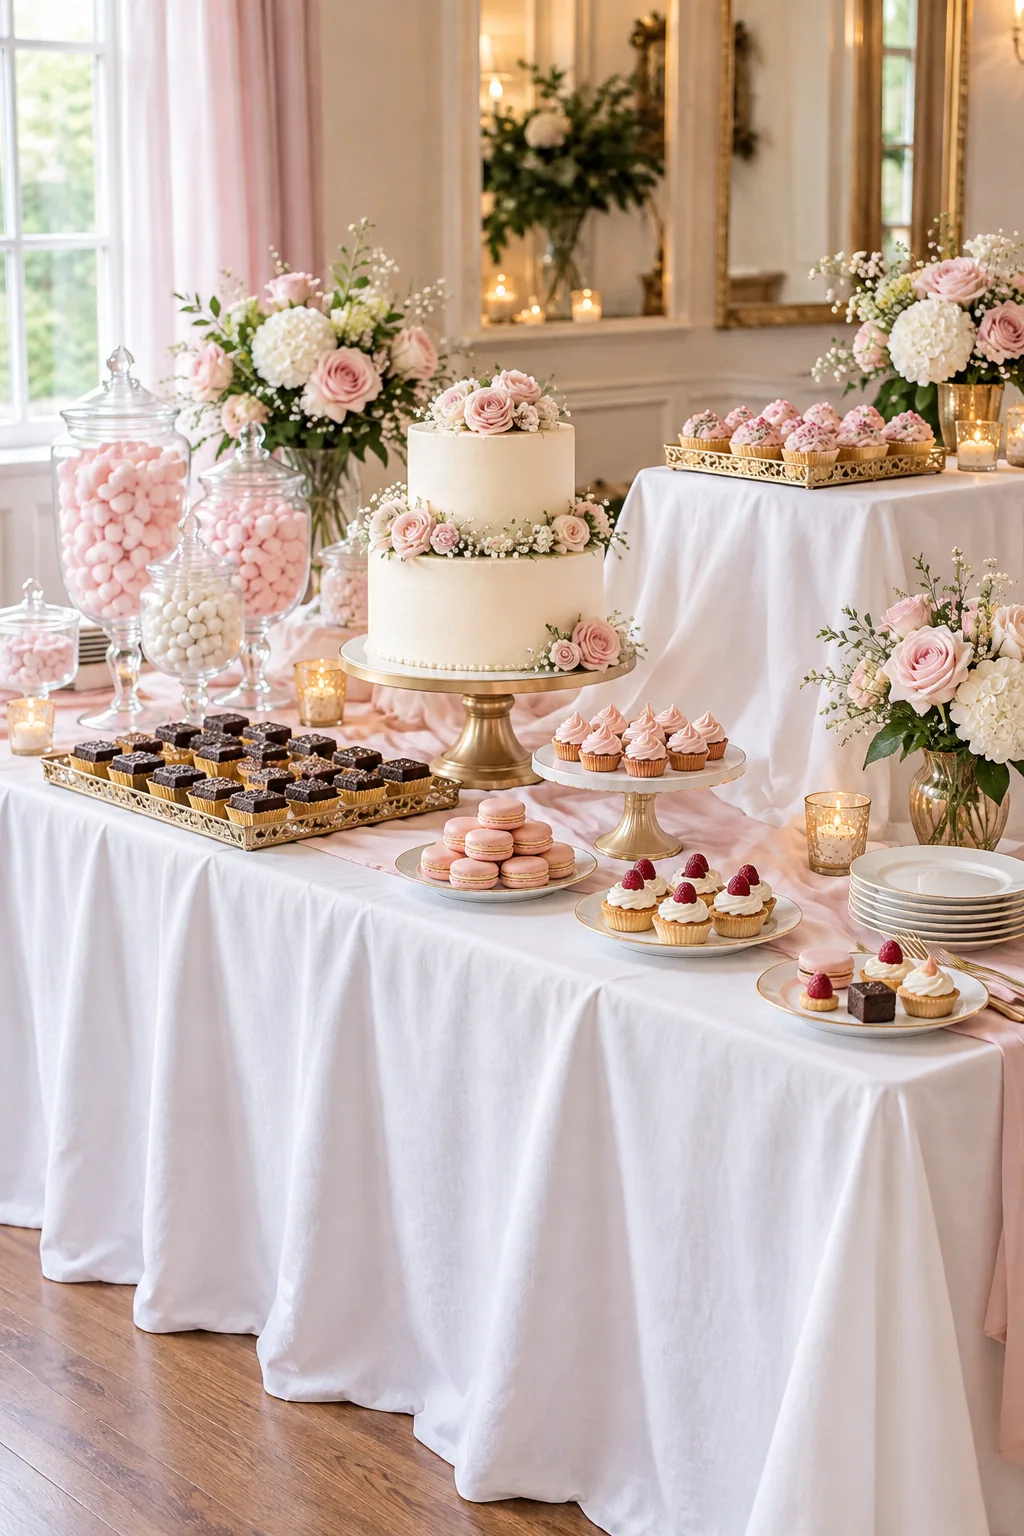
Before draping your crisp white linens, take a quick moment to secure your structural foundation so nothing shifts during the party.
Select the right box dimensions
Using a deliberate mix of heights prevents your display from looking flat and uninspired. Staggering your elevations draws the eye upward toward your centerpiece cake while making the entire table feel significantly more abundant and professionally styled.
- Tall centerpieces: Use a 10-inch square box to anchor the middle of the table.
- Mid-level trays: Flank the center with 6-inch rectangular boxes for brownies and bars.
- Low accents: Keep front-row candies directly on the table surface for easy reaching.
Stack grocery store cakes for a custom centerpiece
You can easily mimic a $150 custom wedding cake by purchasing two stacked $15 rounds from the basic supermarket bakery. I used this exact stacking method for a bridal shower in my brownstone last month, and every guest assumed I commissioned a boutique baker.
Support the tiers with wooden dowels
A soft grocery store sponge will inevitably collapse under the weight of a second tier if you skip internal structural support. Drive three thick wooden dowels into the bottom tier and trim them flush with the frosting before placing the smaller cake on top.
Dress the cake with cheap grocery store blooms
Elevate the plain stacked cakes by pressing a few delicate stems of blush roses and baby’s breath directly into the seam between the two tiers. This clever floral placement completely hides the structural joint while adding high-end organic texture to a basic crumb coat.
Always wash your grocery store stems thoroughly and wrap the cut ends tightly to ensure no commercial pesticides seep into your dessert.
Prep the flowers for food safety
Supermarket flowers are heavily treated with chemicals that should never touch buttercream. Wrapping every single cut stem in green floral tape creates a necessary sanitary barrier before you insert the blooms into your beautiful centerpiece.
Hunt for thrifted glass apothecary jars
Skip the overpriced party supply stores and source mismatched thrifted glass jars for just $2 to $4 each. I regularly scour Boston thrift shops for these specific vessels, and their ornate details always add high-end vintage character to a modern table setup.
Mix and match vintage lid shapes
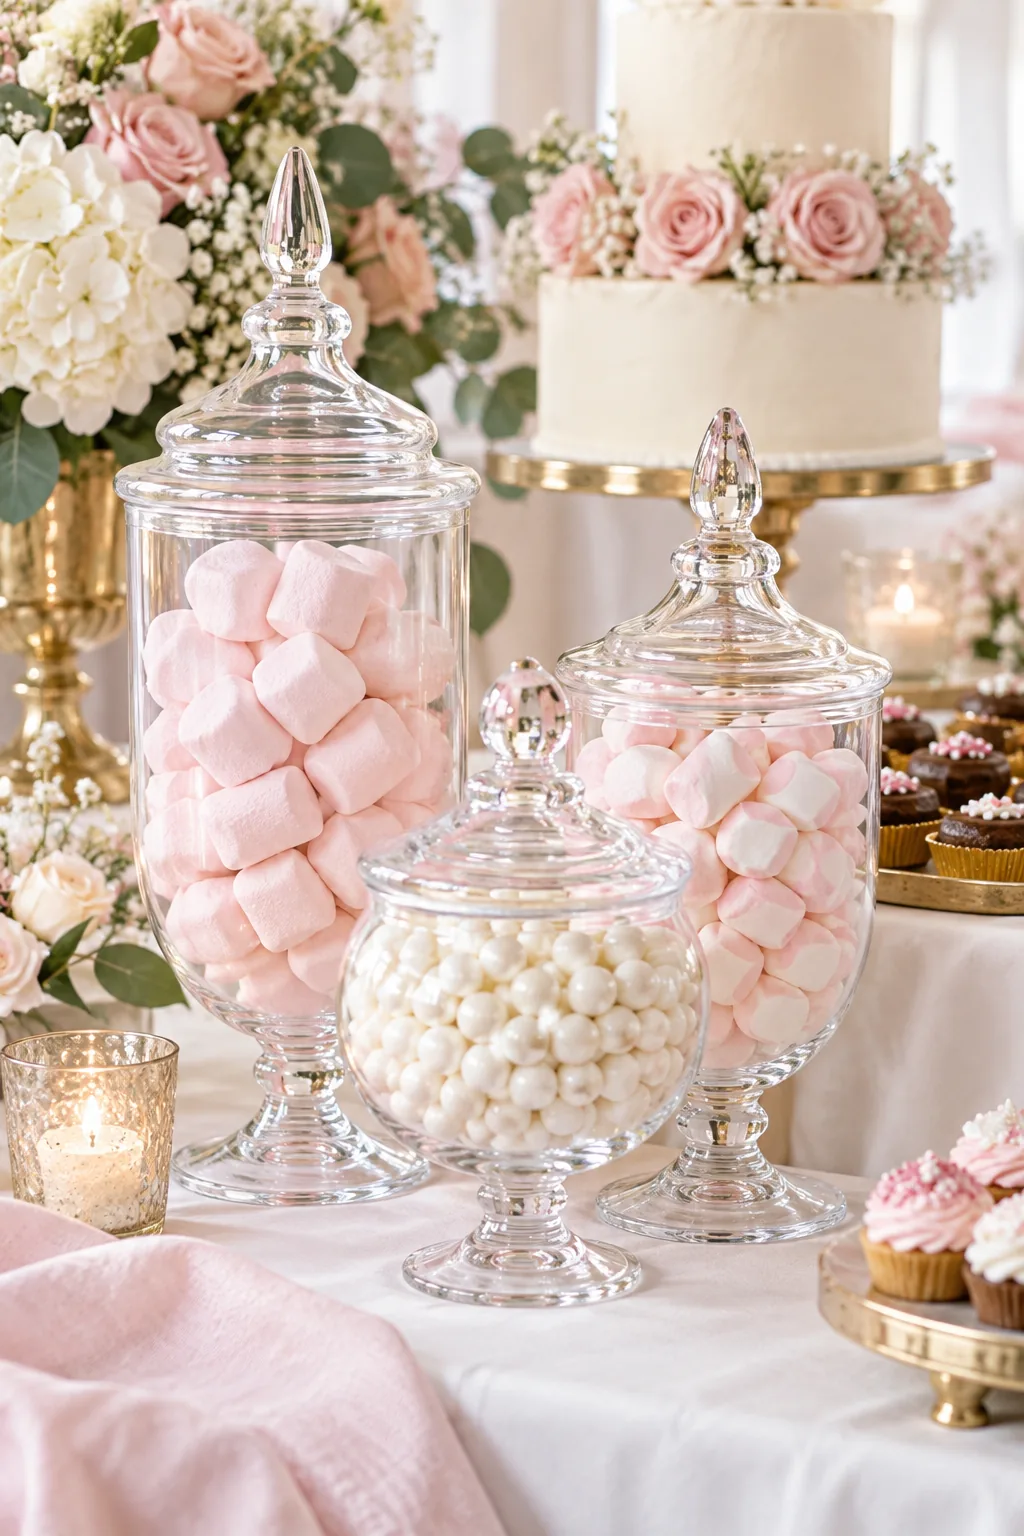
Curating a collection of jars with varied lid shapes and dramatically different heights creates a collected, expensive aesthetic. The visual contrast between a tall, slender apothecary jar and a wide, squat candy dish makes the bulk sweets look like gourmet artisanal treats.
Fake volume with a hidden cup insert
Placing an upside-down drinking glass or hidden cup jar insert inside large apothecary vessels displaces the sweets to the outer edges. This brilliant visual trick makes the jar look completely overflowing while requiring exactly half the actual candy volume to fill the space.
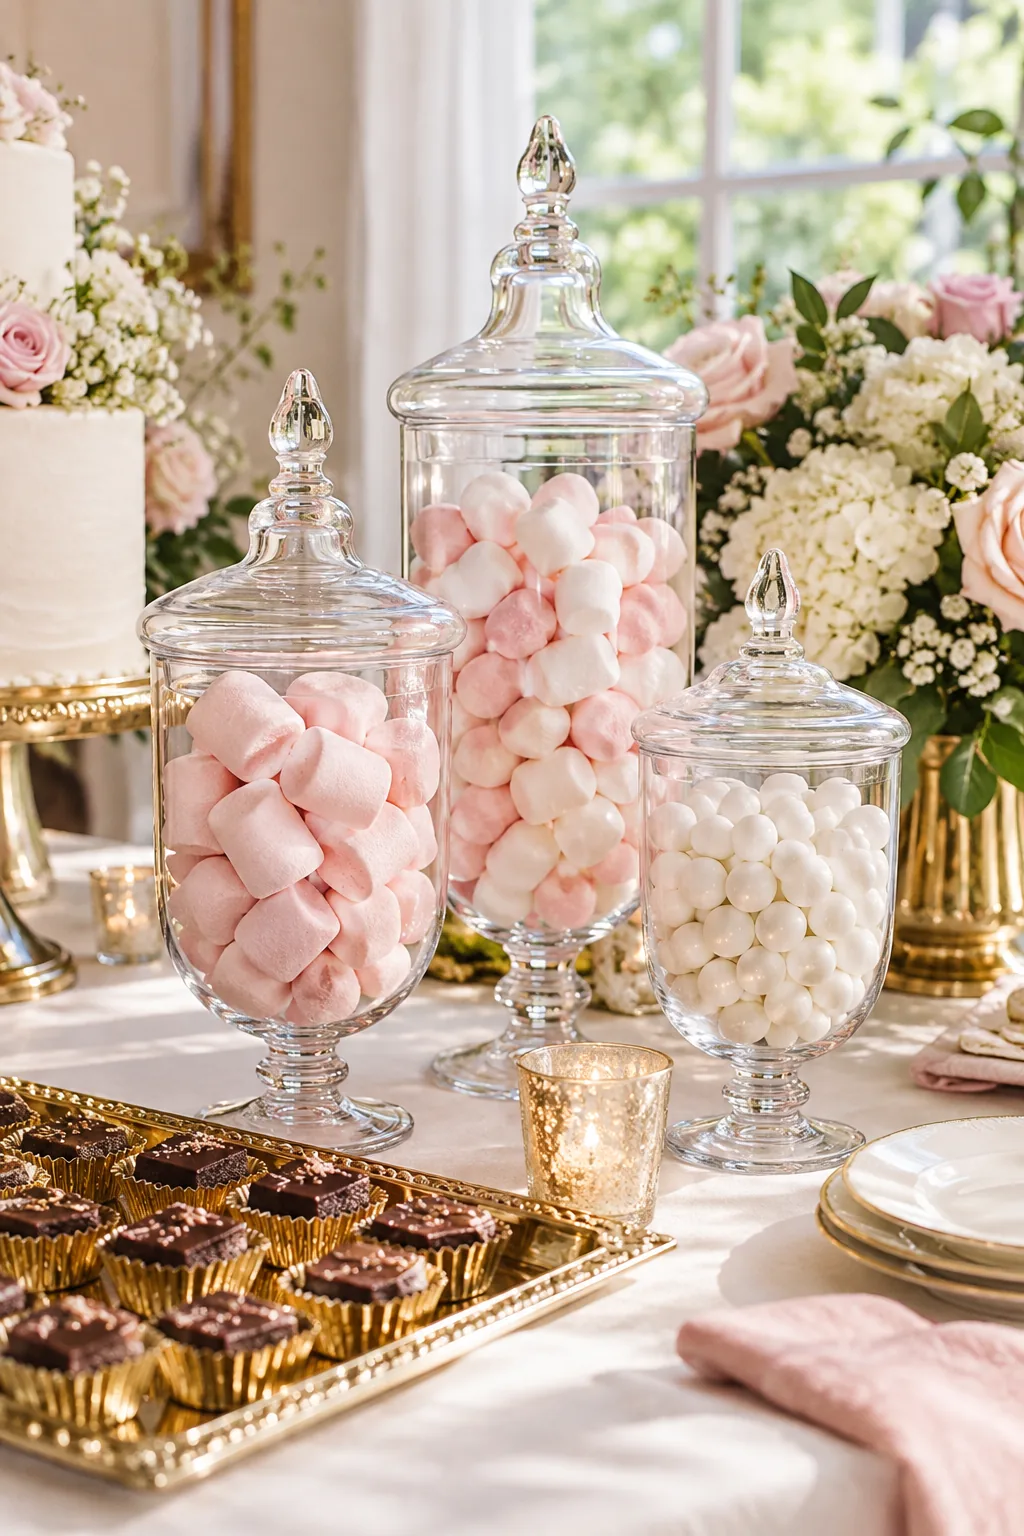
Select a clear plastic cup that leaves exactly one inch of space around the inner perimeter for the candy to cascade naturally.
Choose the right insert size
If your hidden insert is too wide, the candies will get stuck at the top and reveal the plastic base. Test your spacing by dropping a single marshmallow down the side to ensure it falls smoothly to the bottom of the glass jar.
Stretch the budget with bite-sized portions
Cutting standard sheet brownies into one-inch bite-sized portions and placing them in metallic liners transforms a basic bake into individual gourmet truffles. Using metallic mini liners elevates the presentation while preventing sticky fingers from ruining your crisp white table linens.
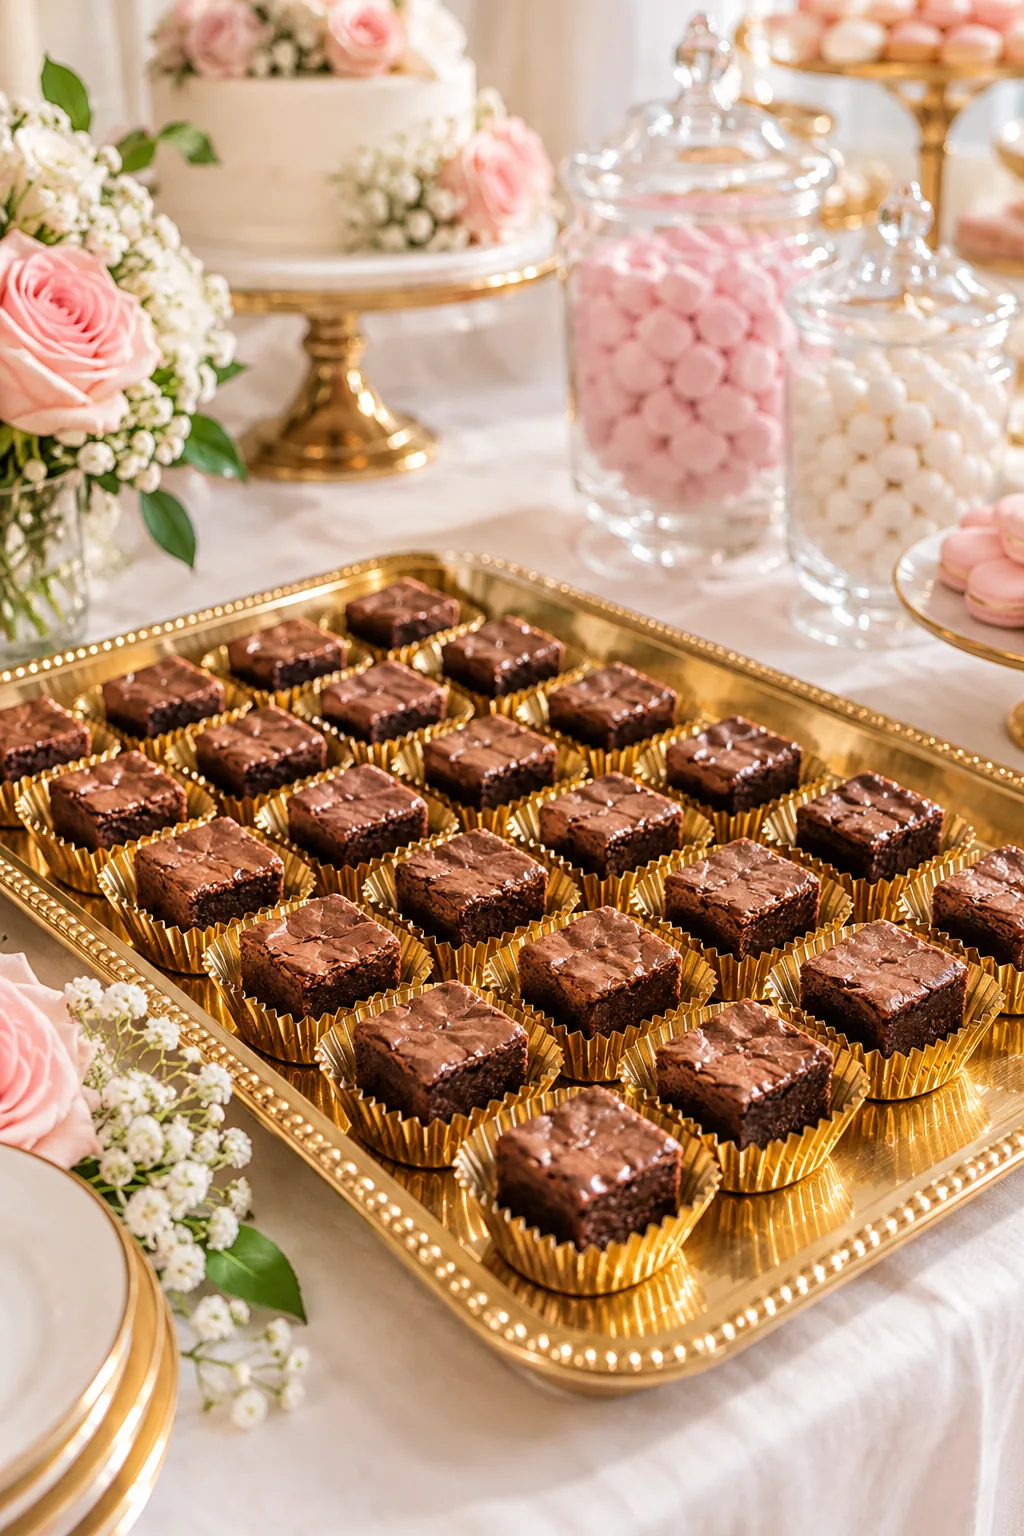
Guests subconsciously take fewer total ounces when treats are portioned individually rather than left as large, intimidating slabs on a cutting board.
Unify the display with metallic gold accents
Spray painting cheap plastic trays and mismatched cake stands with food-safe gold paint mimics a curated, expensive rental collection. A consistent metallic accent color instantly ties together a random assortment of budget items into a cohesive, highly intentional design scheme.
Seal the metallic finish properly
Applying a clear, food-safe acrylic sealant over the gold spray paint ensures the beautiful metallic finish never chips onto your delicate desserts. Allow the sealed trays to cure in a well-ventilated space for a full 48 hours before placing any food items nearby.
The budget dessert quantity and shopping guide
Planning for 3 to 4 mini pieces per guest ensures visual abundance without generating excessive leftovers. Whenever I host a large gathering in my brownstone, this exact ratio perfectly balances bulk candies with baked bites so the table always looks full.
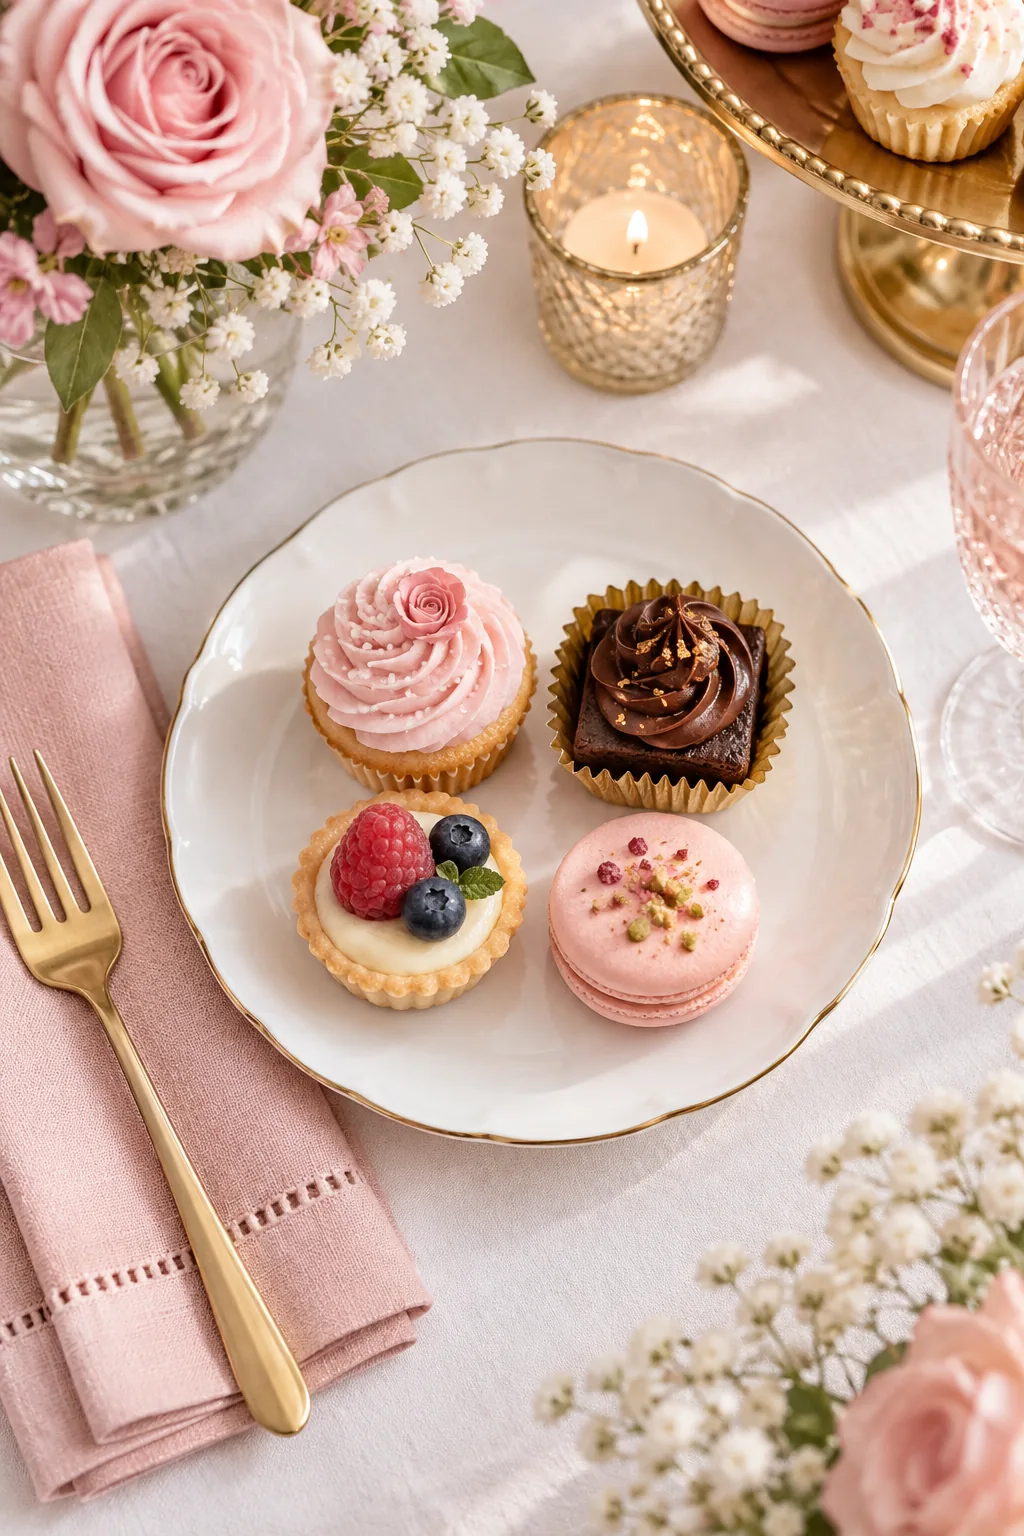
Before heading to the grocery store, run your final guest count through this simple math check to guarantee you buy exactly what you need.
More dessert table styling ideas
Adapt these budget-friendly structural tricks to fit any party theme or color palette.
Rustic woodland dessert spread: Swap gold stands for raw wood slices and use a naked cake to create a cozy, organic feel perfect for fall weddings.
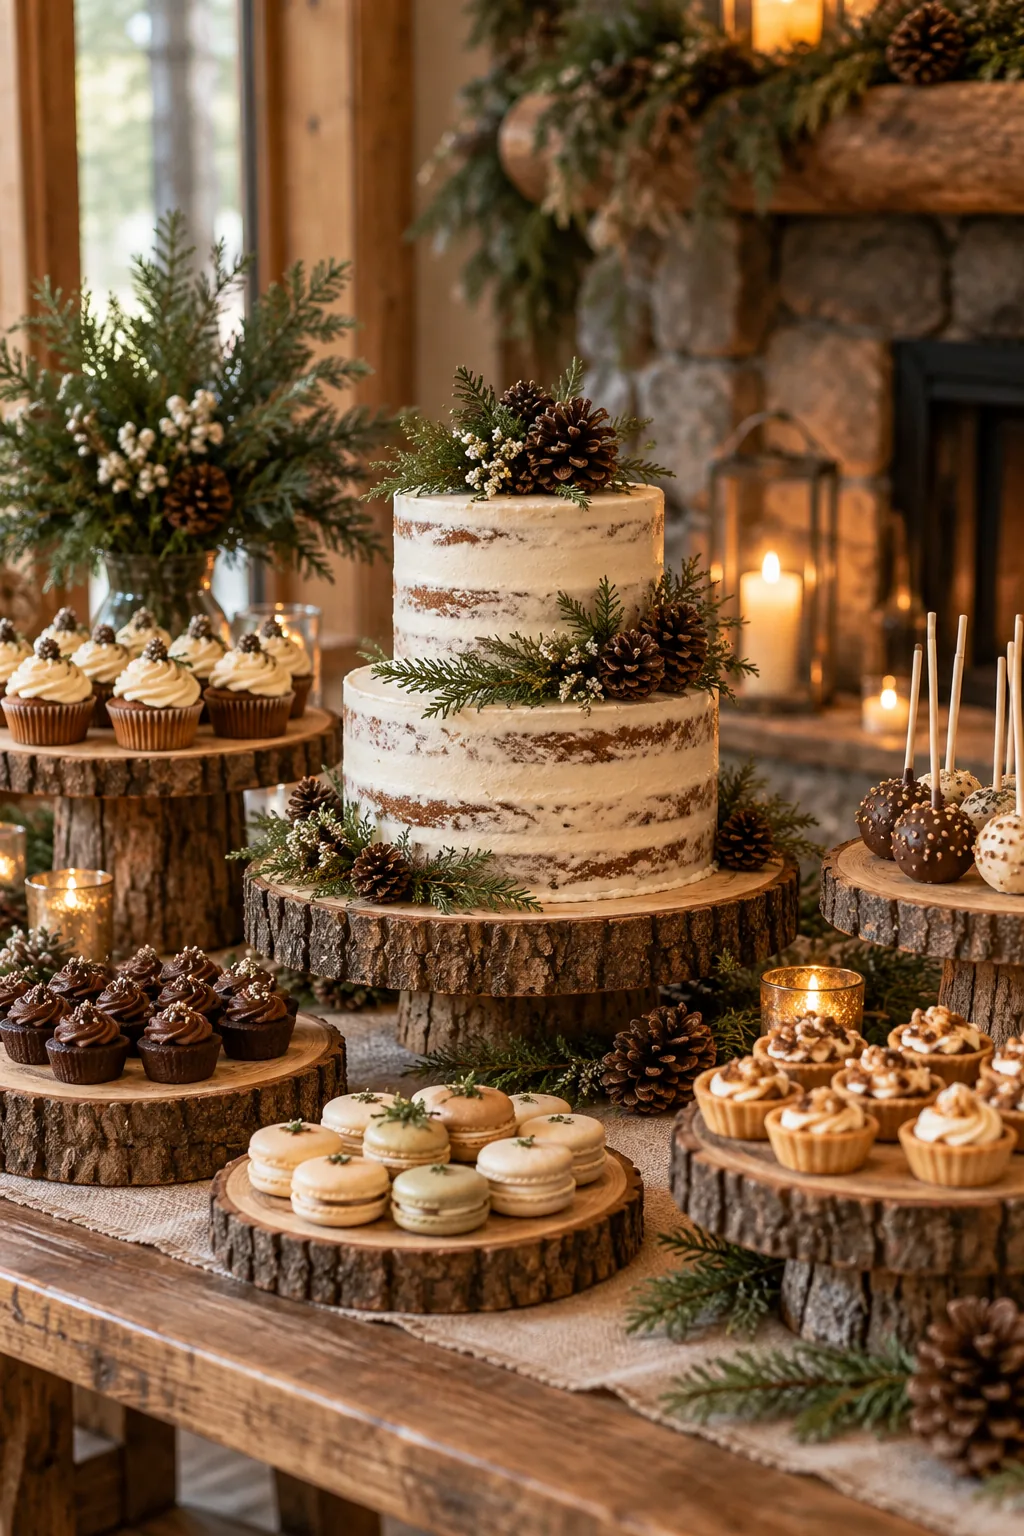
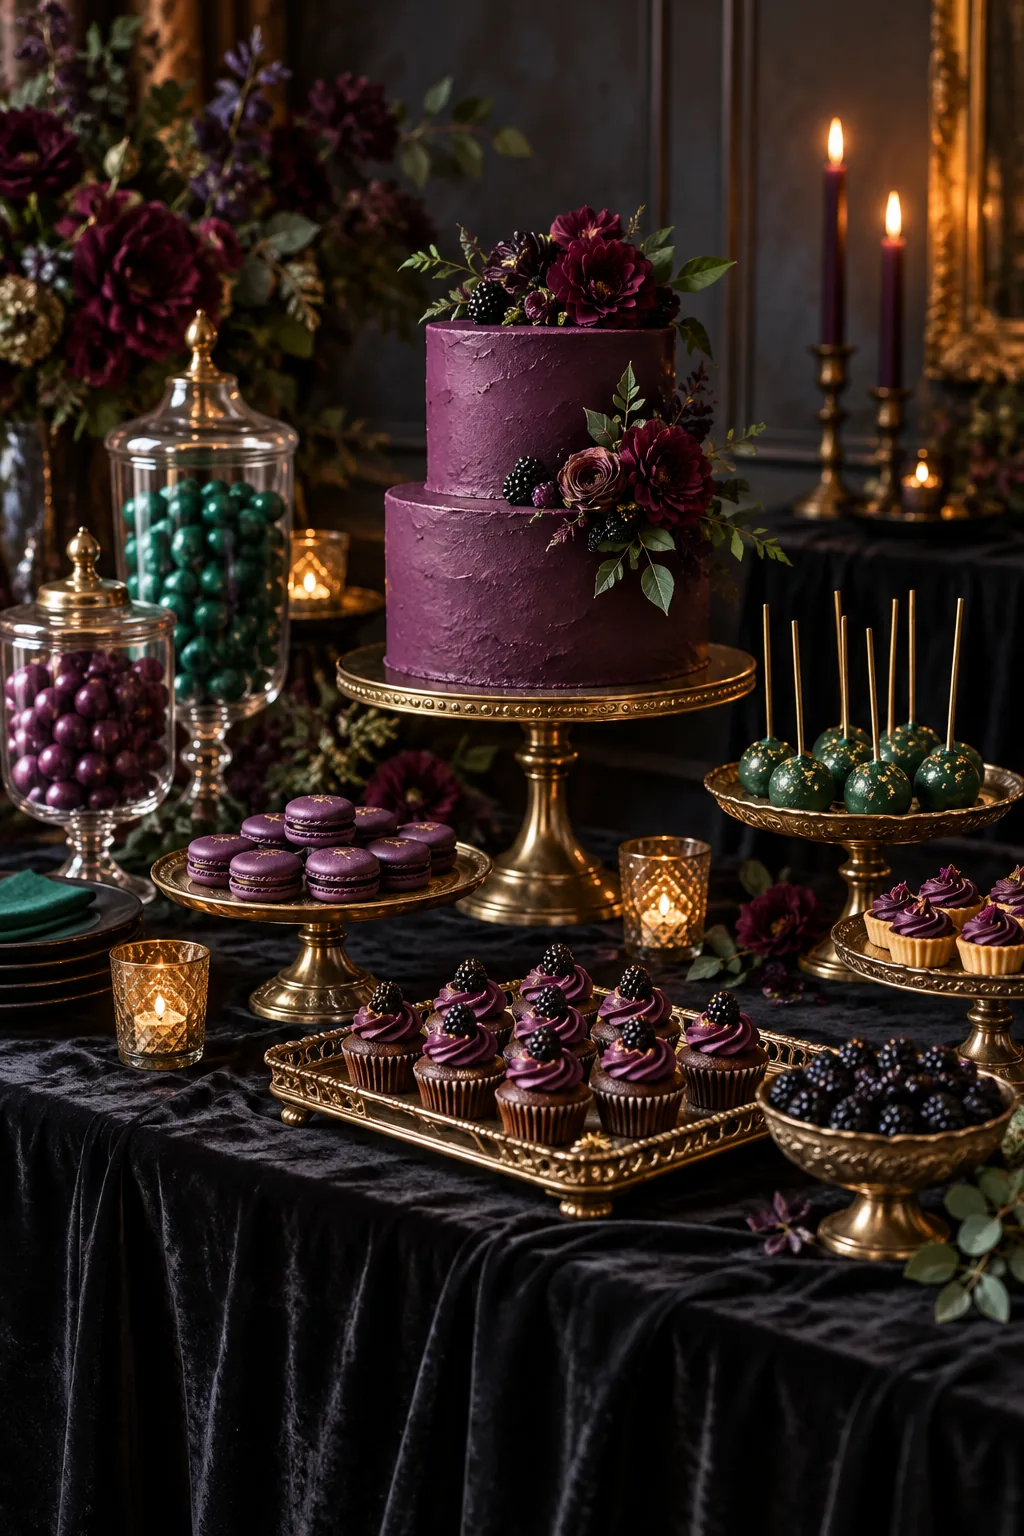
Moody jewel tone table: A dark velvet tablecloth anchors rich plum and emerald candies, giving cheap treats a dramatic and luxurious evening atmosphere.
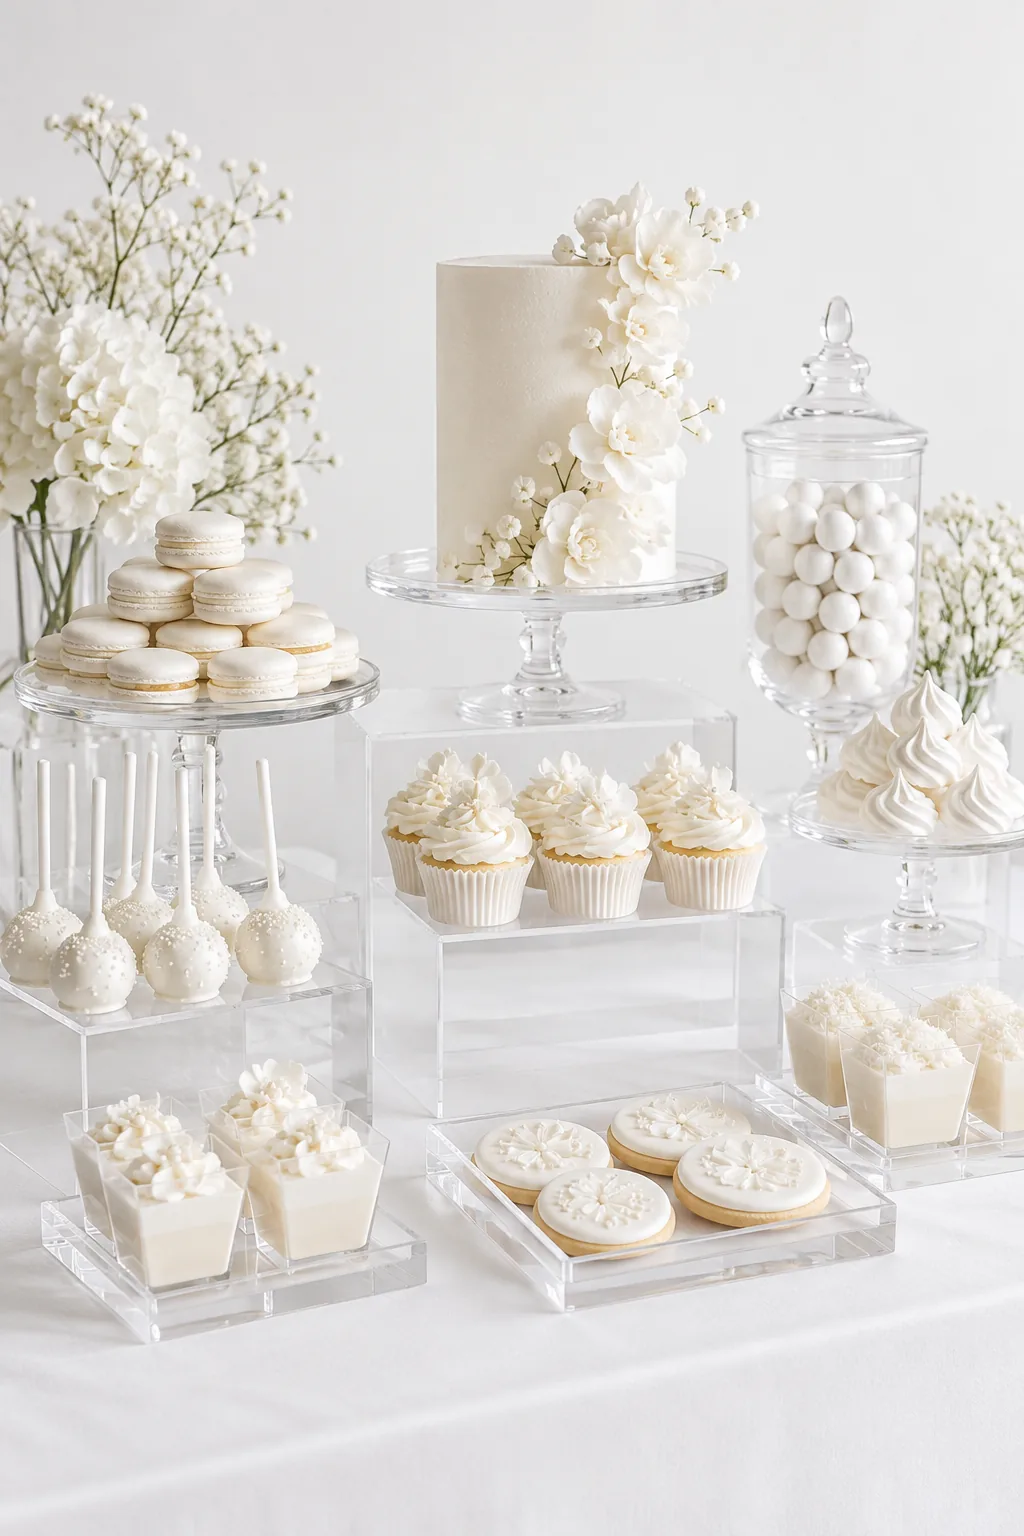
Minimalist all-white modern display: Stick to entirely white treats on clear acrylic risers for a sleek, contemporary look that feels incredibly high-end and intentional.
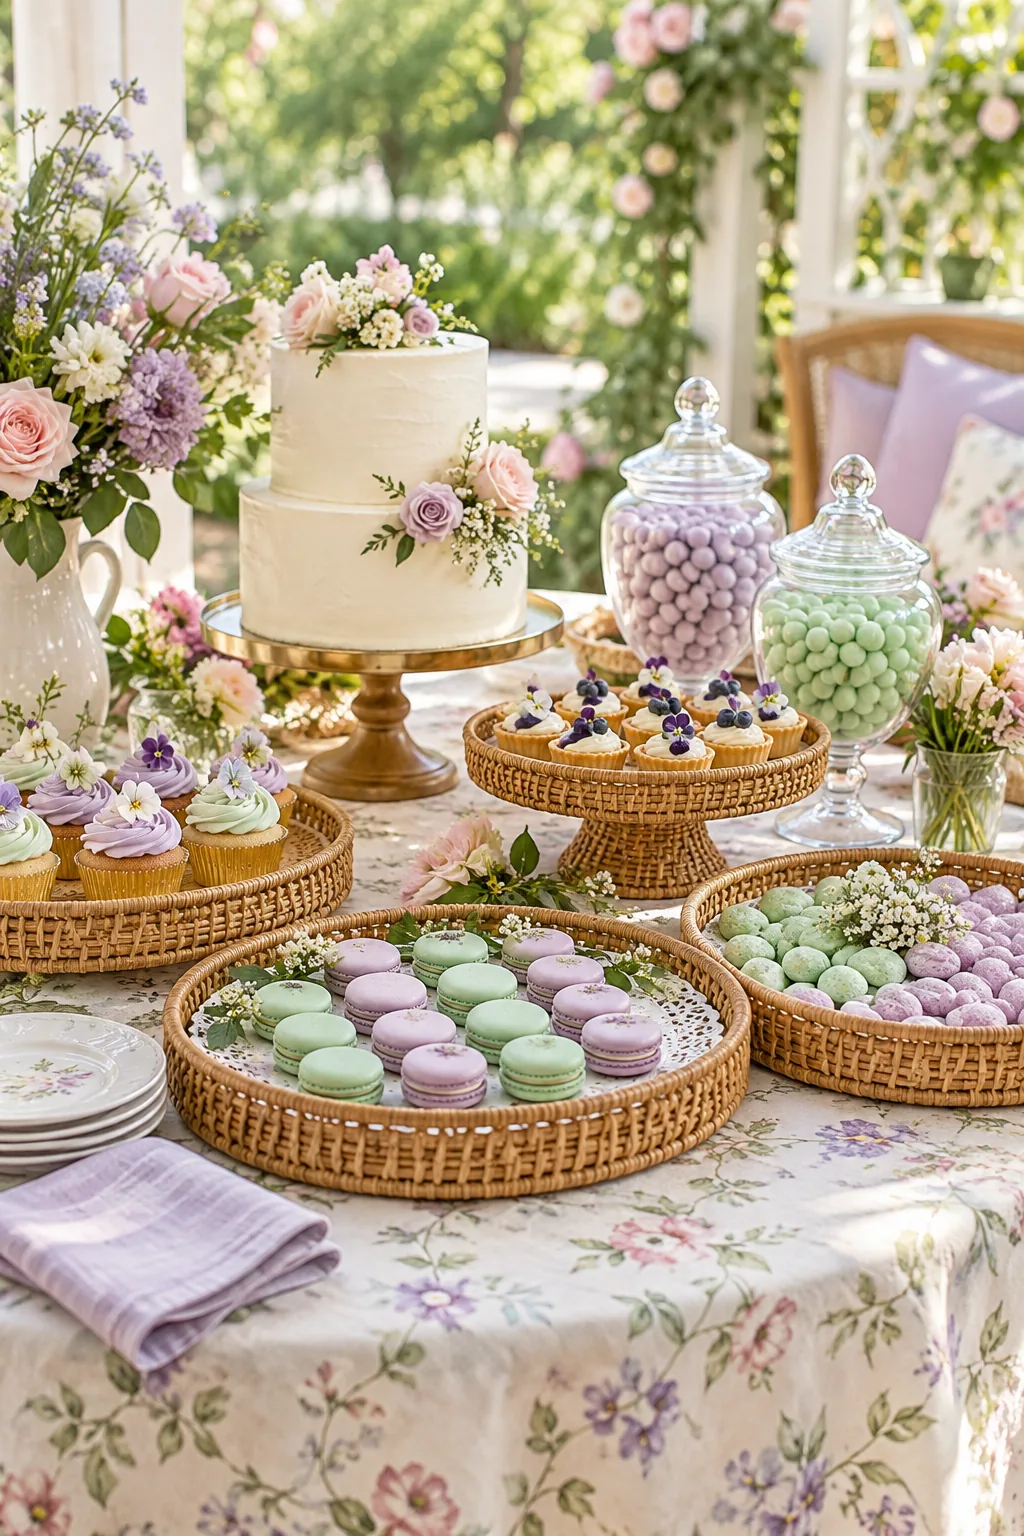
Pastel spring garden party: Introduce woven rattan trays and a subtle floral linen to soften the table for a bright, welcoming spring baby shower.