
How to Hang Bathroom Art: Heights, Spacing & Framing Tips
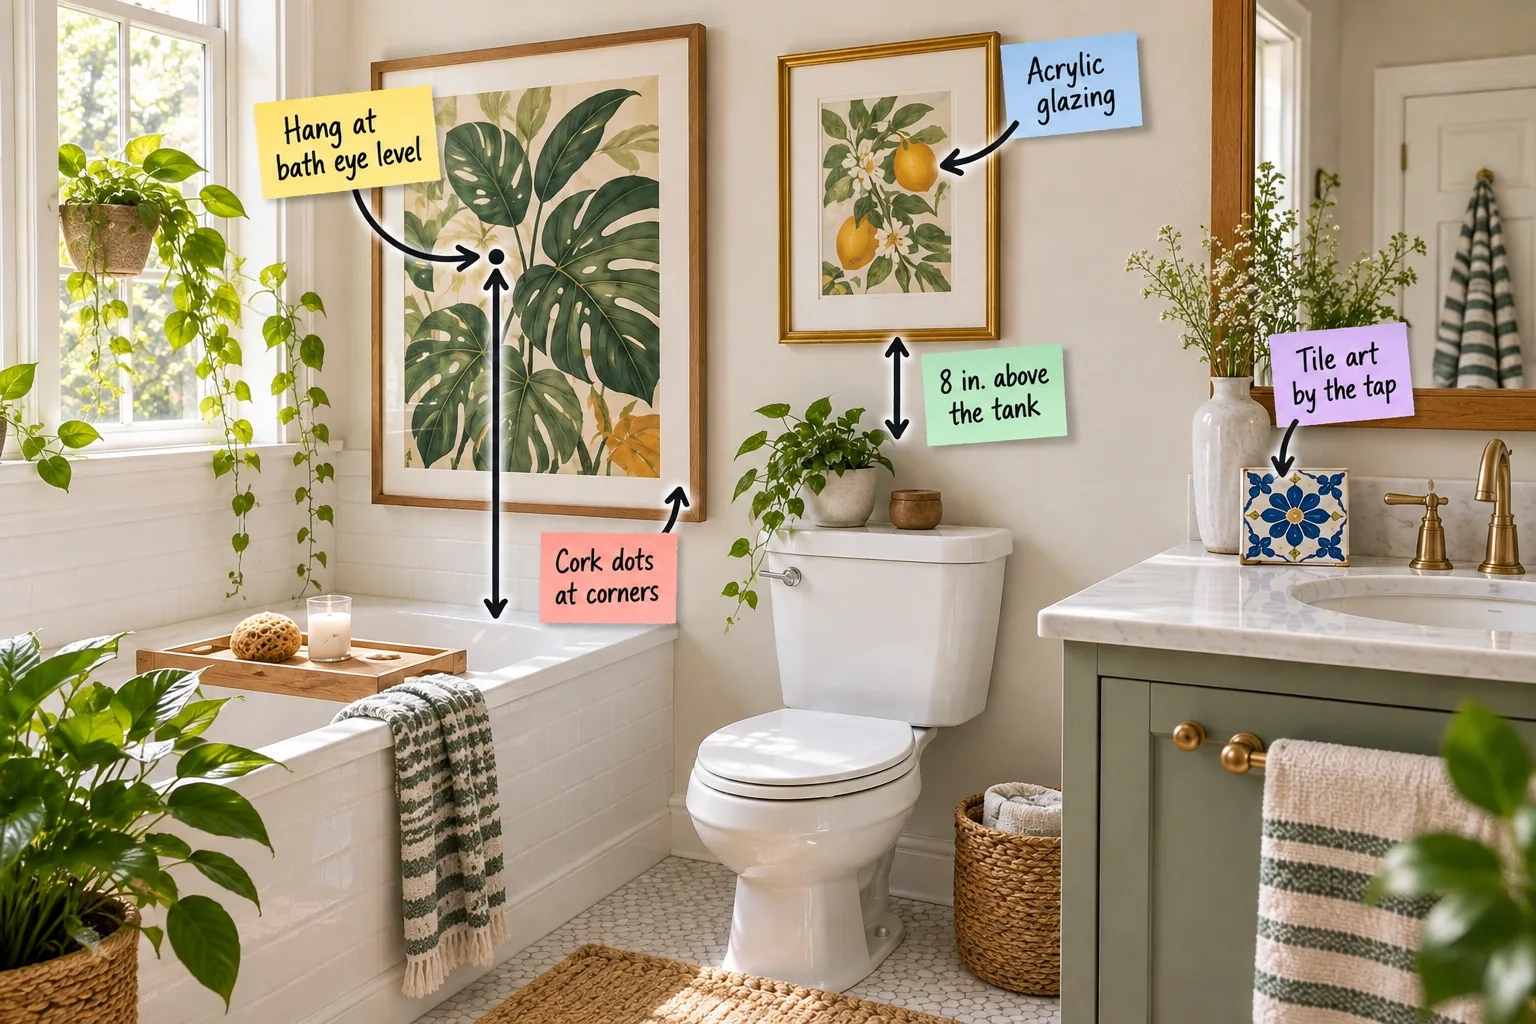
You can confidently place, space, and protect your artwork against heavy humidity by downloading our printable Bathroom Art Hanging & Framing Sheet. This framer-approved guide delivers the exact measurements and steam-ready techniques you need to safely display your favorite prints in the splash zone.
Hanging at Bath Eye Level
Artwork placed directly beside a bathtub must be positioned for the person sitting in the water, rather than someone standing at the vanity. I always measure the center point of the frame to sit exactly 42 to 45 inches from the floor.
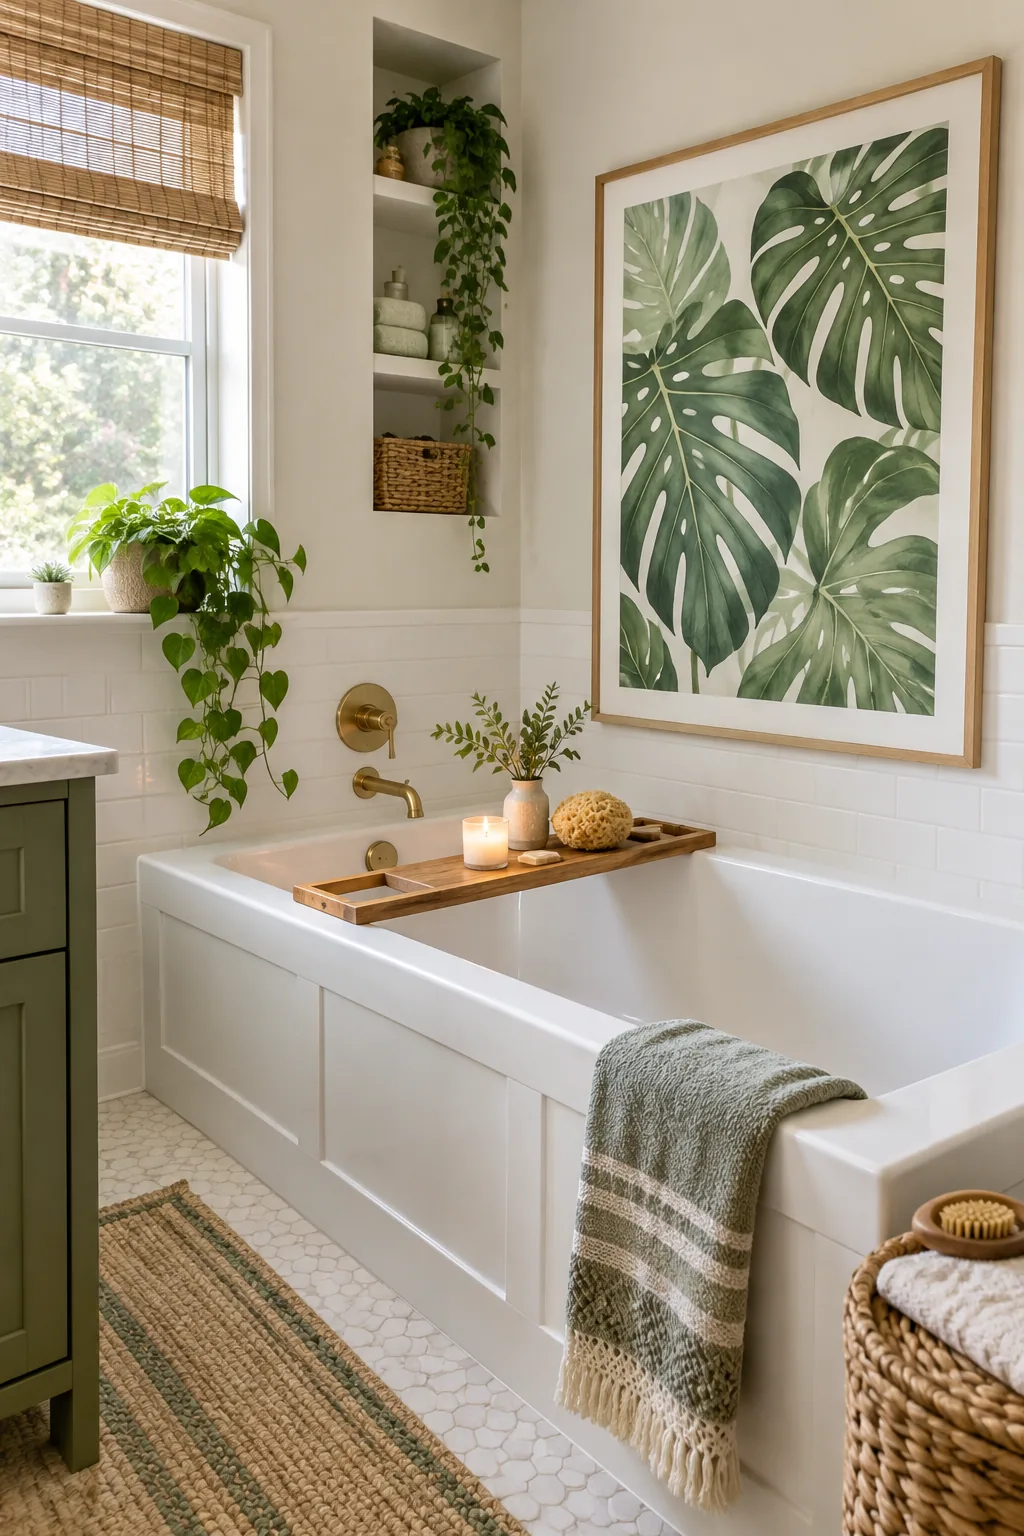
This lower placement aligns perfectly with a seated bather’s natural gaze, creating a deliberate and relaxing focal point. Dropping the height anchors the piece to the tub’s horizontal line instead of letting it float awkwardly high on the bare wall.
Spacing Art Above the Toilet Tank
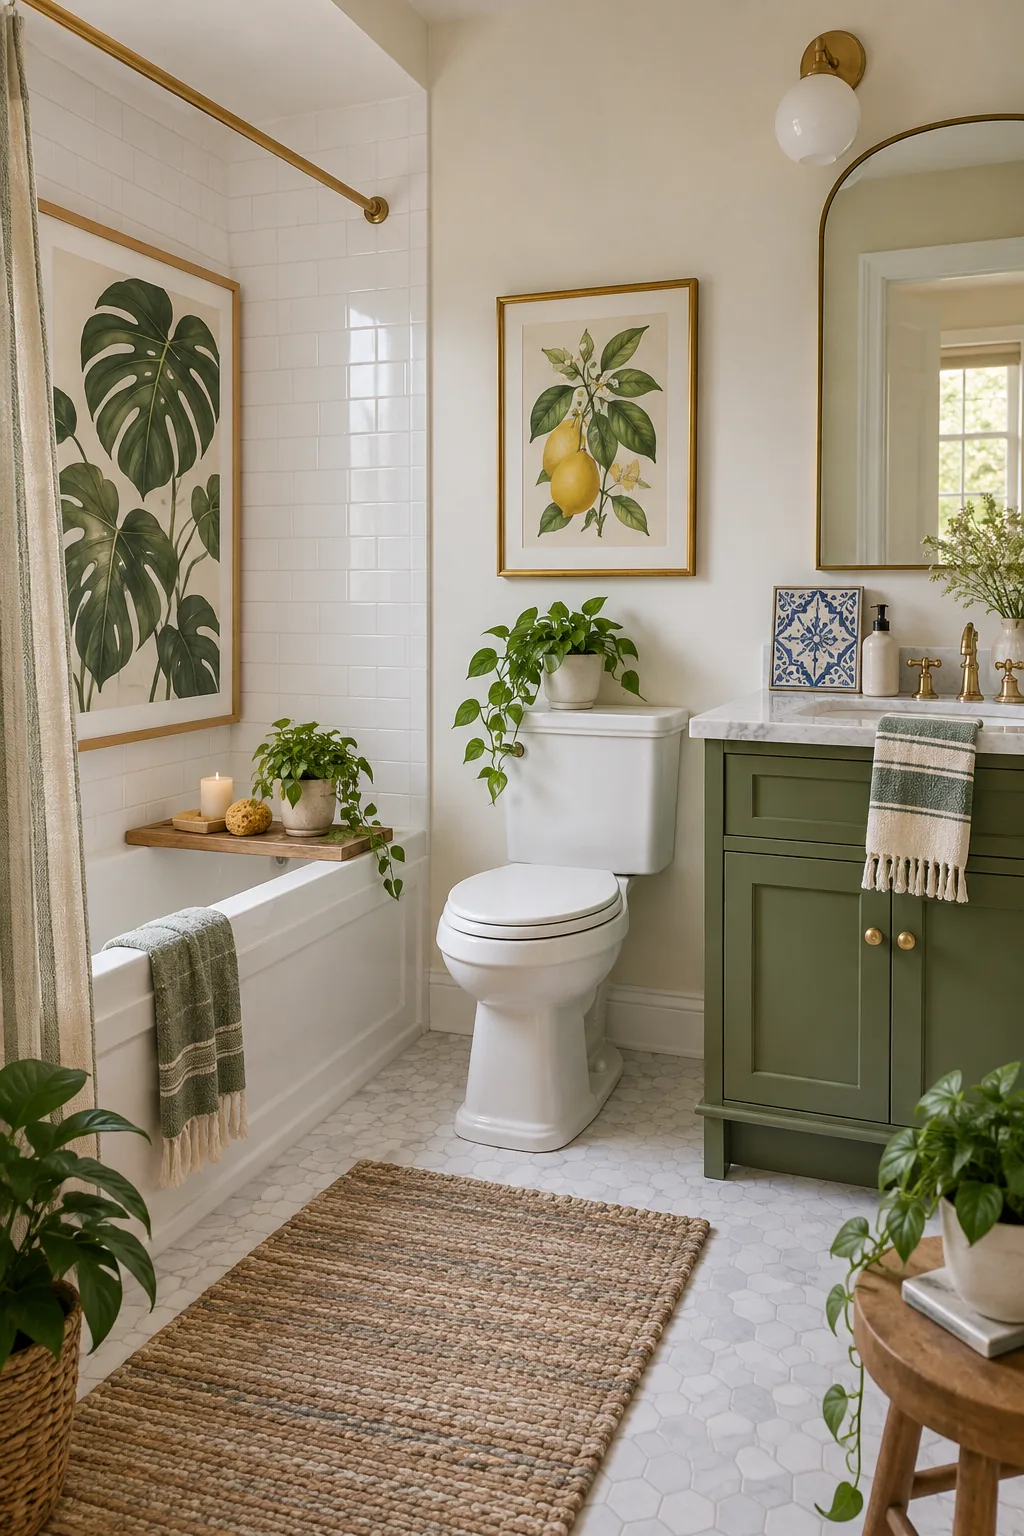
Hanging frames too close to plumbing fixtures guarantees accidental damage during routine cleaning or unexpected repairs. You must leave an exact 8-inch clearance gap between the top of the toilet tank lid and the bottom edge of your frame.
This specific measurement ensures you can easily lift the heavy porcelain lid straight up and off without striking the glass. Maintaining this vertical buffer also protects the bottom of your artwork from aggressive bathroom cleaning sprays and daily usage bumps.
Styling Tile Art by the Tap
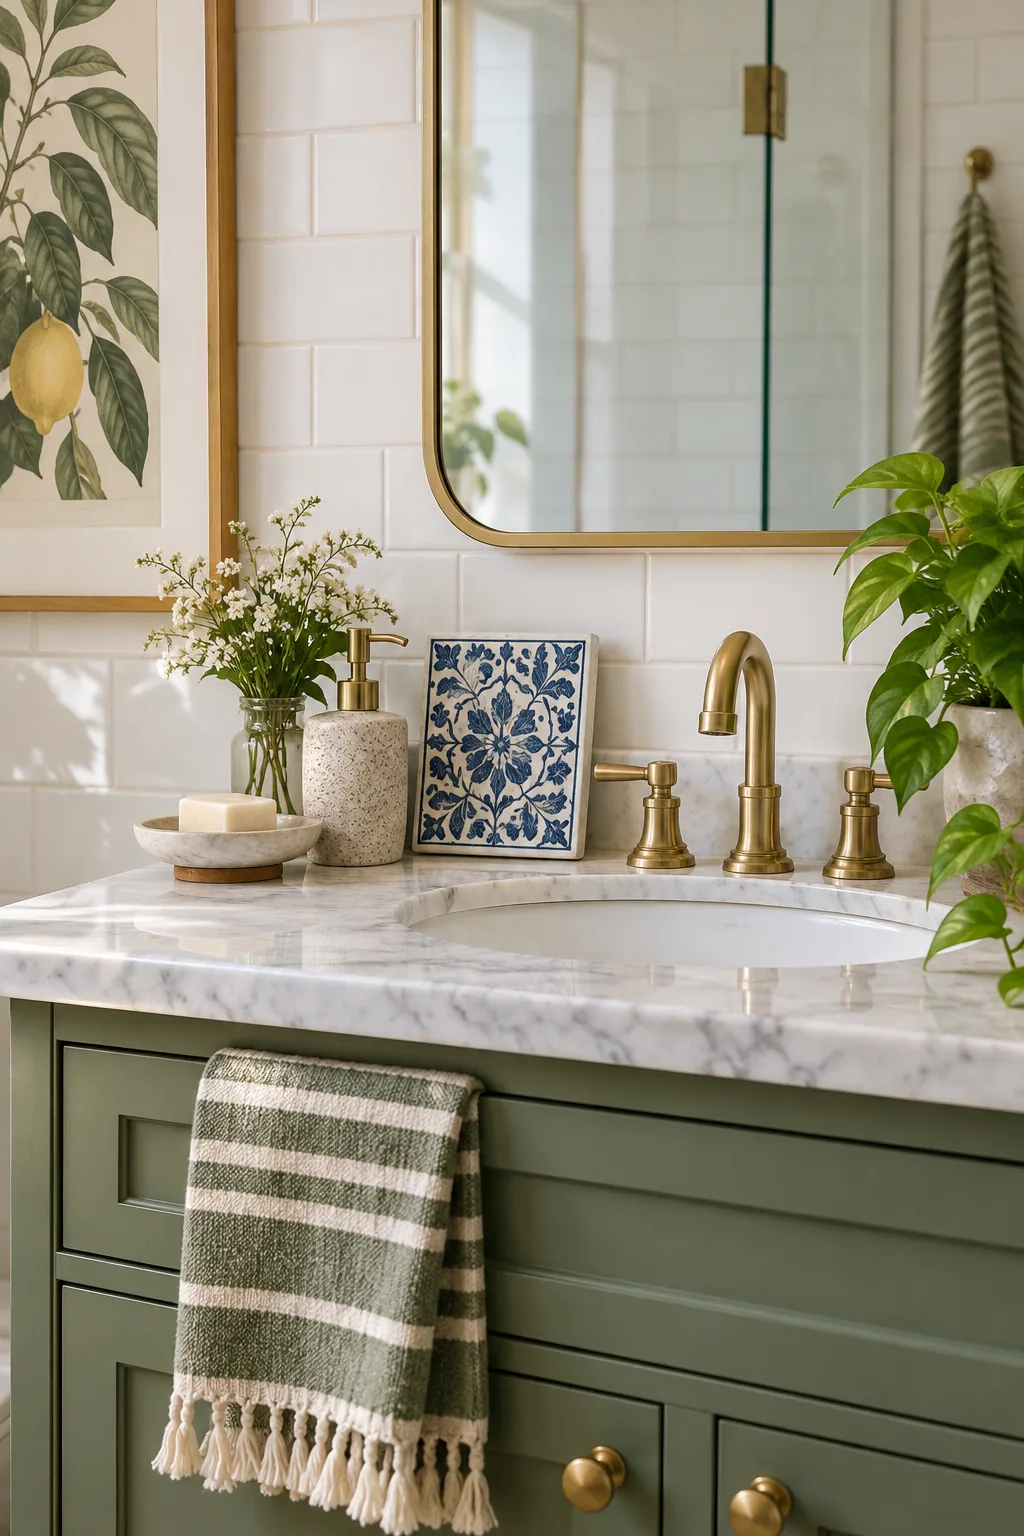
The vanity countertop is a high-risk splash zone that quickly destroys delicate paper artwork or unprotected wood frames. In my own Denver guest bath, I skip traditional frames entirely and prop a glazed ceramic tile right next to the brass faucet.
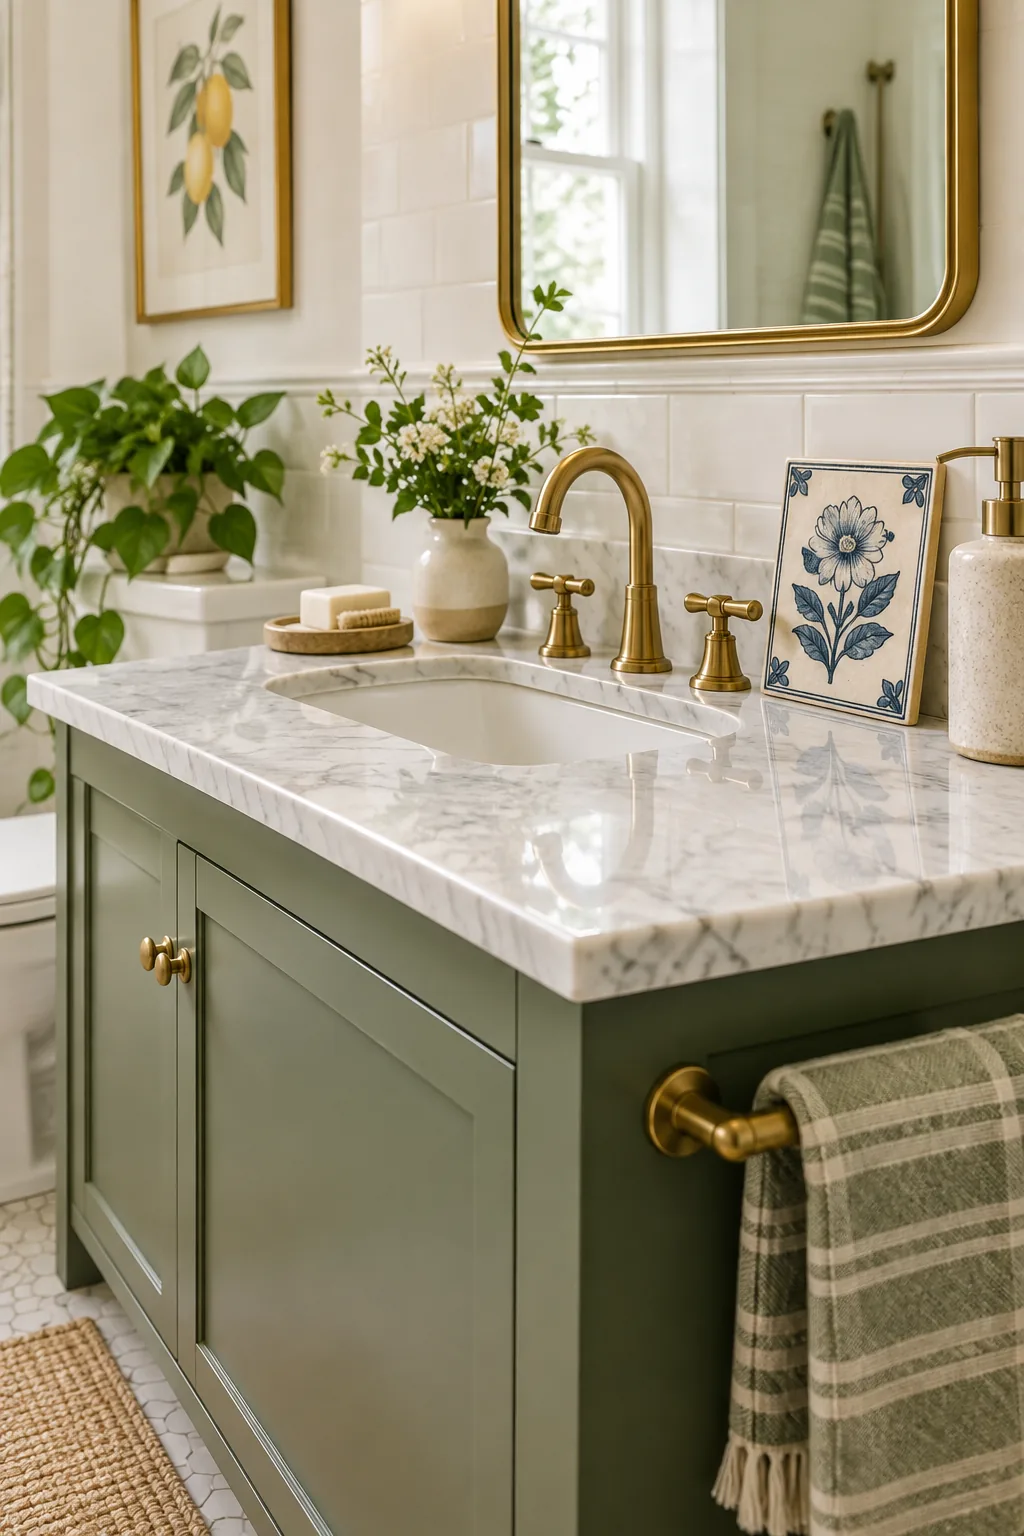
Water-resistant pieces like sealed stone or fired ceramics thrive in these wet environments while adding essential visual interest to the sink area. You can simply wipe them dry along with the counter, making them the ultimate low-maintenance bathroom styling choice.
Creating Airflow with Cork Dots
Trapped moisture behind a frame breeds destructive mildew on your bathroom walls and slowly degrades the artwork backing. I instruct all my clients to apply 1/8-inch thick adhesive cork spacer dots to the bottom two corners of every bathroom frame.
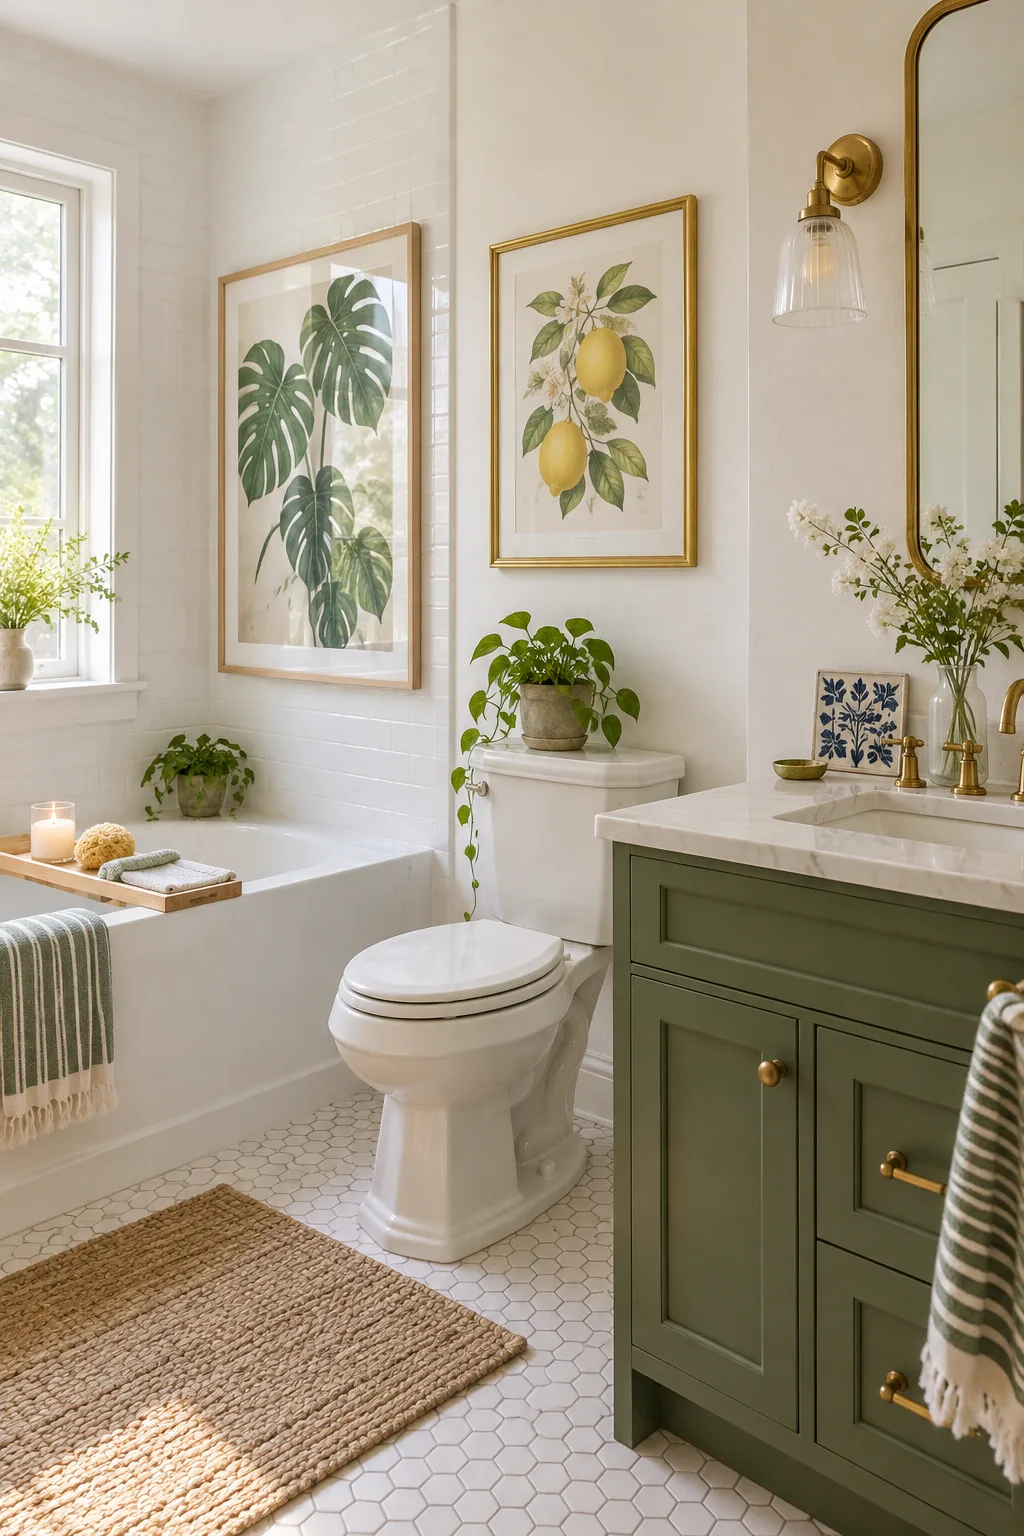
These simple spacers kick the bottom of the frame away from the wall to maintain a continuous vertical air channel. This constant ventilation allows heavy shower steam to rise and evaporate rather than condensing directly into the wood.
- Wipe the back bottom corners of the wooden or metal frame with rubbing alcohol.
- Peel the adhesive backing off two standard 1/8-inch thick cork bumpers.
- Press one bumper firmly into the extreme lower left and right corners.
Swapping Glass for Acrylic Glazing
Traditional glass glazing cools rapidly in a bathroom, turning into a magnet for heavy internal condensation that ruins paper prints. Upgrading to shatterproof acrylic glazing solves this thermal issue while drastically reducing the overall weight of the frame.
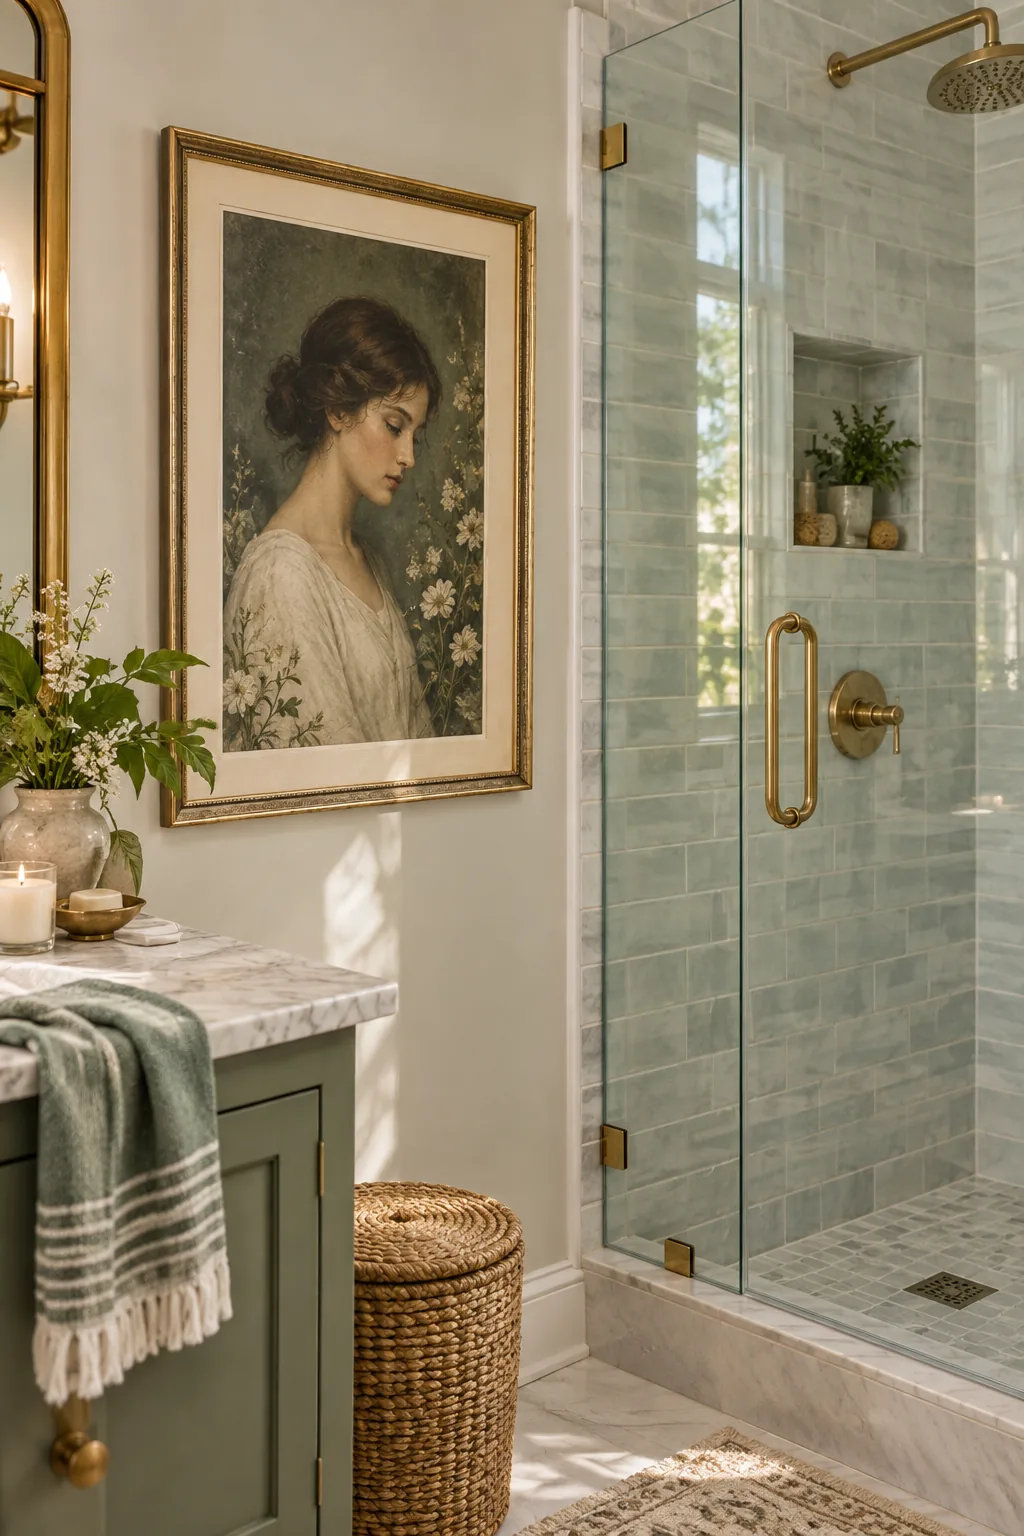
Even the most beautiful vintage print won’t last long if the frame itself isn’t prepared for the realities of a wet room. Avoiding a few common framing errors will save your artwork from irreversible water damage.
Sealing the Frame Backing
Standard brown paper dust covers absorb atmospheric moisture instantly, causing them to wrinkle, tear, and invite dampness into the matting. I recently salvaged a client’s ruined photograph by replacing the warped paper with a moisture-blocking foil tape.
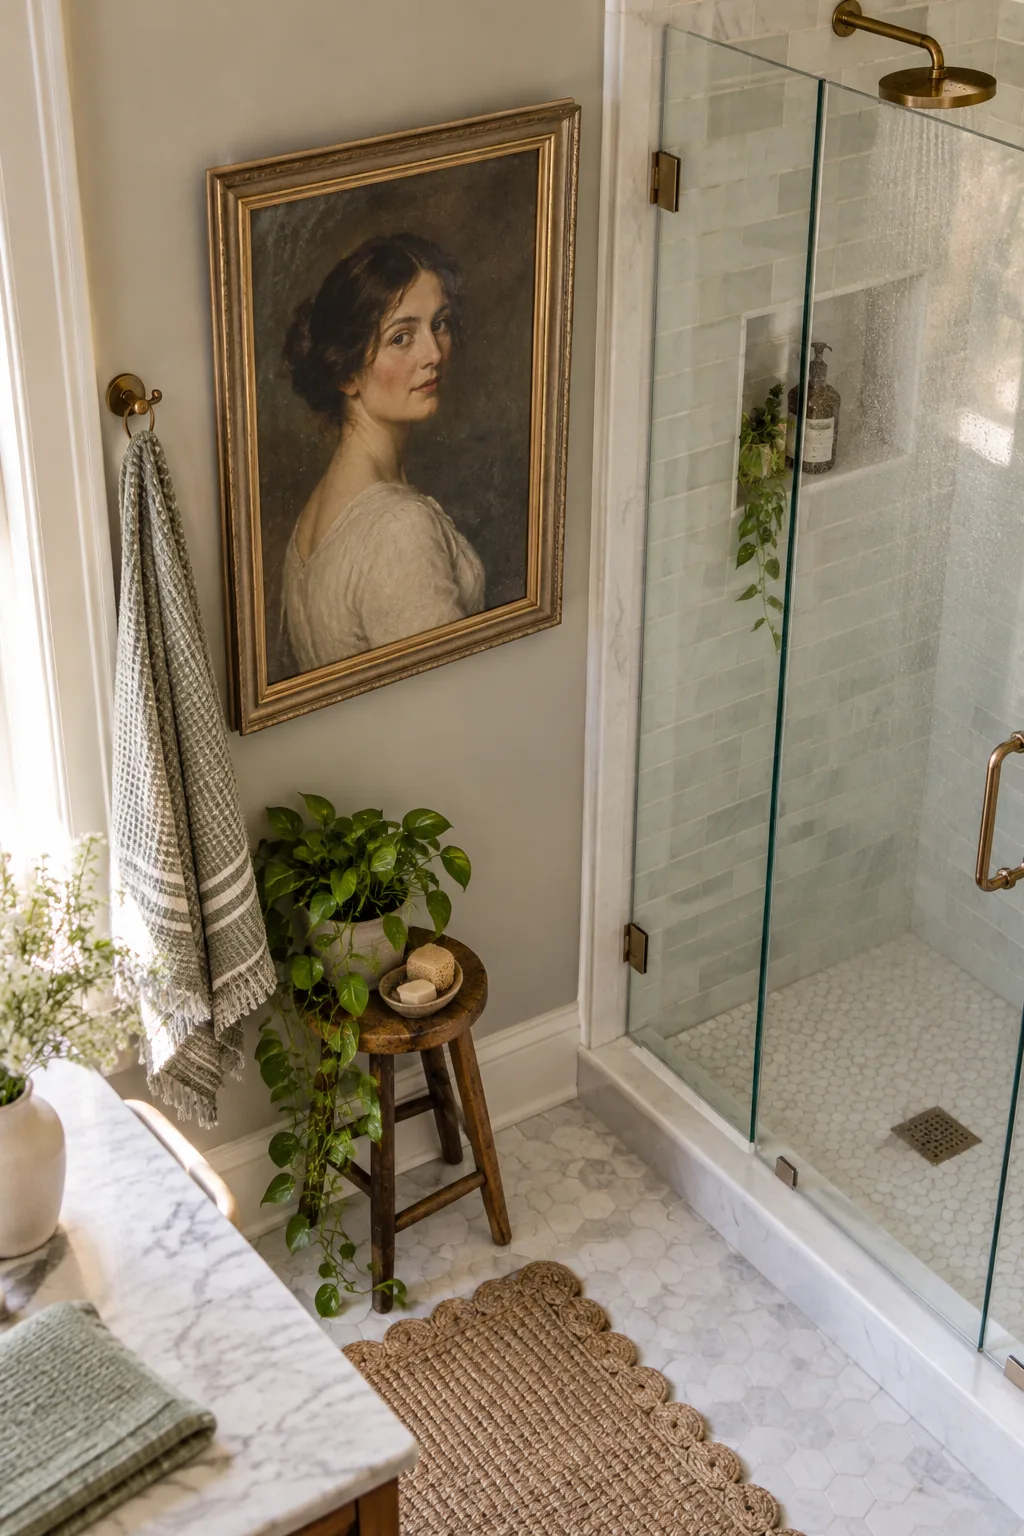
This specialized waterproof framer’s tape creates an impenetrable barrier against daily humidity spikes from the shower. Sealing the entire perimeter ensures that steam cannot penetrate the vulnerable gap between the backing board and the frame molding.
Choosing Splash-Zone Media
Not all art types can survive the daily extreme humidity swings found in a primary bathroom. After losing a beloved original piece in my own home, I now exclusively specify commercial prints and waterproof canvases for these demanding spaces.
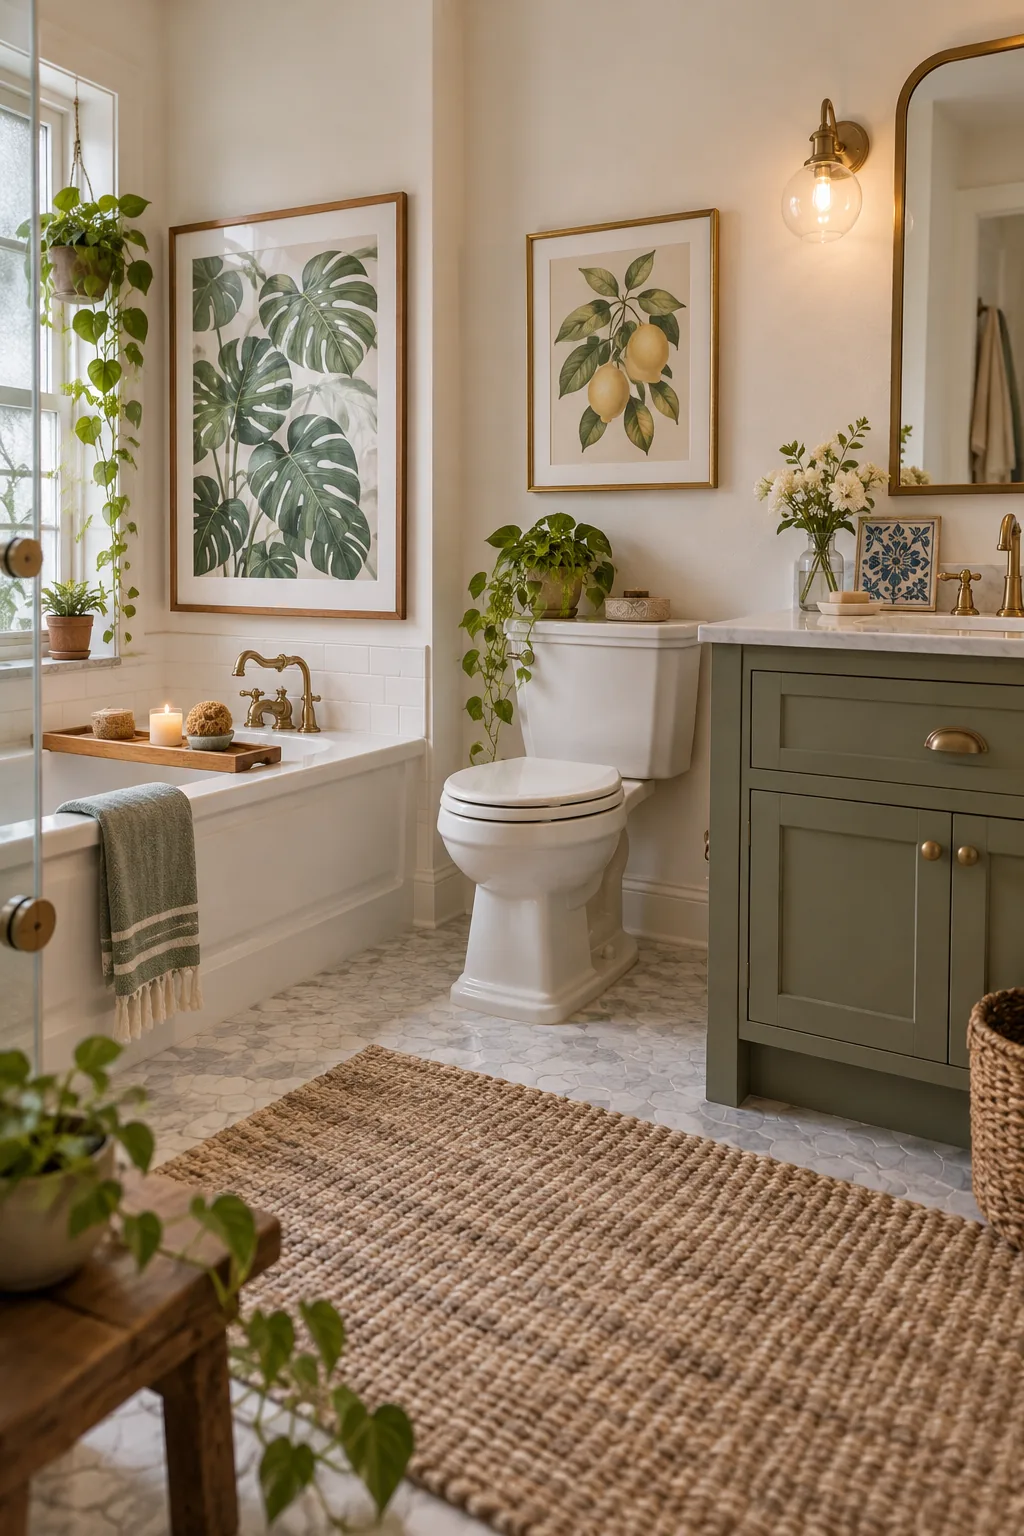
You must keep delicate original watercolors, soft pastels, and unsealed vintage photographs far away from heavy steam. Robust, easily replaceable media ensures your bathroom remains beautifully styled without risking irreplaceable investments to insidious water damage.
| Art Medium | Humidity Resistance | Best Bathroom Location |
|---|---|---|
| Glazed Ceramic | Excellent | Vanity or tub ledge |
| Waterproof Canvas | High | Over the toilet tank |
| Original Watercolor | Poor | Keep out of full baths |
5 Ways to Style Bathroom Art
Discover how different framing choices and layouts adapt to any bathroom aesthetic.
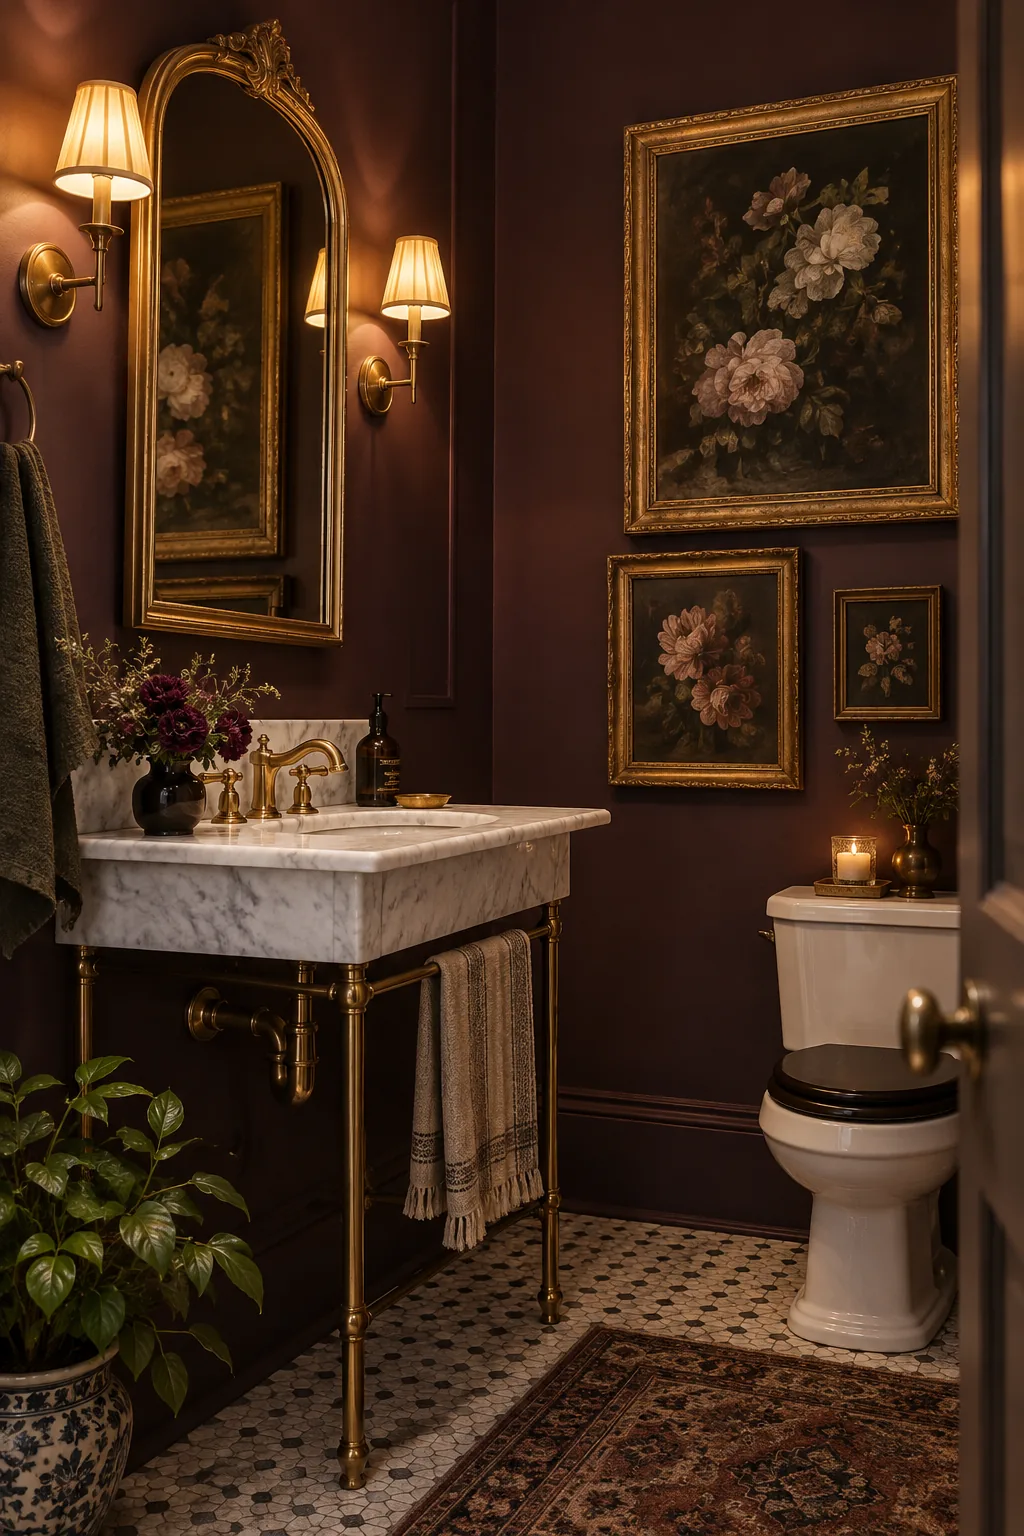
Moody plum powder room: Dark walls make ornate gold frames pop, while vintage florals add a layer of sophisticated drama.
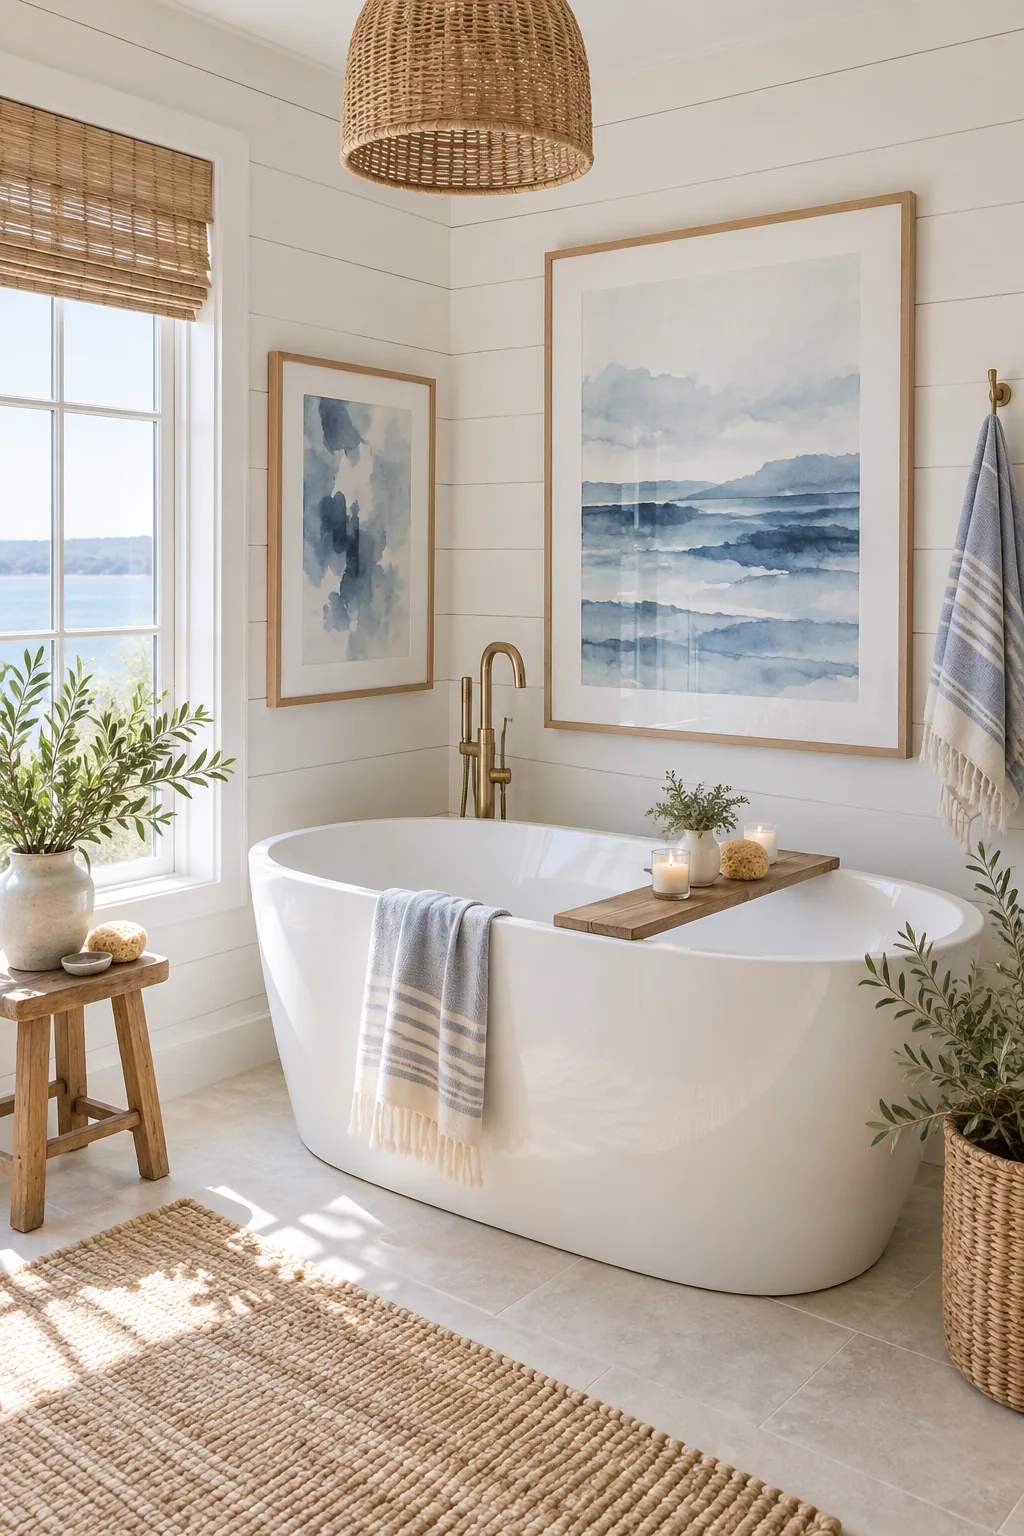
Coastal shiplap primary bath: Pale oak frames blend seamlessly with white shiplap, creating a serene and breezy coastal atmosphere.
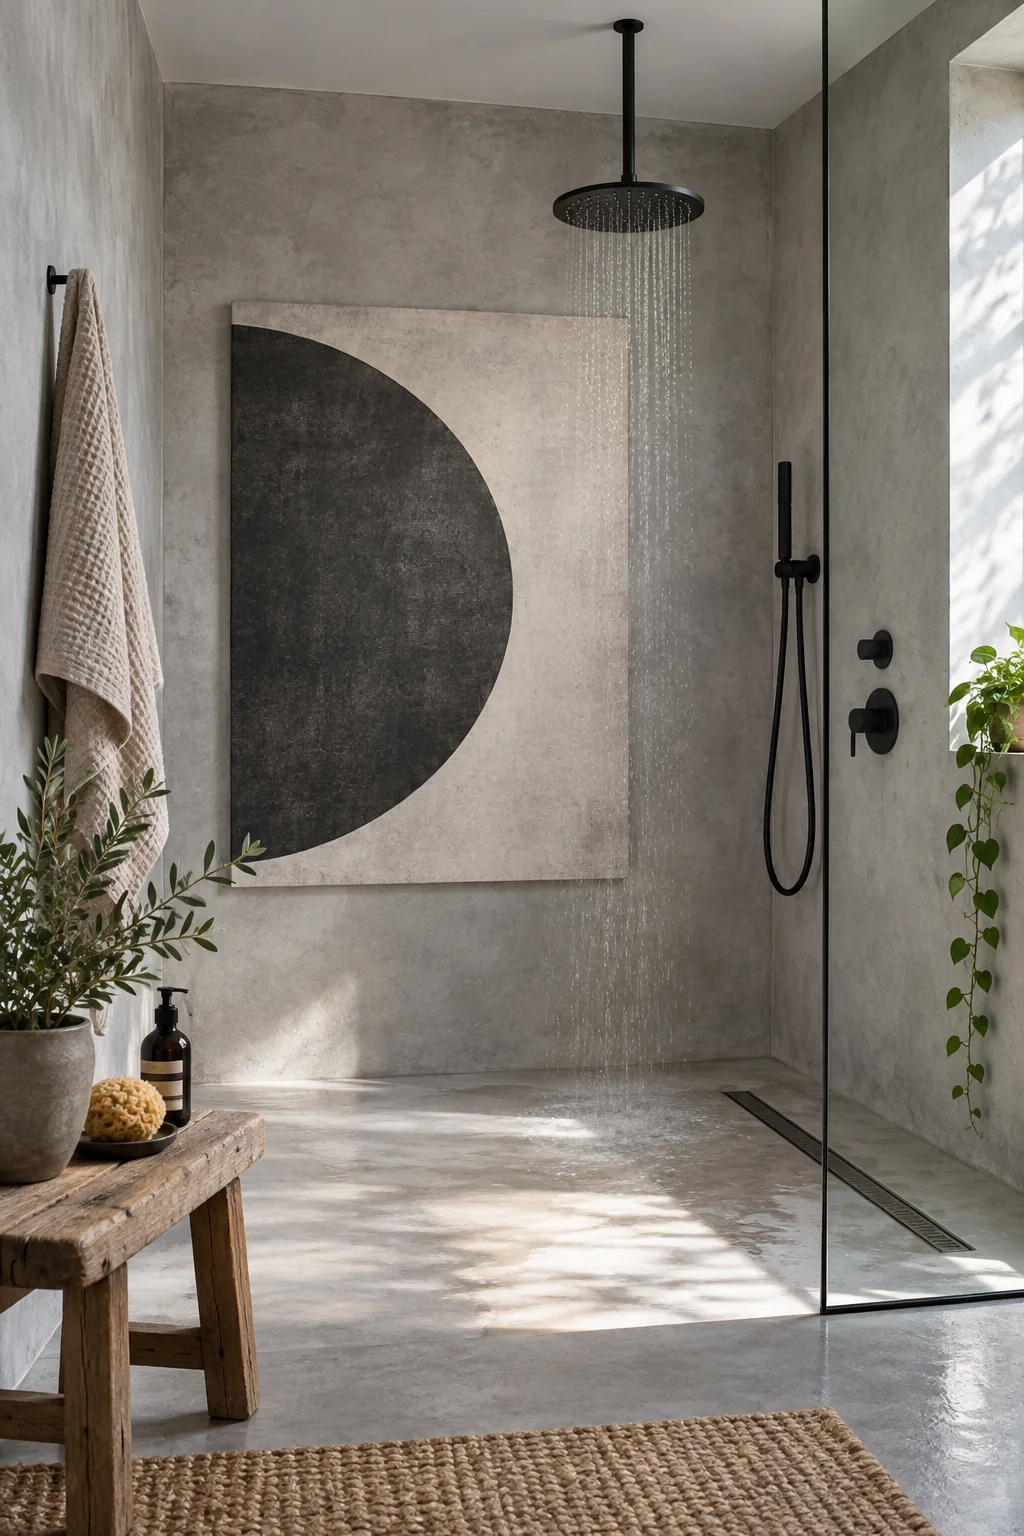
Minimalist concrete wet room: An unframed waterproof canvas leans into an industrial aesthetic while easily surviving direct shower spray.
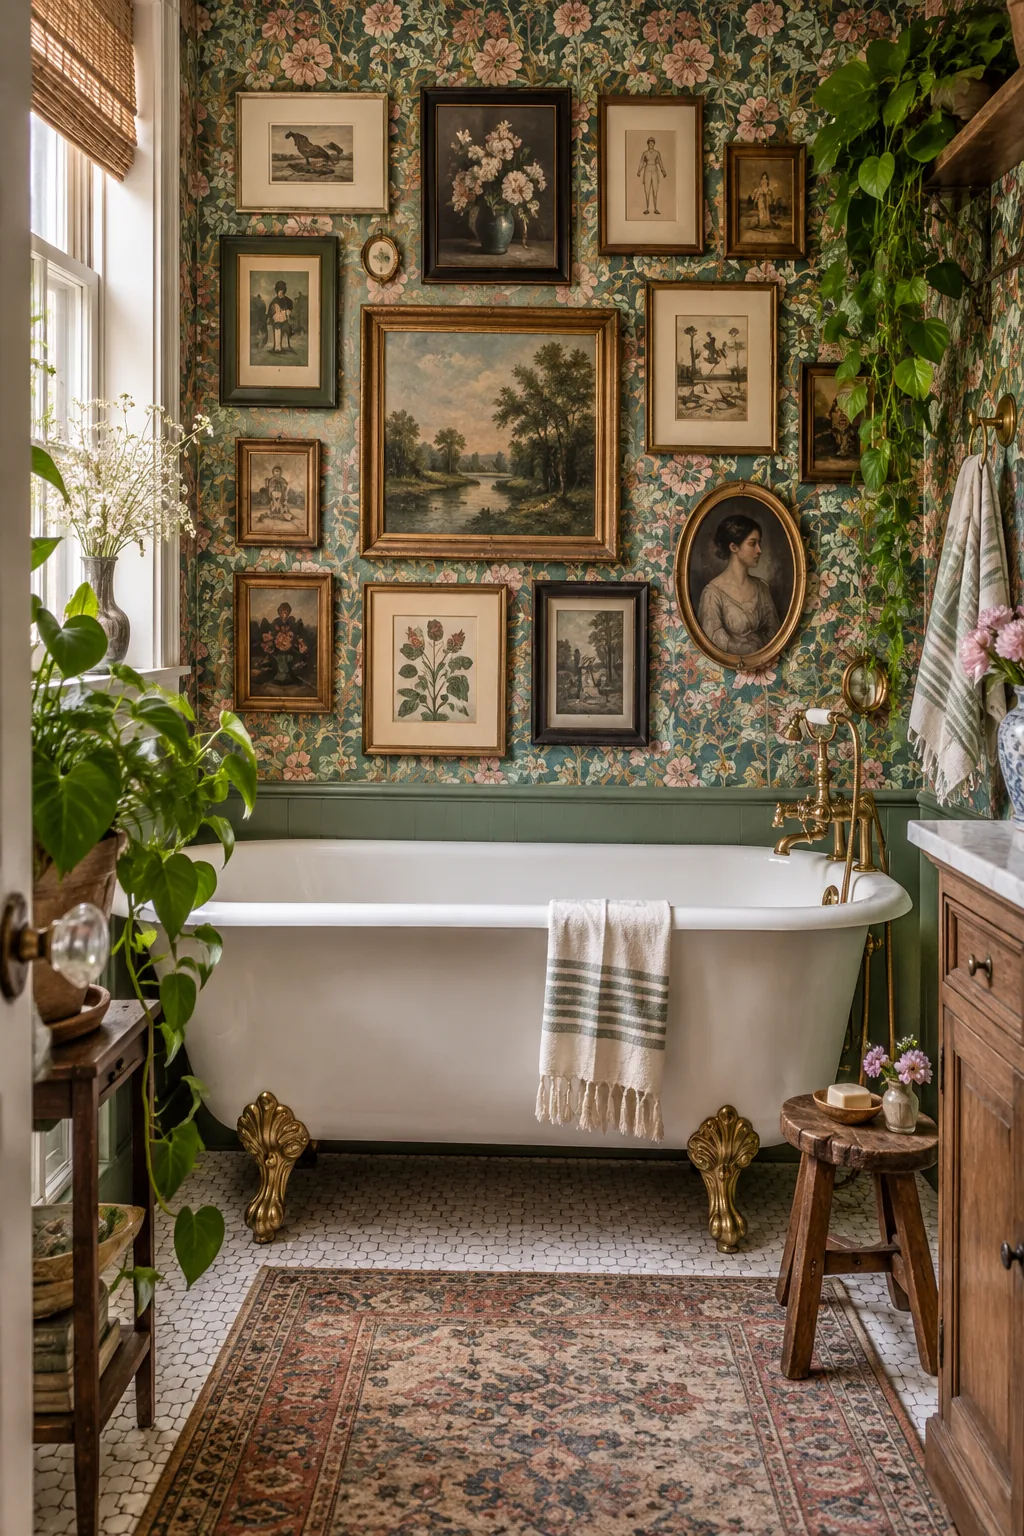
Vintage eclectic clawfoot bath: A floor-to-ceiling gallery wall of thrifted finds turns a simple clawfoot tub into a maximalist focal point.
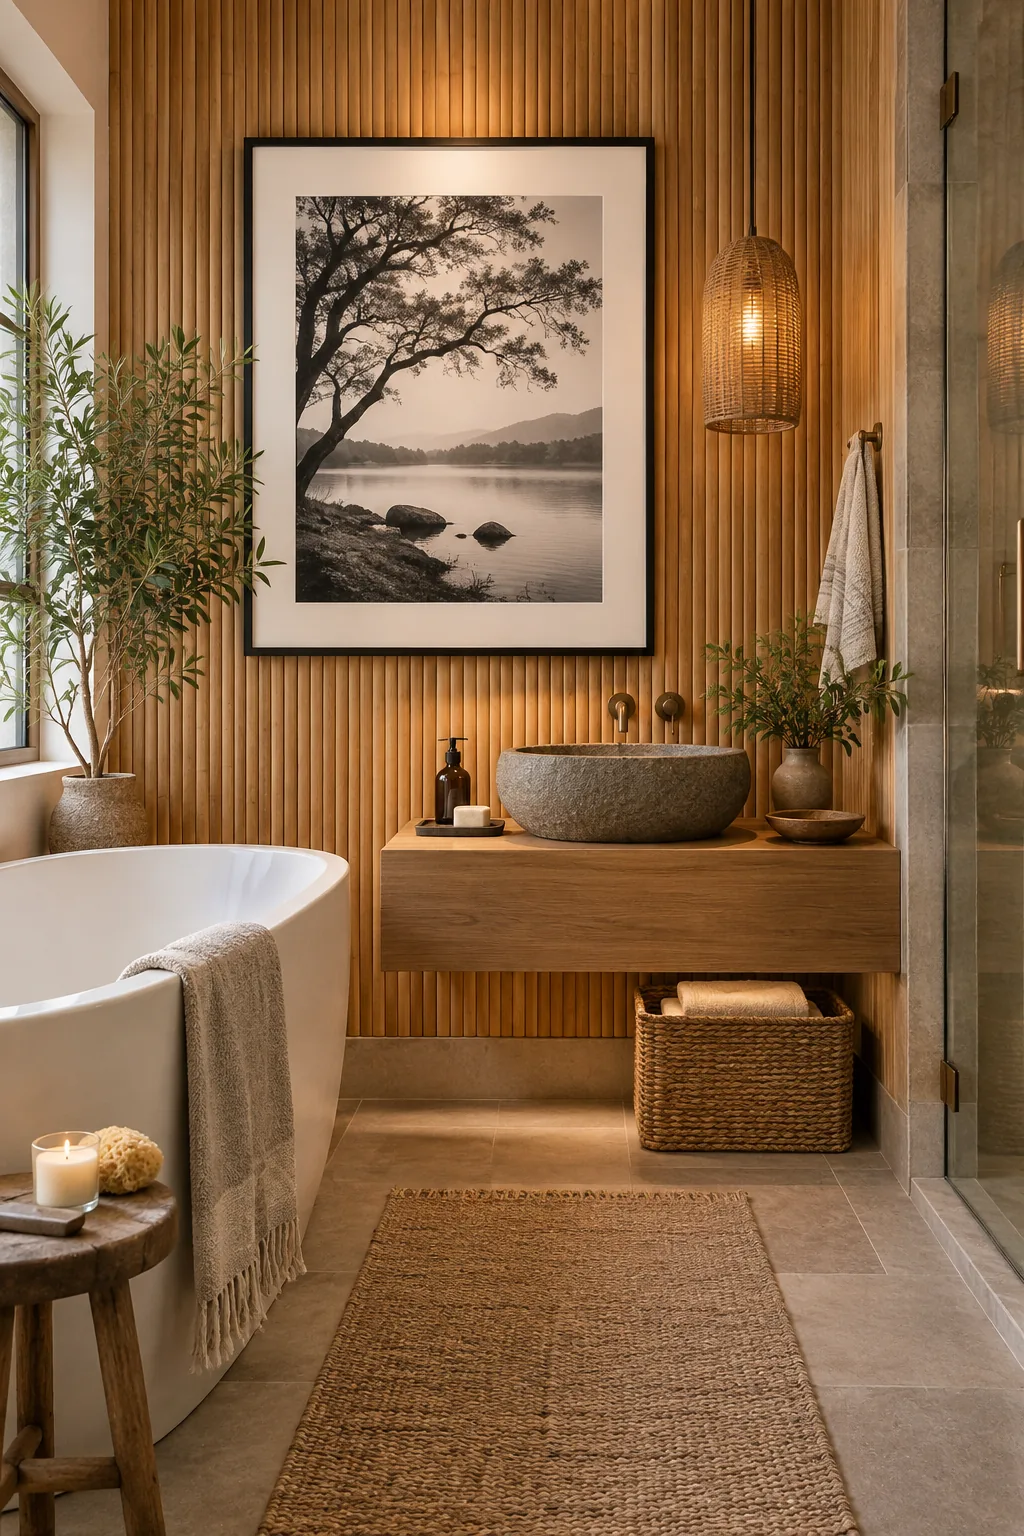
Spa-inspired bamboo sanctuary: Oversized black-and-white nature photography anchors a warm bamboo space, instantly establishing a calming, retreat-like mood.
The Bathroom Art Hanging Sheet
You now know exactly how to navigate the functional zones of your bathroom while protecting your favorite pieces from humidity. Download the Bathroom Art Hanging & Framing Sheet to keep all these critical 8-inch clearances and acrylic requirements handy.
Before you download the hanging sheet and start drilling into your bathroom walls, run your prepared frames through this quick steam-ready verification.