Small Coastal Bathroom Guide: Kitsch-Free Material Cheat Sheet
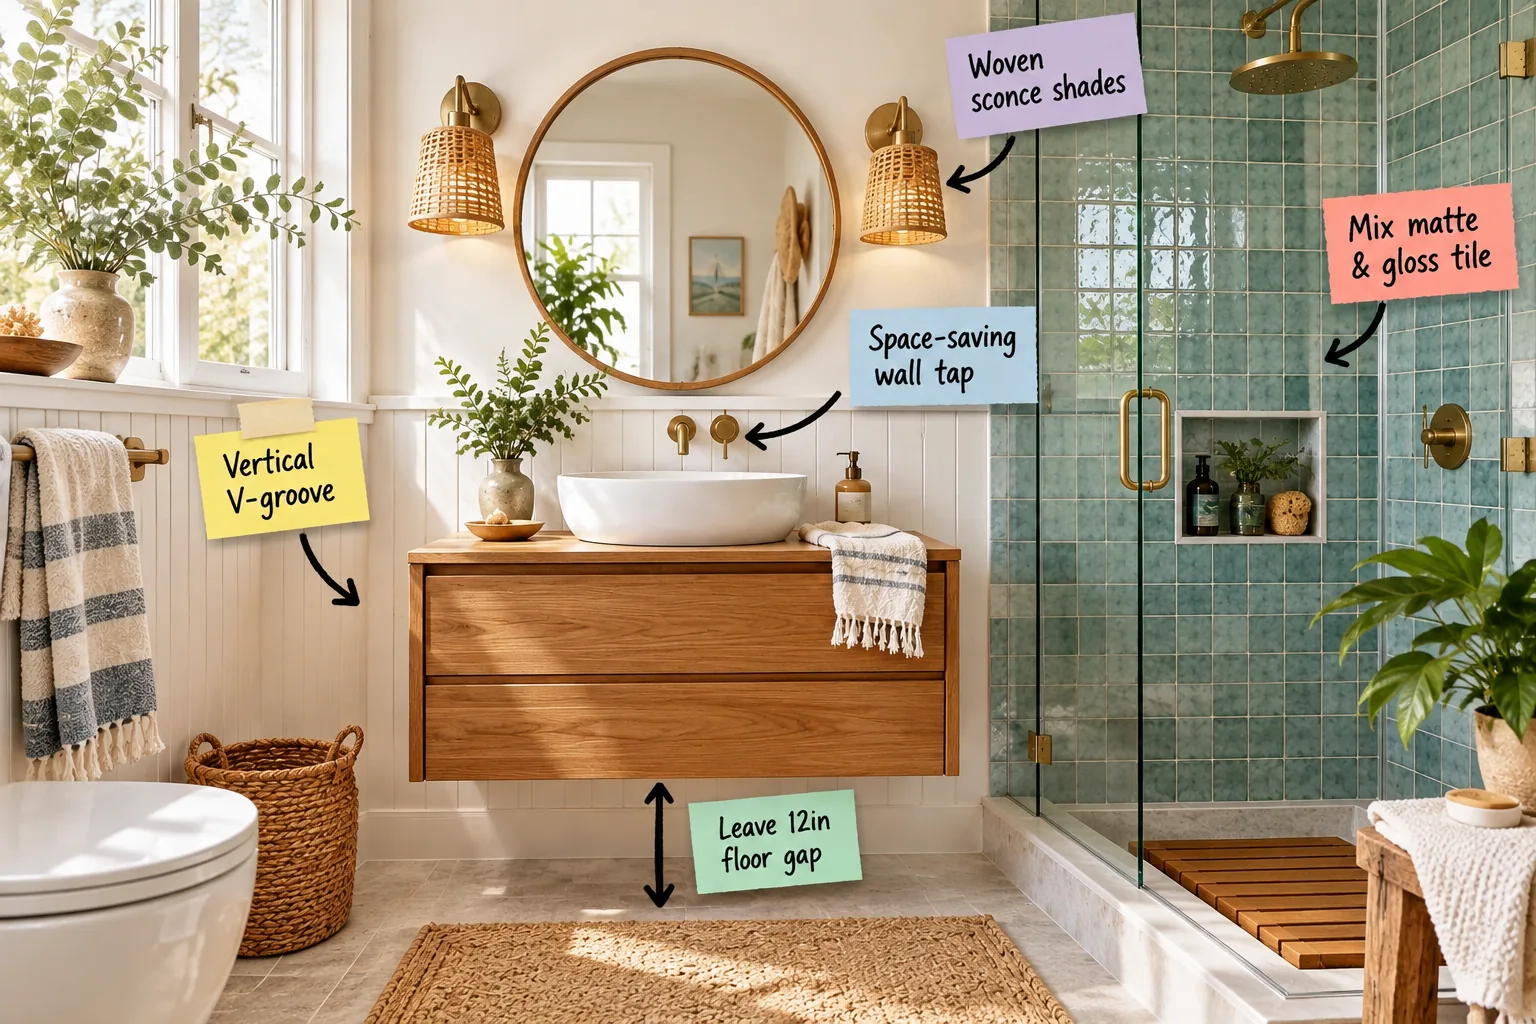
Transform your compact bathroom into an airy retreat with this exact kitsch-free coastal material cheat sheet. You will be able to source and combine the precise tiles, wood tones, and hardware needed for a sophisticated, modern space.
The 12-Inch Vanity Floor Gap
I always mount vanities to leave exactly a 12-inch gap above the floor, a maneuver that saved my own cramped guest bath. This spatial trick exposes more floor tile, making a compact bathroom feel significantly larger while keeping the heavy wooden cabinet visually light.
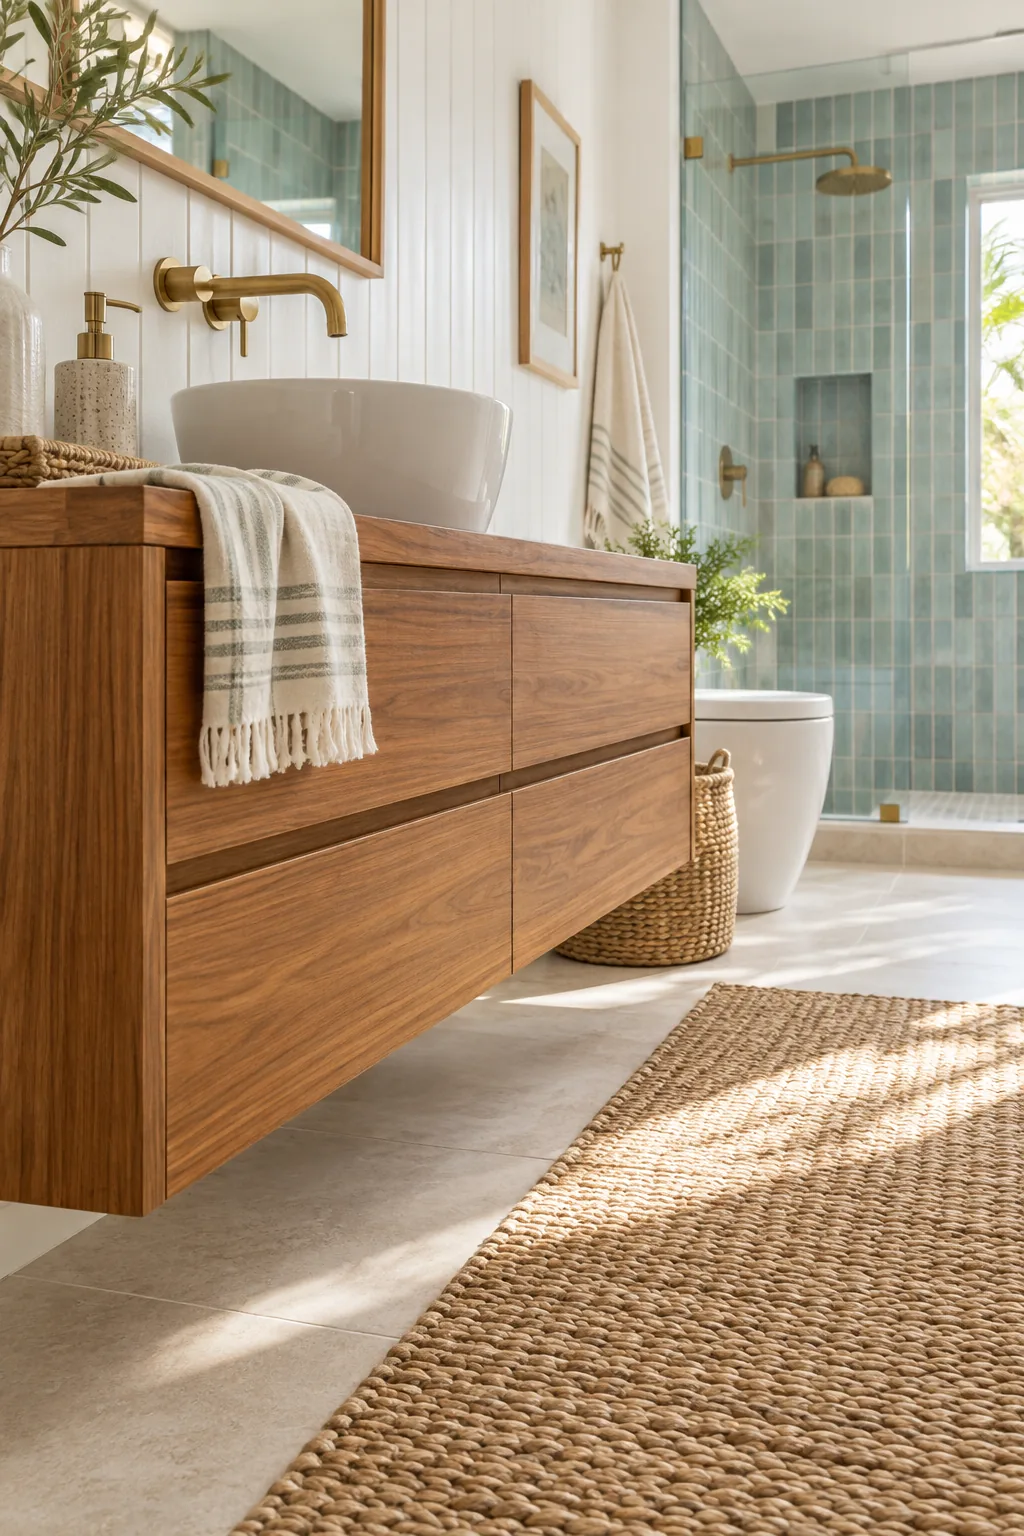
Leaving this exact gap requires careful plumbing planning so unsightly pipes do not ruin the floating effect.
Choosing Warm Wood Tones
Anchor the airy space with a solid teak or white oak vanity instead of reaching for cliché driftwood. The natural grain adds essential warmth to the bathroom, creating a grounded focal point against the crisp white walls.
- Select a wood species with a tight, natural grain to ensure durability in damp environments.
- Seal the cabinet with a matte marine-grade varnish to protect against daily moisture and steam.
Vertical V-Groove Wainscoting
Installing crisp white vertical V-groove panels on the lower third of the wall completely transformed my Denver powder room’s low ceiling. The vertical lines draw the eye upward, making standard 8-foot ceilings feel much taller.
Cap the wainscoting with a simple, flat trim piece to maintain a clean, modern edge rather than a traditional ornate chair rail.
Space-Saving Wall Faucets
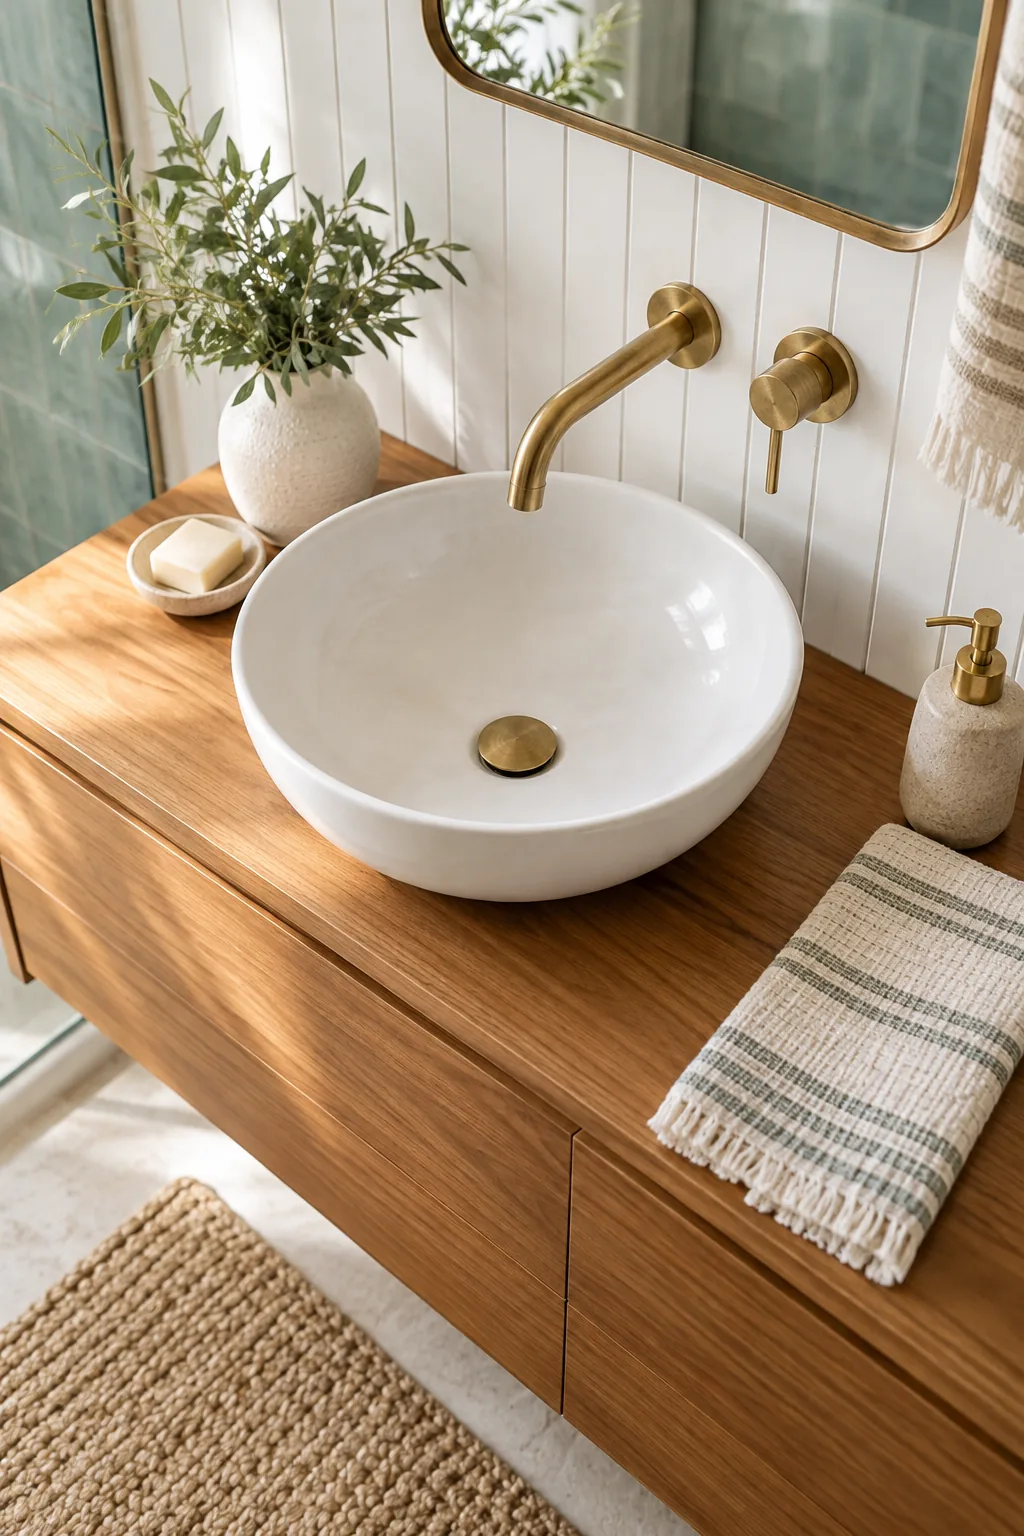
Mount the faucet directly to the wall to free up vital counter space on a compact vanity. Specify a minimum 8-inch clearance from the spout to the bottom of the sink basin for comfortable hand washing.
| Measurement | Distance |
|---|---|
| Spout to basin floor | Minimum 8 inches |
| Faucet spread | 8-inch widespread |
| Wall valve depth | Verify with plumber |
Unlacquered Brass Finishes
Use unlacquered brass for your wall taps, mirror frames, and towel hooks to introduce a subtle nautical feel. This living finish develops a rich, varied patina over time, bringing genuine character to the space.
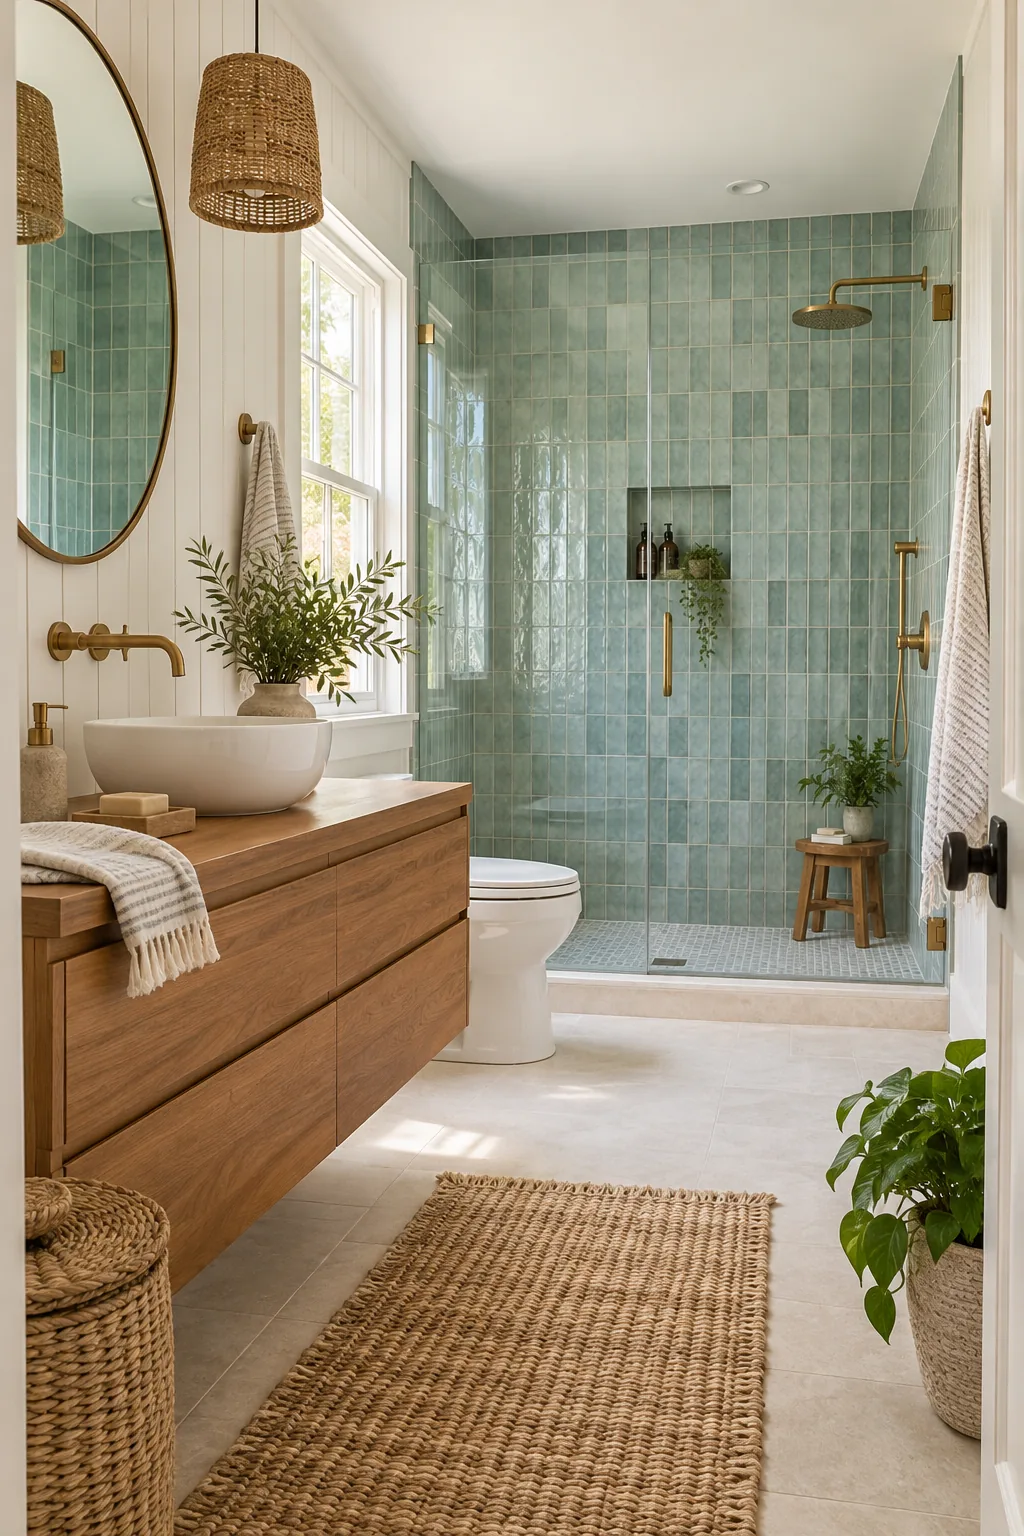
If you prefer to speed up the aging process, apply a specialized brass ager to darken the raw metal immediately before installation.
Mixing Matte and Gloss Tile
Combine matte and shimmering sea-glass green tiles in the shower enclosure to catch light like moving water. The varied finish adds subtle depth without relying on busy, overwhelming patterns.
- Alternate the matte and gloss tiles randomly during installation for an organic, unstructured reflection.
- Use a matching green grout to keep the surface reading as one unified texture.
Frameless Glass Shower Enclosures
I removed the bulky framed slider in my own primary bath and instantly doubled the perceived footprint. A frameless glass shower door keeps sightlines completely open, preventing the room from feeling chopped in half.
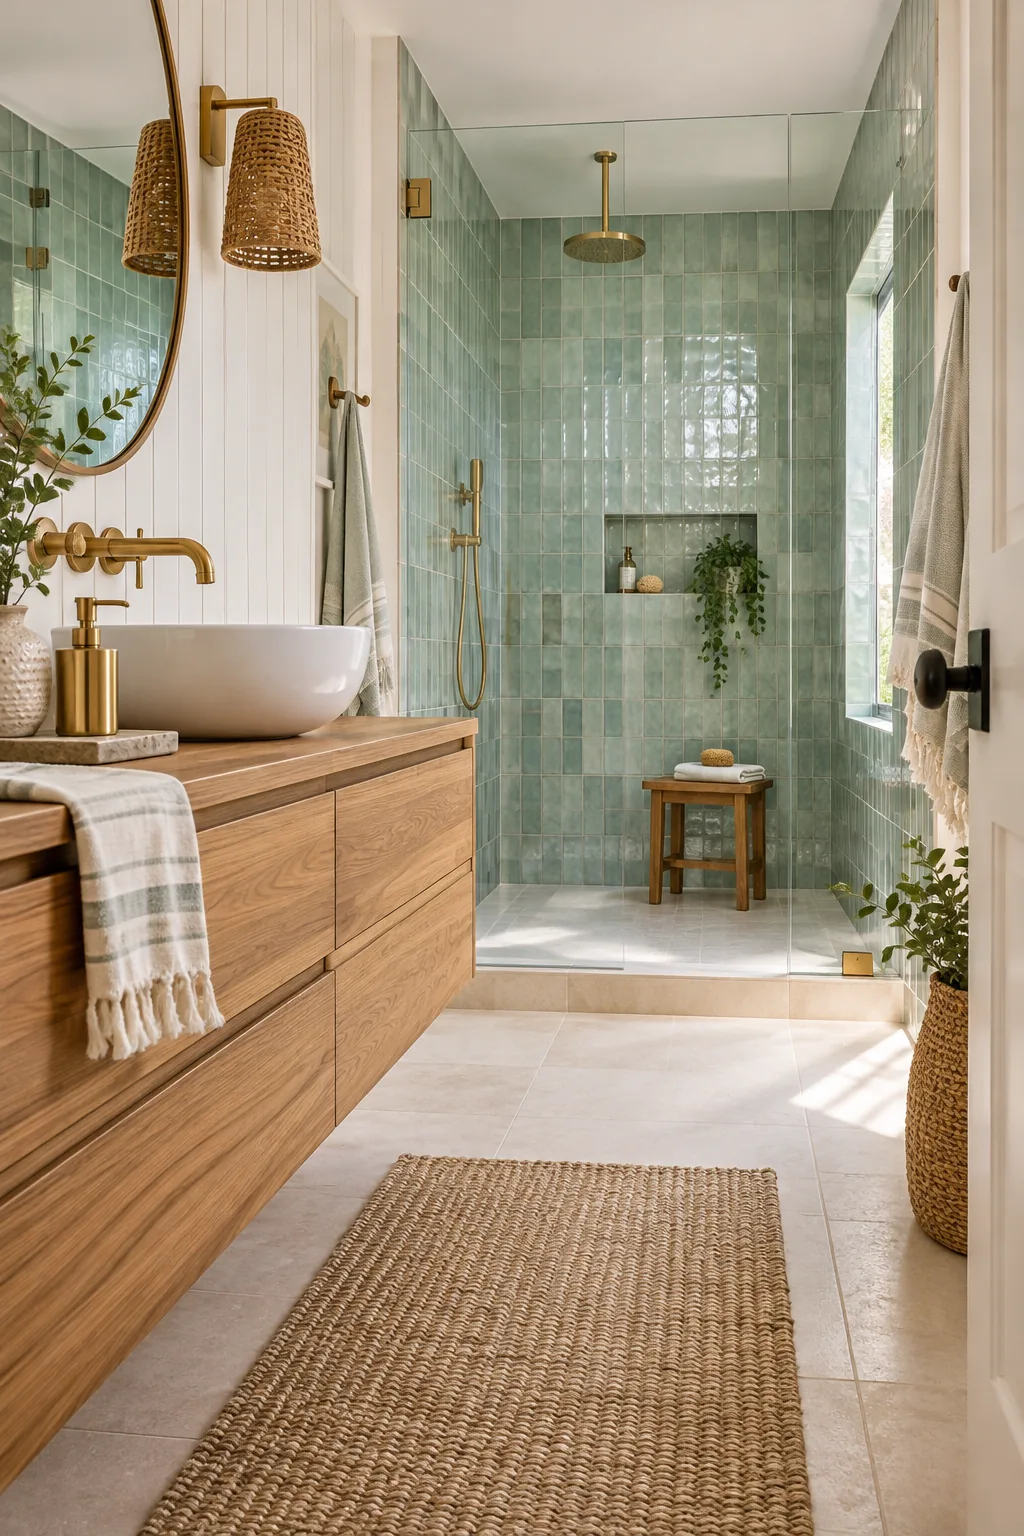
Clear glass keeps the room airy, but it requires a dedicated maintenance routine to prevent hard water stains from ruining the coastal vibe.
Woven Sconce Shades
Swapping standard glass light shades for rattan or woven seagrass is a trick I use to instantly warm up a sterile vanity area. This introduces a dry, tactile element that softens the hard surfaces of the tile and mirrors.
The Kitsch-Free Coastal Material Cheat Sheet
Achieve this exact look by following a strict material ratio to balance the room perfectly. You need 40% crisp white paneling, 30% sea-glass green tile, 20% warm teak wood, and 10% unlacquered brass and woven accents.
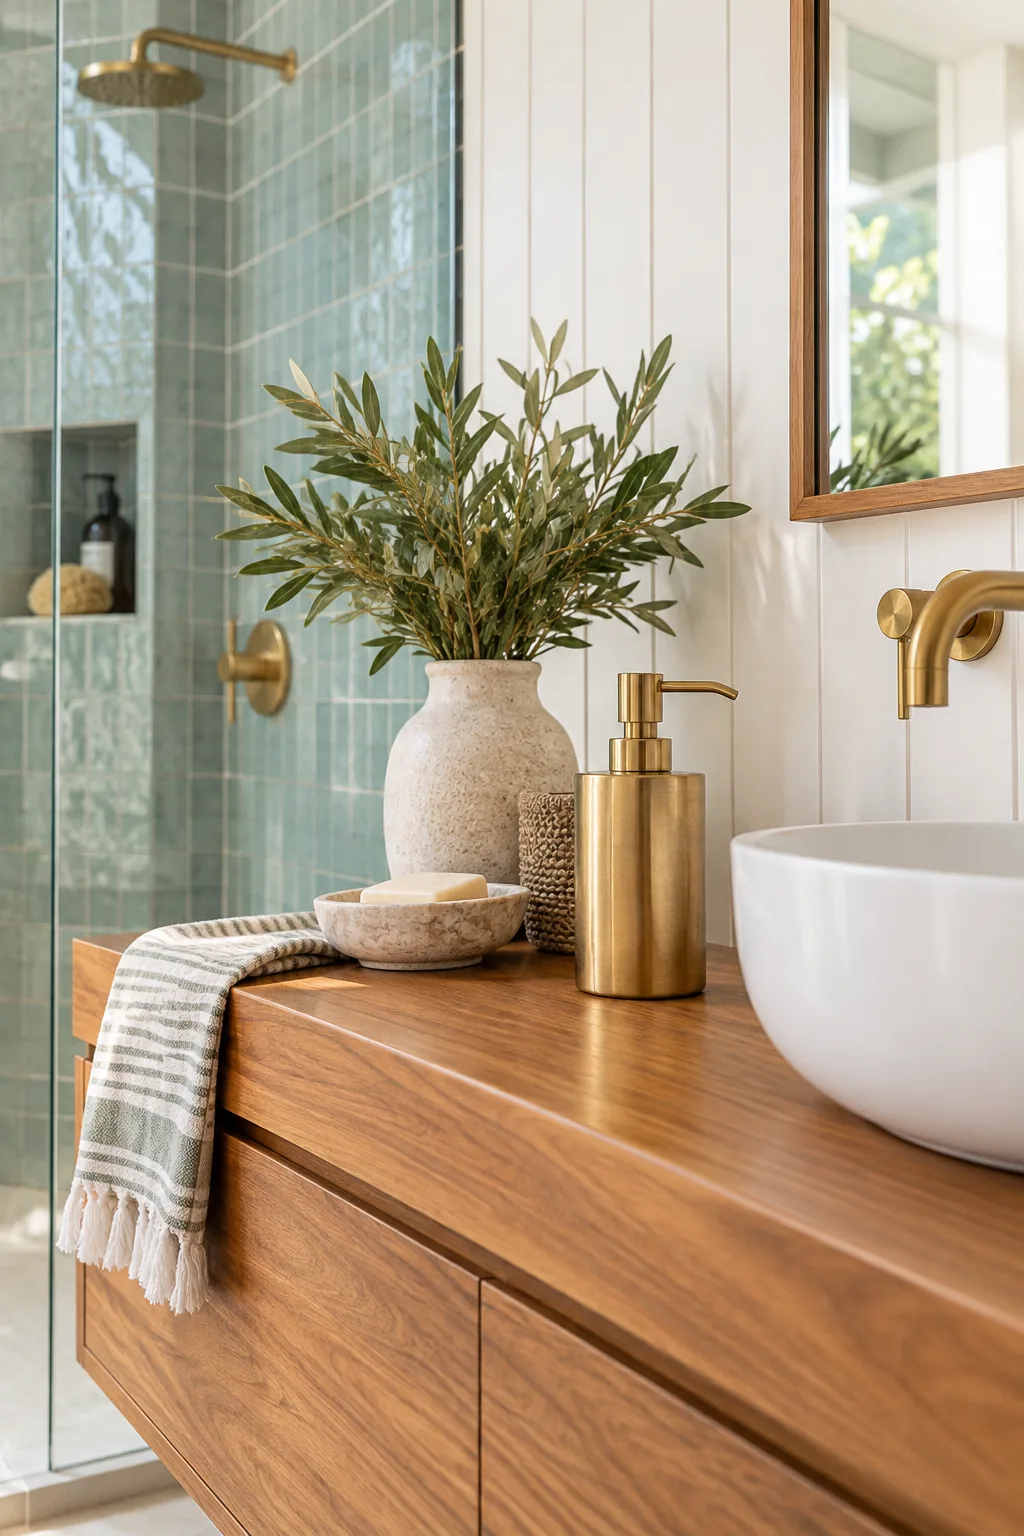
Stick to these precise proportions to ensure your compact bathroom remains bright, sophisticated, and entirely free of beach-house clichés.
More Coastal Bathroom Styles
Explore these distinct variations on the coastal aesthetic for your own space.
Moody Pacific Coastal: Deep slate blues and rich walnut wood create a sophisticated, storm-inspired take on the traditional coastal aesthetic.
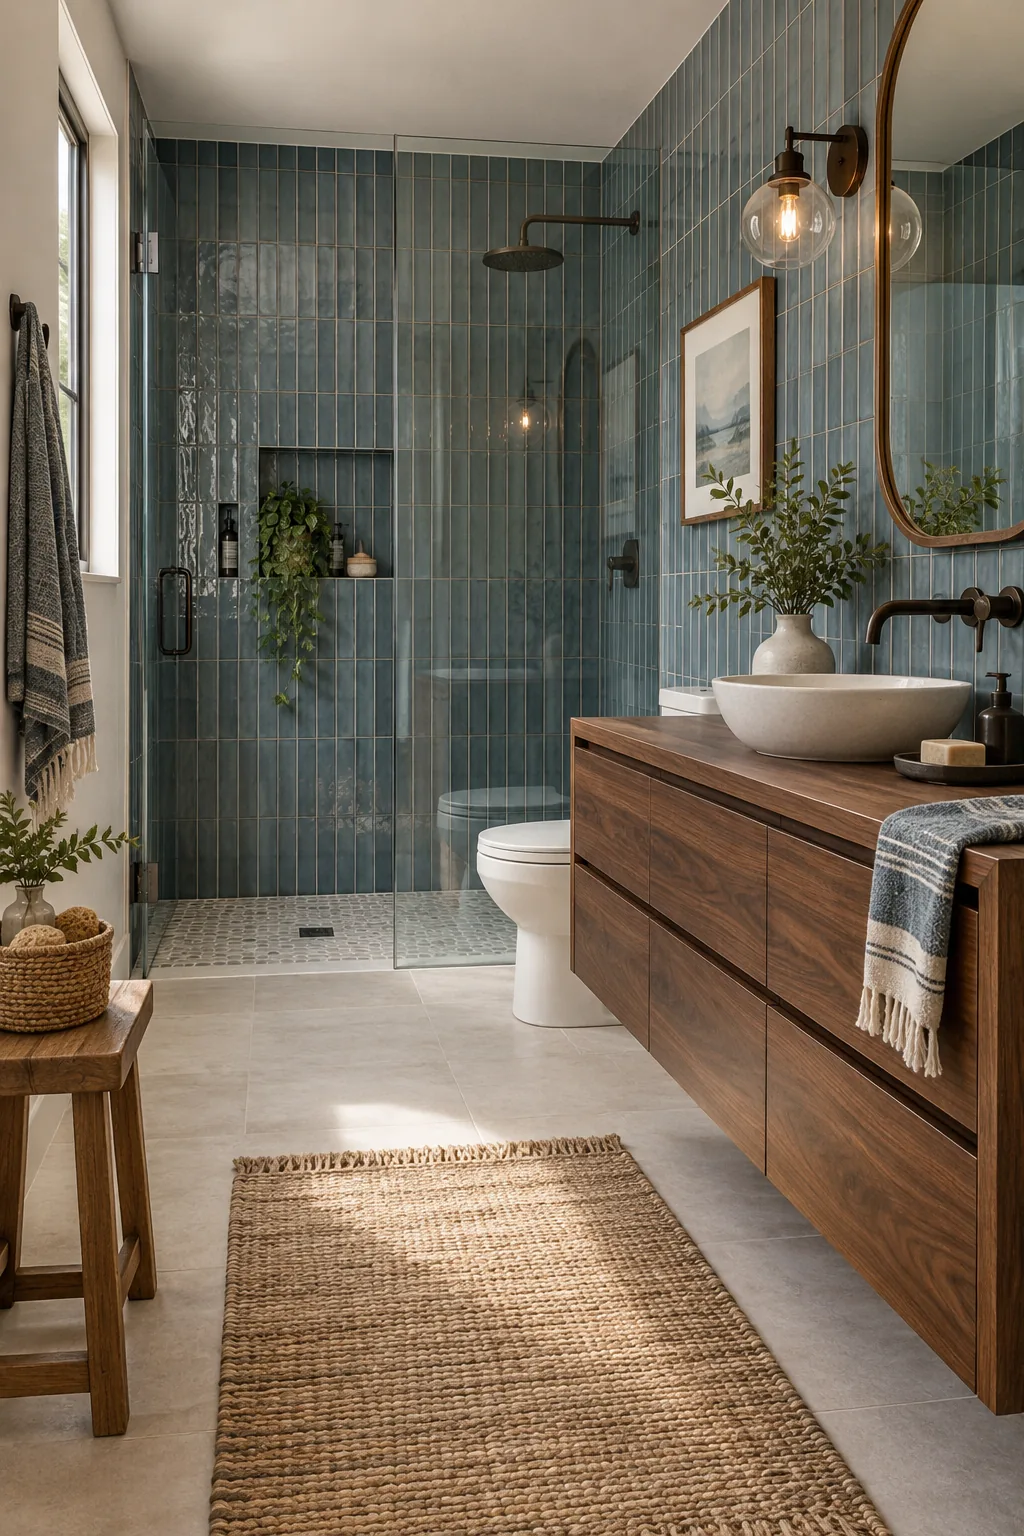
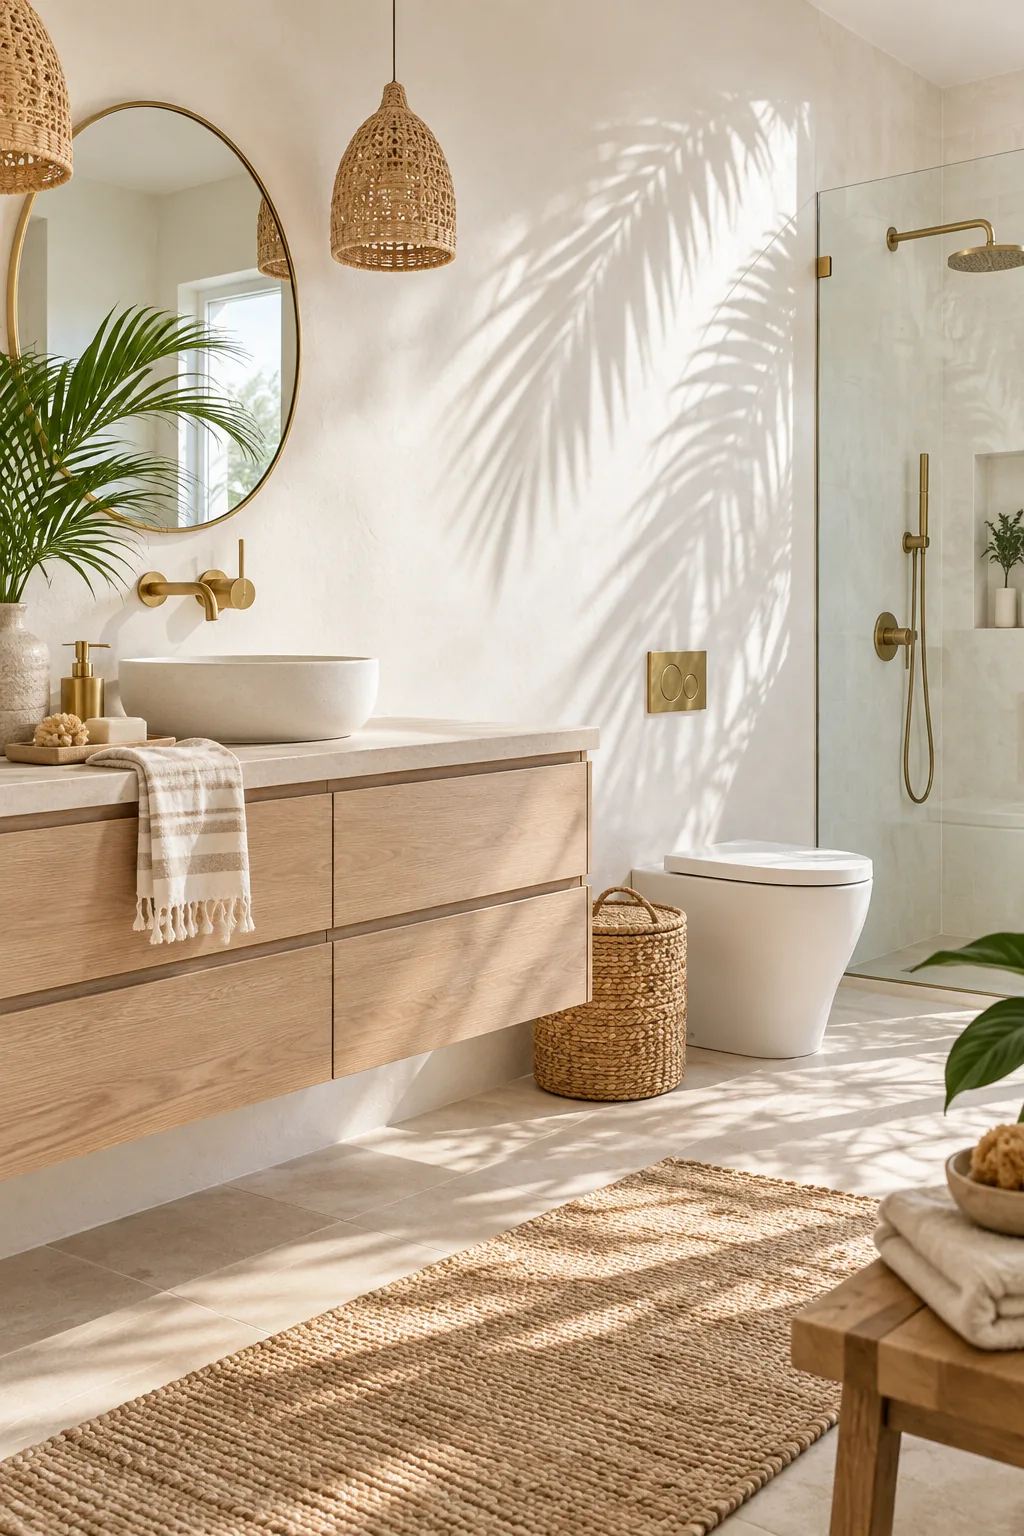
Tropical White Sand: Bleached oak and textured white plaster keep the space incredibly bright, mimicking the blinding reflection of white sand beaches.
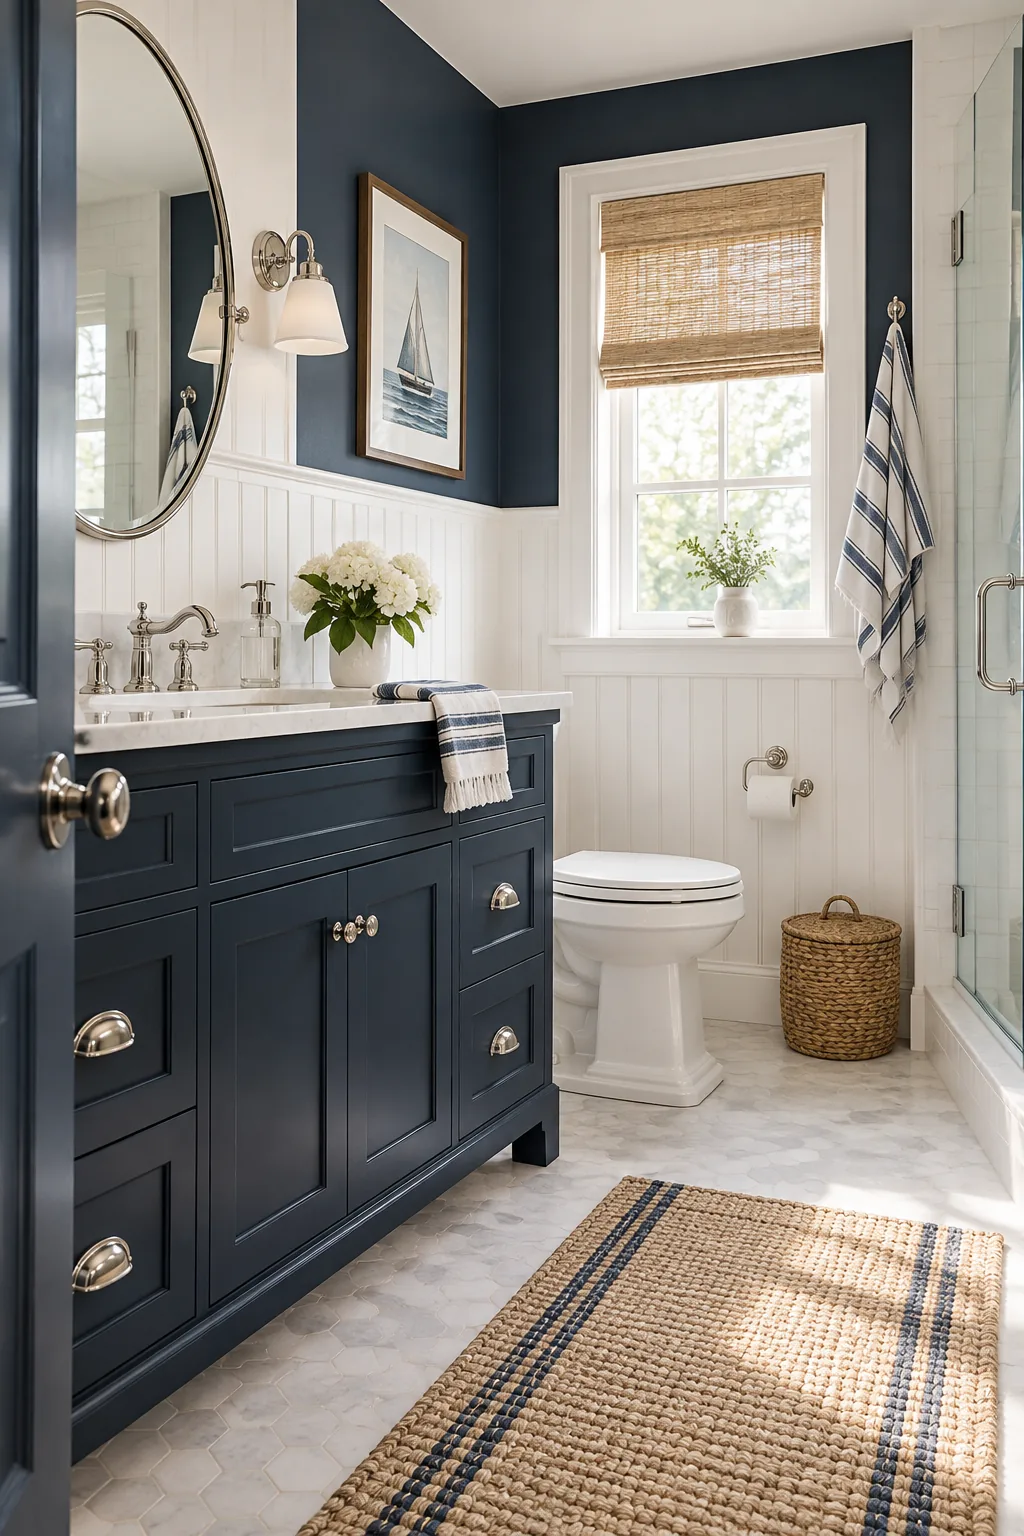
Nautical Navy Classic: Crisp navy blue cabinetry paired with traditional white beadboard delivers a timeless, yacht-club inspired look that never goes out of style.