
11+ Clever Small Craft Room Ideas for Your Home
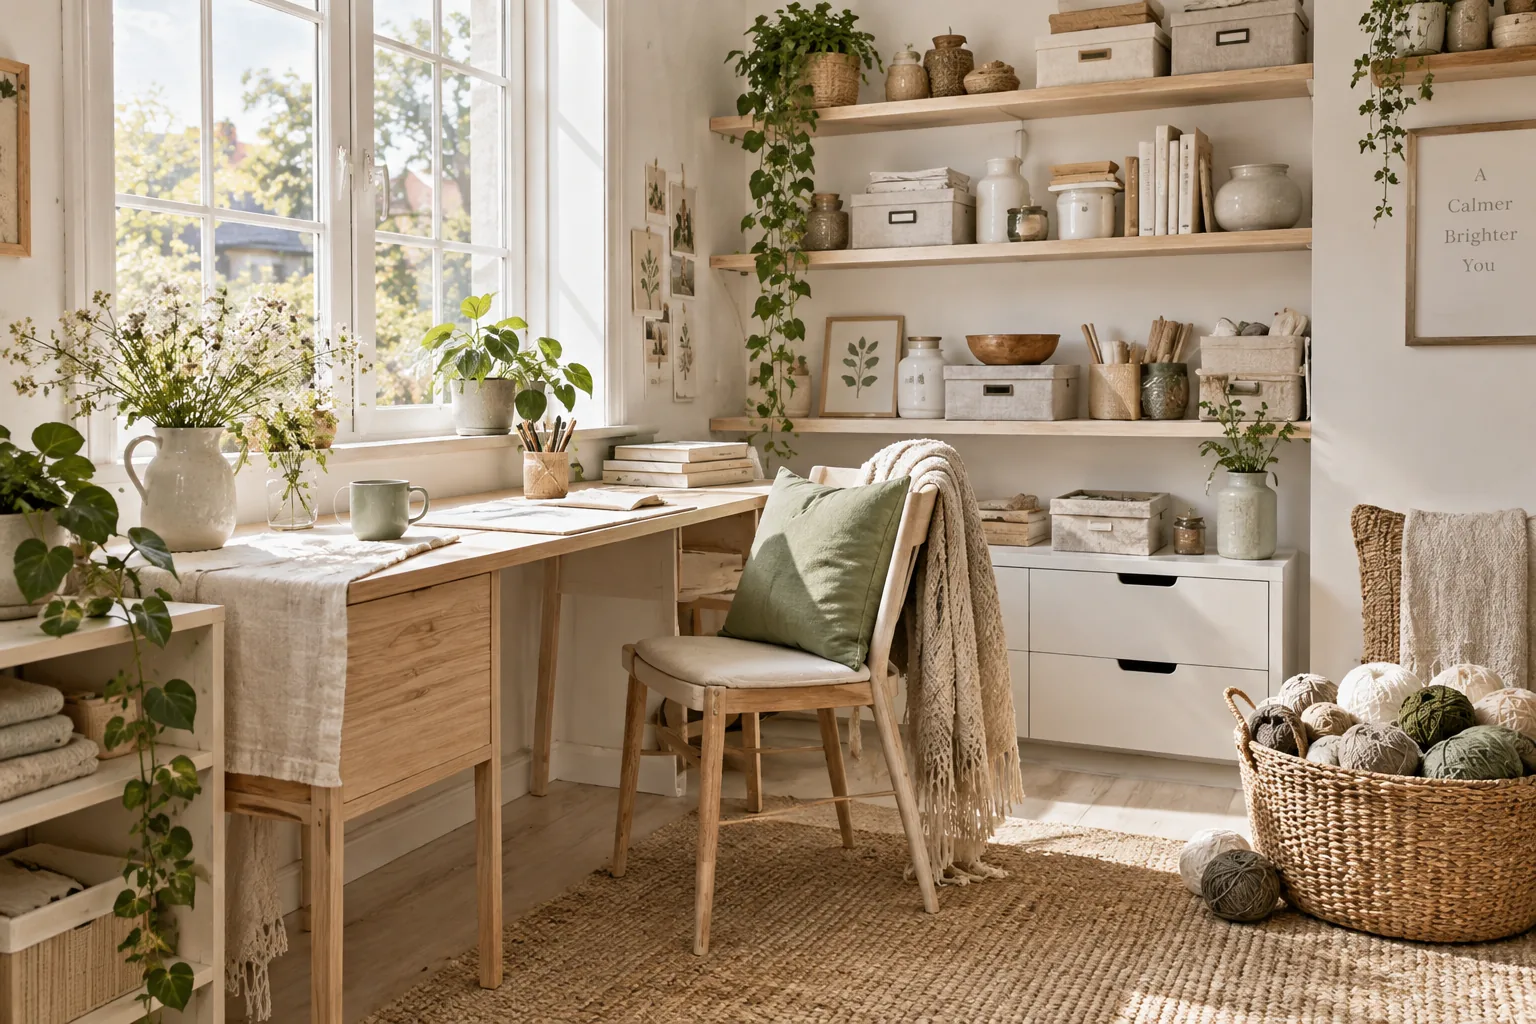
You do not need a massive spare bedroom to set up a functional creative space. A small craft room just requires smart storage and a layout that works with your specific hobbies.
1. Use Clear Acrylic Bins
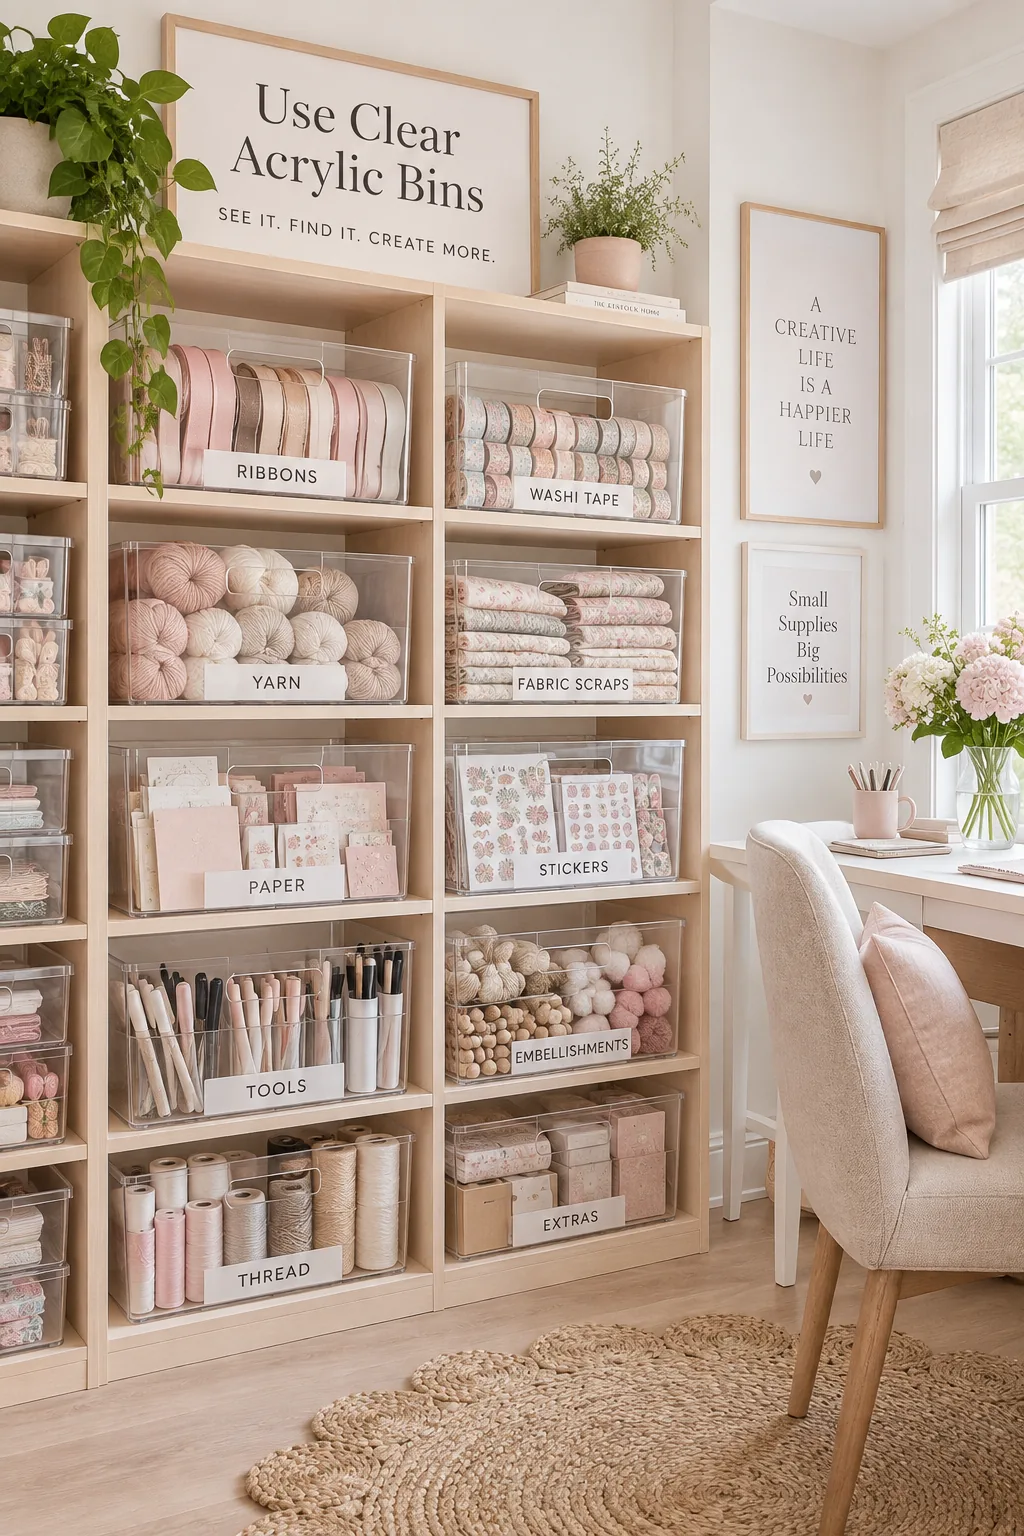
90 percent of your craft supplies fit perfectly into clear acrylic bins. Stacking these transparent containers on open shelves lets you grab exactly what you need without digging through mystery boxes.
2. Install a Pegboard Wall
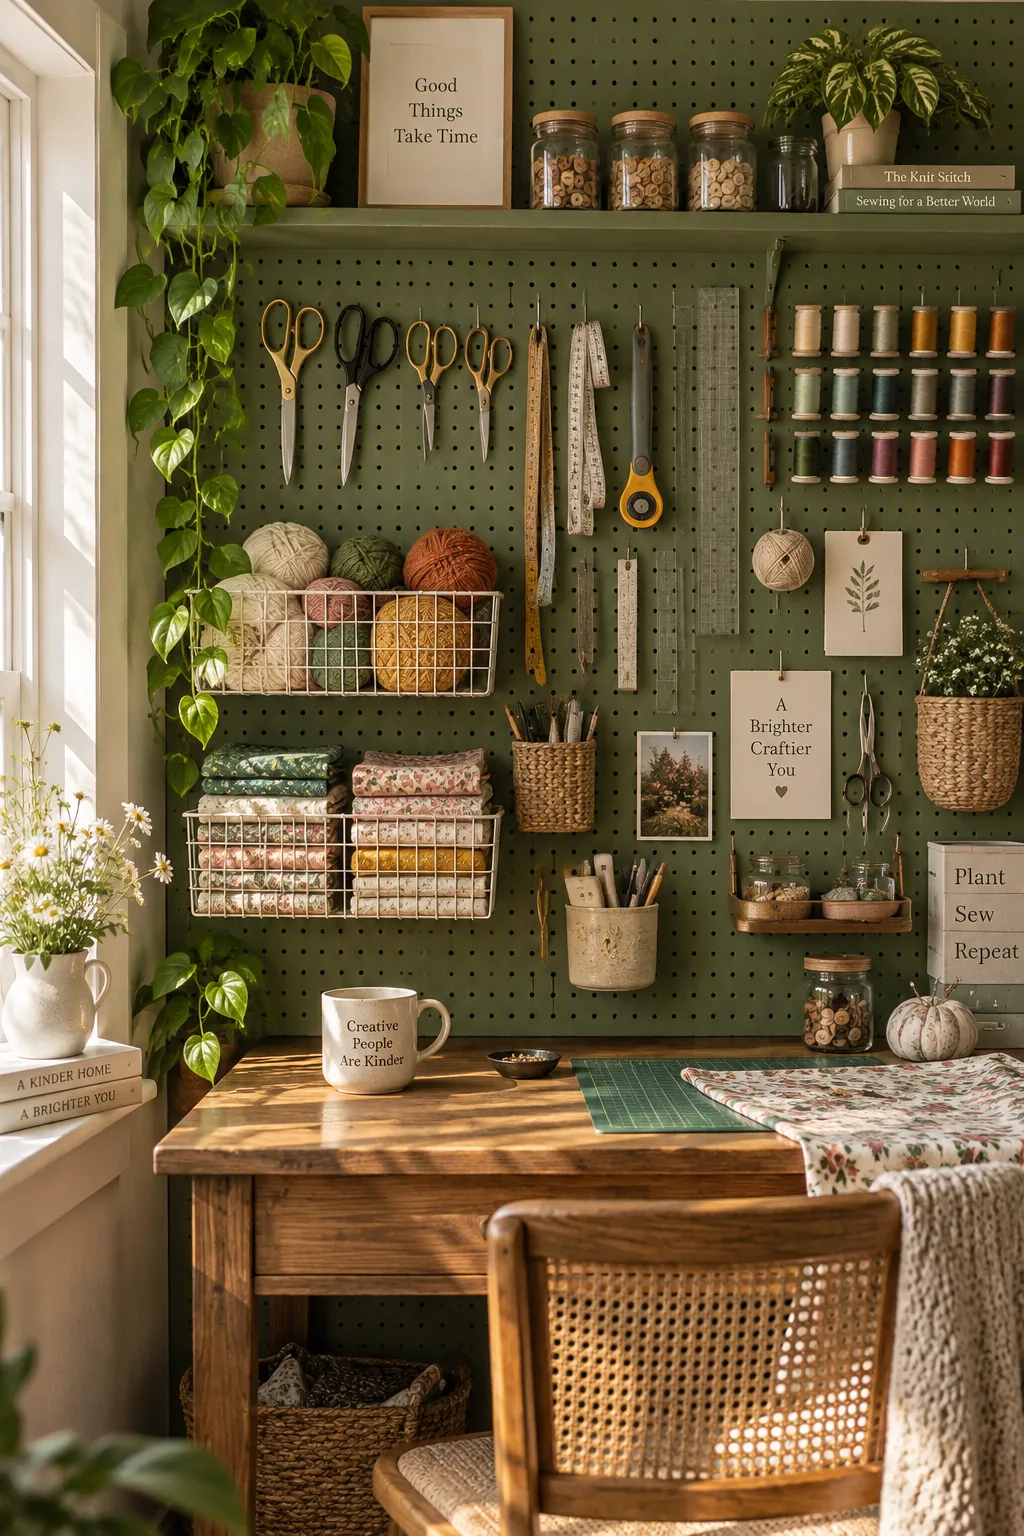
Mount a floor-to-ceiling pegboard on your blank wall to hold lightweight tools.
Use standard metal hooks to hang wire baskets for bulkier items like yarn and fabric bundles.
Paint the board the same color as your wall to make the storage system look built-in rather than cluttered.
3. Take Shelves to the Ceiling
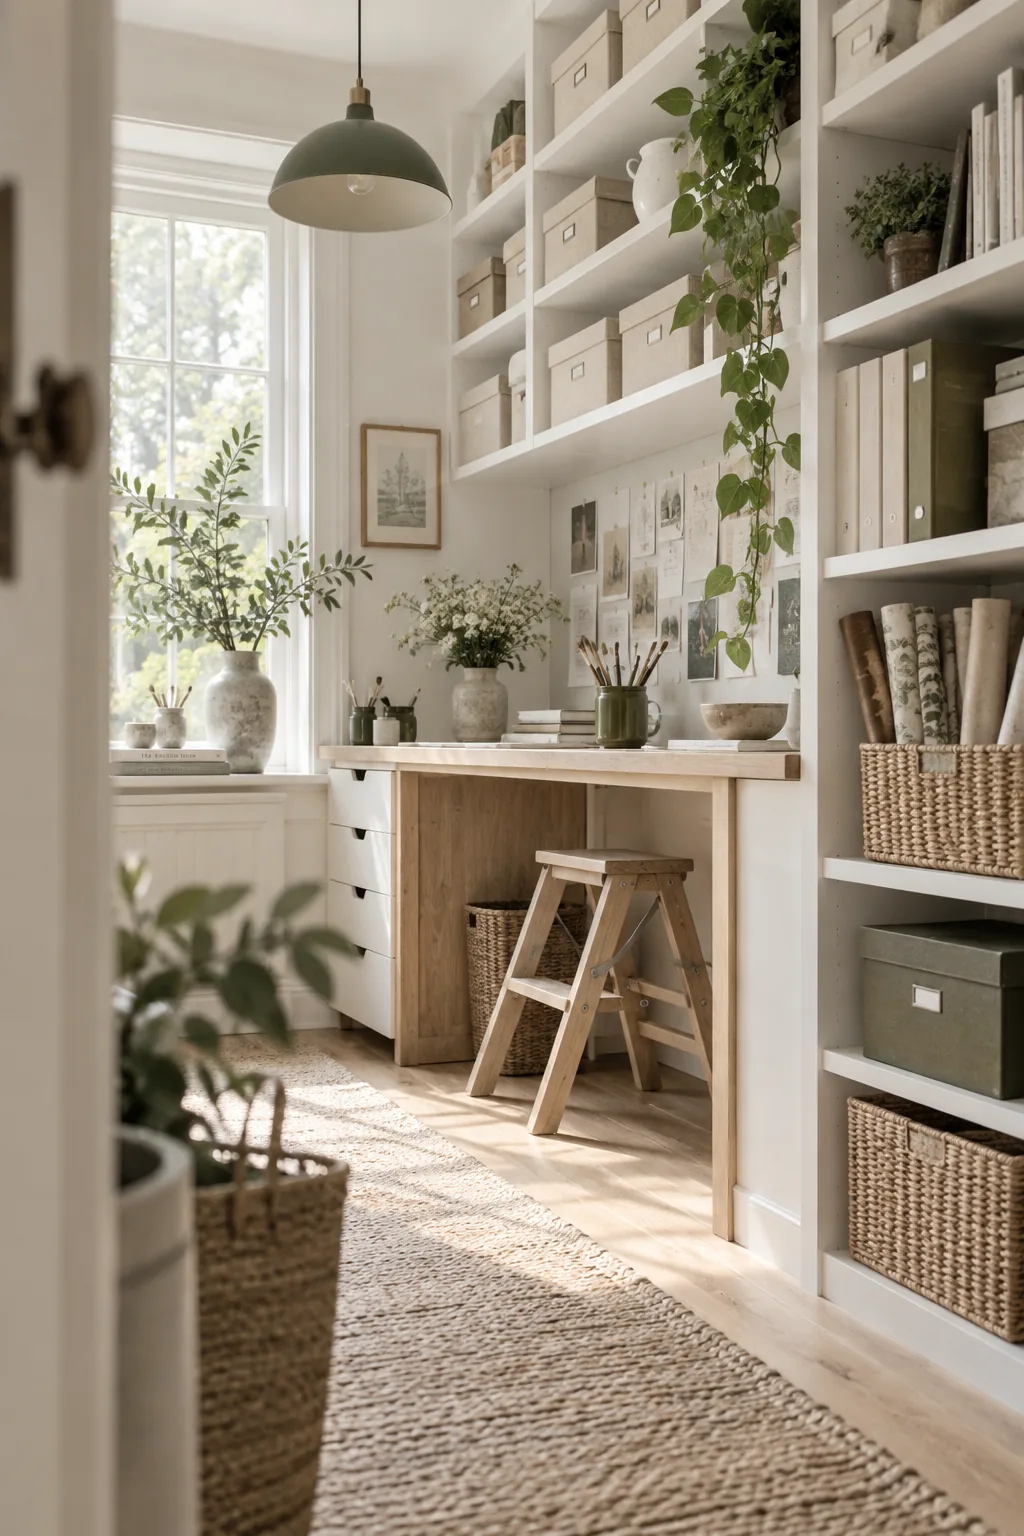
Vertical space is always the most underutilized real estate in a tiny room.
You can easily double your storage capacity by extending your shelving all the way up.
Keep a small folding step stool tucked under your desk to reach these upper zones safely.
- Fabric bolts
- Holiday wreaths
- Bulk paint bottles
4. Repurpose a Kitchen Island
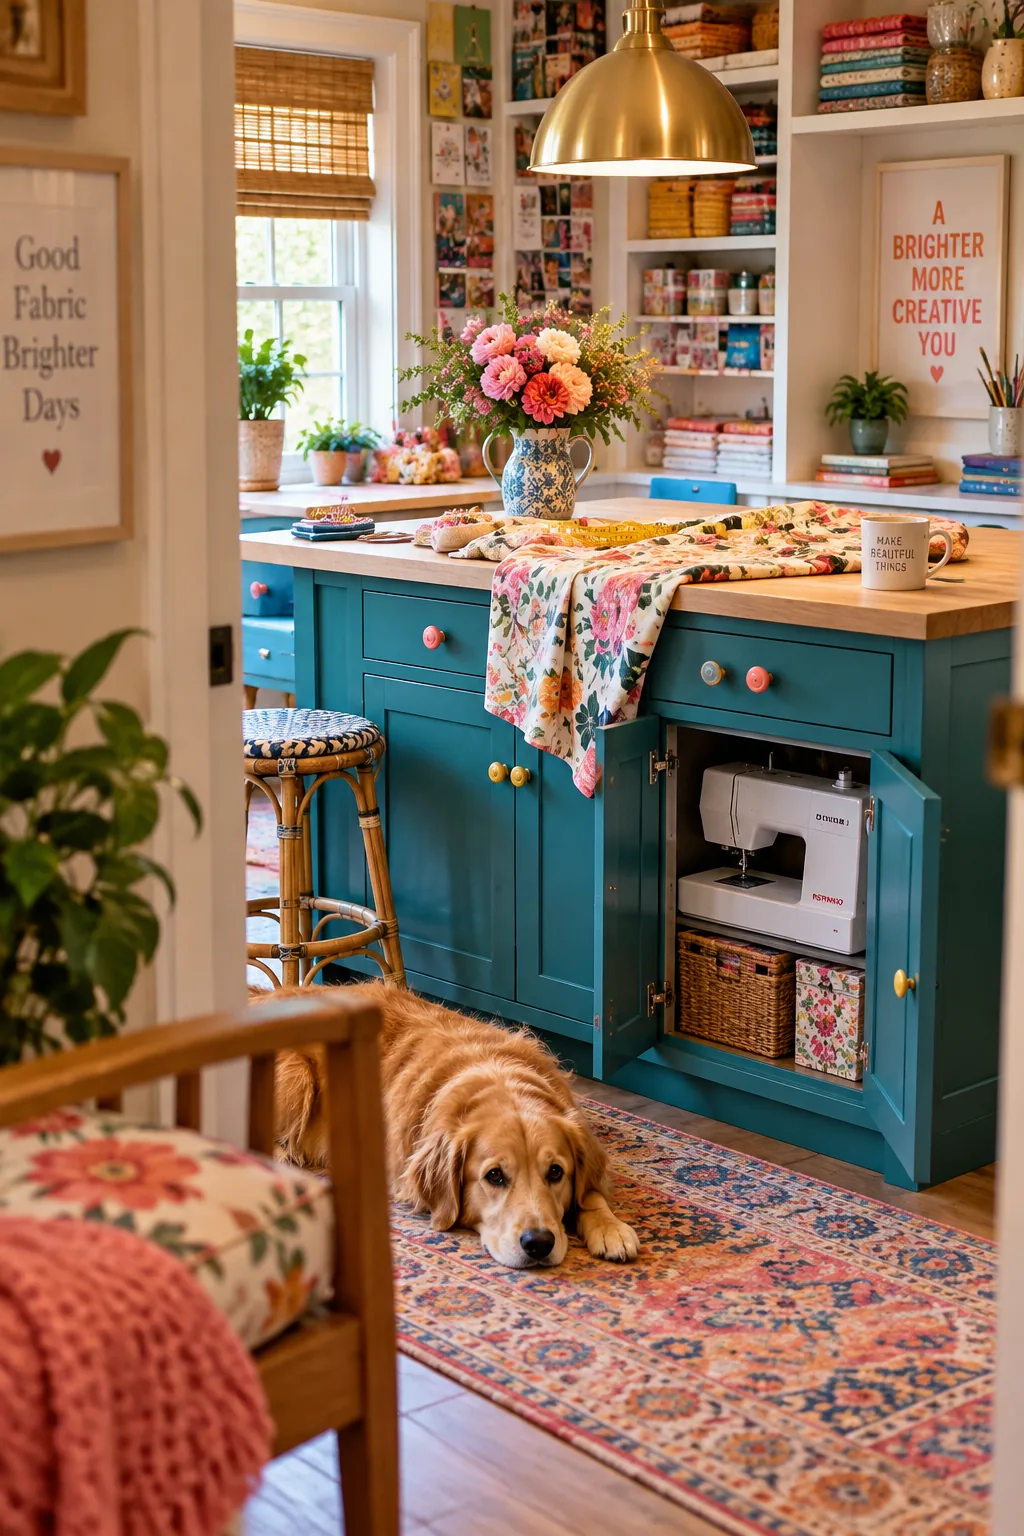
A standard 36-inch high kitchen island makes a brilliant cutting and crafting table. The counter height allows you to stand comfortably while working on messy projects or measuring fabric. You also get deep cabinets underneath for hiding bulky sewing machines.
Just swap the standard hardware for something a bit more fun.
Why it works: It gives you a massive, durable work surface with built-in closed storage underneath.
5. Color-Code Your Supplies
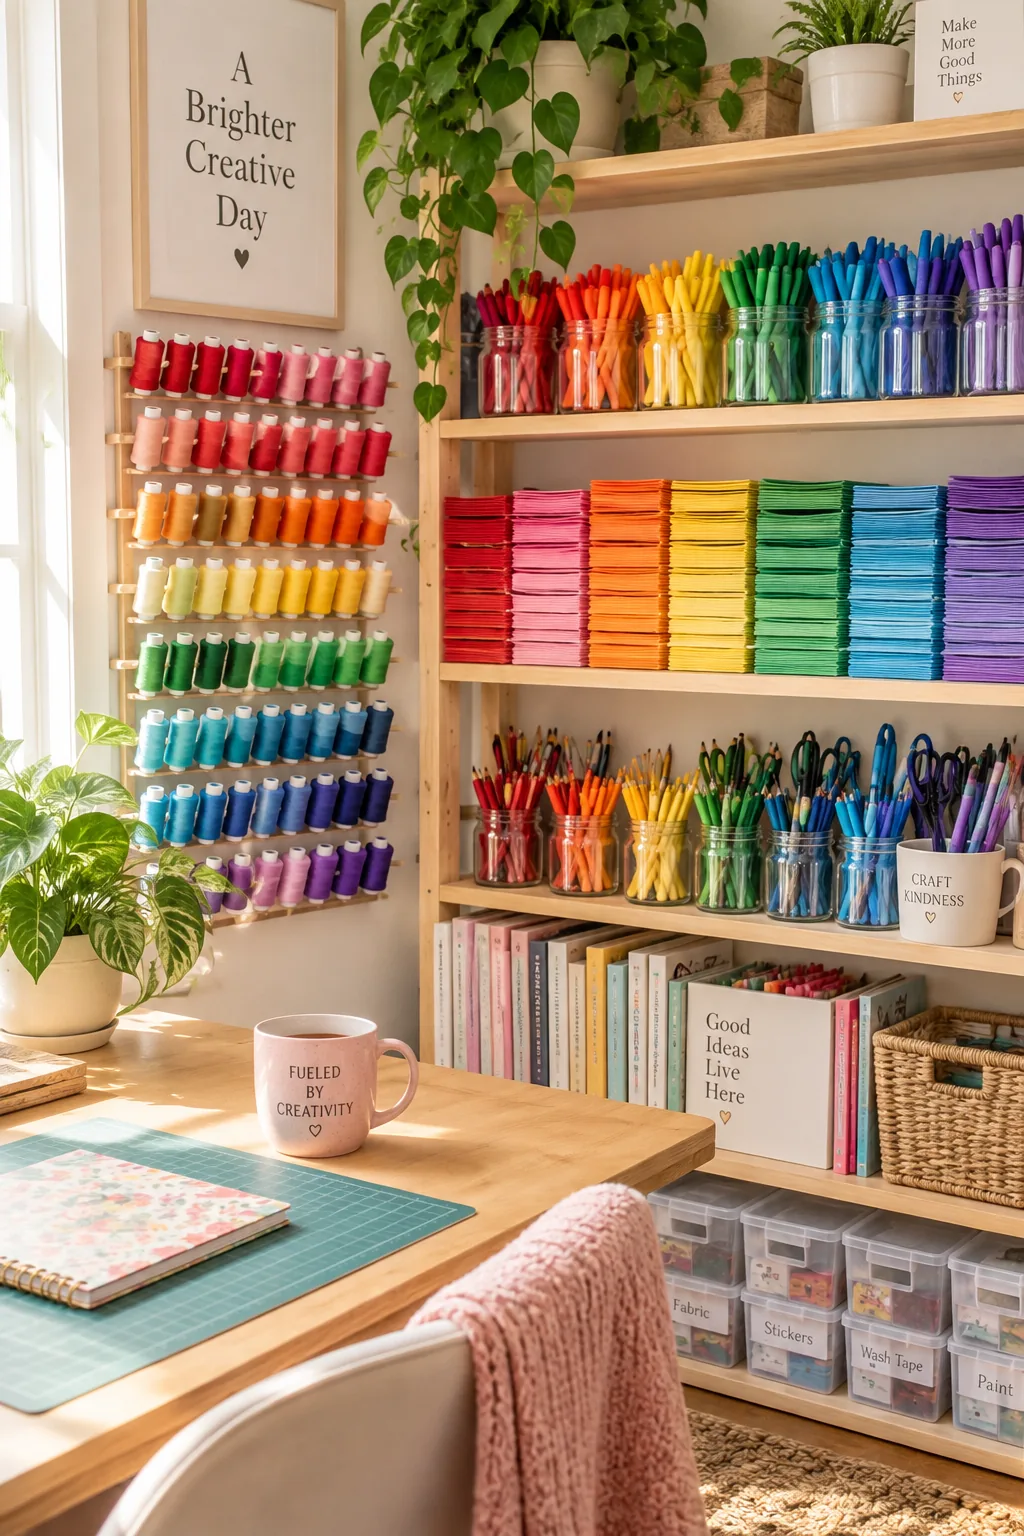
Grouping supplies by color creates instant visual order in a small craft room. Arranging your thread spools, markers, and paper in a rainbow gradient turns basic materials into actual wall art.
6. Remove the Closet Doors
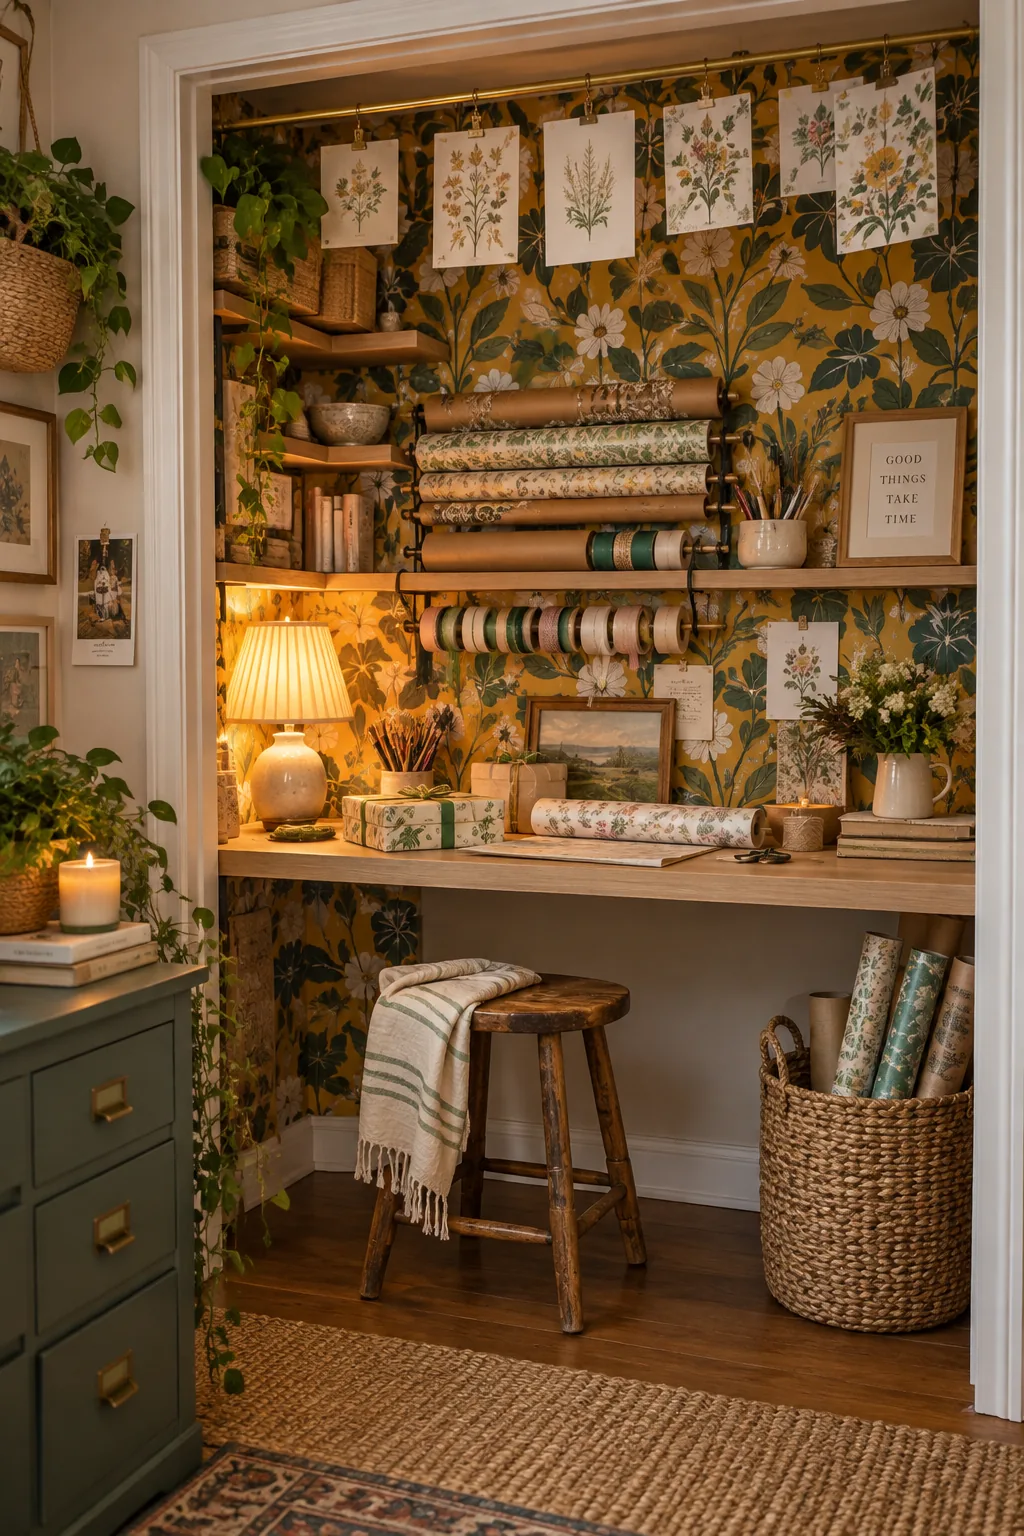
Closet doors often get in the way when you are trying to maximize a tight floor plan. Removing the doors entirely opens up a valuable alcove for a built-in desk or a dedicated wrapping station. You can line the inside walls with shallow shelves to hold wrapping paper rolls and ribbon spools. Adding a bright wallpaper to the back of the closet defines this new zone. A simple tension rod hung across the top is perfect for drying painted projects or hanging fabric swatches.
7. Roll Out a Utility Cart
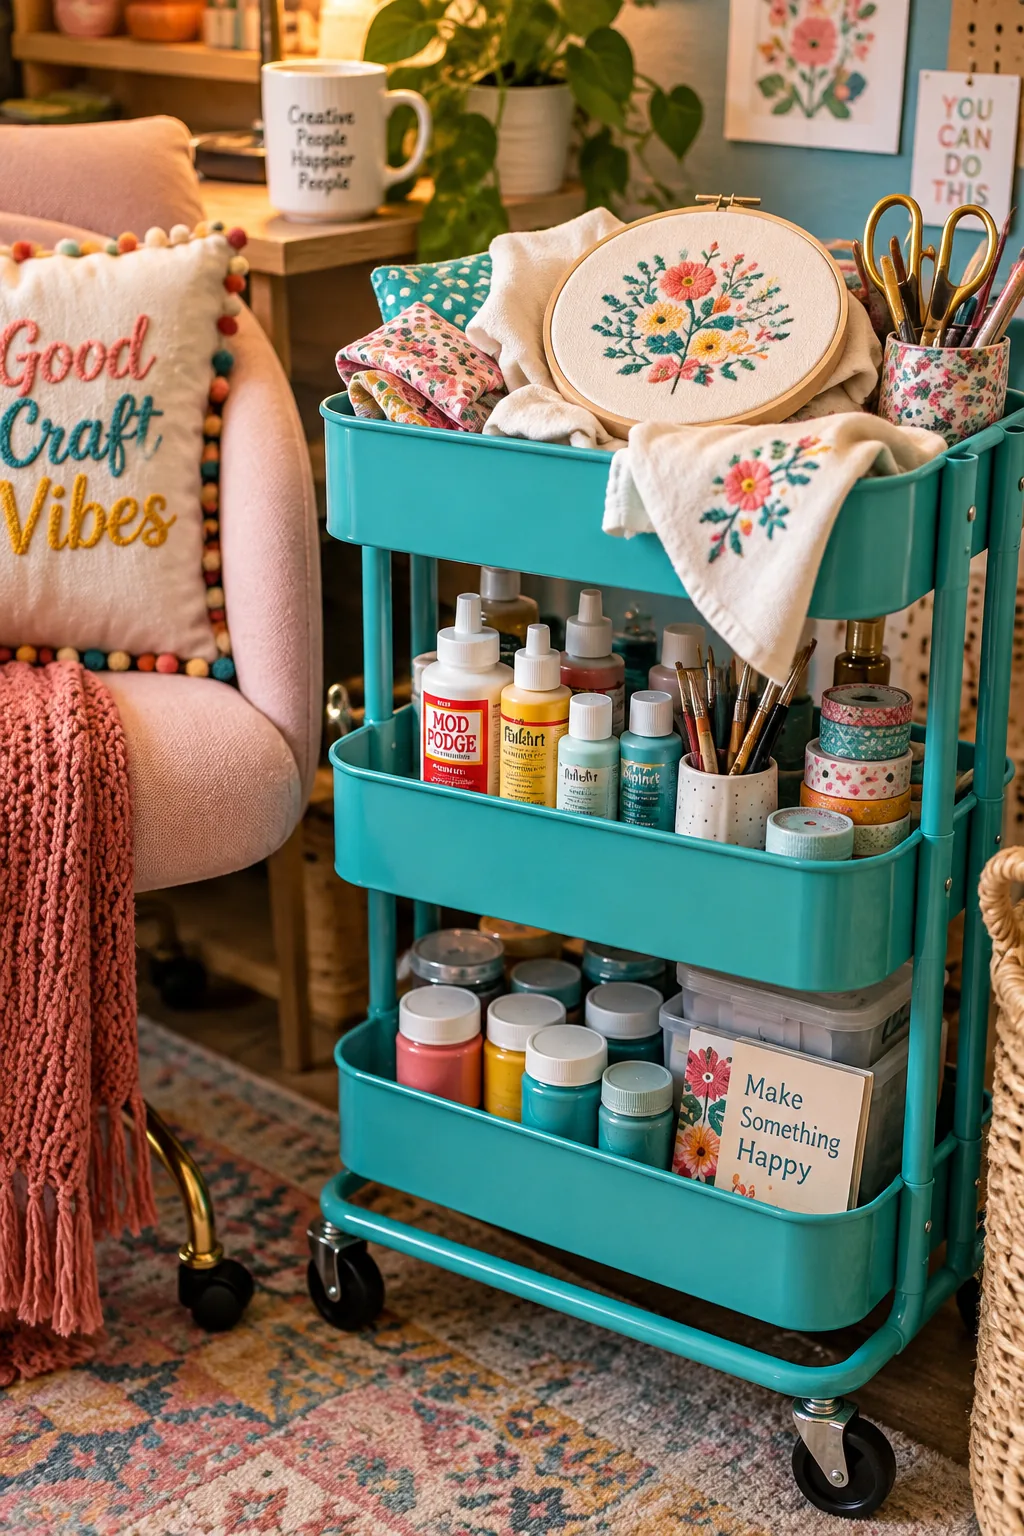
Using a rolling utility cart brings your most-used tools right to your chair.
Dedicate the top tier to your current work in progress.
The middle and bottom trays are perfect for holding heavy adhesives and paint jars.
Why it works: Mobility allows you to shift your workspace around without carrying heavy bins back and forth.
8. Double Up Narrow Bookcases
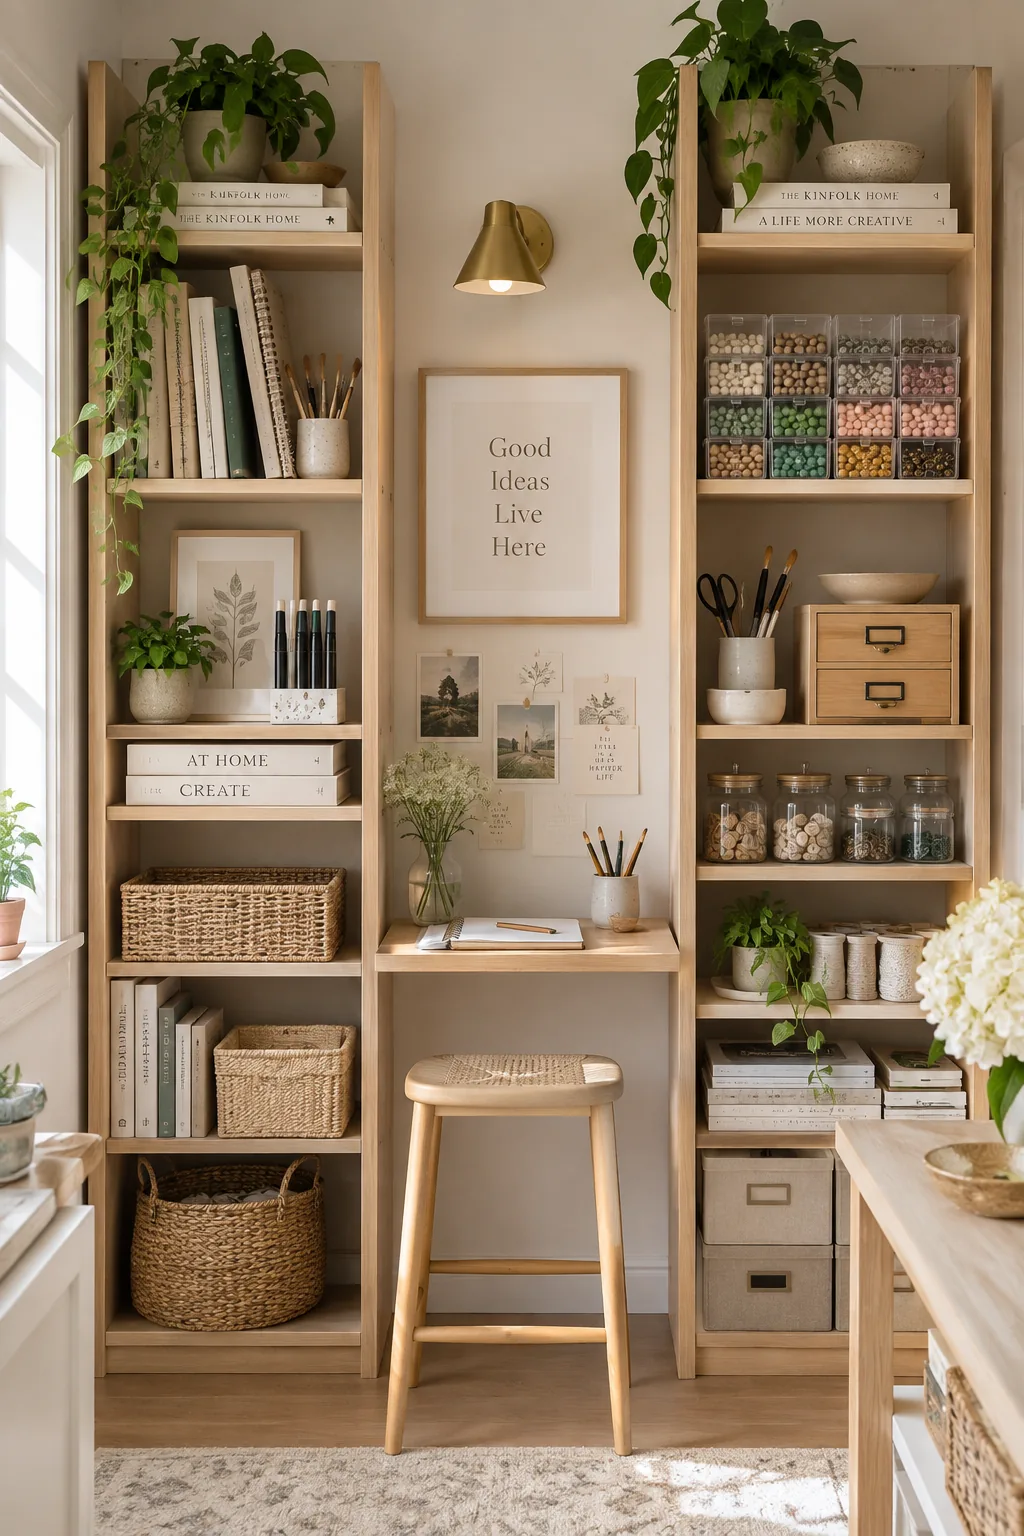
Two narrow bookcases placed side-by-side offer more flexibility than one massive shelving unit. You can adjust the shelves at different heights on each side to accommodate tall sketchbooks and short bead organizers. Leaving the center shelf at desk height creates an instant standing workspace for quick tasks. This setup feels much lighter in a tiny room while still holding tons of supplies.
9. Store Smalls in Glass Jars
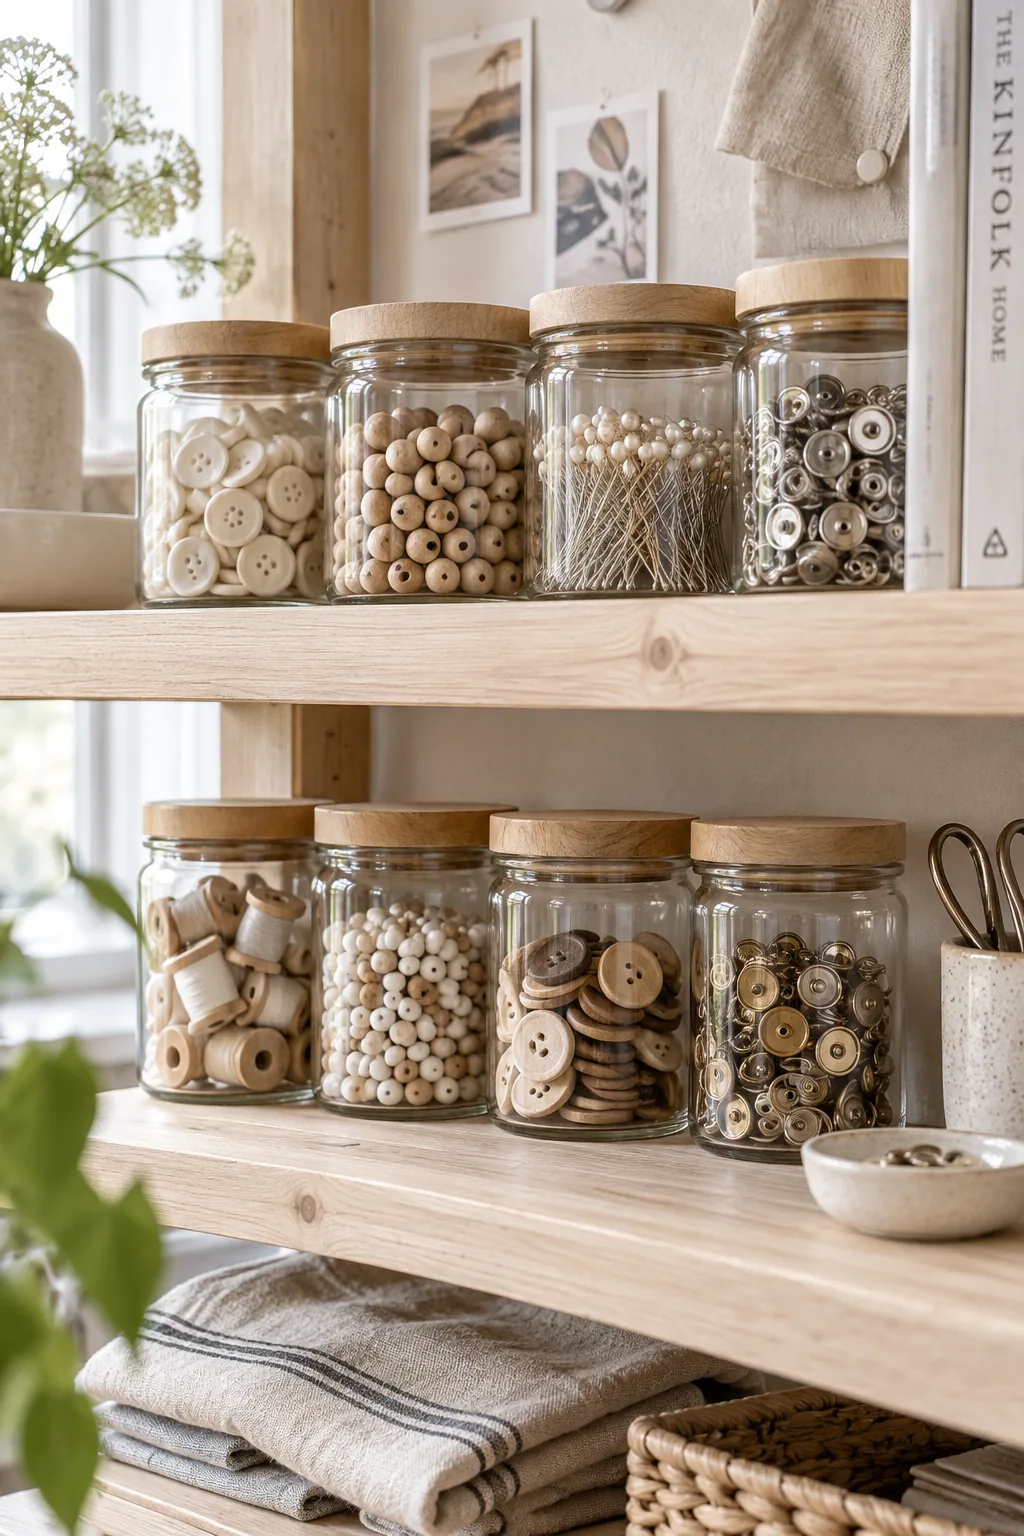
A clean, minimalist aesthetic keeps a small craft room from feeling chaotic. Storing small, loose items in matching glass jars creates a uniform look across your shelves. You can easily spot when you are running low on essentials without opening a dozen different boxes. Slap a simple printed label on the bottom of each jar to keep the front looking completely tidy. This approach turns your everyday hardware into a beautiful display.
- Wooden buttons
- Safety pins
- Watercolor half-pans
10. Use the Back of the Door
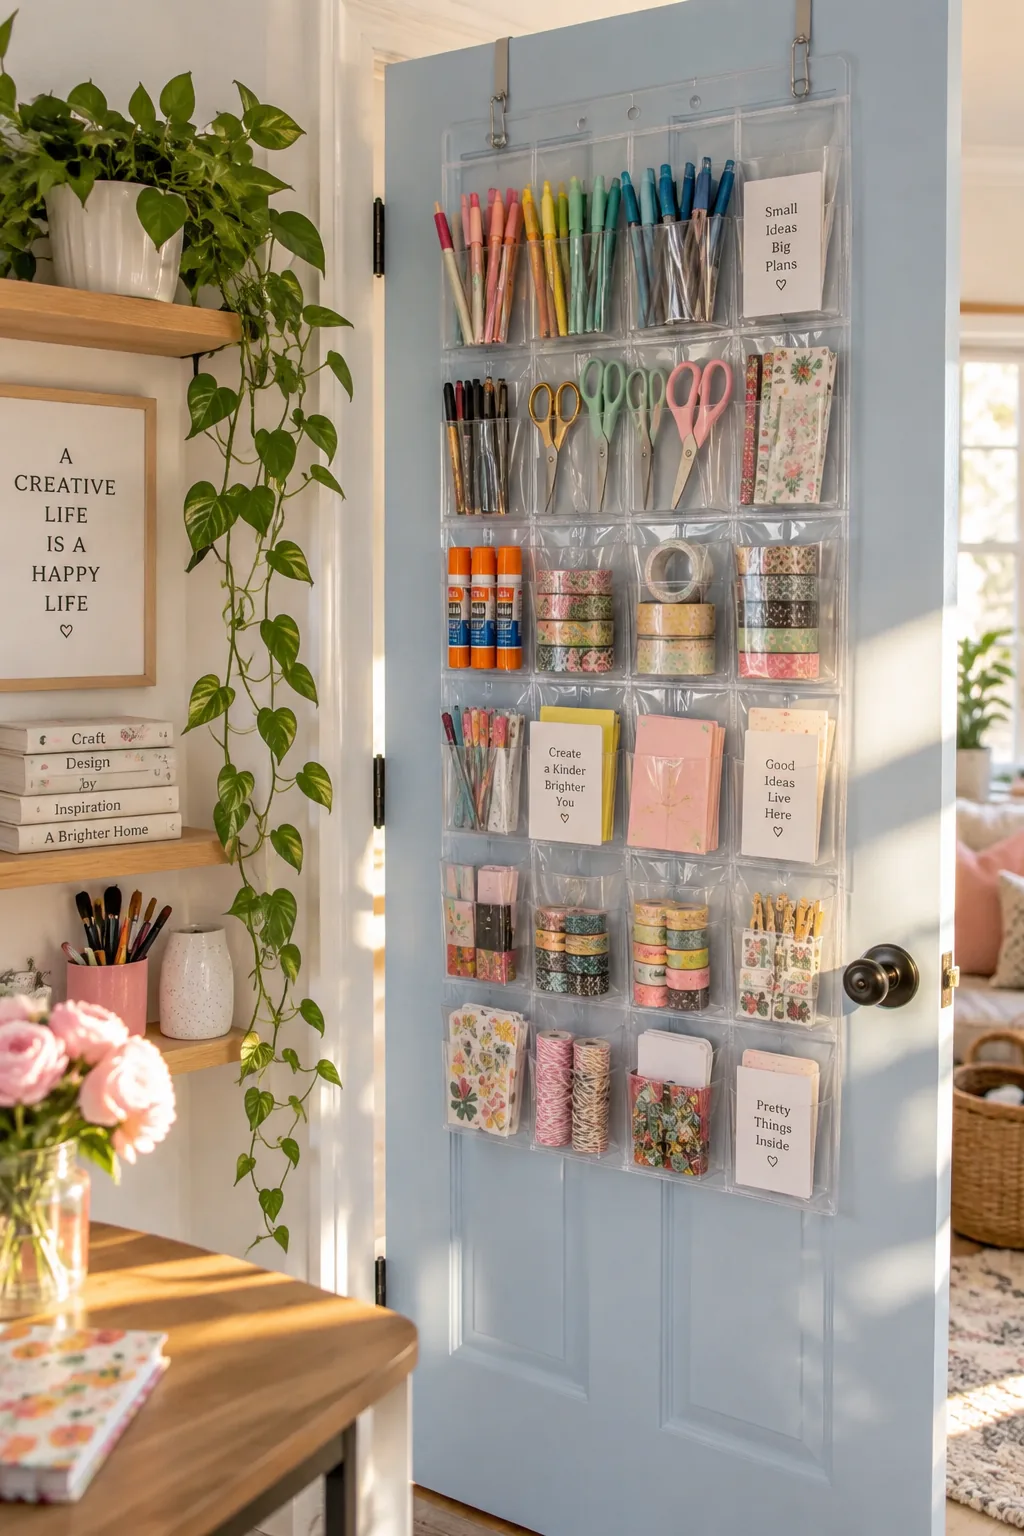
Utilizing the back of your door frees up precious wall space for larger storage units. An over-the-door shoe organizer with clear pockets is incredible for sorting markers, glue sticks, and small scissors. Every pocket acts like a mini drawer that takes up zero square footage.
Just make sure the door can still open fully against the wall.
11. Install Shallow Ledges
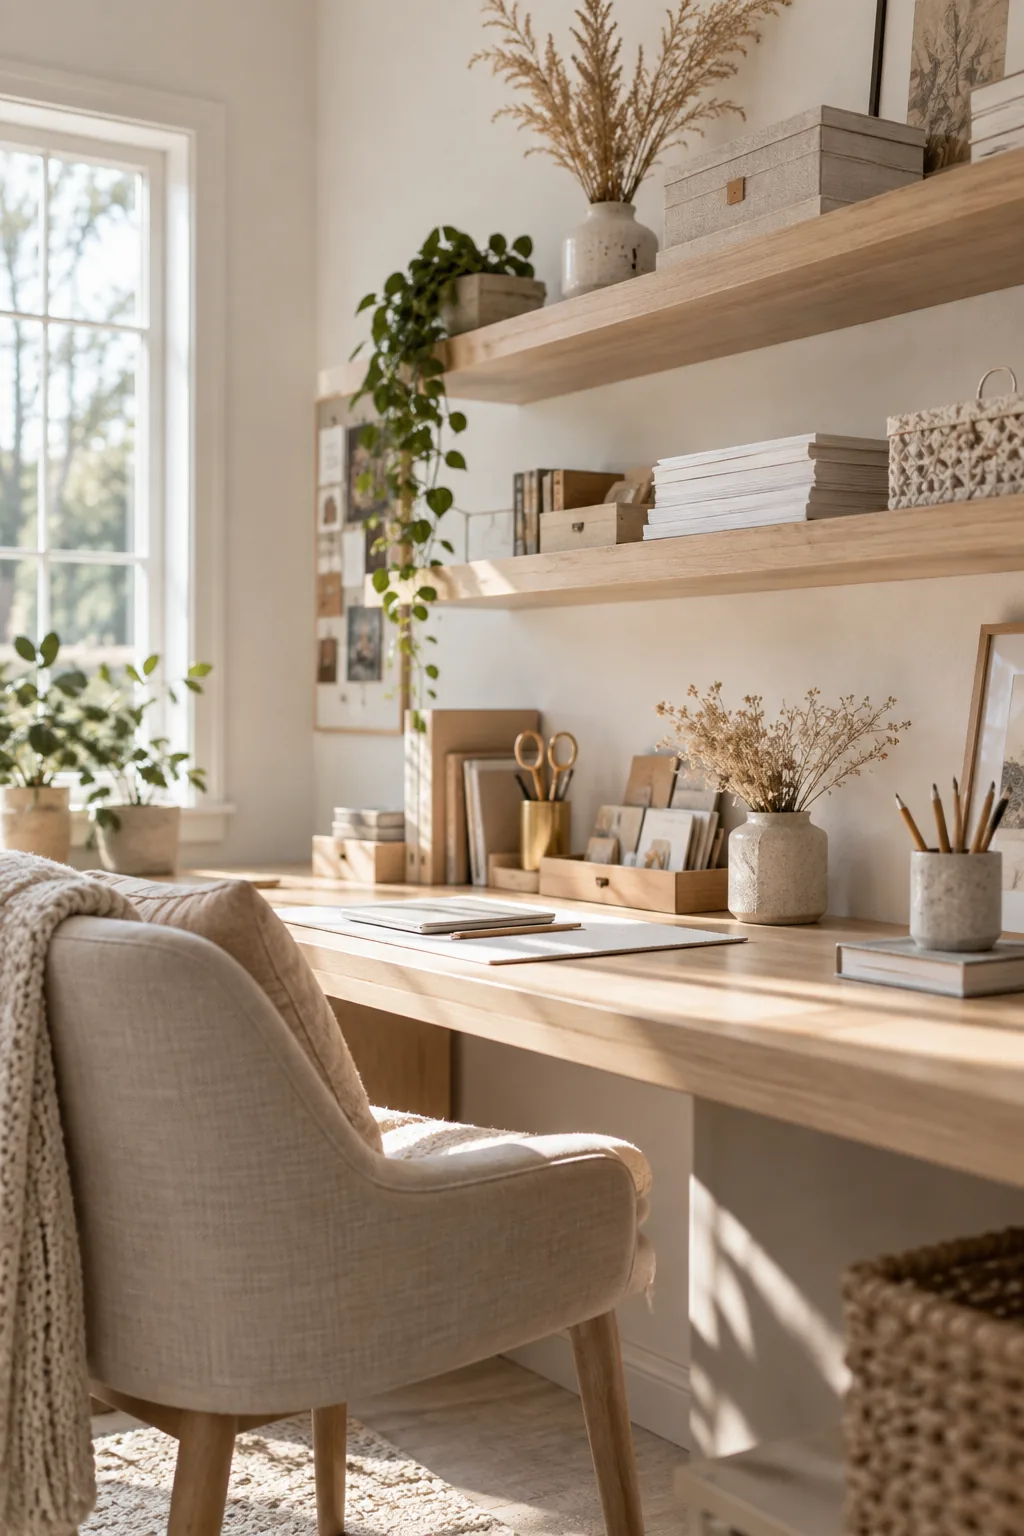
12-inch deep shelves are the perfect depth for storing paper stacks and standard craft boxes without losing things in the back. Installing these shallow ledges above your workspace keeps your desk completely clear for actual crafting.
Why it works: Shallow shelving prevents the dreaded clutter pile-up that happens on deep shelves.
12. Mount a Fold-Down Desk
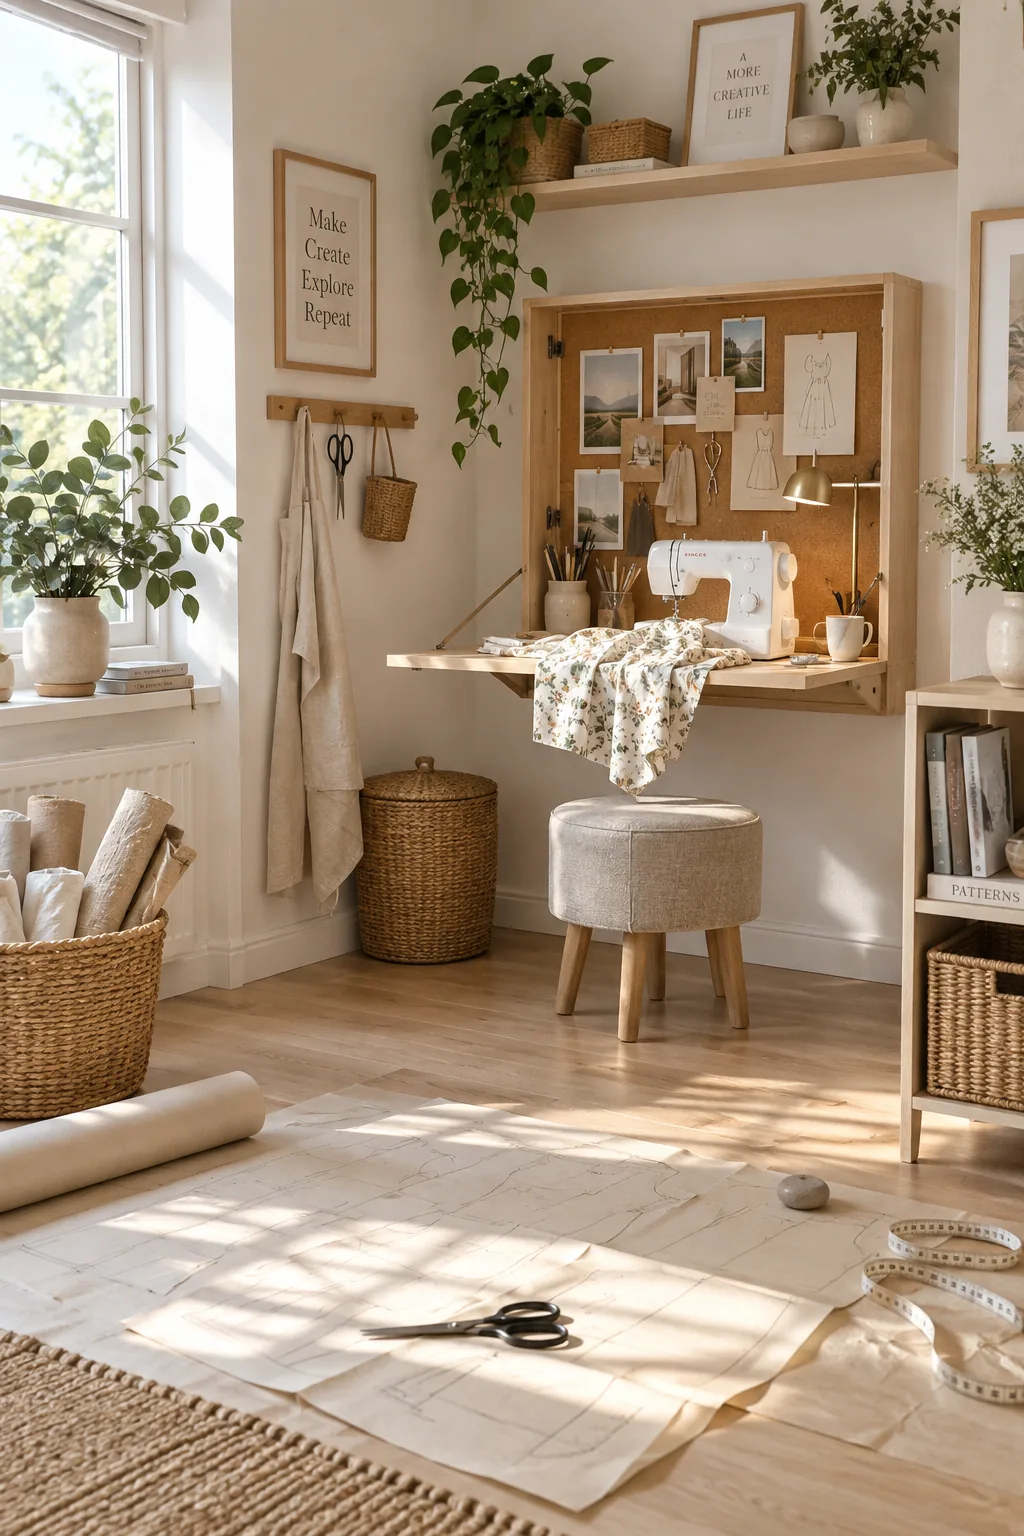
Hanging a fold-down desk transforms any empty corner into an instant workstation.
The hinged tabletop drops down when you need to sketch or sew, then folds flat against the wall when you are done. This leaves the center of the room completely open for cutting large patterns on the floor. You can even mount a corkboard inside the desk frame to pin up your current inspiration.