Small Dry Bar Setup: Essential Dimensions & Stocking Guide
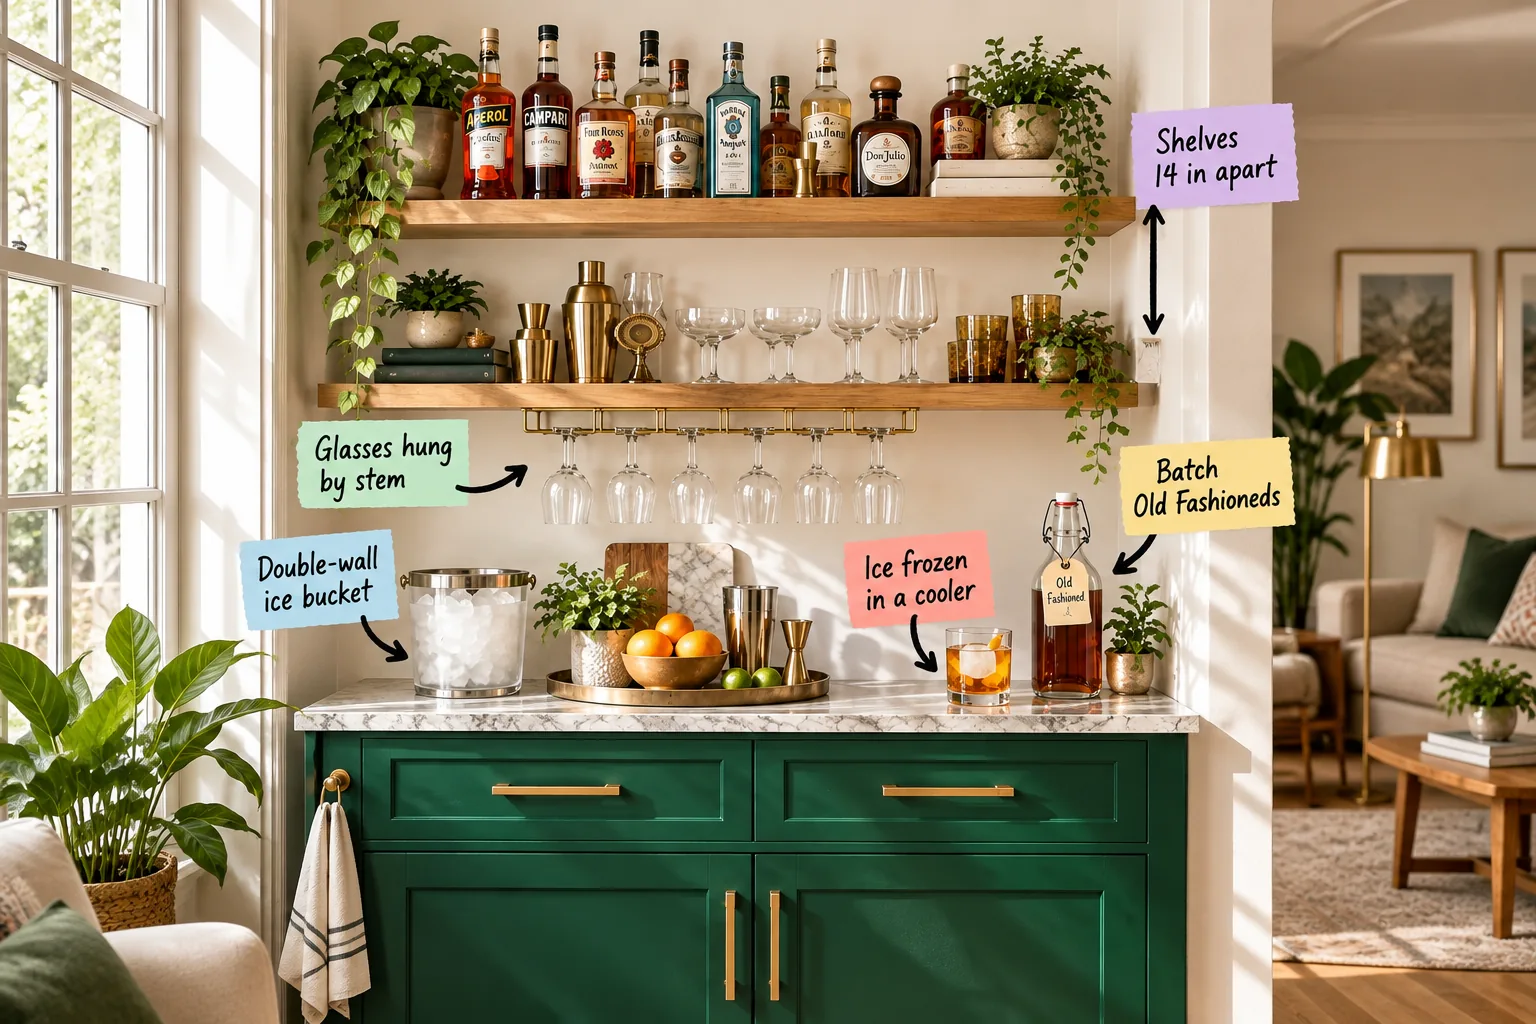
Turn your small alcove into a fully functioning dry bar by grabbing the Small Dry Bar Setup Sheet for exact shelf heights, counter depth, and a versatile 5-bottle shopping list. You will perfectly space your floating shelves, organize your hanging stemware, and confidently stock a compact well that handles any guest request.
Spacing the Floating Shelves
Mount your floating oak shelves with exactly 14 inches of vertical clearance between them to comfortably accommodate standard 11- to 13-inch tall liquor bottles. This specific measurement ensures you have enough finger room to easily lift a bottle from the back row without knocking over the front display.
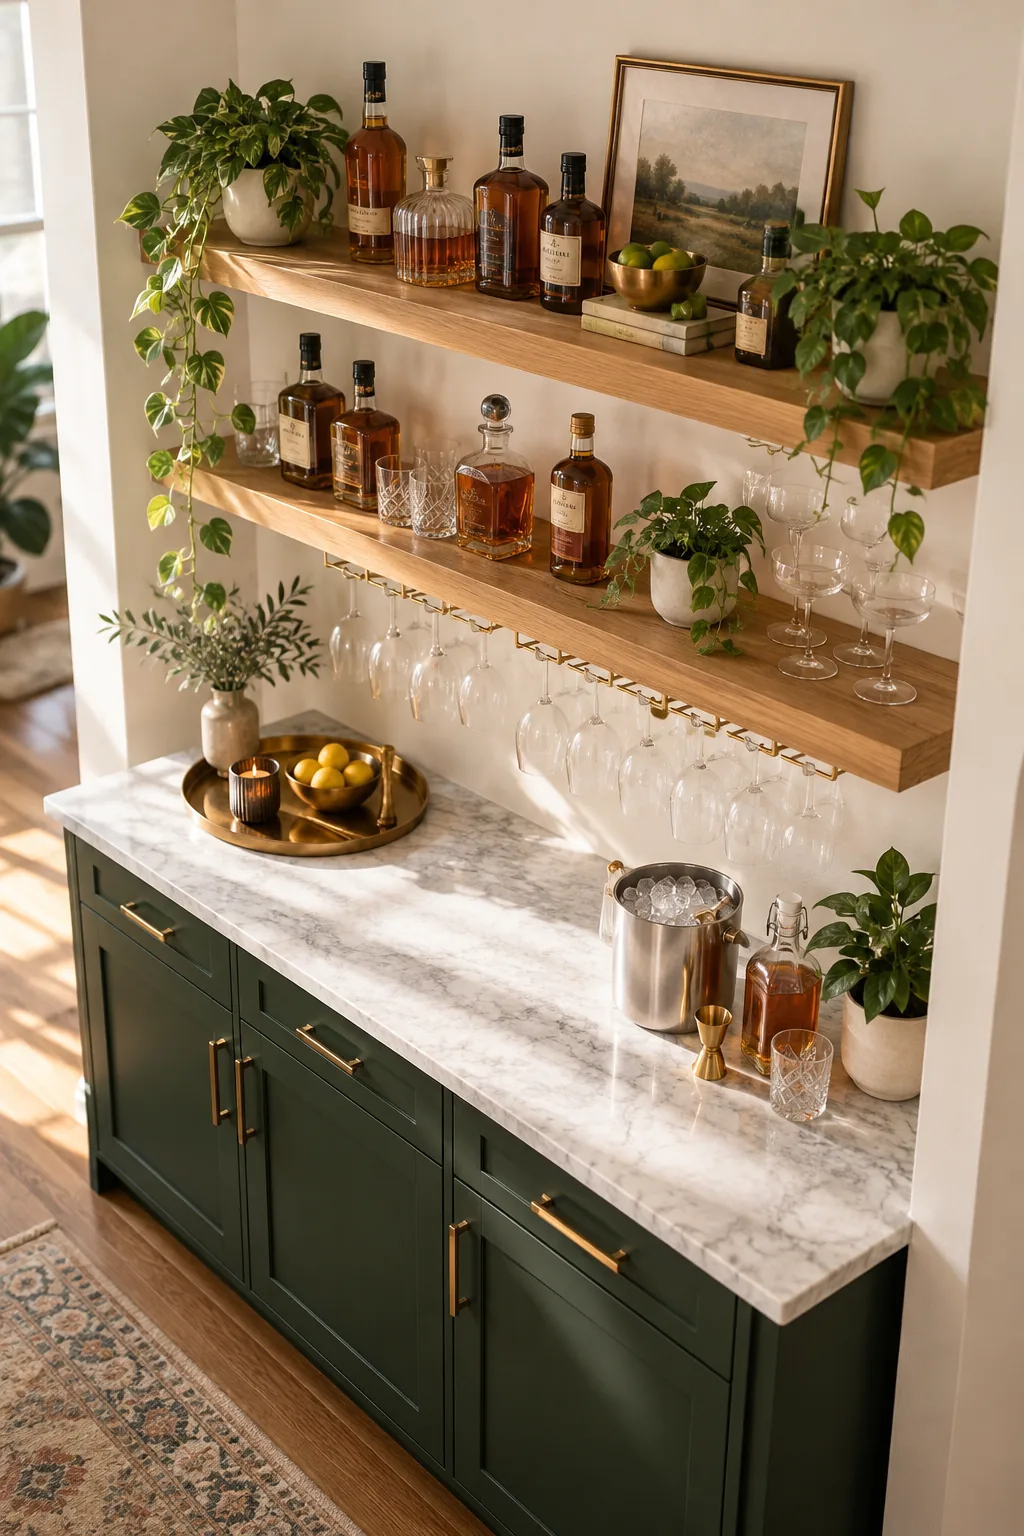
Leaving this precise vertical gap prevents the alcove from feeling cramped while keeping the heavy glass bottles visually anchored to the wall. It also provides the necessary breathing room to display taller specialty liqueurs or decanters without scraping the ceiling.
Choosing the Shelf Depth
A dry bar requires careful depth planning so you do not bump into the wooden shelves while mixing drinks on the counter below. Standard floating shelves should be 8 to 10 inches deep to securely hold two staggered rows of liquor bottles without overshadowing your active workspace.
| Shelf Depth | Bottle Rows | Best Application |
|---|---|---|
| 6 inches | Single row | Tight hallway bars |
| 8 inches | Staggered double | Standard dining alcoves |
| 10 inches | Full double row | Deep recessed niches |
Maintaining this relatively shallow profile ensures your mixing area remains well-lit and visually balanced, adhering to the Eastern principle of uncrowded, intentional negative space. A deeper shelf would cast harsh shadows on the counter and force you to lean uncomfortably forward while pouring.
Hanging the Stemware
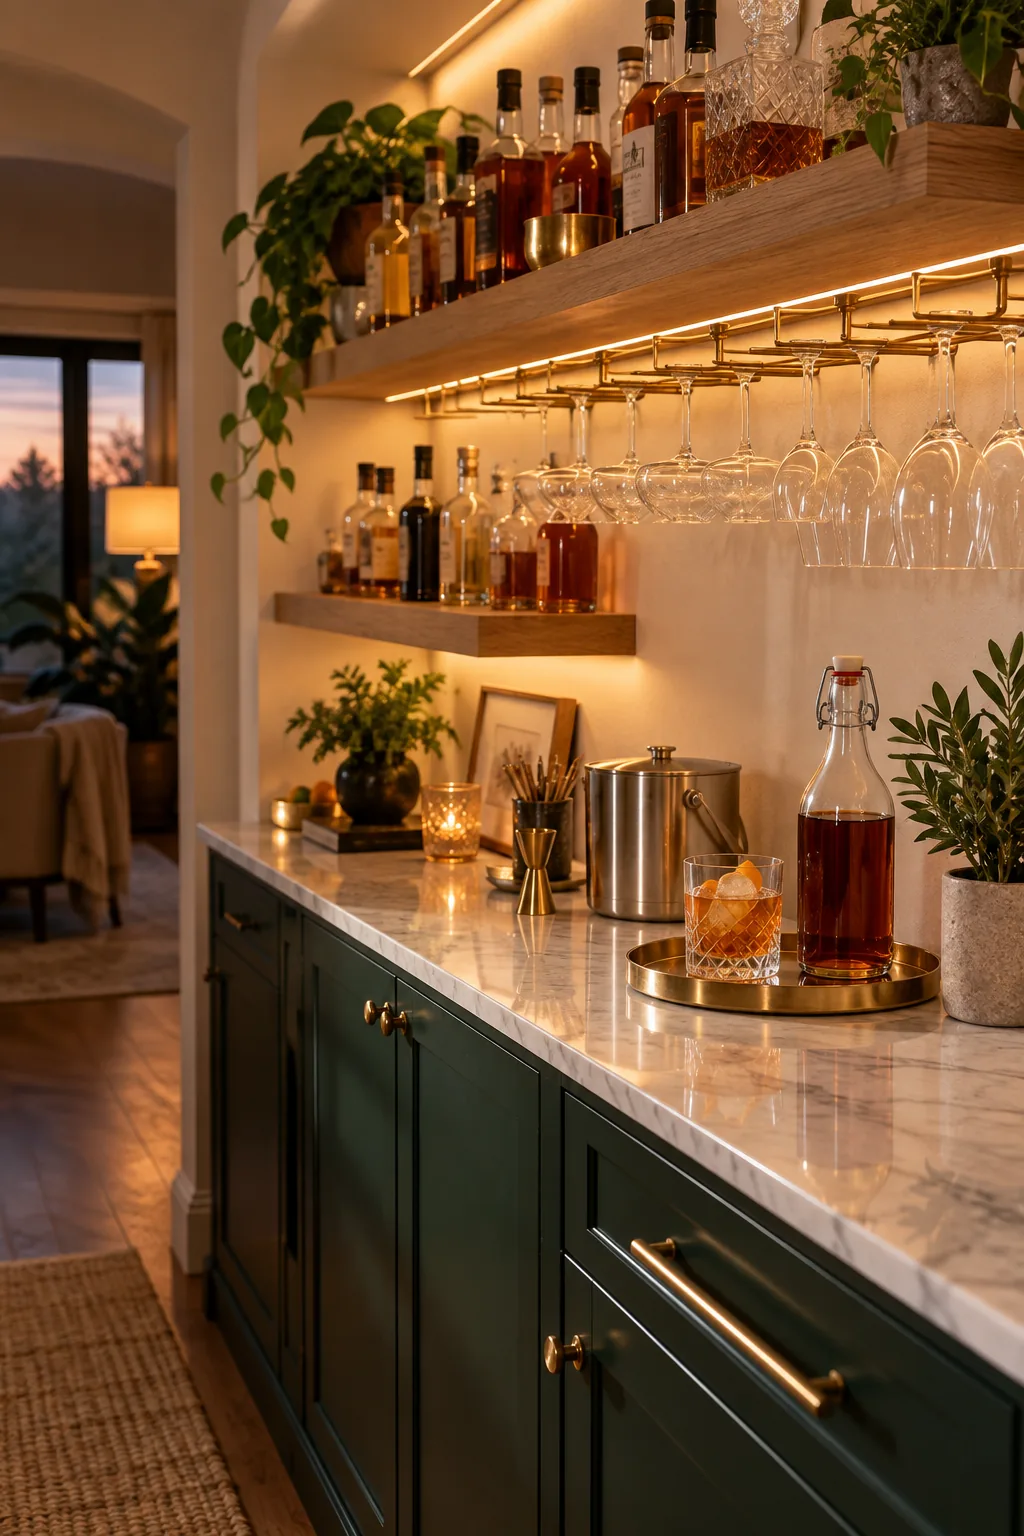
Install a brass glass rack directly beneath the lower shelf to intentionally utilize the dead space hovering above the mixing counter. Hanging coupes and wine glasses upside down by their stems frees up valuable shelf real estate for heavy bottles and bulky bar tools.
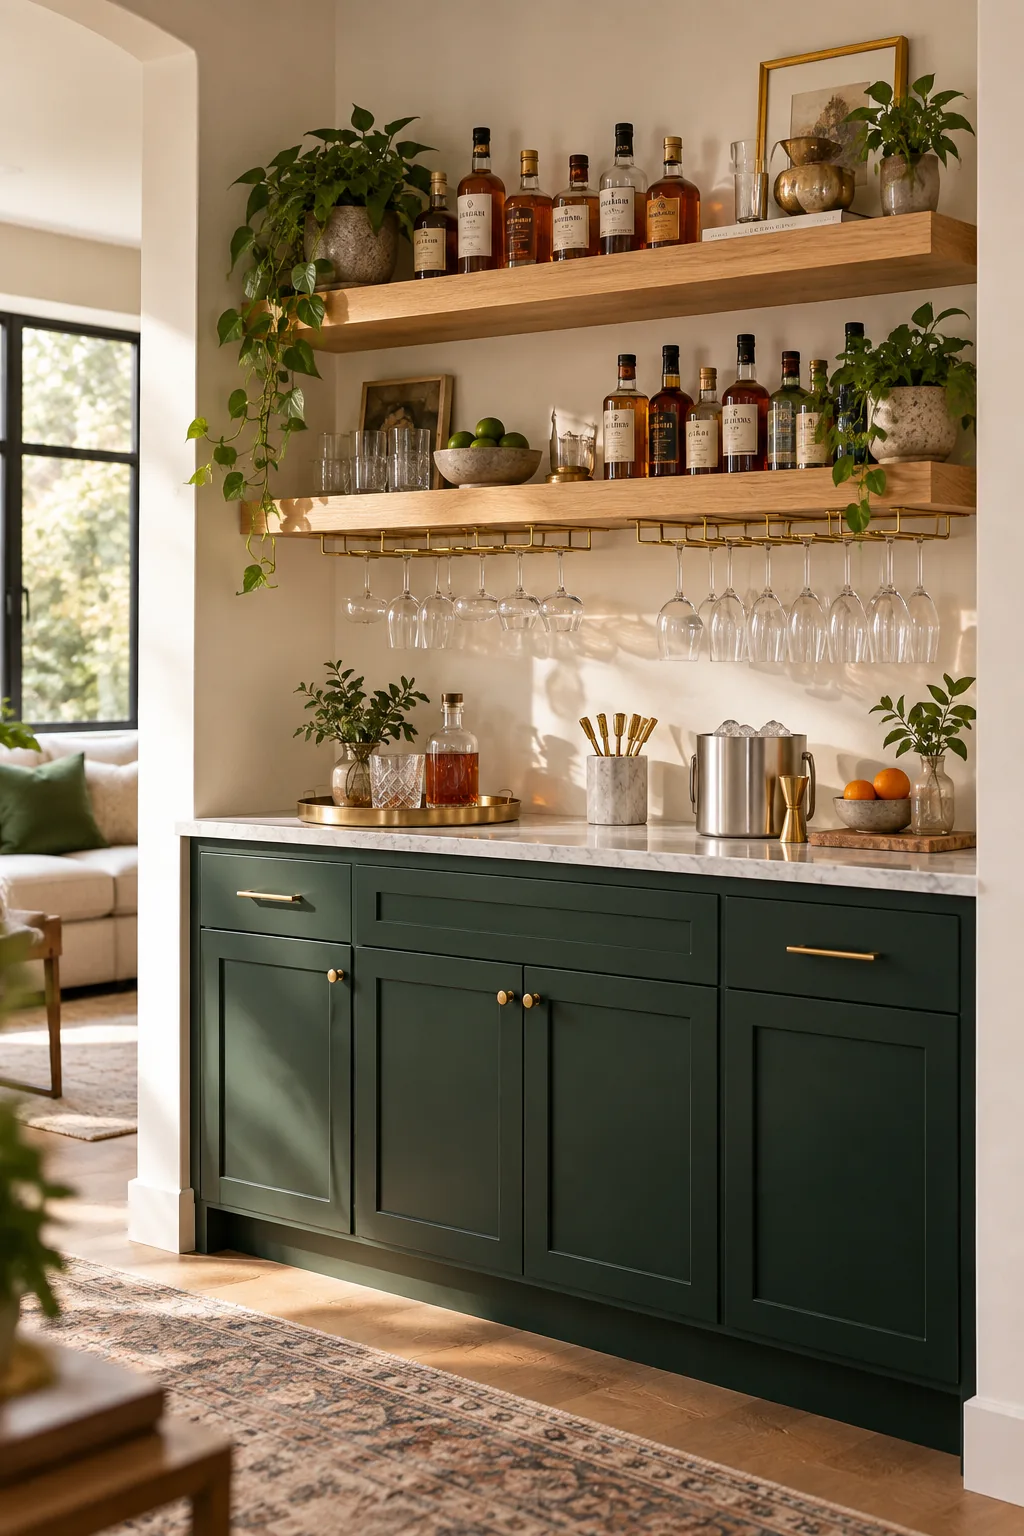
Suspending your delicate glassware in this manner also keeps settling household dust from collecting inside the bowls between weekend gatherings. This practical storage solution mimics the efficiency of a commercial back bar while adding a beautiful layer of reflective glass to your design.
Sizing the Glassware
When outfitting a compact bar, prioritize versatile glass shapes that can elegantly serve multiple types of cocktails without crowding the undermount racks. A 5.5-ounce coupe glass handles shaken drinks, while double old fashioned glasses, universal wine glasses, and tall highballs cover every other essential beverage requirement.
Curating the 5-Bottle Well
In my own Denver dining room, the bar alcove is exactly 48 inches wide, so I rely entirely on a highly versatile 5-bottle well rather than a sprawling commercial inventory. To maximize your limited shelf space while remaining ready for almost any guest request, stick to these five foundational spirits before buying niche liqueurs.
Balancing the Modifiers
Once your five foundational spirits are securely in place, you need a small selection of modifiers to actually build the cocktails. Vermouths, bitters, and simple syrups act as the essential connective tissue that transforms a harsh pour of straight liquor into a perfectly balanced, harmonious drink.
Selecting the Ice Bucket
Because a dry bar inherently lacks a sink or built-in refrigerator, all ice management must happen directly on the marble counter. A double-wall insulated ice bucket is absolutely mandatory to keep cubes frozen for hours while you mingle with your guests.
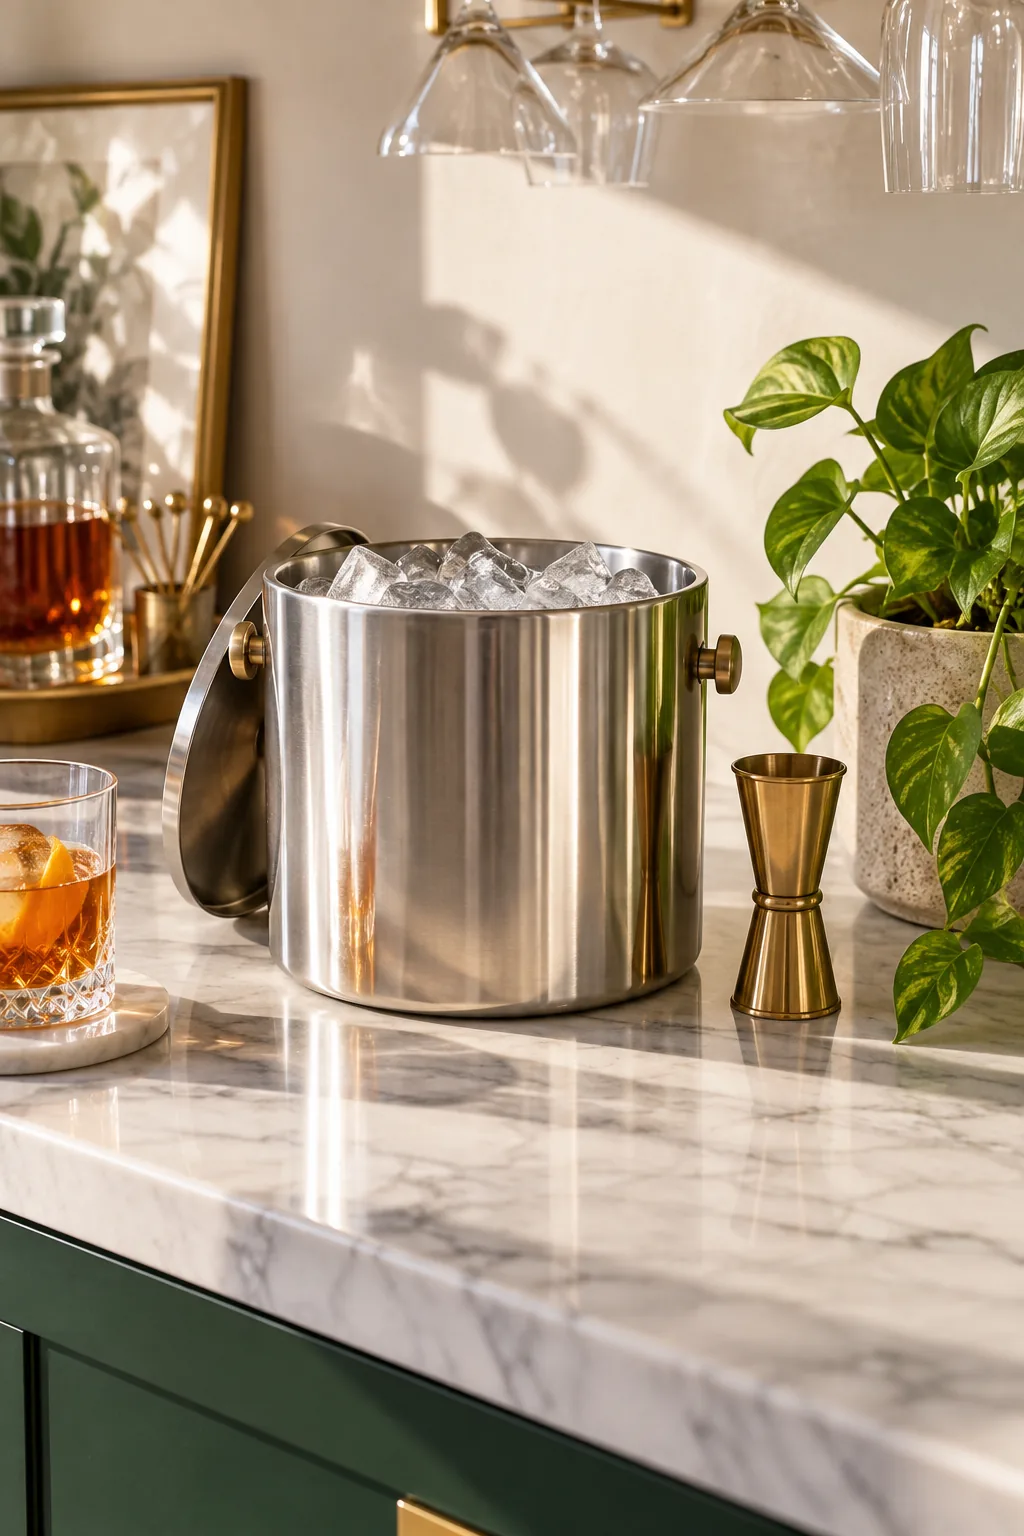
The vacuum-insulated layer prevents exterior condensation from forming, which completely protects your natural stone surfaces from damaging water rings. Skipping this insulation means you will constantly battle puddles on the counter, ruining the relaxed atmosphere of your carefully planned hosting zone.
Managing Counter Condensation
Even with a high-quality ice bucket, transferring wet cubes to glasses inevitably leads to a few stray water drops on the counter. Placing a highly absorbent, textured linen runner beneath your active mixing zone catches these minor spills before they can pool on the porous marble.
Freezing Clear Ice
Elevate the entire drinking experience by using the directional freezing method to create dense, perfectly transparent ice for your cocktails. Freezing water inside a small hard cooler placed in your chest freezer forces the trapped air and cloudy impurities to the bottom.
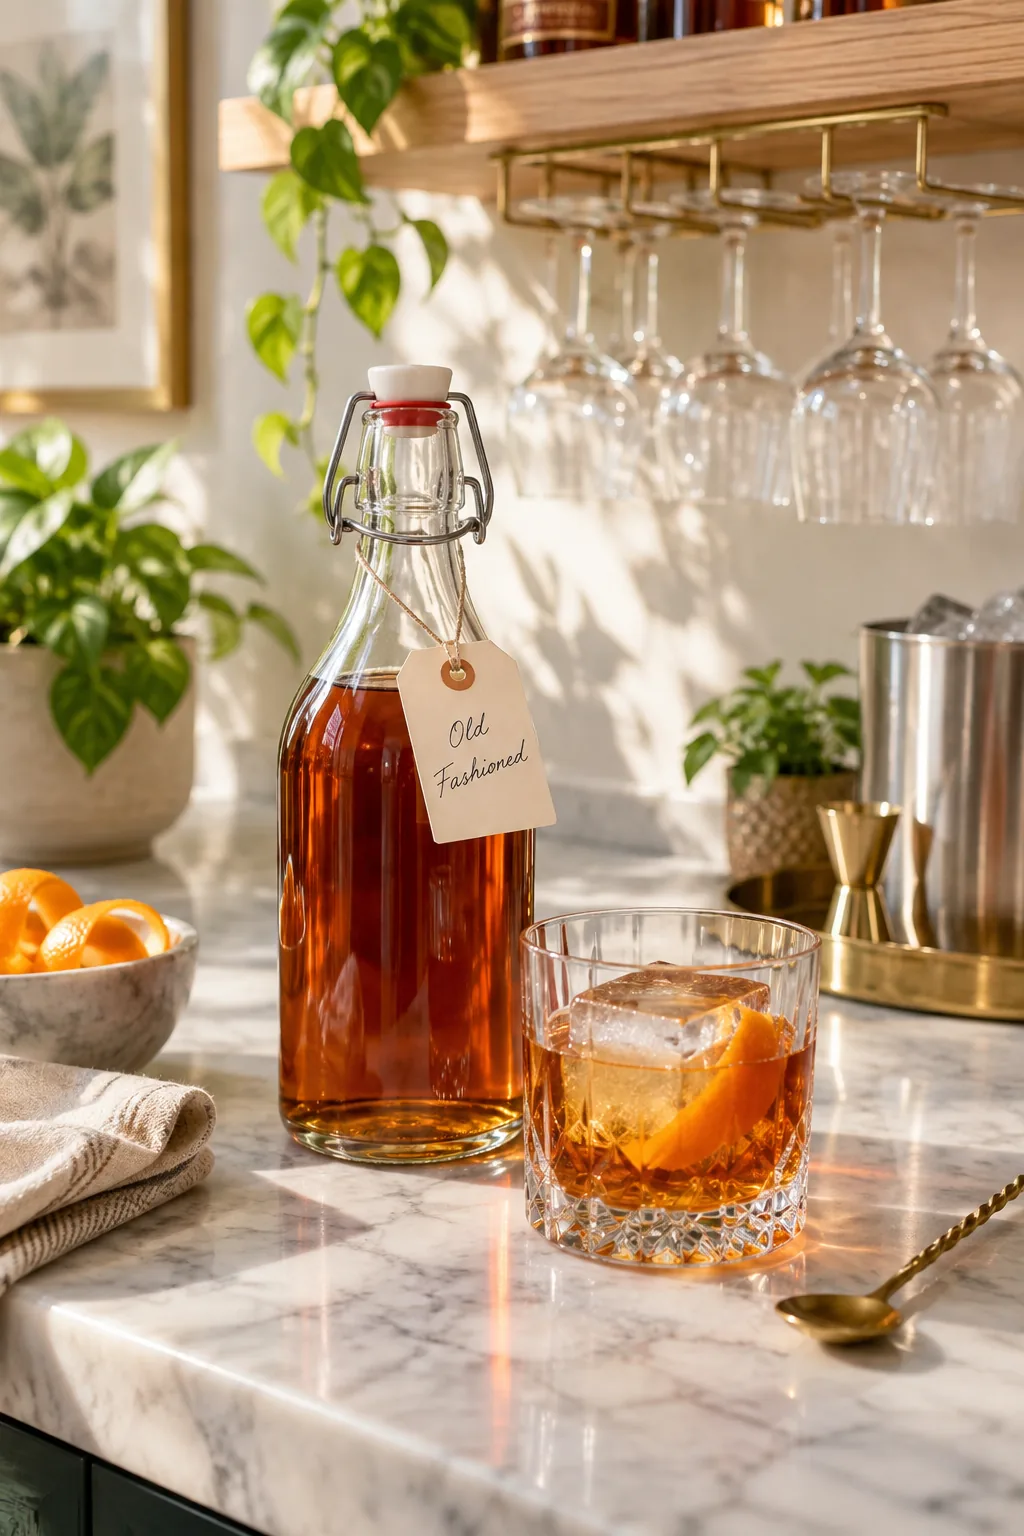
This simple technique yields crystal-clear ice blocks that melt significantly slower in a rocks glass, preventing excess water from diluting your carefully crafted drinks. The visual impact of a perfectly transparent cube instantly elevates a standard home cocktail to a professional standard.
Cutting the Ice Blocks
Once the directional freezing process is complete, you must harvest the clear top layer before the cloudy bottom freezes solid. Remove the block from the cooler and let it temper at room temperature for ten full minutes to prevent the ice from aggressively shattering.
Pre-Batching Cocktails
Whenever I host design clients for evening consultations, I minimize my active mixing time by pre-batching spirit-forward classics like Negronis and Old Fashioneds. Storing these prepared drinks in clear swing-top glass bottles directly on the counter allows guests to simply pour their own beverages over ice.
Batched cocktails that contain exclusively spirits, vermouth, and bitters will hold perfectly at room temperature without degrading in quality or flavor. This simple preparation strategy guarantees that you spend your evening engaging in conversation rather than frantically measuring sticky syrups in the corner.
Diluting Batched Drinks
When you pre-batch a cocktail in a swing-top bottle, you are skipping the traditional stirring process that normally adds essential water to the recipe. To ensure the drink tastes perfectly balanced straight from the bottle, you must add 20 percent filtered water to the total batch volume.
- Measure the combined ounces of your spirits and liquid modifiers.
- Multiply that total volume by 0.20 to calculate the water requirement.
- Pour the calculated filtered water directly into the swing-top bottle.
- Gently invert the sealed bottle twice to fully integrate the mixture.
This precise mathematical dilution mimics the natural melting that occurs in a mixing glass, resulting in a perfectly smooth pour every single time.
Prepping the Garnish Station
During a recent holiday party, I quickly realized that corralling small tools onto a lipped brass tray is the only way to keep a 48-inch counter organized. Rather than slicing fruit on demand and cluttering the marble top with cutting boards, prepare your citrus garnishes an hour early.
Selecting the Bar Tools
A compact home setup requires a highly streamlined approach to your mixing equipment to avoid cluttering the limited counter space. Stick to a heavy glass mixing beaker, a weighted shaker tin, a Hawthorne strainer, and a Japanese-style jigger for precise liquid measurements.
Maintaining the Marble Counter
Natural stone surfaces require immediate attention when acidic ingredients like fresh citrus juice or stray vermouth drops hit the counter. Keep a microfiber polishing cloth tucked discreetly behind the ice bucket to quickly wipe away aggressive spills before they can etch the delicate marble finish.
Lighting the Mixing Zone
A functional dry bar requires dedicated task lighting to safely measure ingredients, read recipe cards, and accurately express citrus oils over finished drinks. Installing a hardwired brass sconce or a rechargeable picture light directly above the top shelf casts a warm, downward glow over the entire counter.
Storing the Bar Towels
Frequent spills are an inevitable part of mixing cocktails, making accessible towel storage a crucial element of any dry bar design. Drape a clean linen towel over the edge of the ice bucket or tuck a stack of folded napkins onto the lowest shelf for immediate access.
The Complete Setup & Stocking Sheet
Bring all these exact dimensions and curated lists together to finalize your home bar using the Small Dry Bar Setup Sheet. This printable two-page guide includes the exact 14-inch shelf gap, the 48-inch counter width, and the complete shopping list for the 5-bottle well.
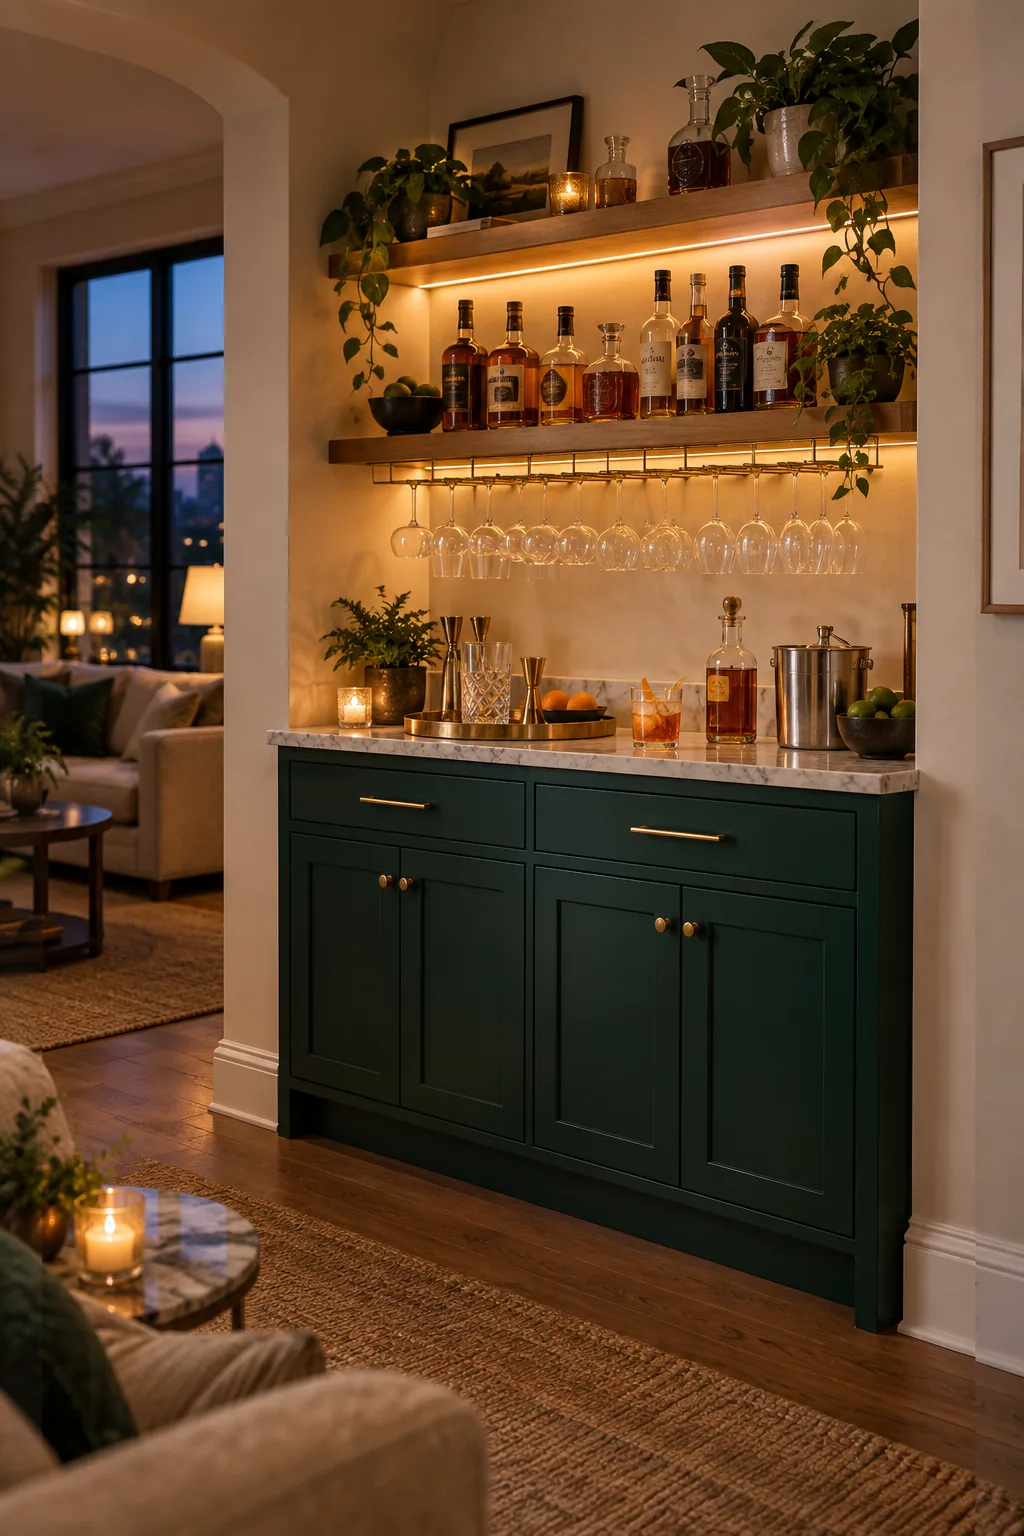
Print the complete setup and stocking sheet today to confidently space your floating shelves, map out your glassware racks, and stock your well for effortless hosting. Having these exact measurements and curated lists on hand removes the guesswork from building your ultimate home bar.
5 Ways to Style a Small Dry Bar
Explore how different cabinet colors, shelf materials, and lighting can completely change the mood of a compact alcove bar.
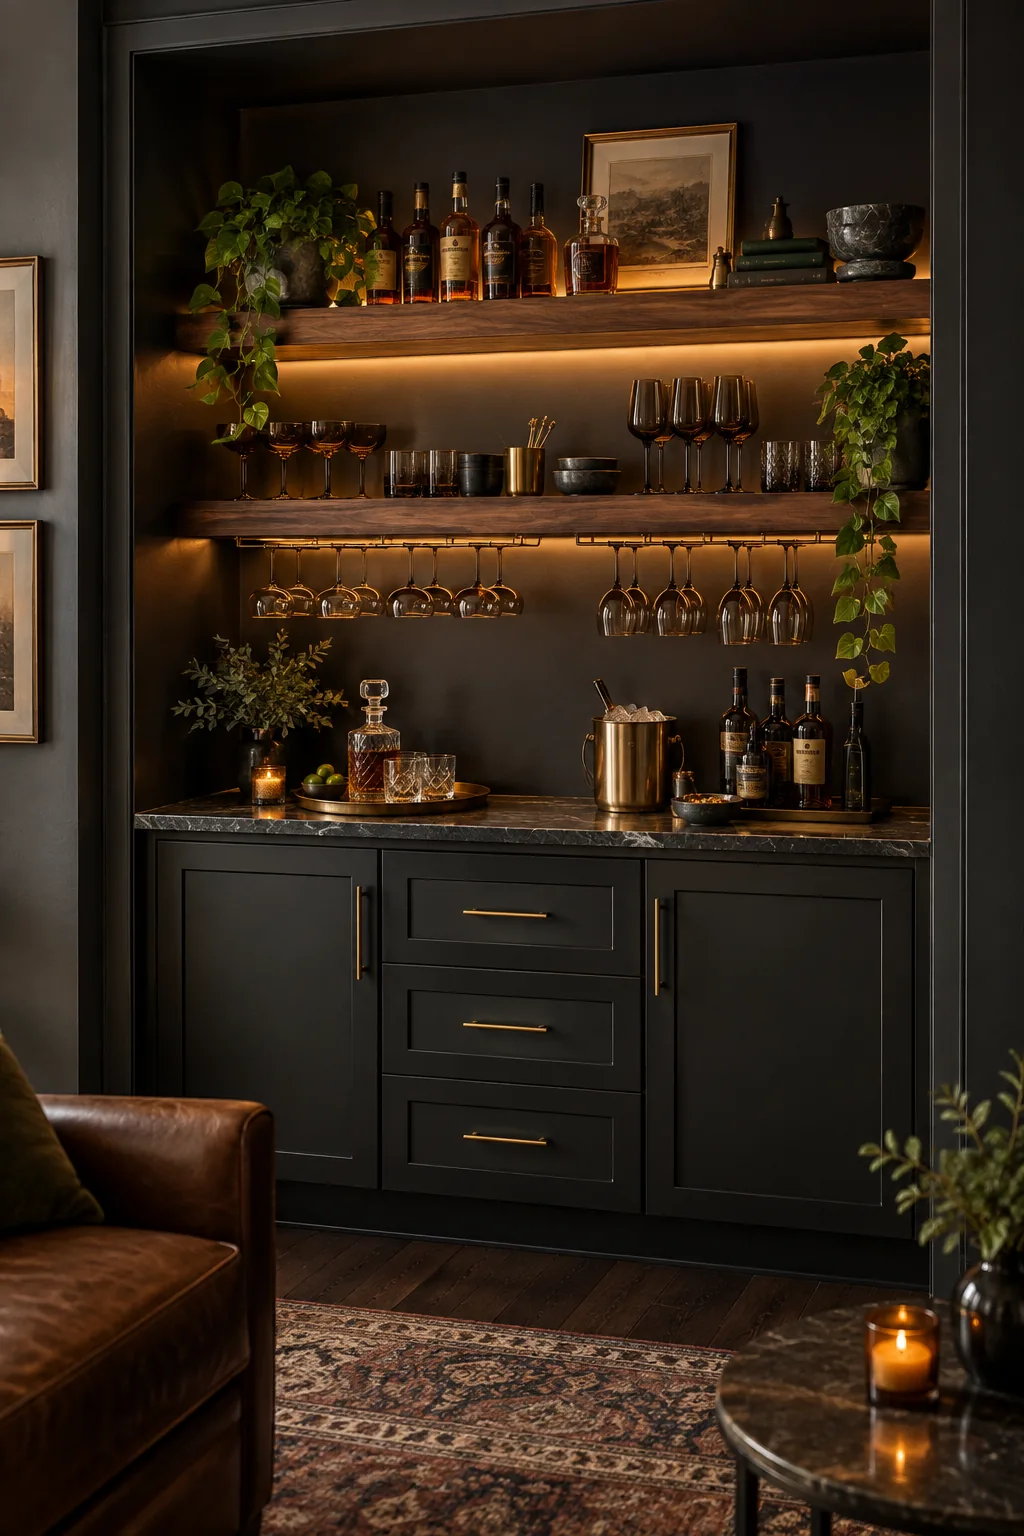
Moody speakeasy in dark charcoal: Deep charcoal cabinets and thick walnut shelves create an intimate, late-night atmosphere perfect for serving dark spirits.
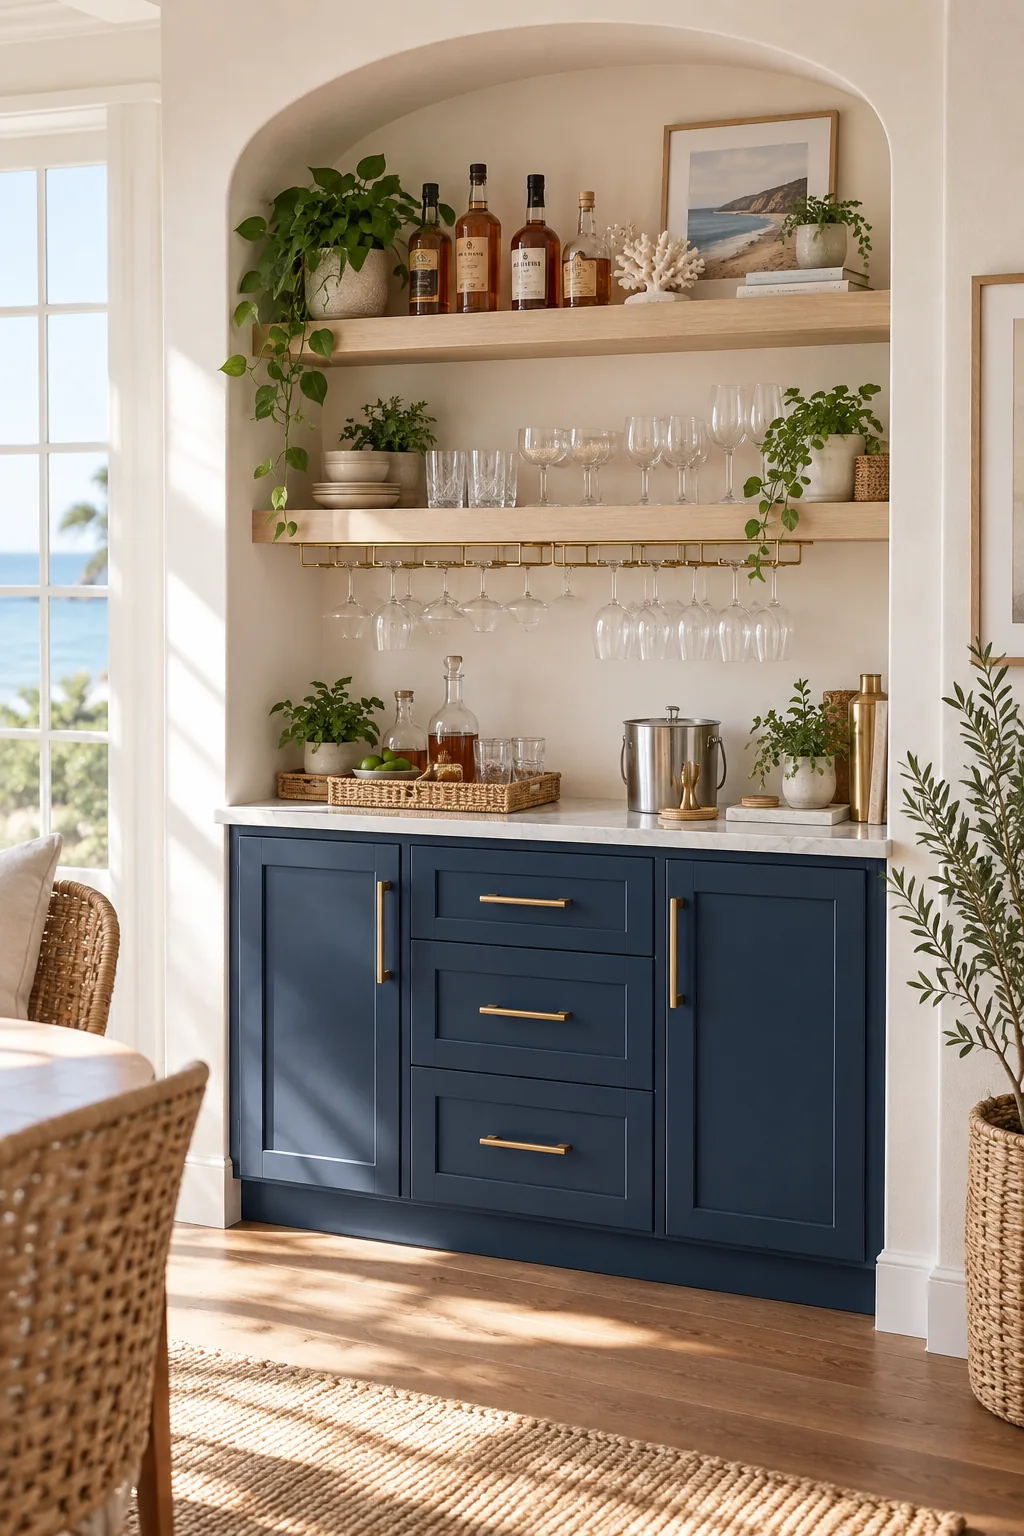
Coastal bright with navy blue: A crisp navy base paired with whitewashed oak shelves keeps the bar area feeling light, airy, and daytime-ready.
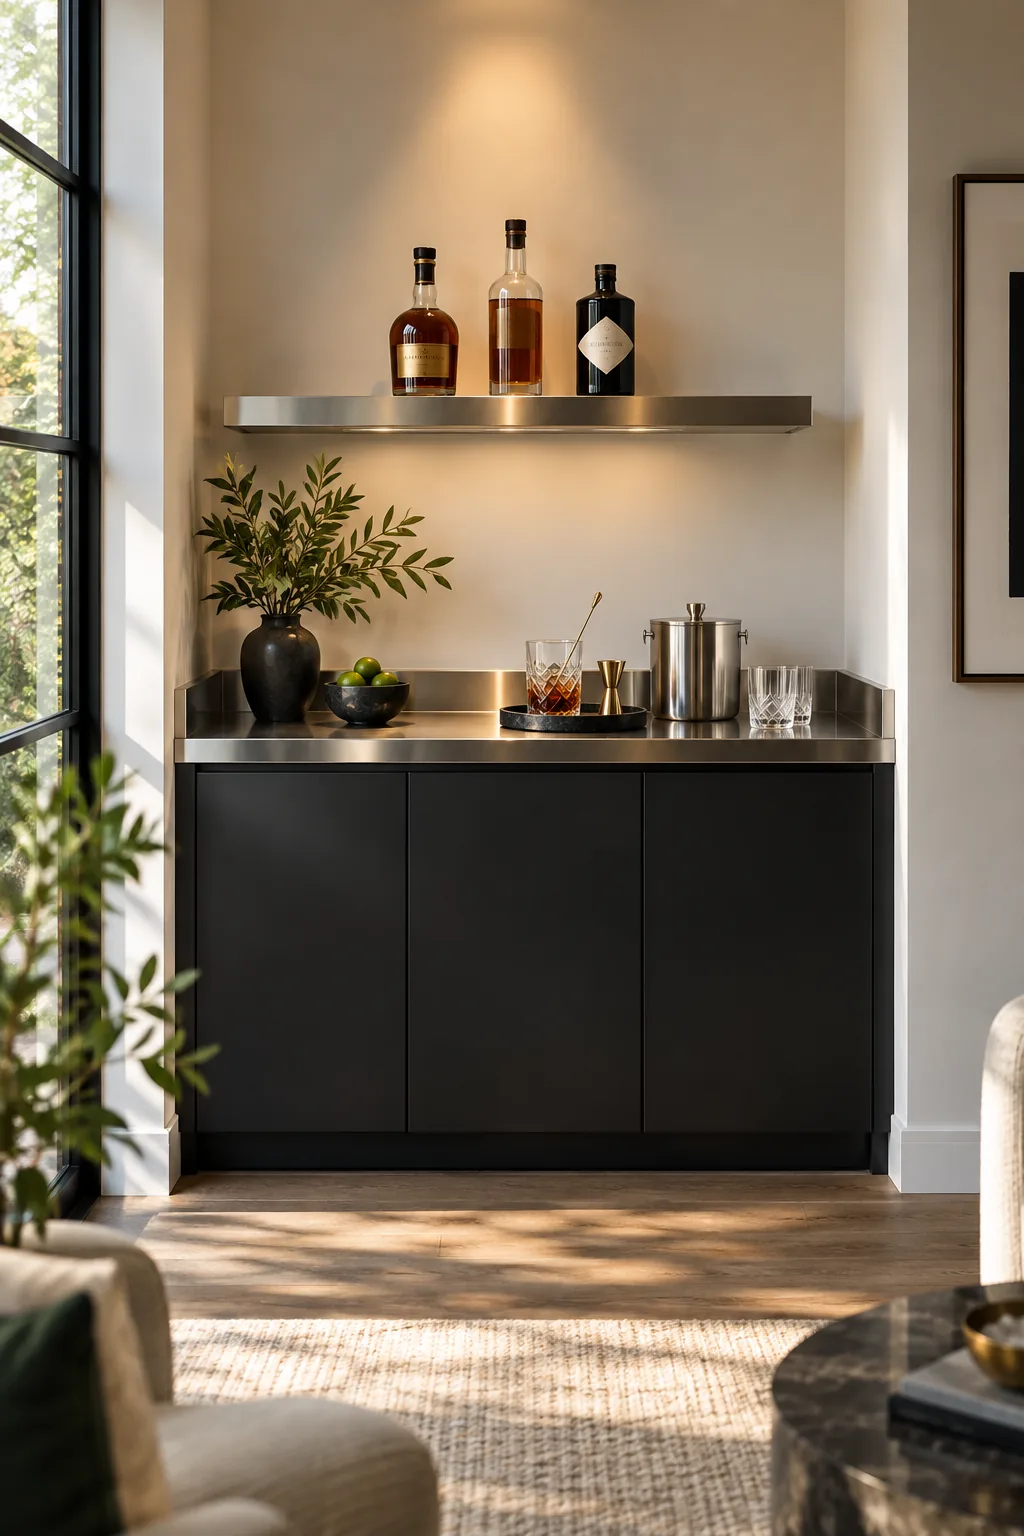
Modern minimalist in matte black: A stainless steel counter and a single metal shelf strip the bar down to its absolute, functional essentials.
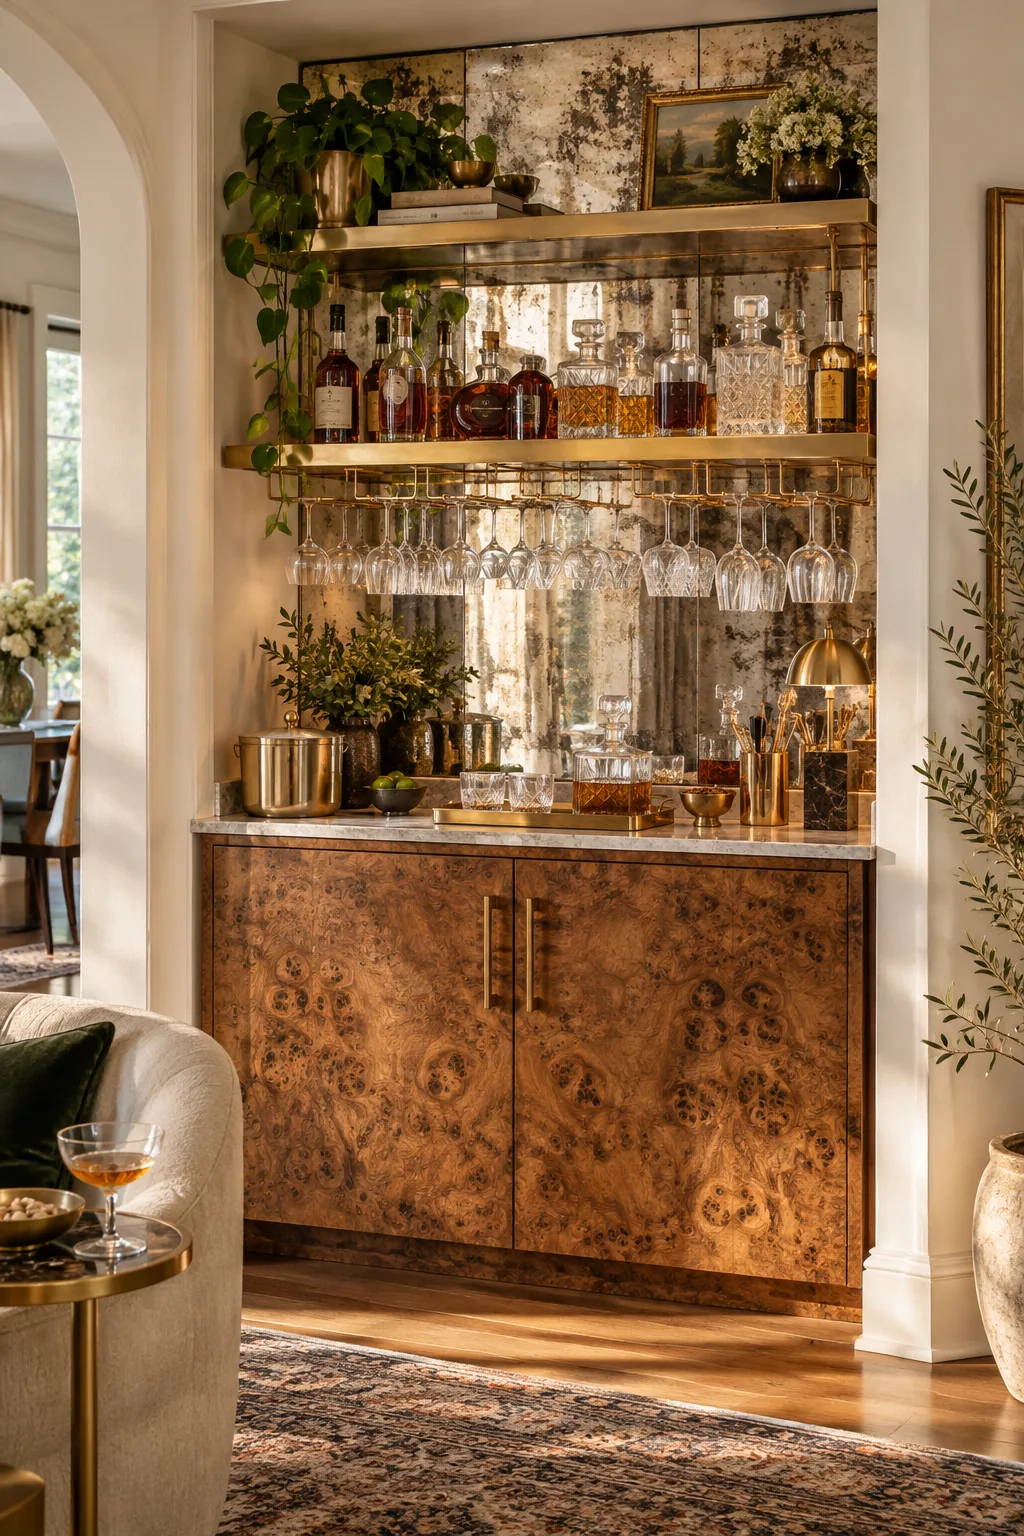
Vintage glam with burl wood: An antiqued mirror backsplash doubles the visual depth of a small alcove while reflecting the light from crystal decanters.
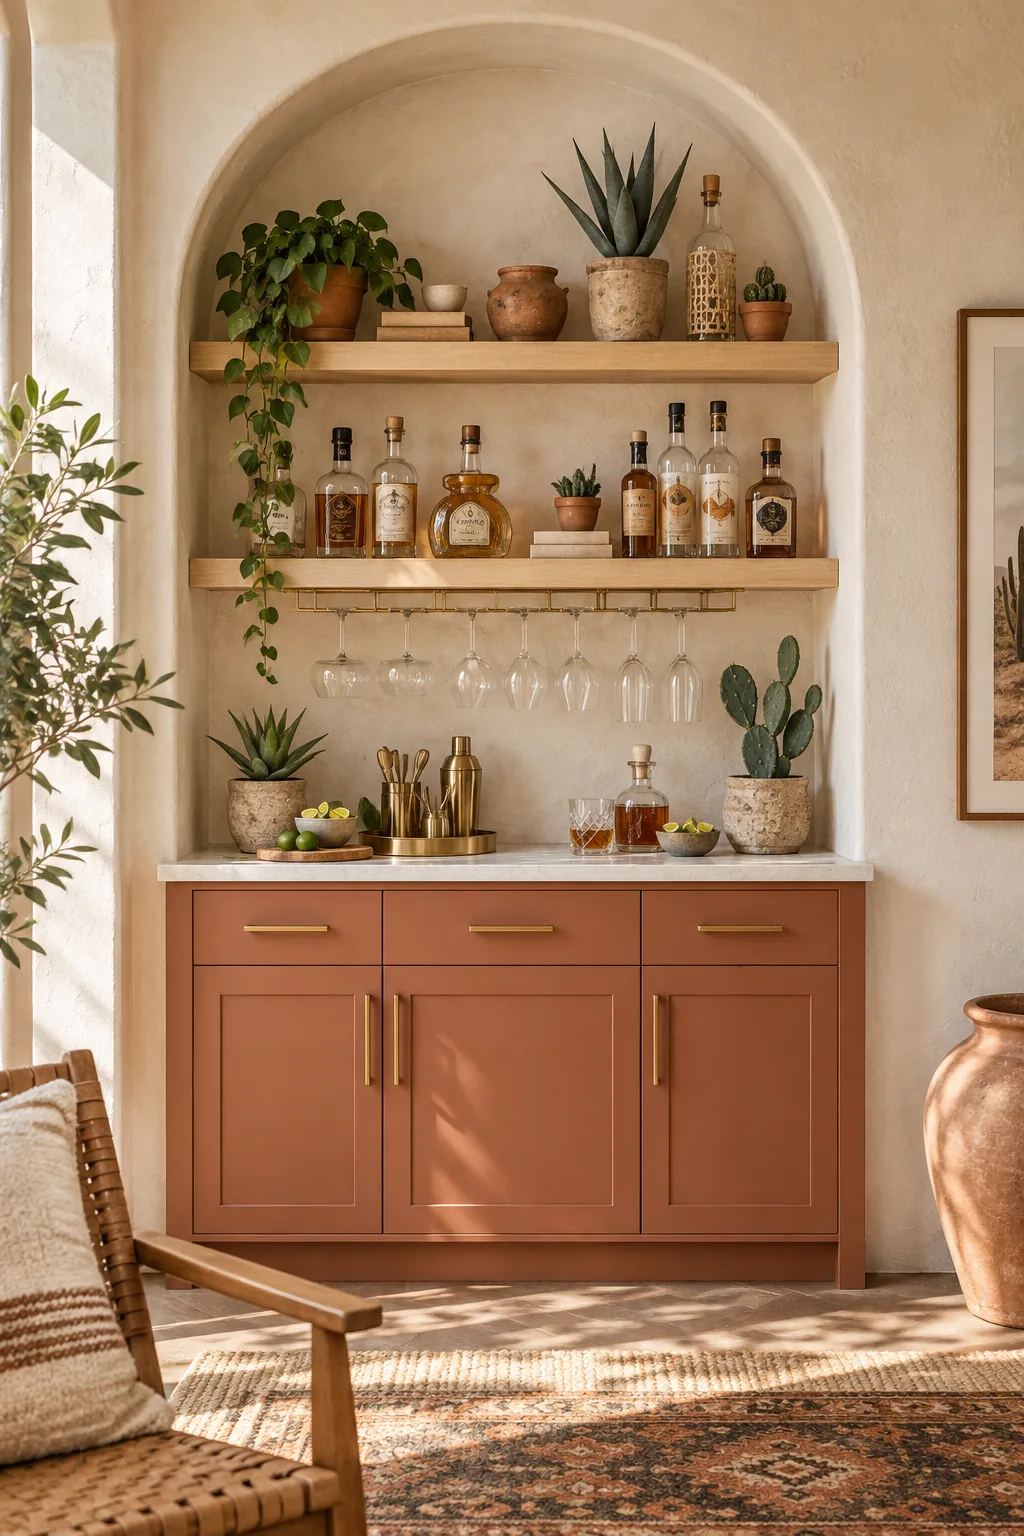
Desert boho with terracotta tones: Tucking raw pine shelves inside a smooth plaster archway gives the bar a warm, built-in architectural presence.