
Staircase Decor Rules: The Ultimate Measurement Cheat Sheet
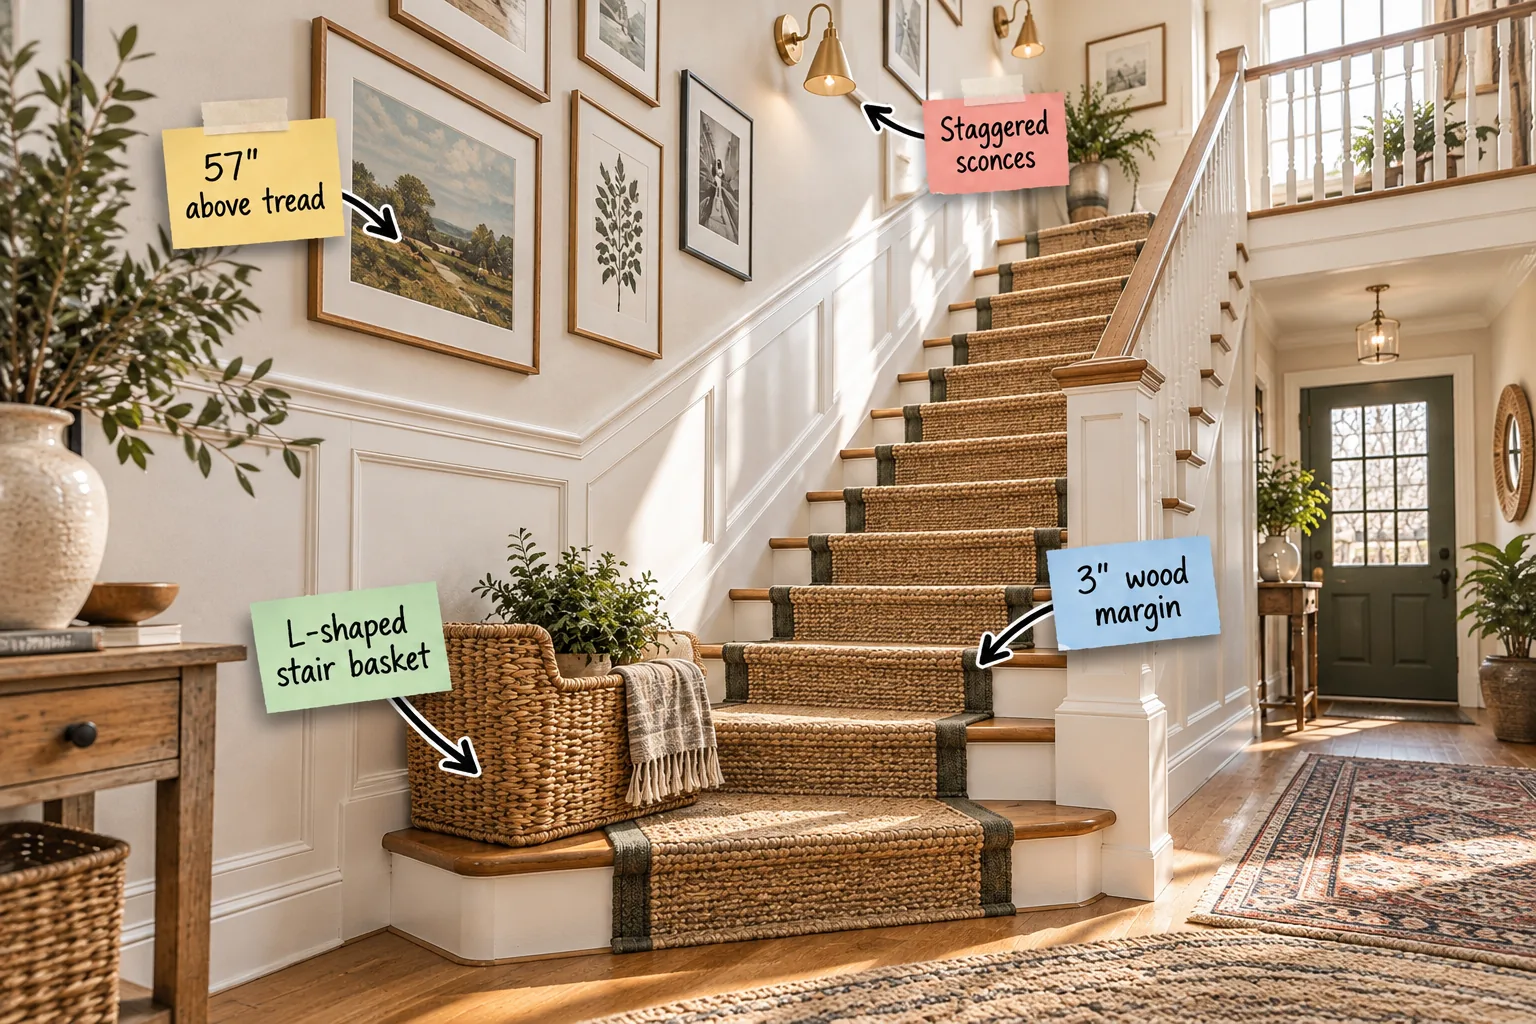
Take the guesswork out of your entryway with this complete staircase measurement and styling cheat sheet for perfectly proportioned runners, art, and lighting. You will be able to measure, place, and style every element with exact designer precision.
The Entryway Anchor
Start styling at the very bottom step to ground the staircase visually and establish the tone for your home. An entryway needs a strong foundation that balances daily utility with a welcoming aesthetic before the eye travels upward.
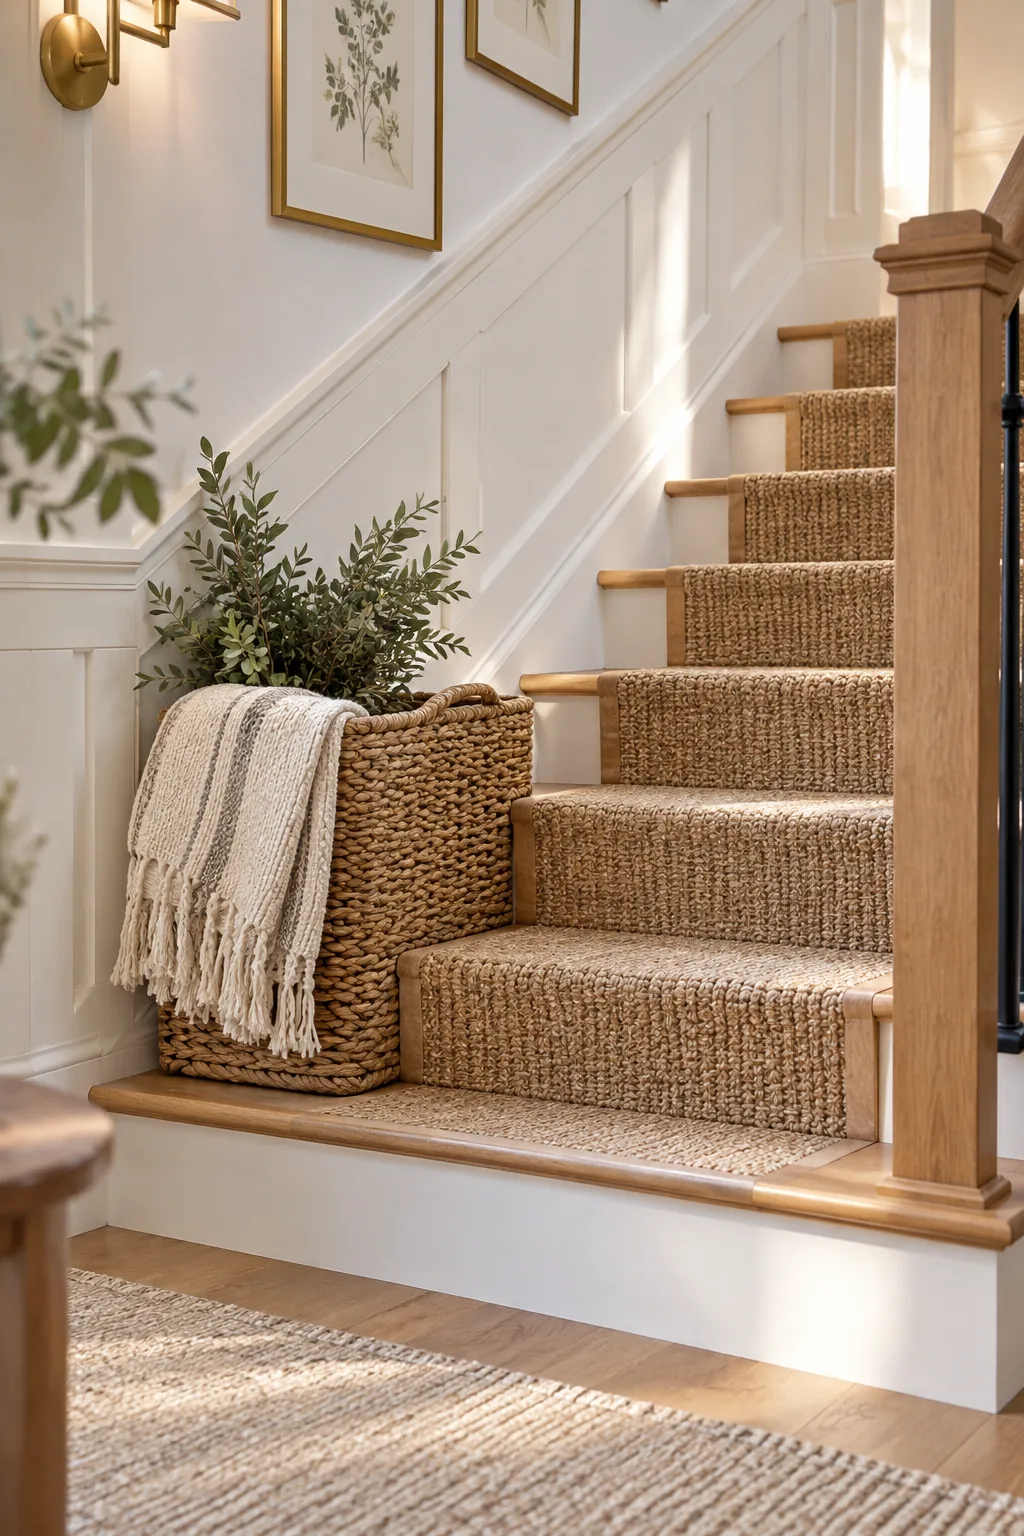
Maximizing Bottom Step Dead Space
The lowest treads often create awkward, unusable corners in a busy foyer. Placing an L-shaped stair basket utilizes the dead space on the lowest two treads for shoe or blanket storage without creating a tripping hazard in the main walkway.
Choosing a Woven Storage Material
Hardwood stairs demand contrasting textures to feel inviting rather than stark. Select a natural rattan or water hyacinth basket, as these organic materials introduce warmth and handle the daily friction of tossed scarves or heavy winter slippers.
Sizing the Stair Runner
A well-proportioned runner protects the stairs while showcasing the beautiful millwork underneath. Standard carpet rolls overwhelm a residential staircase, so you must calculate a custom width that balances the textile with the exposed architecture.
Calculating the Perfect Wood Margin
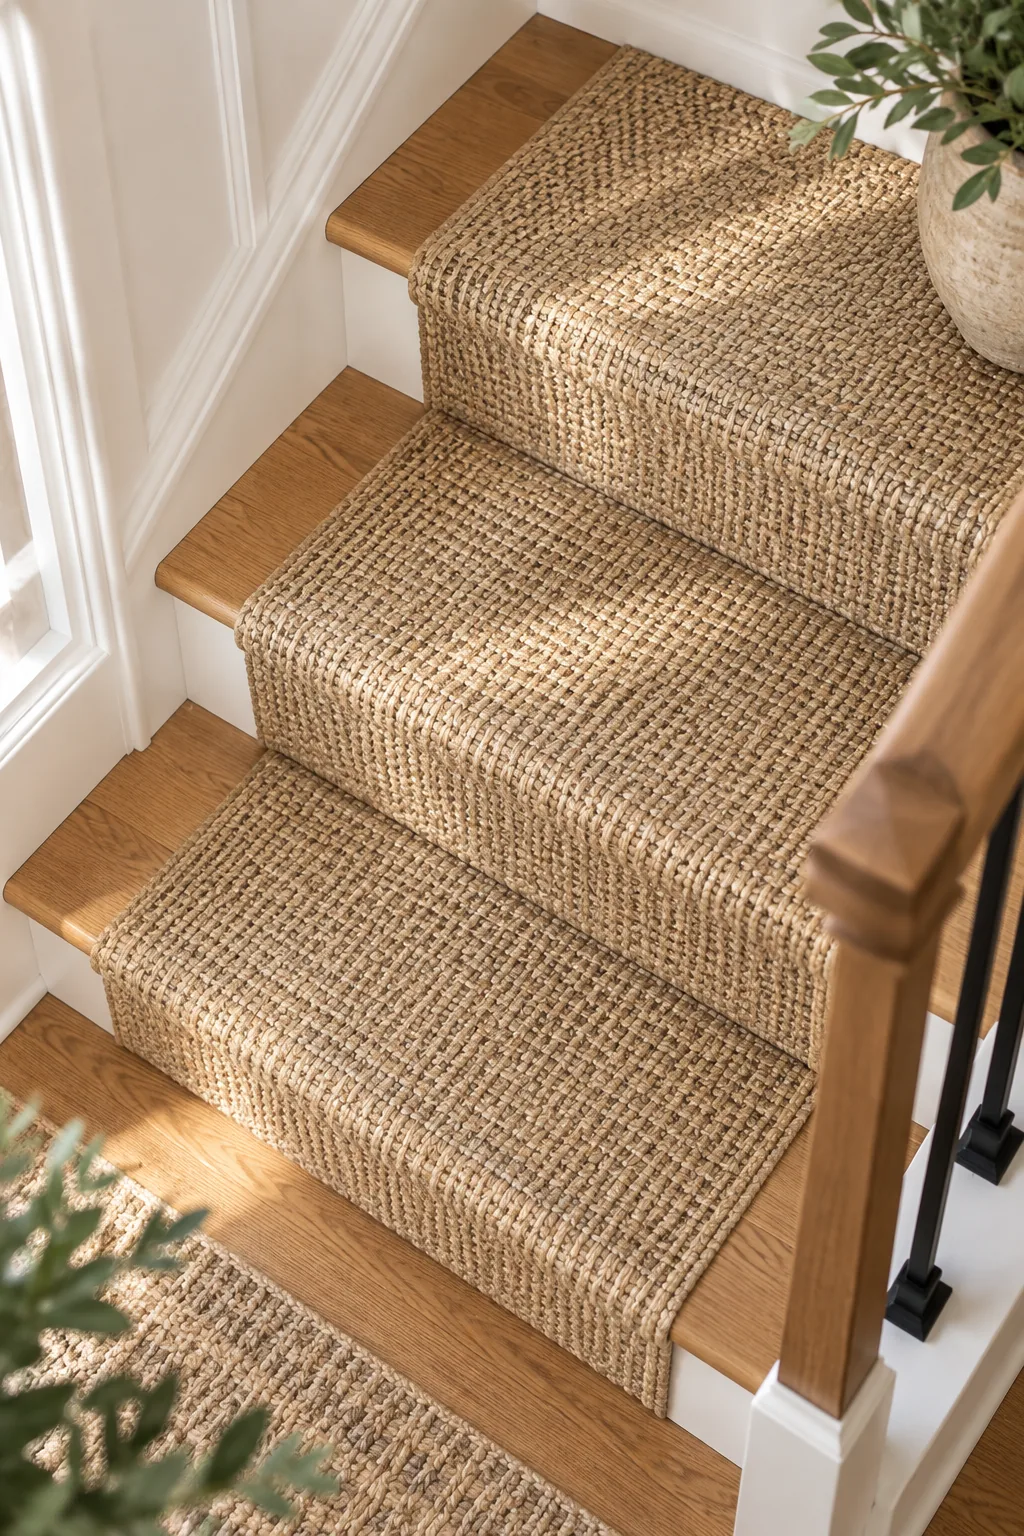
The standard designer rule is to leave exactly a 3″ wood margin on both sides of the tread. This precise border frames the textile beautifully and creates an optical illusion that makes narrow stairs feel significantly wider.
Selecting a High-Traffic Textile
Staircases endure the heaviest foot traffic in any home, requiring incredibly durable materials. Opt for a tightly woven jute, sisal, or a low-pile wool blend that resists crushing under pressure while hiding everyday dirt and scuffs.
Measuring the Tread and Riser
Ordering the correct runner length requires careful math rather than rough estimates. Measure the exact depth of one tread and the height of one riser, add them together, and multiply by the total number of steps.
Securing the Runner Safely
Proper installation is critical for both safety and aesthetics, a lesson I learned quickly when a shifting rug on my own Denver staircase almost caused a nasty fall. A tightly secured runner feels solid underfoot and prevents dangerous slipping.
Cutting the Hidden Rug Pad
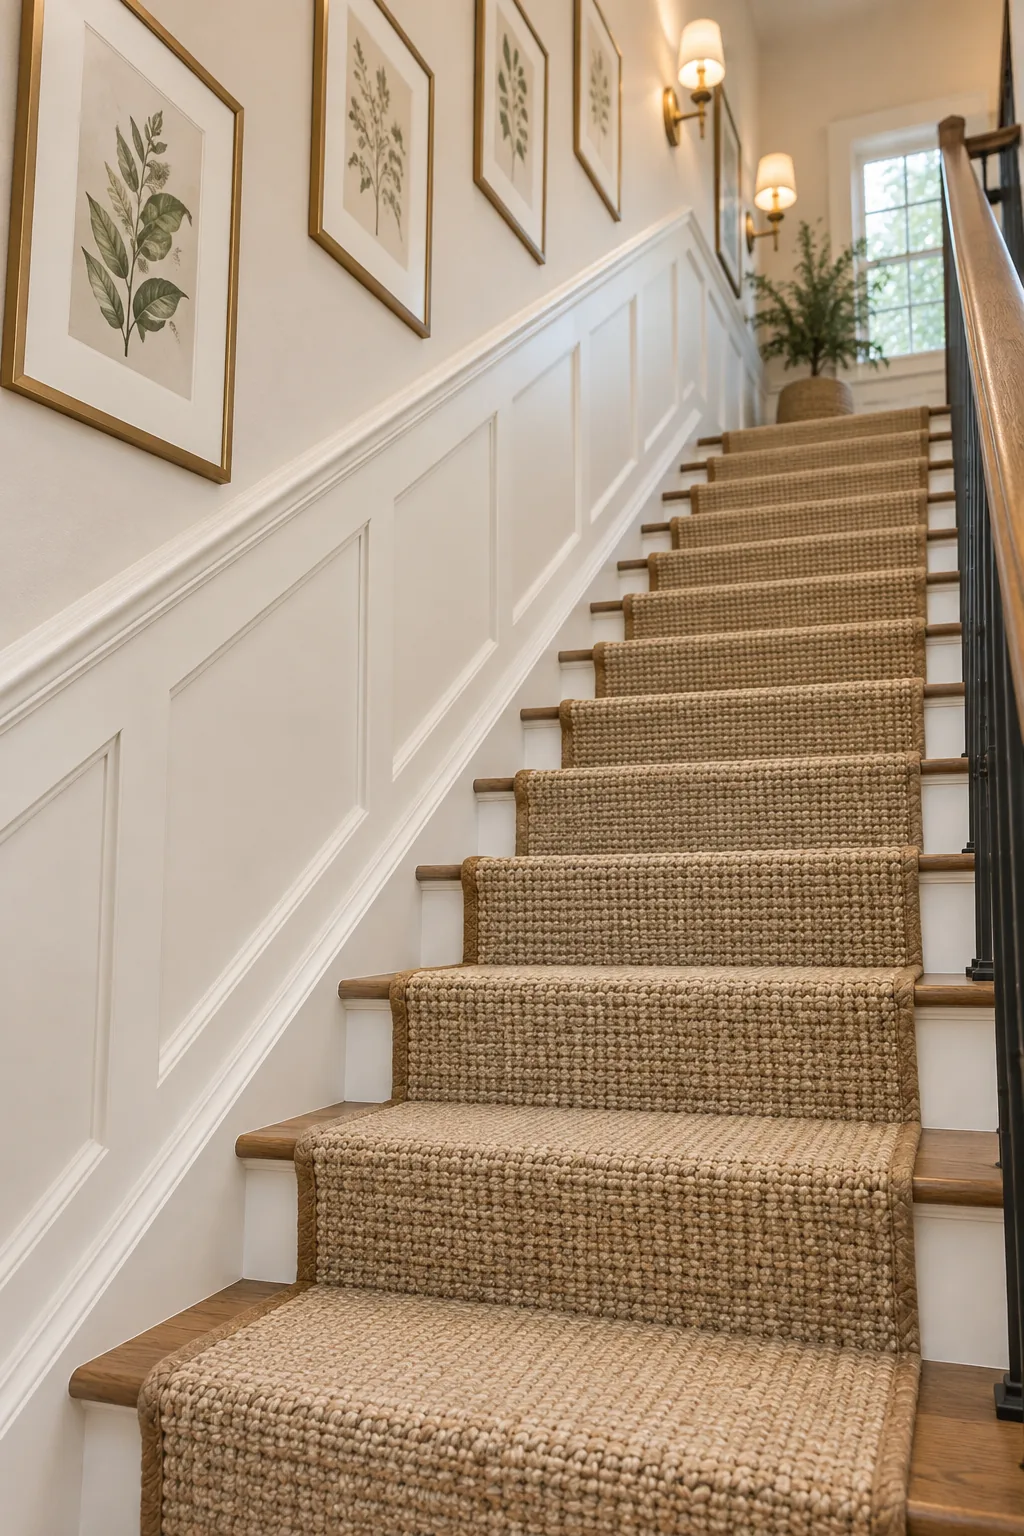
A thick pad provides necessary cushioning but looks sloppy if visible from the sides. Ensure the dense felt rug pad is cut exactly one inch narrower than the runner, leaving a half-inch recess on each edge.
Stapling Under the Nosing
Gravity constantly pulls the heavy textile downward with every step you take. Wrap the material tightly under the rounded nosing with hidden pneumatic staples, spacing them every two inches to prevent sagging or shifting over time.
Finishing the Runner Ends
The top and bottom edges of the runner require a clean, tailored finish to prevent fraying. Fold the raw ends under by at least one inch and secure them flush against the riser baseboard with a dense row of staples.
Vacuuming the Woven Textile
Natural fibers trap dust and dirt quickly in high-traffic zones. Use a suction-only vacuum attachment weekly, as rotating beater bars will pull the woven loops and cause permanent fraying along the runner edges.
Spot Cleaning Muddy Footprints
When wet boots inevitably leave marks on the stairs, resist the urge to scrub the fibers. Blot the stain immediately with a dry cloth, then dab gently with a mild soap solution to lift the dirt safely.
Planning the Gallery Wall
Hanging art on an incline requires a specific mathematical formula to match the climber’s eye level as they ascend. A randomly placed arrangement feels chaotic, while a measured gallery steps up harmoniously with the architecture.
Establishing the Baseline Art Height
To establish the perfect baseline, measure exactly 57″ above tread straight up to the center of your framed art piece. This dimension anchors the entire collection perfectly at an average human eye level.
Finding the exact center point on an angled wall can be tricky without a reliable visual guide.
Locating the Tread Center Point
Always measure your vertical height from the absolute center of the tread below the frame. Measuring from the front nosing or the back riser creates a jagged, inconsistent baseline that ruins the gallery’s visual flow.
Curating the Art Collection
A staircase gallery wall benefits from a cohesive theme that ties the disparate pieces together. Mixing vintage botanical prints with modern line drawings works beautifully if you unify the collection with matching wood or brass frames.
Spacing Frames on an Incline
Once the foundational baseline is set, build the rest of the gallery wall outward step by step. Precision is essential here, as uneven gaps become glaringly obvious when viewed from the landing below.
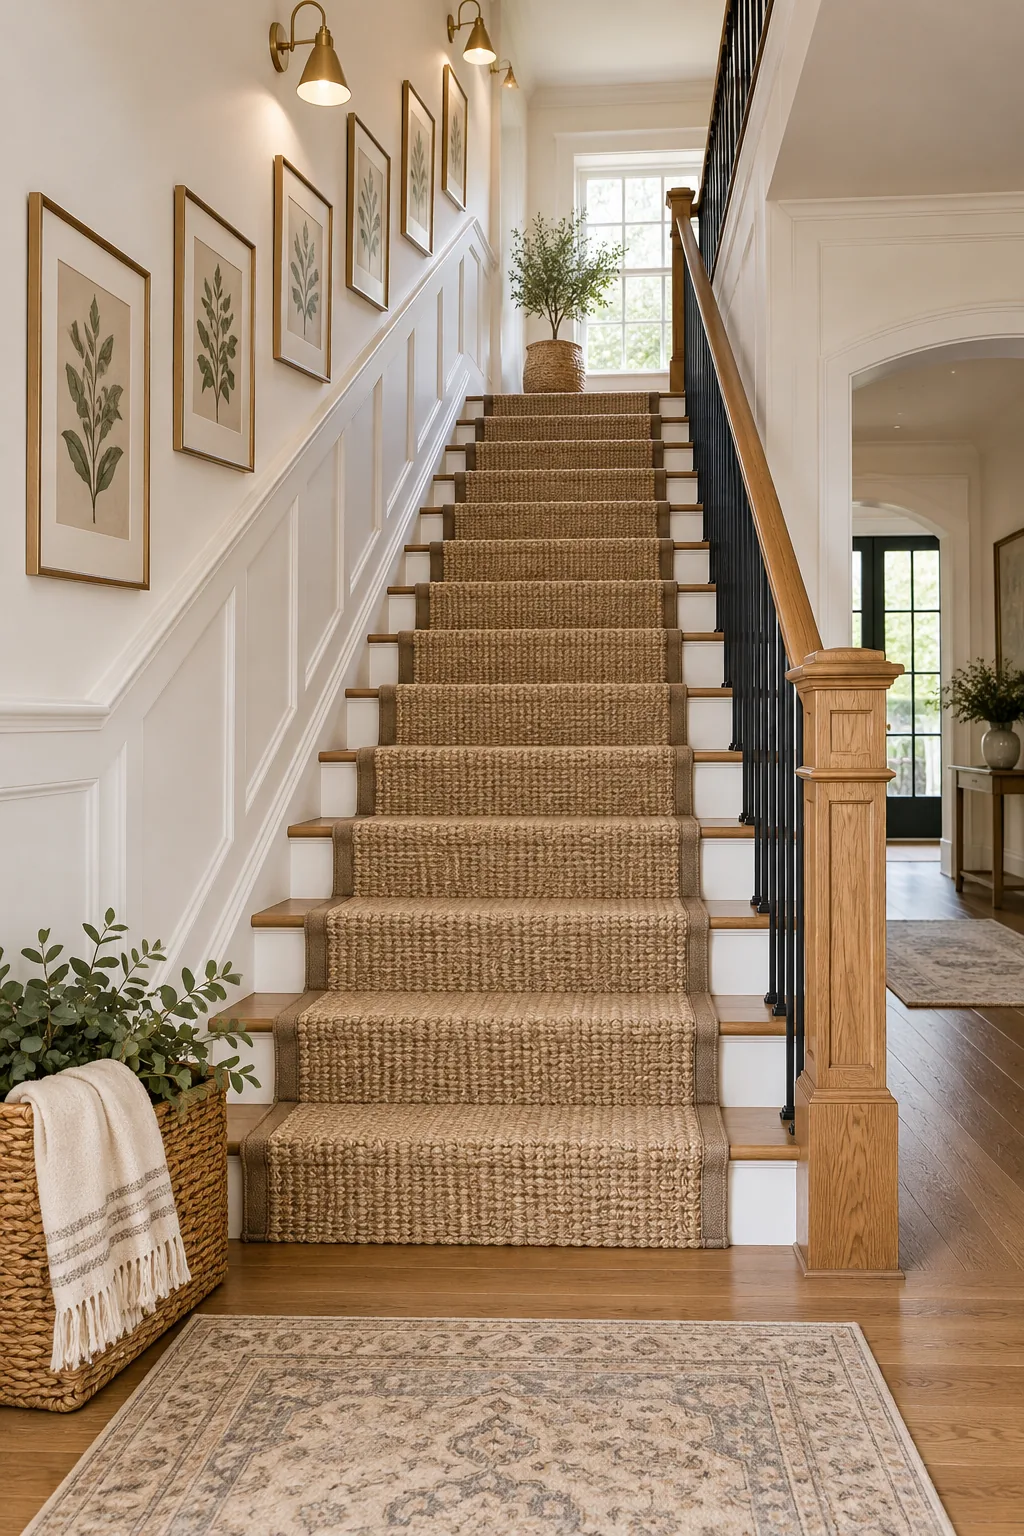
Maintaining the Diagonal Gap
Maintain a strict, consistent 2.5-inch gap between frames diagonally across the entire arrangement. This tight spacing ensures the collection reads as a single, unified architectural feature rather than floating, disconnected pictures.
Stepping Up the Pitch
The invisible line connecting the center of each frame must run exactly parallel to the handrail. This guarantees the entire artistic arrangement steps up at the exact same pitch as the wooden stairs below.
Selecting Cohesive Frame Profiles
A gallery wall on an incline already presents complex visual geometry. Keep the frame profiles simple and consistent, using slender matte black or natural oak borders so the artwork remains the primary focus.
Using Non-Reflective Glass
Staircases often receive unpredictable glare from high foyer windows or landing skylights. Invest in non-reflective museum glass for your framed pieces so the imagery remains visible from every angle as you climb.
Layering Staircase Lighting
Overhead lighting rarely reaches the middle of a steep staircase, leaving dangerous shadows on the treads. Layering secondary light sources along the wall ensures safe footing while adding a warm, welcoming ambiance to the corridor.
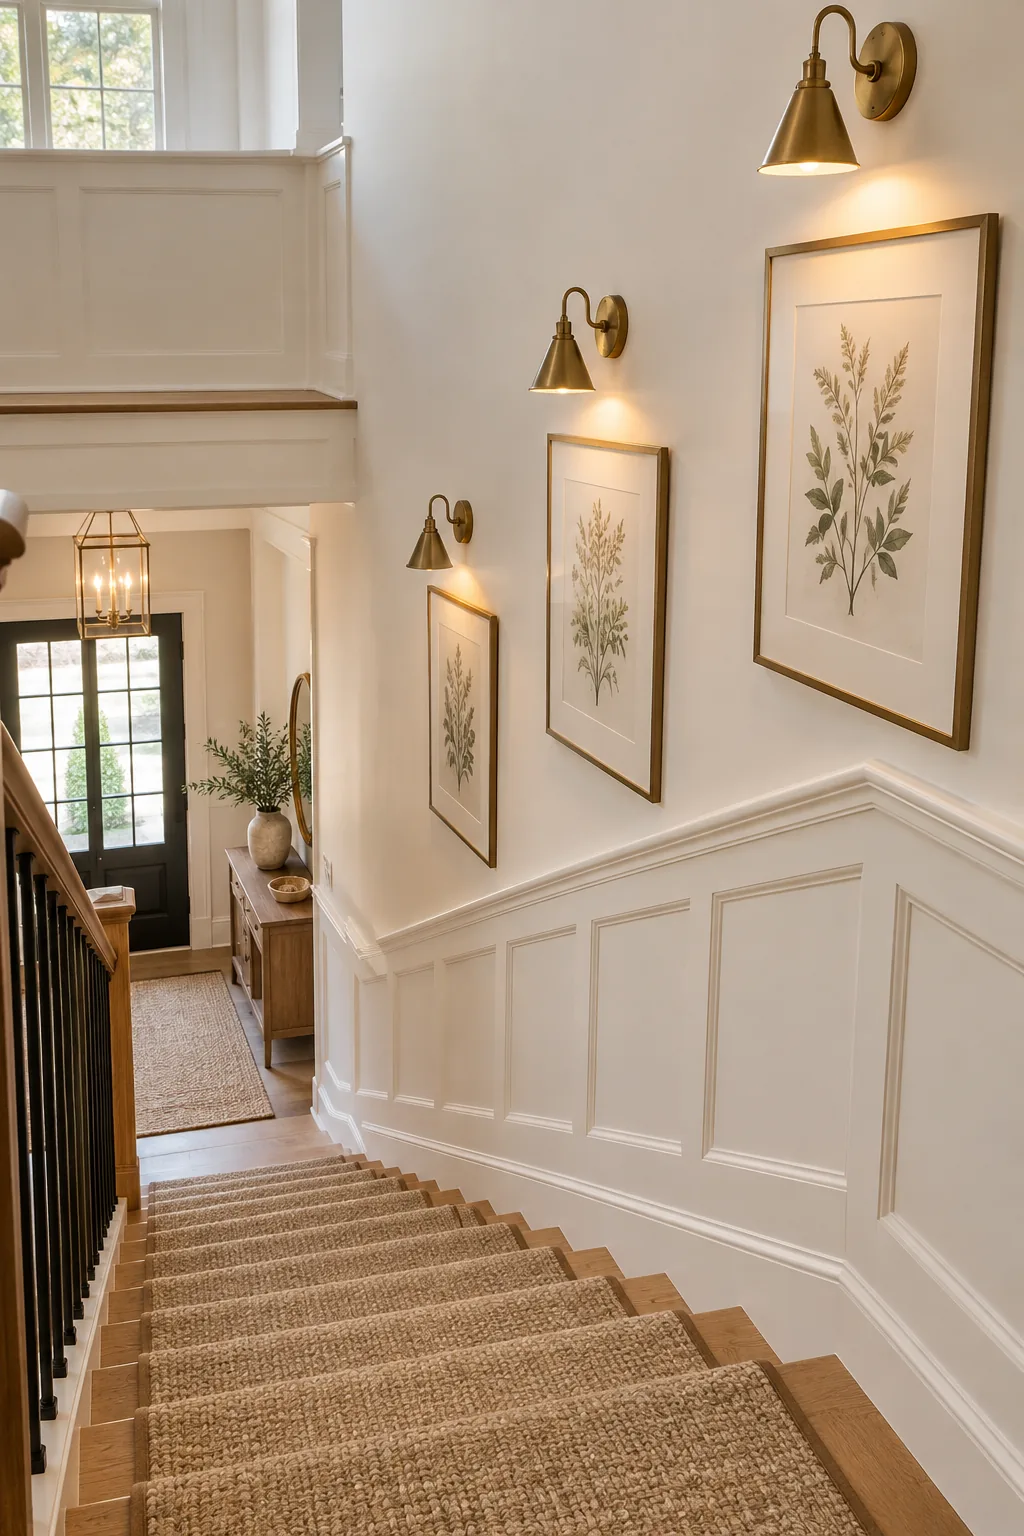
Staggering the Wall Sconces
Using staggered sconces every three to four steps provides beautiful, even illumination. This rhythmic placement breaks up the linear gallery wall and adds necessary depth without overwhelming the narrow, enclosed space.
Selecting Warm Brass Fixtures
The finish of your lighting hardware should complement the organic textures of the runner and baskets. Warm brass fixtures introduce a subtle metallic gleam that reflects light beautifully and ages gracefully over time.
Installing Smart Dimmer Switches
Staircase lighting needs change dramatically from bright afternoons to late evenings. Wire your staggered sconces to a smart dimmer switch, allowing you to lower the output and create a soft nightlight for safe midnight navigation.
Selecting the Perfect Bulb Temperature
Harsh white light feels clinical and stark in a transitional residential space. Choose LED bulbs with a color temperature of 2700 Kelvin to cast a warm, inviting glow that enhances the wood tones of the treads.
Adding Landing Greenery
Staircases are inherently full of hard architectural lines, sharp angles, and rigid materials. Introducing living elements breaks up this visual stiffness and breathes much-needed life into a purely functional transitional zone.
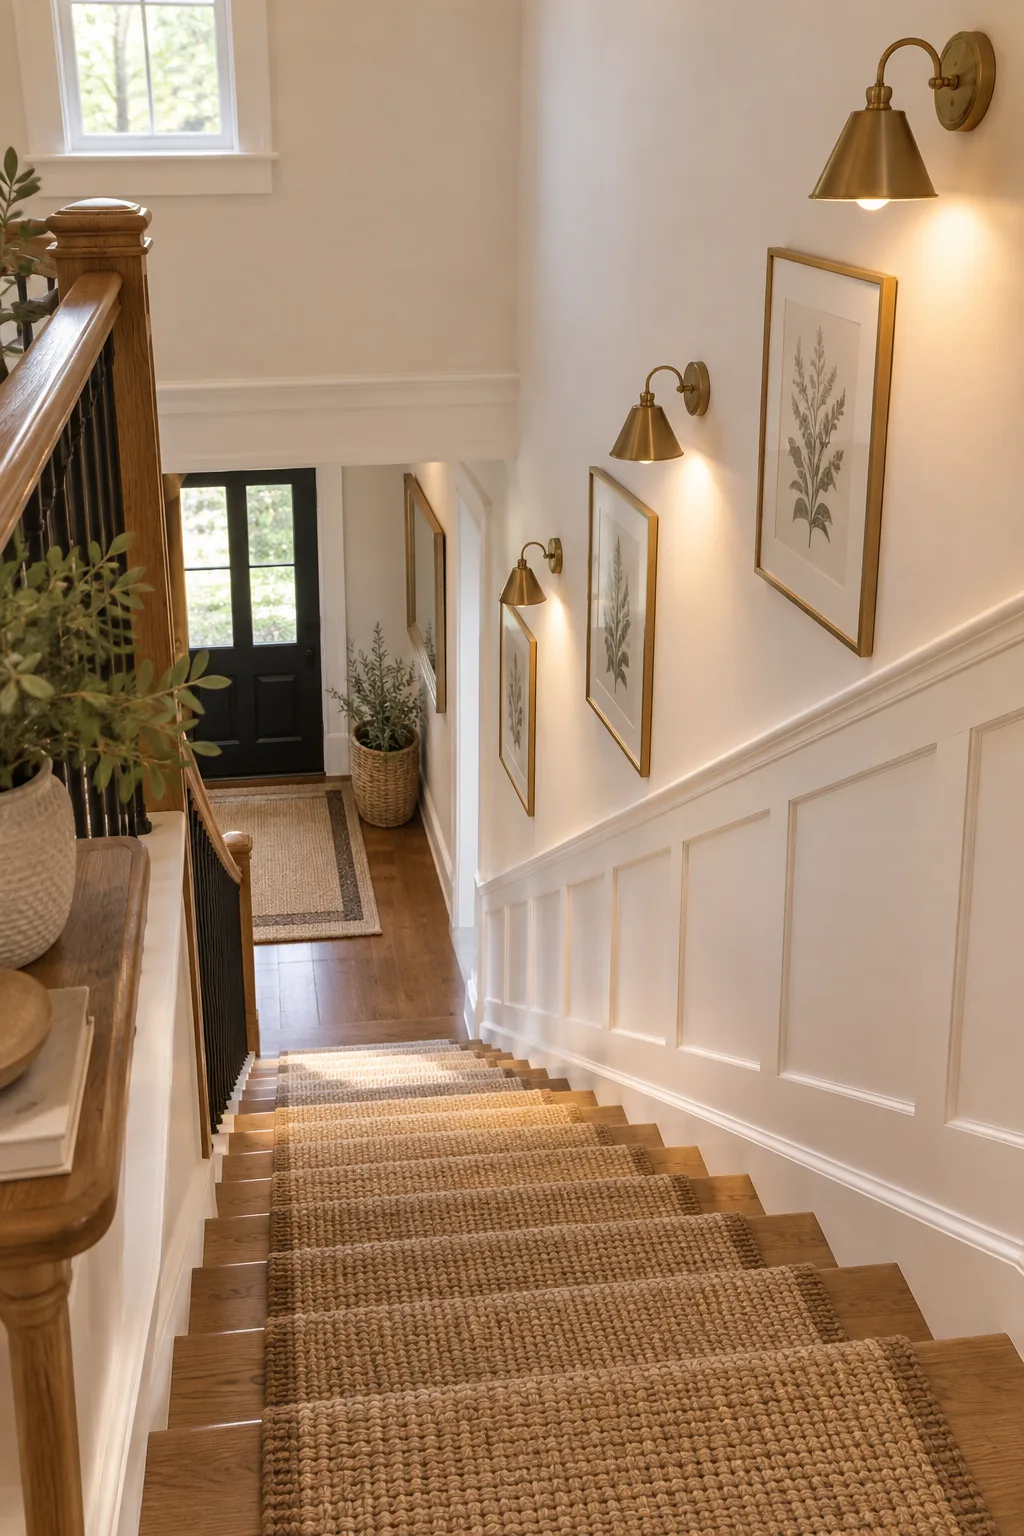
Softening Hard Architectural Lines
Soften the abrupt transition at the base or the middle landing with a tall, structured potted plant. The organic curves of branches and leaves provide a striking contrast against the straight edges of the risers.
Choosing Structured Potted Plants
Select a slender, vertical plant like an olive tree or a tall snake plant for the landing. These varieties add delicate height and organic texture without spreading too wide and blocking the primary walking path.
Sizing the Landing Planter
The vessel holding your greenery must scale appropriately with the surrounding architecture. Choose a heavy ceramic or concrete planter that is at least one-third the height of the plant to provide a stable, grounded base.
Protecting the Wood Floors
Water damage ruins hardwood landings quickly and silently. Always place a thick cork or rubber protective mat underneath your heavy planter to catch condensation and prevent devastating moisture rings from forming on the finish.
Three Ways to Style Your Stairs
Explore how these core measurements adapt to completely different architectural styles.
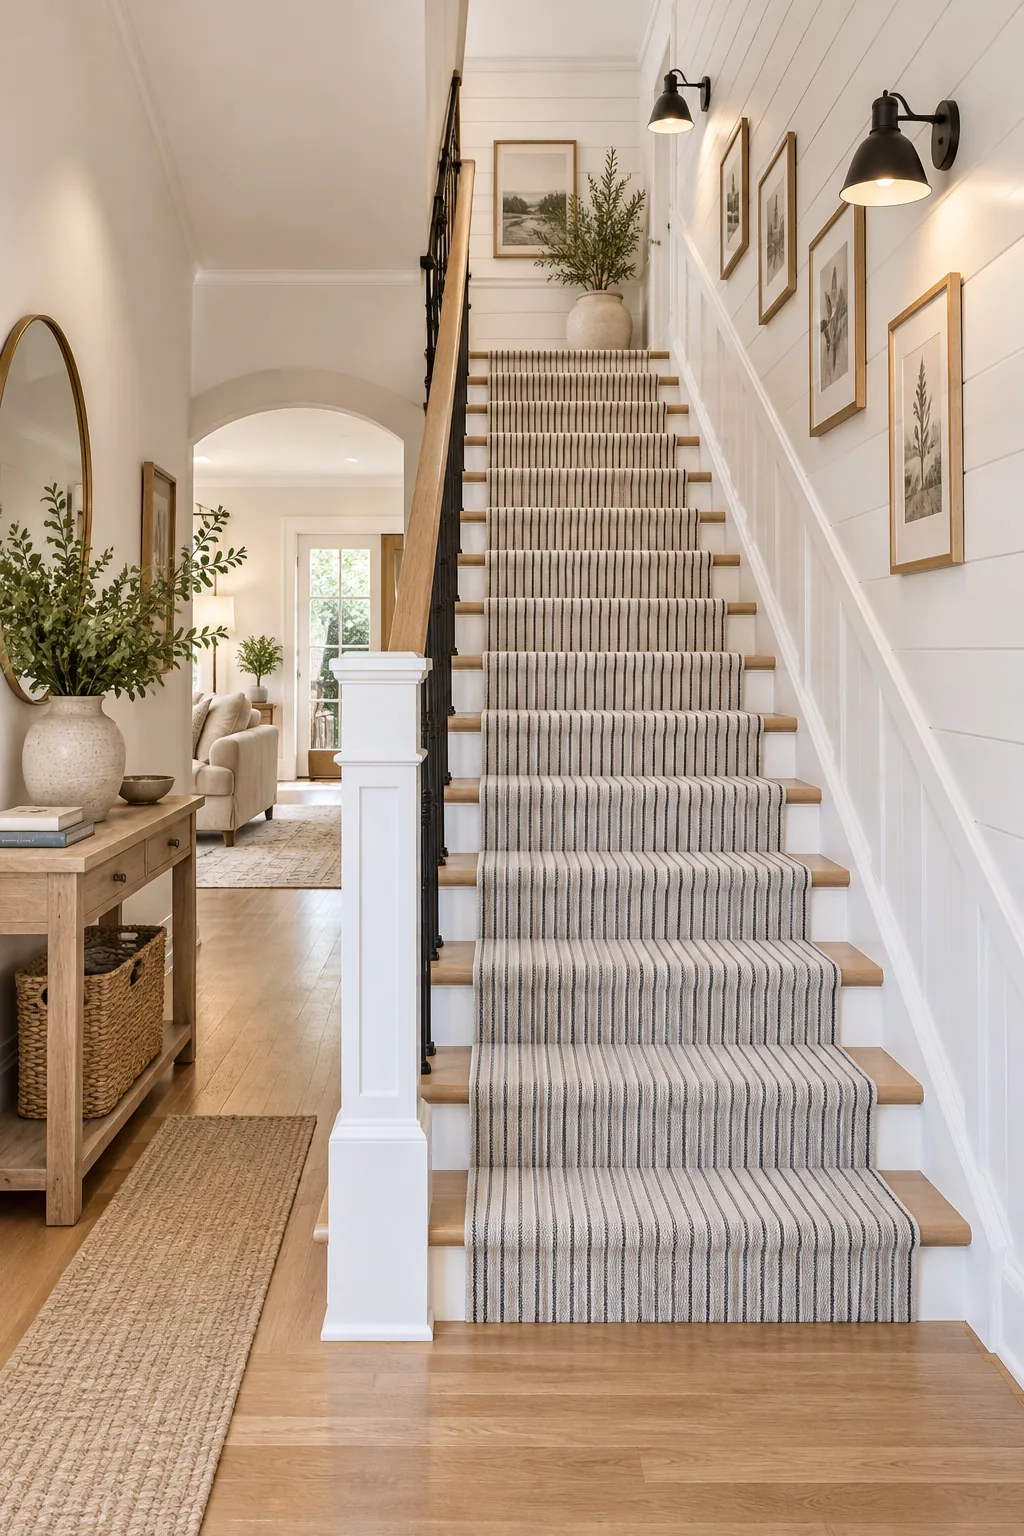
Modern Farmhouse Contrast: Black metal spindles and matte sconces pop against crisp white shiplap, while a ticking stripe runner adds casual texture.
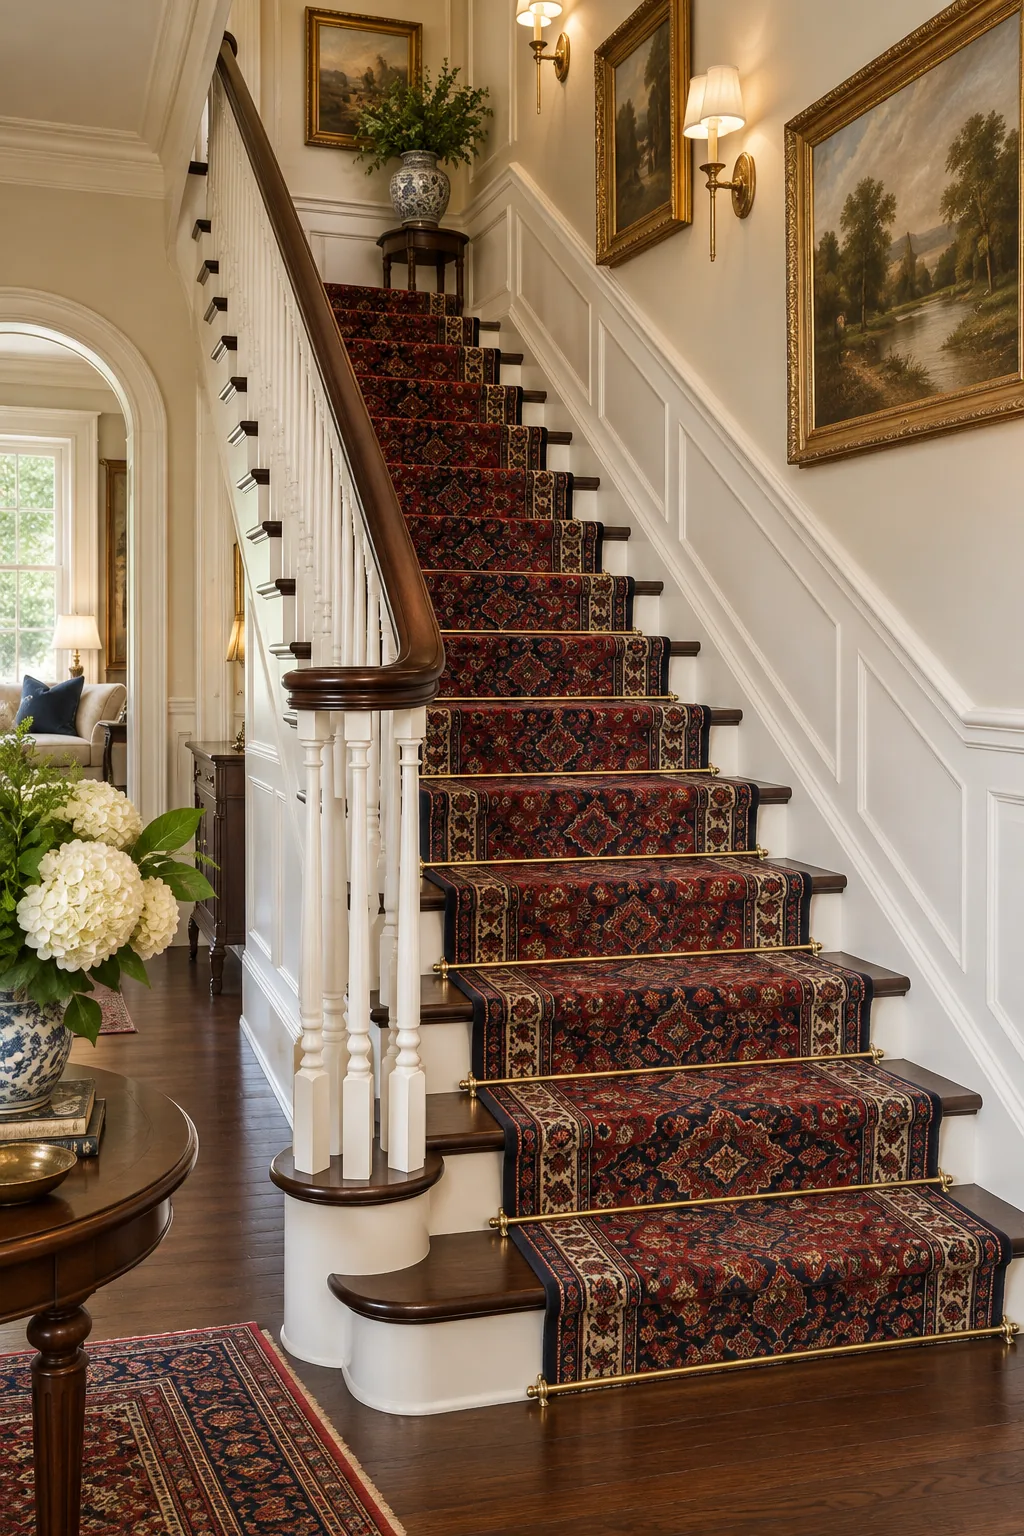
Traditional Elegance: Elevate dark mahogany treads with a rich Persian runner, securing the look with polished brass stair rods for timeless appeal.
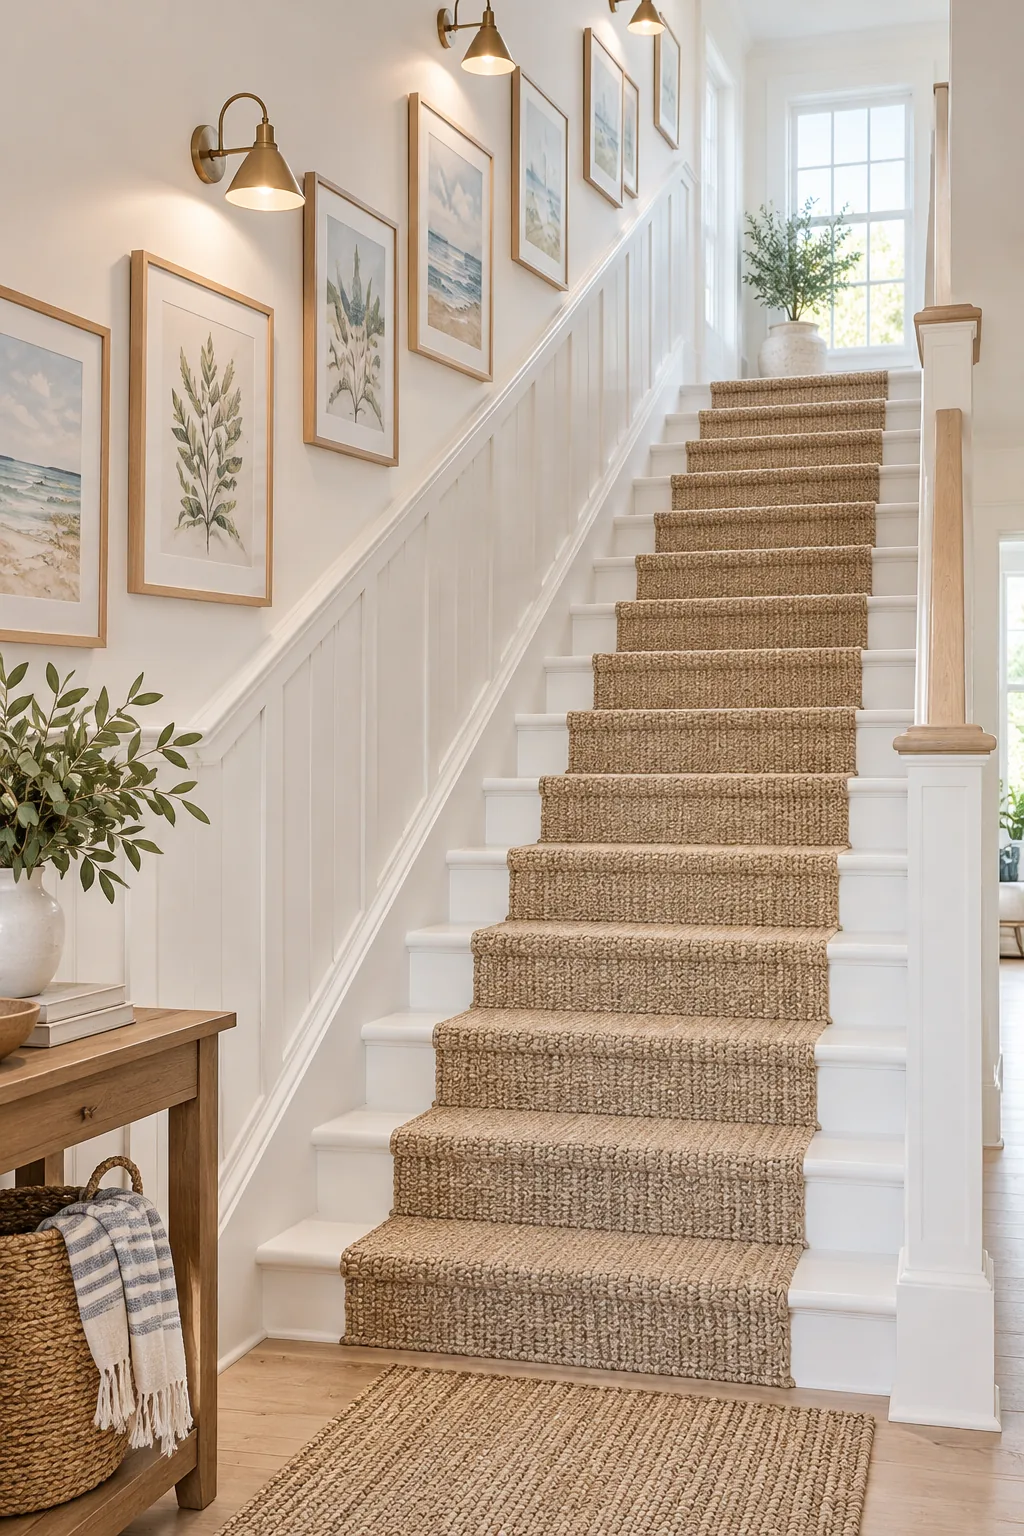
Airy Coastal Light: Fully painted white treads paired with a natural sisal runner create a breezy foundation for a pastel watercolor gallery wall.
The Complete Measurement Cheat Sheet
Bringing all these measured elements together transforms a purely functional walkway into a deliberately styled focal point. Keep these exact designer proportions handy to ensure your runner, art, and lighting all align perfectly.
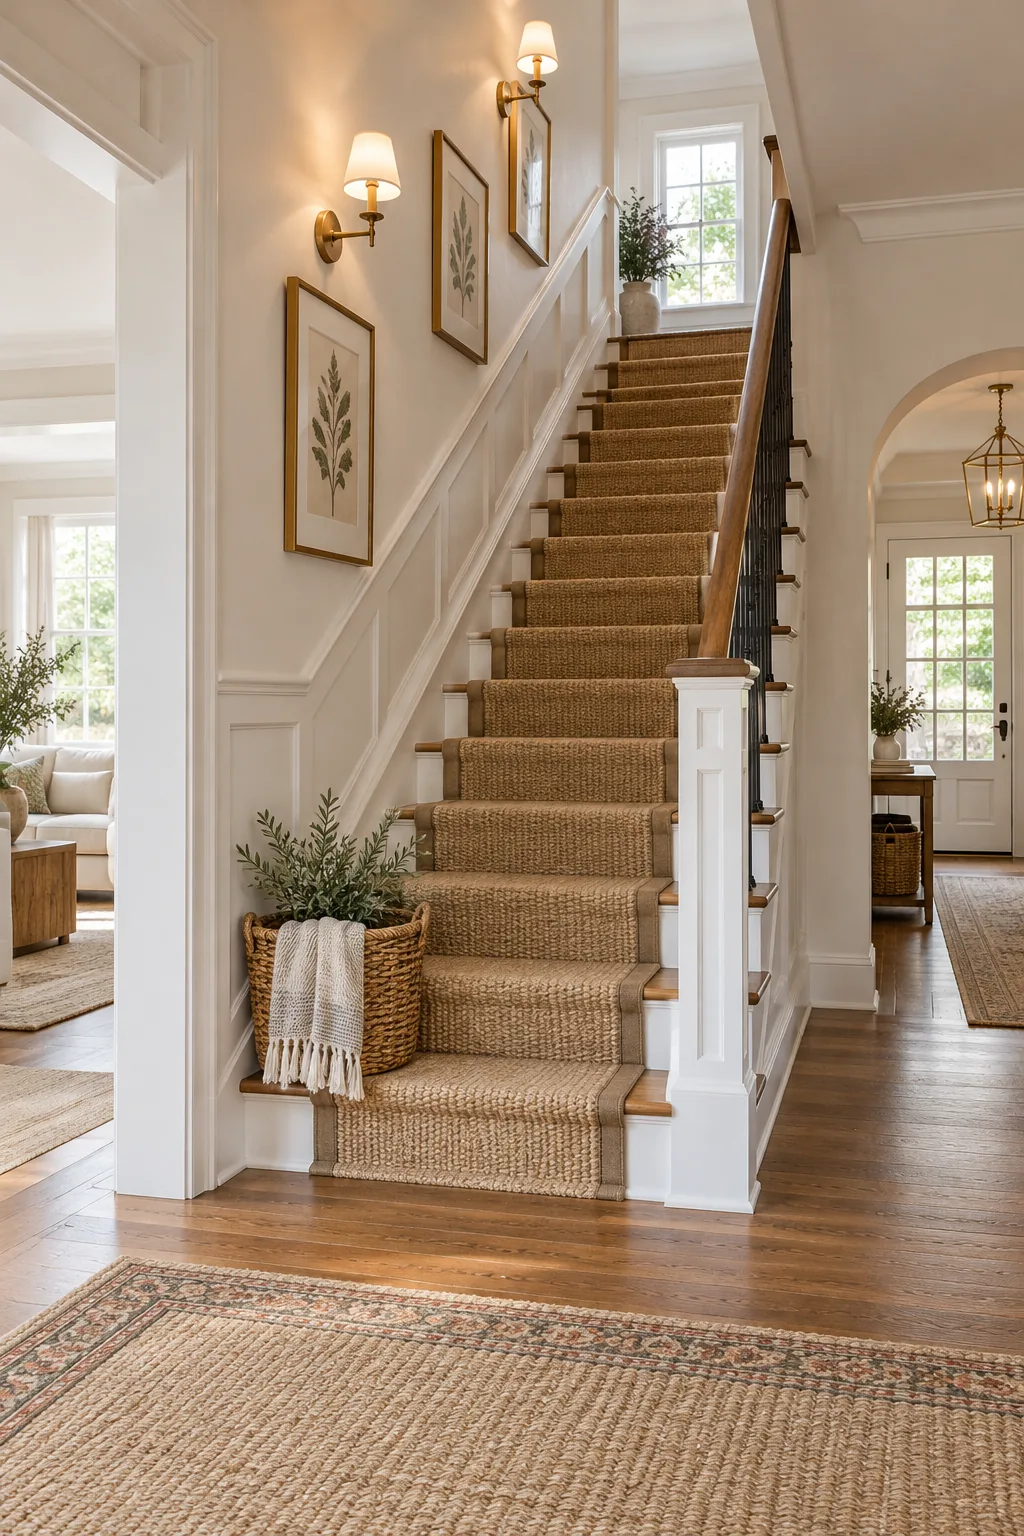
Before you pick up a hammer or staple gun, verify these foundational dimensions to guarantee a flawless result.