Front House Black Mulch: Yardage & Plant Pairing Guide
You can easily transform your front yard with a crisp black mulch bed using this complete yardage calculator and high-contrast plant pairing guide. Follow these exact installation steps to calculate your required materials and confidently style your home’s exterior.
Creating a Safe Foundation Gap
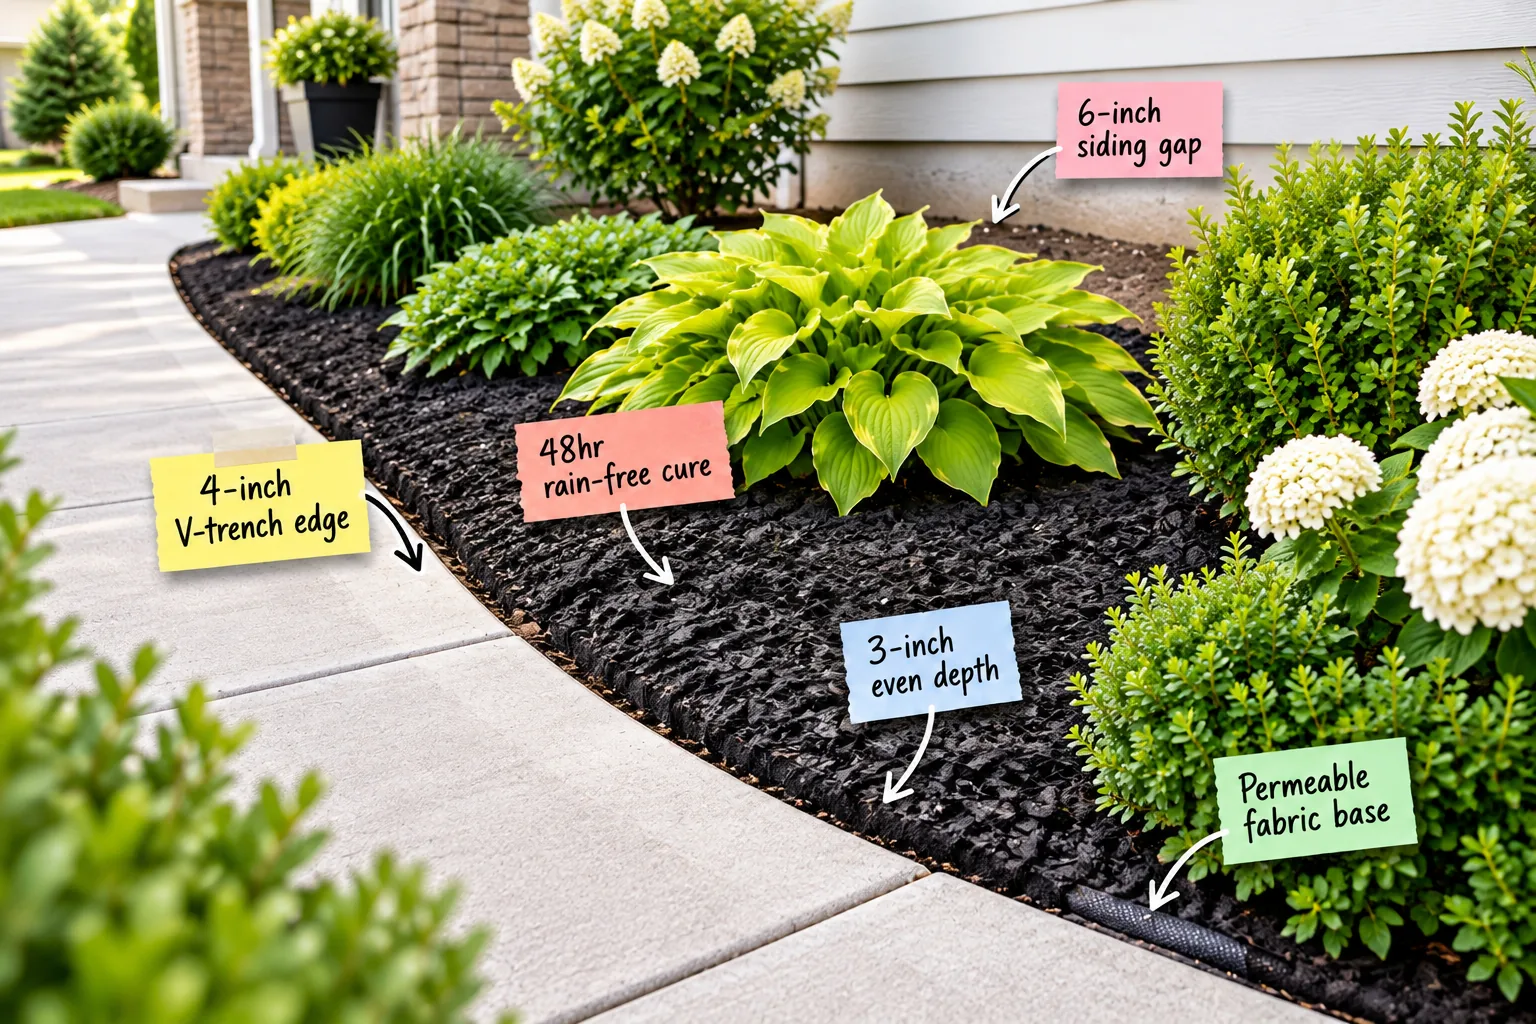
Maintaining a strict 6-inch siding gap of bare soil or decorative stone between your foundation and the dark wood chips is absolutely crucial for structural safety. This deliberate empty zone prevents trapped moisture from slowly rotting your exterior walls.
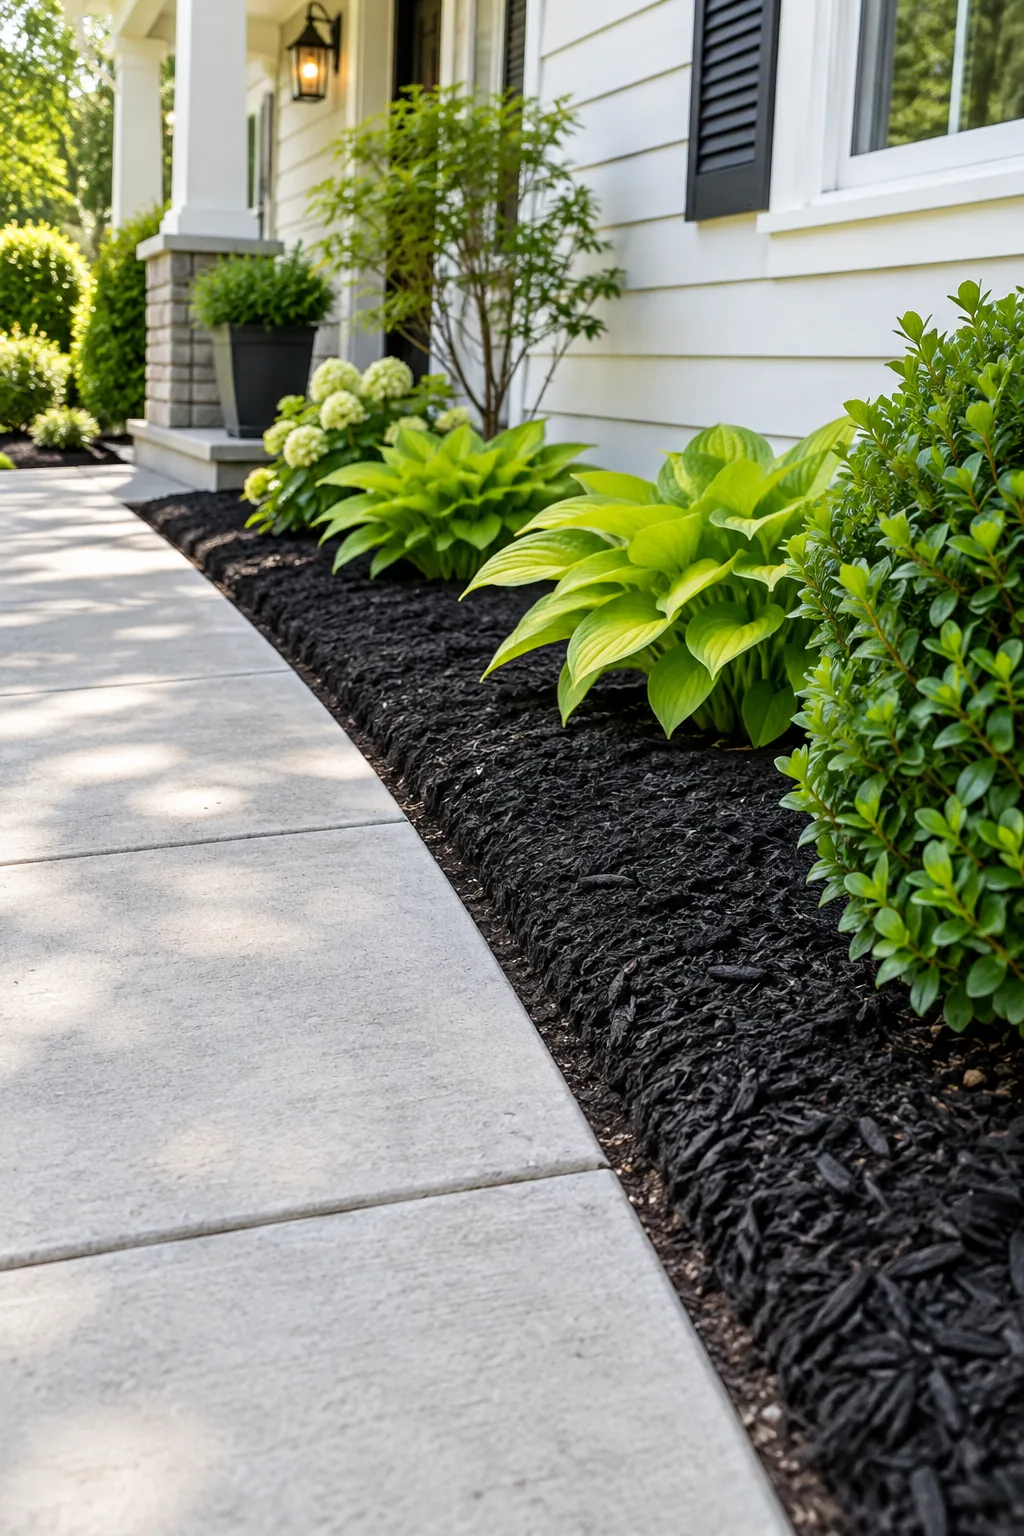
I learned this lesson the hard way at my Austin home when mulch piled against the siding invited a very expensive pest problem. Termites use damp wood chips as a protected bridge straight into your framing, so always keep that perimeter perfectly clear.
Identifying Hidden Moisture Risks
Before you lay down any new ground cover, you must ensure the bare soil immediately surrounding your foundation slopes gently away from the house. Standing water near the walls will quickly compromise your foundation even if you leave the required clearance gap.
- Measure the slope to ensure the ground drops at least one inch for every foot you move away from the exterior walls.
- Fill in any visible low spots or tire ruts with topsoil before tamping it down firmly with a hand tamper.
- Check your gutter downspouts to verify they discharge rainwater at least three feet beyond your newly planned garden bed edge.
Taking the time to correct these subtle grading issues now guarantees your striking dark landscape won’t secretly funnel destructive rainwater into your basement.
Preparing the Bare Ground
Removing every single trace of existing turf grass and deep-rooted weeds is absolutely essential before you even unroll the protective underlayment. Renting a motorized sod cutter drastically reduces the physical labor required to strip the designated area down to a perfectly clean dirt slate.
Evaluating Your Soil Drainage
Understanding how water naturally moves across your property is critical before installing permanent borders, as thick wood chips will only exacerbate existing puddles. Observing the yard during an active storm helps you determine if a hidden French drain is necessary beneath the planned fabric.
Cutting a Crisp V-Trench Border
Containing your materials requires digging a sharp 4-inch V-trench edge directly where the soil meets the surrounding concrete walkway. Slicing this deep groove at a 45-degree angle creates a natural physical barrier that locks the wood chips firmly in place.
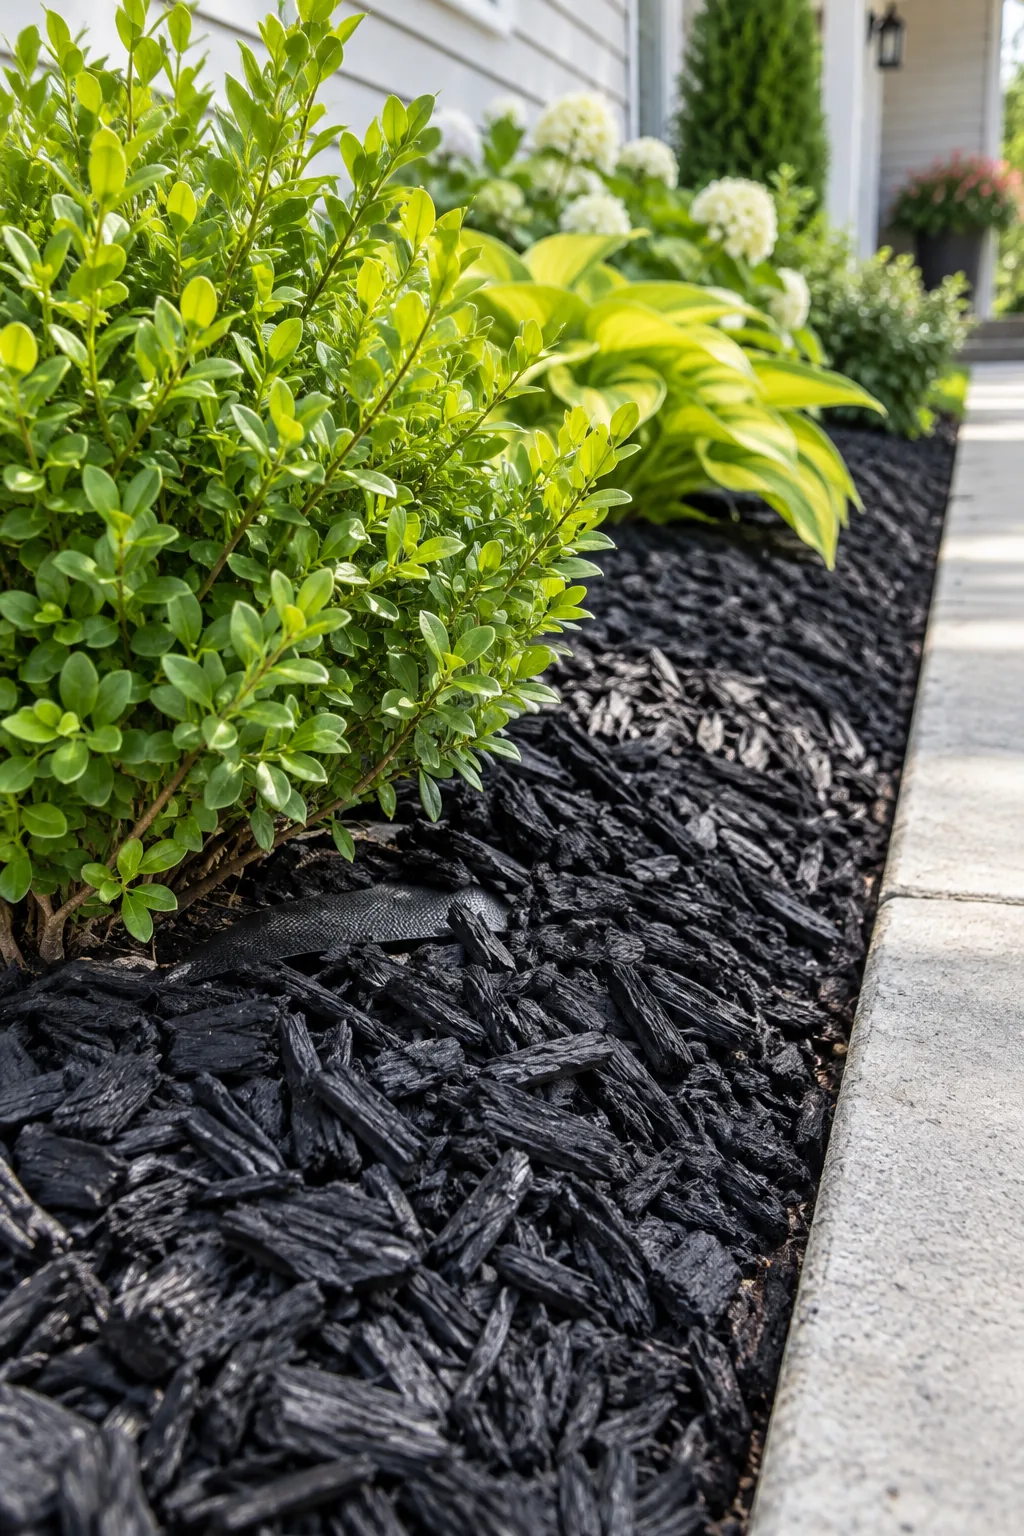
During my first major front yard renovation, skipping this trench meant heavy spring thunderstorms constantly washed my fresh landscaping right onto the sidewalk. A properly angled soil cut completely eliminates that frustrating cleanup by catching runoff before it overflows.
Choosing the Right Edging Tools
Achieving that perfectly crisp line against your hardscaping requires selecting the proper digging implement for your specific soil density. While standard shovels work in a pinch, specialized edging tools yield a much cleaner, professional-looking boundary with significantly less physical effort.
| Tool Type | Best Soil Condition | Trench Depth | Effort Level |
|---|---|---|---|
| Half-Moon Edger | Soft, loamy dirt | 3 to 4 inches | Low |
| Flat Spade | Average garden soil | 4 to 5 inches | Medium |
| Trenching Shovel | Heavy, rocky clay | Up to 6 inches | High |
| Gas Bed Edger | Large properties | Adjustable | Very Low |
Always sharpen your chosen blade with a standard mill file before starting, as a dull edge will tear the grass roots instead of slicing them cleanly.
Maintaining the Edged Boundary
Your beautifully cut trench will naturally begin to fill with loose debris and eroded dirt as the busy growing season progresses. Running a sharp string trimmer vertically along the concrete boundary every three weeks easily maintains that crisp, professional separation without requiring heavy digging.
Laying a Permeable Fabric Base
Installing a high-quality permeable fabric base blocks aggressive weeds while simultaneously allowing essential rainwater and liquid fertilizers to reach the root zone. You must overlap every single fabric seam by at least six inches to prevent persistent dandelions from pushing through the gaps.
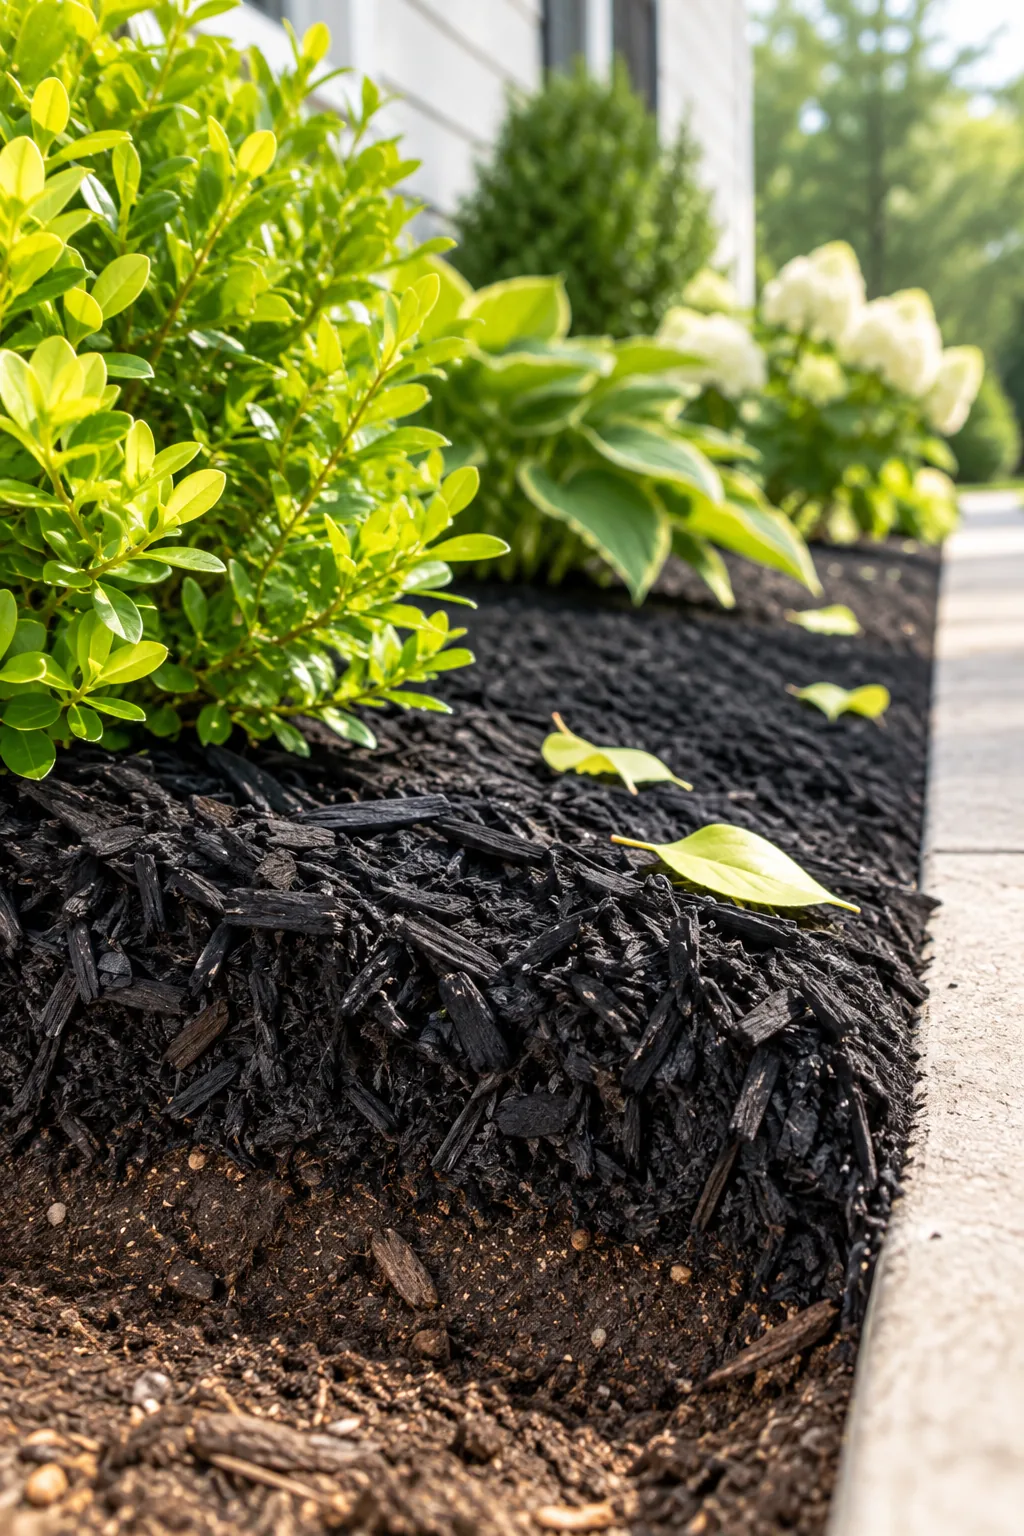
Solid plastic sheeting should never be used in planted beds because it completely suffocates the beneficial soil organisms living below the surface. Woven landscaping underlayment provides the perfect balance of robust weed suppression and necessary oxygen exchange for healthy perennial growth.
Securing Your Underlayment Layers
Heavy winds can easily shift your carefully placed weed barrier before you have the chance to weigh it down with heavy materials. Drive a heavy-duty steel landscape staple through the overlapped seams every three feet to lock the protective underlayment tightly against the graded dirt.
Spreading to the Correct Depth
You must maintain a 3-inch even depth across the entire garden bed to effectively suppress weed germination and retain vital summer moisture. Spreading the material any thicker than this specific measurement will actively prevent oxygen from reaching the shallow feeder roots of your shrubs.
Using a sturdy steel bow rake makes it incredibly simple to push and pull the heavy piles until they sit perfectly level. Consistently measuring the thickness with a standard ruler ensures you never accidentally create localized mounds that encourage destructive fungal diseases.
Protecting Established Plant Trunks
When working around existing trees and mature shrubs, you must manually pull all ground cover at least three inches away from the woody base. Piling damp organic material directly against the root flare introduces severe rot and invites boring insects to permanently damage your expensive landscaping.
Choosing the Right Wood Type
Hardwood blends generally hold their dark factory tint significantly longer than cheaper pine alternatives when exposed to harsh daily sunlight. Investing in a premium shredded cedar option also provides natural insect-repelling properties while delivering that highly sought-after, finely textured visual appearance.
Curing the Black Dye
Premium colored materials require a strict 48hr rain-free cure immediately after spreading so the carbon-based tint can bond completely to the wood fibers. Checking the local weather forecast before scheduling your bulk delivery is the most important step in preserving that striking, deep aesthetic.
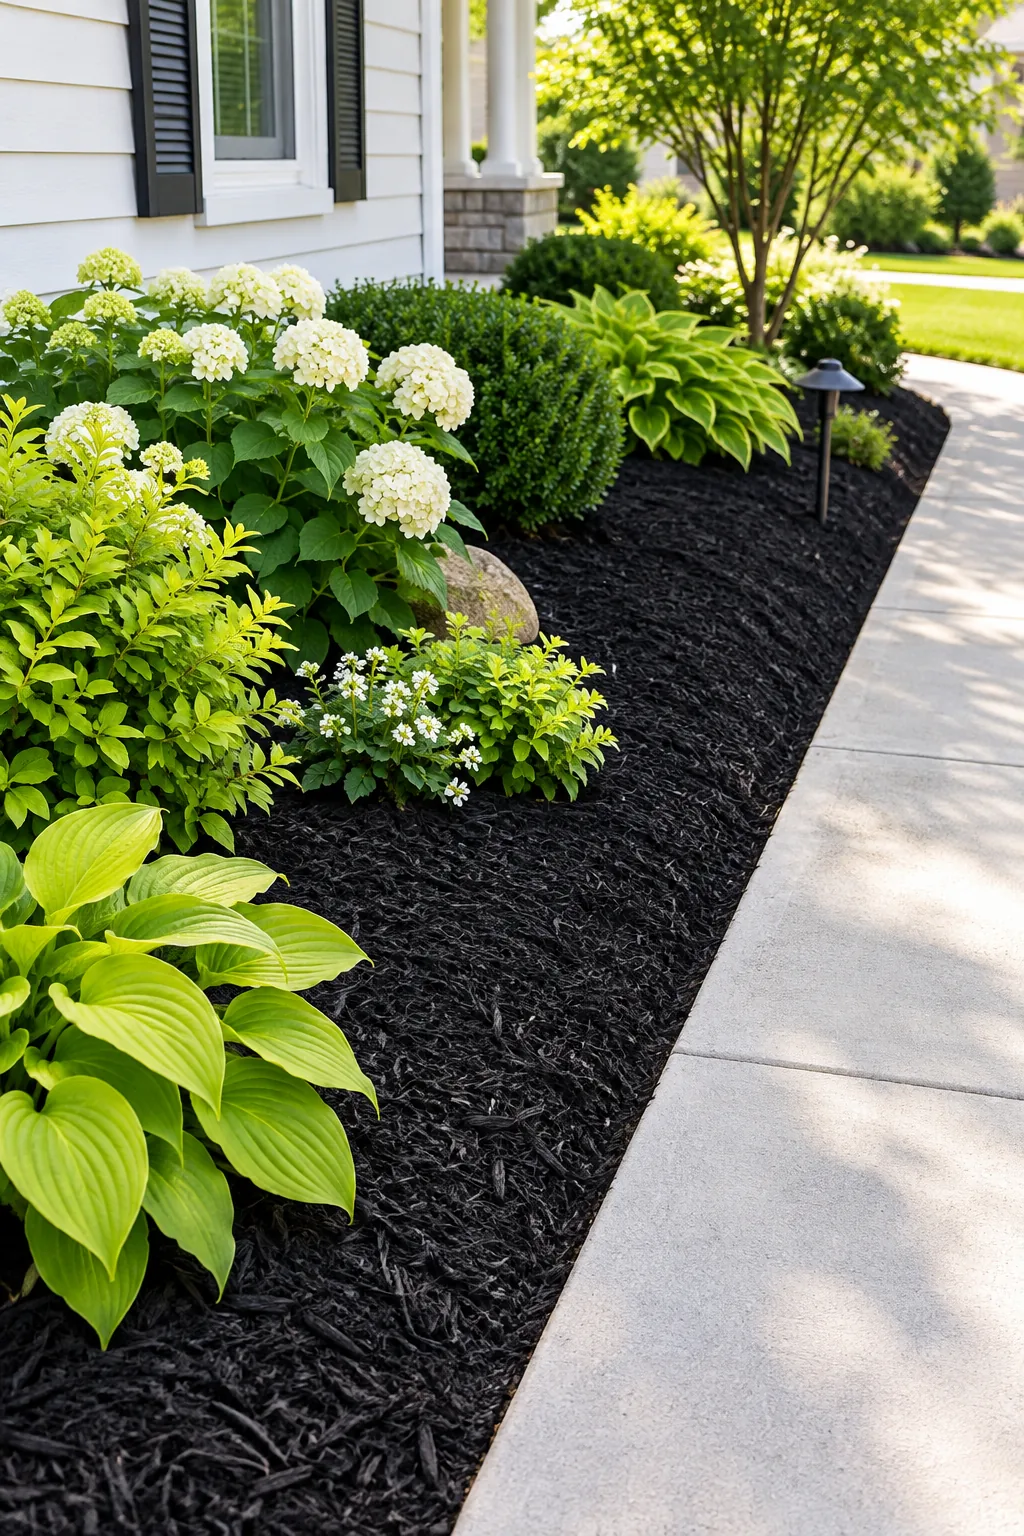
I once ignored the sky and watched a sudden afternoon downpour wash all the beautiful dark dye straight into my lawn. Giving the fresh application two full days of dry sunshine guarantees the rich color will last throughout the entire growing season.
Preventing Concrete Stains
Even with careful application, fresh dye can easily ruin surrounding hardscaping if you make these common installation errors.
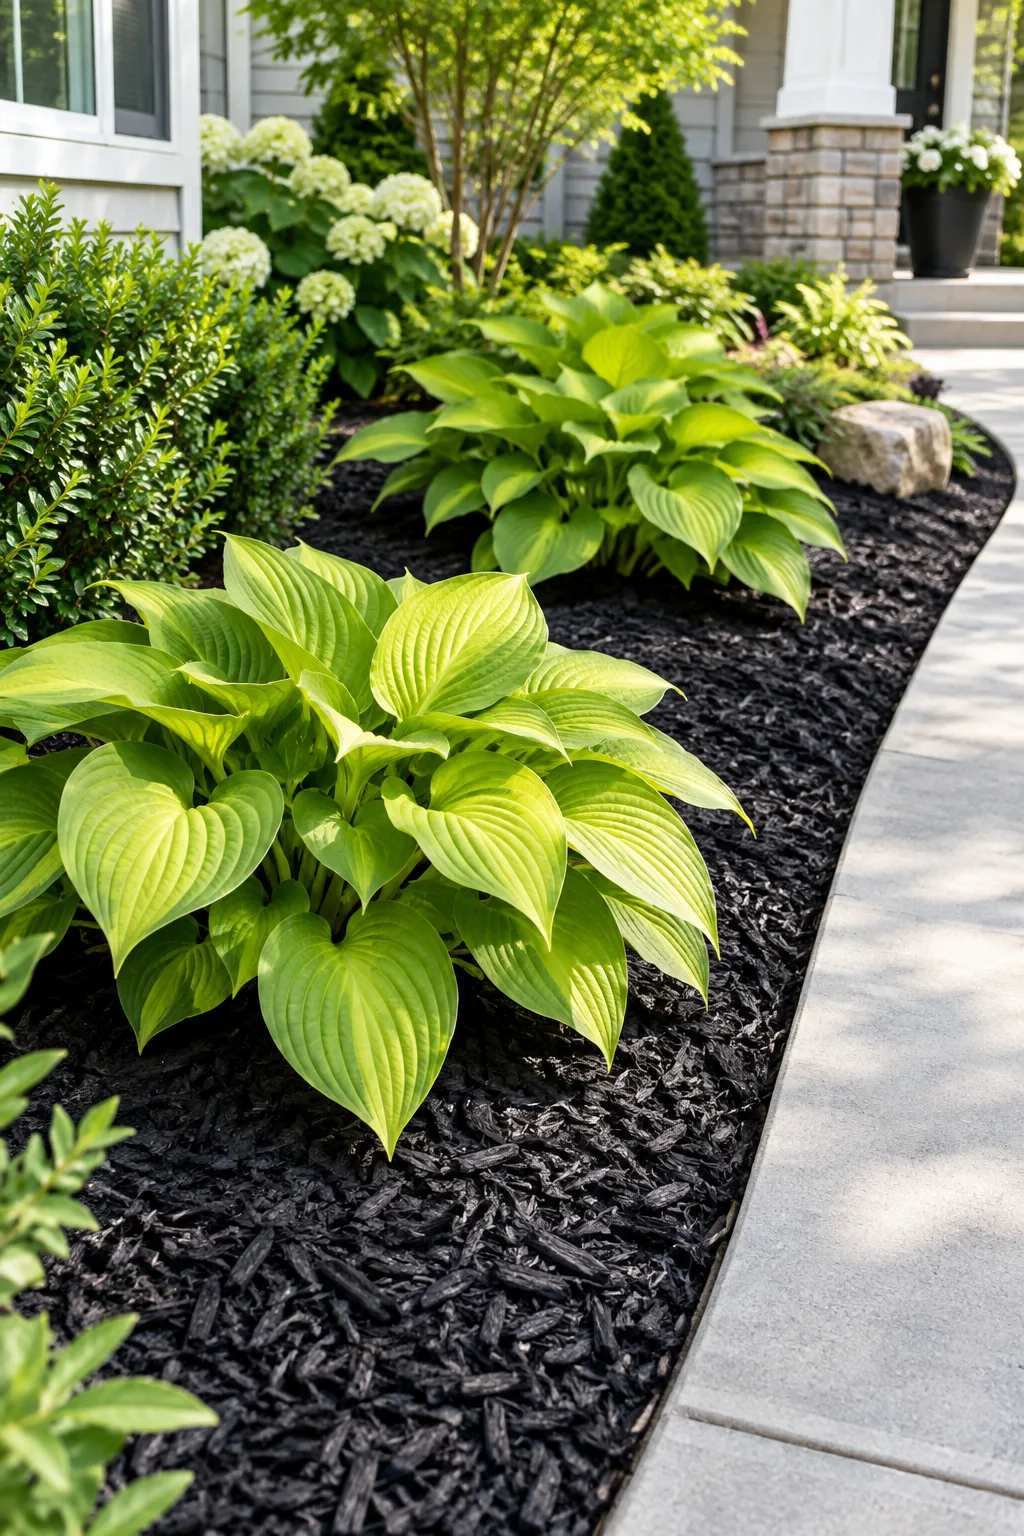
Keeping a stiff-bristled push broom nearby allows you to quickly brush away accidental spills before the concentrated pigment has any chance to settle into the walkway.
Selecting High-Contrast Foliage
You can maximize your home’s visual impact by pairing the dark ground cover with incredibly bright, light-colored companion plantings. Vibrant chartreuse or lime green leaves pop dramatically against the inky background, creating a sophisticated and modern aesthetic that instantly elevates your exterior.
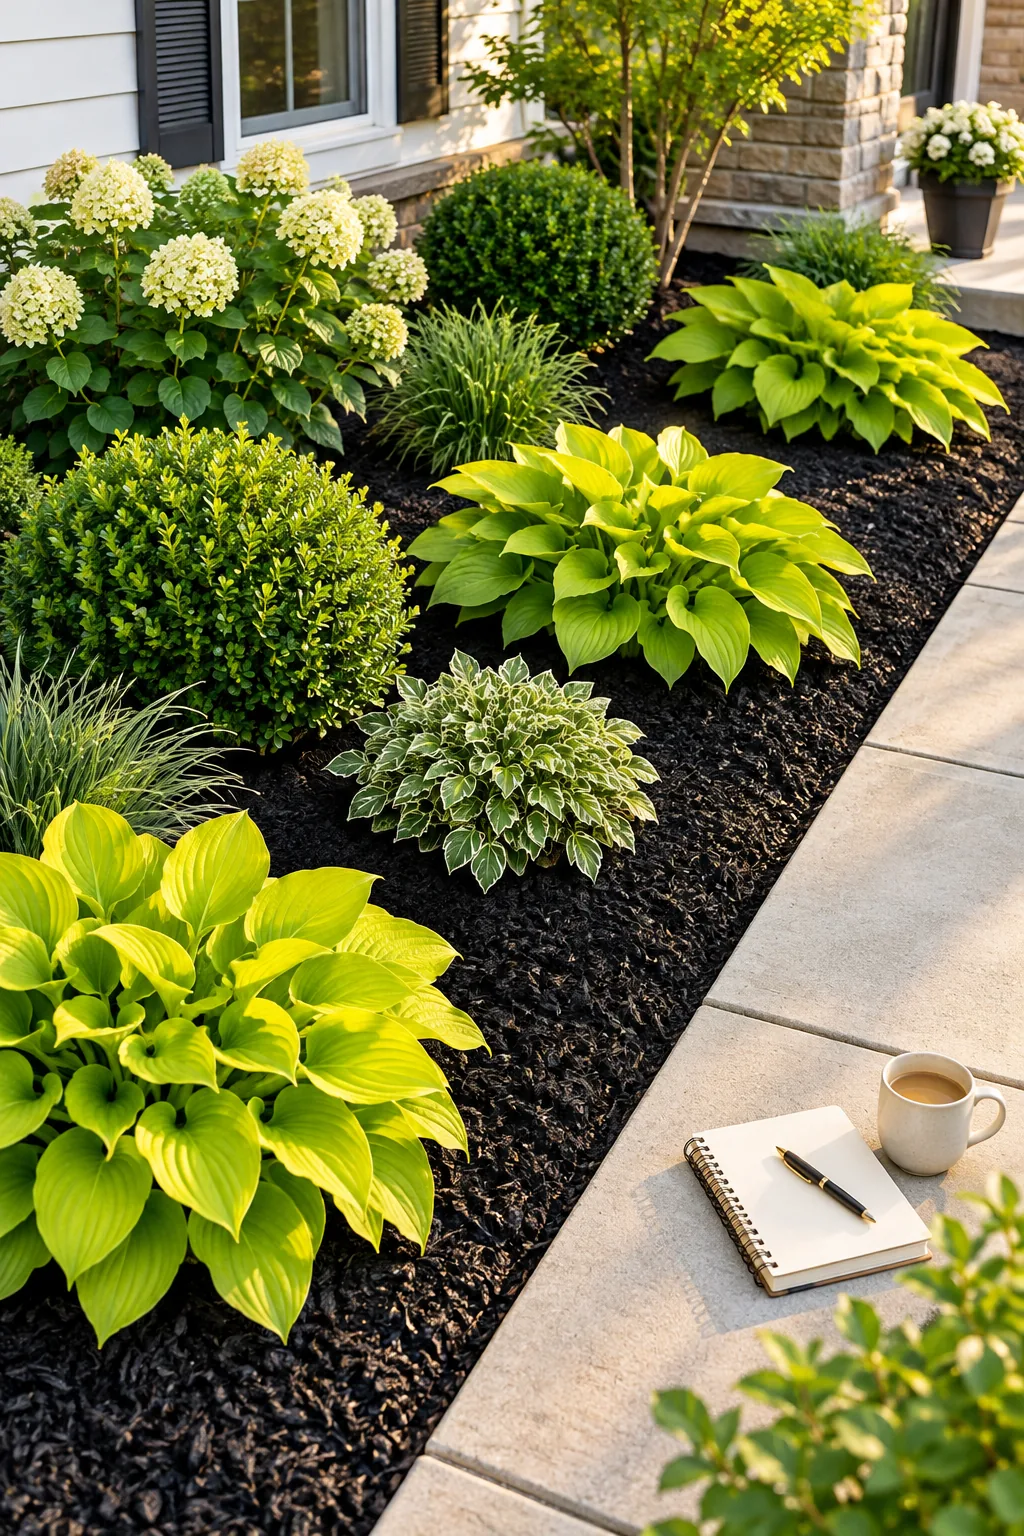
Sweet potato vines and bright hostas are exceptionally reliable choices that thrive when planted in these highly contrasted display zones. The deep surrounding tones naturally draw the eye directly toward the vivid green foliage, making even small starter plants look substantial and deliberate.
Refreshing the Color Annually
Even the highest quality dyed materials will inevitably fade to a dull gray after enduring a full year of intense sunlight and heavy rain. You do not need to completely remove the old layer; simply scratching the surface with a rake often reveals the darker, protected chips underneath.
Black Mulch Yardage & Plant Guide
Before heading to the garden center, use this simple calculation method to determine exactly how much material you need.
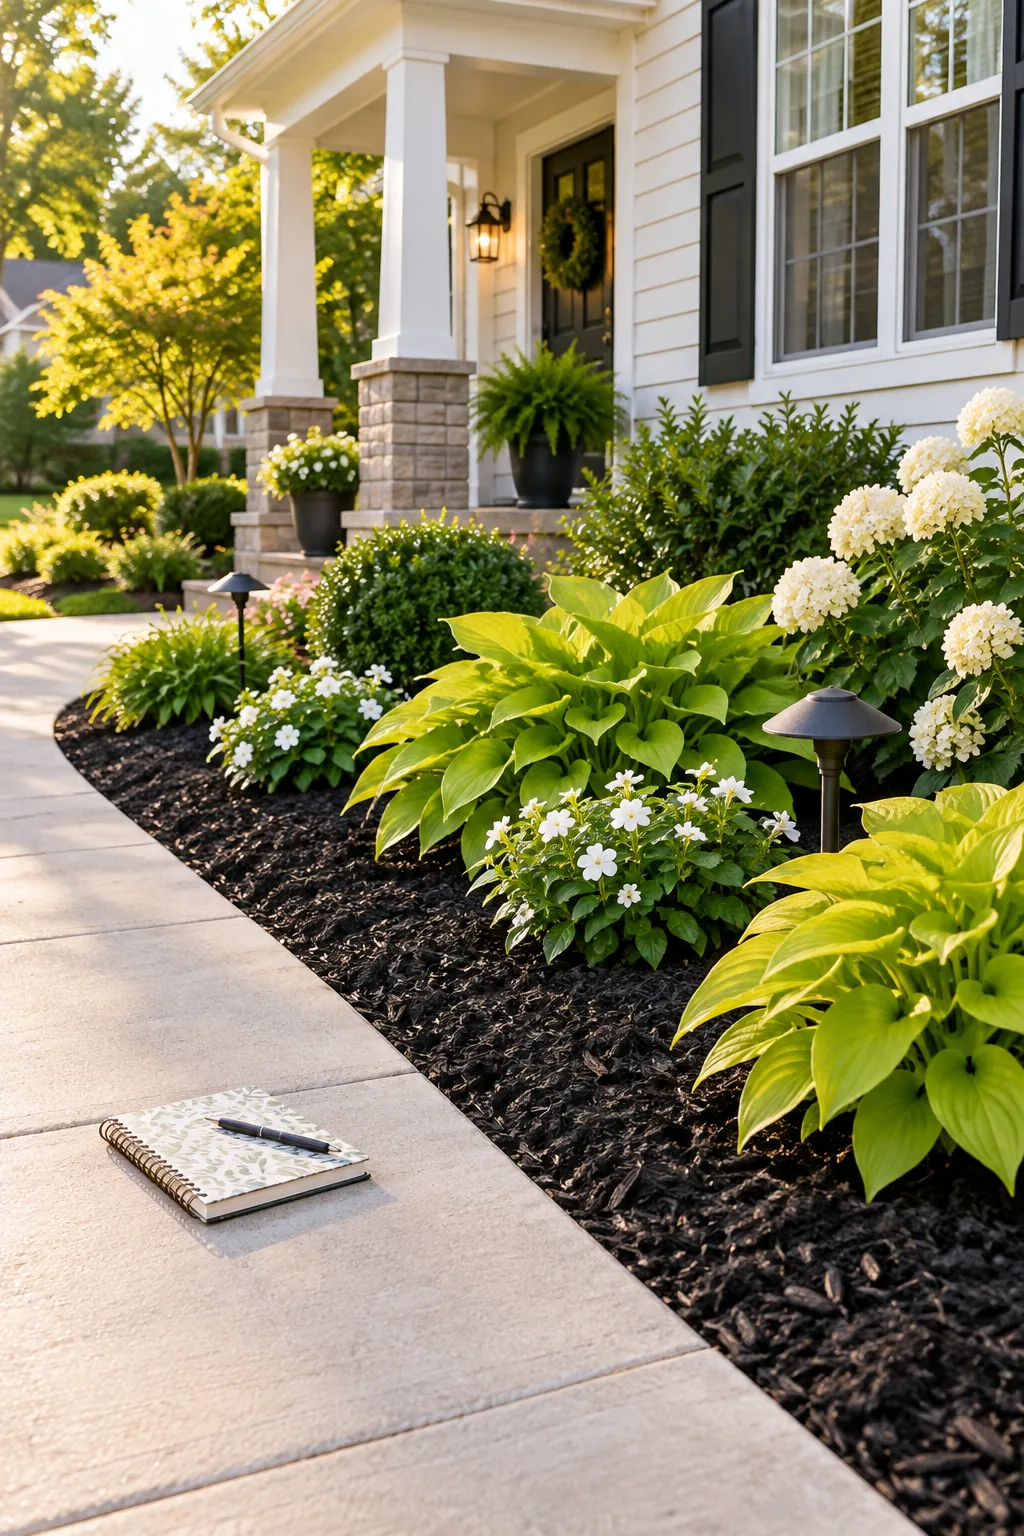
Ordering five percent more bulk yardage than your final calculation dictates provides a helpful safety net for filling in unexpected low spots.
Keeping a printed copy of your measurements and chosen plant list prevents you from overspending once you arrive at the busy nursery. This systematic approach guarantees your front yard transformation stays perfectly on budget while delivering that flawless, professionally designed curb appeal.
Front Yard Black Mulch Inspiration
Explore these distinct styling approaches to see how black mulch adapts to different home exteriors.
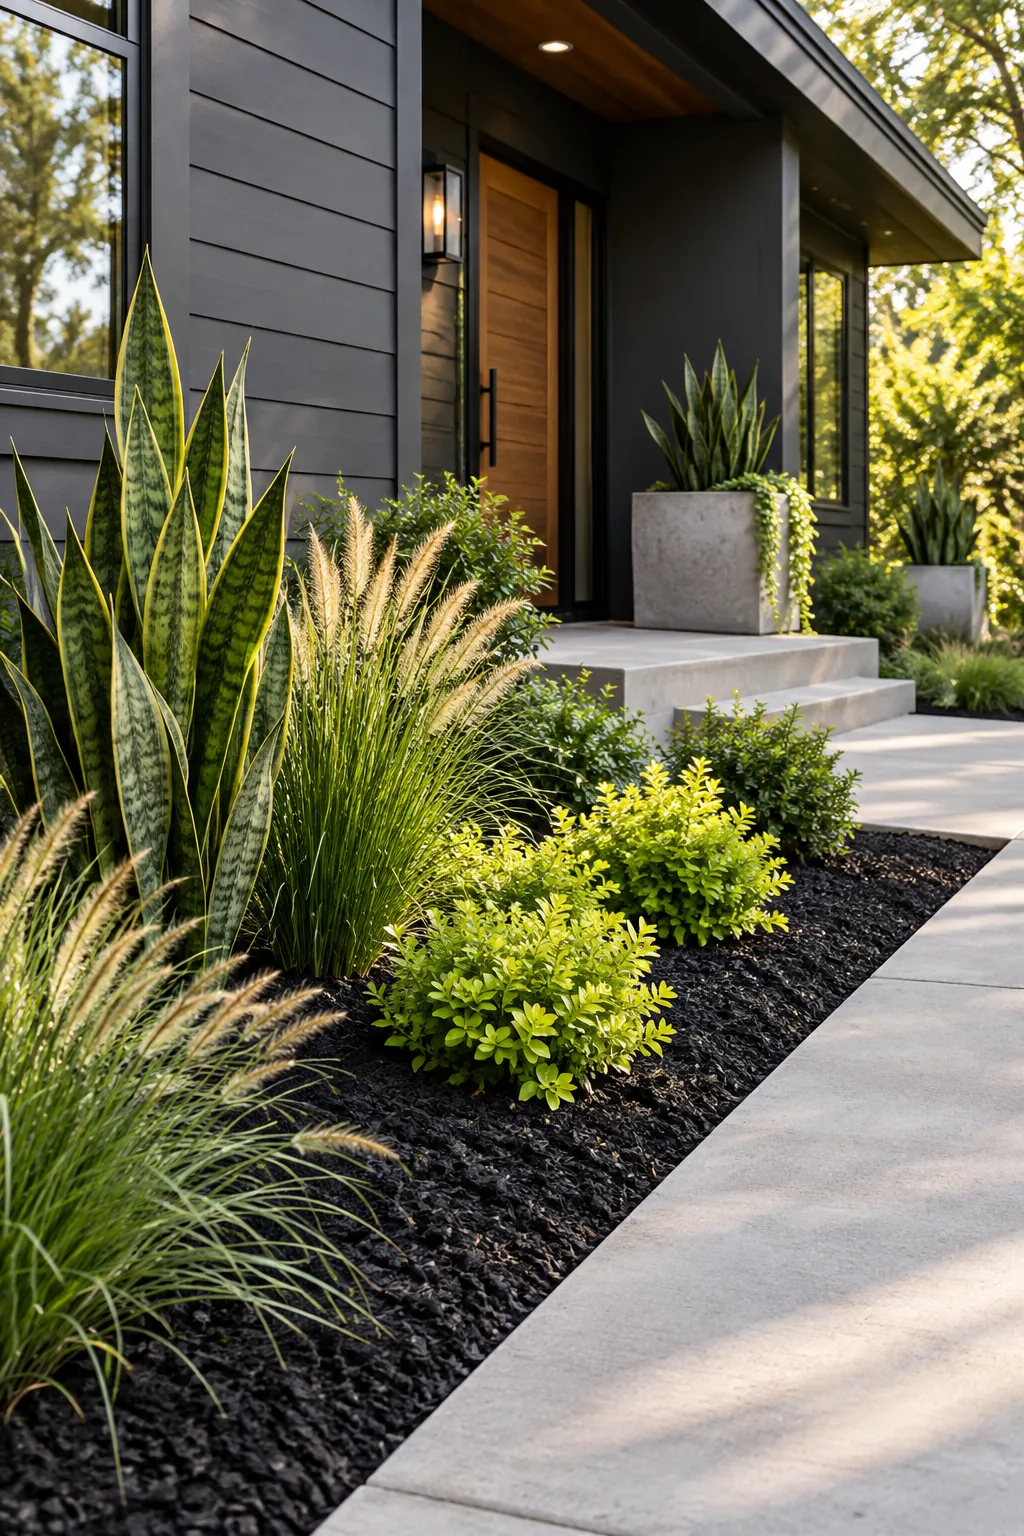
Modern Minimalist: Pair black mulch with a dark slate exterior and structured, architectural grasses for a sleek, contemporary aesthetic.
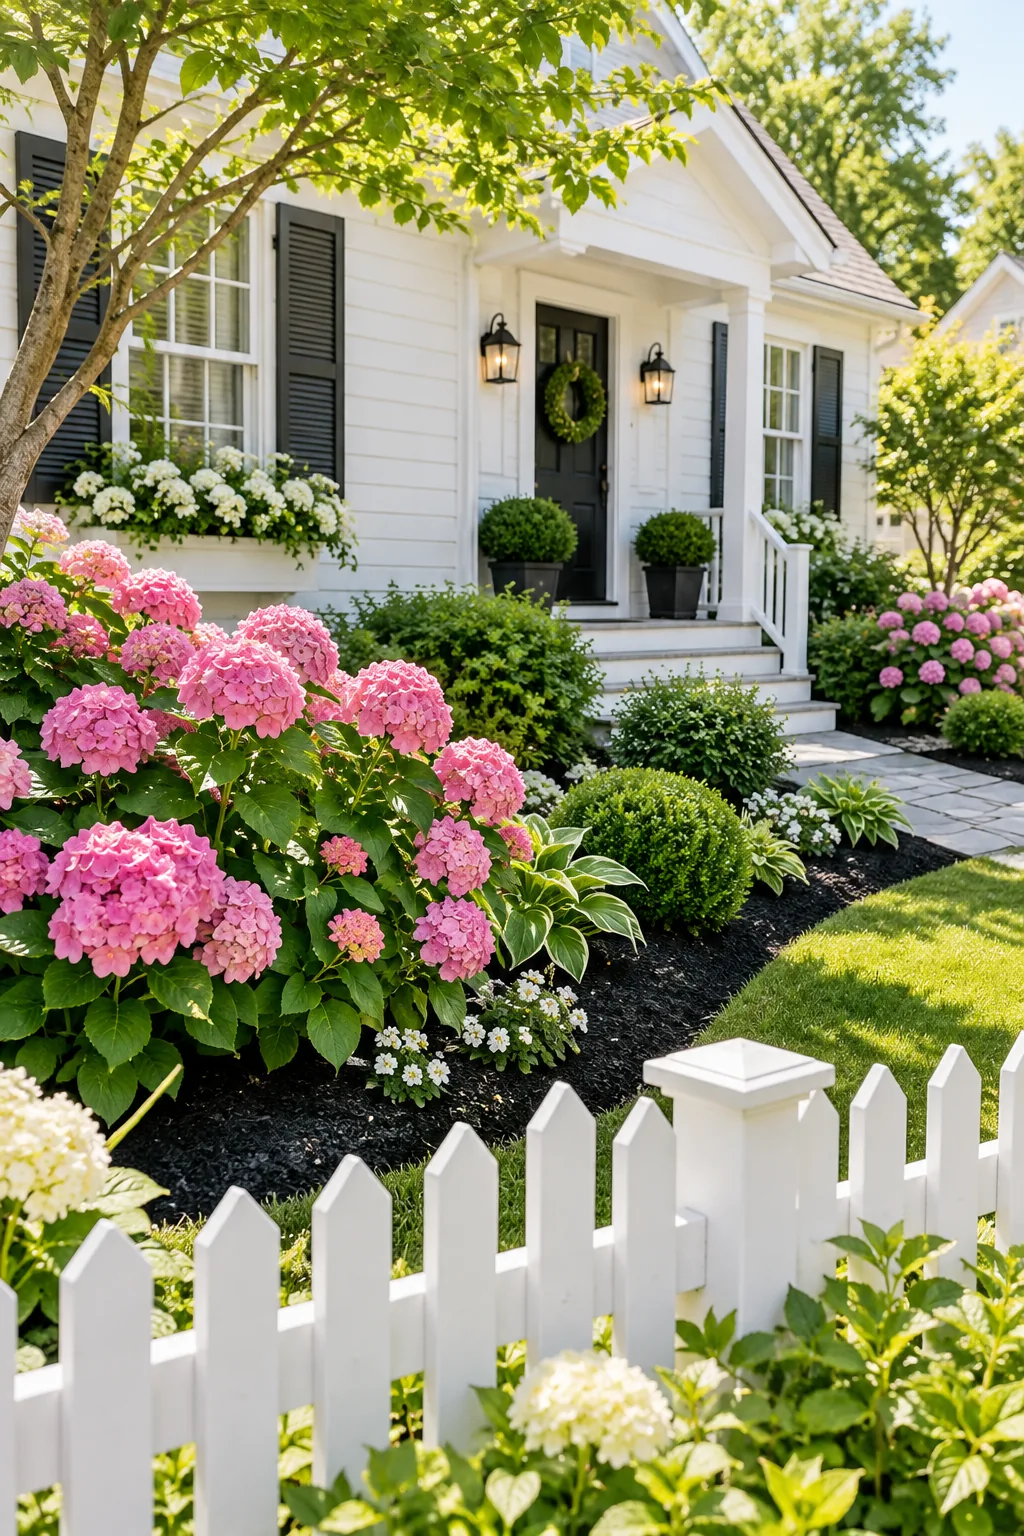
Classic Cottage: Use black mulch against classic white siding to make vibrant pink hydrangeas and traditional cottage blooms truly pop.
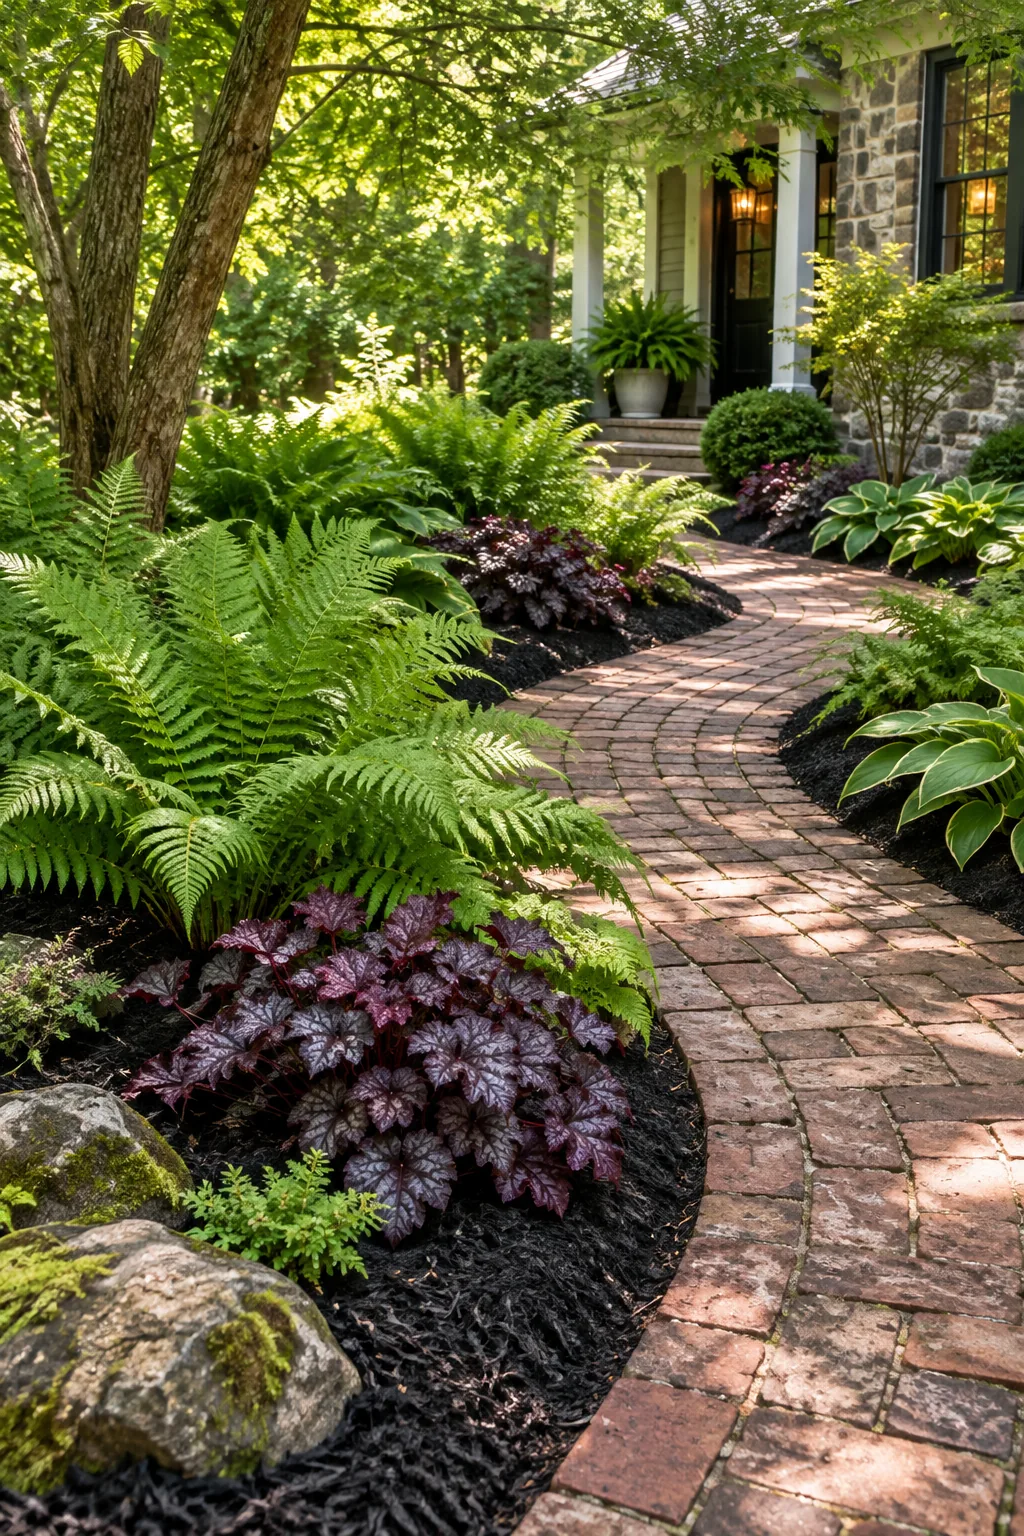
Woodland Shade: Enhance a shaded garden path by contrasting rich black mulch with delicate green ferns and rustic brick edging.